If you work on cars, trucks, motorcycles, or any other piece of machinery, you’ll no doubt experience that dreadful feeling when a wrench suddenly goes “soft” tightening a bolt. Immediately you know the threads stripped. In the rare instance, the offending threads can be tuned up by carefully running a tap through them, but that’s seldom the case. Most often you’re faced with repairing the threads.
There are a couple of ways to fix the damage, depending upon the circumstances. Visit SummitRacing.com and you’ll find hundreds of different variations of thread repair kits, ranging from Loctite thread forming products to dedicated spark plug repair kits. In between is a huge range of Heli-Coil or Fix-A-Thread systems—each with kits dedicated to the specific type of thread you’re trying to repair.
With a formed thread repair by way of a liquid repair system, you’re essentially making a mold of the original thread, using the fastener in question. The process goes something like this:
When you can access the backside of the damaged component, cover the bottom of the bore and fill the damaged thread bore about half way or so with Loctite Form-A-Thread. Apply the supplied release agent to the threads of the screw or bolt. Then, with a “jiggling/twisting” motion insert the fastener. Loctite states this improves the thread conformation. Then you allow 30 minutes to cure. Sometimes you have to clamp the fastener in place while the product cures.
Using a Thread Insert to Repair Damaged Threads
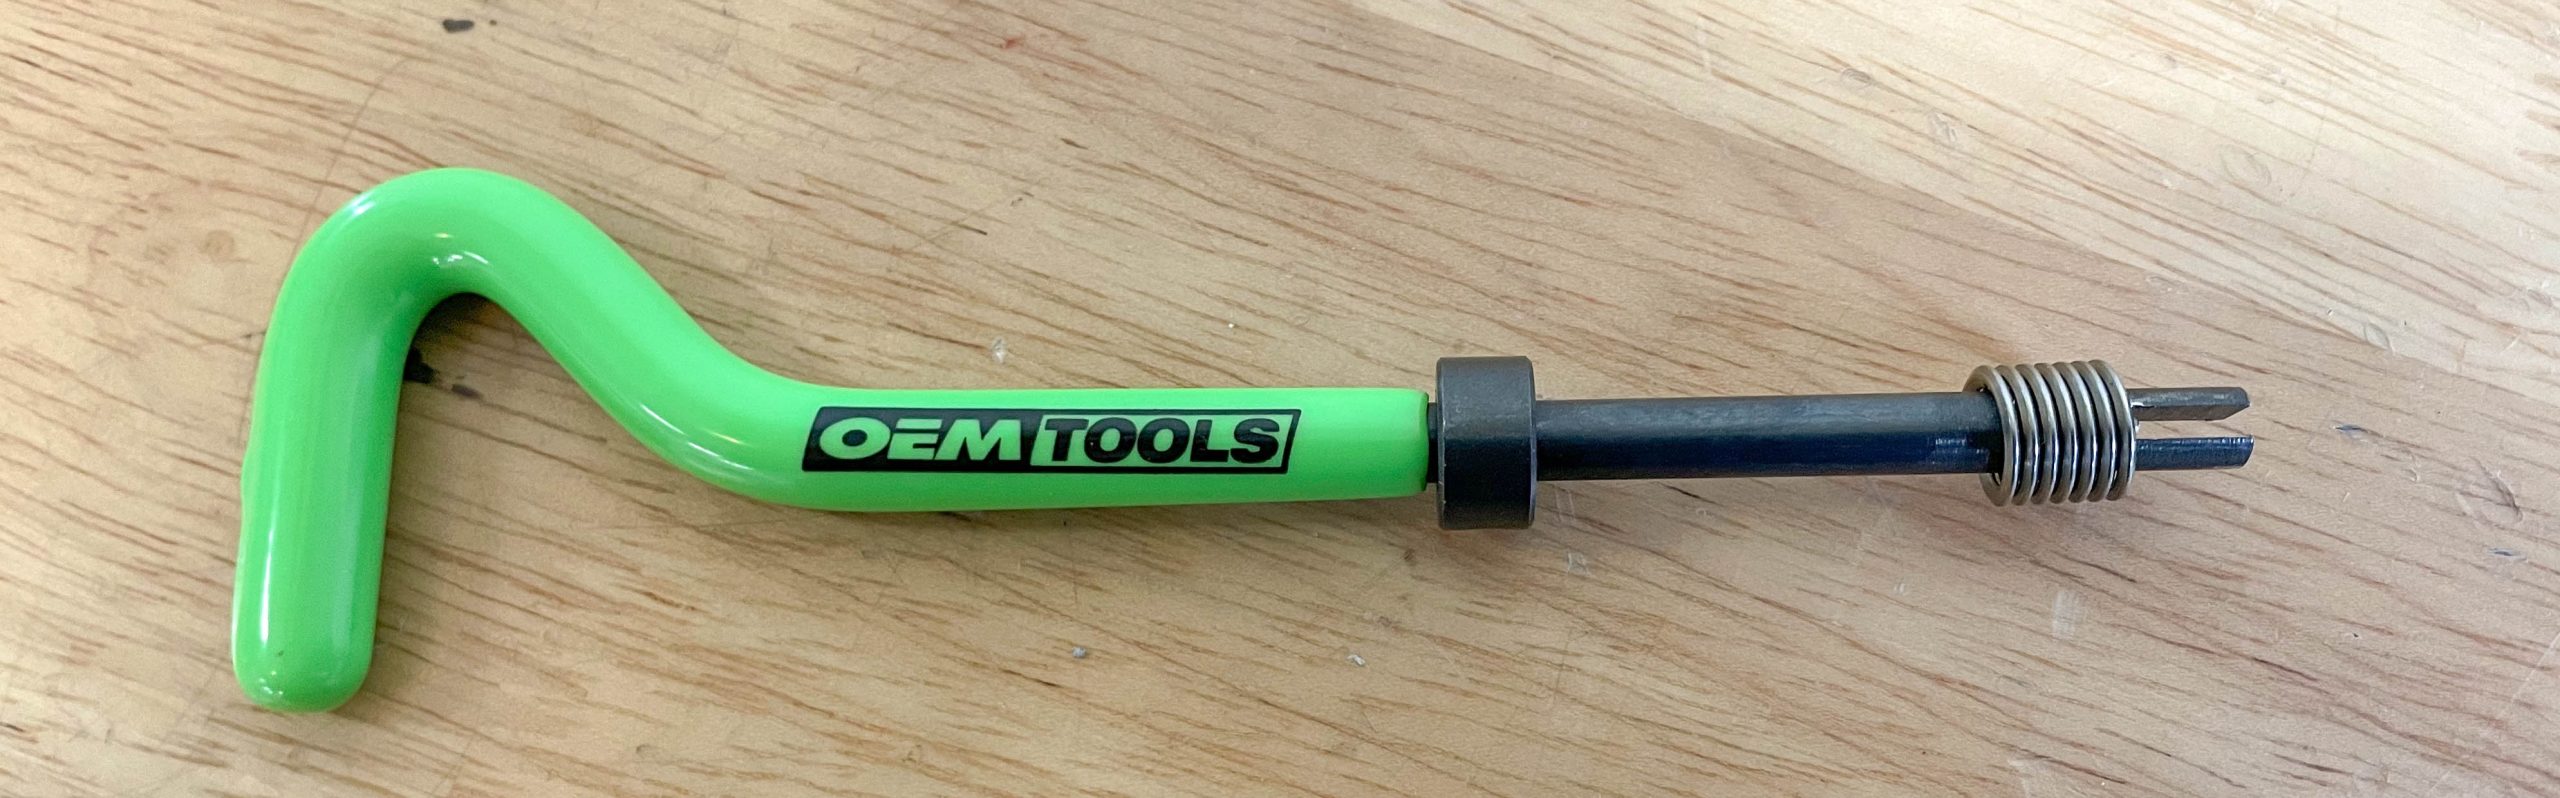
Of course, this isn’t the only means to fix threads. Another method is to use an insert. How does mechanical thread repair (by way of an insert) work? According to OEM Tools:
“The thread inserts are made with high strength stainless steel wire. Uninstalled the thread insert is greater in diameter than the tapped hole into which the insert will be installed. During installation, the compressed coil spring design reduces in diameter, then springs back to permanently anchor the insert into place. Since the thread insert is larger than the original female thread, it provides greater contact area that is generally stronger than the original female thread.
“The coil spring design adjusts axially and radially to fit expansions and contractions within the parent material, eliminating stress concentration problems that typically arise with solid style inserts. Locking, keying or swaging the insert is not needed with using coil style inserts.”
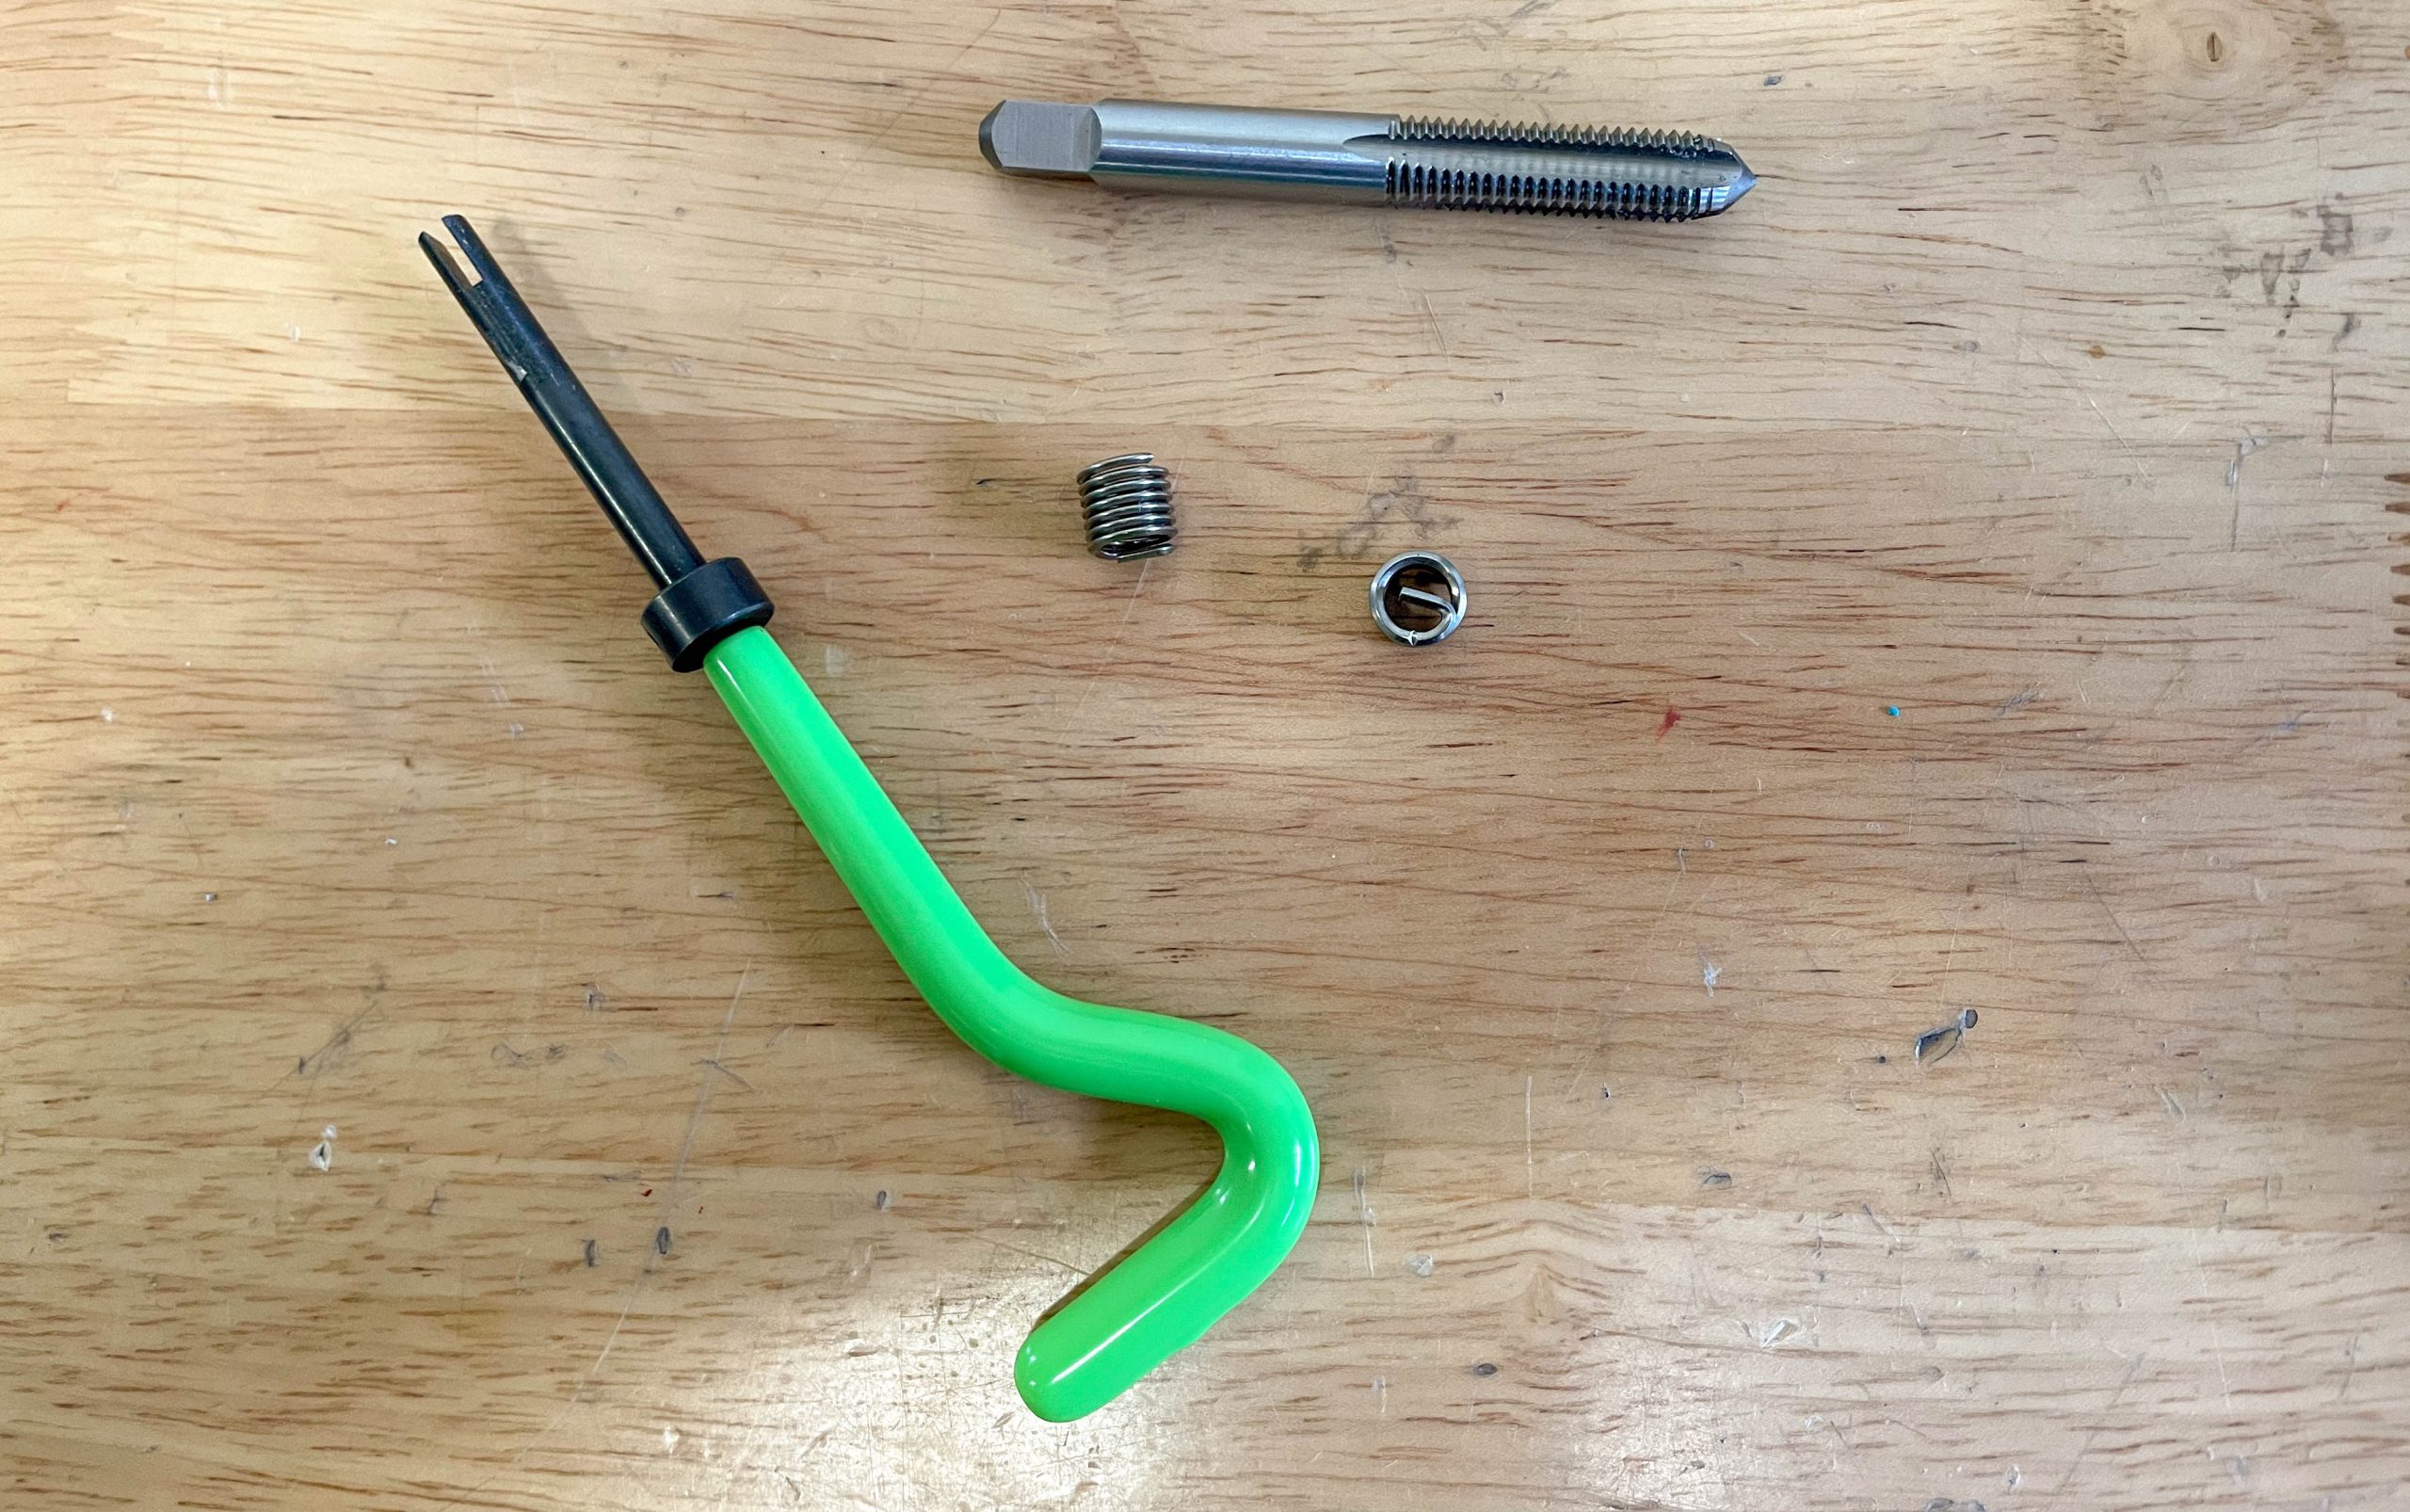
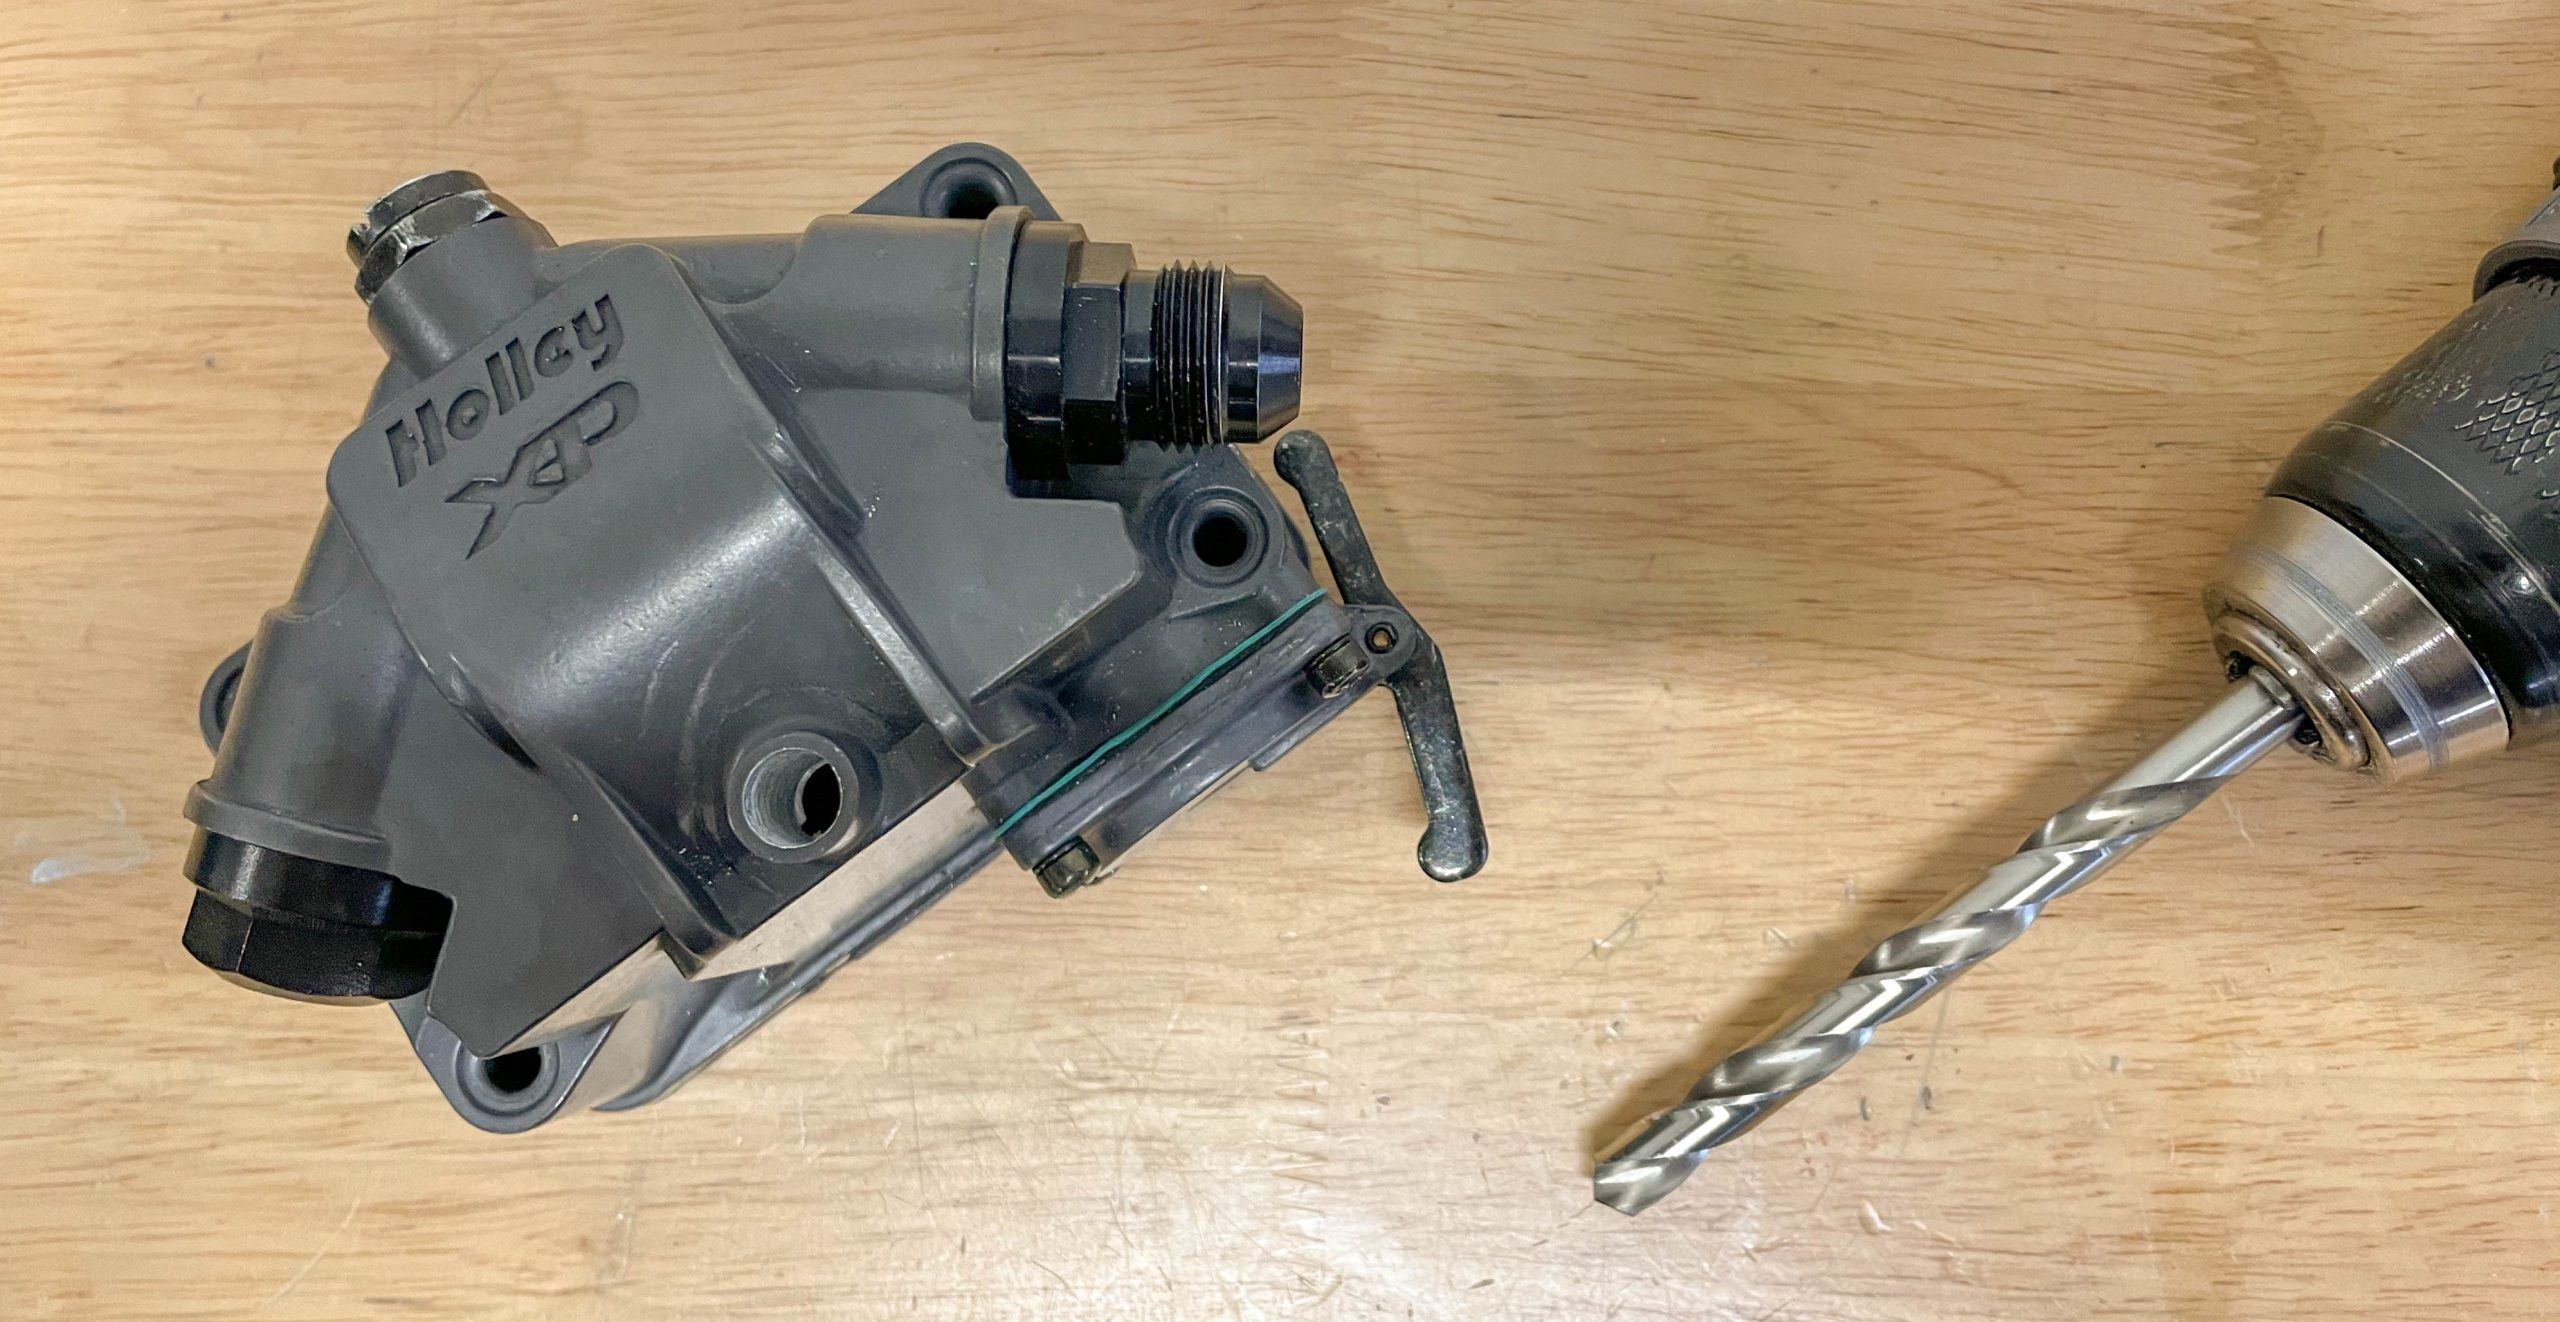
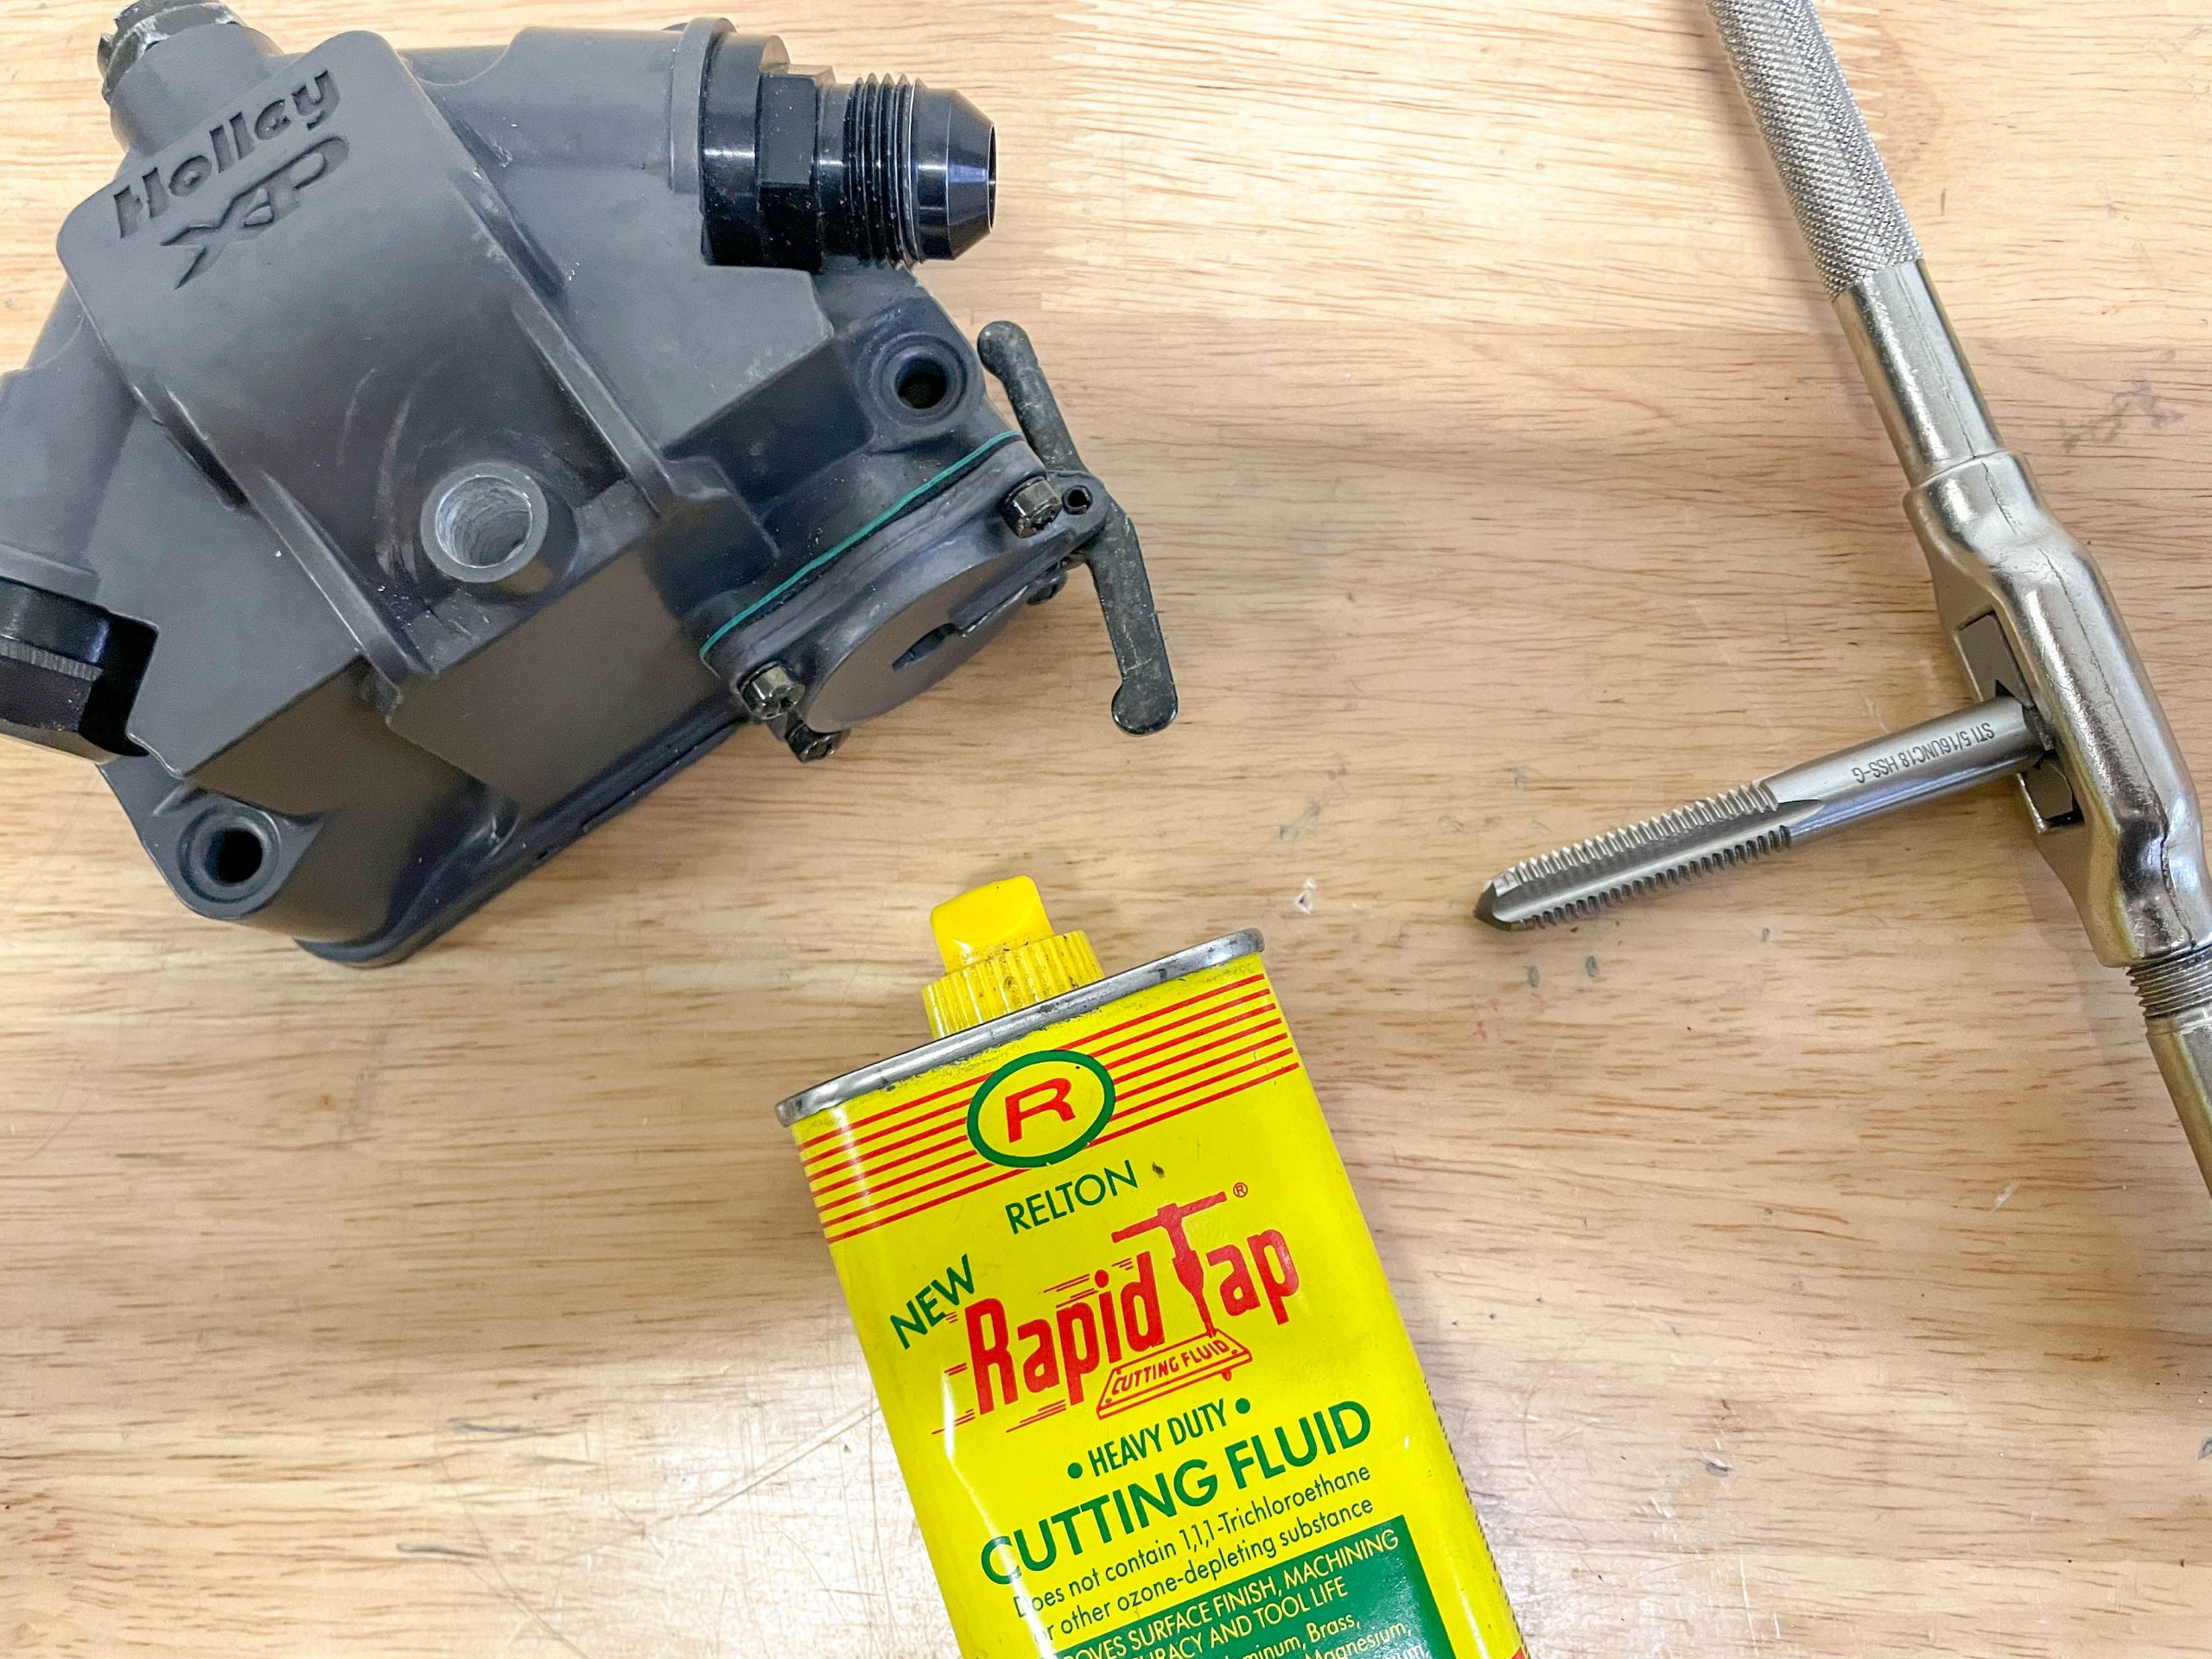
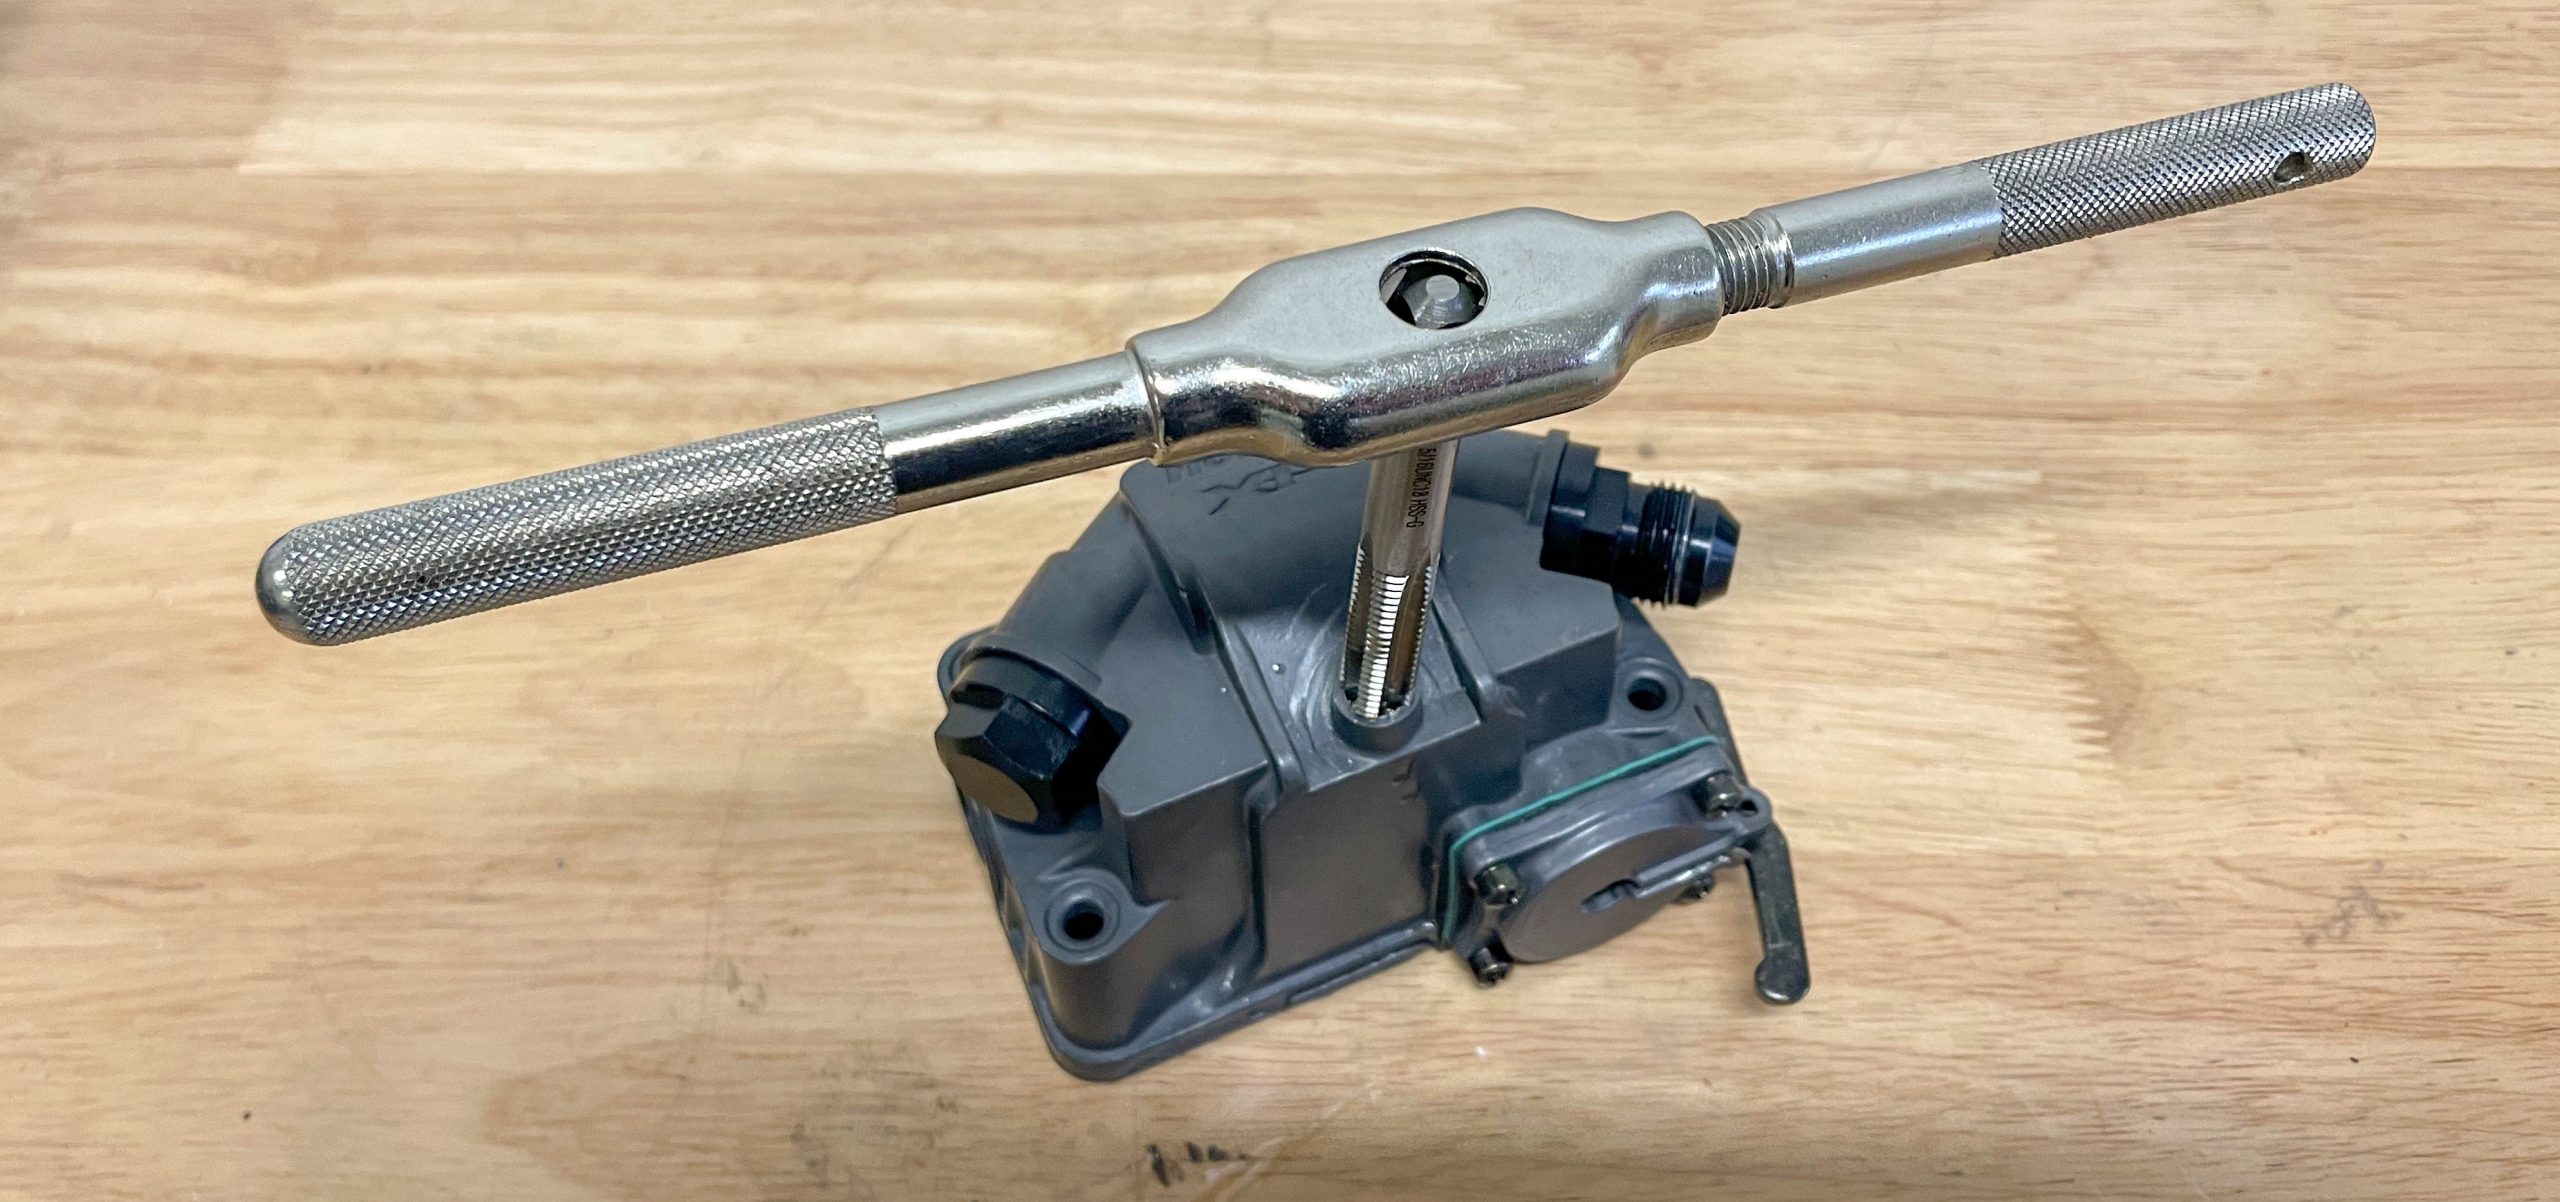
When using mechanical thread repair kits, a special tap is included. The reason is the Screw Thread Taps are specifically designed to be slightly larger than a normal tap. This provides the correct hole diameter for thread repair insert installation. And because of this, you have to drill out the damaged thread. Repair kits (Heli-Coil or Fix-A-Thread) spell out the drill size necessary.
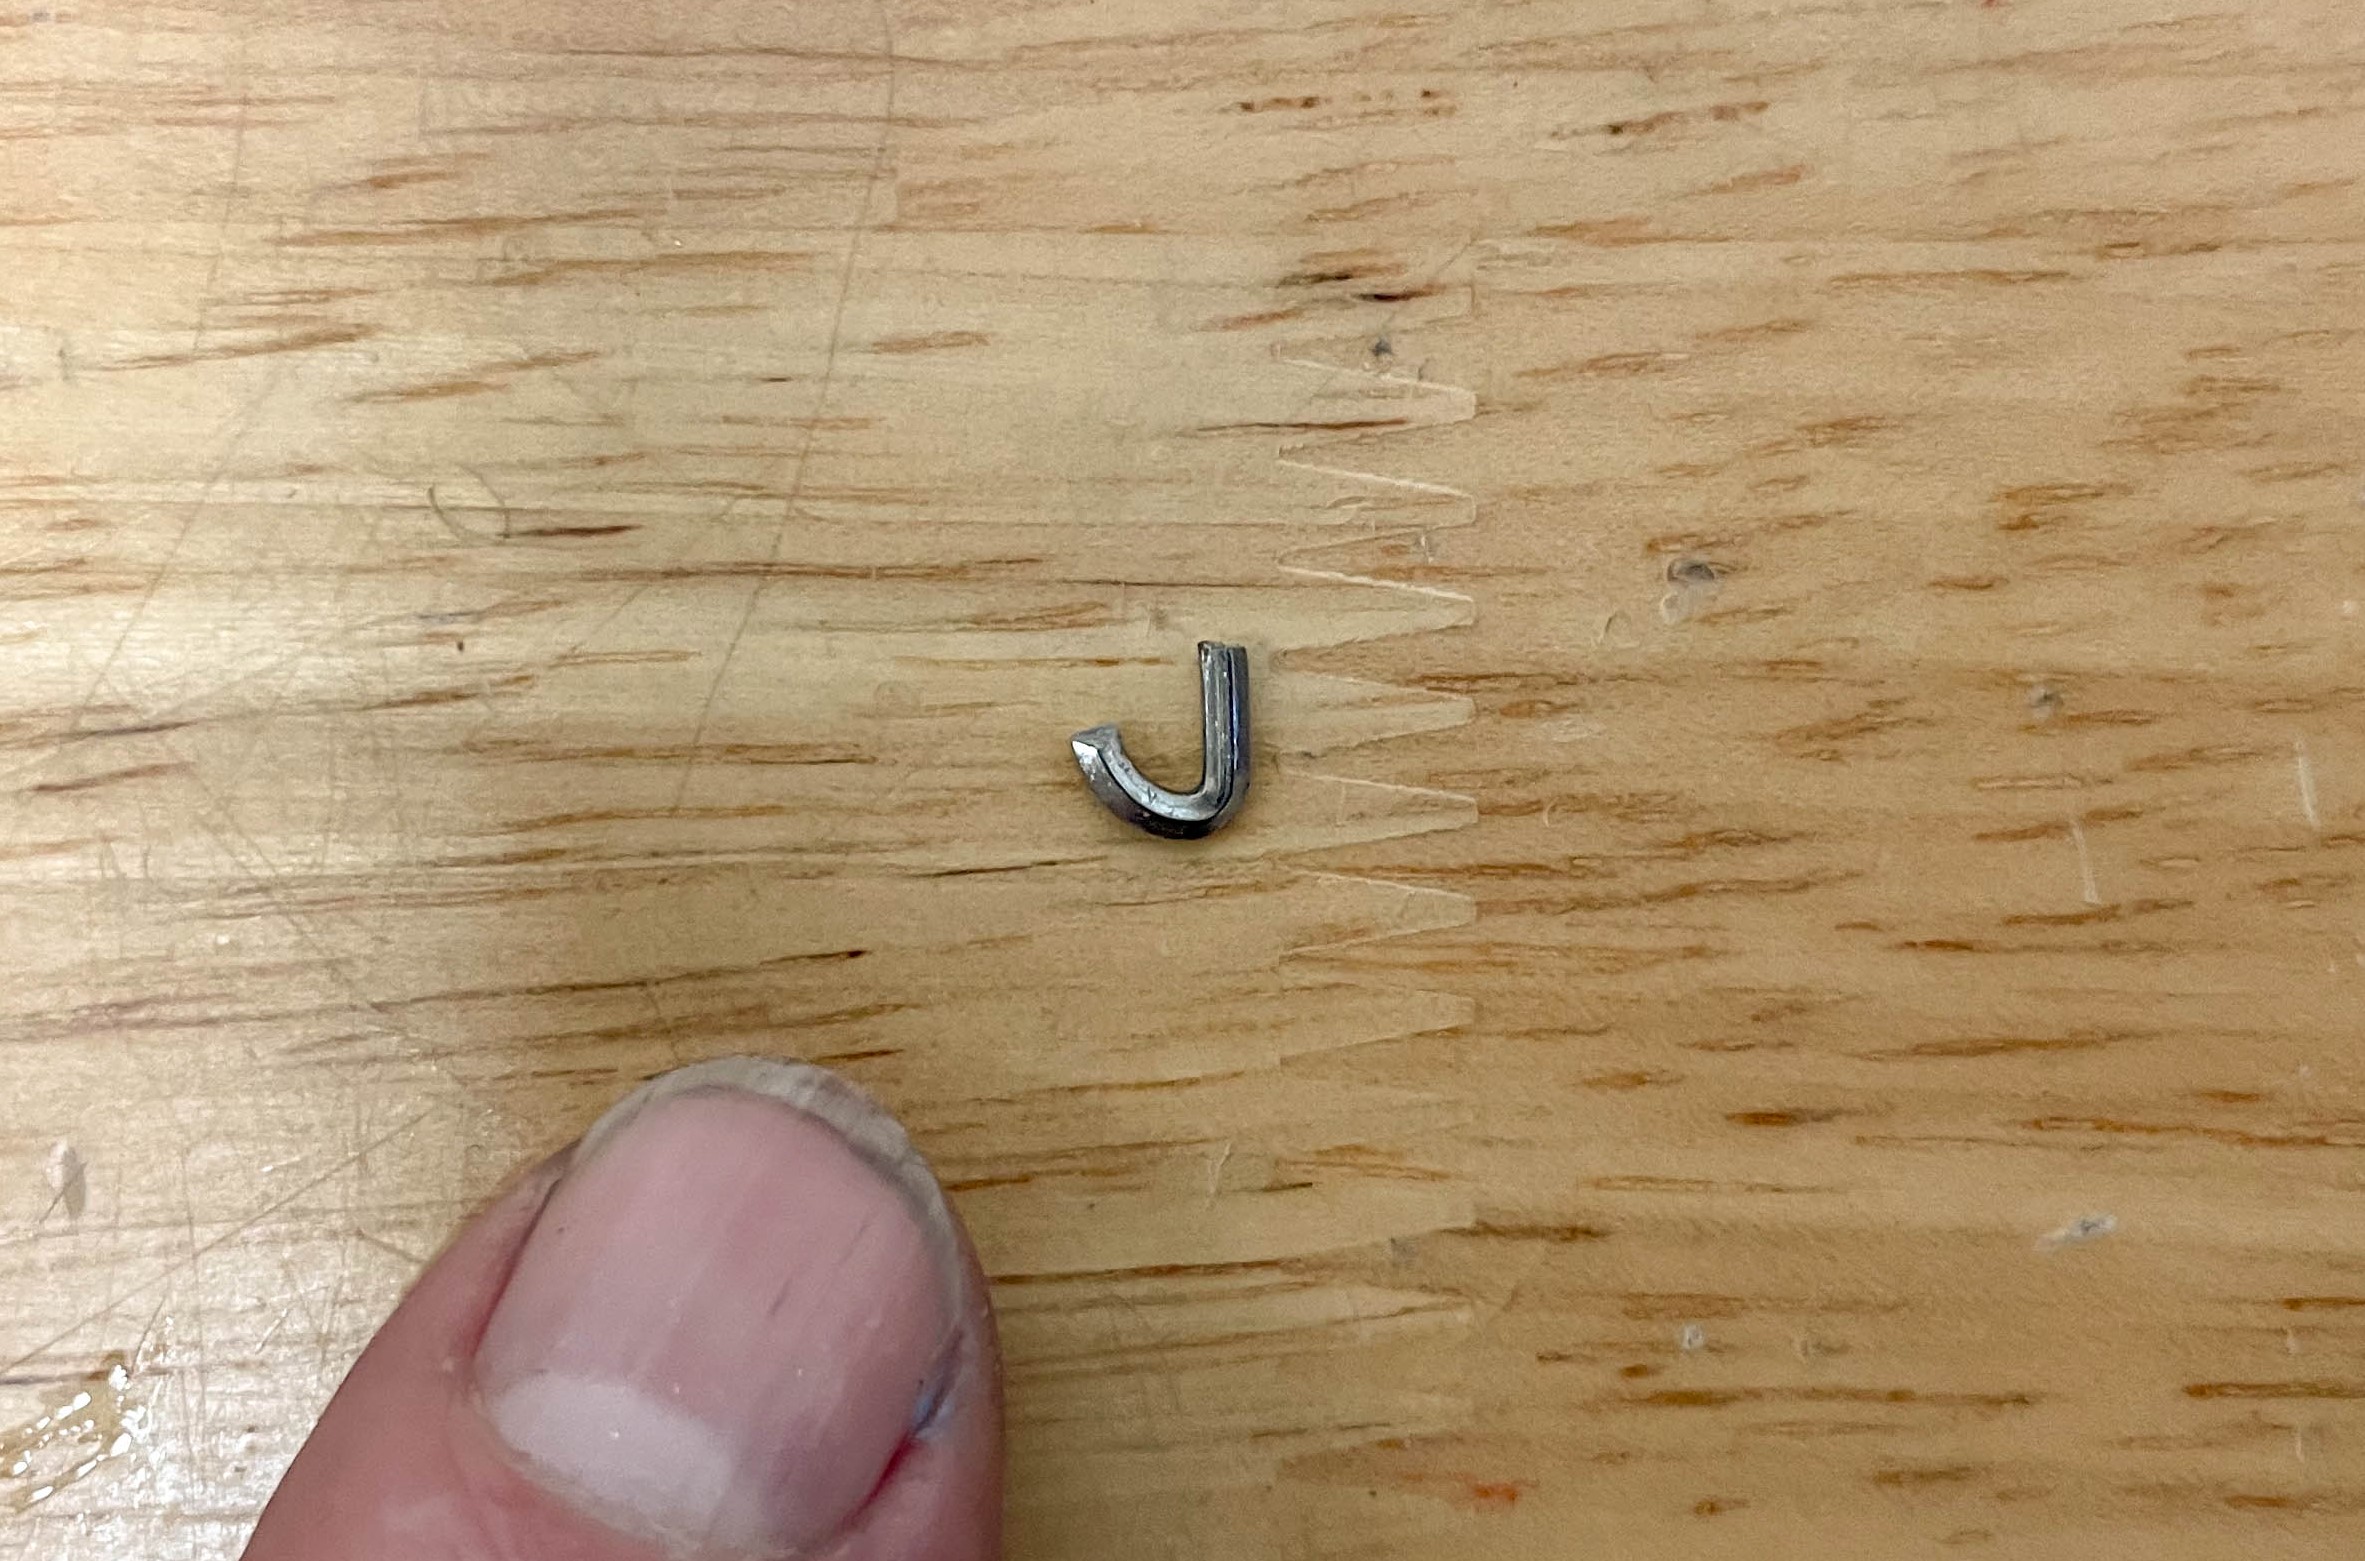
Essentially, you can use these thread repair kits for alloys, steel, plastic, or magnesium. The actual wire in the Fix-A-Thread kits is manufactured from stainless steel, with a diamond shape cross section wound to the form of a spring thread. You’ll note that there’s a tail or tang on the inserts. This engineered so that the supplied tool can wind the insert into place. Once installed, the tang is broken off.
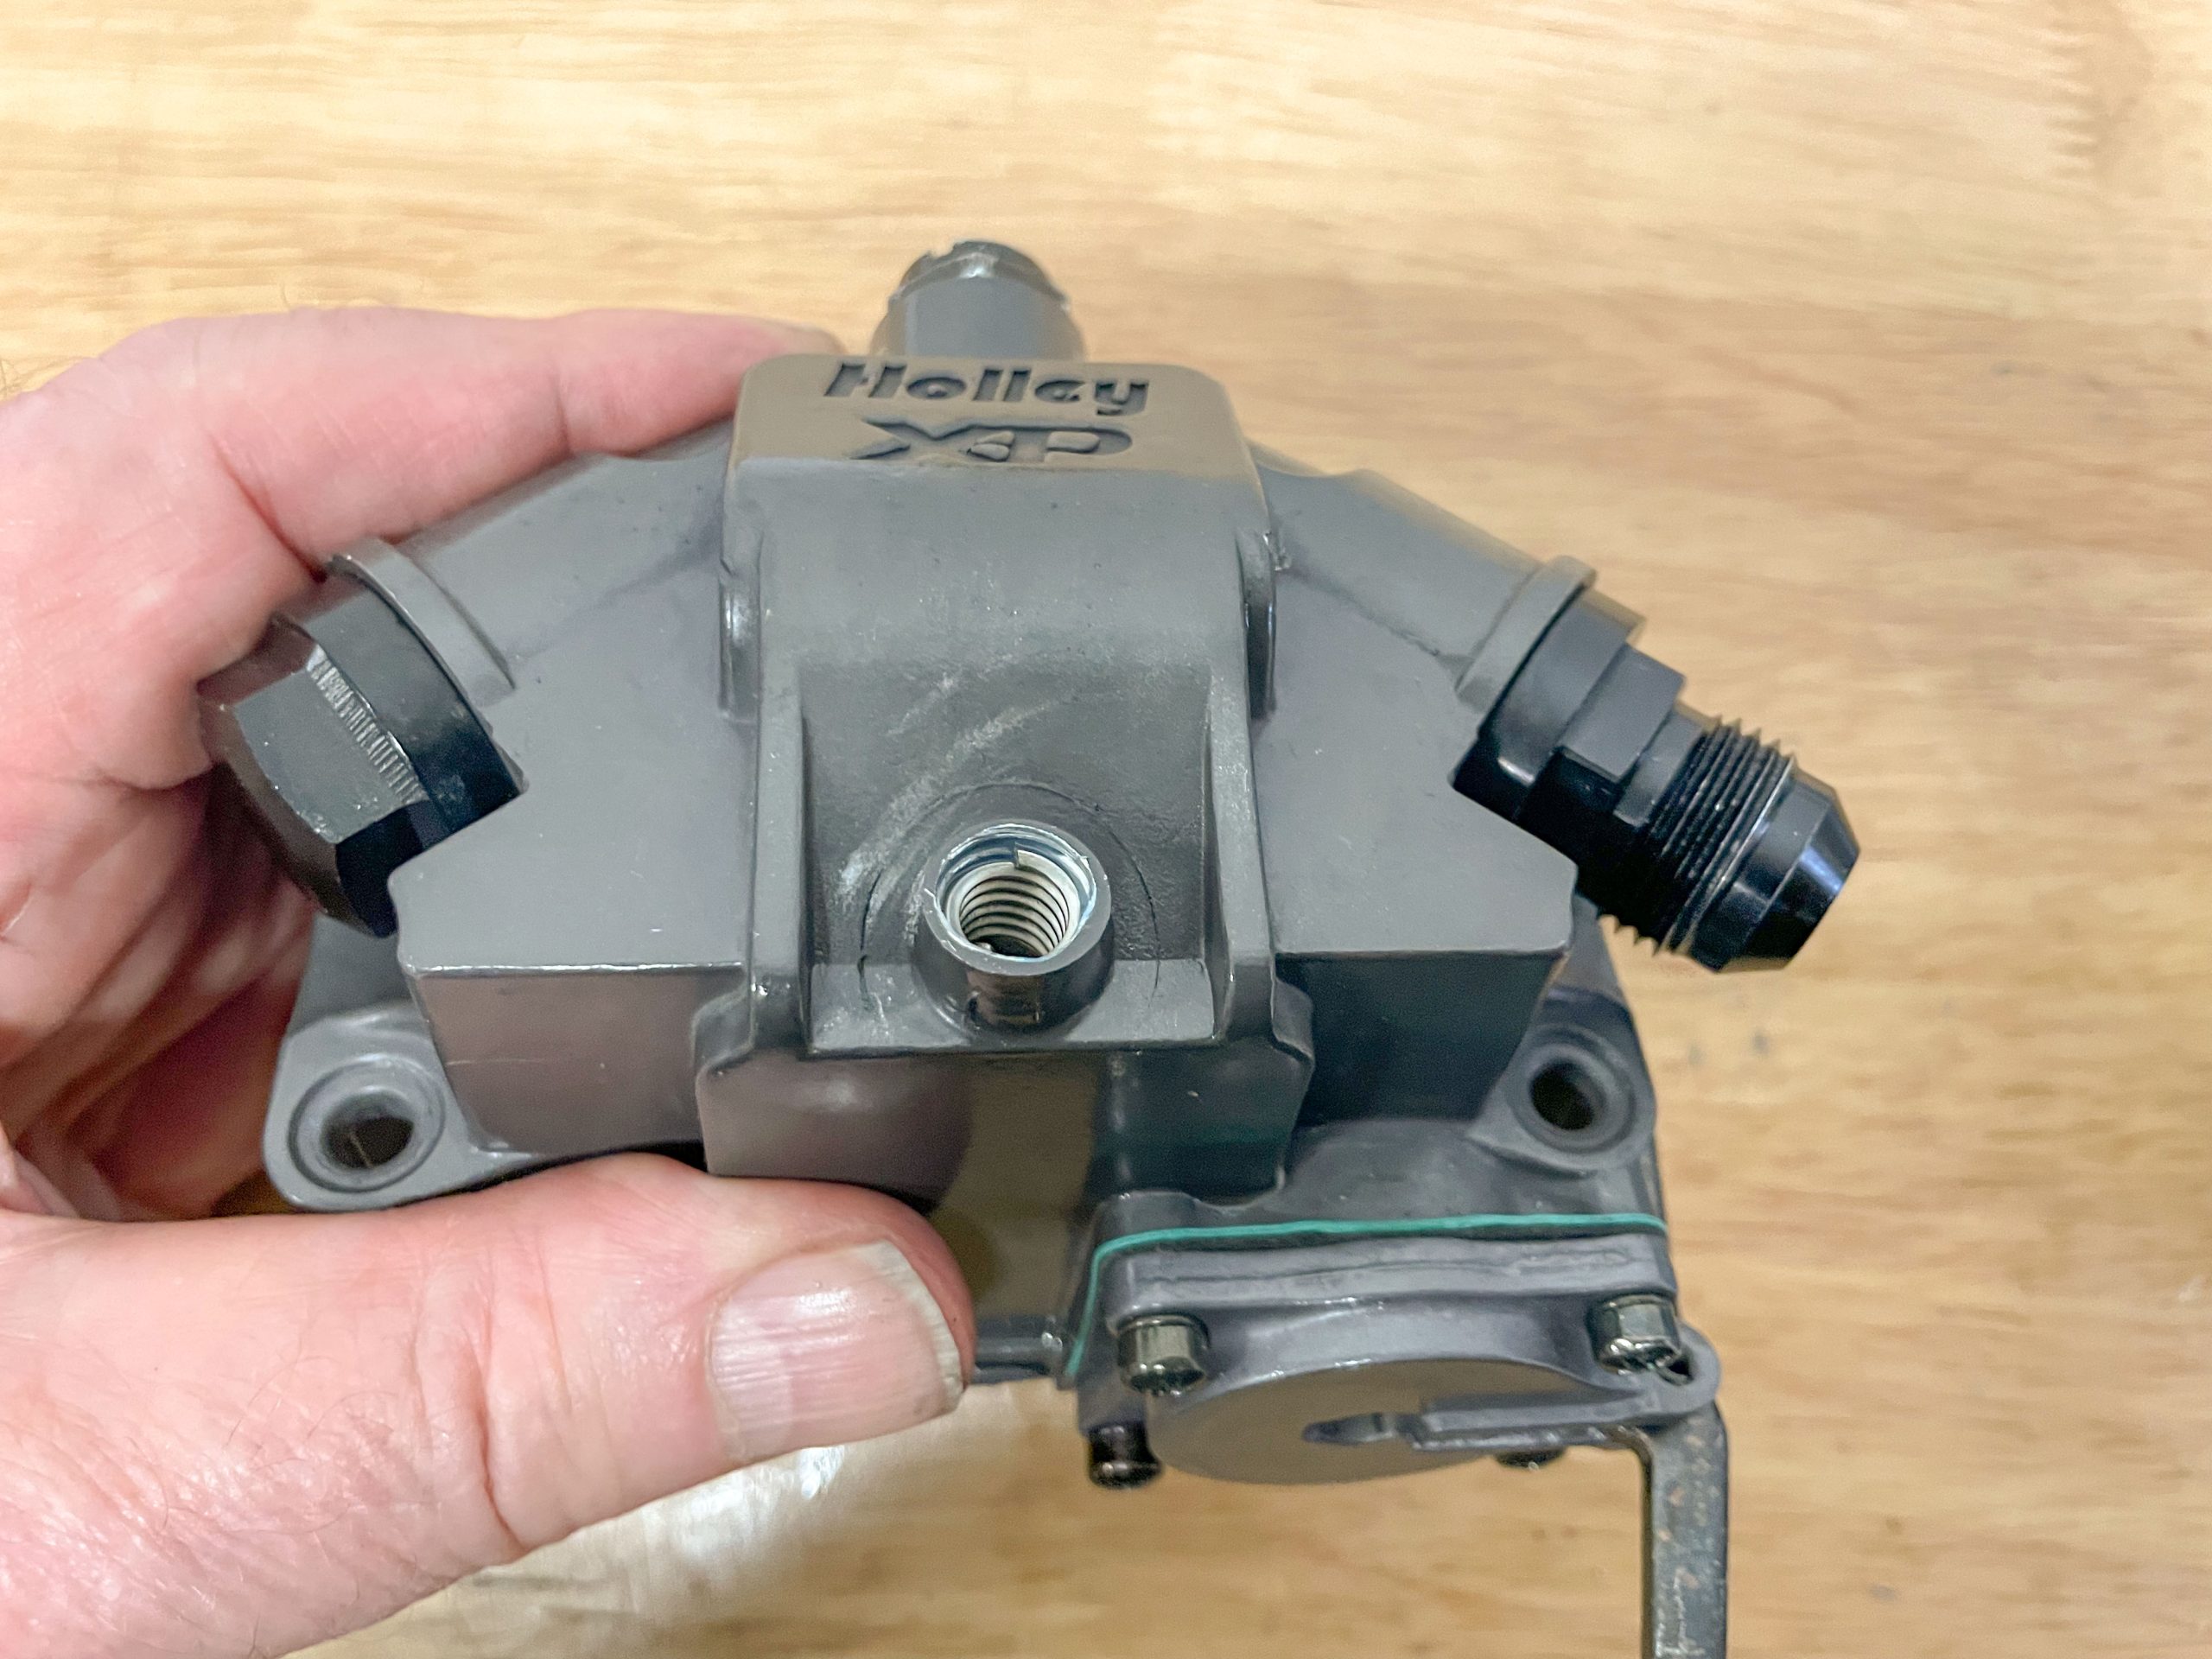
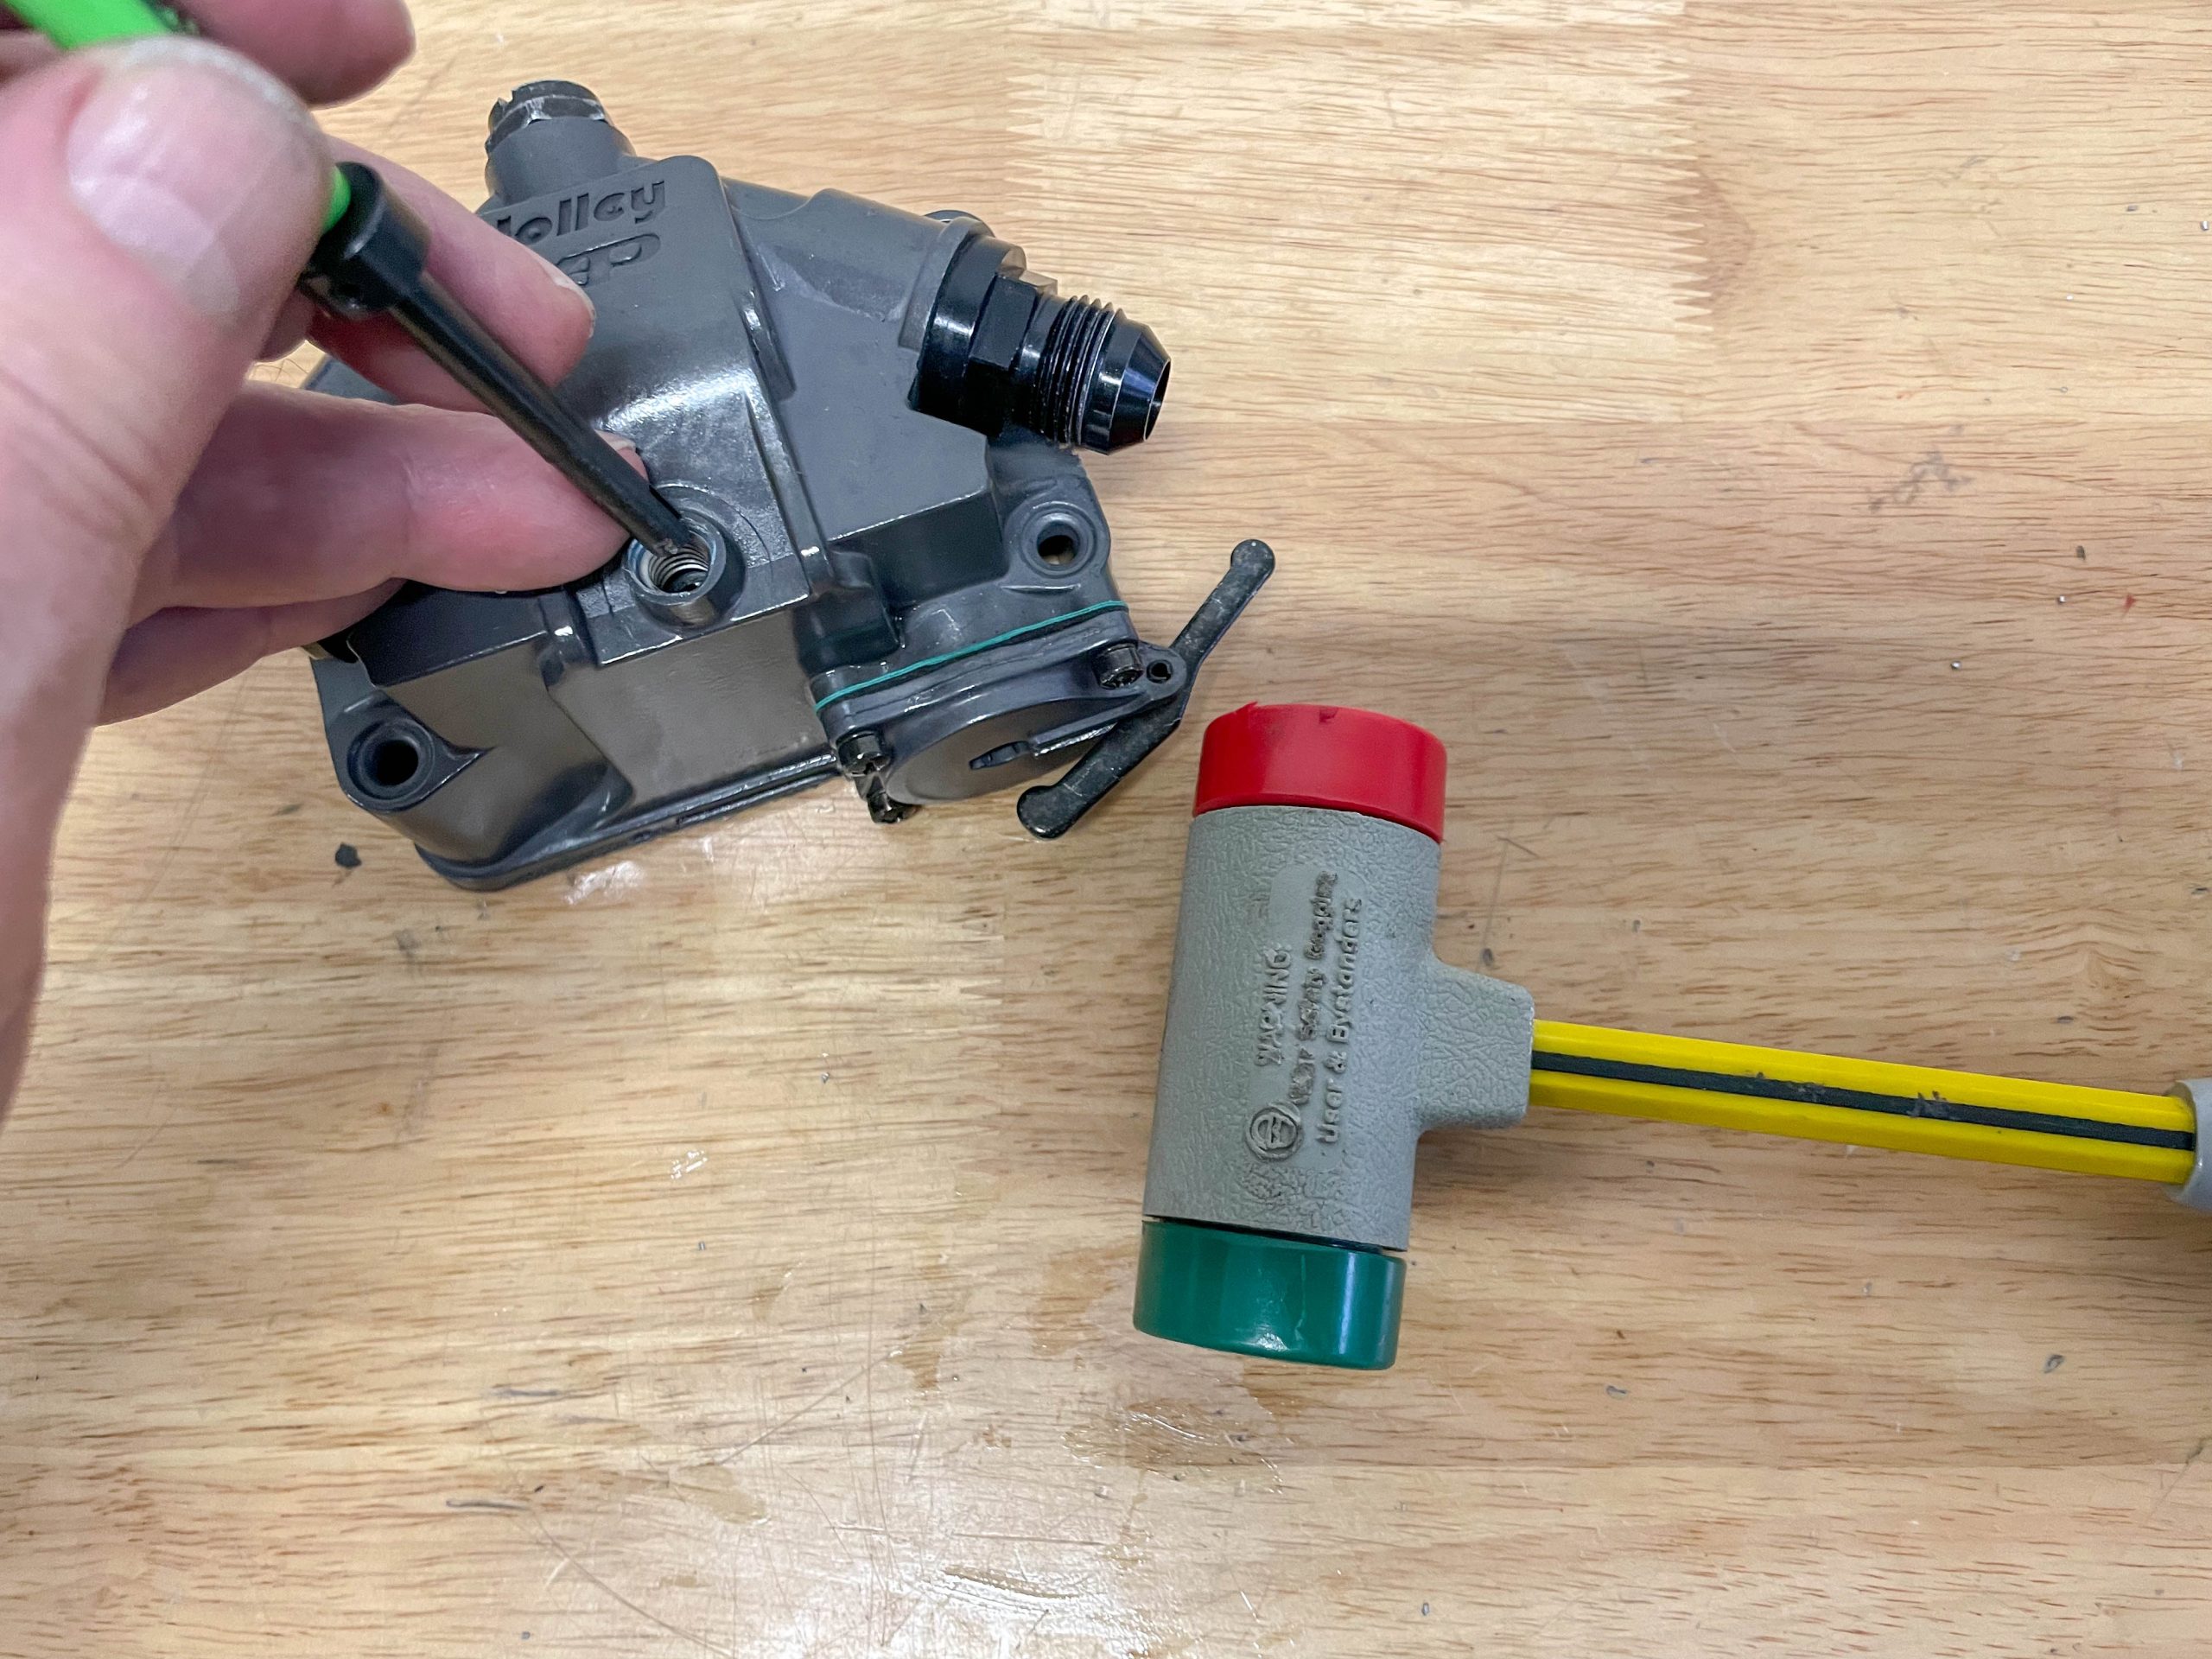
As you can see, there are a number of different ways to safely and securely repair threads. The fix isn’t really painful either. In fact, we’ll walk you through a typical thread repair in the photos below.
And you may enjoy this article as well: How to Use a Tap & Die Set to Cut Internal & External Threads

Comments