Work around cars for any significant stretch of time, and you’ll come across plenty of old, dirty, corroded, and otherwise gunky nuts, bolts, and other random small parts and hardware. And if you remove any during the job at hand, it’s good practice to clean them up before you put them back in.
There are several ways to do it:
The first option is to use a bench grinder fitted with a buffing disc or fine wire wheel. This works great and offers good precision, except it’s time consuming and fatiguing if you’ve got a bunch of hardware—and you always run the risk of skipping the part off the wheel, à la “Police Squad”.
The second option is a bath of Evapo-Rust. We love Evapo-Rust and it’s a great choice too—though it may require up to 24 hours to do its magic, which could be a deal-breaker if you’re in a hurry.
The third option is a nice vibratory parts tumbler. Those suckers are fantastic and we always espouse using the right tool for the job around here, which means this is often the preferred method—but if you’re in a pinch, there’s a down-n-dirty alternative…
…a homemade drill-powered tumbler.
Just like the vibratory tumbler alluded to above, a homebuilt tumble polisher uses an abrasive media inside a drum to knock-off corrosion and clean rusty parts. Only in this case, instead of a drum, it uses an old salsa jar and for an abrasive, it’s filled with play sand pilfered from my kids’ sandbox. It relies on an ordinary battery powered hand drill as its power source.
And the whole thing cost nothing but a few minutes of build time and some random hardware saved for rainy day projects.
Hat tip to the TheFabrik YouTube Channel, where I first saw this homebrew tool. The channel specializes in top-notch restorations of toys and other cool stuff. If that’s your jam, it’s worth checking out.
Keep scrolling for a walkthrough on how to build one yourself, and you’ll also see before/after shots of some of the rusty hardware bits used as test subjects.
(Image/OnAllCylinders)
***
How to Build a Small, Drill-Powered Mini Parts Tumbler
***
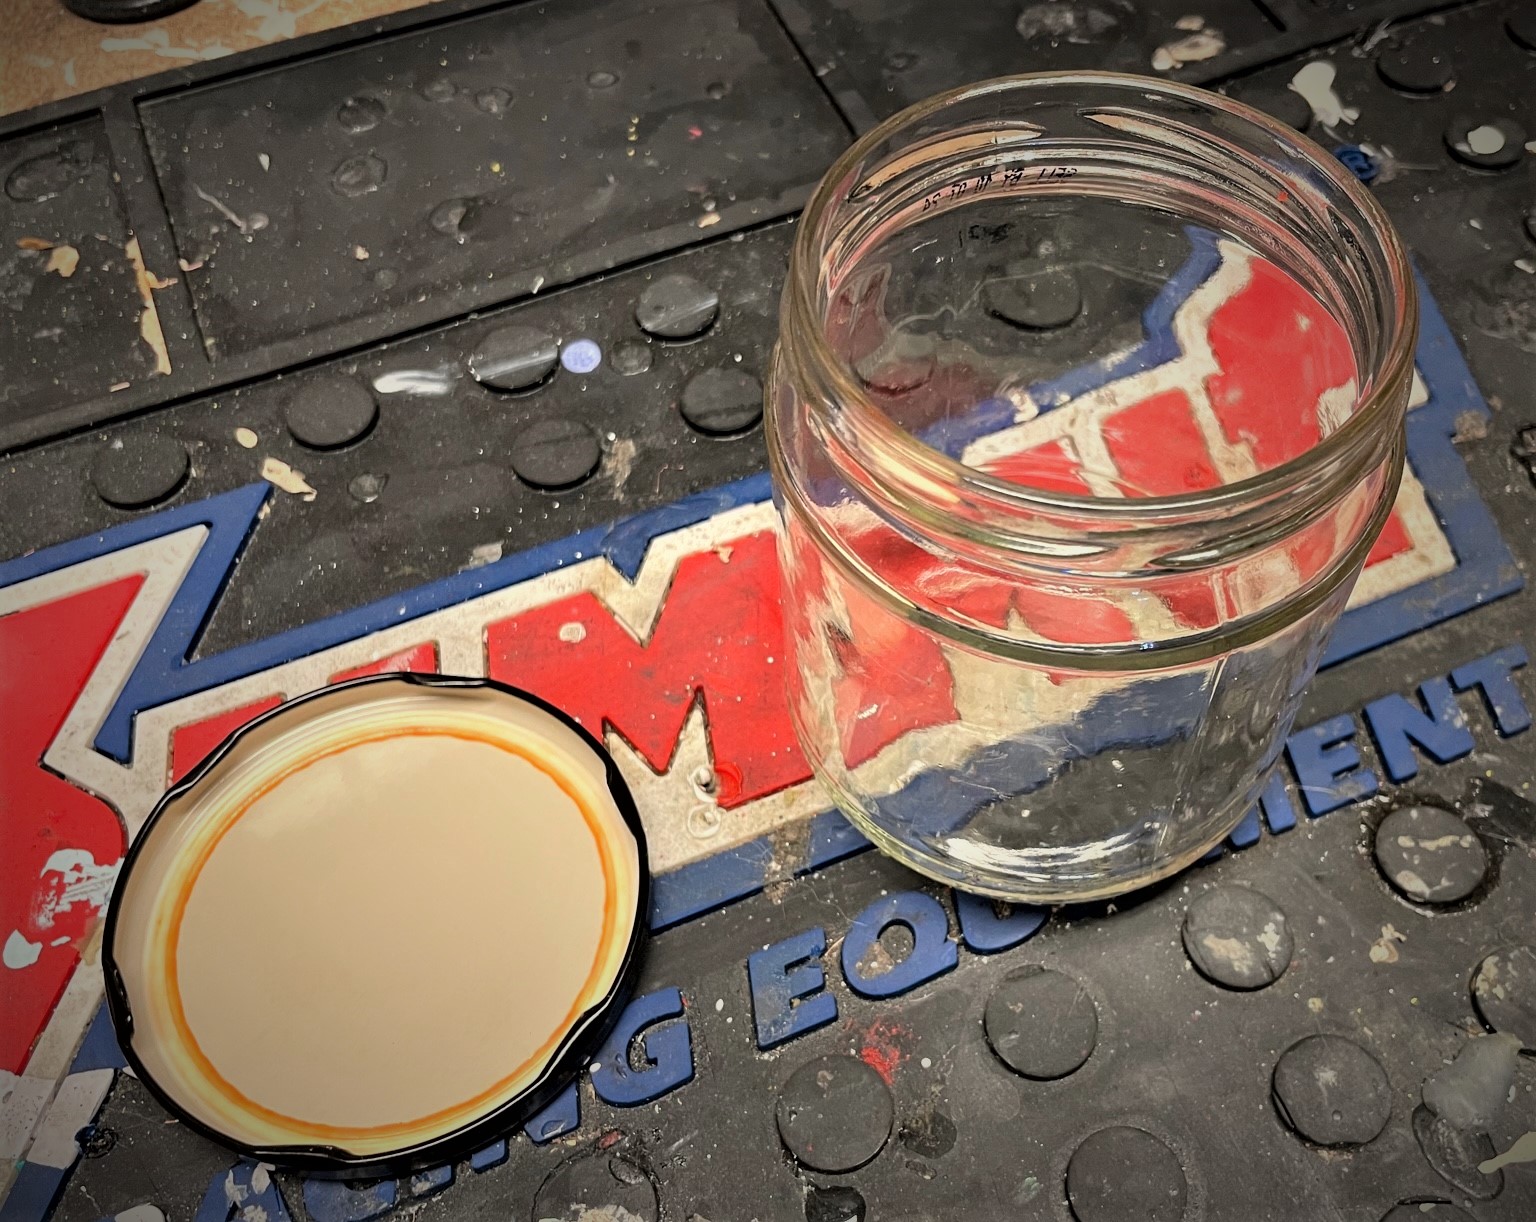
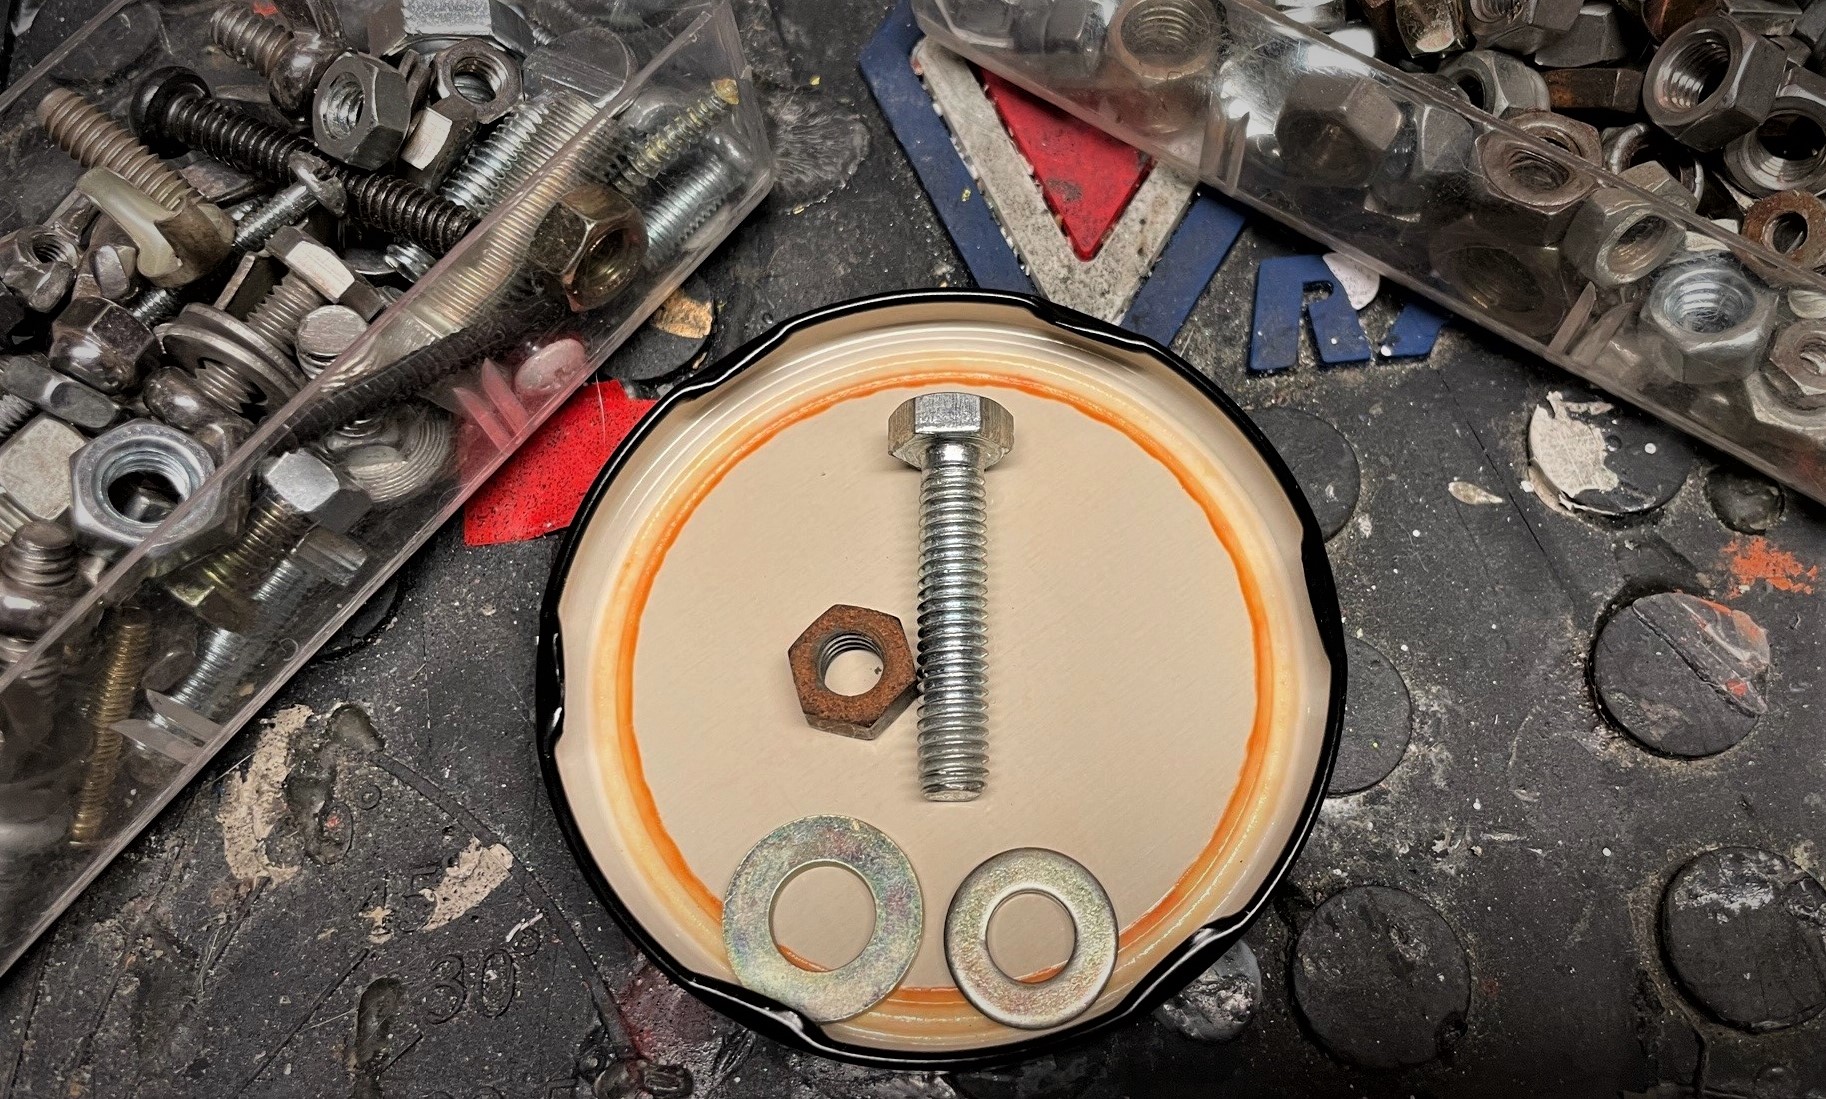
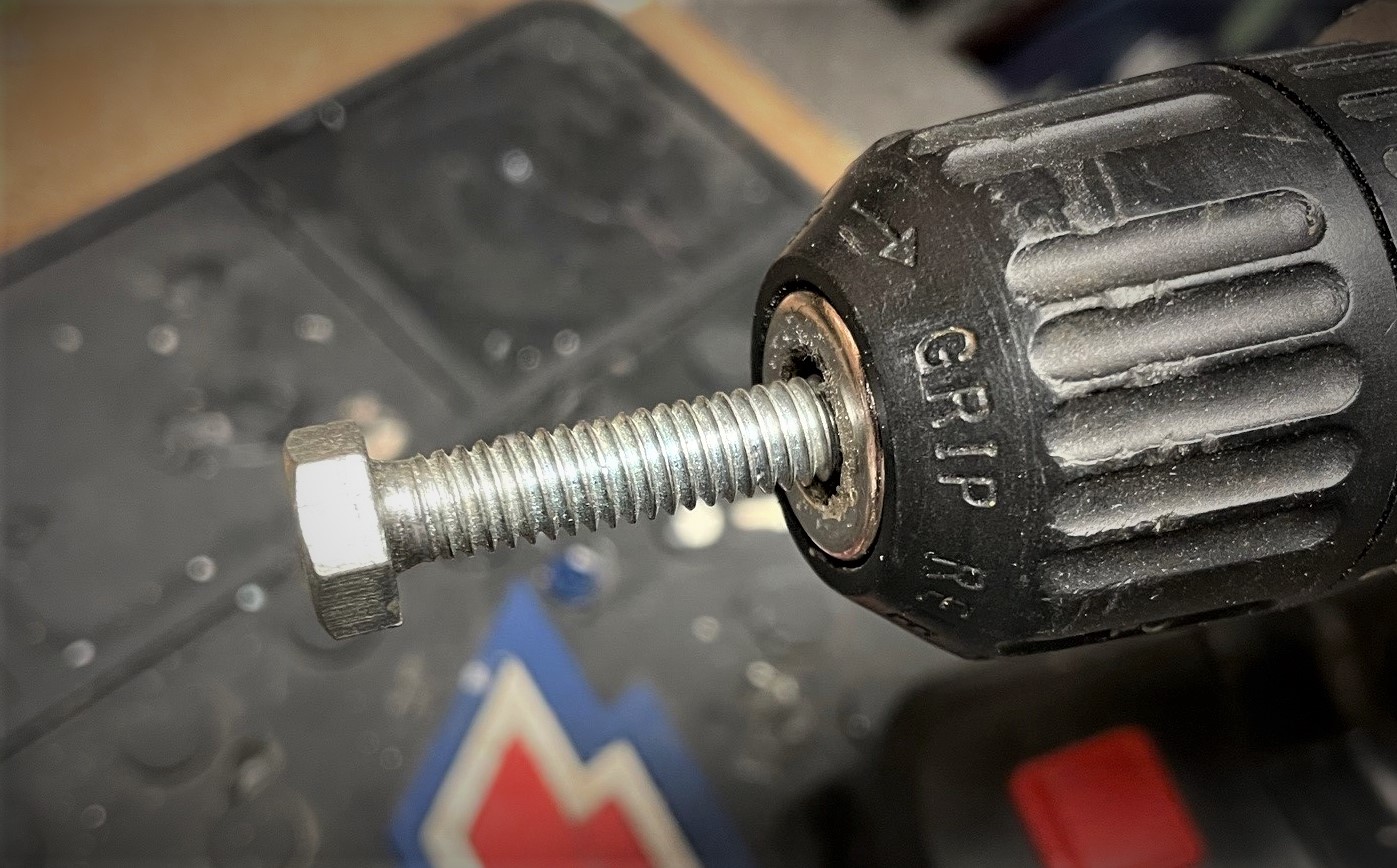
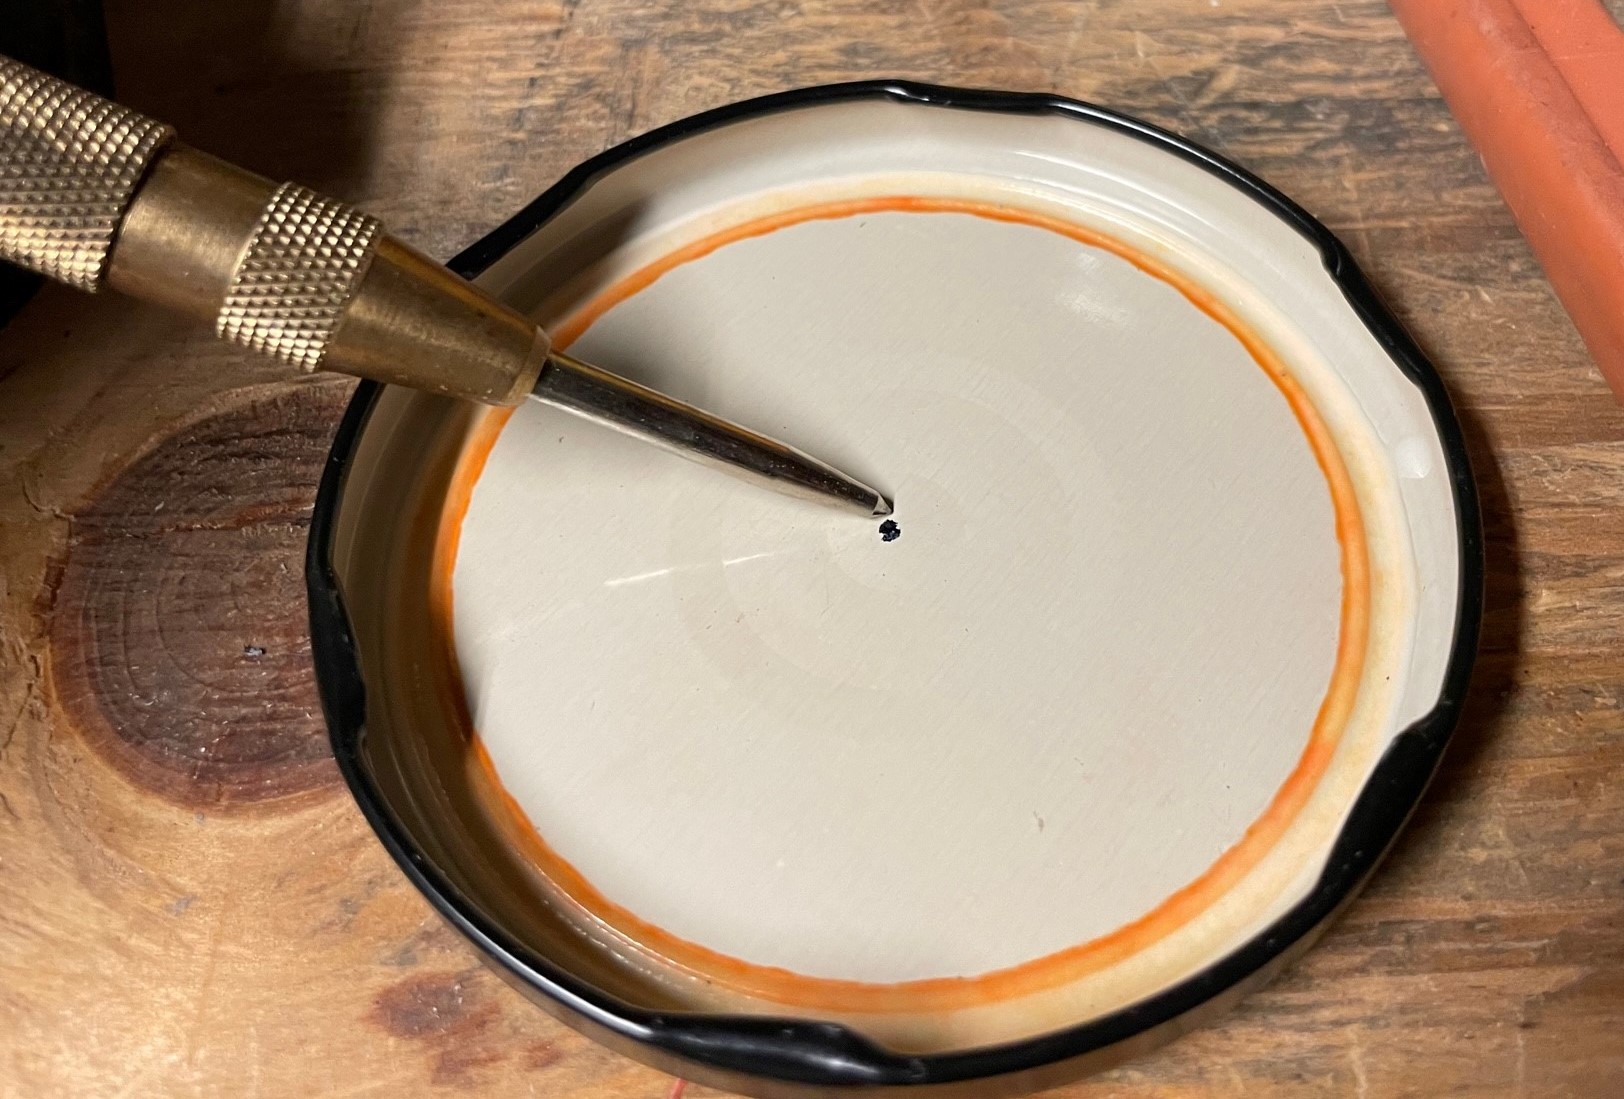
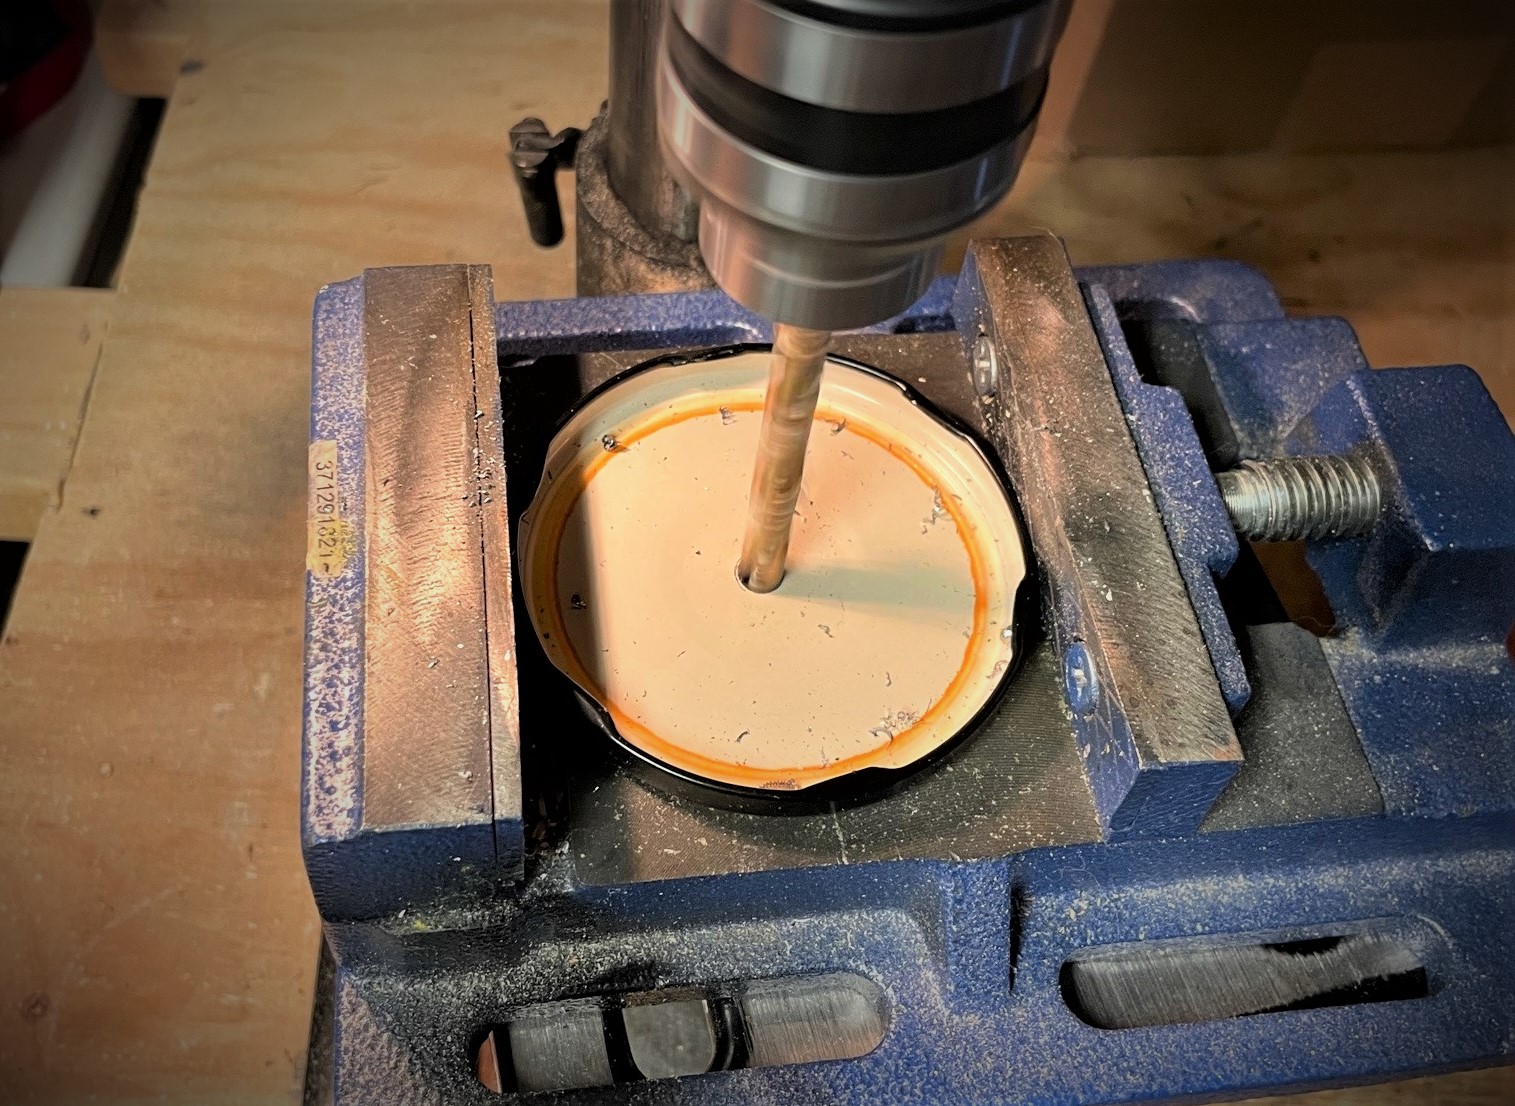
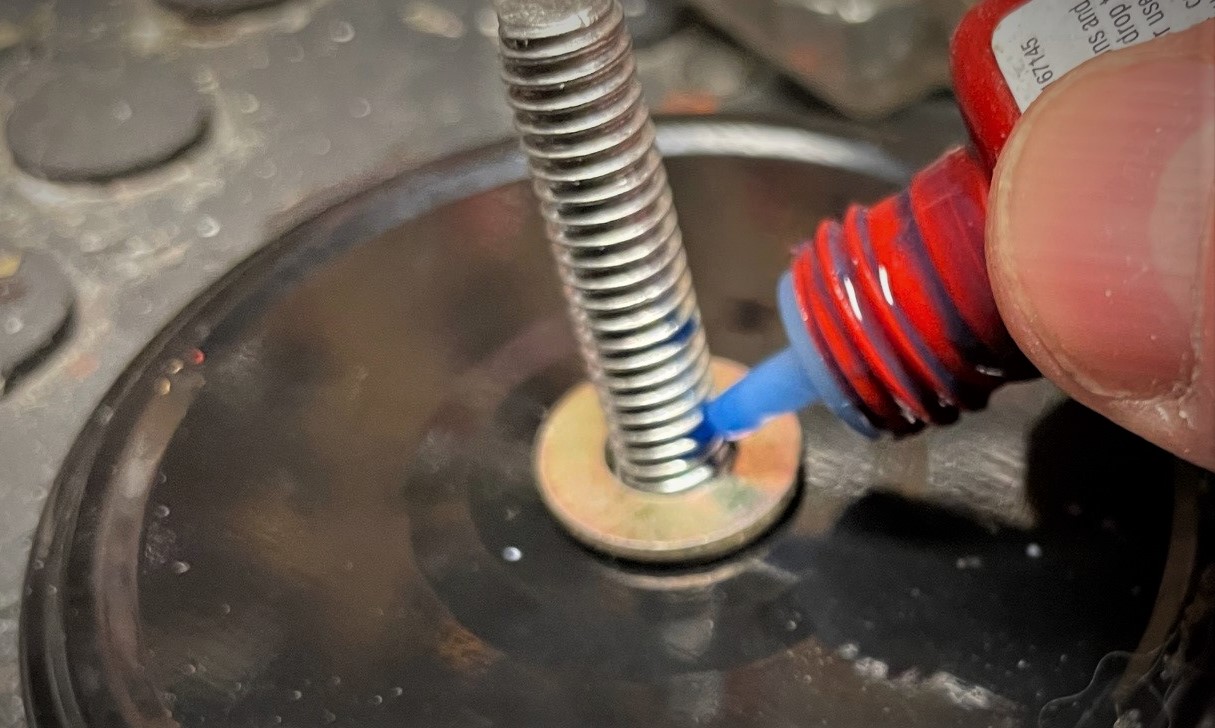
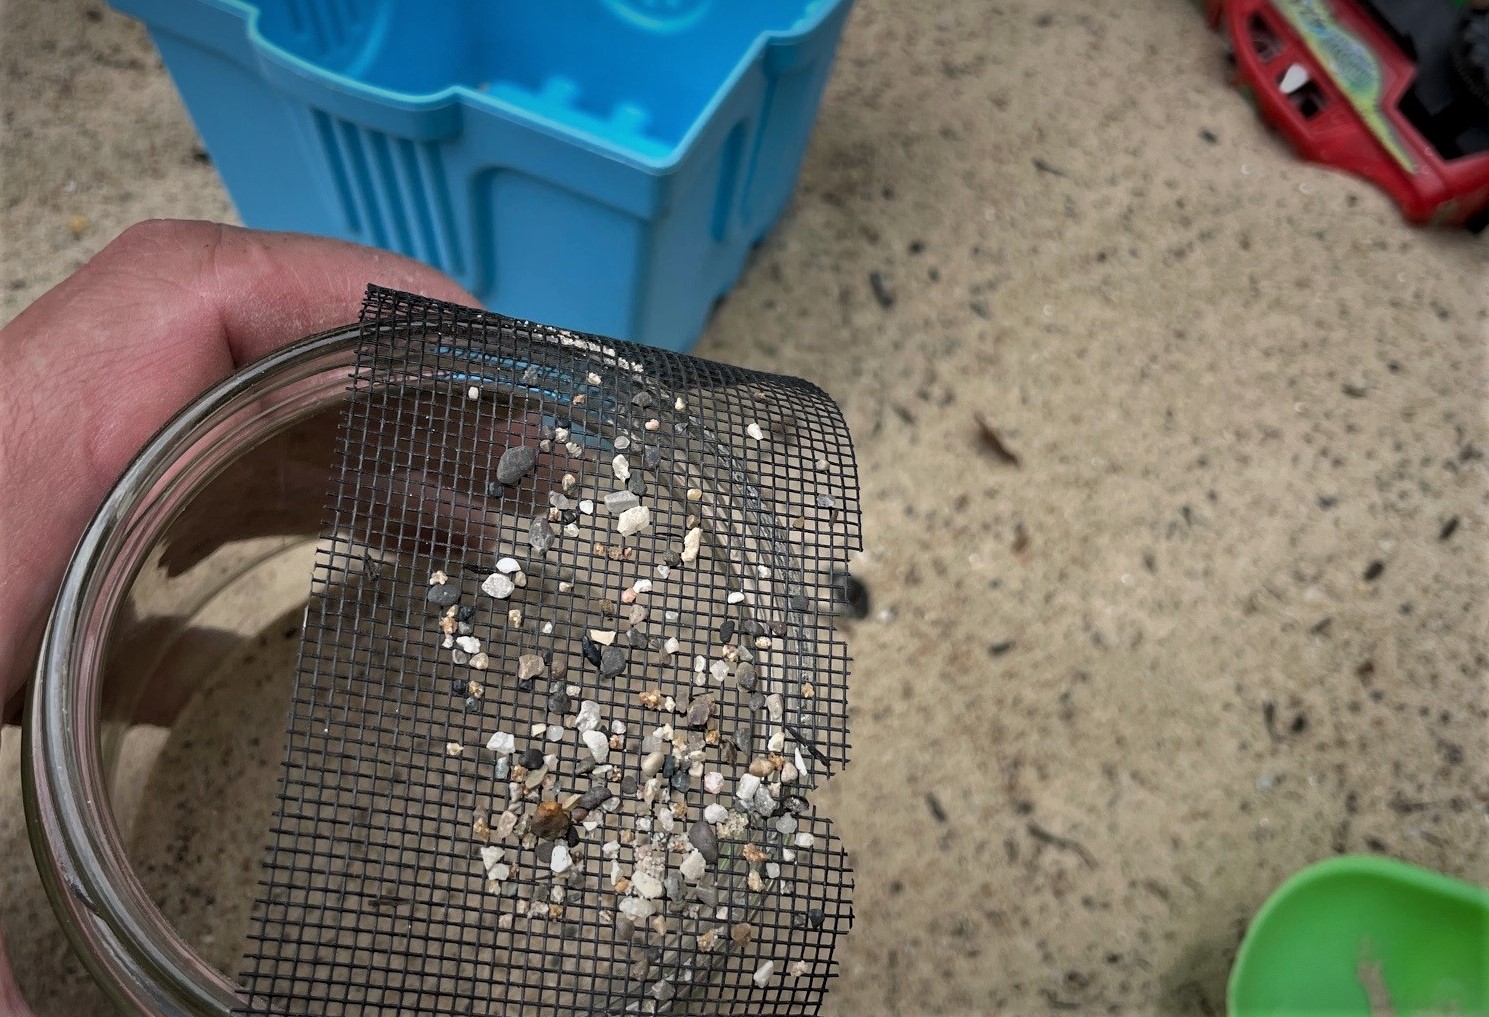
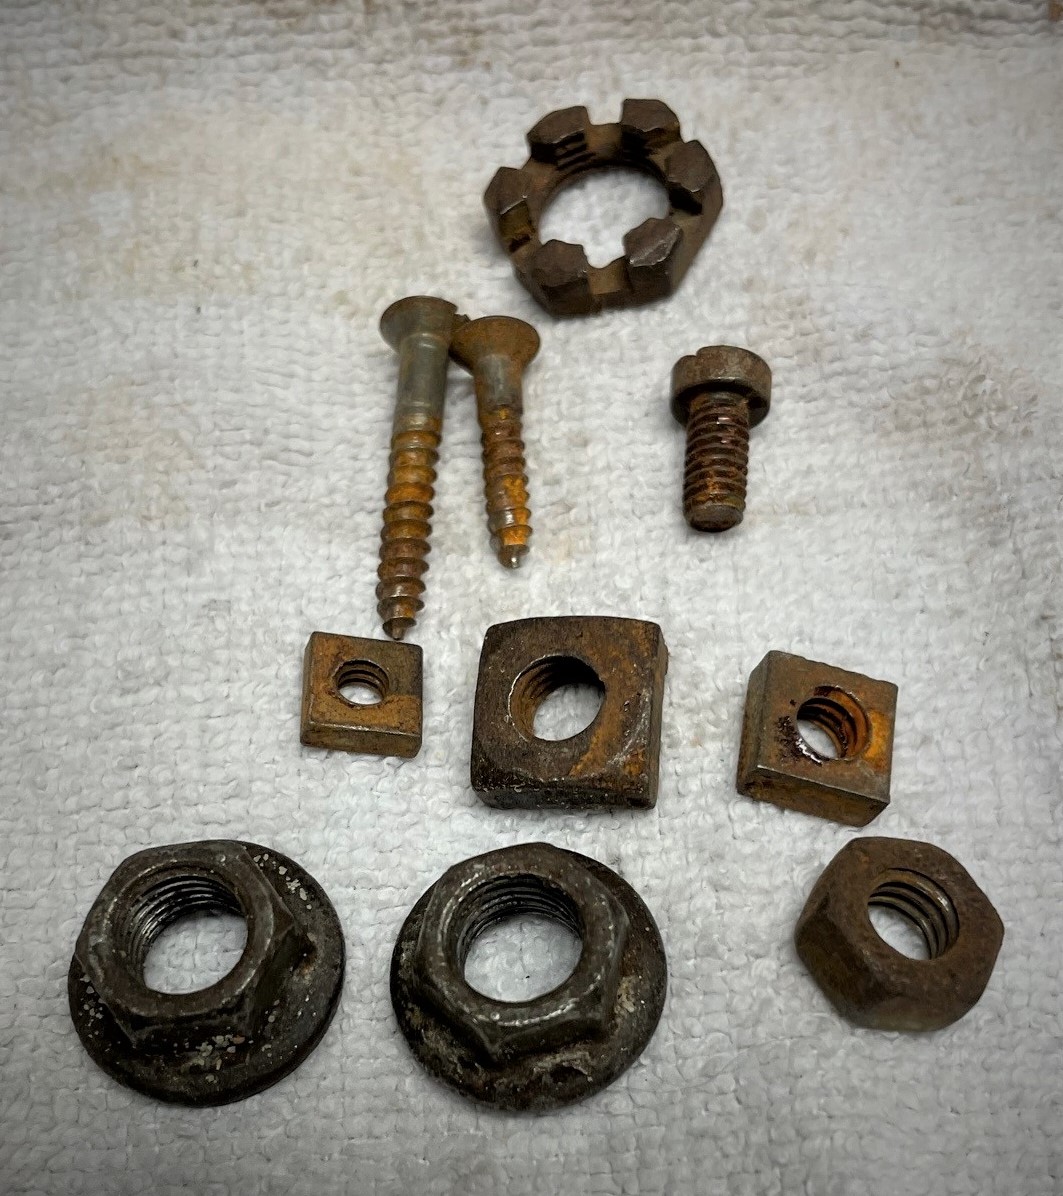
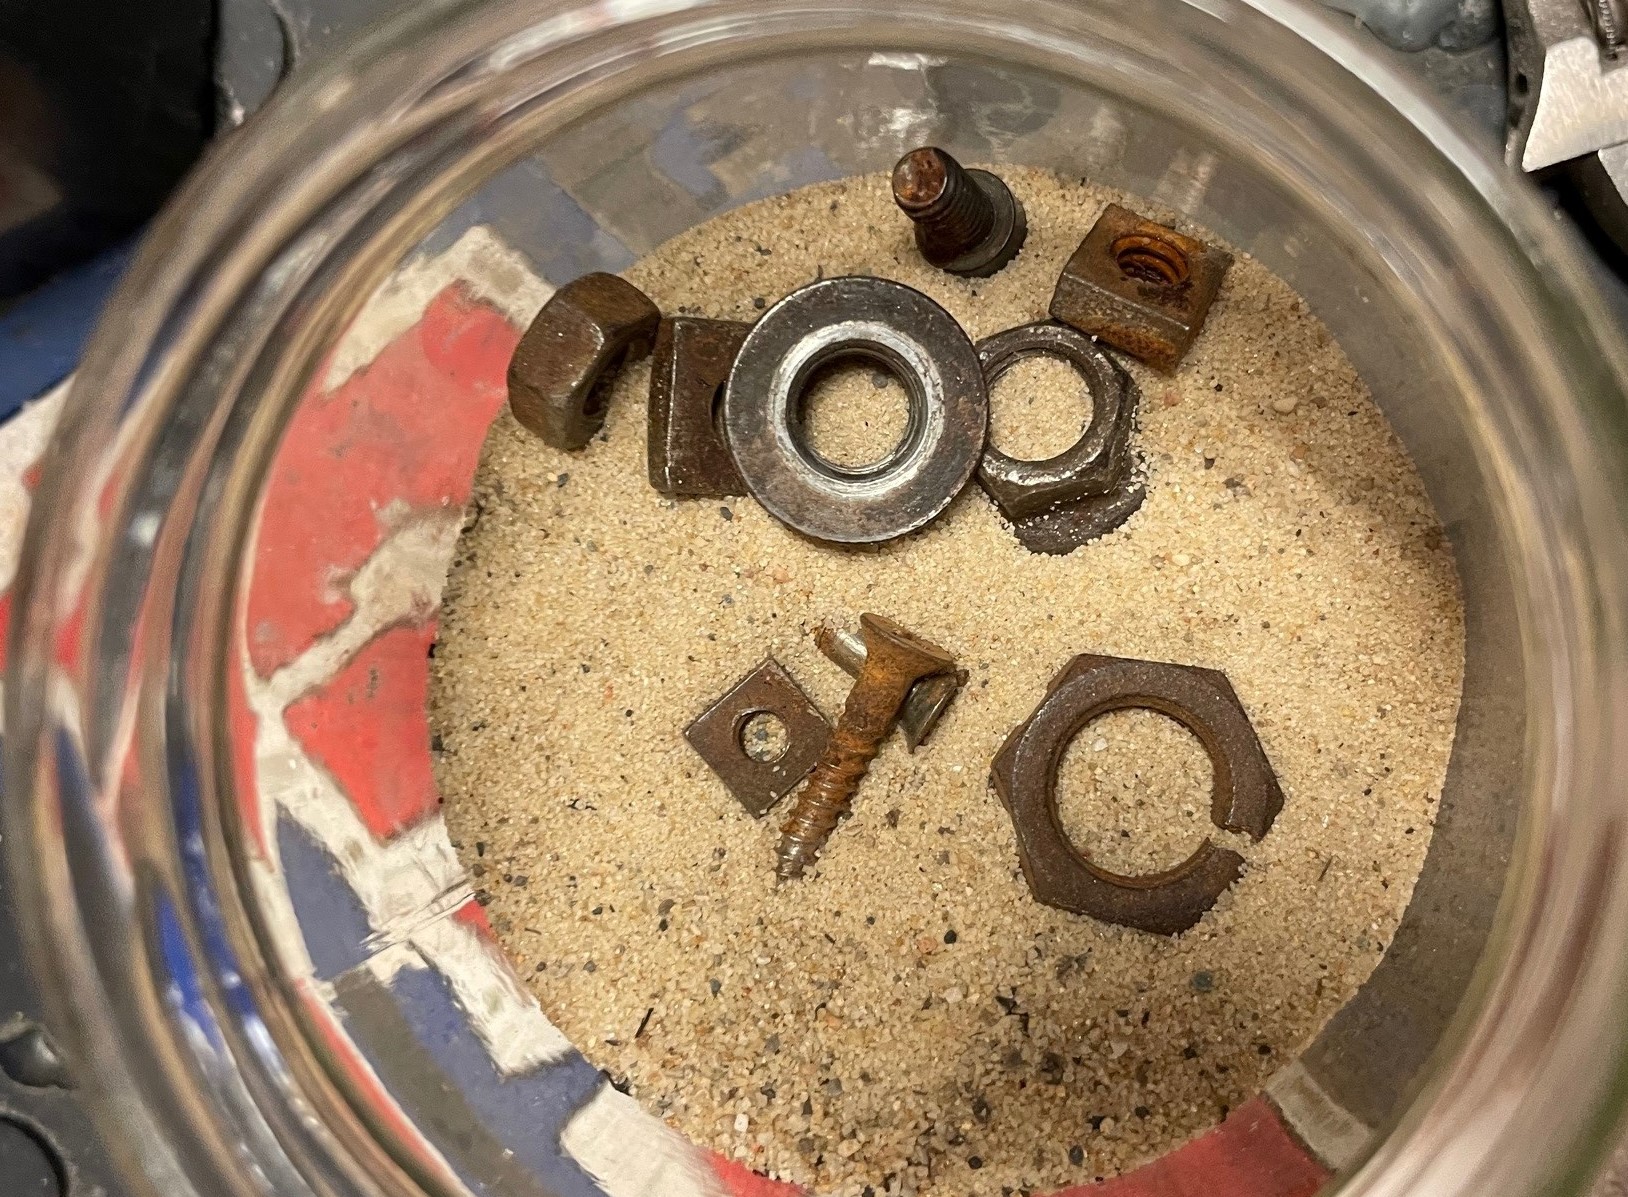
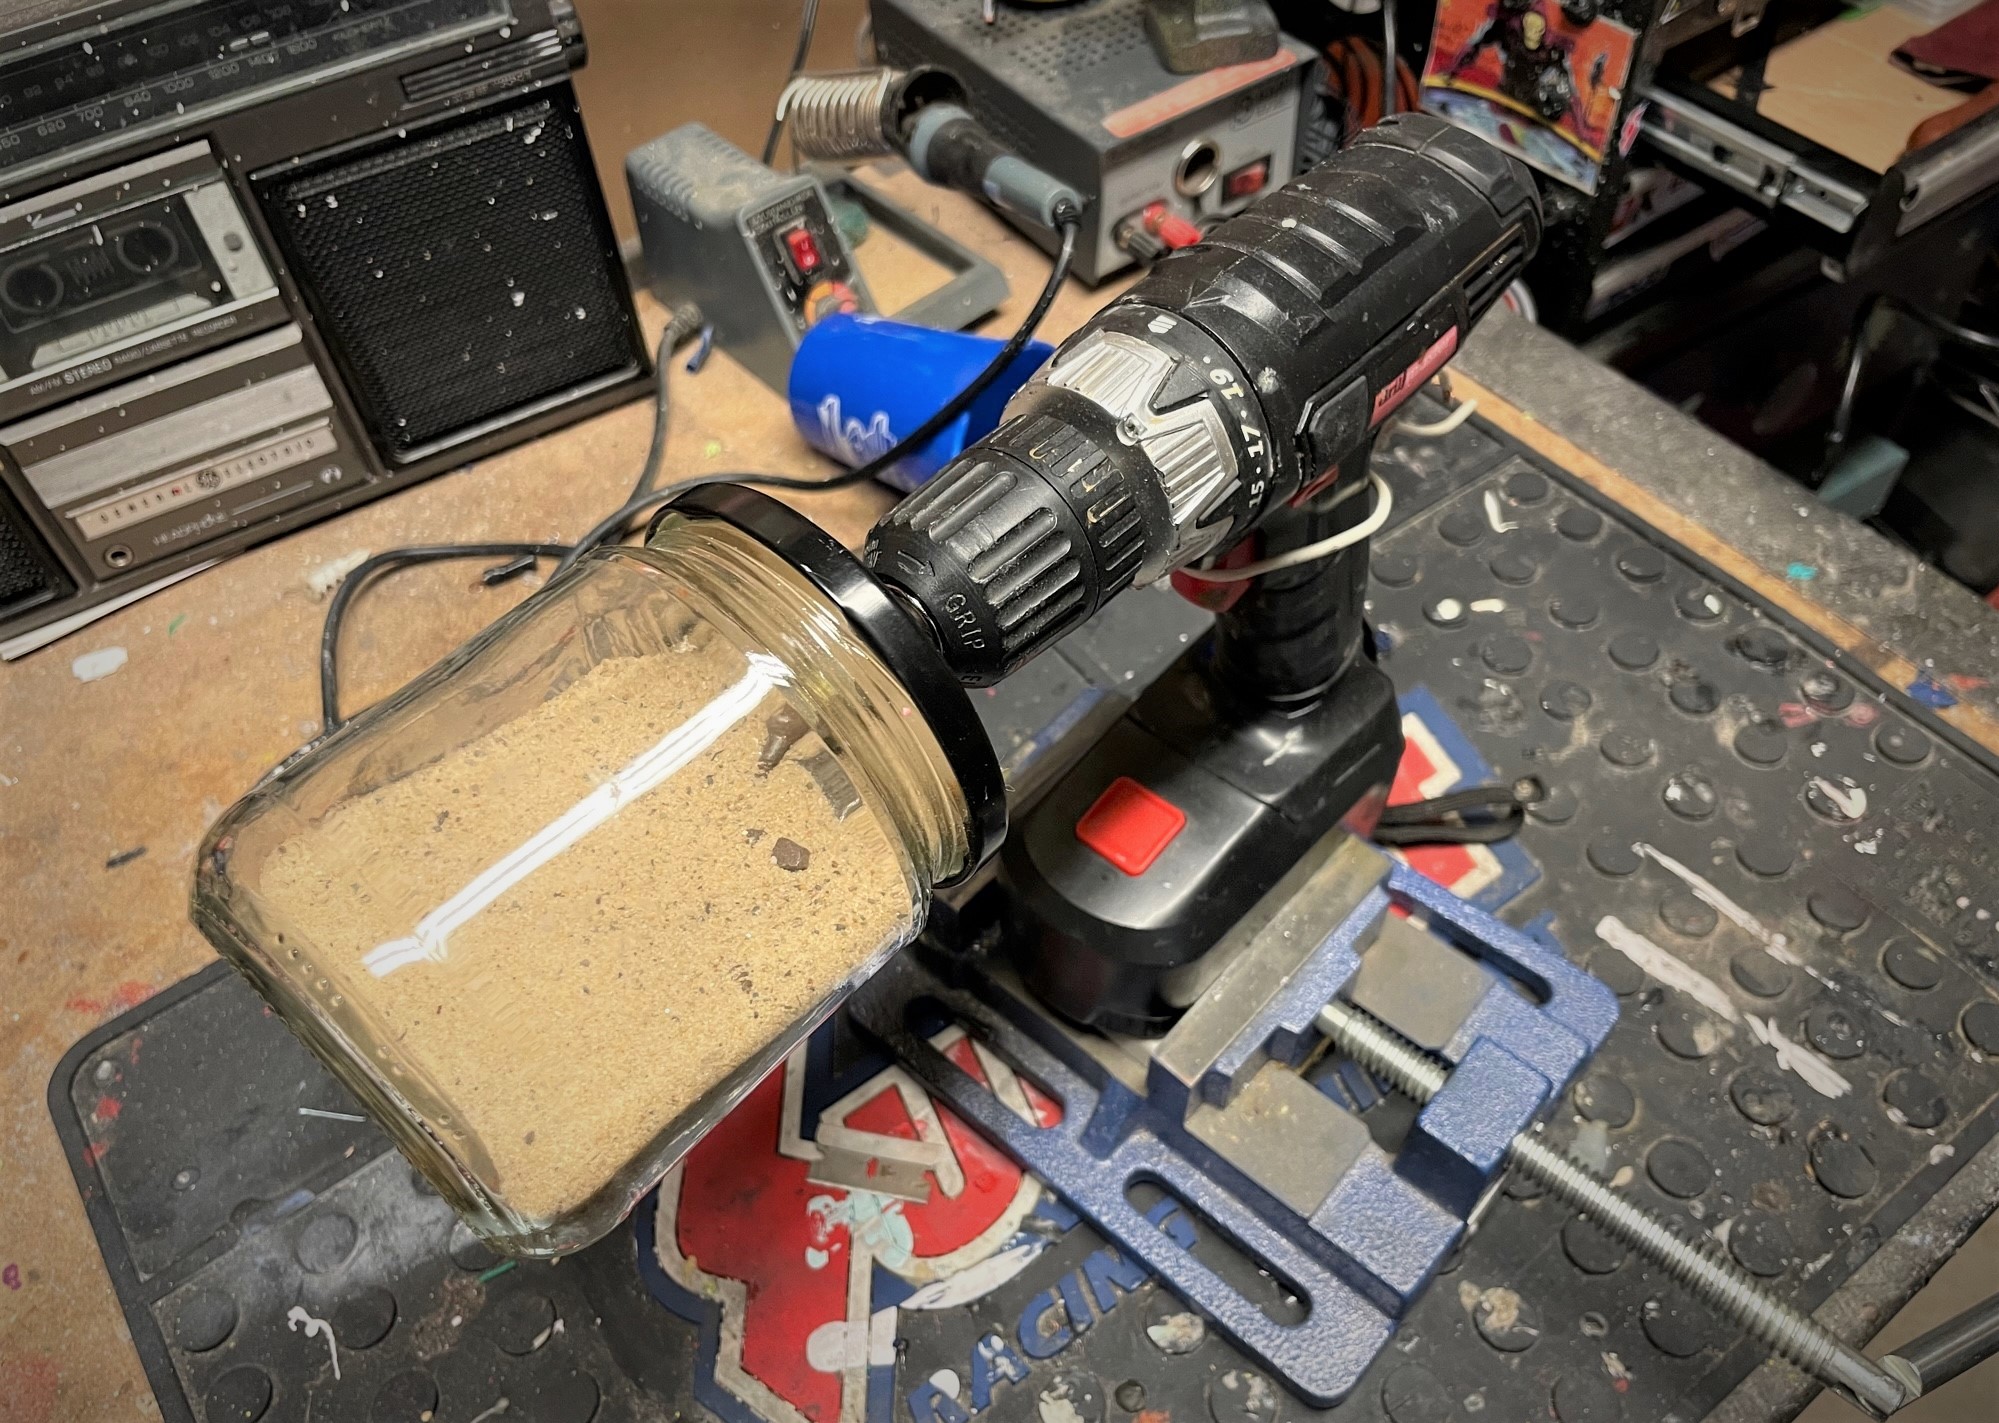
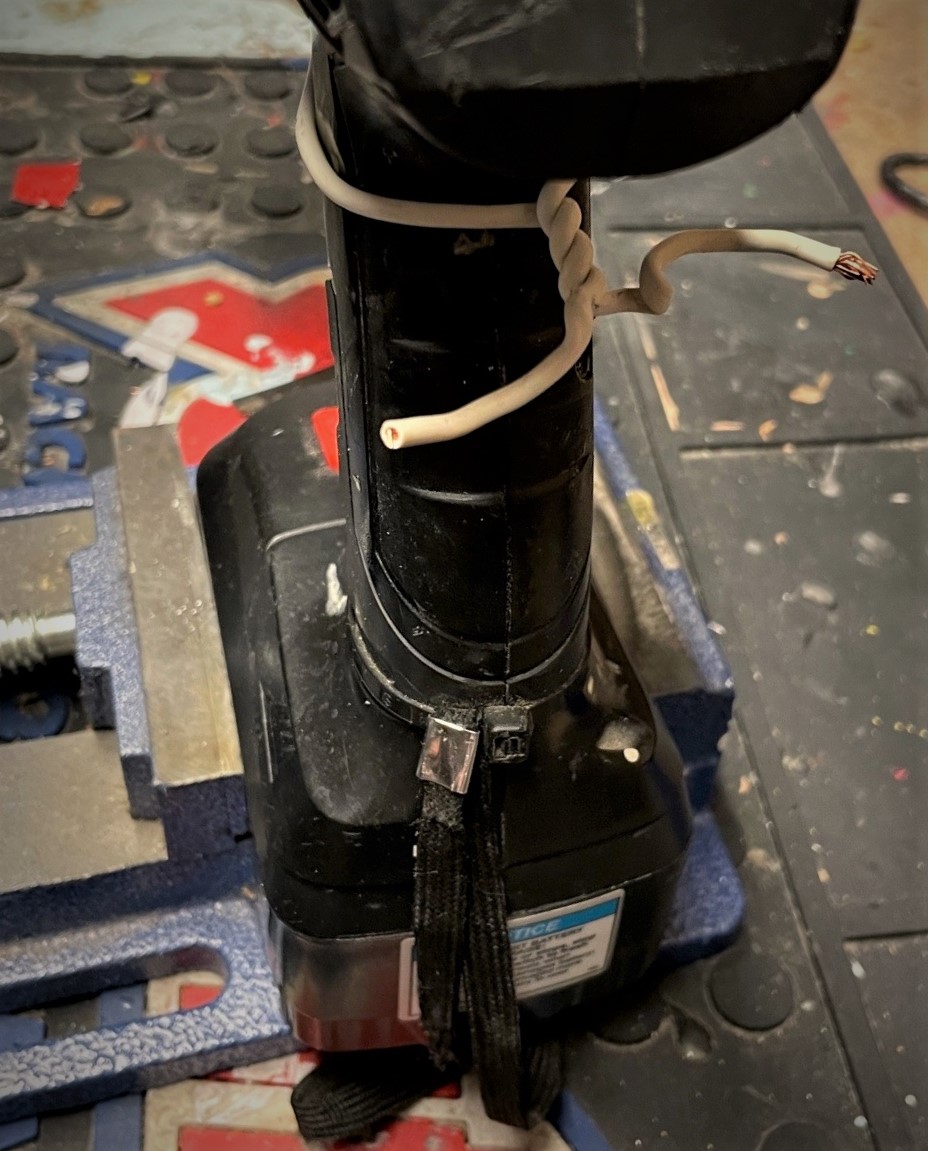
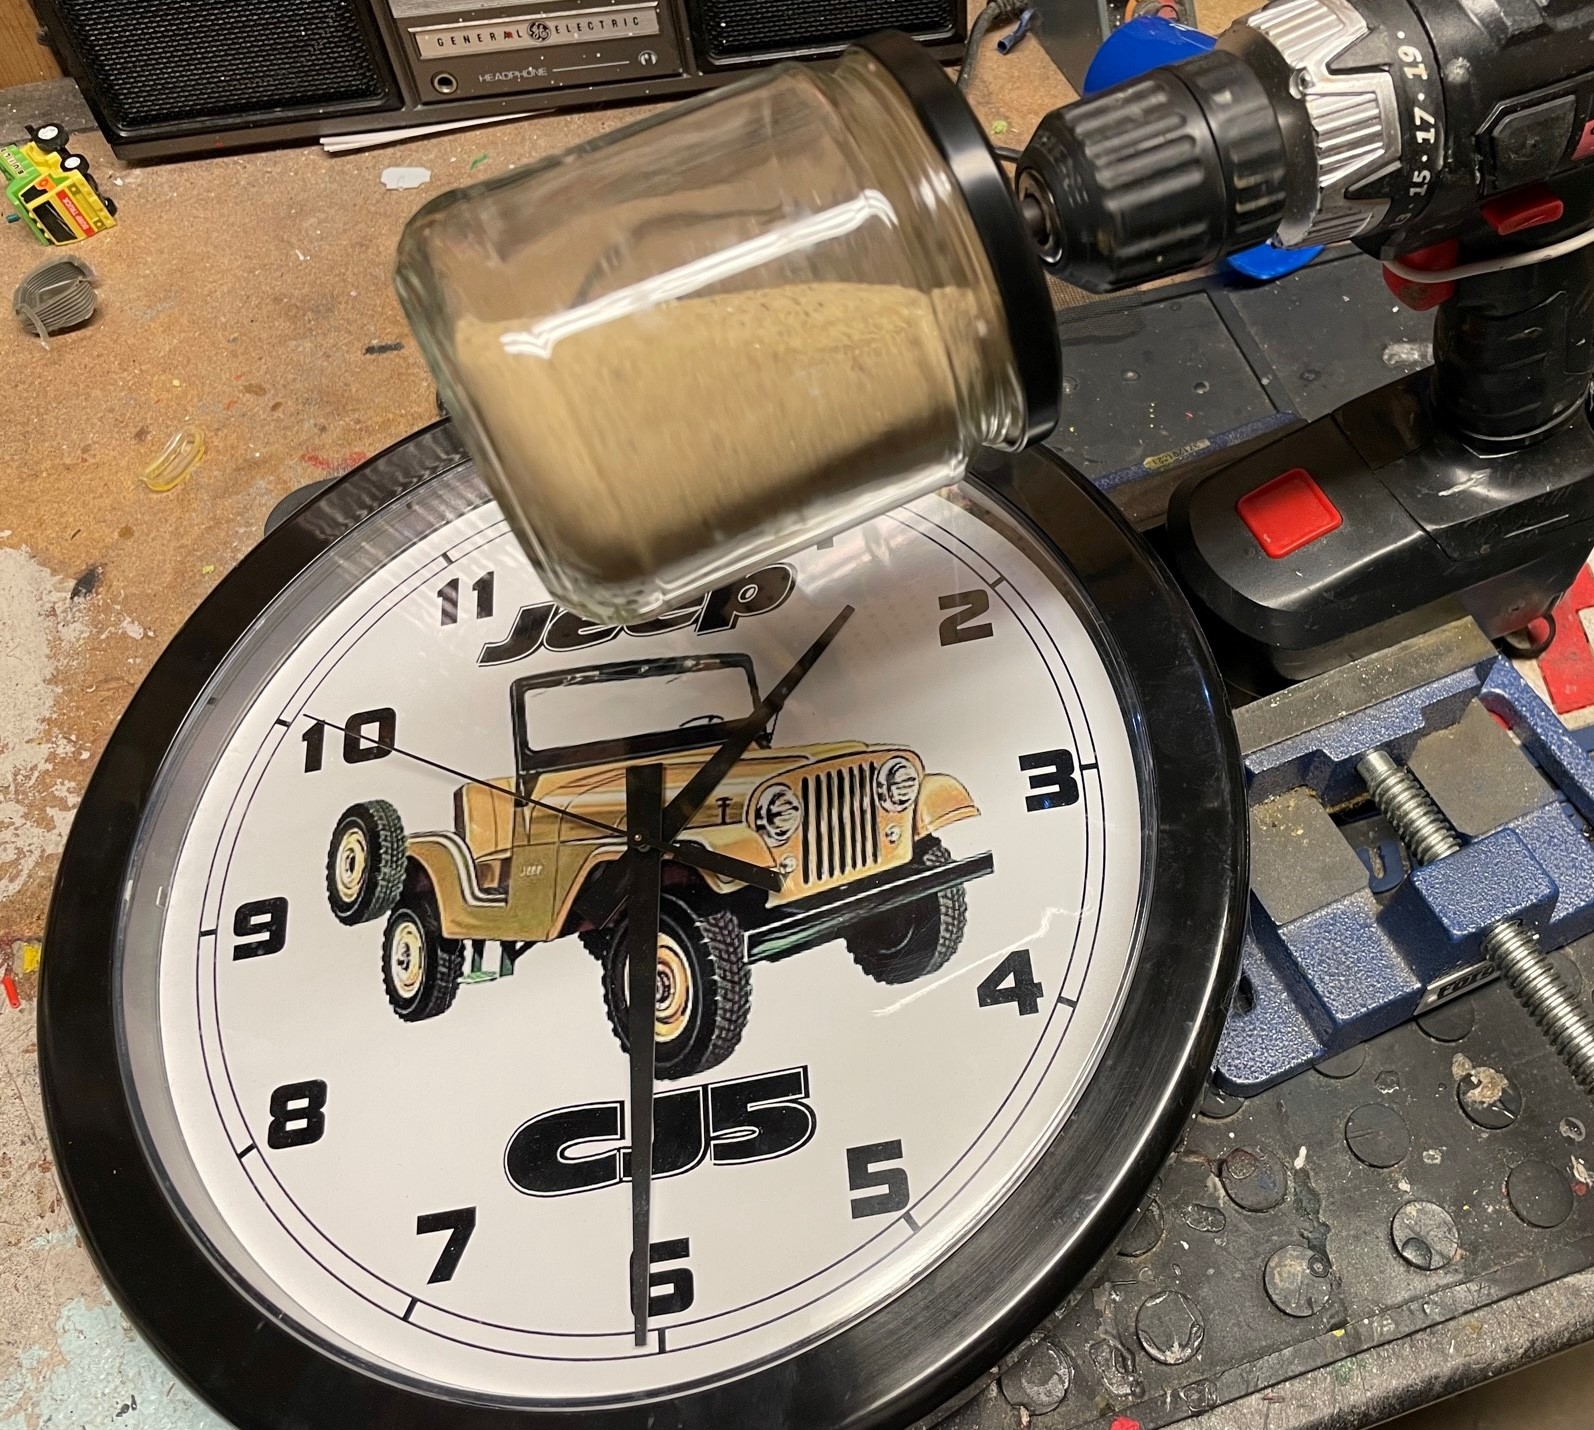
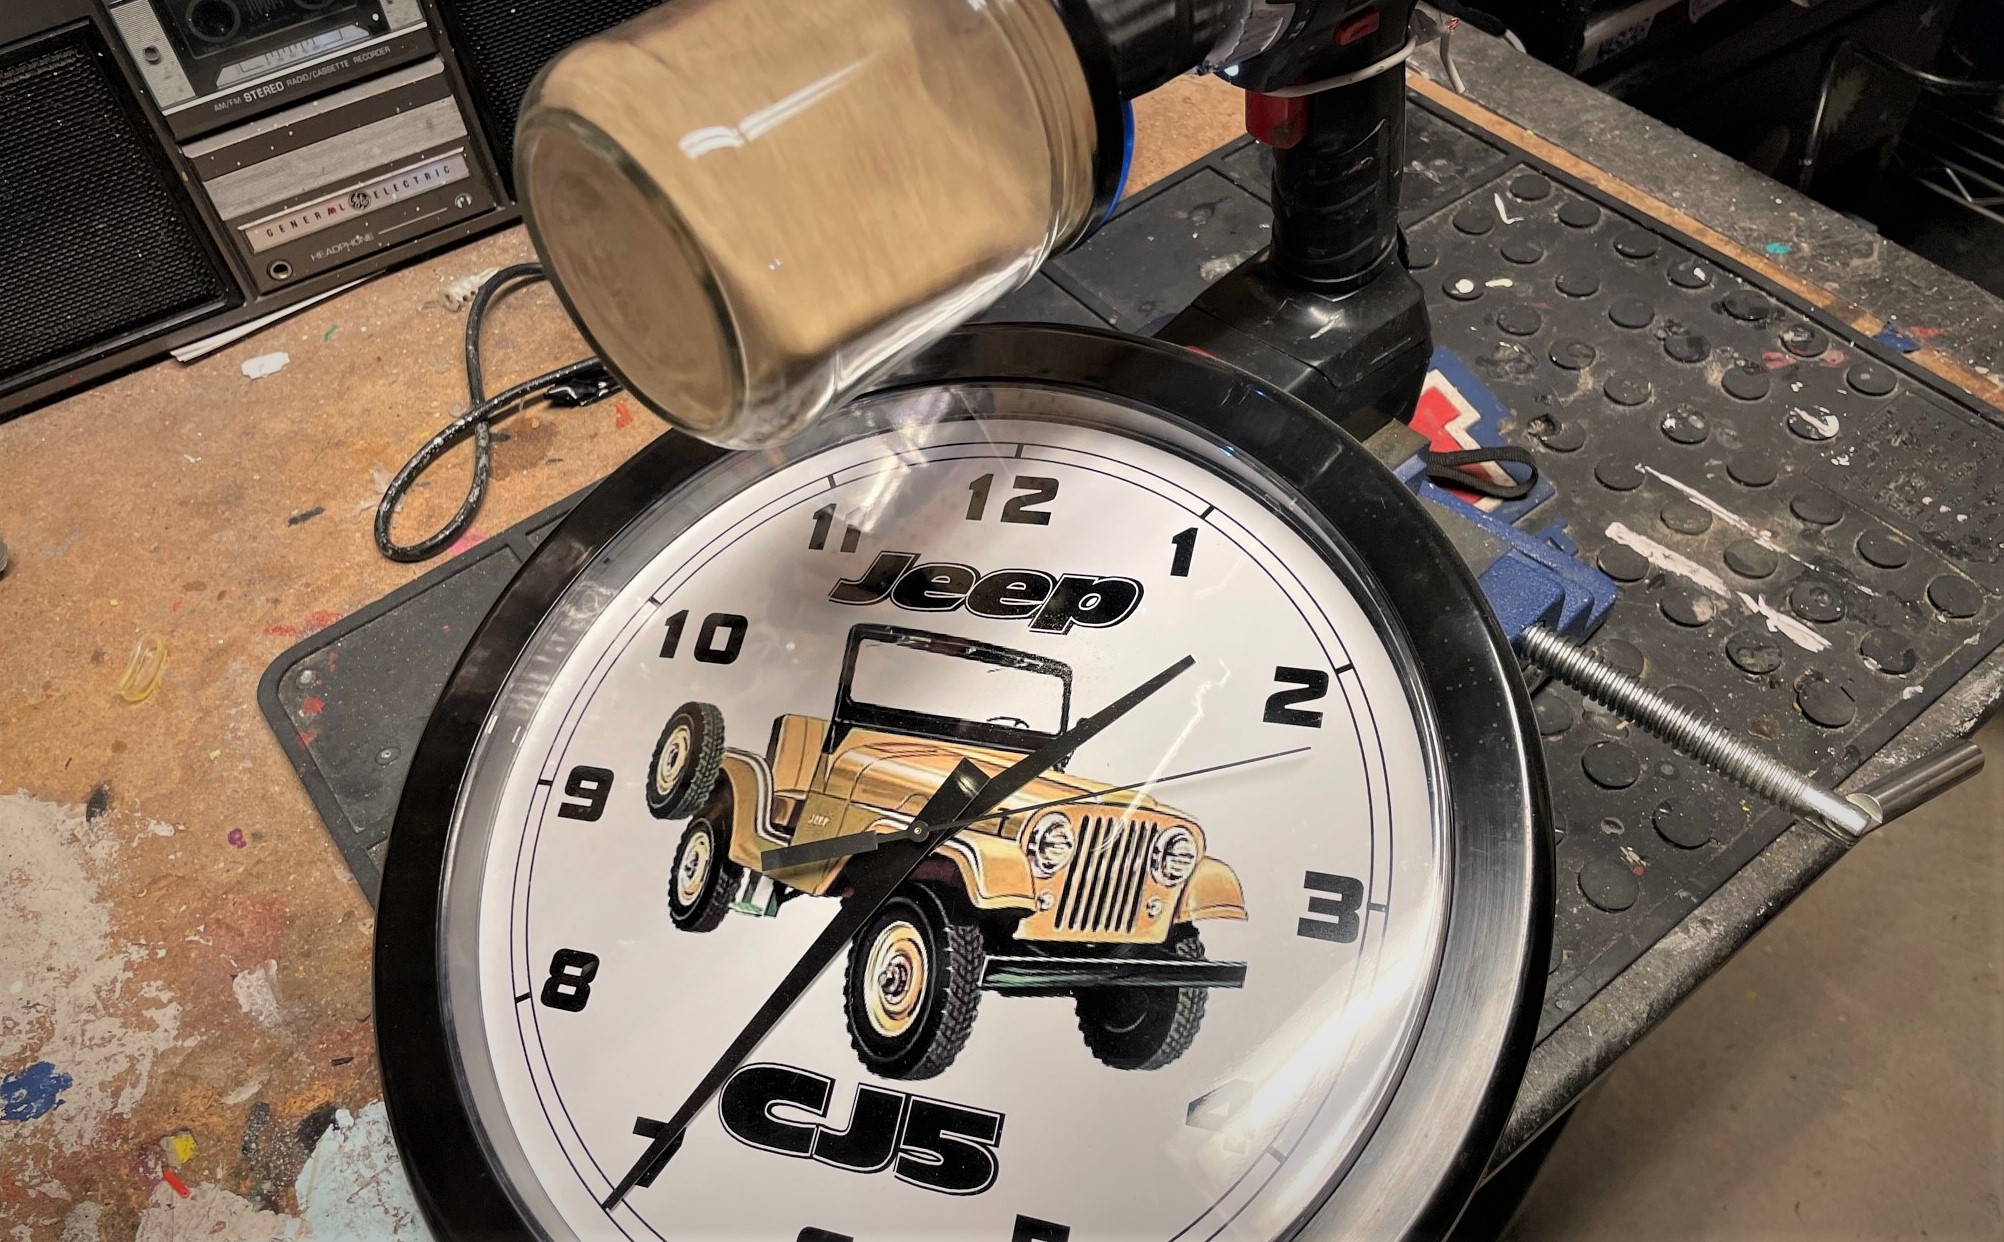
The project was hatched a few Taco Tuesdays ago, which resulted in an empty glass salsa jar. I chose this one because of its metal lid, wide mouth, and squat shape—the longer the jar, the more leverage on the entire assembly, and that’s no good. (Image/OnAllCylinders)A trip to my random used fastener bins resulted in a bolt that was long enough to seat in the drill chuck, along with a matching nut and a pair of washers to reinforce the thin metal jar lid. (Image/OnAllCylinders)ProTip: Make sure the bolt you select will fit into the drill chuck before you go any further. (Image/OnAllCylinders)As an added bonus, the jar’s lid had a small detent at the center, which meant I didn’t have to measure. The detent was augmented with our old pal, the automatic center punch. (Image/OnAllCylinders)Drill the hole only as big as the bolt you’re using, as making it too wide may increase metal fatigue and cause the lid to wallow-out the hole as it tumbles around. Also, remember to secure the lid with a drill press vise—and keep the vise nearby too, it’ll come in handy later. (Image/OnAllCylinders)Sandwiching the washers on both sides of the lid, the bolt is passed through the hole. A dab of thread locking compound ensures everything stays nice and tight once the nut is spun down on the lid. (Image/OnAllCylinders)Heat shrink sleeve tubing was put on the threaded bolt shank to protect the drill chuck, improve grip on the bolt, and to further prevent the nut from backing off. (Image/OnAllCylinders)I raided my kids’ sandbox for some play sand to serve as the abrasive media, using a hunk of discarded window screen to sieve-out the bigger chunks. I’m no expert, but the I figured the finer the material, the better for this scenario—please correct me if I’m mistaken. (Image/OnAllCylinders)Living in Ohio, it’s easy to find rusty hardware. Here are our test subjects. (Image/OnAllCylinders)Extreme Makeover: Rusty Parts Edition! (Image/OnAllCylinders)This small 18V drill was chosen for the task due to its short snout, which keeps the weight relatively close to the handle. It’s secured upright by that drill press vise from earlier in the article. (Image/OnAllCylinders)The only really tricky part of this whole design is figuring out how to keep the drill trigger pulled. Some heavy gauge stranded wire worked perfectly here, as twisting the braid tighter spun the tumbler drum faster and vice versa. A scrap piece of solid core 20A electrical wire (Romex) would probably work equally well too. (Image/OnAllCylinders)…And we’re off! With the drill going at a low-to-mid speed, the sand and fasteners began bouncing around the drum. I’m note sure how long it takes to do this sort of thing, but I figured five minutes would be a good benchmark. (Image/OnAllCylinders)I listened closely to make sure the drill sounded healthy, with no straining noises or weird vibrations. It easily powered the drum rotation without issue through the five minute cycle, after which I untied the trigger wire, and removed the drum from the drill chuck. (Image/OnAllCylinders)It’s tough to see in this pic, but the homemade drill-powered tumbler really worked well. Though there’s still some rust remaining, specifically in the screw threads, most of the obvious surface corrosion has been knocked away. NOTE: When you’re done, spray your fasteners down with some lubricant or WD-40 to remove any leftover sand before your reinstall them. (Image/OnAllCylinders)
While the tumbled hardware wasn’t 100 percent rust free afterwards, it was still pretty darn clean—so I’m calling this homemade abrasive tumbler thing a qualified success.
Moving forward, I plan to experiment with different abrasive media, drill speed, drum orientation, and time to see if I can improve the results. And remember, this whole project cost nothing more than a bolt, a salsa jar, and a few minutes of labor.
Oh, and some play sand—but considering that usually ends up tracked through my kitchen anyway, keeping any sand off the floor is scored as a win here.
What do you think? Any advice to improve this project. Or should I scrap it altogether? Let us hear about it in the comments section below.
Paul is the editor of OnAllCylinders. When he's not writing, you'll probably find him fixing oil leaks in a Jeep CJ-5 or roof leaks in an old Corvette ragtop. Thanks to a penchant for vintage Honda motorcycles, he spends the rest of his time fiddling with carburetors and cleaning chain lube off his left pant leg.


Comments