“Dad, can we get your old slot cars out?”
“No.”
“Dad, can we get your old slot cars out?”
“No.”
“Dad, can we get your old slot cars out?”
“No.”
…This conversation repeated itself every day for about a month before I finally broke down and dug my old slot car sets out of the basement. Pretty soon after that, my kids had set the track up on the floor, all hooked together and ready to go.
Problem was, the slot cars wouldn’t budge—when you pulled the triggers, you didn’t get a single sputter, sound, or spark.
So instead of getting to enjoy scale racing action with an awesome slot car set, I sulked down to my basement clutching some loose track, and began troubleshooting why these slot cars wouldn’t go.
What to Do if Your Slot Cars Don’t Run
The good news here, is that after some easy troubleshooting, the problem was traced to a series of compounded issues involving both the slot cars and the track itself. And even better, once those problems were addressed, the slot cars were racing around the track like they did when they were new.
That said, here’s a quick slot car diagnostic procedure to help you out.
You may enjoy this article too: 5 Things Model Trains Teach You About Wrenching on Cars
***
Troubleshooting Your Slot Car Track in 3 Easy Steps
Diagnosing slot car issues can be broken down into three elements: the power supply, the track, and the cars. And more importantly, if you inspect them in the proper order, you’ll probably get to the source of the issue pretty quickly. Here’s how.
1. Check the Slot Car Power Supply
For starters, you’ve got to make sure your power supply is good. And while “wall wart” style AC adapters are usually pretty durable, the wires and connectors that link them together can be common culprits of a slot car no-go scenario.
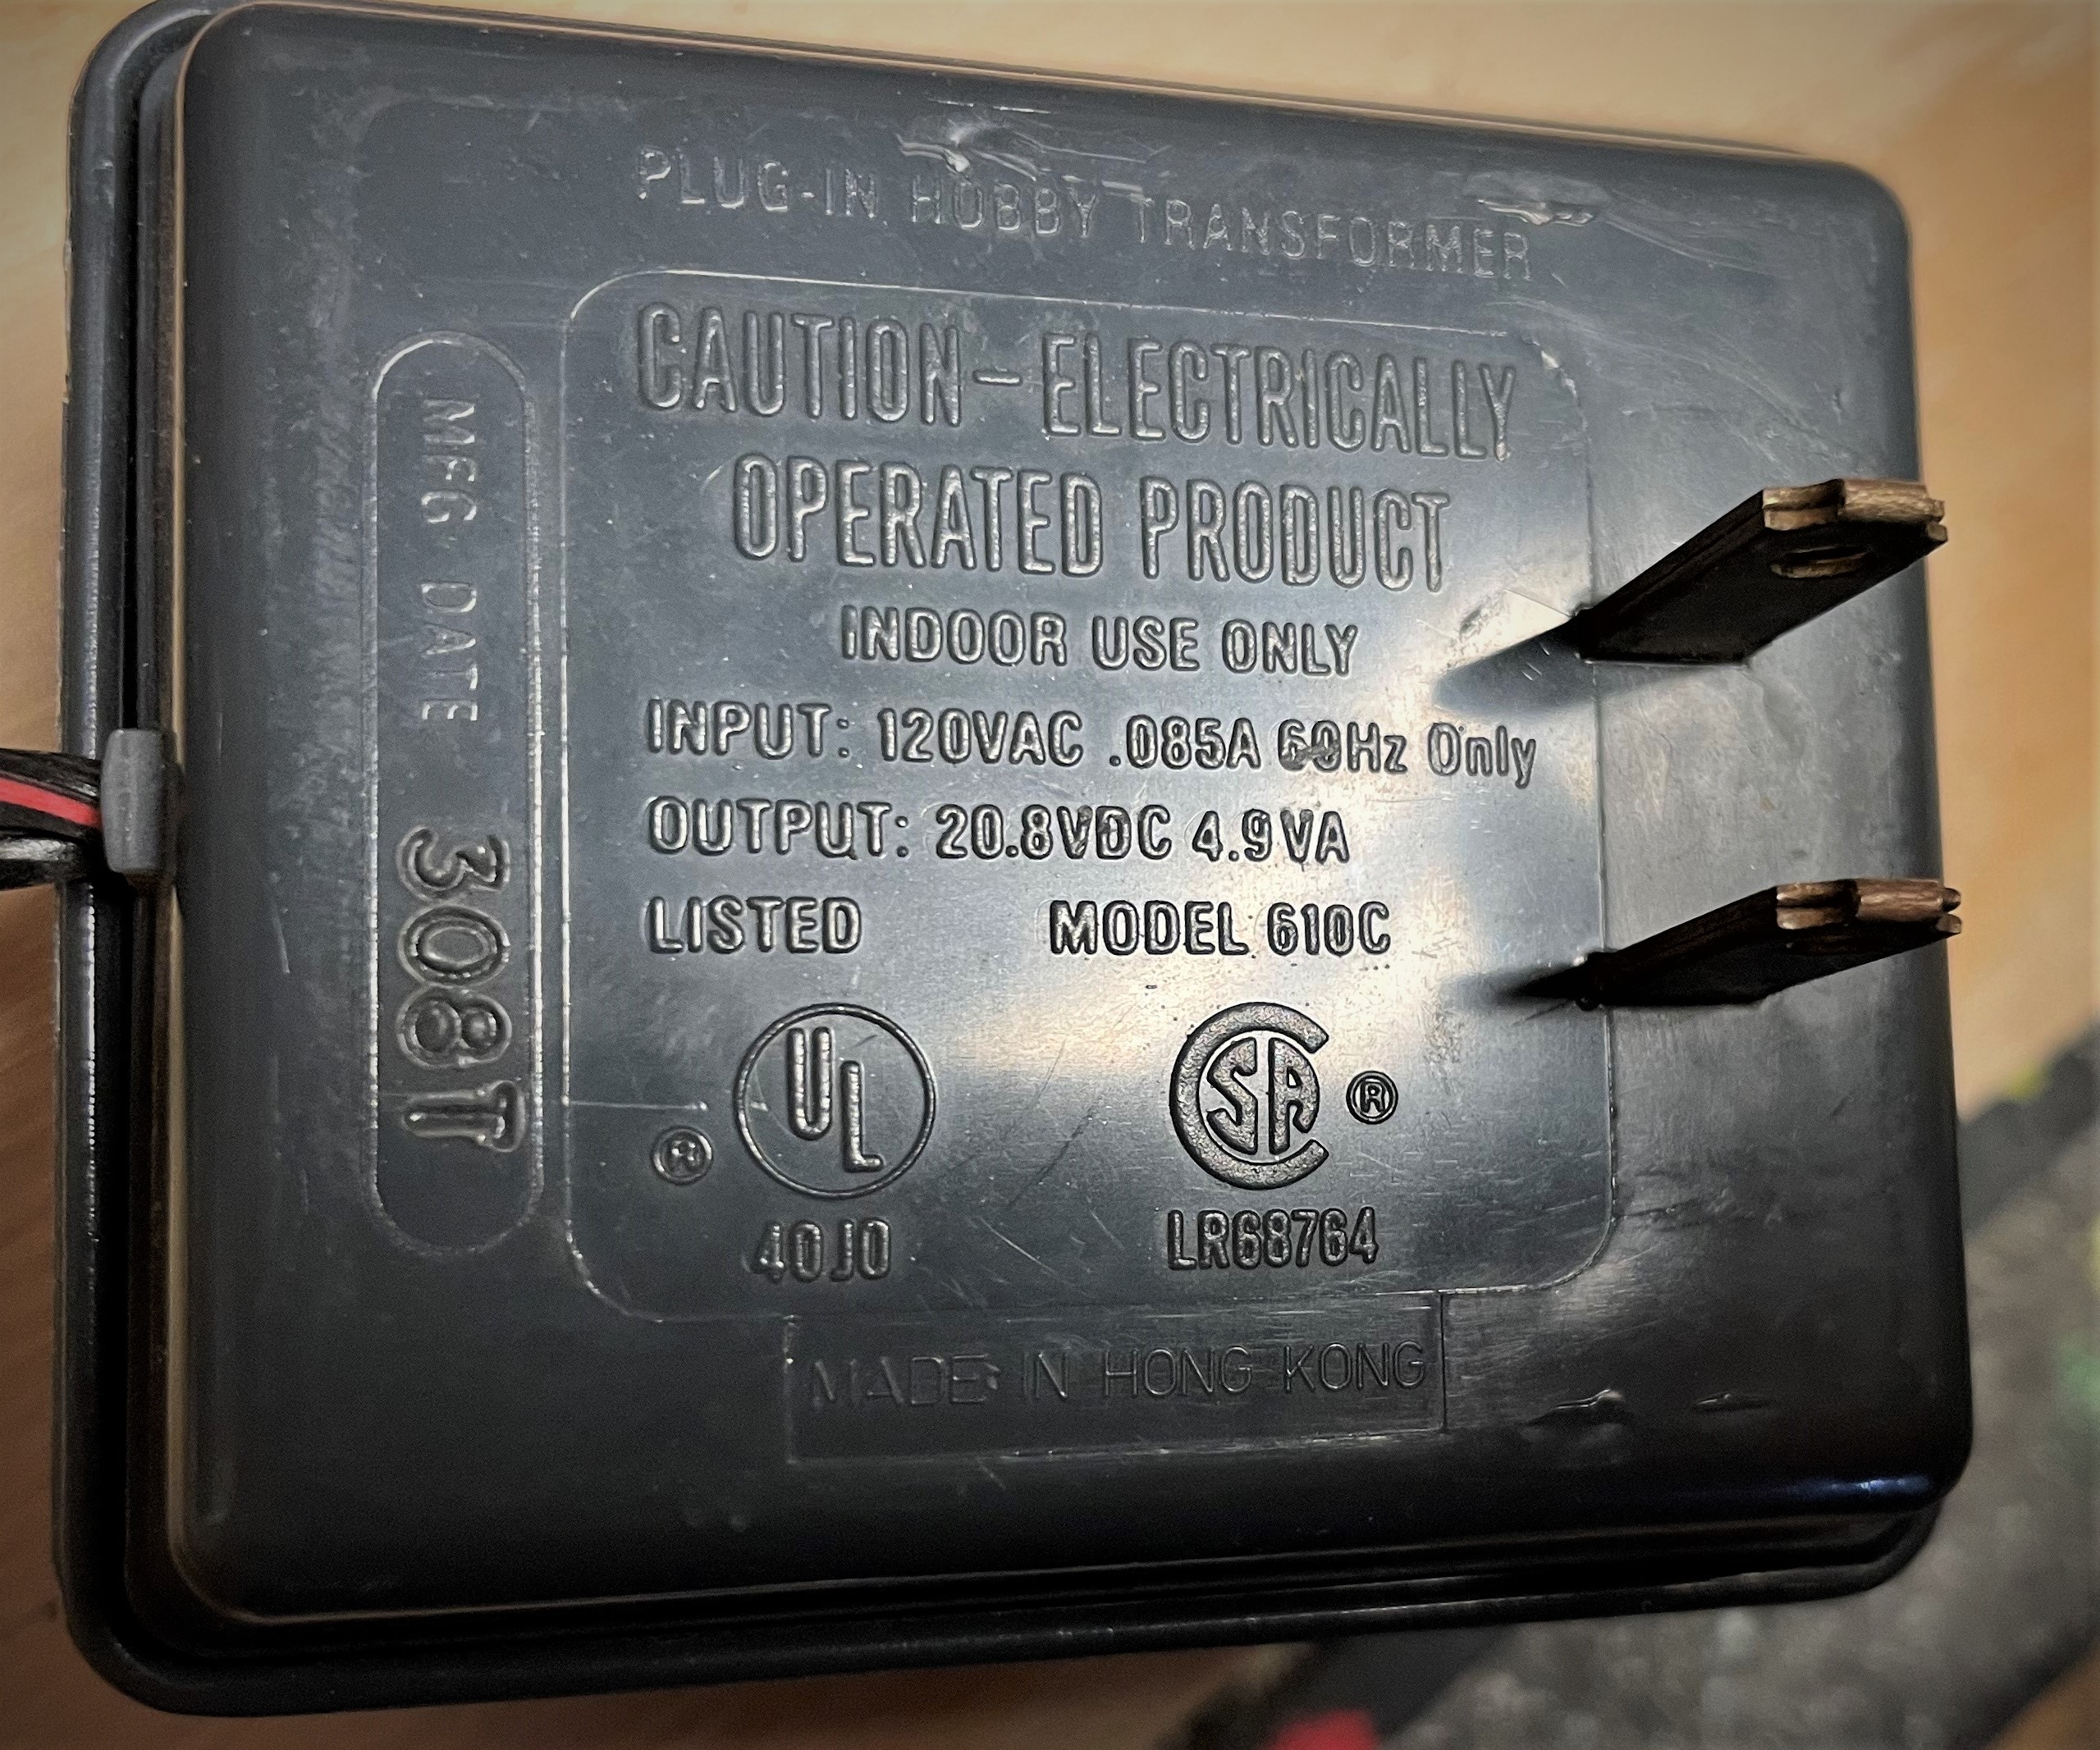
To do any serious testing here, you need a good electrical multimeter. Looking at the back of the AC Adapter, I saw it output DC voltage, so I set up the multimeter accordingly. Glancing at my other slot car sets, they all pretty much used similar low-voltage DC power sources—but check your specific slot car set to make sure you know what power you’re looking for.
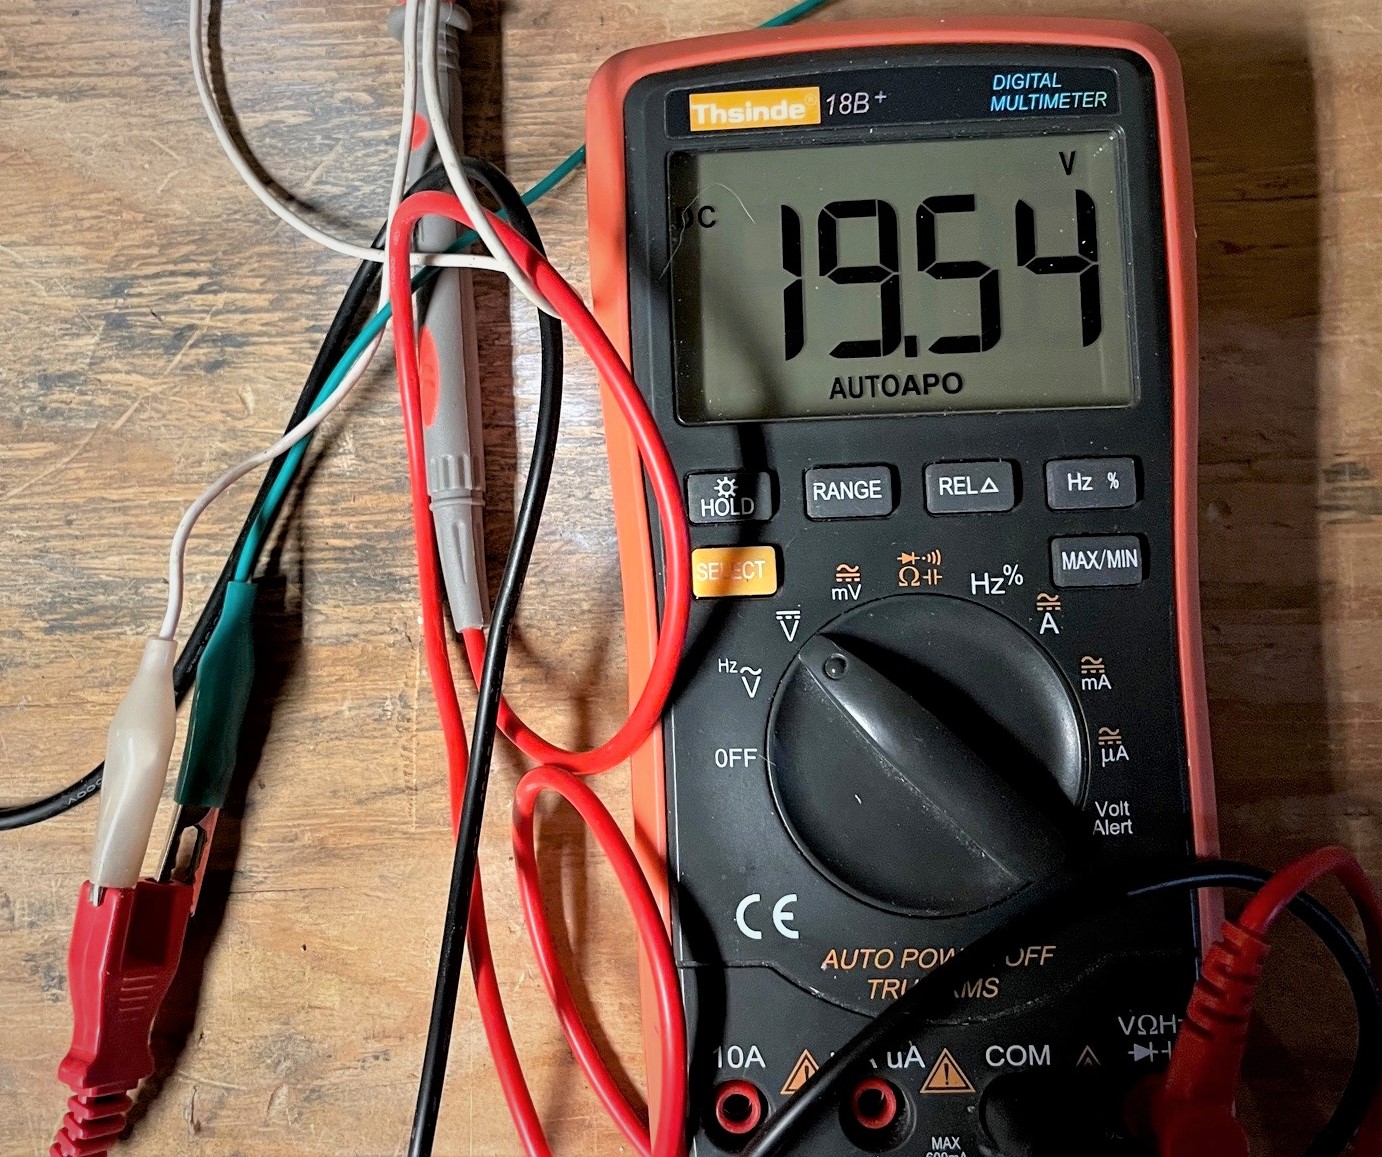
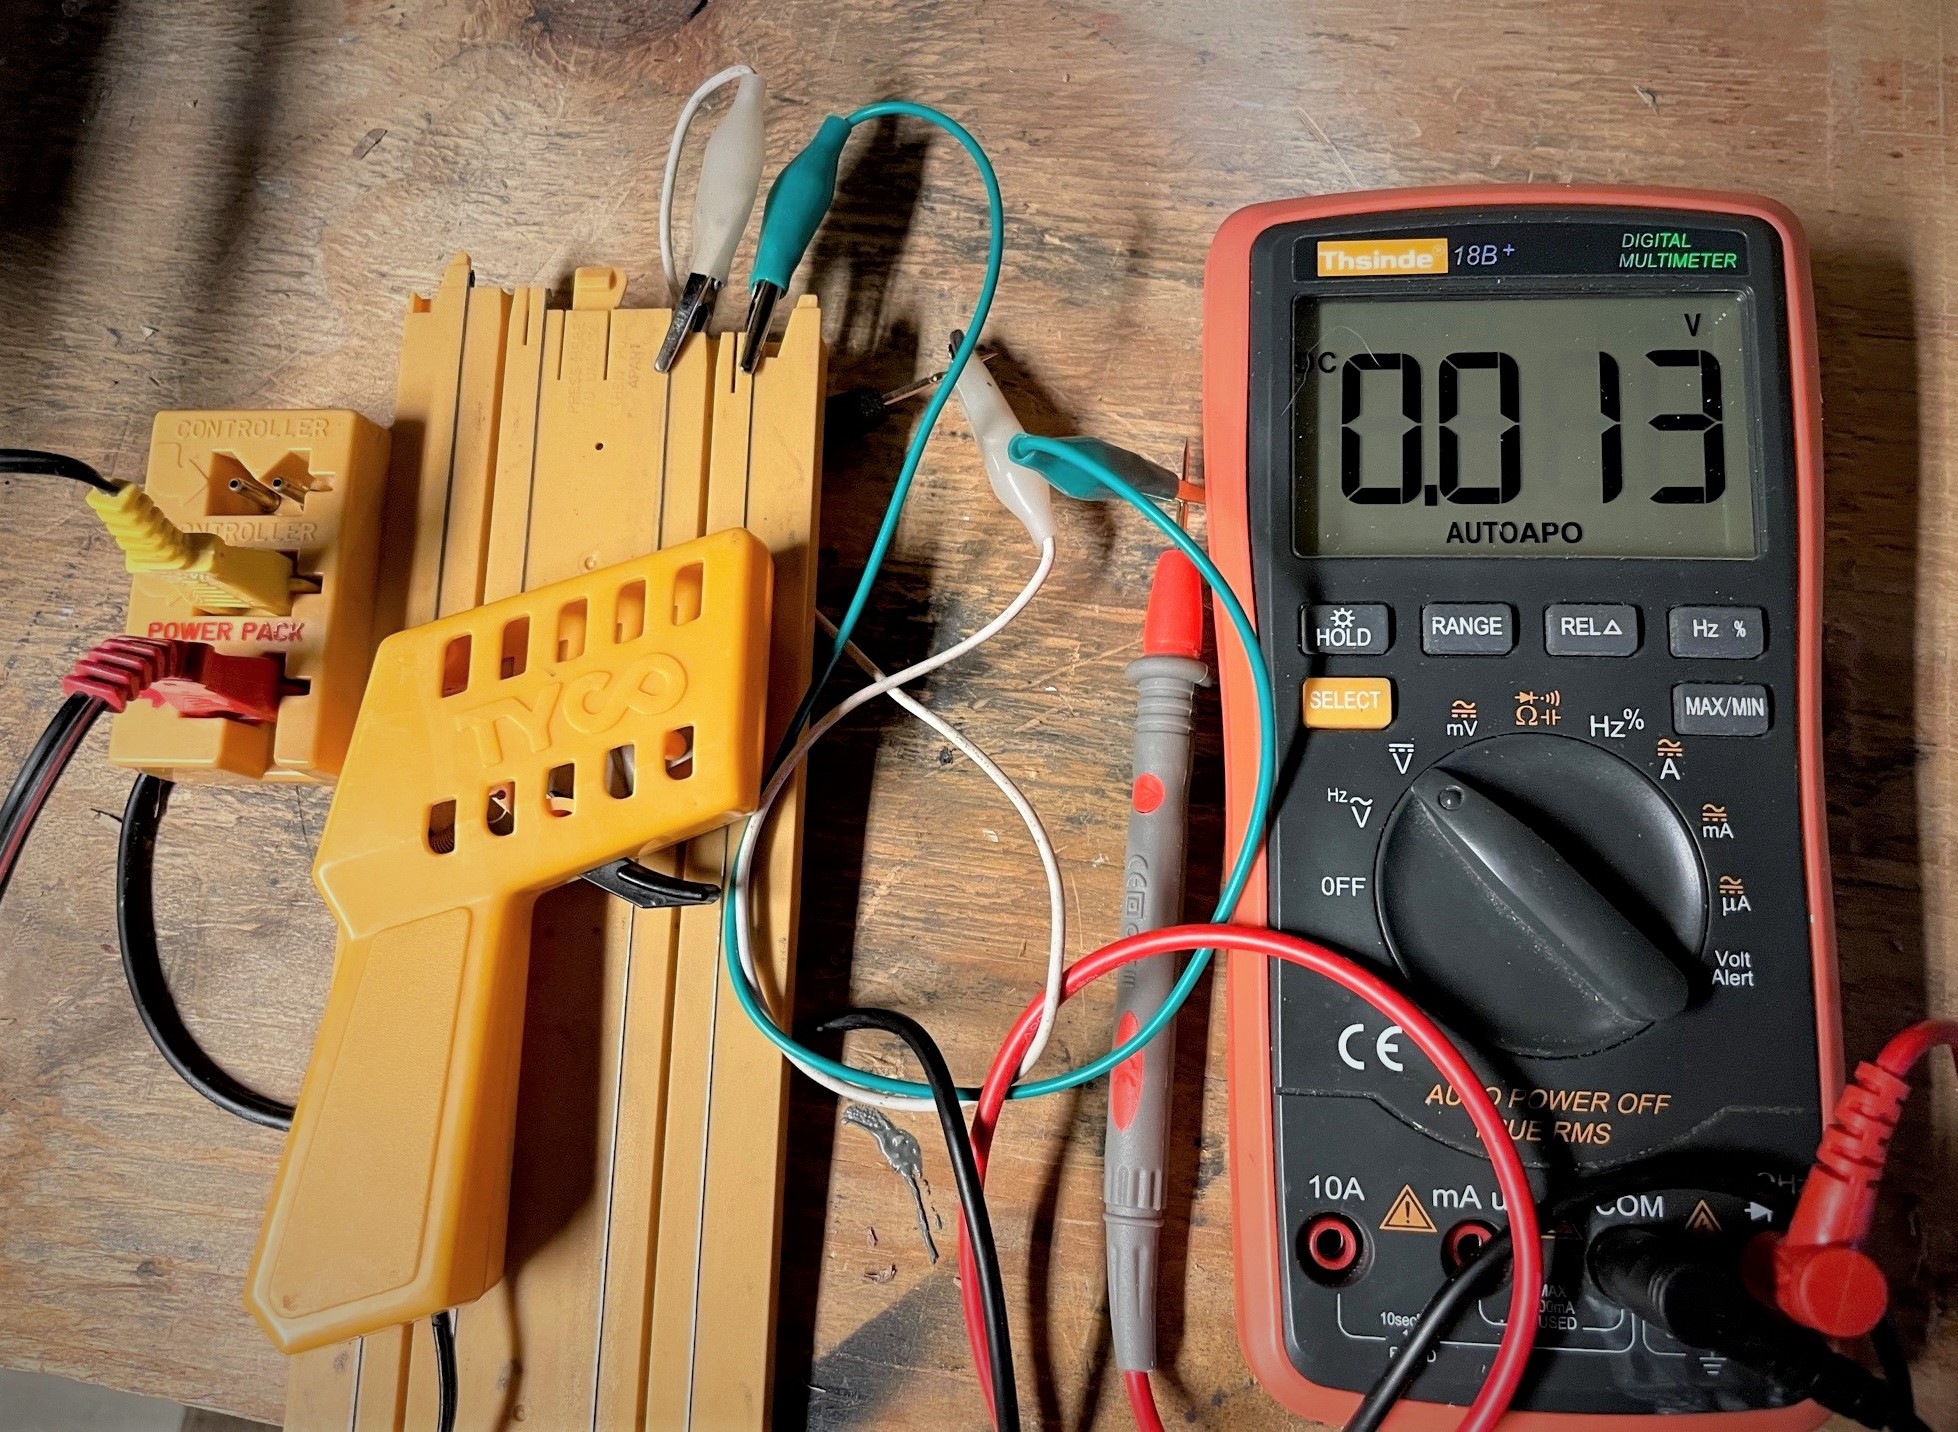
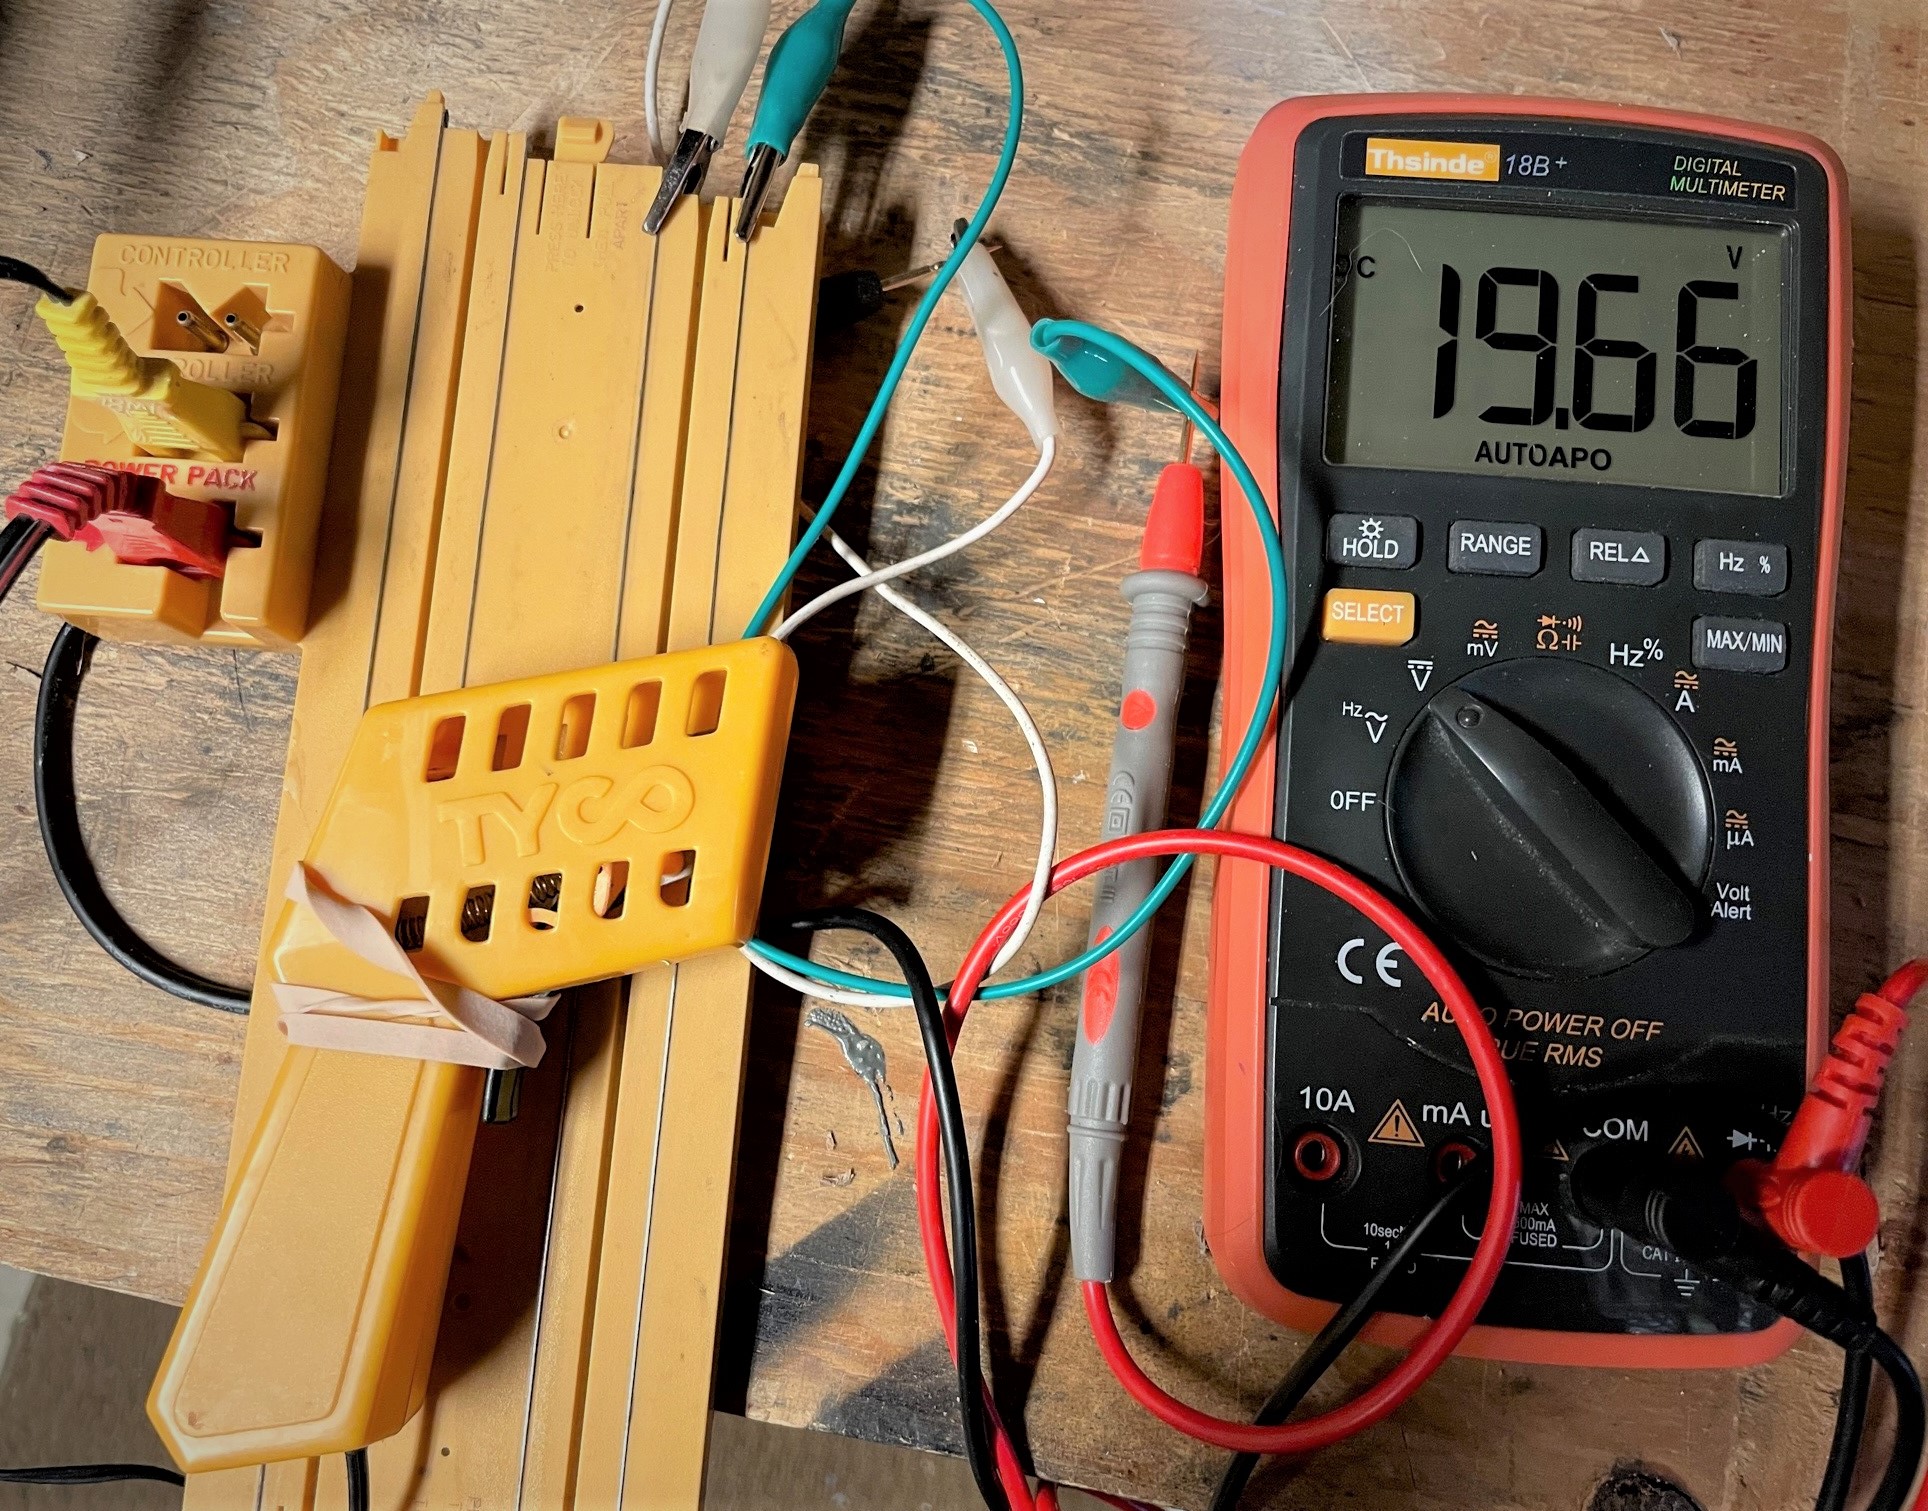
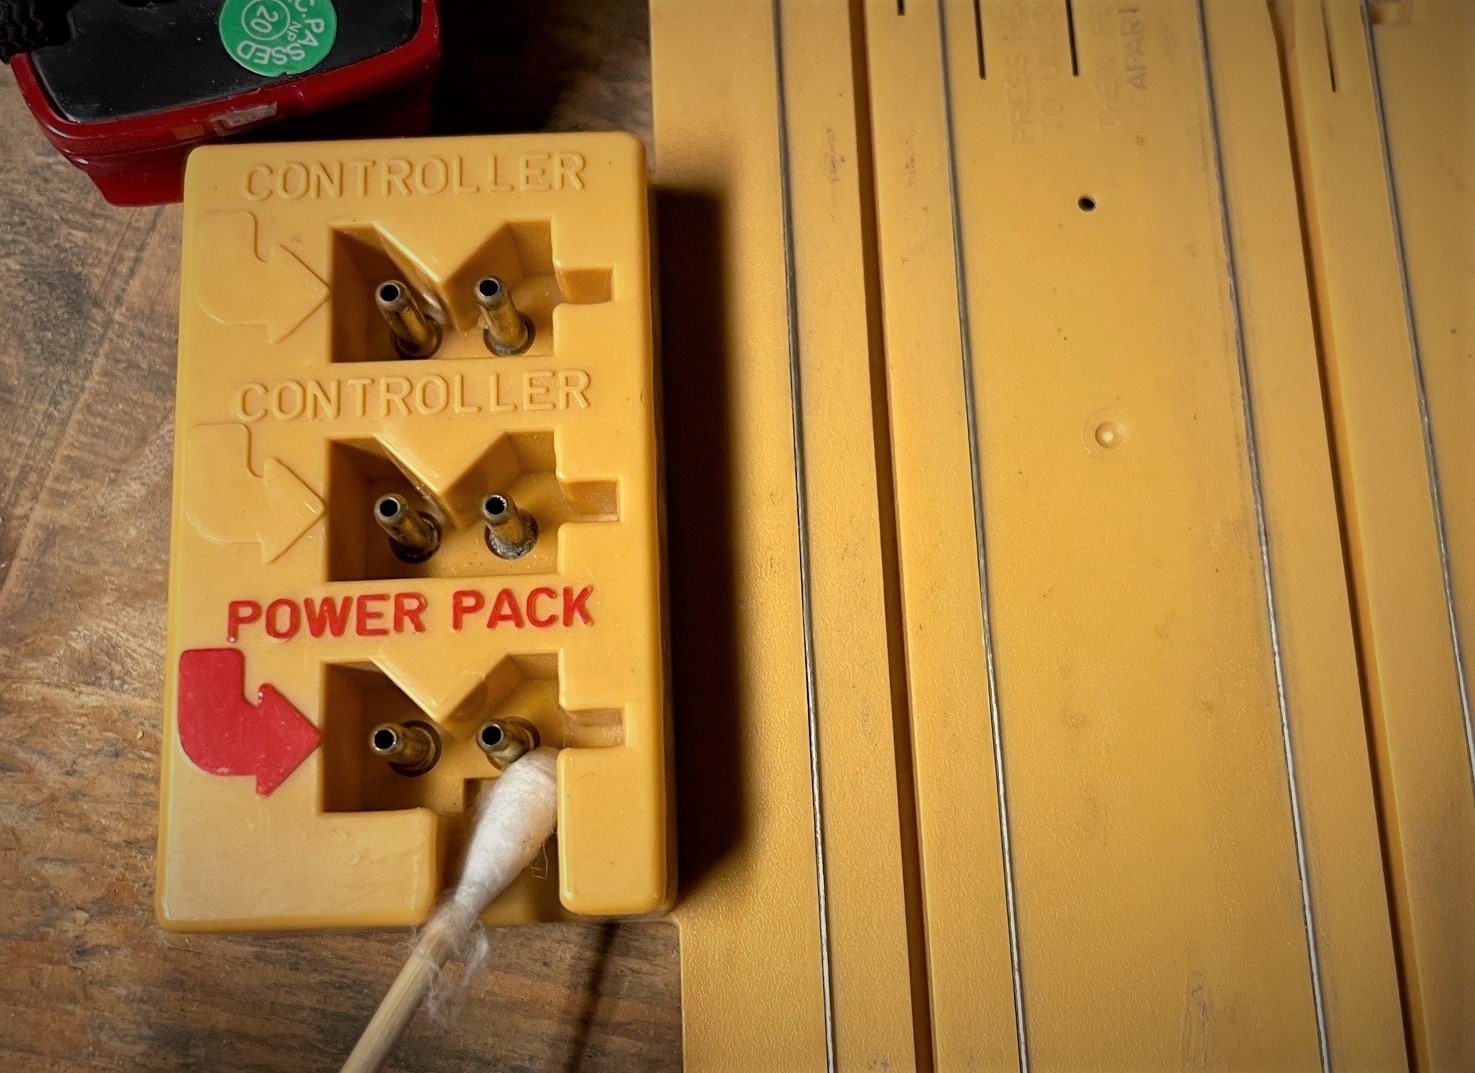
Using the quick diagnostic steps shown in the pictures above, we determined that everything was hunky-dory with the power supply, the controllers, and the track terminals. That meant it was time to go the next step, the slot cars themselves.
2. Check the Slot Car(s)
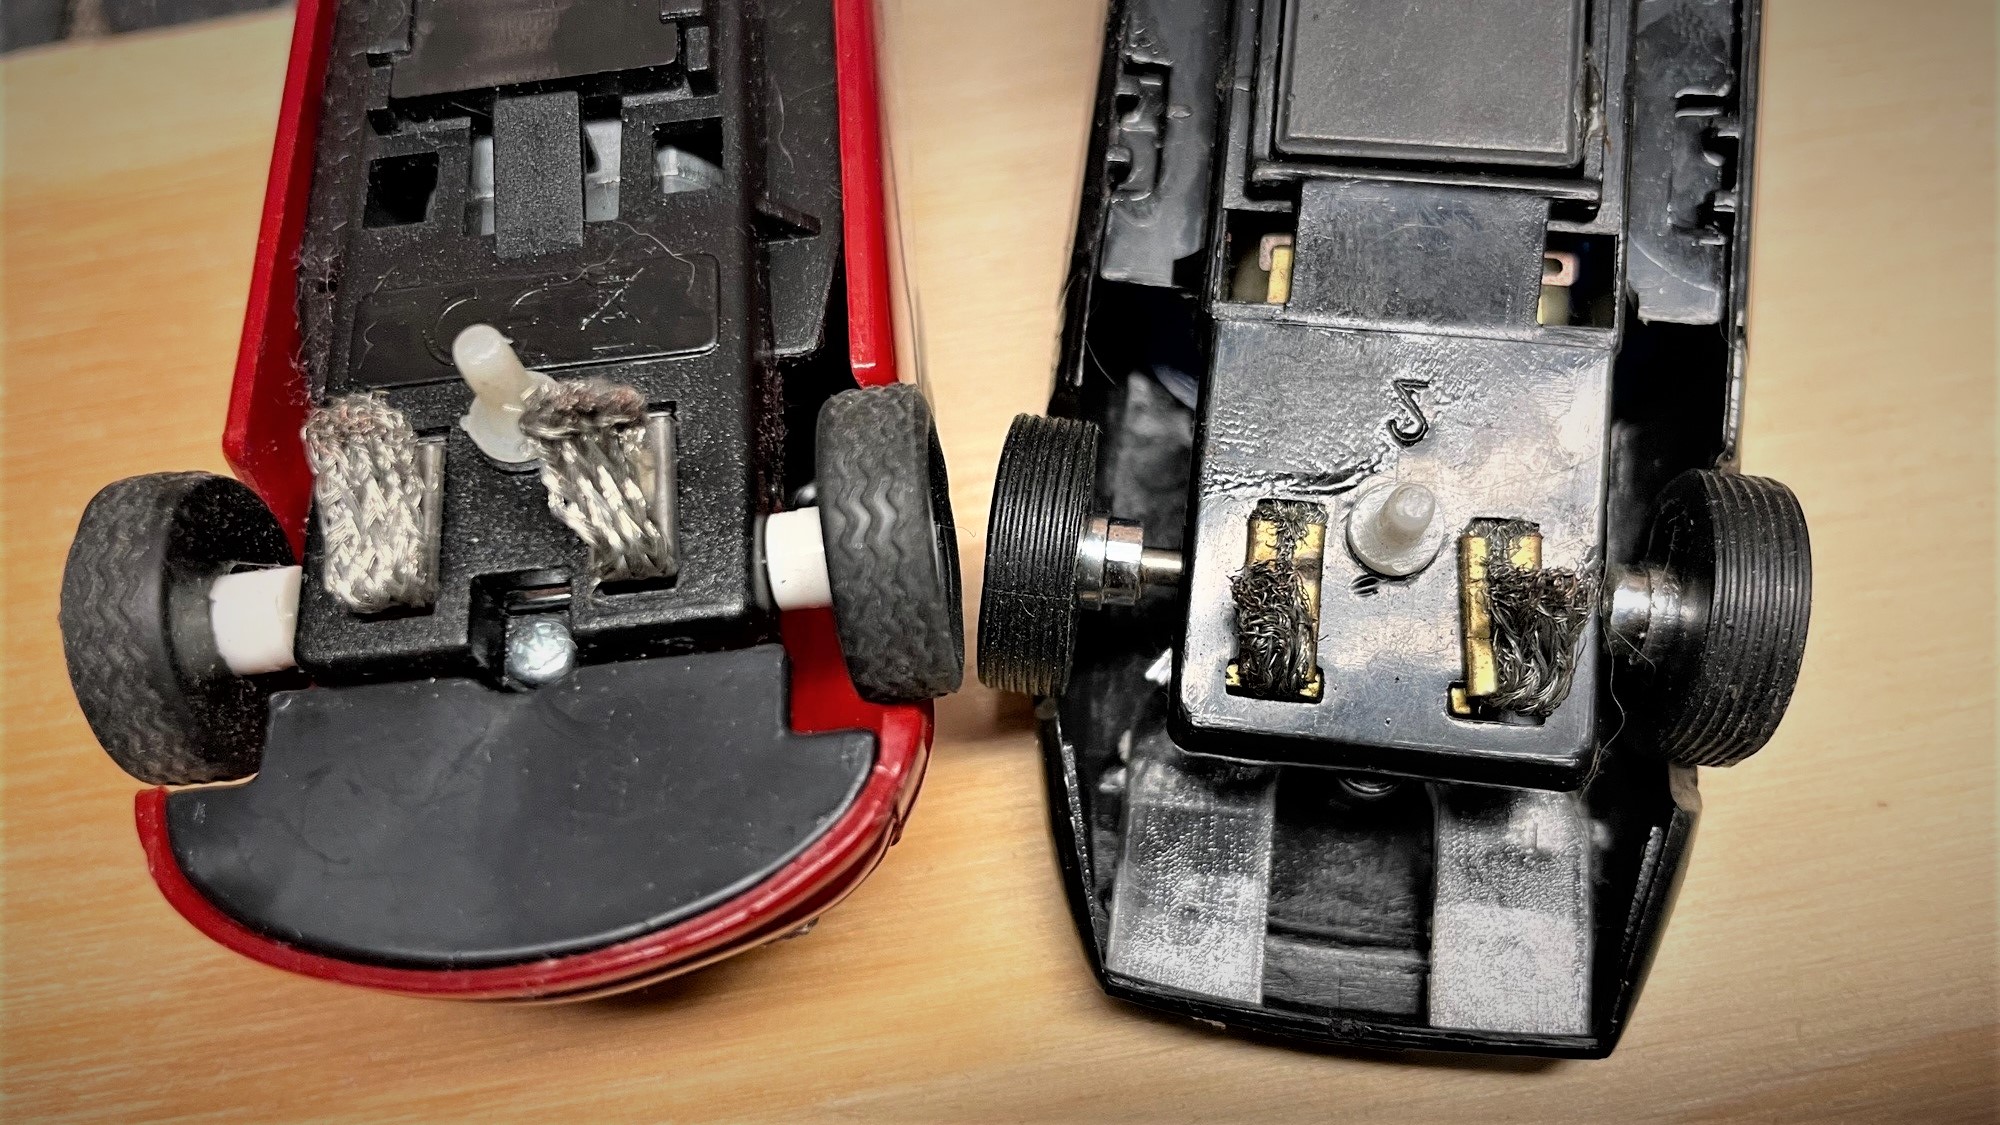
Not gonna lie, I was notoriously hard on my toys as a kid, so I wasn’t surprised to see some serious wear-and-tear on the cars. And since the cars wouldn’t budge at all, even with a good power supply, I suspected that the biggest problem was with the cars’ pickup shoes as they made contact with the metal conductor strips embedded in the track.
A close inspection confirmed it:
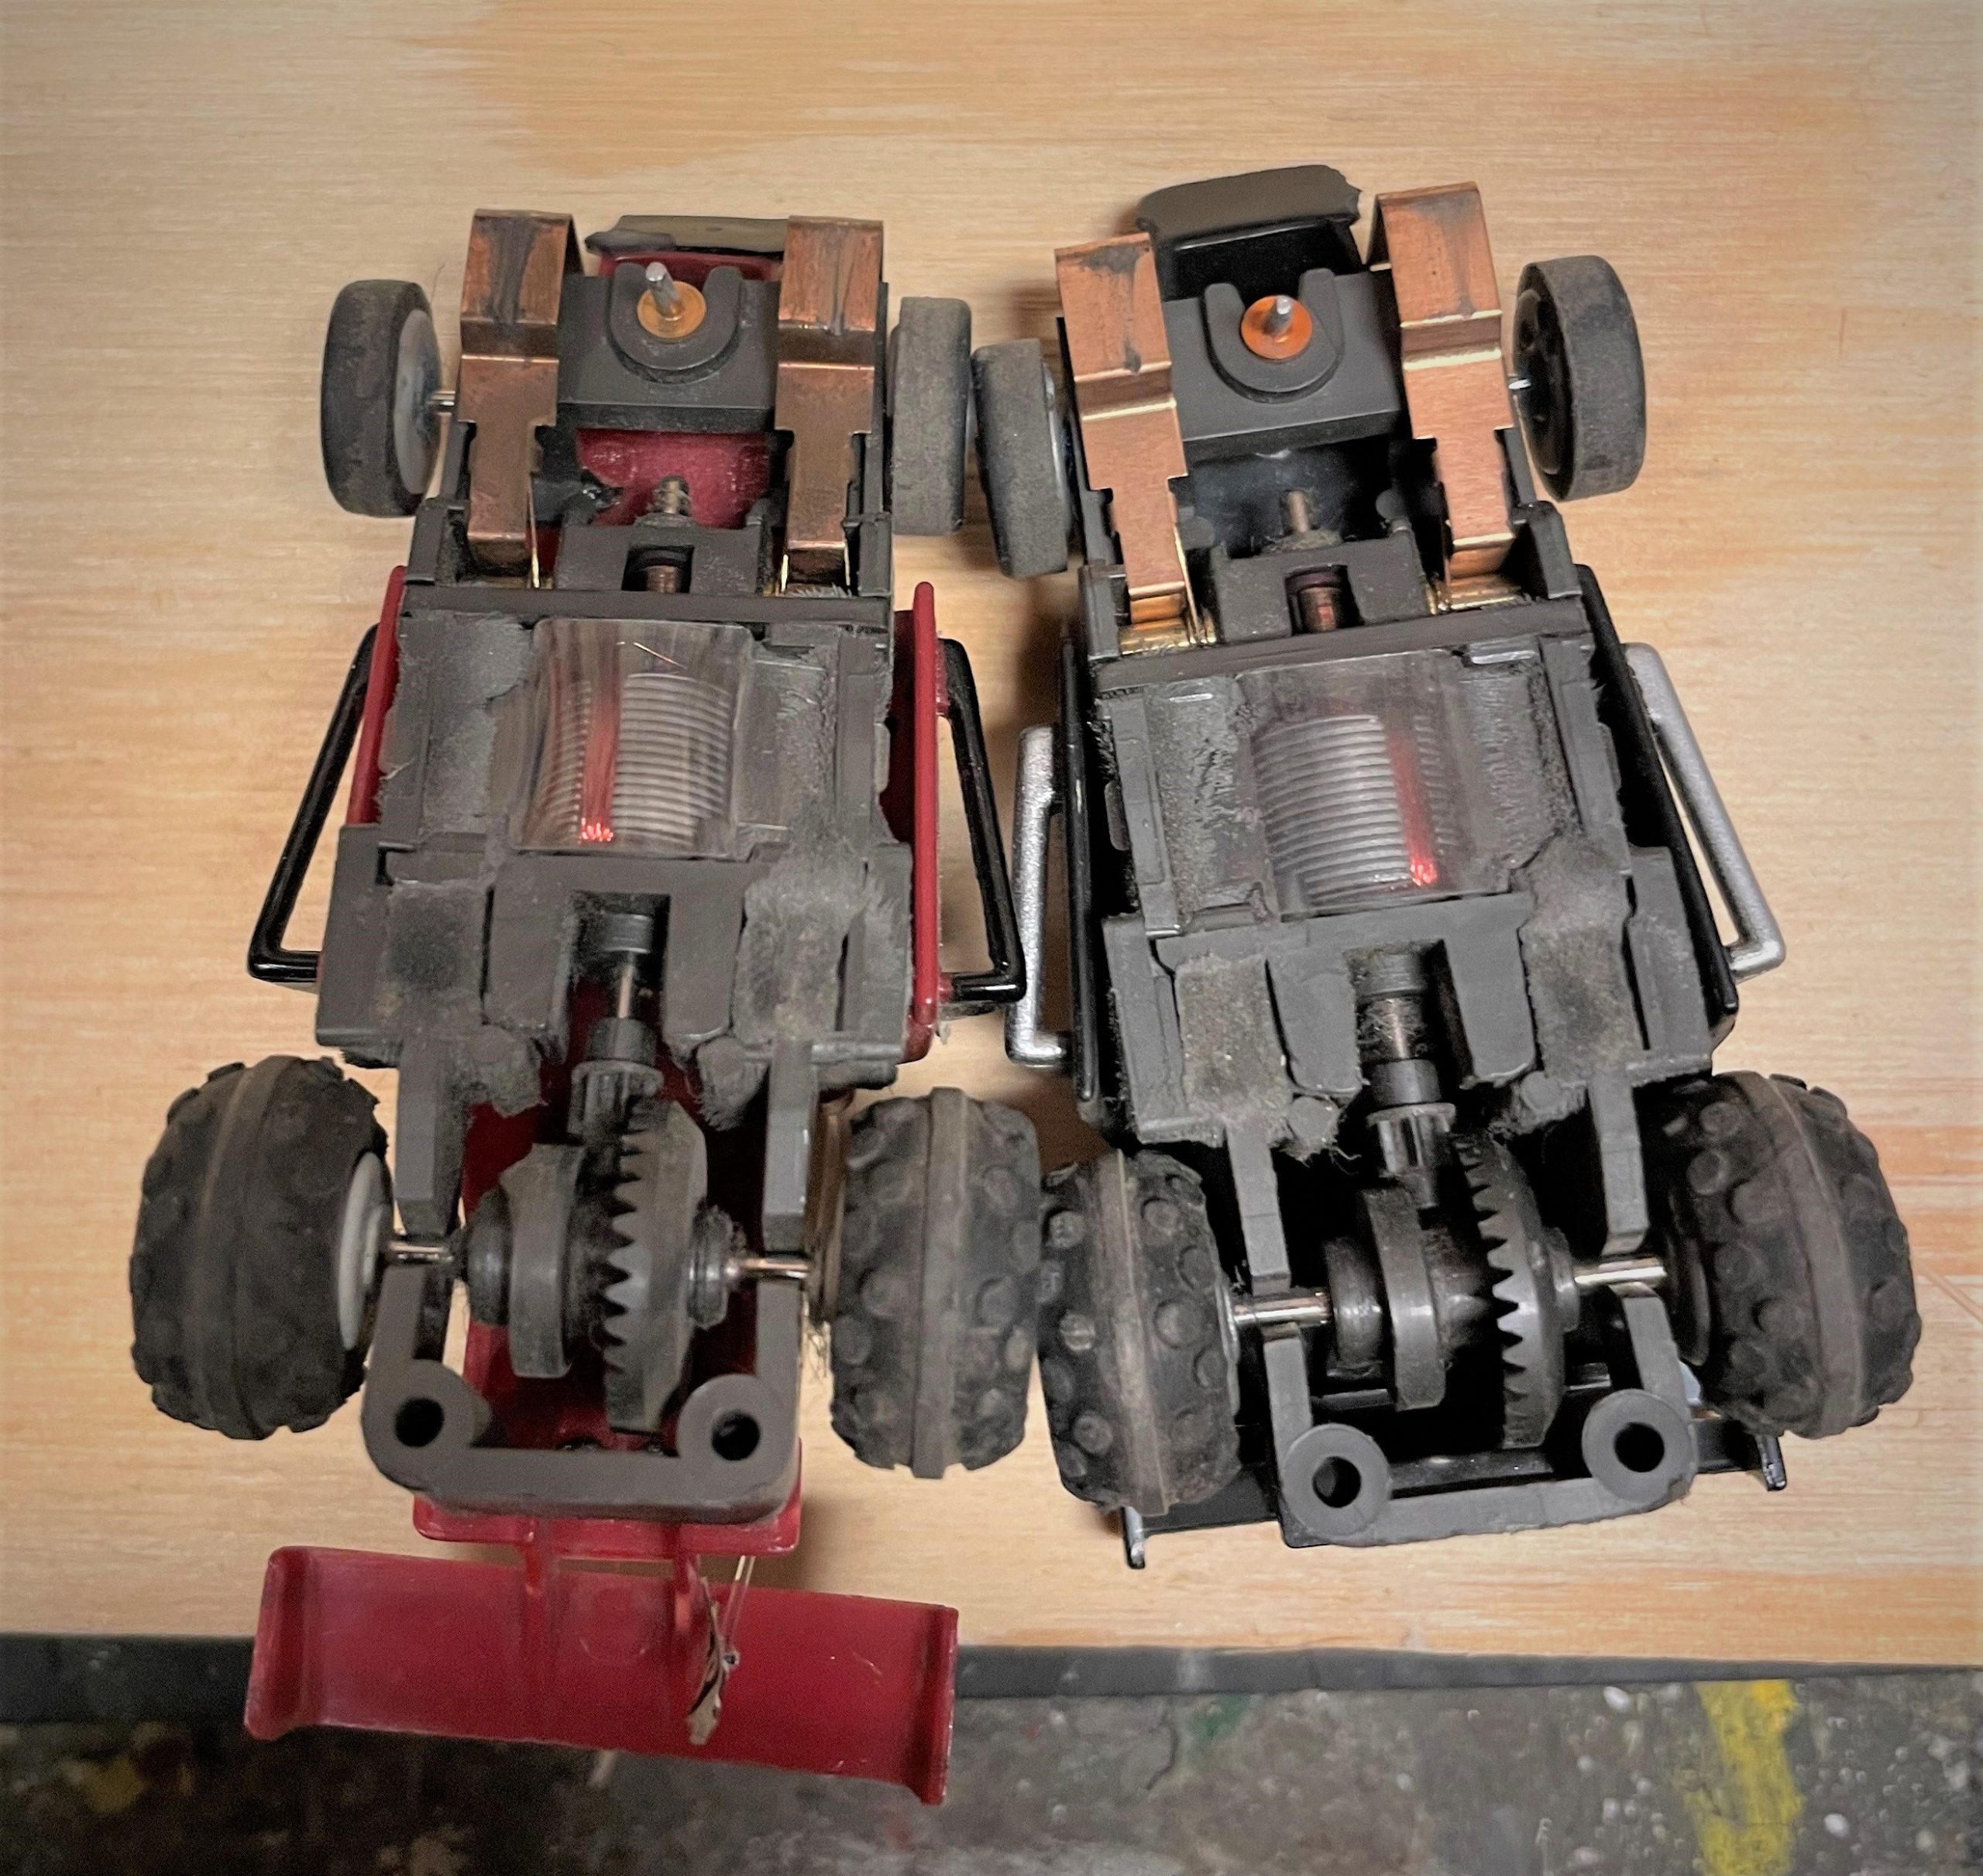
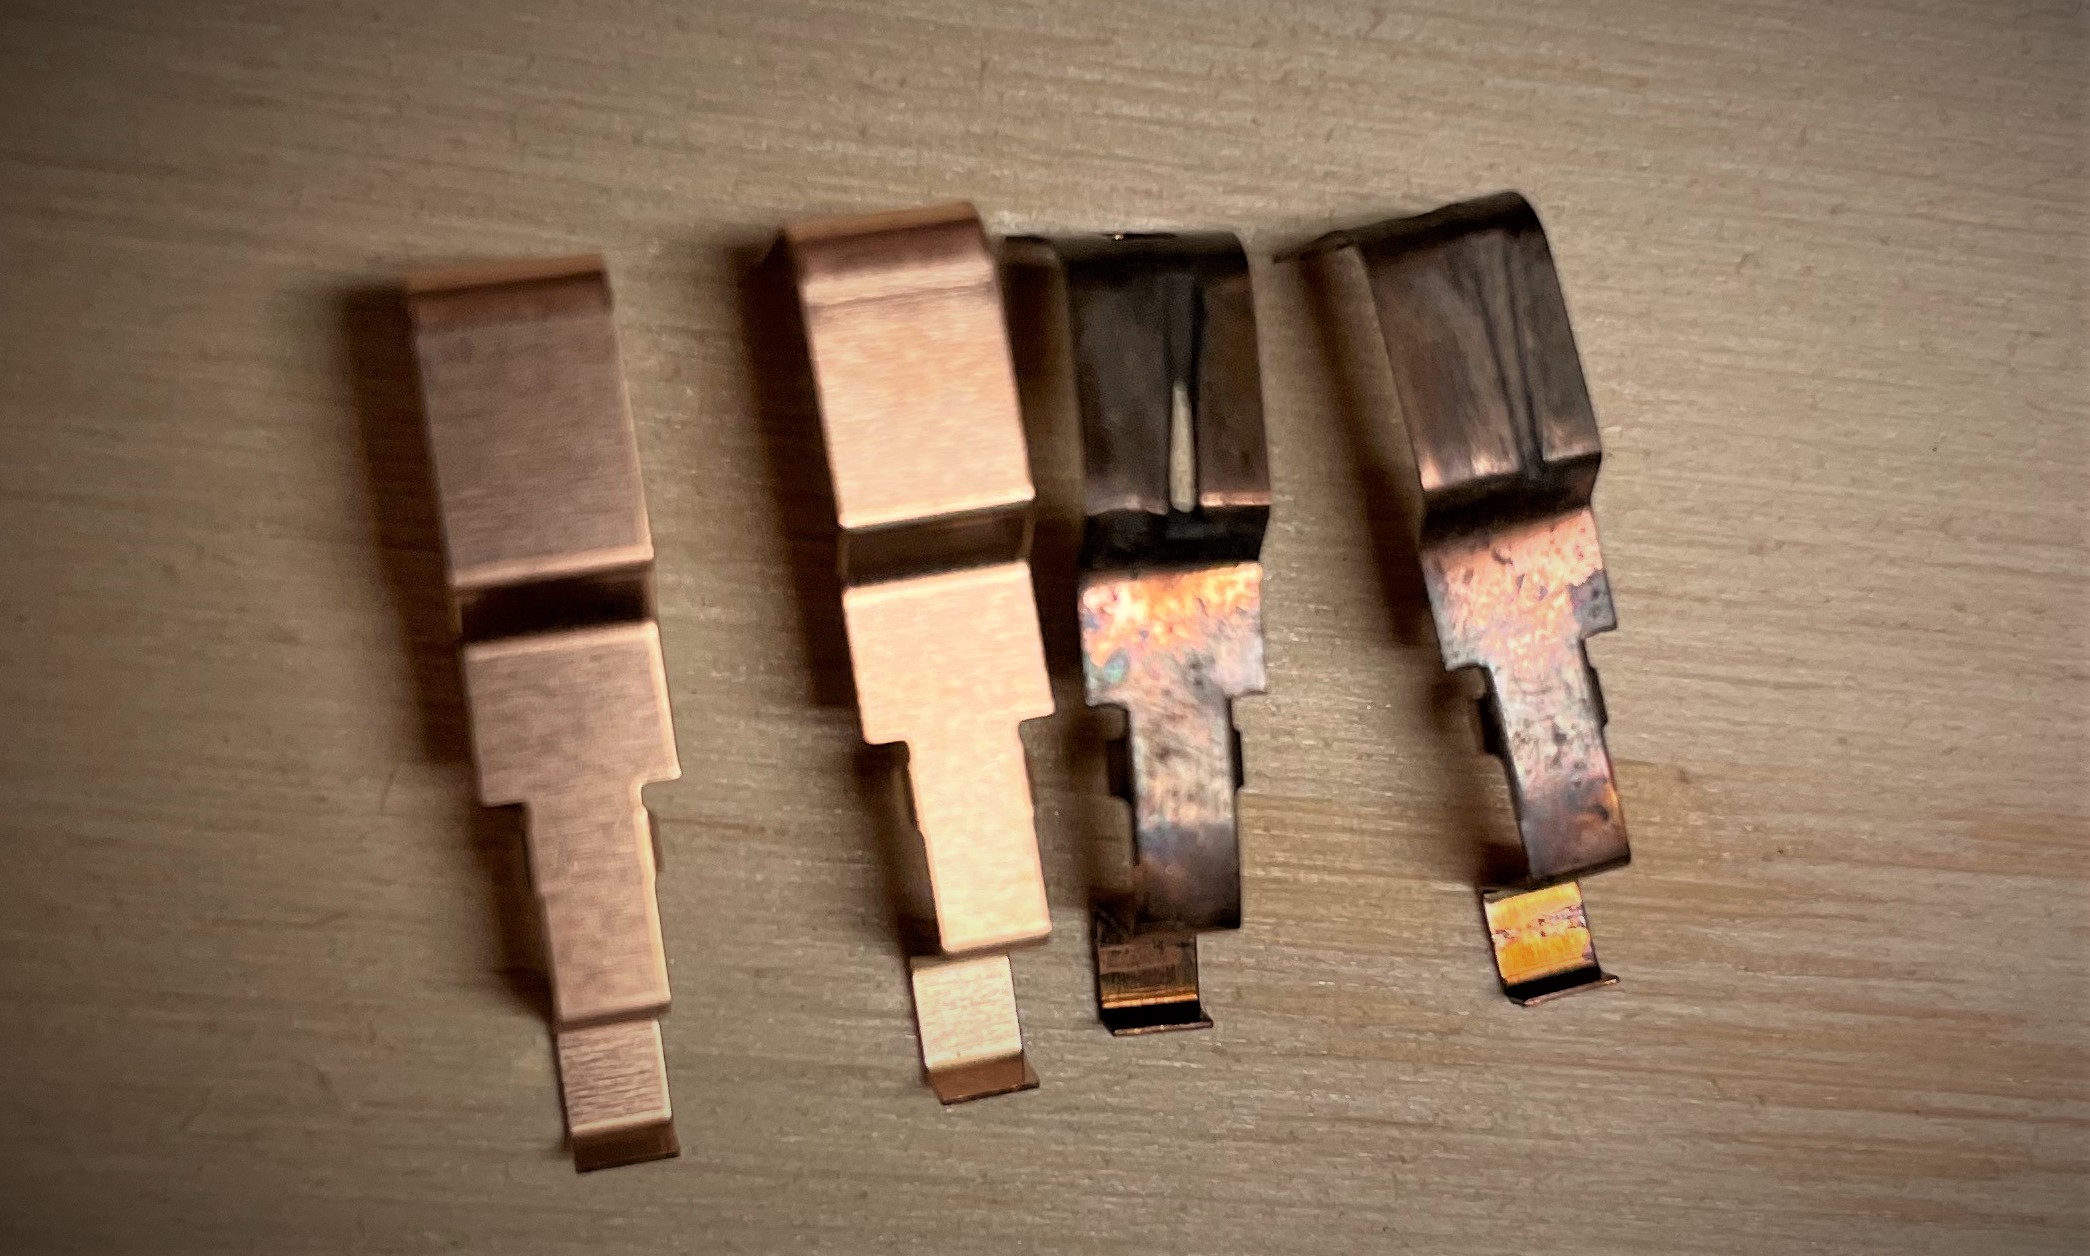
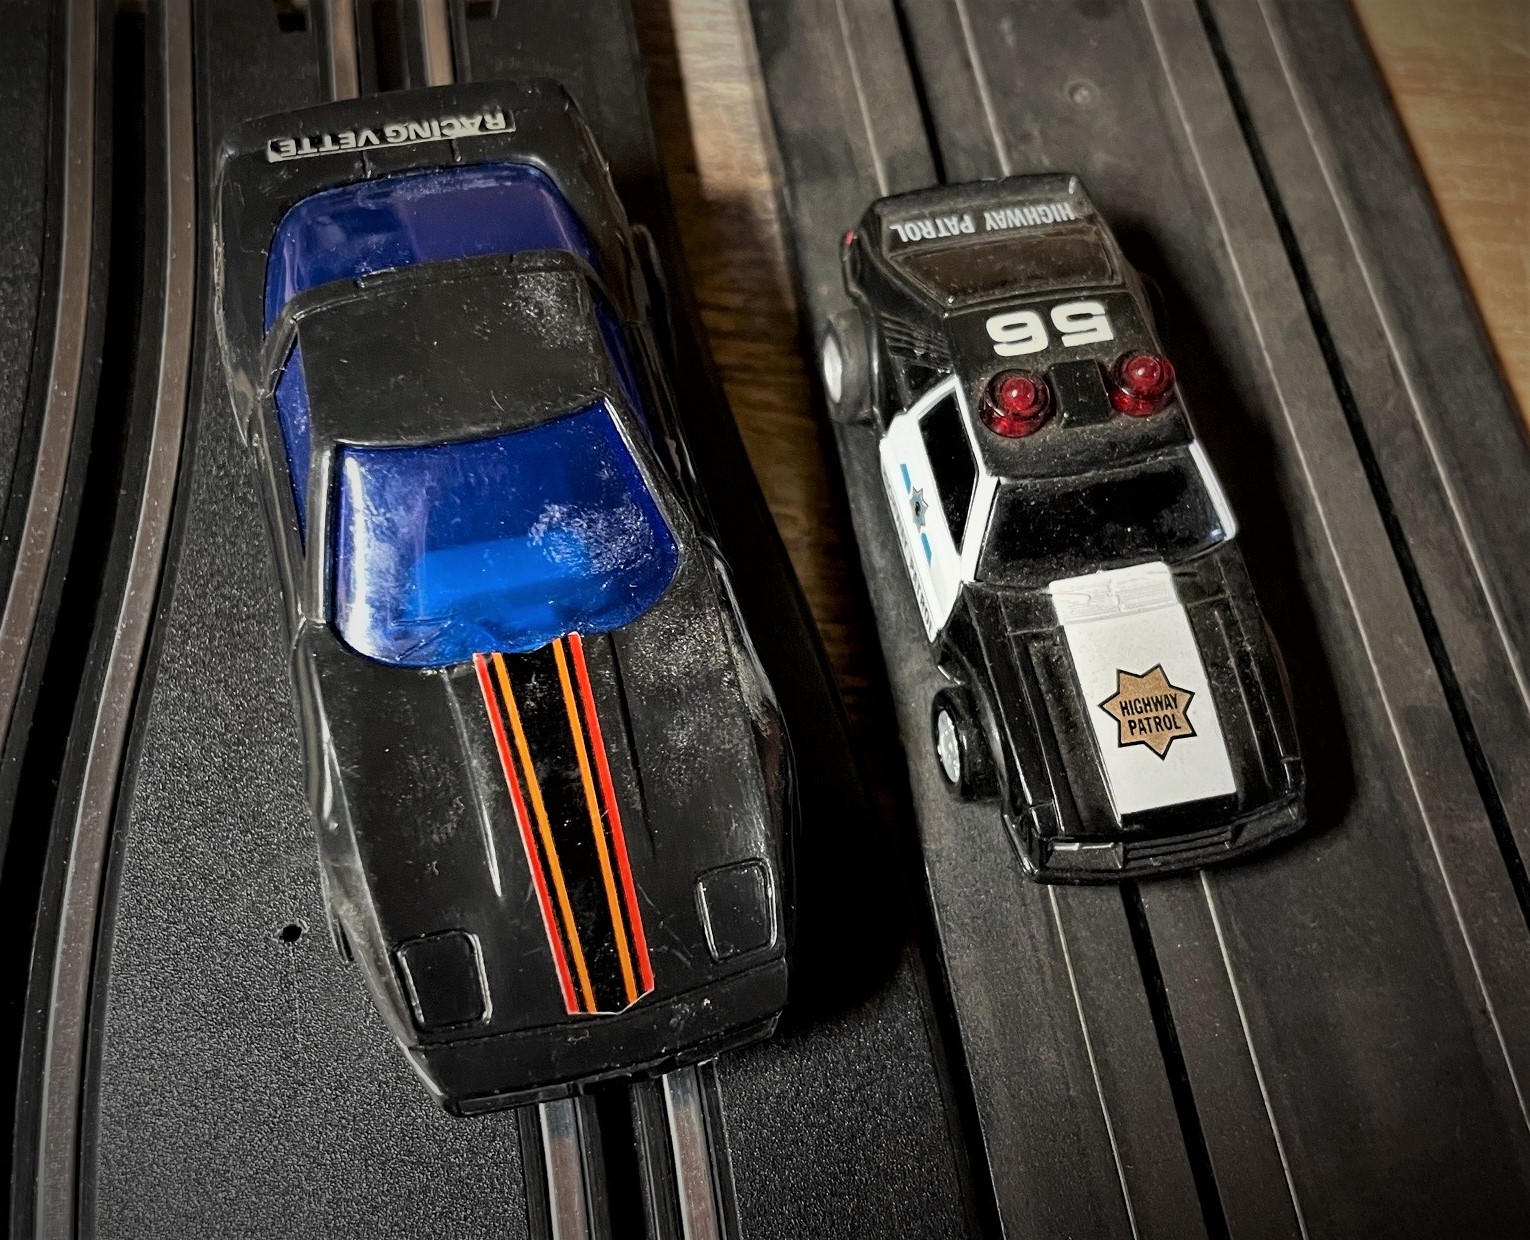
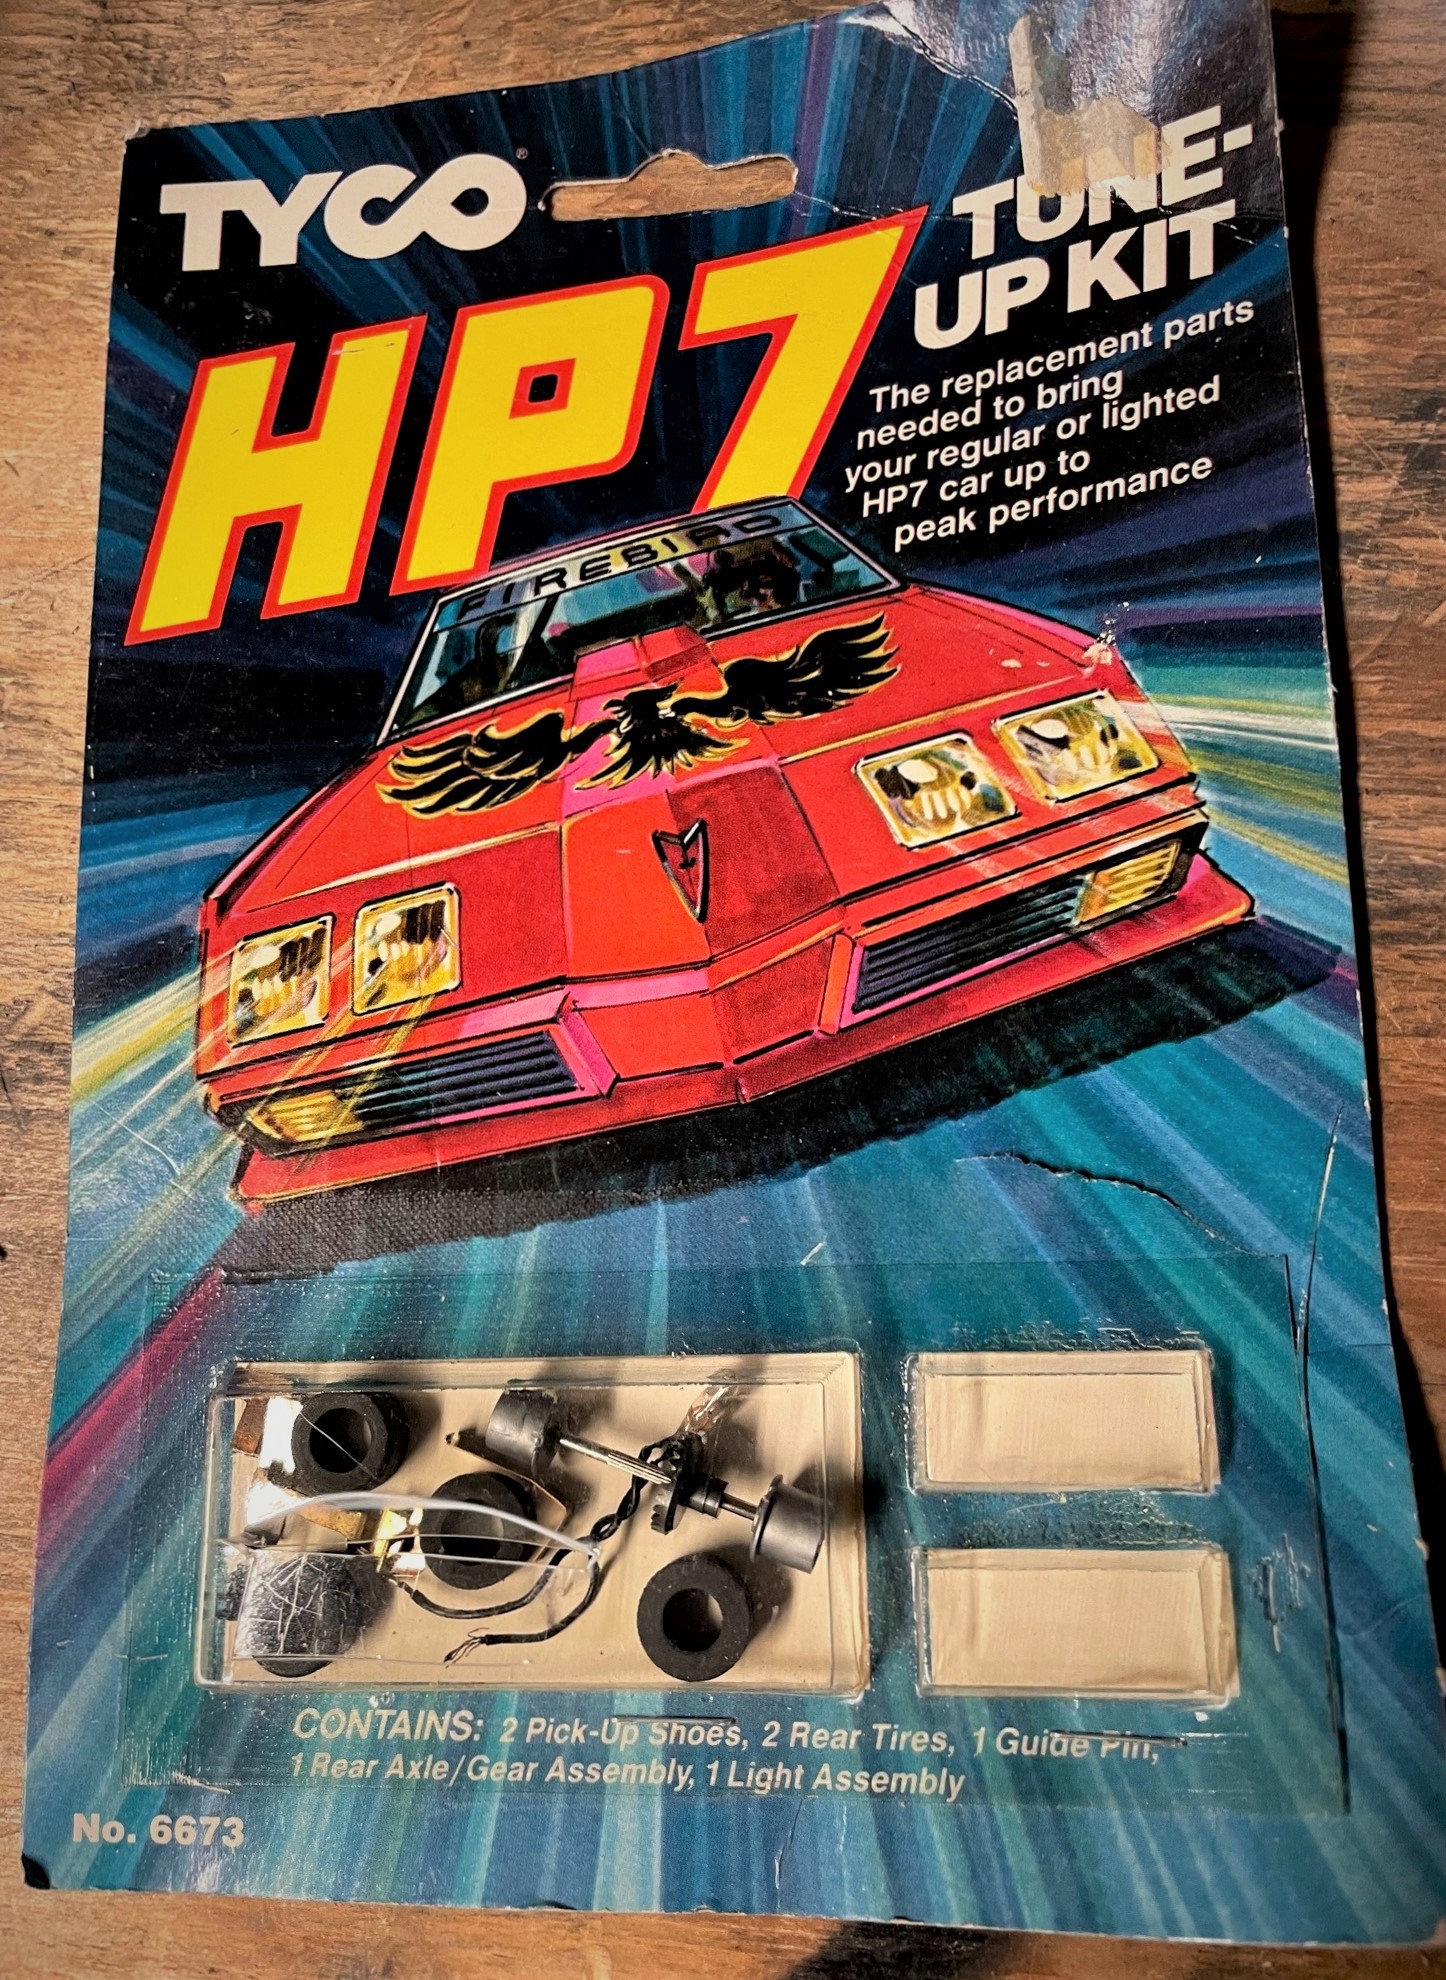
Whoa nelly, both of the car’s pickup shoes had deep grooves cut into the copper, and the left side contact strip was worn clear-through. Fortunately, these Tyco-derived slot cars are common, and replacement pickup strips were quickly sourced and replaced.
In many cases, complete replacement slot cars are available too.
3. Check the Slot Car Track Connections
With the cars repaired and the power supply testing OK, I went back upstairs to try again. I placed one car on the track, pulled the trigger, and it buzzed to life…
…but only made it about halfway around the track before slowing to a stop.
I moved the car back to the starting point and tried again, with the same results.
That told me that the car was now OK, but the track was slowly losing continuity between the track sections.
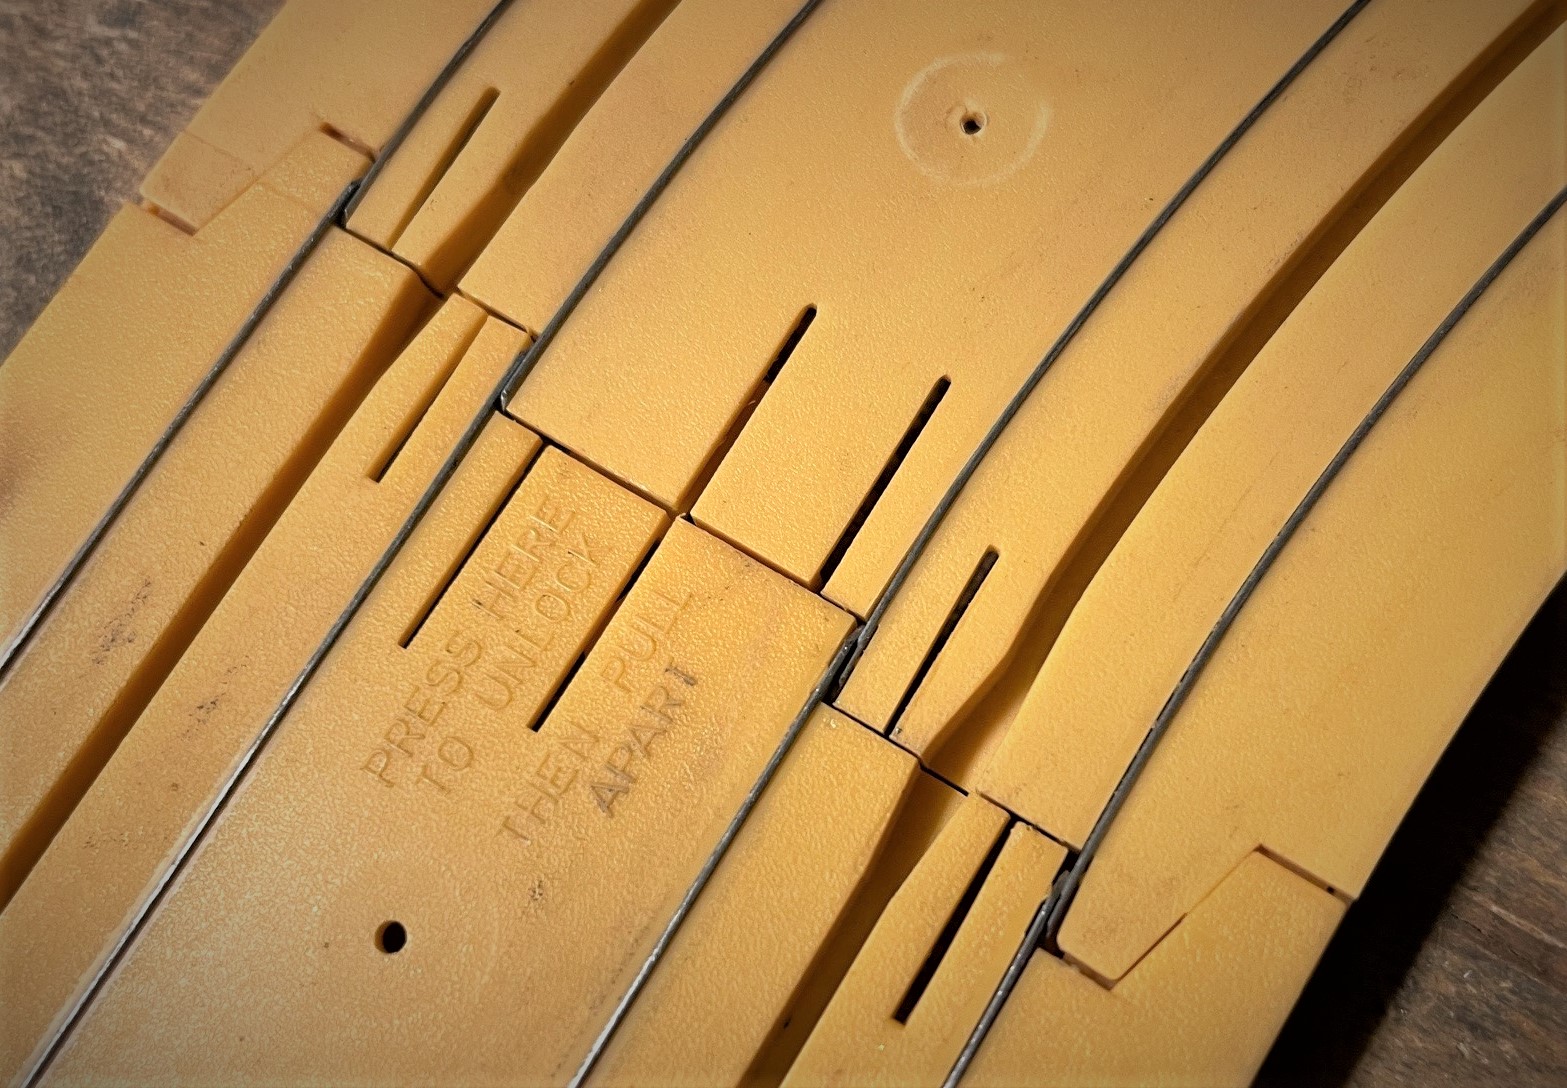
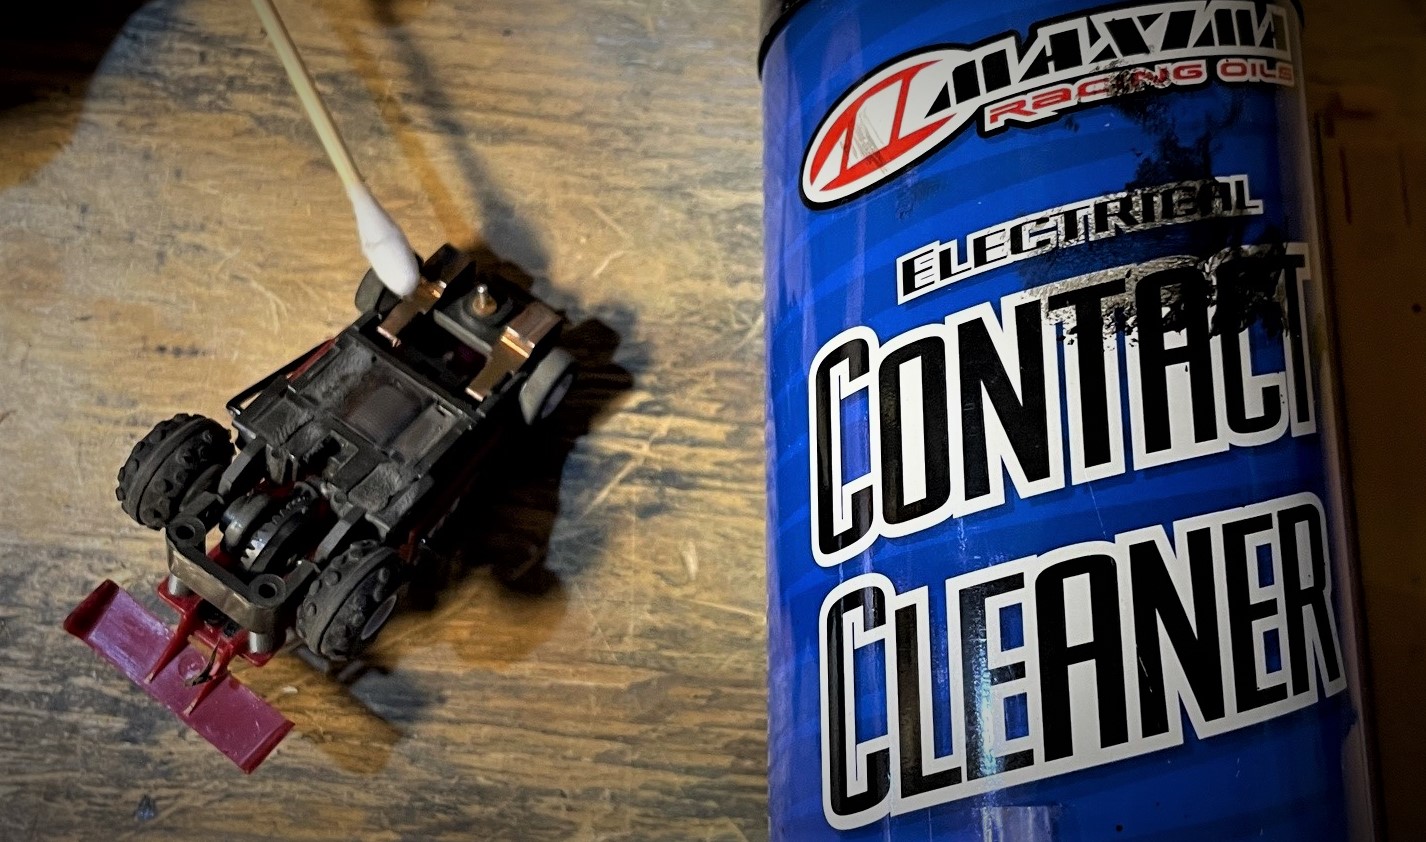
I unhooked each track section and, using a small(!!) amount of electrical contact cleaner and a Q-tip, I cleaned each metal tab of the conductor strip.* Then I pressed the track pieces together to ensure a snug fit.
* Depending on the type you use, electrical contact cleaner can be some gnarly stuff—akin to brake or carburetor cleaner. While it’s very effective at cleaning electrical connectors, it also means that it can dissolve paint, etch plastics, permanently stain finishes, and do other nasty damage. Always use it sparingly, quickly wipe up any excess, and be extra, extra careful when spraying it around to avoid marring or blemishing the surrounding areas. (If you’re spraying around really sensitive spots, like electric guitar pots and amp tube pins, check out Caig DeoxIT. Yeah, it’s pricey, but effective and safe.)
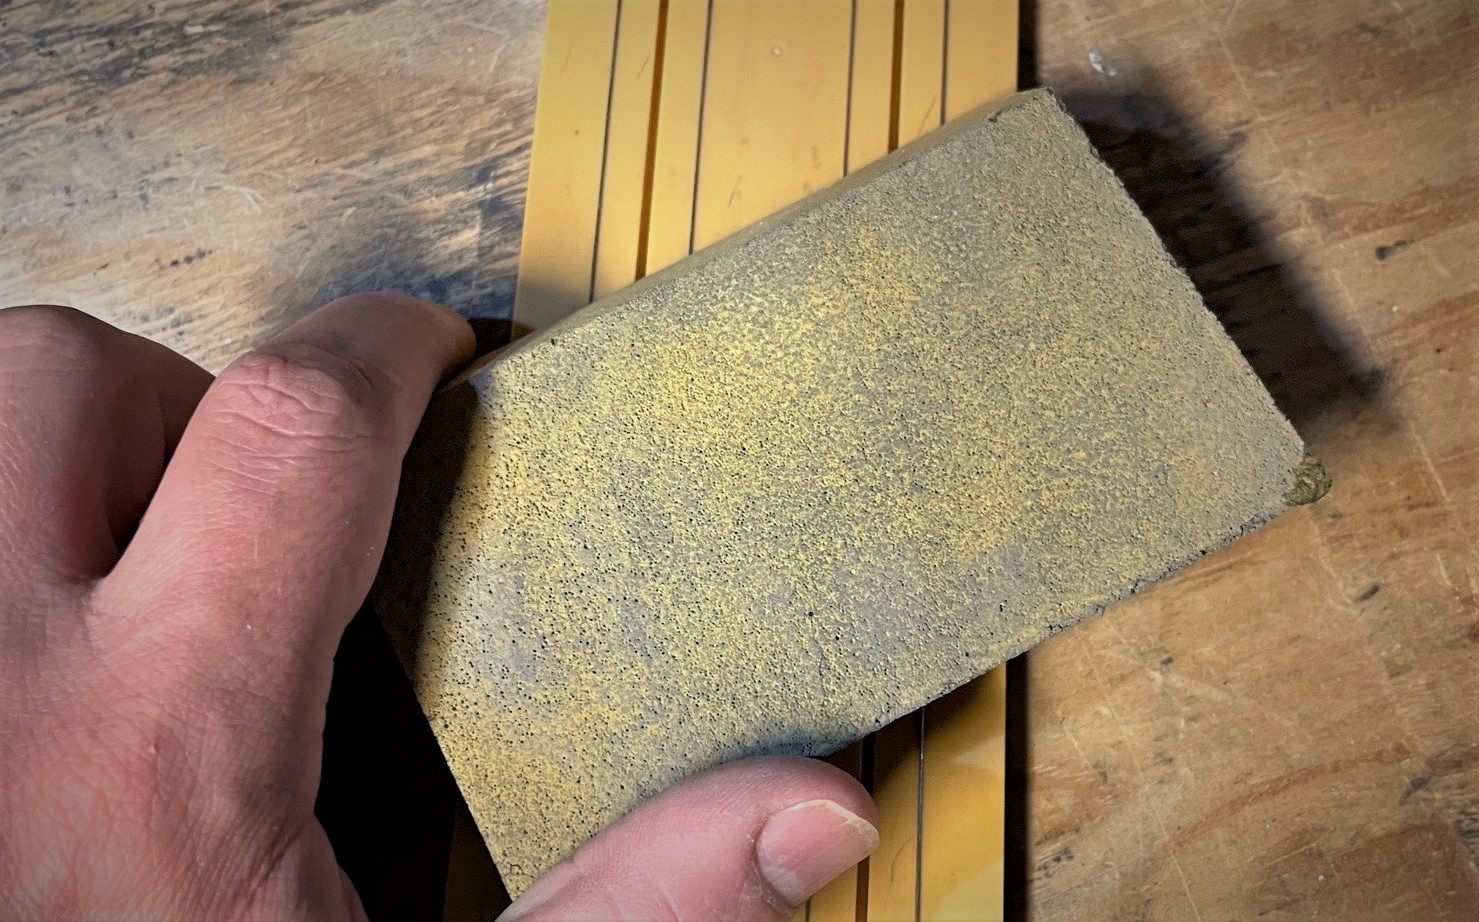
With the track reassembled, both cars could now make complete circuits around the course. But it still seemed like the track had some “dead” spots where the cars broke electrical contact with the track. Sure enough, when I looked closer, there was some obvious surface oxidation on sections of the track’s metal conductor strips.
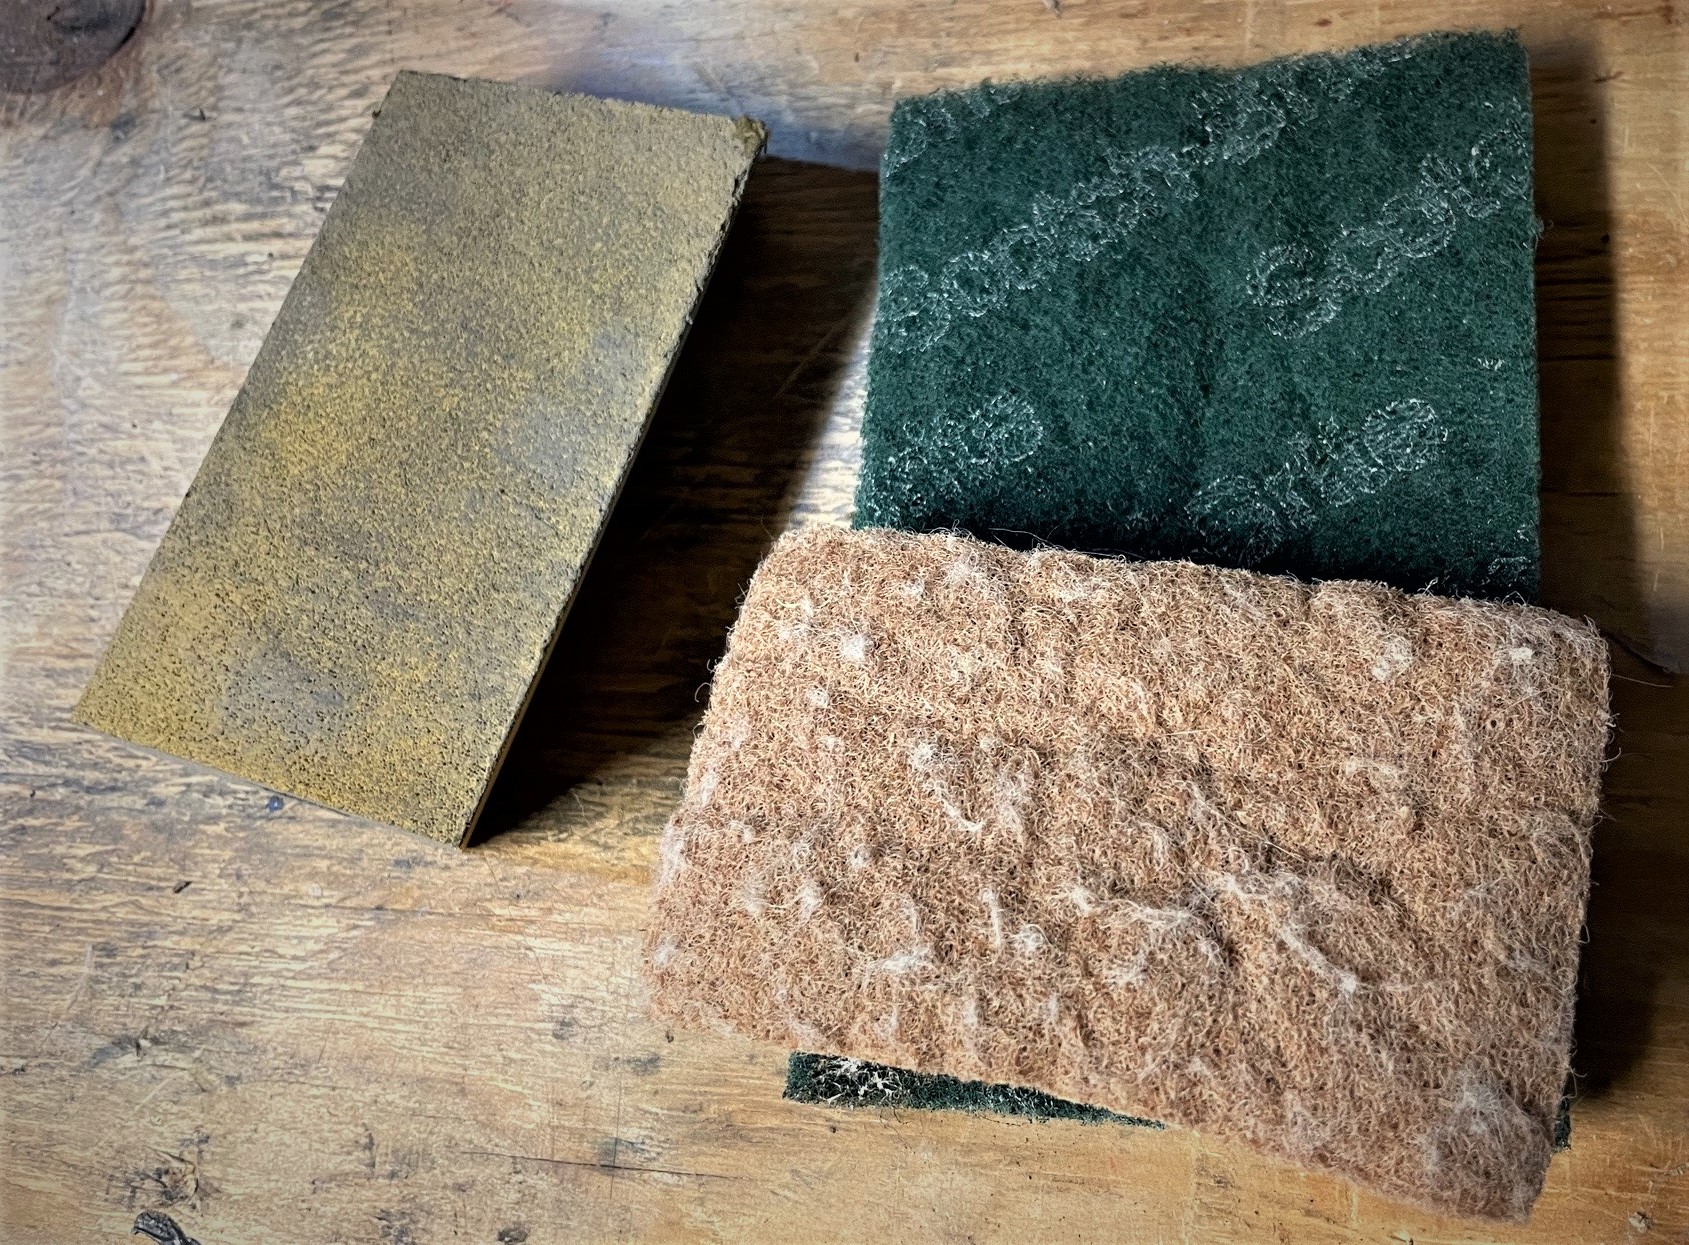
Using a foam-backed sanding block (the type often used in drywall jobs), I gently ran across the entire track—using very, very light pressure to ensure I only removed the slight layer of surface corrosion. Too much force here, and you could easily wear down the metal conductors in the track, rendering it inoperable.
Once I got done gently running the sanding block over the entire track, I sprayed some mild degreaser on a rag and wiped it all down again.
With that, I set both cars on the track and fully squeezed the triggers simultaneously…
…sending both cars flying into my drywall. Facepalm.
Undaunted, I quickly tempered my throttle grip and, within a minute, both cars were racing along like new.
Regular Slot Car Maintenance
With the slot car track refreshed, there are some basic maintenance procedures that’ll keep your slot cars running well. But it doesn’t require a whole lot of imagination—it all basically boils down to regular cleaning.
Get a closer look in these pics:

Nice article. Remember as a kid spending the day at my buddies house racing HO cars, setting up the track in different configurations, tearing cars apart and trying to make them faster. Lots of fun back in the 60’s
Seeking a source for pick up shoes and tires for TYCO and AFX cars
Hey Tim, I found mine online from a hobby shop–they’re pretty common and cheap.
Google Jaghobbies
I retired couple years ago and started setting up my trains and slot car tracks in basement. Your maintenance tips are correct. I now have a layout of trains and slot cars 35 feet long and 17 feet wide area. Slot car track is 145 feet 2 lanes both lanes have own power supply. Trains run all through it. It has 3 level of 13 to 20 ft straights all turns are high banked and some lanes are on the walls . Lots of maintenance is done on this track. But its fun the grand children love it.
Hey Earl, thanks for reading. Sounds like you may enjoy this article too: 5 Things Model Trains Teach You About Wrenching on Cars