One part that is crucial to keeping your ride rolling along—but that gets very little attention—are wheel bearings. About the size of your palm, the bearings allow the wheels to spin freely on the spindles. You’ll find them on a vehicle’s non-driven wheels—front bearings for rear-wheel drive vehicles, most trailer axles, and the rear hubs in some front-wheel drive applications.
There are two wheel bearings per spindle/hub, an inner and outer. The inner bearing mounts inside the wheel hub behind a seal. The outer bearing slips over the spindle and into the bearing race on the hub after it is mounted on the spindle.
All too often, wheels bearings are installed incorrectly. Too many people simply slap some grease on a new bearing, stuff it in the wheel hub, and bolt the hub in place. The vehicle will be drivable, but the hubs will almost certainly be too loose or tight. The resulting heat will burn off the grease and then burn up the bearings. If this happens on a trailer, for example, you can lose the entire hub, which happens far more often than you can imagine.
This specific scenario happened to us about 15 years ago when a trailer hub bearing seized up and the spindle broke. Luckily, no one was injured—the tire rolled across the median to the inner shoulder on the opposite side of the highway before it wandered back into the median and fell over. You take wheel bearings a little more seriously after you experience something like that.
There is a specific wheel bearing bedding process that will prevent premature wear on your bearings, spindle, and hubs. When properly installed, new wheel bearings should last 80 to 100K miles.
You may also enjoy this article: What is a Wheel Bearing & How Can You Tell if Yours is Going Bad?
The Wheel Bearing Prep & Installation Process
With new set of bearings, new seals, and a clean hub, the first step is to add grease. Wheel bearings need high-pressure, high-temperature lithium grease. Depending on your make and model, you may need a specific type of wheel grease. Color tells you a lot; red moly lithium grease is formulated for GM and Chrysler vehicles, while blue or gray moly lithium grease is formulated for Ford vehicles.
If you don’t use the right grease—or worse, mix incompatible grease types together—bad things happen. You could get literal rocks in your bearings or the grease could liquify and drain out, leaving you with no protection. If you don’t know kind of grease is on the hub, you need to clean it all out. Brake cleaner is perfect for this.
Want to learn more? Check out my in-depth look at the different types of grease here: All About Grease!
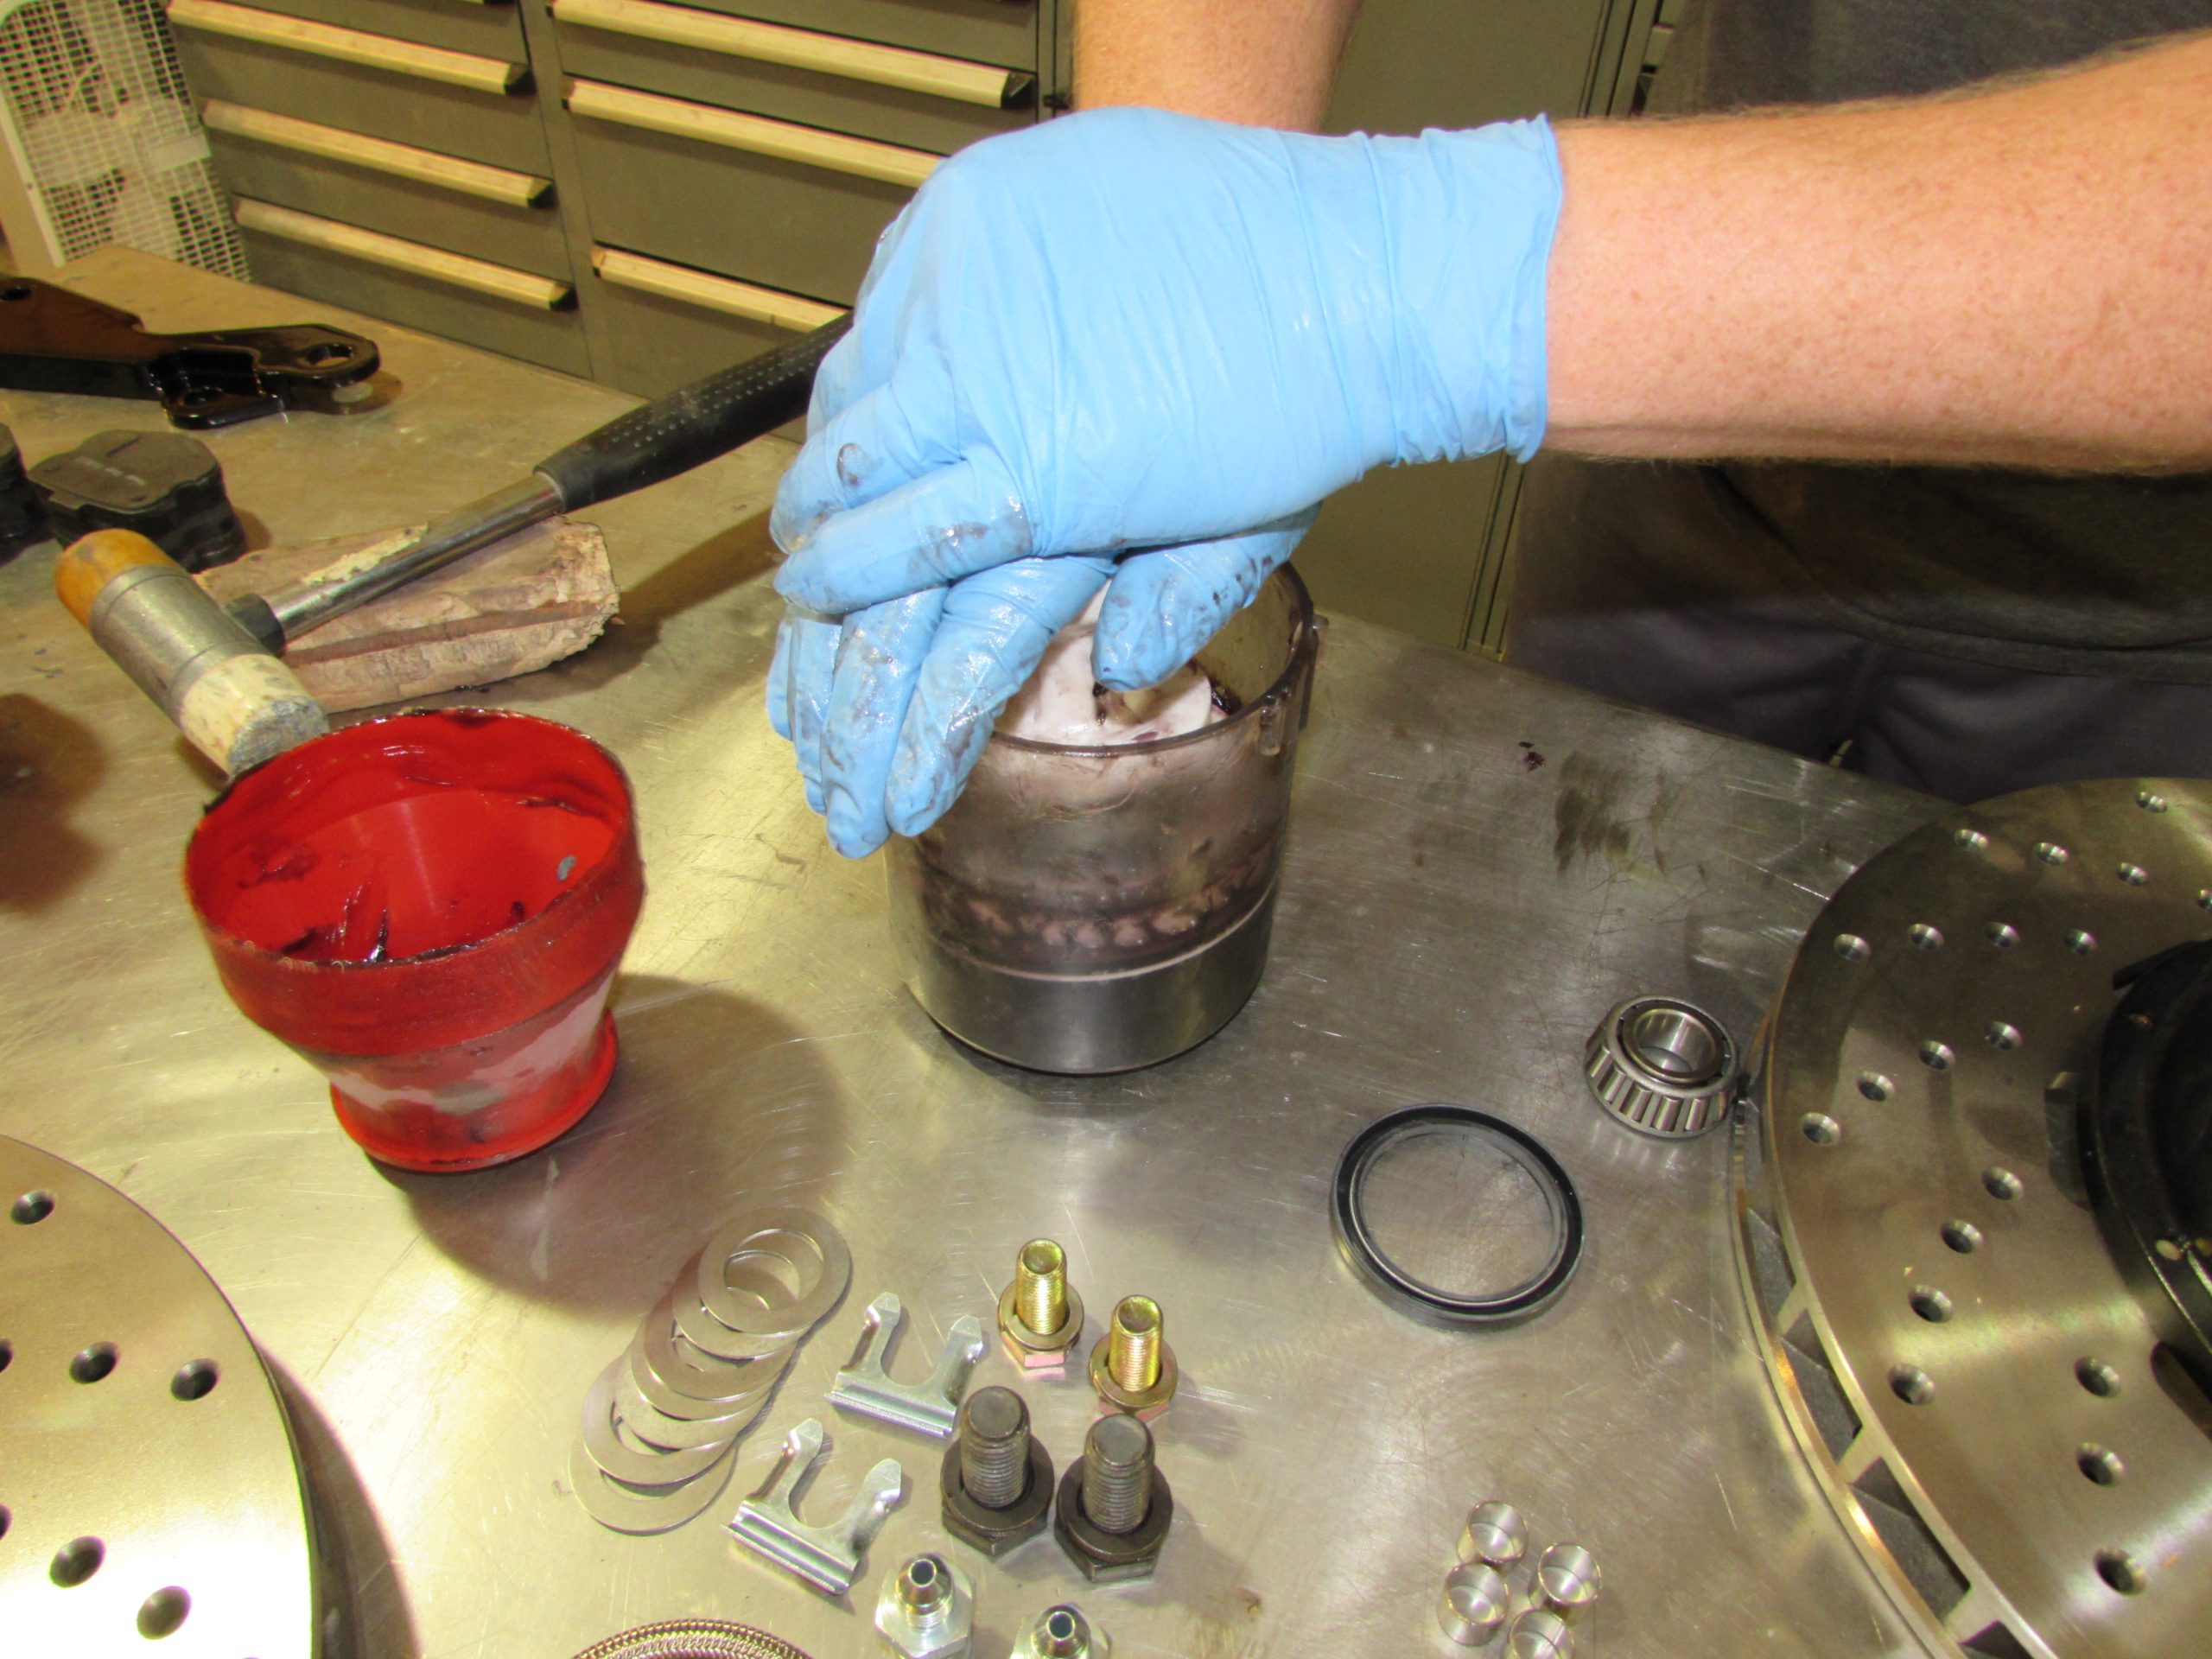
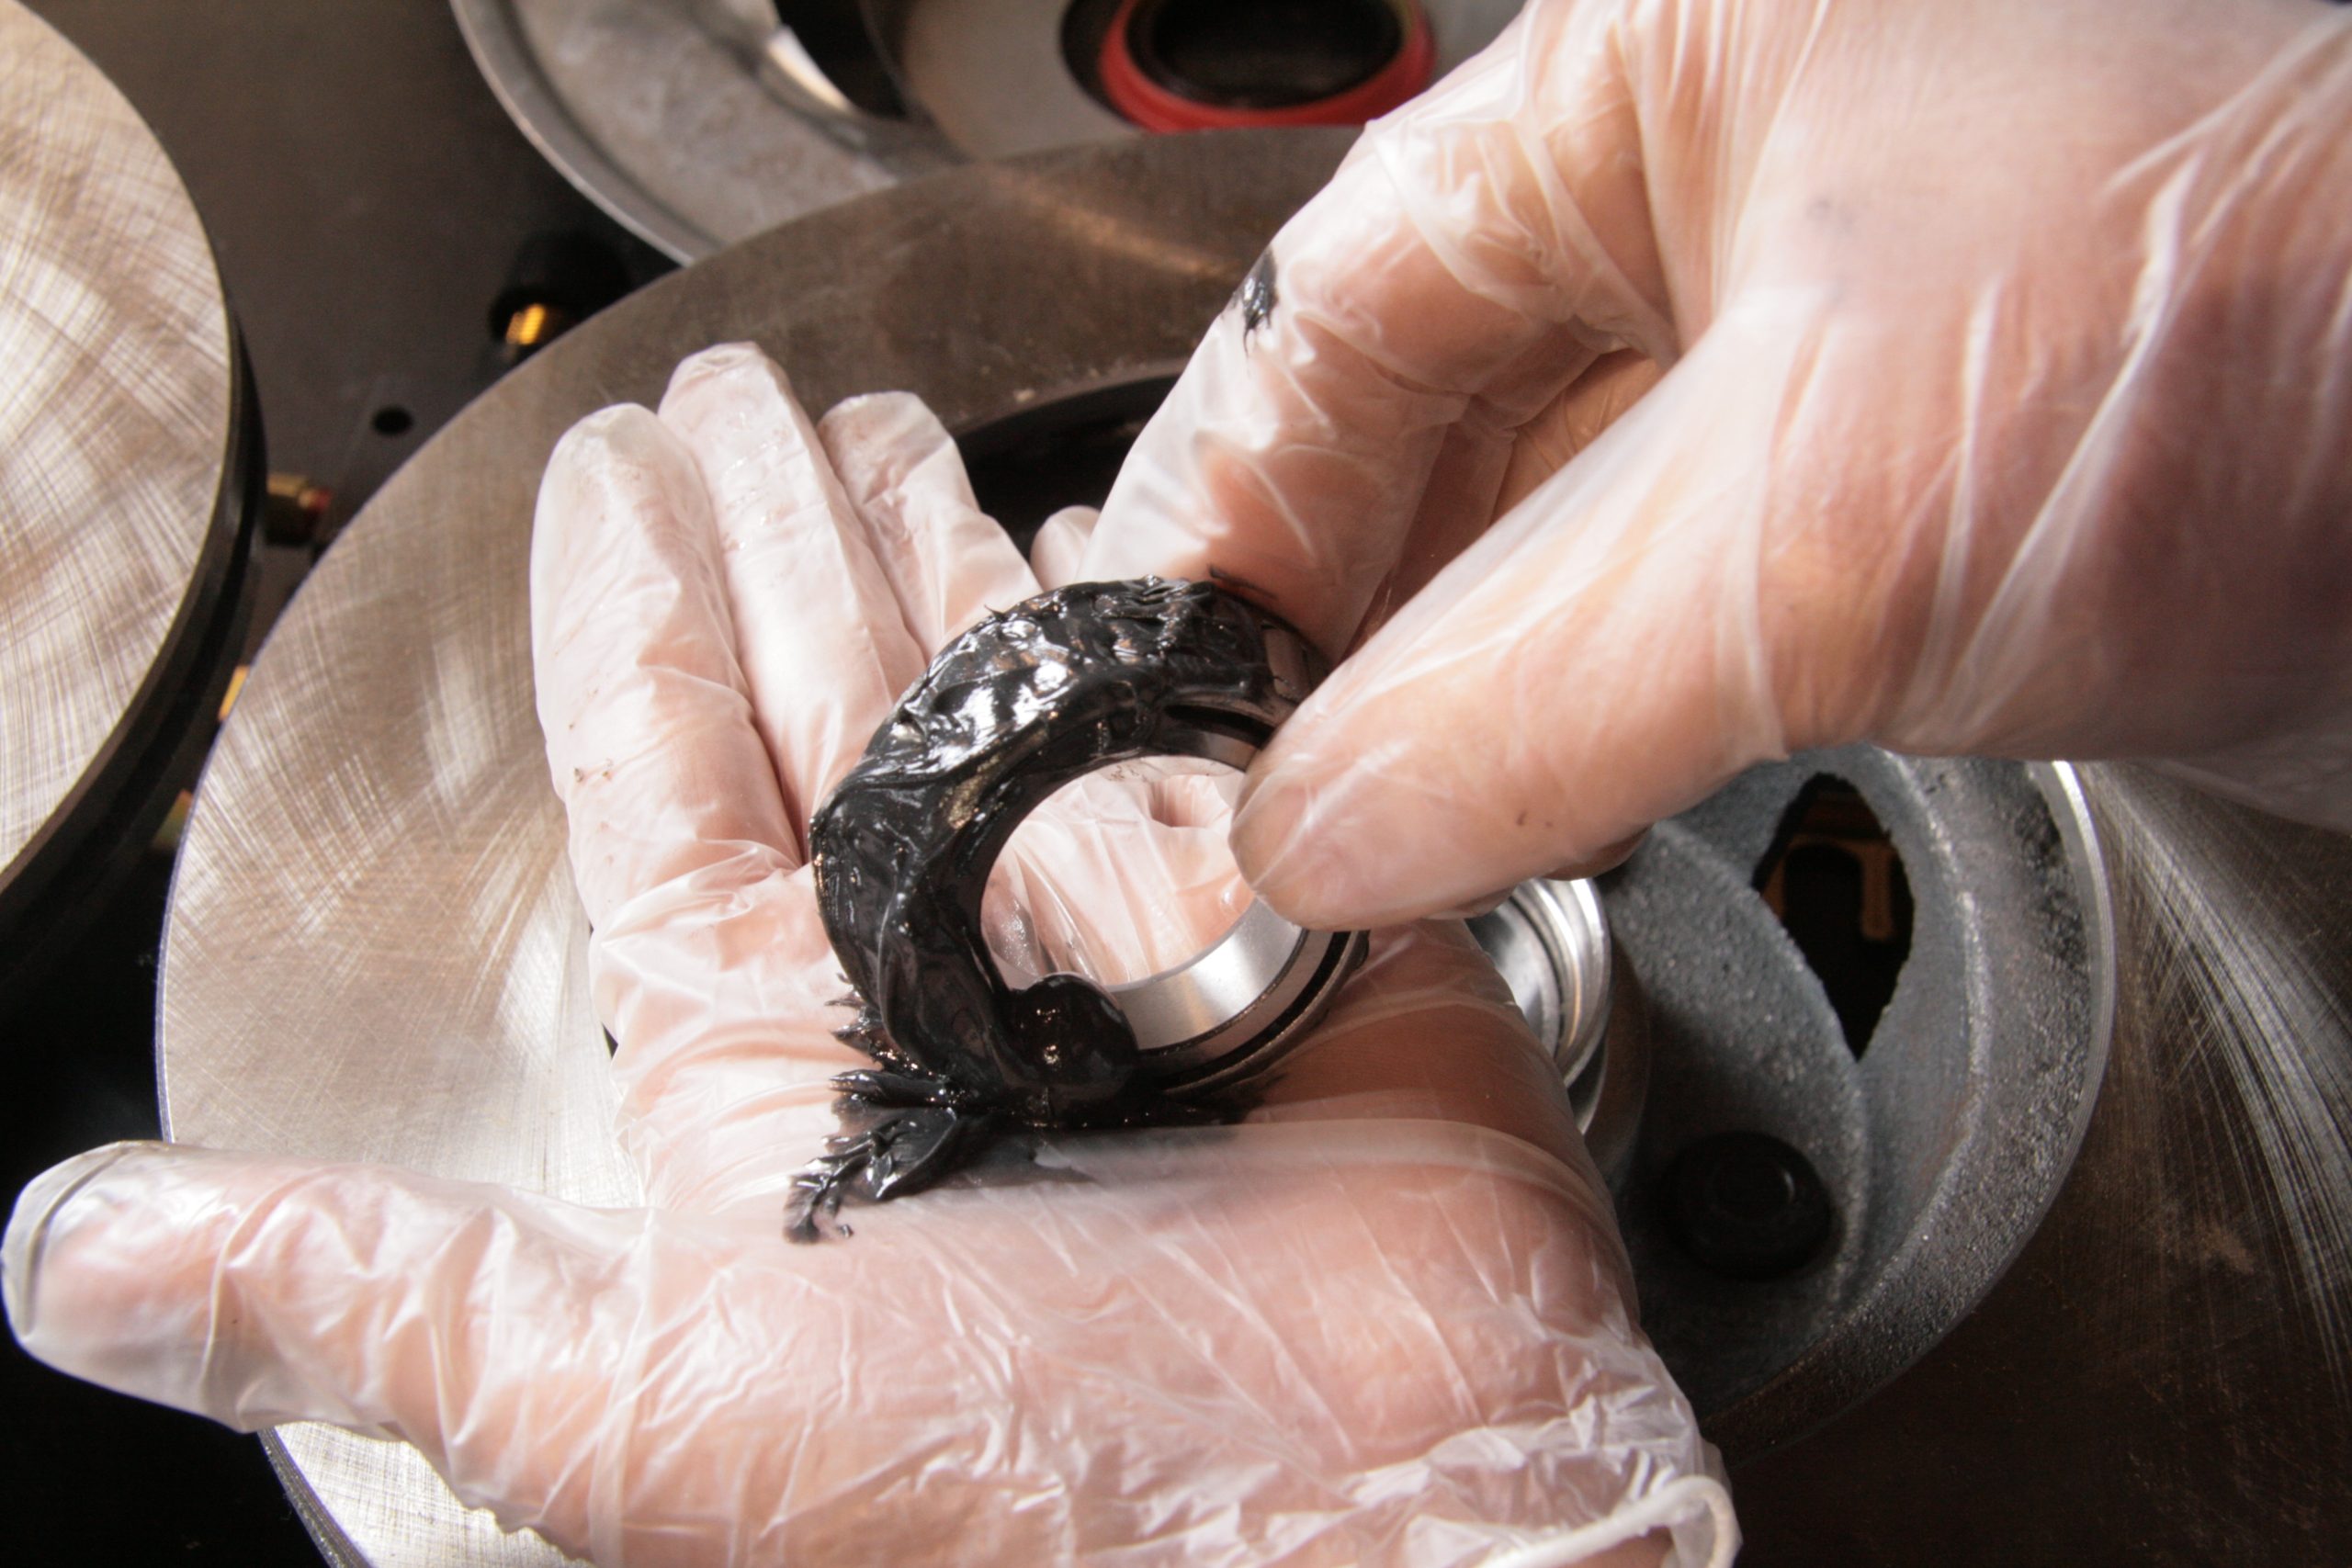
You can’t just smush a little grease on the bearing and expect to have good coverage. Both inner and out bearings need to be packed with grease before installation. There are two main ways to do this—by hand or by machine. Packing by hand is done by scooping grease from the container and using your palm to press the grease into the bearing. The grease should push through the bearing from the outside and make some little grease ‘worms’ as it presses through the bearing rollers and body. Rotate the bearing about an 1/8th of a turn and repeat until the entire bearing is saturated with fresh grease.
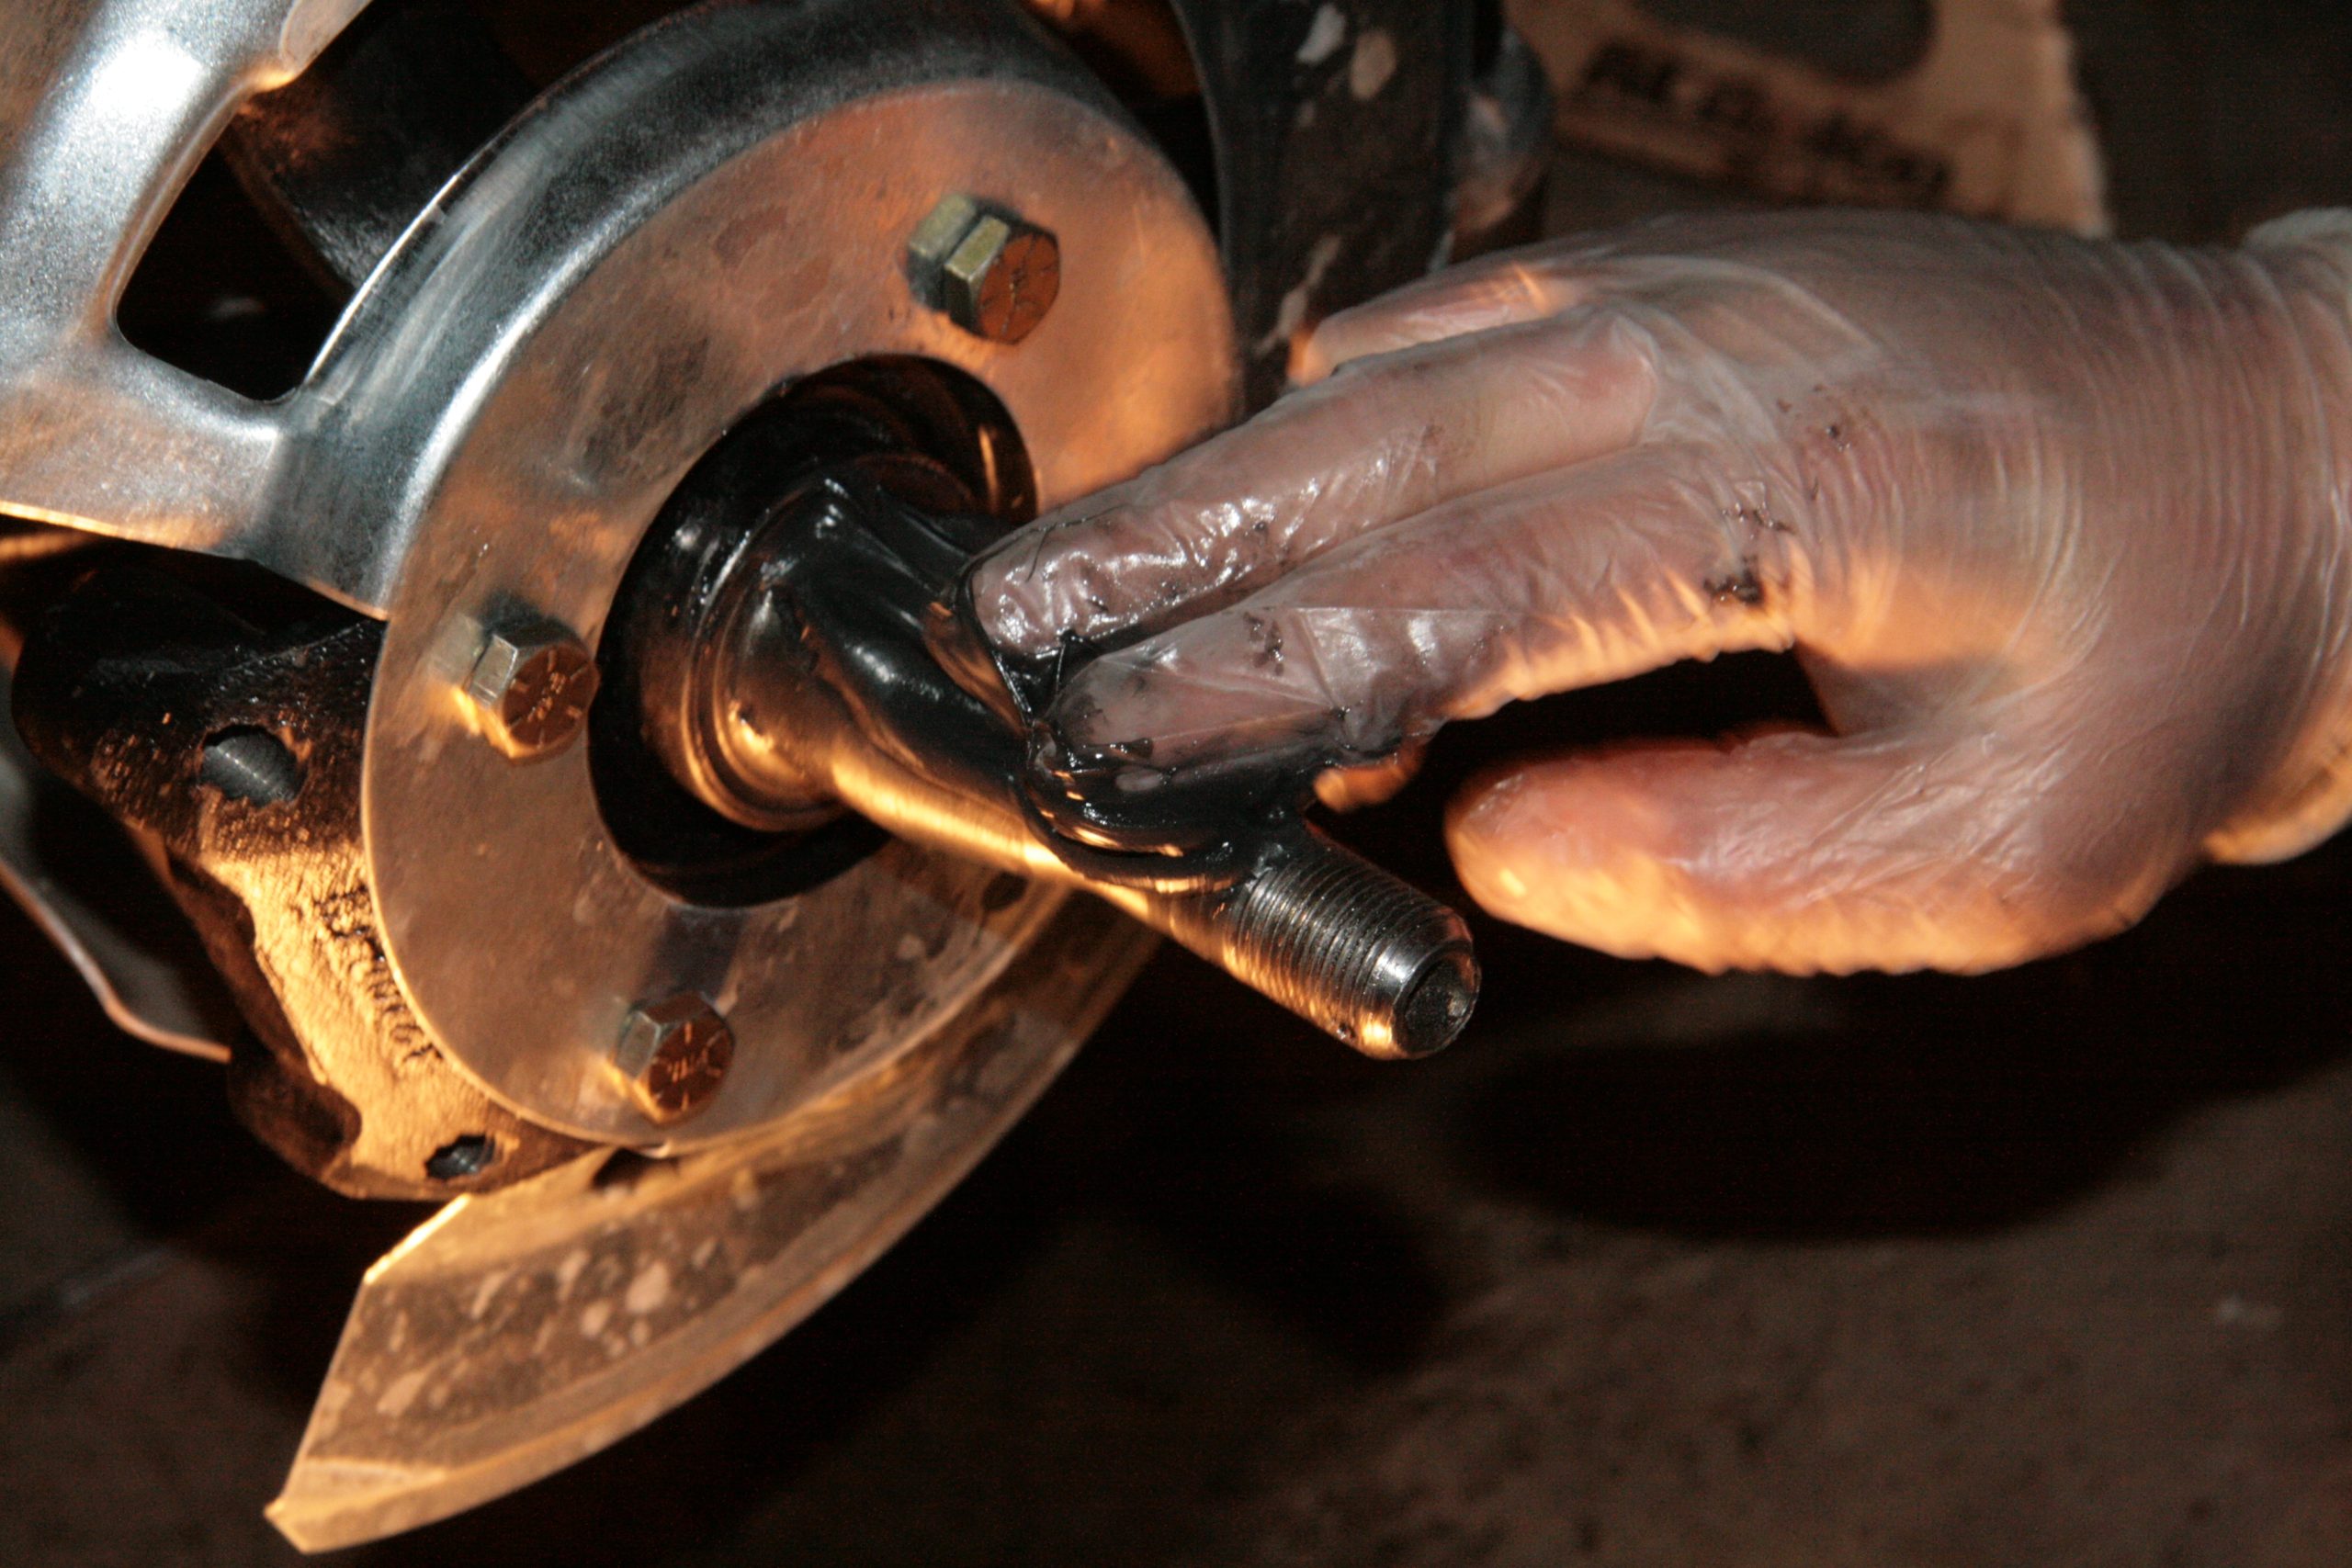
If you would rather use a packing tool, Summit Racing has several to choose from. For this story we used a Lisle Handy Packer tool. It’s easy to use—load it with fresh grease, drop the bearing in the tool, then put the plunger handle on and press down while rolling the handle in a circle. This pushes fresh grease into the bearing in seconds. Once the bearings are greased, don’t forget to load up the spindle shaft. You do not need to fill the hub with grease, but a liberal wipe of grease on the races is a good practice.
Installation of a Wheel Bearing
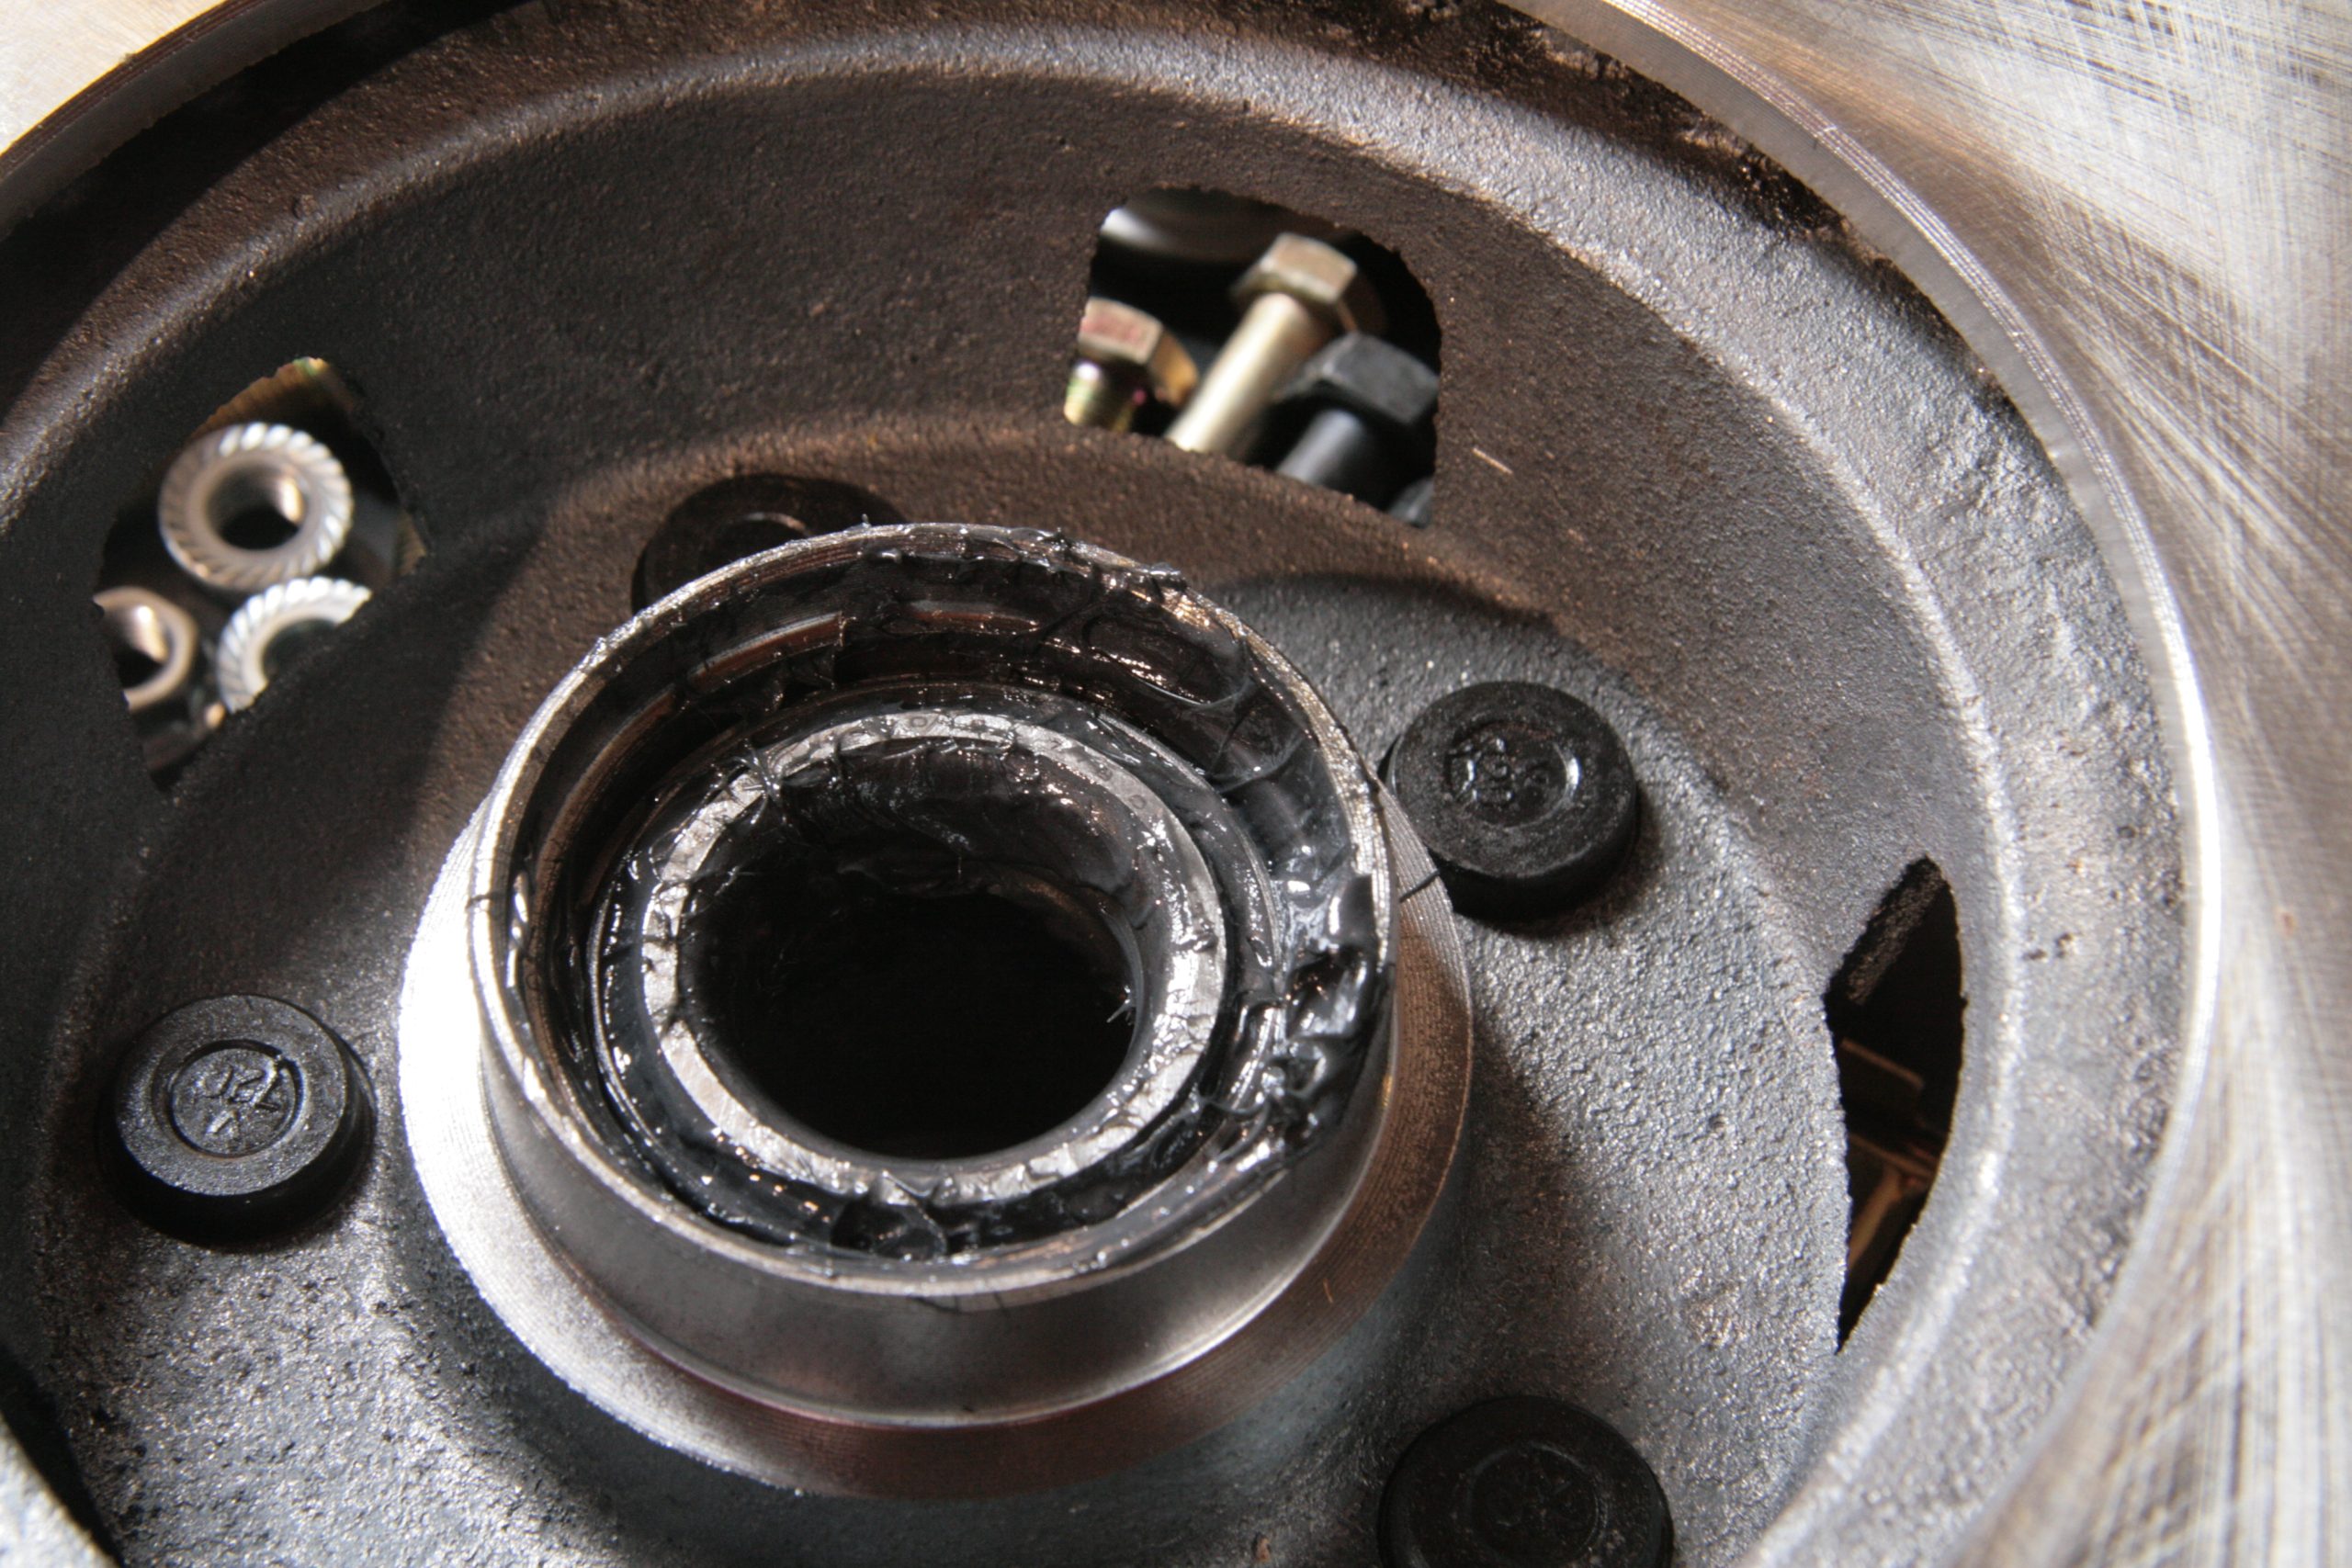
The inner wheel bearing drops into the hub race. If the old bearings got hot and the race has hot spot bluing or any bumps, grind marks, or deformations of any kind, you must replace it! If the race surface is smooth, clean, and has no signs of discoloration, then you can reuse it.
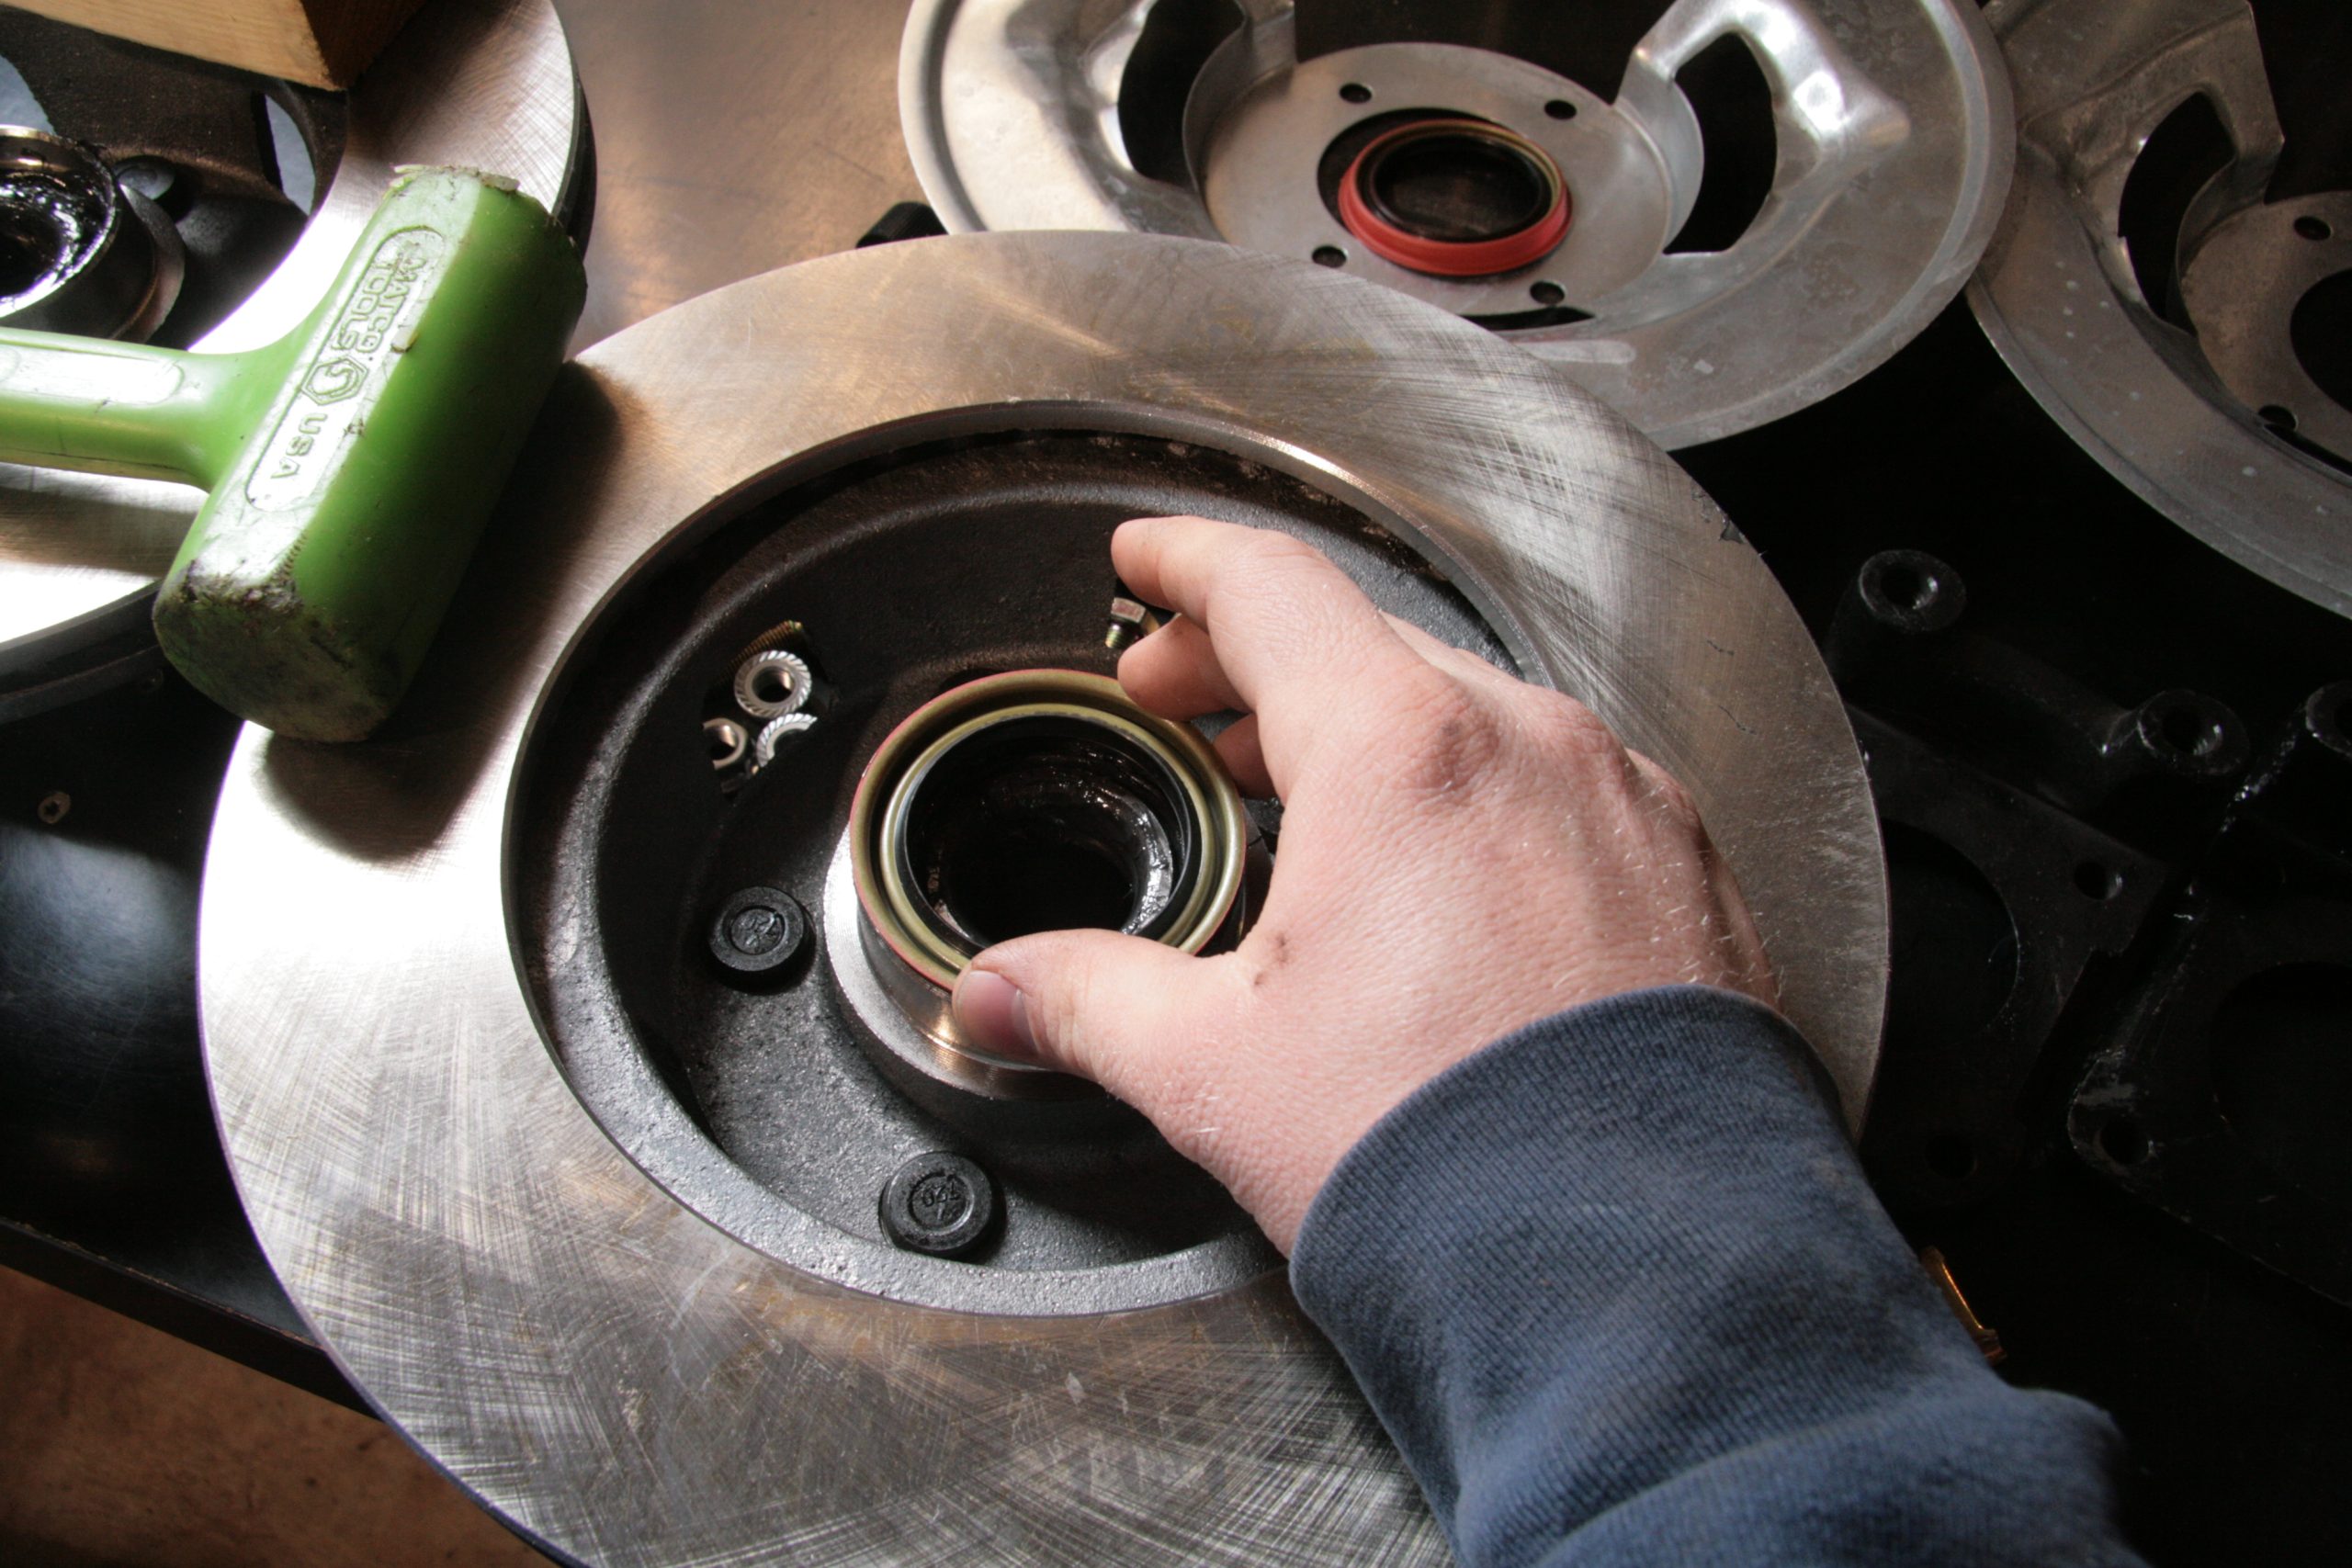
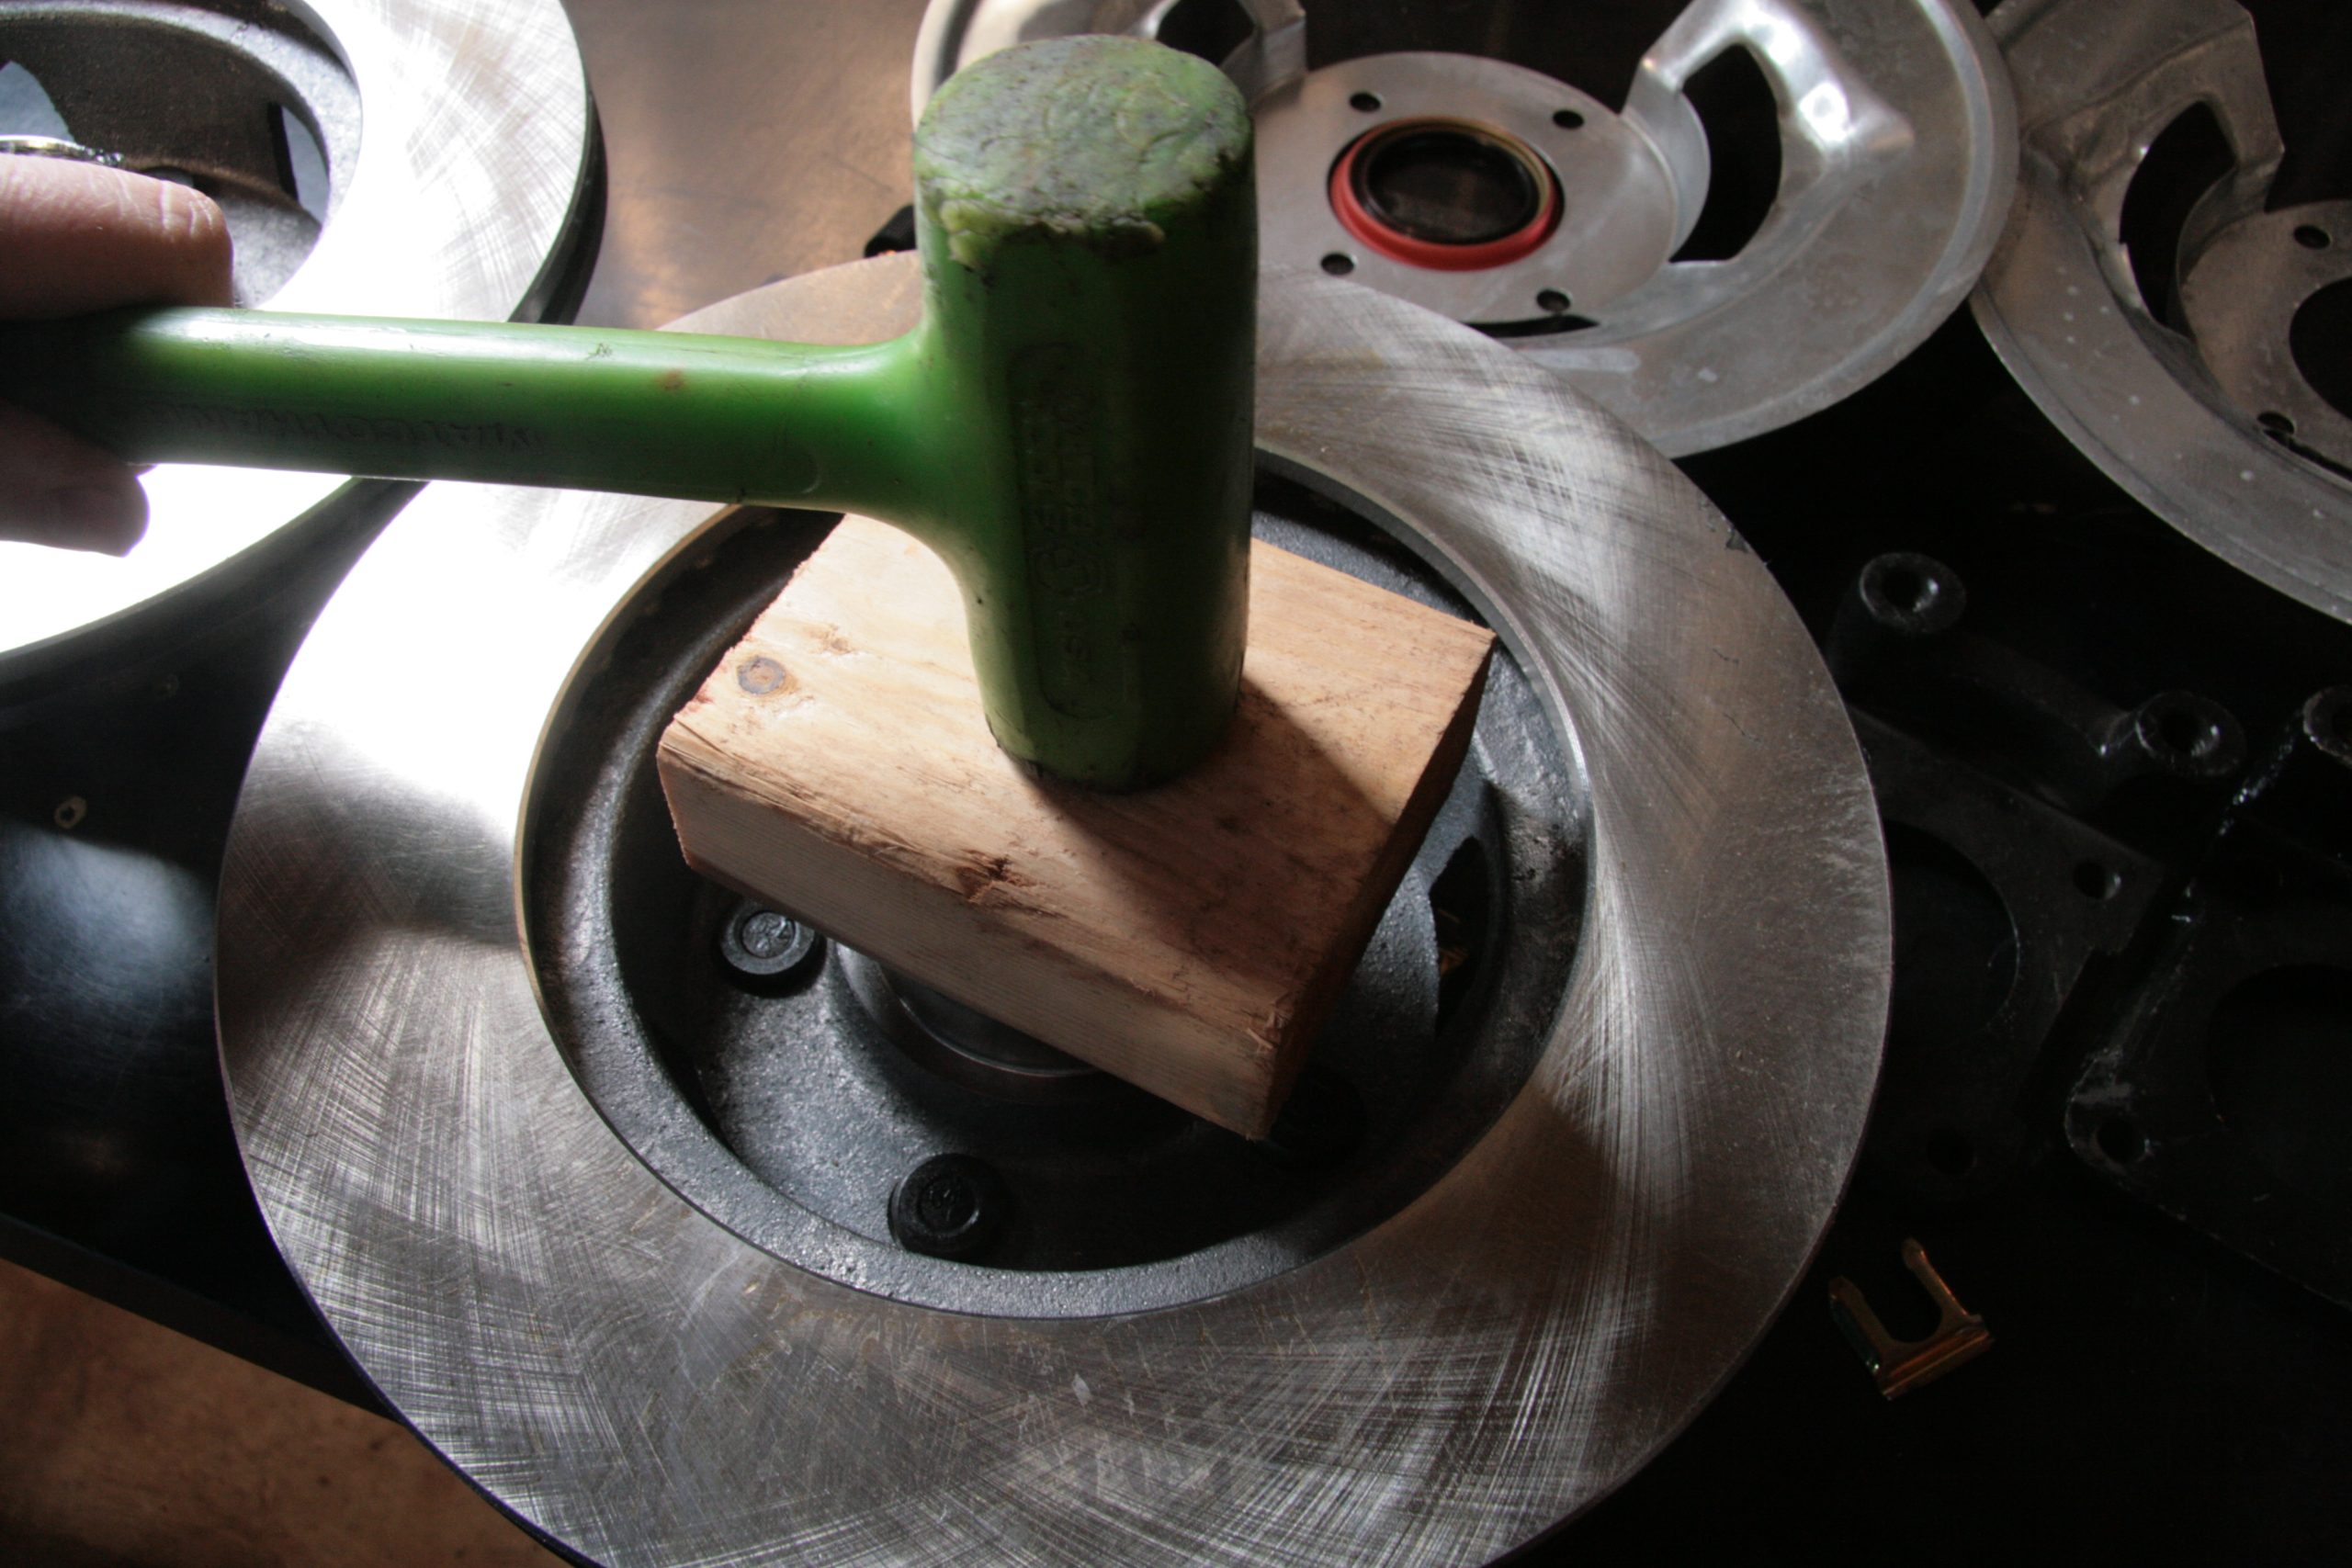
Most inner bearings are held in place with a seal. You can use a large socket or seal driver to install the seal. It should sit flush with the outer edge of the hub and not be crooked. Seals are fairly fragile and do need much effort to drive in place. A mallet or dead-blow hammer and a seal driver are the best way to do it correctly. A small block of wood also works quite well.
Bedding Process for a Wheel Bearing
This is the step that many DIYers forget or were never shown how to do. The bedding process takes less than two minutes and should be done EVERY SINGLE TIME the hub is removed from the spindle for any reason. It is critical that the bearings are properly seated to ensure bearing preload will be accurate.
Follow these steps:
- Mount the wheel hub over the spindle.
- Put the outer bearing in the hub over the spindle shaft.
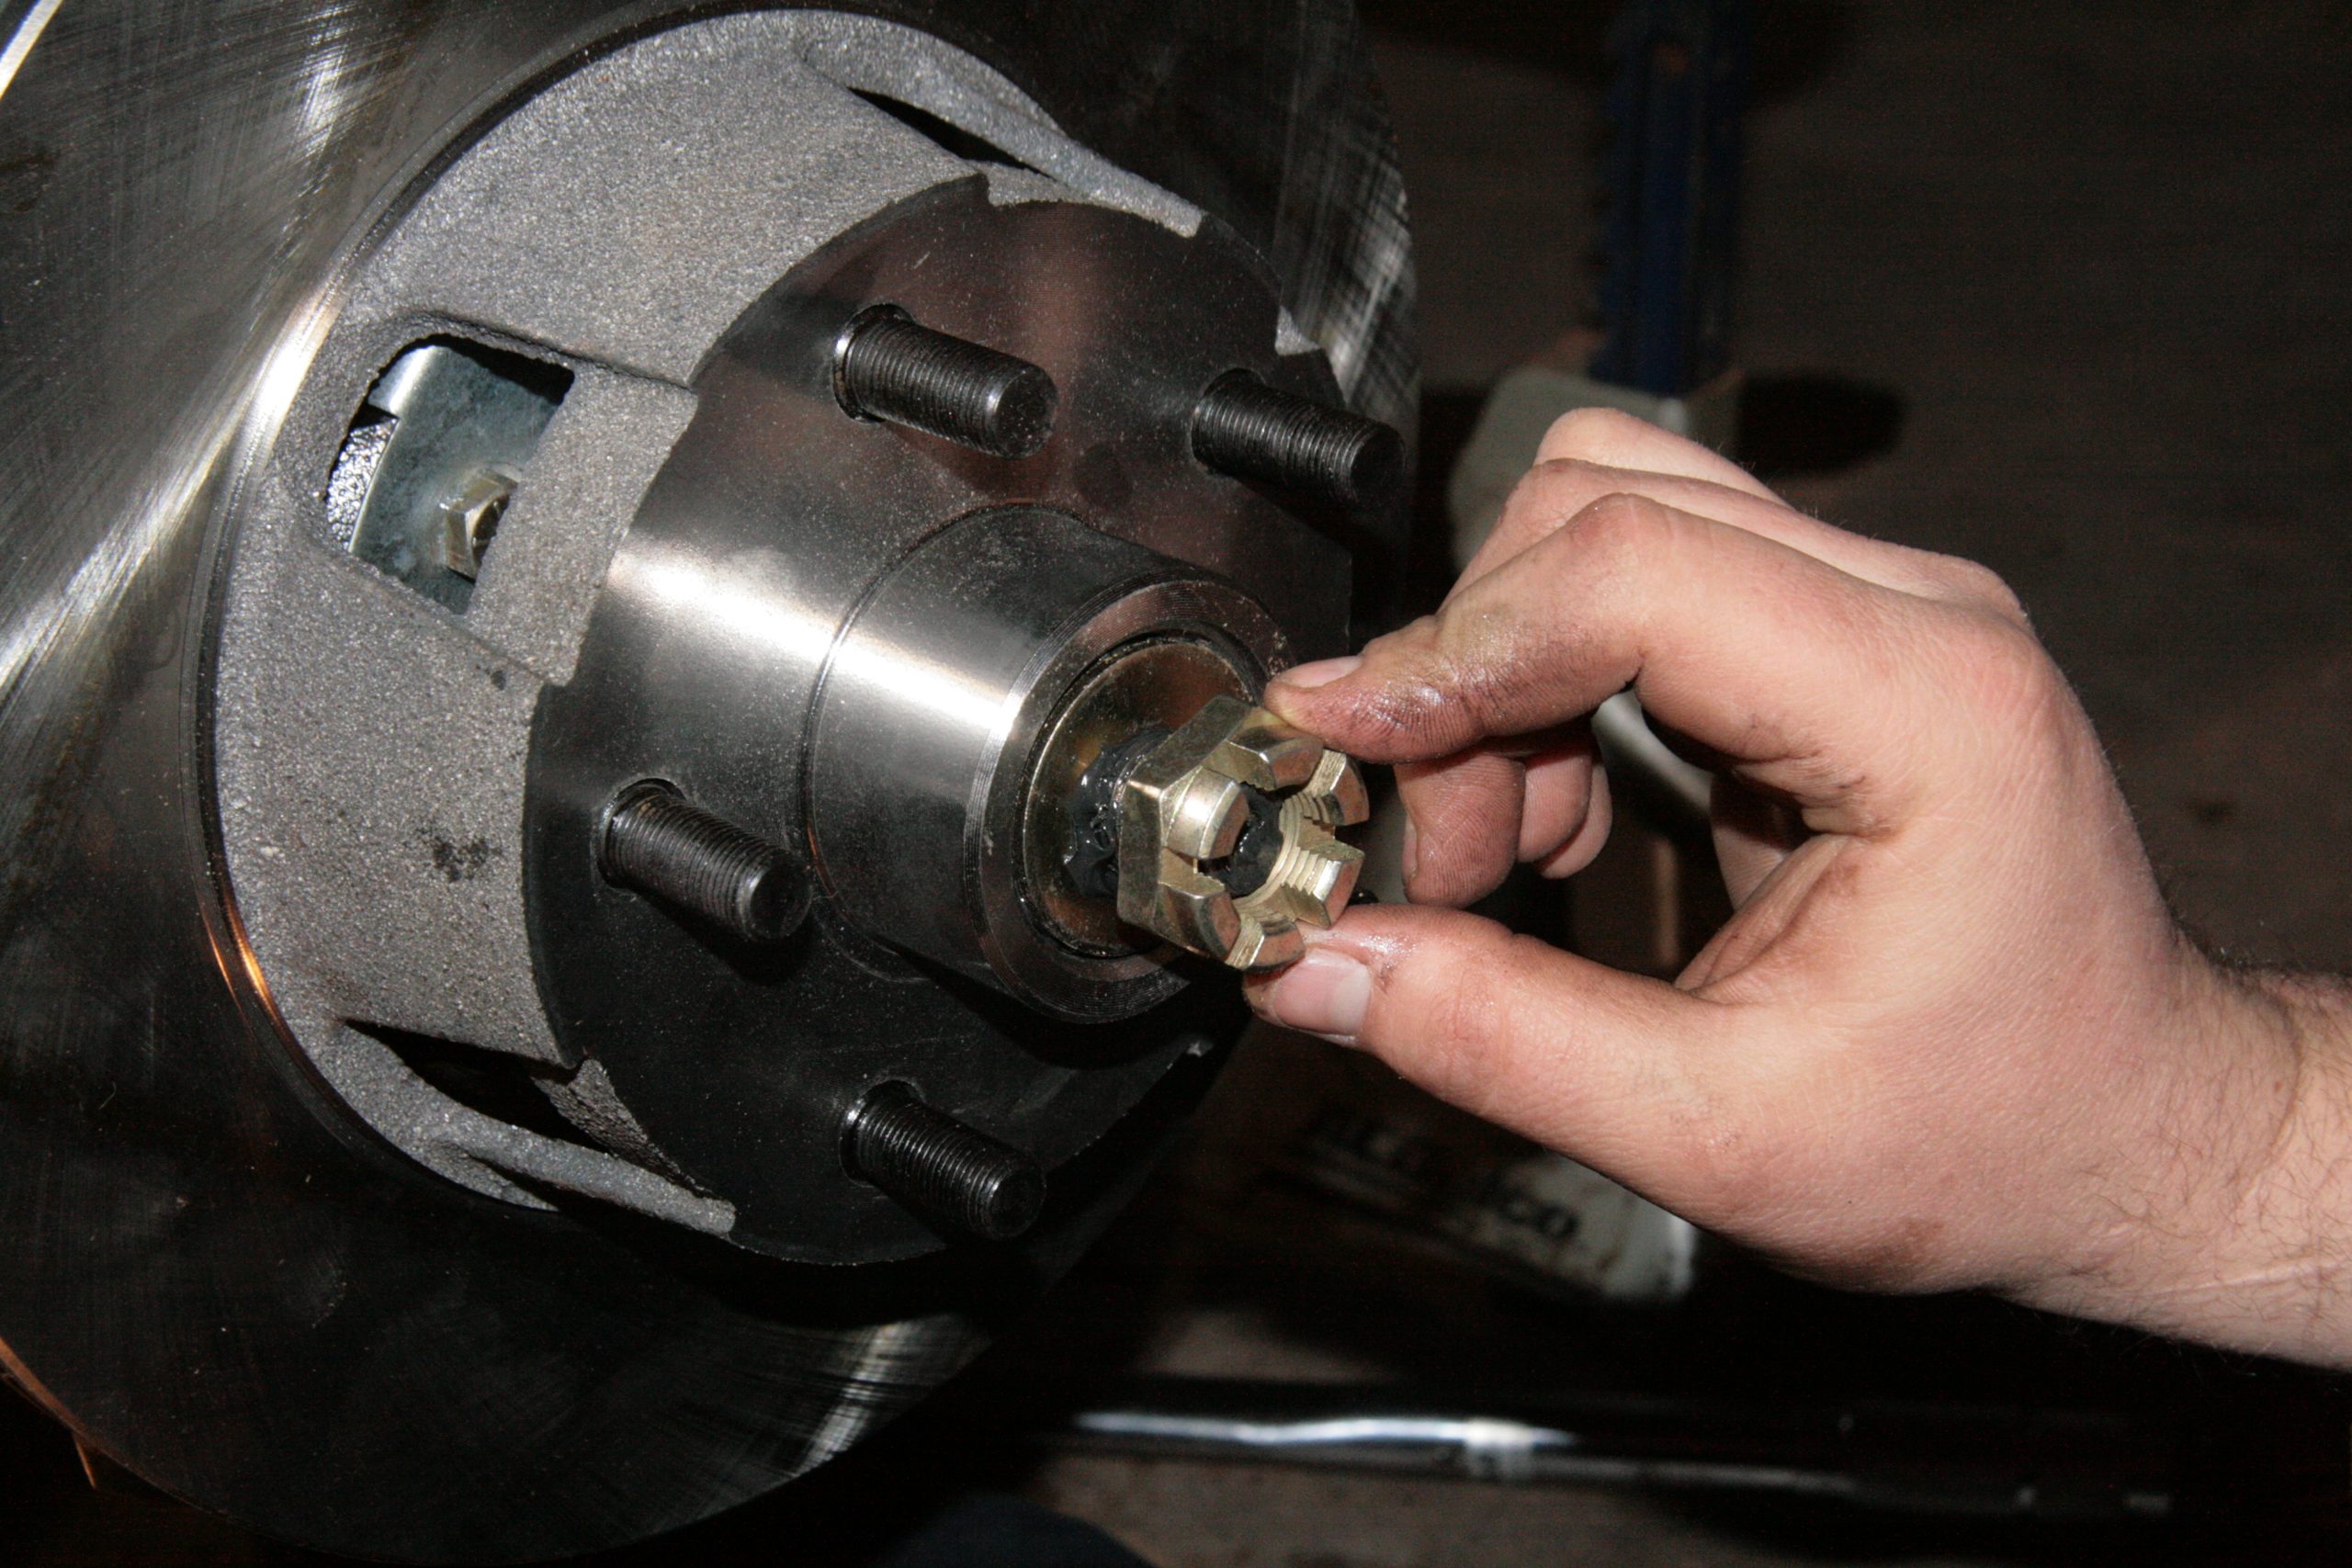
- Place the large washer over the spindle. These often have a tab that matches a notch in the hub shaft to keep the washer from spinning.
- Thread the castle nut onto the spindle until it contacts the bearing.
- Spin the wheel hub in either direction as you tighten the castle nut. Do this until the hub stops spinning.
- Loosen the castle nut until the hub spins freely.
- Spin the hub the opposite direction and tighten the nut until it stops again.
- Repeat the spin-tighten-loosen-spin procedure at least four or five times.
Setting Wheel Bearing Preload
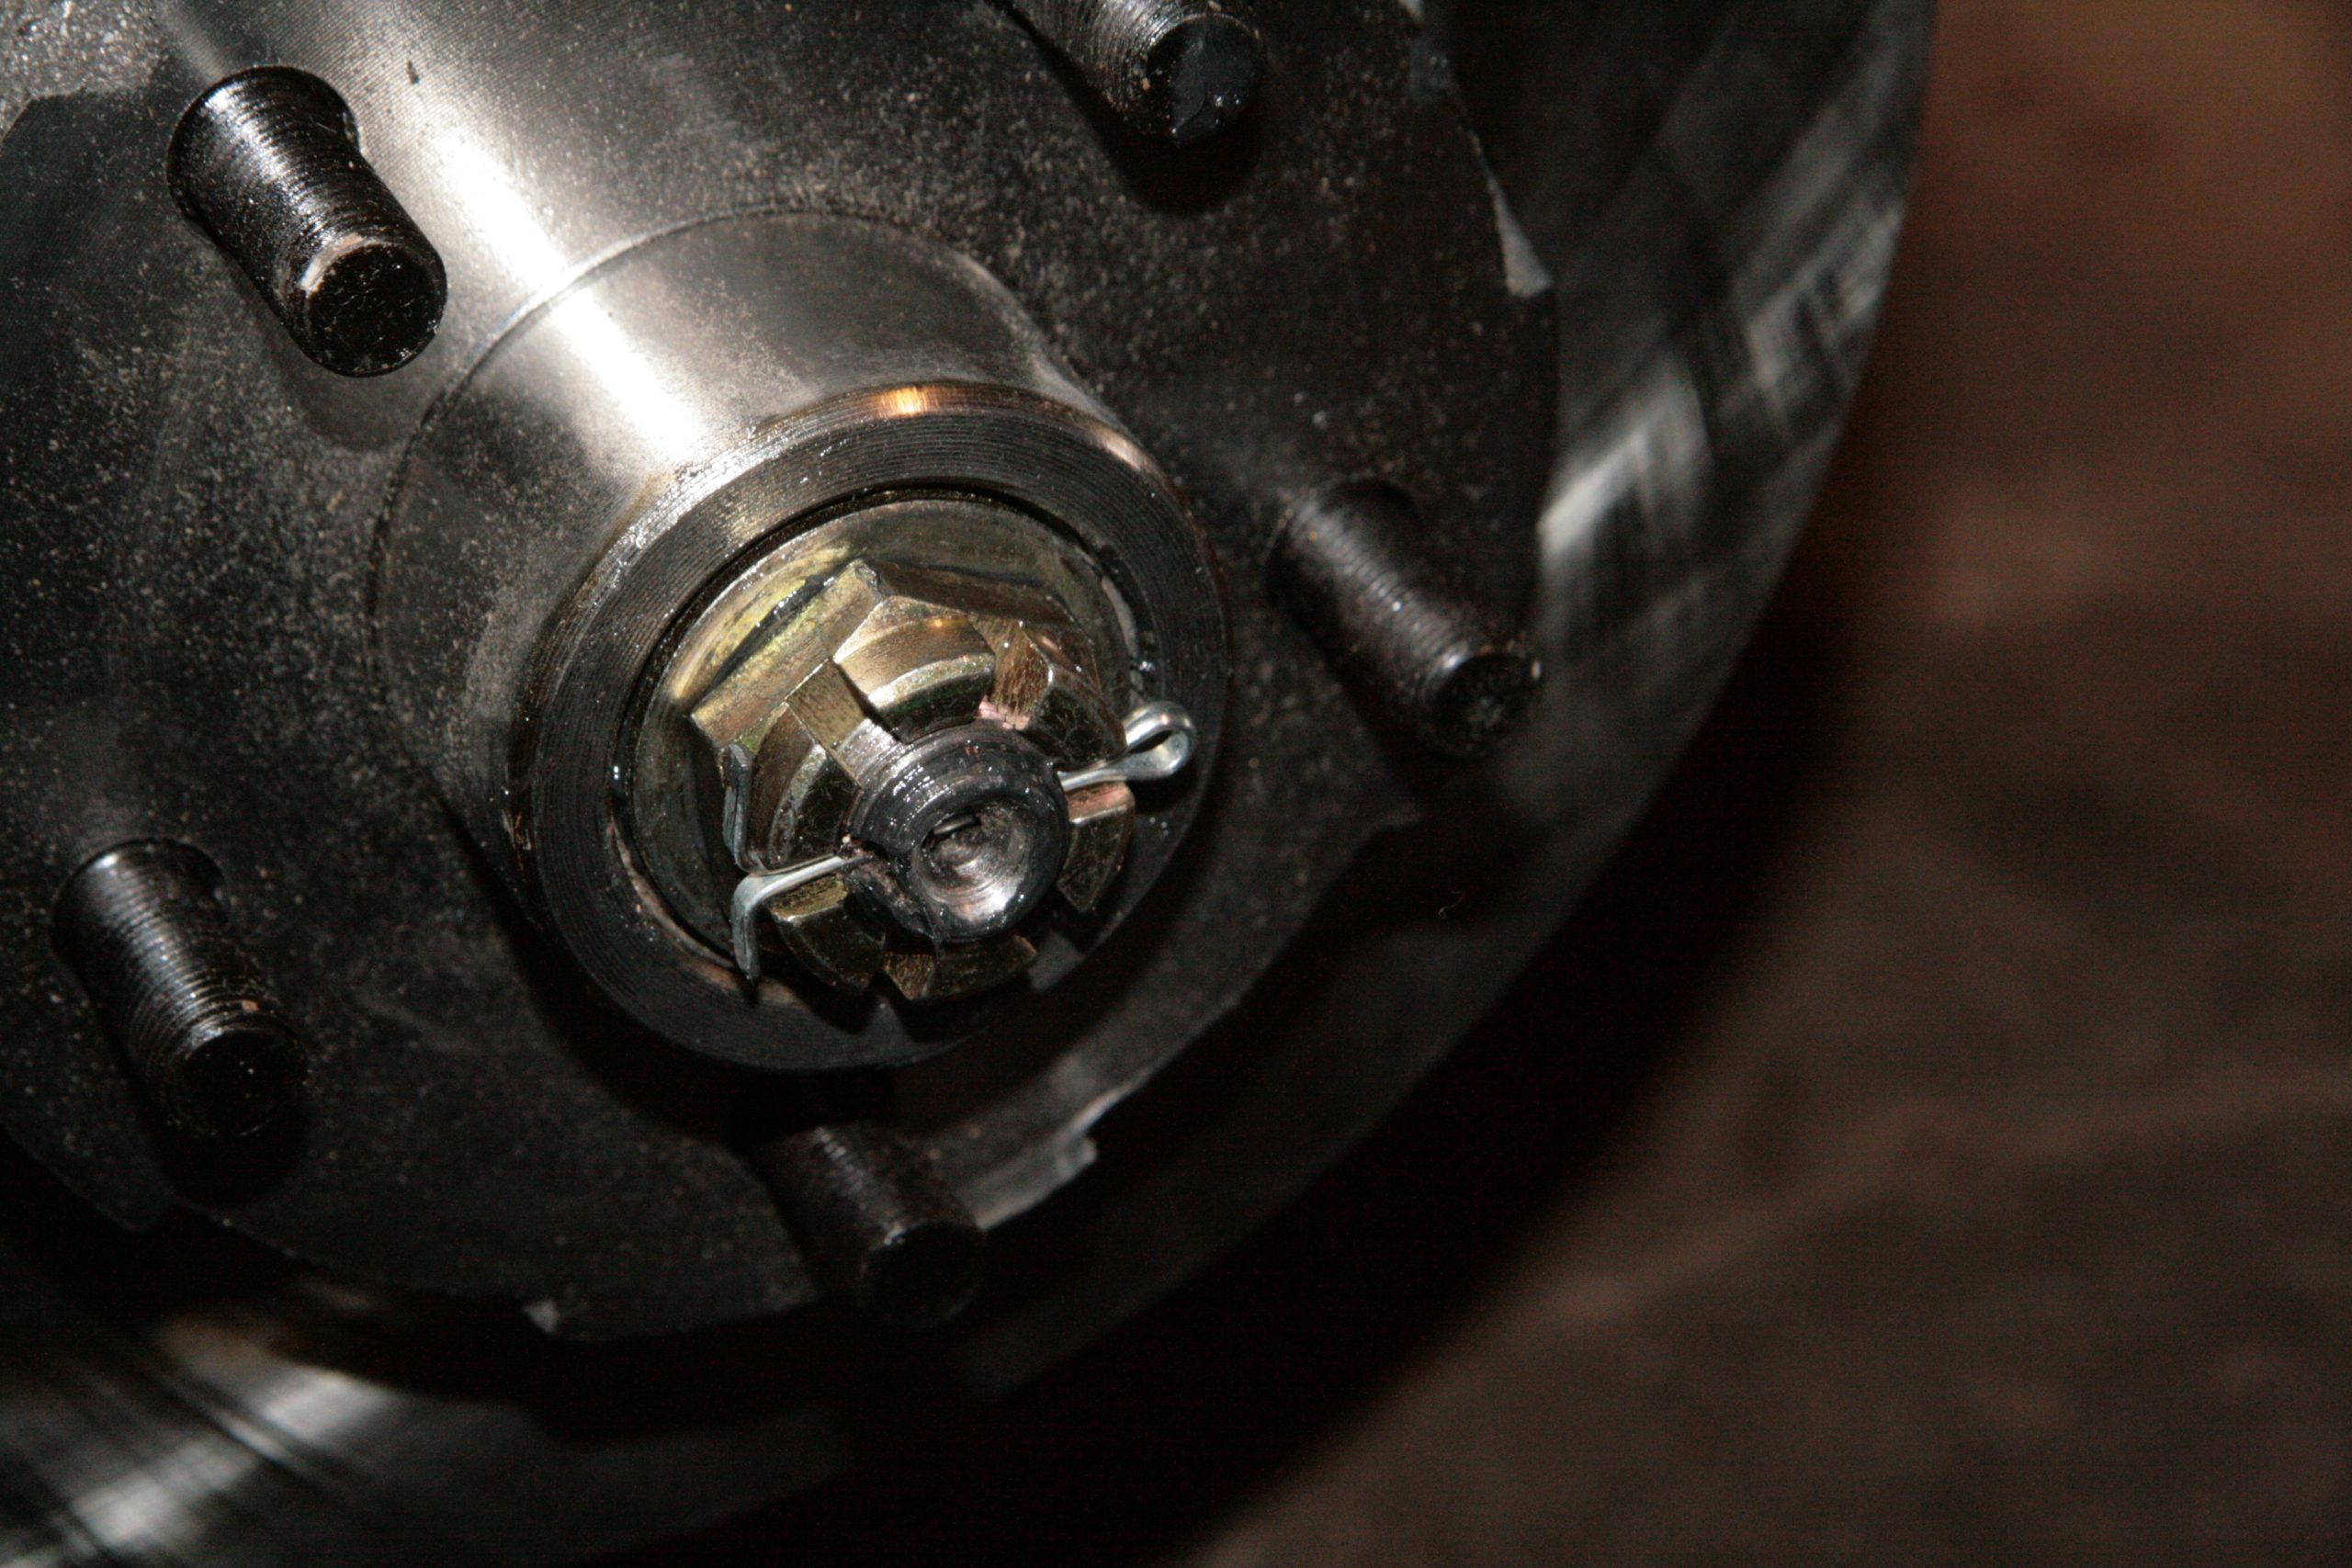
Setting the preload is the last step for installing new wheel bearings. During the final spin-and-tighten operation during the bedding process, you tighten the castle nut until the wheel hub stops, then back it off just enough so the hub spins by hand. This usually puts the castle nut into a position where a groove in the nut lines up with the cotter pin hole in the spindle shaft. The hub should spin but have slight resistance. If it freewheels, the hub is too loose.
The tricky part is that you can easily overtighten the nut. Some manufacturers provide a torque spec for preload. For example, most trailer hubs require 15-20 lbs.-ft. of torque on the castle nut. If you choose to use the torque spec method, tighten the nut until it contacts the washer, and then use the torque wrench to tighten the nut to the required spec.
If you follow these procedure, your new wheel bearings should last many miles and keep your wheels under your vehicle and not rolling beside you down the highway.
***
Follow the photos as we do bearings for a 1965 Mustang:


Comments