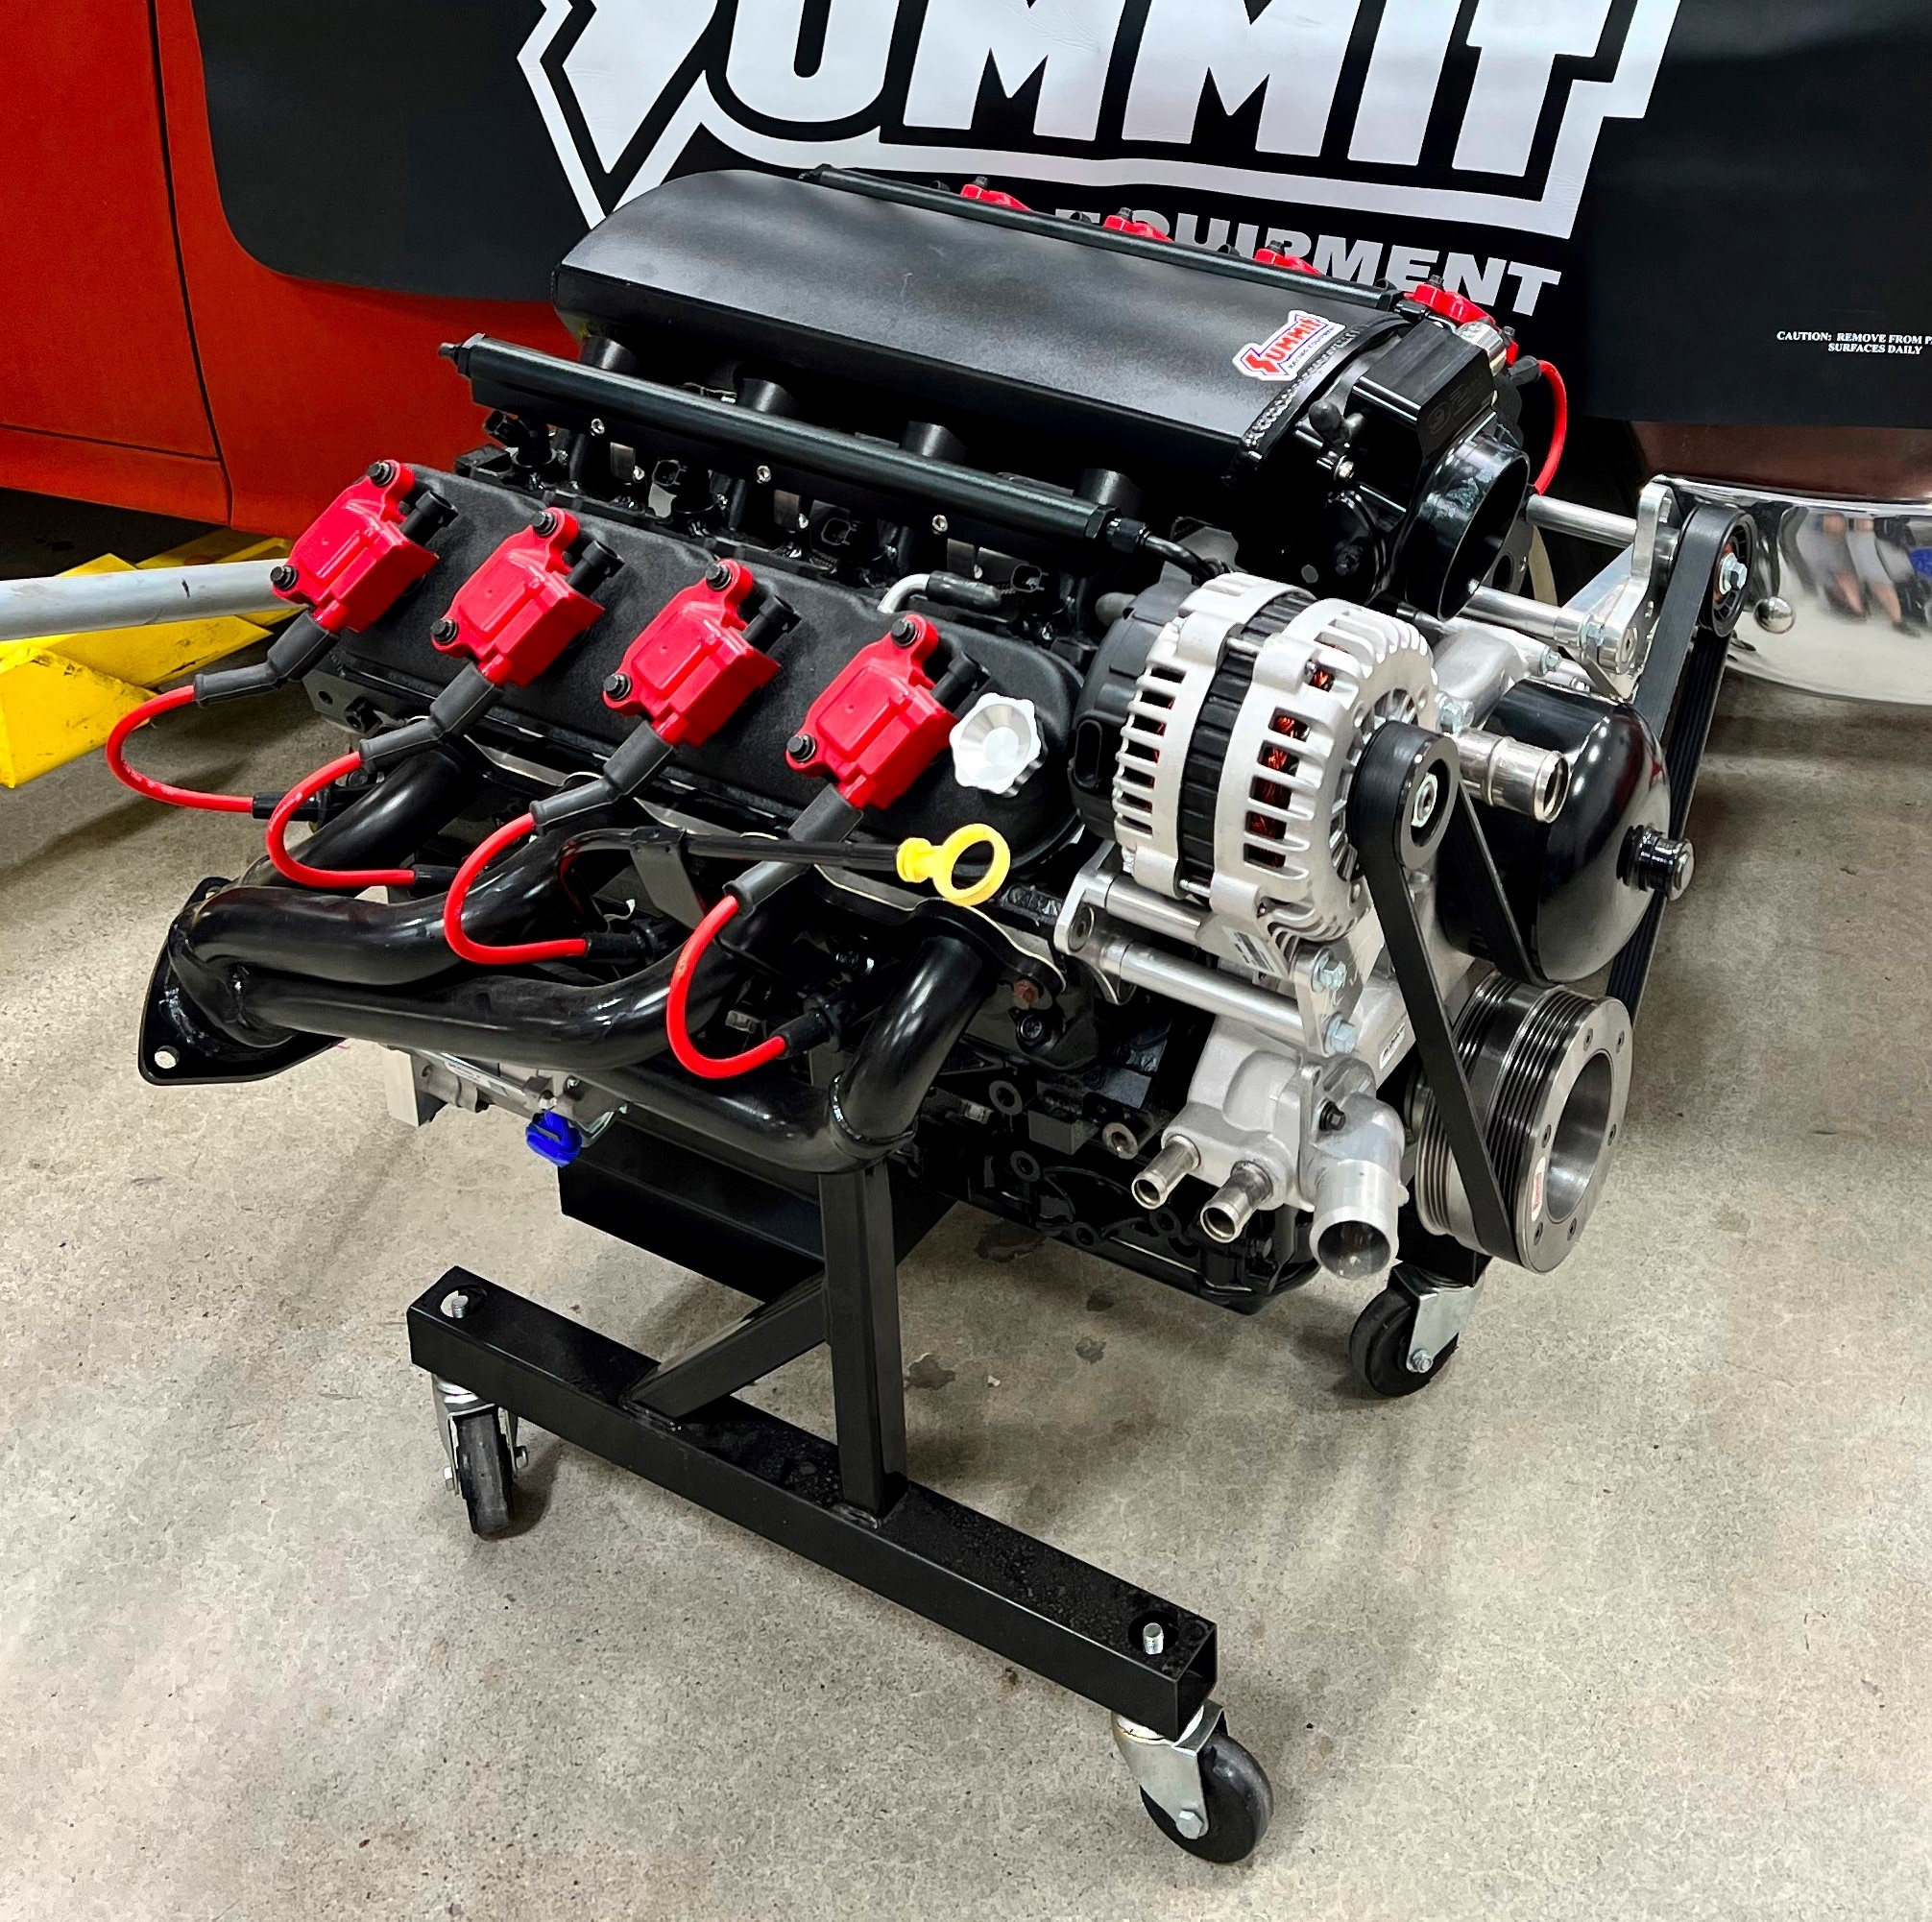
Back in 2021 Ryan Lavacot of 2CarPros pulled a 260,000-mile 5.3L LS from a 2001 Chevy Silverado and rebuilt it into a powerhouse that puts out 493 horsepower and 412 lbs.-ft. of torque. He documented the entire build from soup to nuts in this 2CarPros YouTube video series.
Want to build a similar LS? Summit Racing made handy 2CarPros 5.3L GM LS Engine Parts Combos to help you do it.
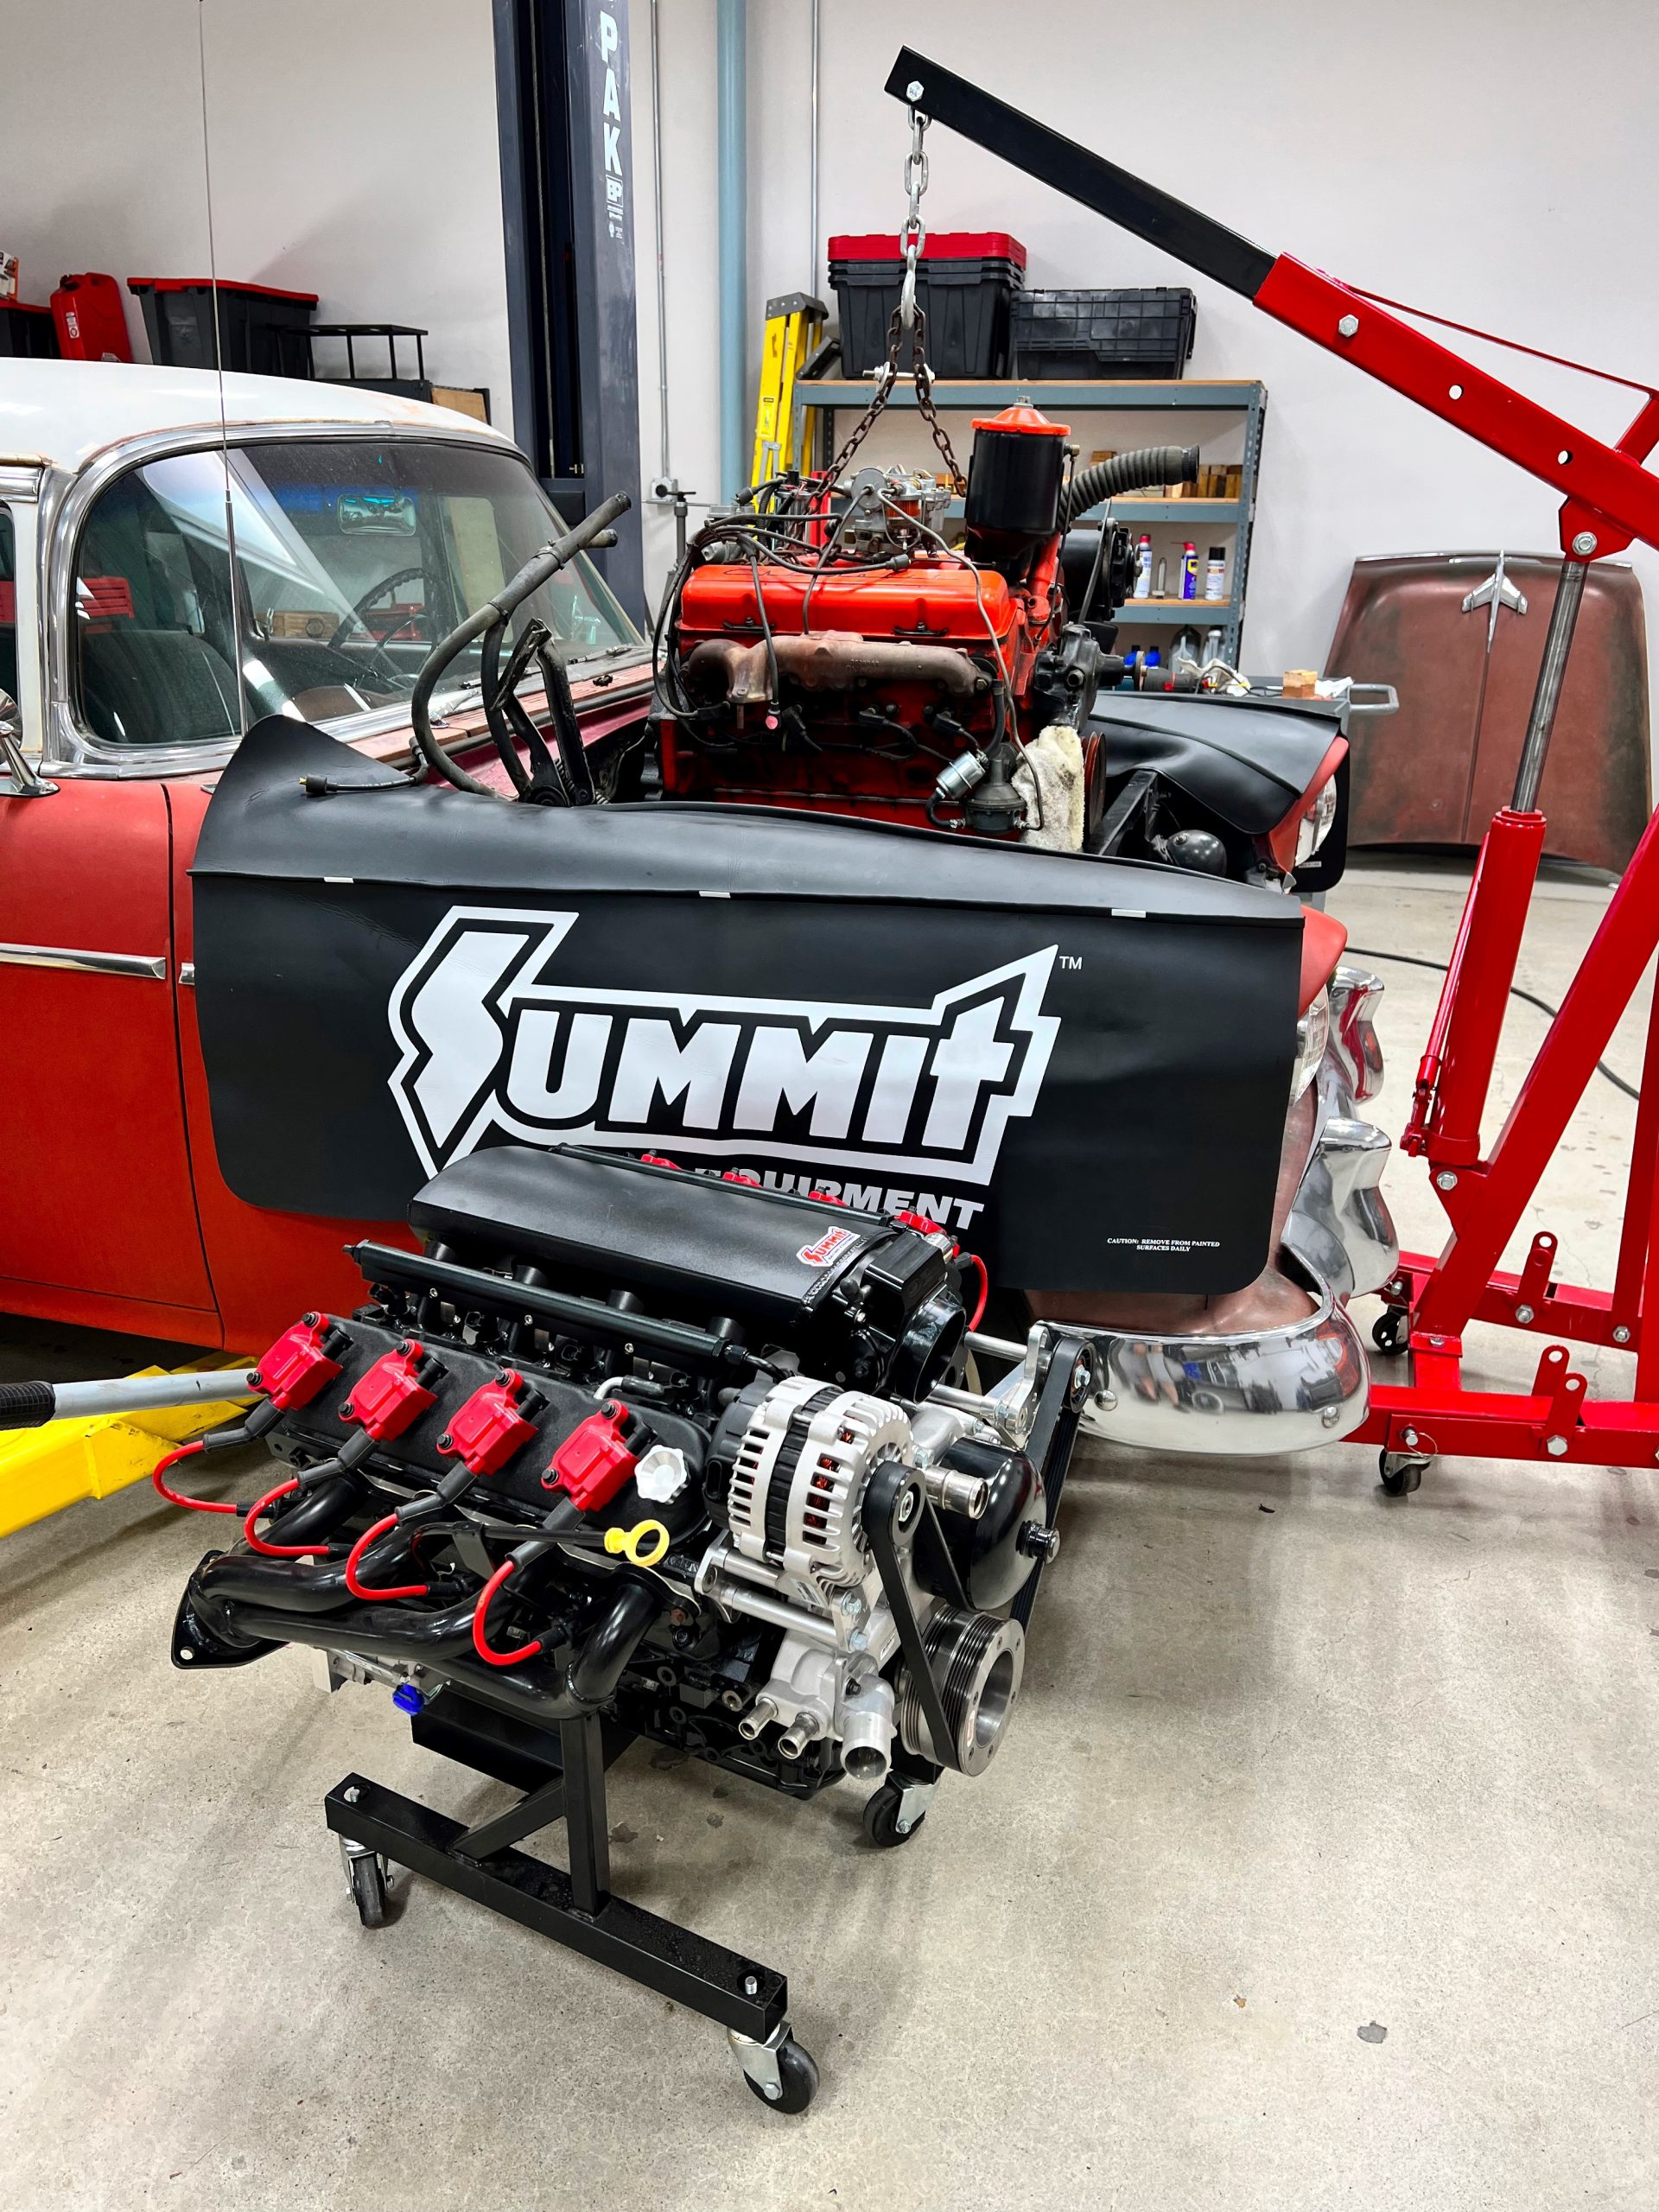
Since then, Ryan has moved into a new shop and found a home for the 5.3L, a 1955 Chevy Bel Air four-door sedan. Being the giver that he is, Ryan decided to show you what it takes to install an LS engine in a classic vehicle with the How to LS Swap video series on the 2CarPros YouTube channel.
“I want to show people what it takes to remove an old engine and swap a new LS into a classic car,” Ryan explained. “While the car I have is a 1955 Chevy, what you’ll learn applies to most any rear wheel drive car or truck from the 1950s through the 1980s or so. There are a lot of steps to this, but by the end of this series you should be able to put an LS into any classic car you will run across.”
***
The Car

Ryan found the Bel Air through a friend of the family, who bought the car for the 265 cubic inch small block he needed for an early Corvette restoration project. Being a California resident all of its life, the Bel Air was rust-free underneath and showed just a few areas of surface rust up top. The suspension looked recently rebuilt, the interior was reupholstered (albeit in a non-factory fabric), and all of the trim bits were present. You can see how nice and clean this ’55 is in this ‘Finding the Car’ video—and please forgive Ryan for calling the car a 1956 at the beginning of it. He’s now on the straight and narrow.
There are three segments posted so far that cover engine removal, engine bay prep, and getting the LS and Turbo 350 transmission ready for installation. We’ll cover the remaining segments as soon as they’re posted.
***
Episode 1: Taking the Engine Out
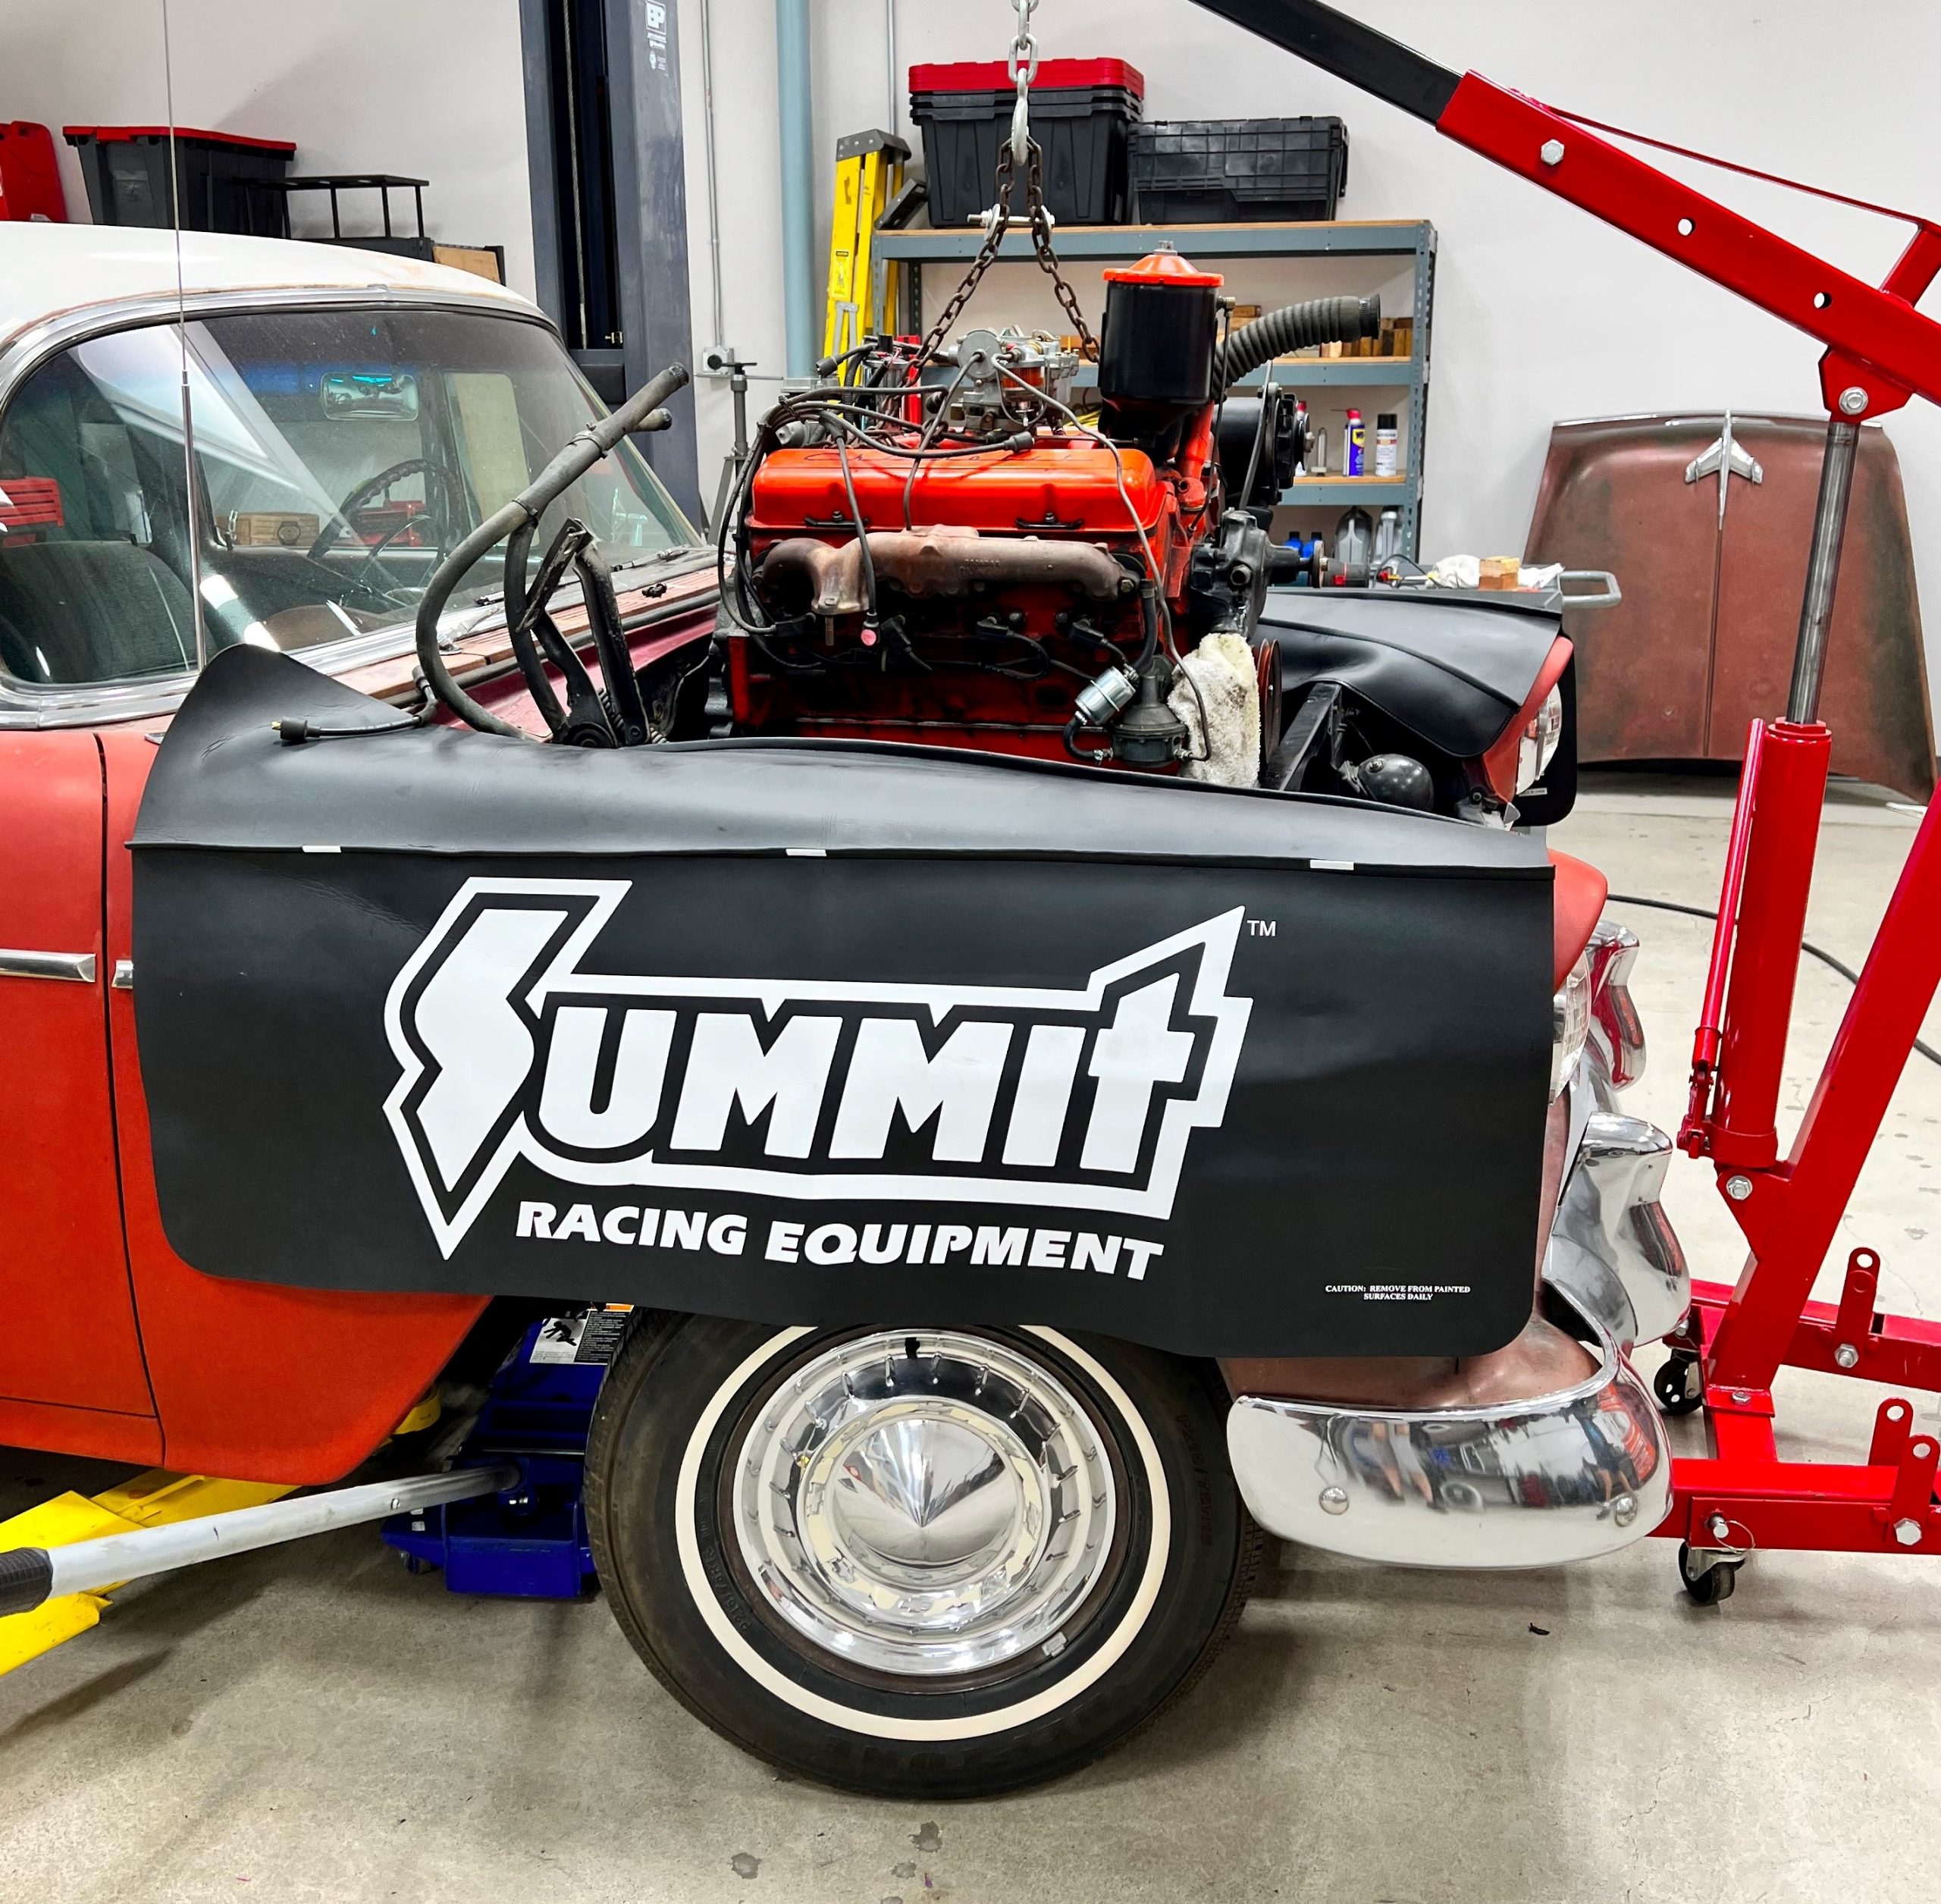
The Bel Air’s engine compartment and the 265 small block were very clean, making removal less of a chore. An external transmission cooler in front of the radiator had to be removed. Radiators with built-in transmission coolers are available for this swap. The previous owner installed a one-piece cooling fan shroud for some reason; Ryan had to unbolt the fan and water pump pulley to remove the shroud and the radiator.
***
Episode 2: Removing the Transmission
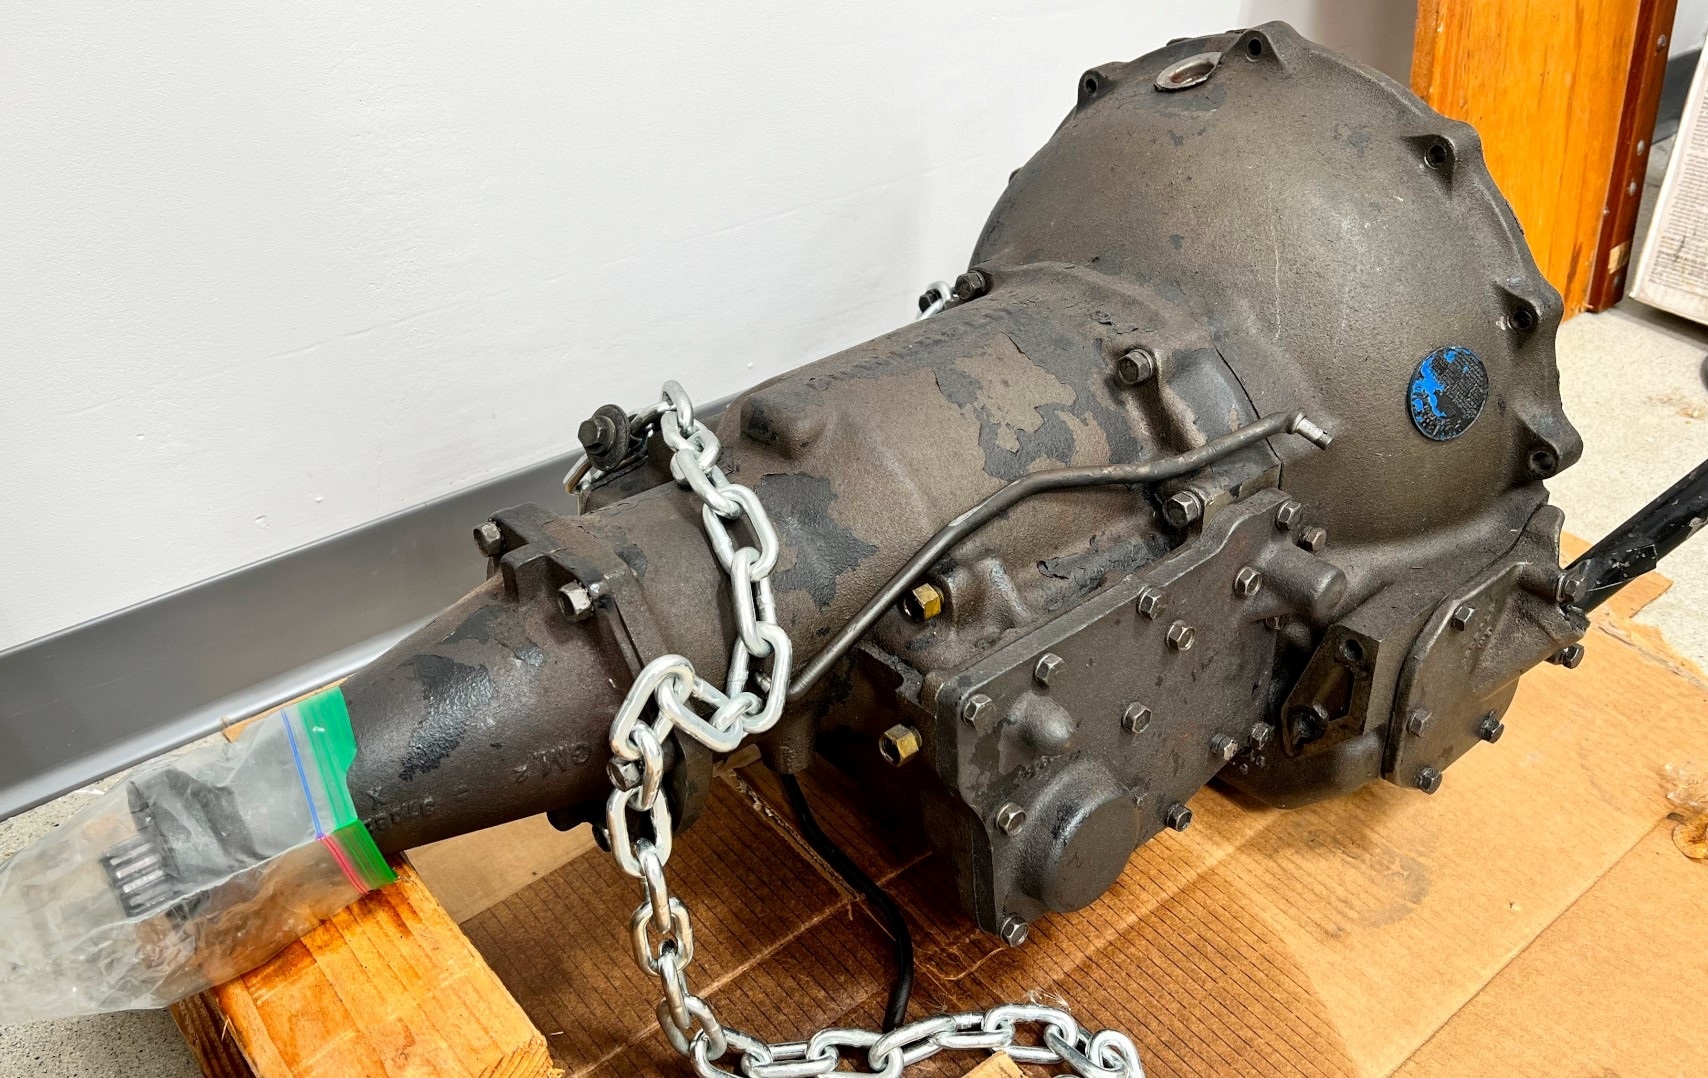
In this video, Ryan removes the stock cast iron Powerglide transmission the proper way using a dedicated transmission jack. If you don’t have the luxury of a lift, you can get a floor-style transmission jack that can be used with the vehicle on the ground. You’ll also see Ryan’s method for painting the firewall and inner fenderwells.
***
Episode 3: Engine and Transmission Prep
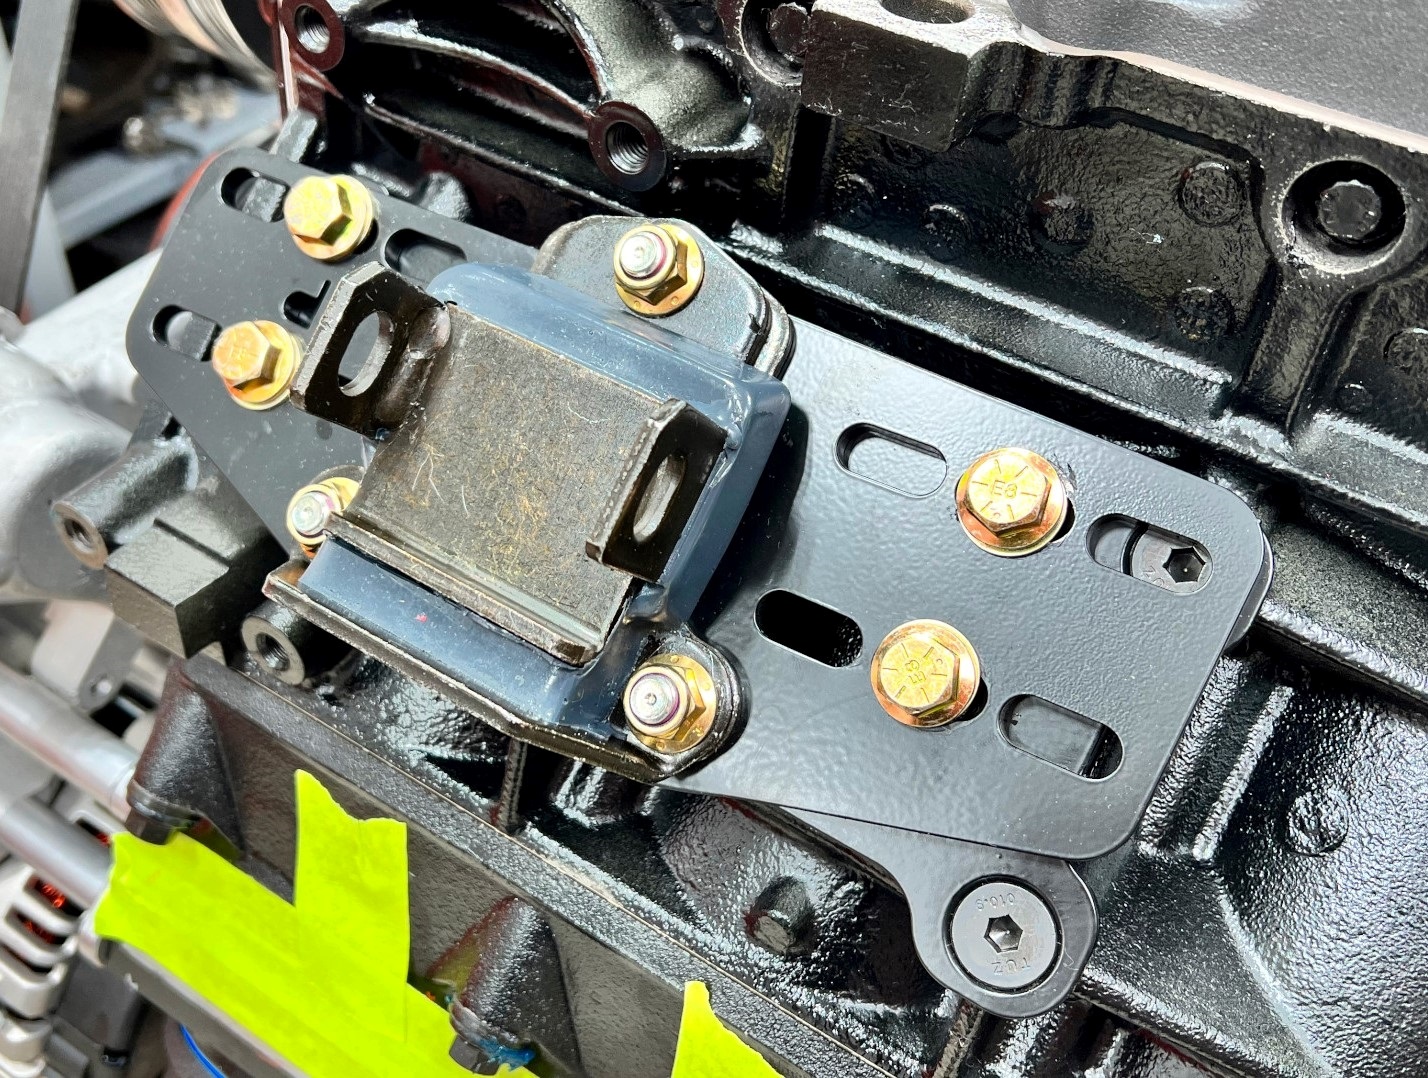
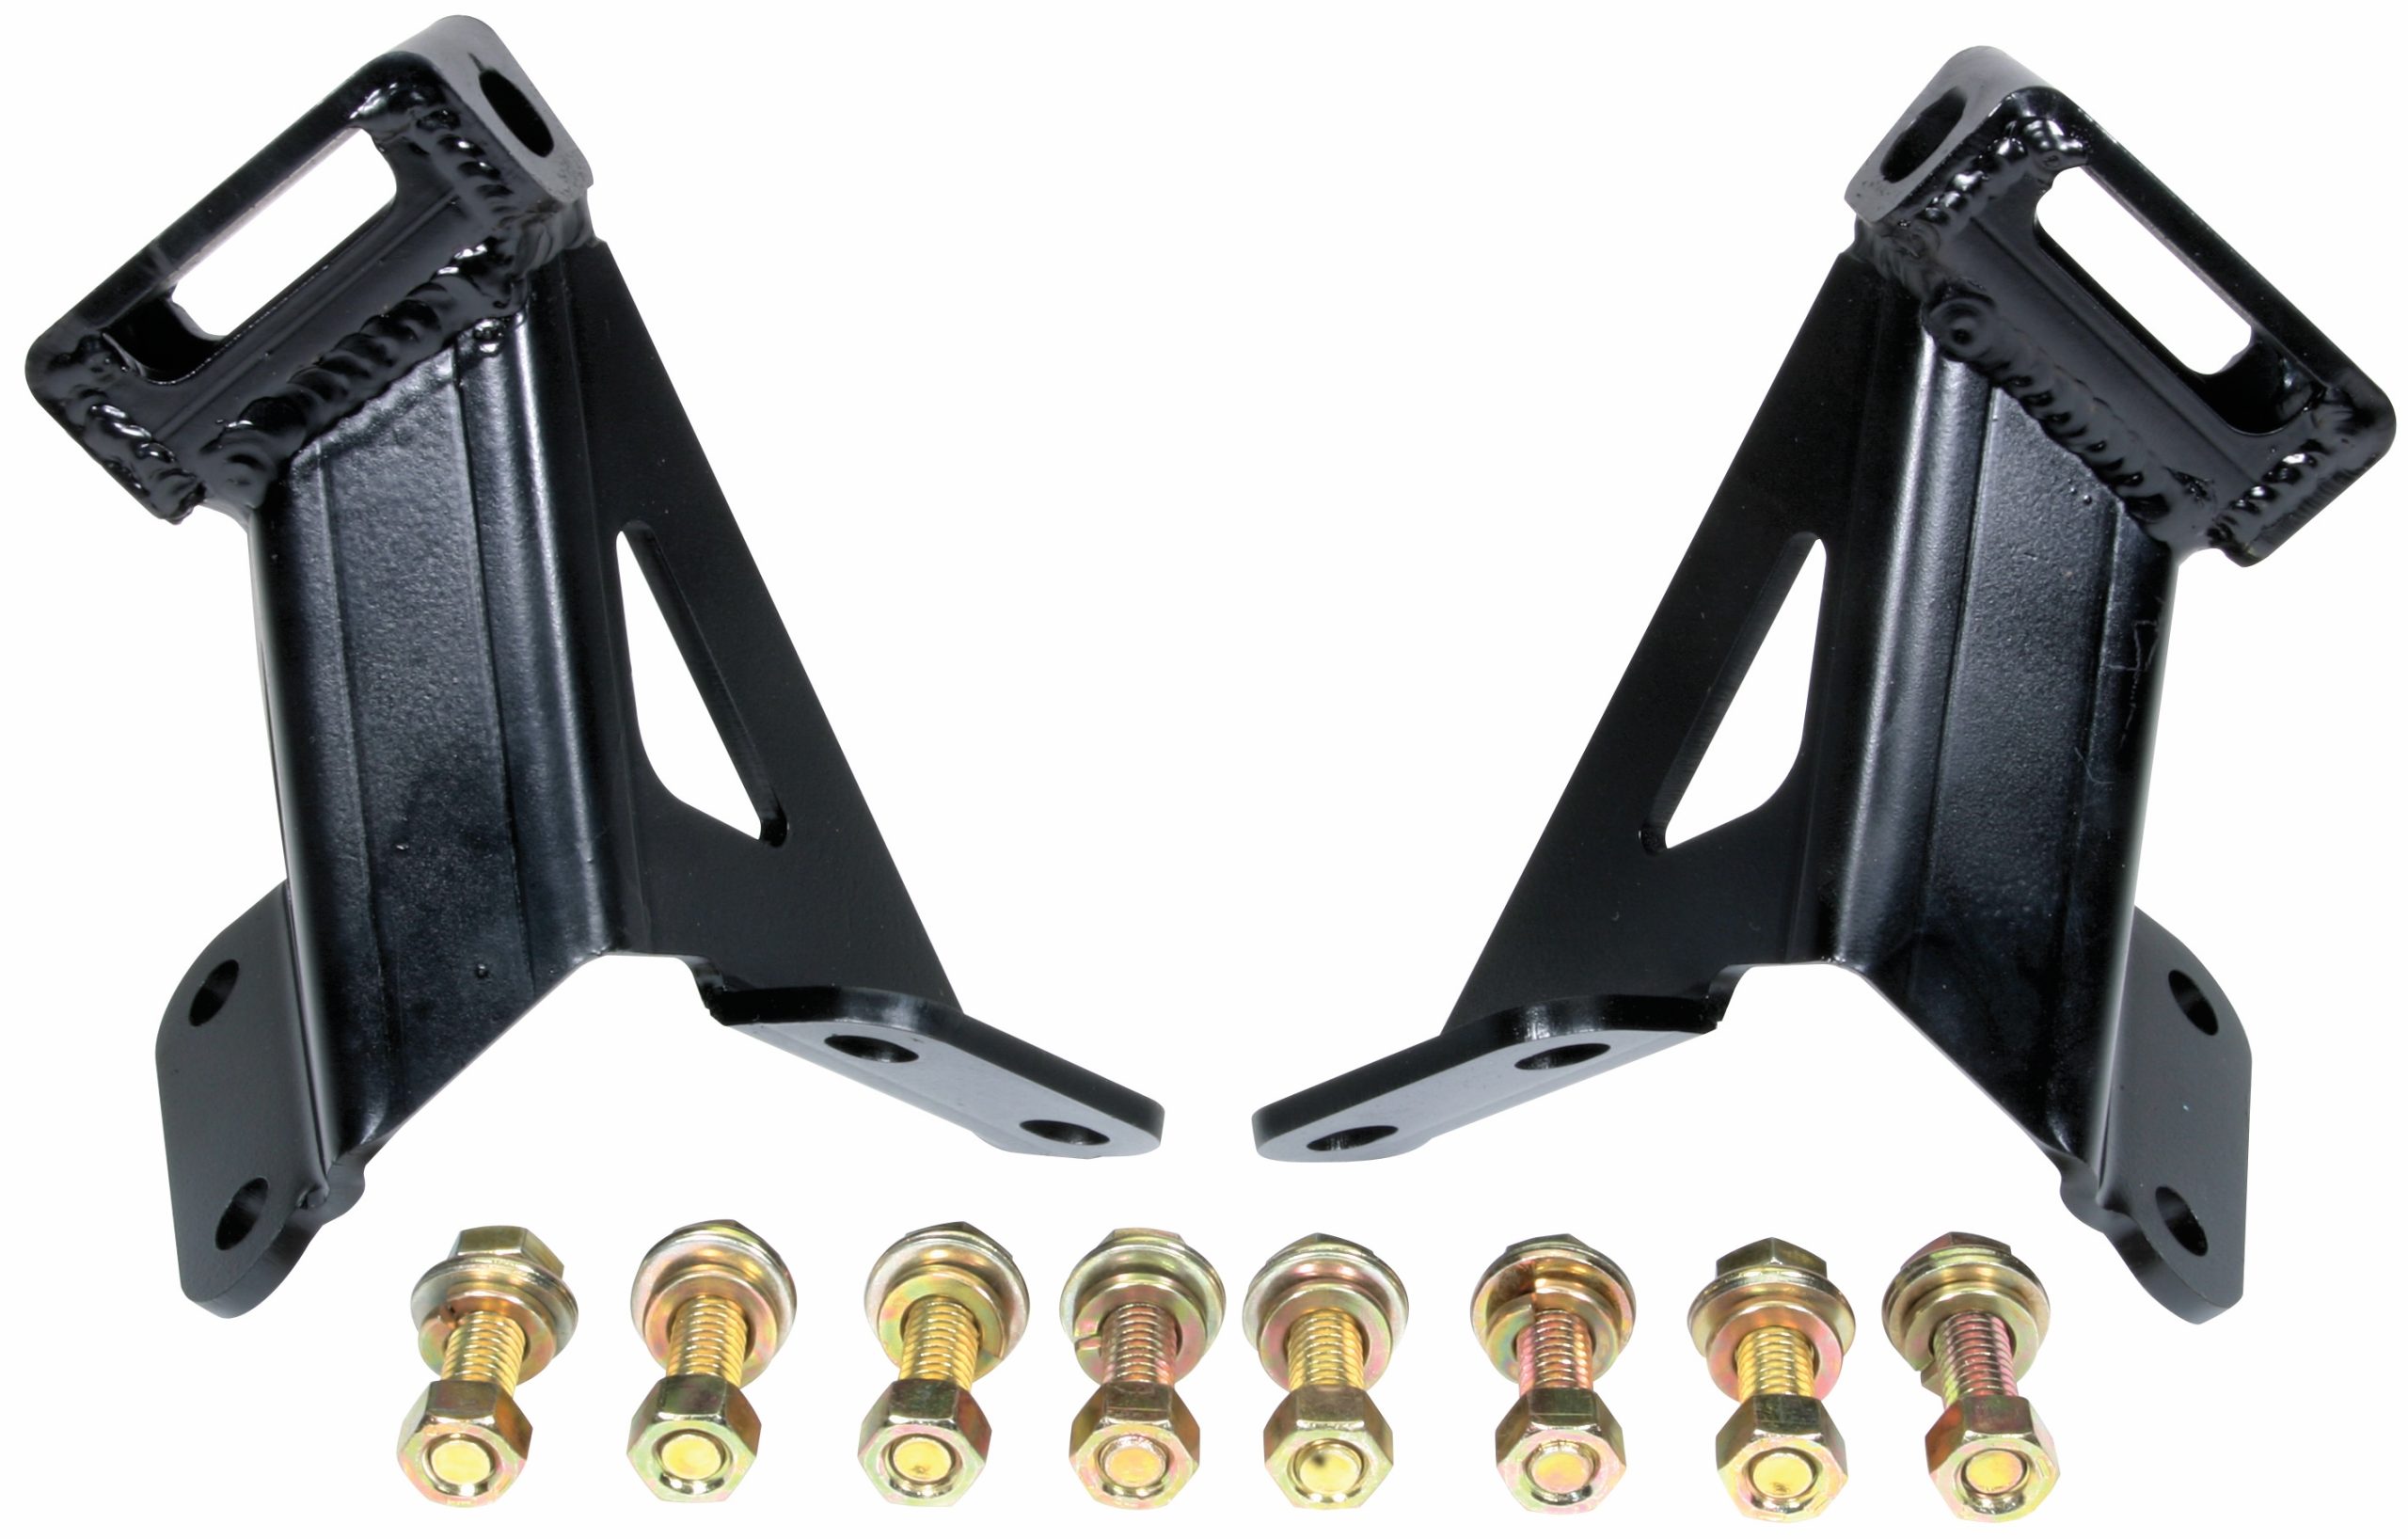
Now we get to the fun stuff. In this video, Ryan gets the LS engine ready to install by bolting a set of Summit Racing™ Adjustable LS Conversion Engine Mounts, Summit Racing™ Polyurethane Motor Mounts, and a PRW Industries flexplate to the block.
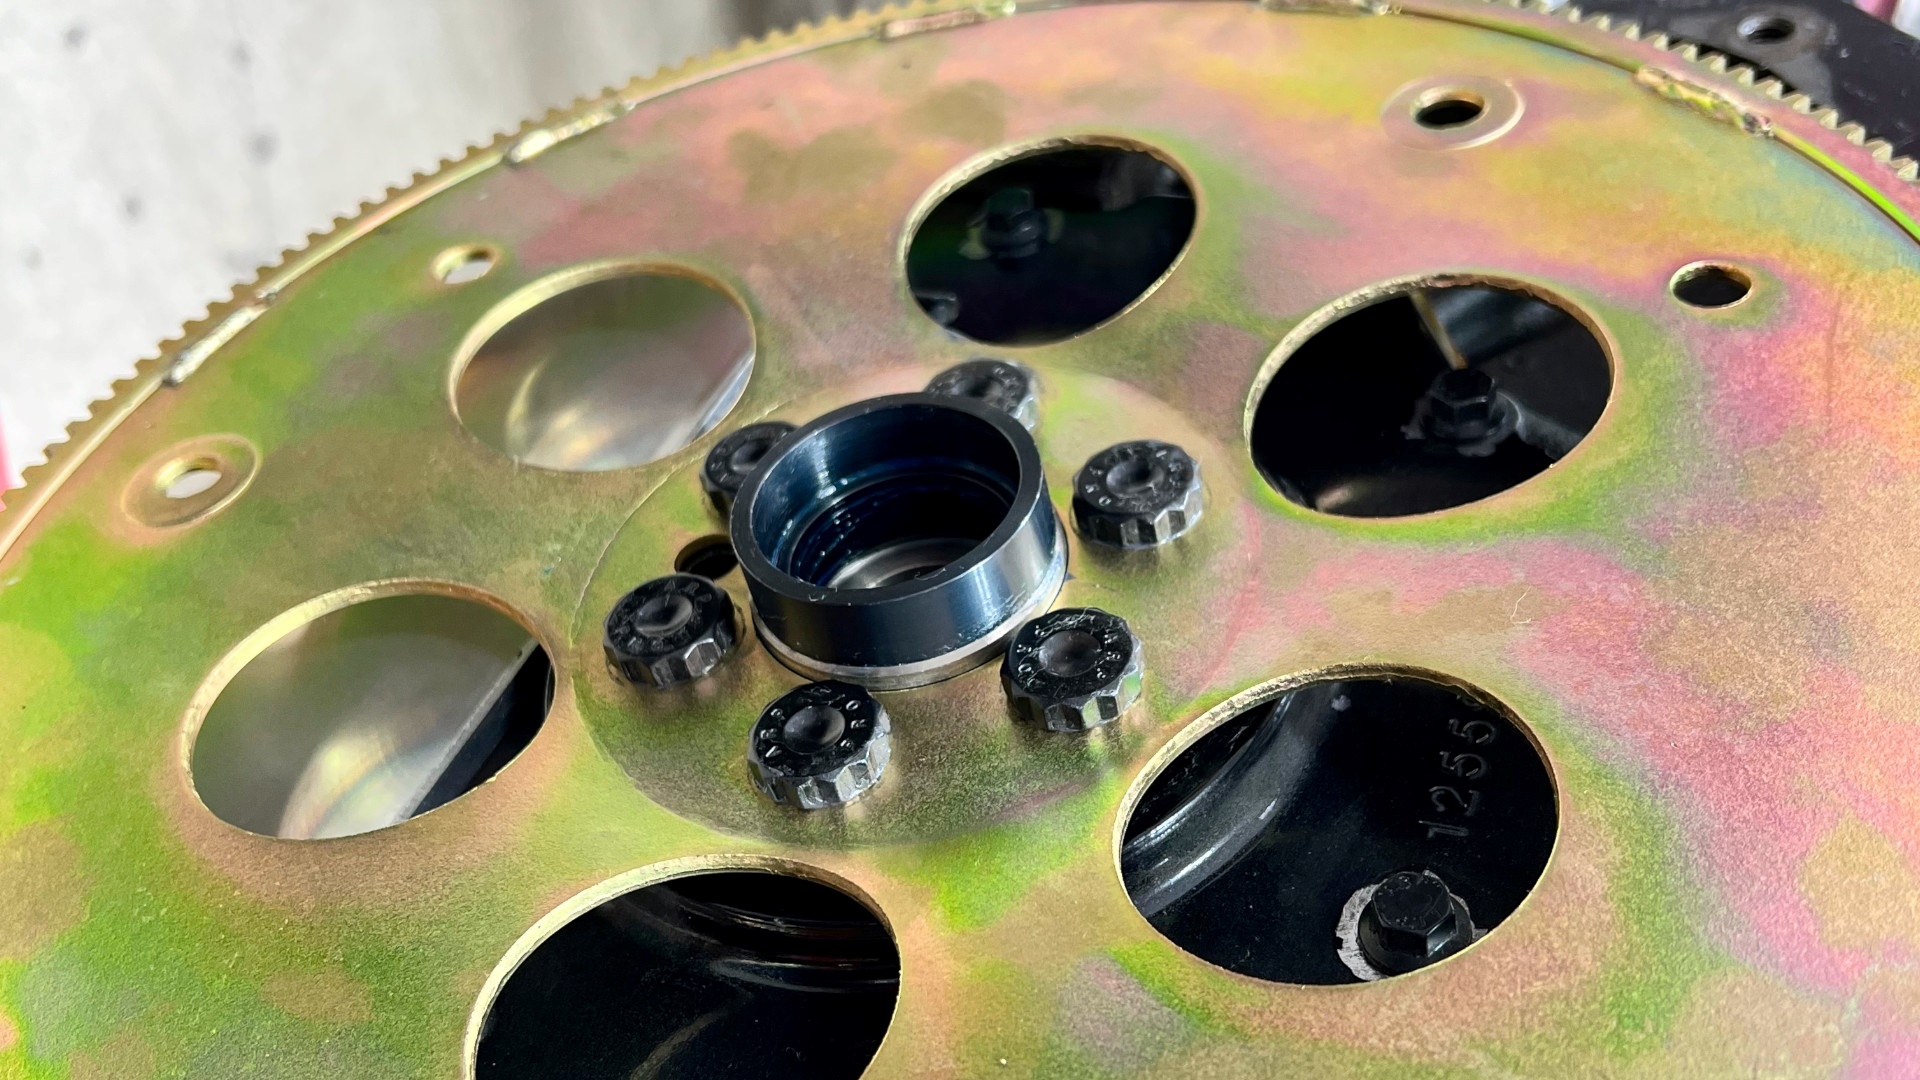
Ryan chose a Summit Racing™ Turbo 350 Automatic Transmission and Torque Converter for gear shifting duties. He also shows you the Summit Racing™ Flexplate Hub Adapter required to mate the LS engine to the Gen I-pattern torque converter and the proper procedure for seating the converter to the crank hub.
***
Episode 4: Engine Installation
Ryan’s initial idea was to install the engine and transmission as a unit. The core support sat too high to make that happen. Rather than remove the core support, he installed engine and transmission separately. Ryan also found that he needed a set of engine stands designed to fit a Gen 1 small block Chevy in a 1955-57 Chevy. He used these Classic Performance engine stands.
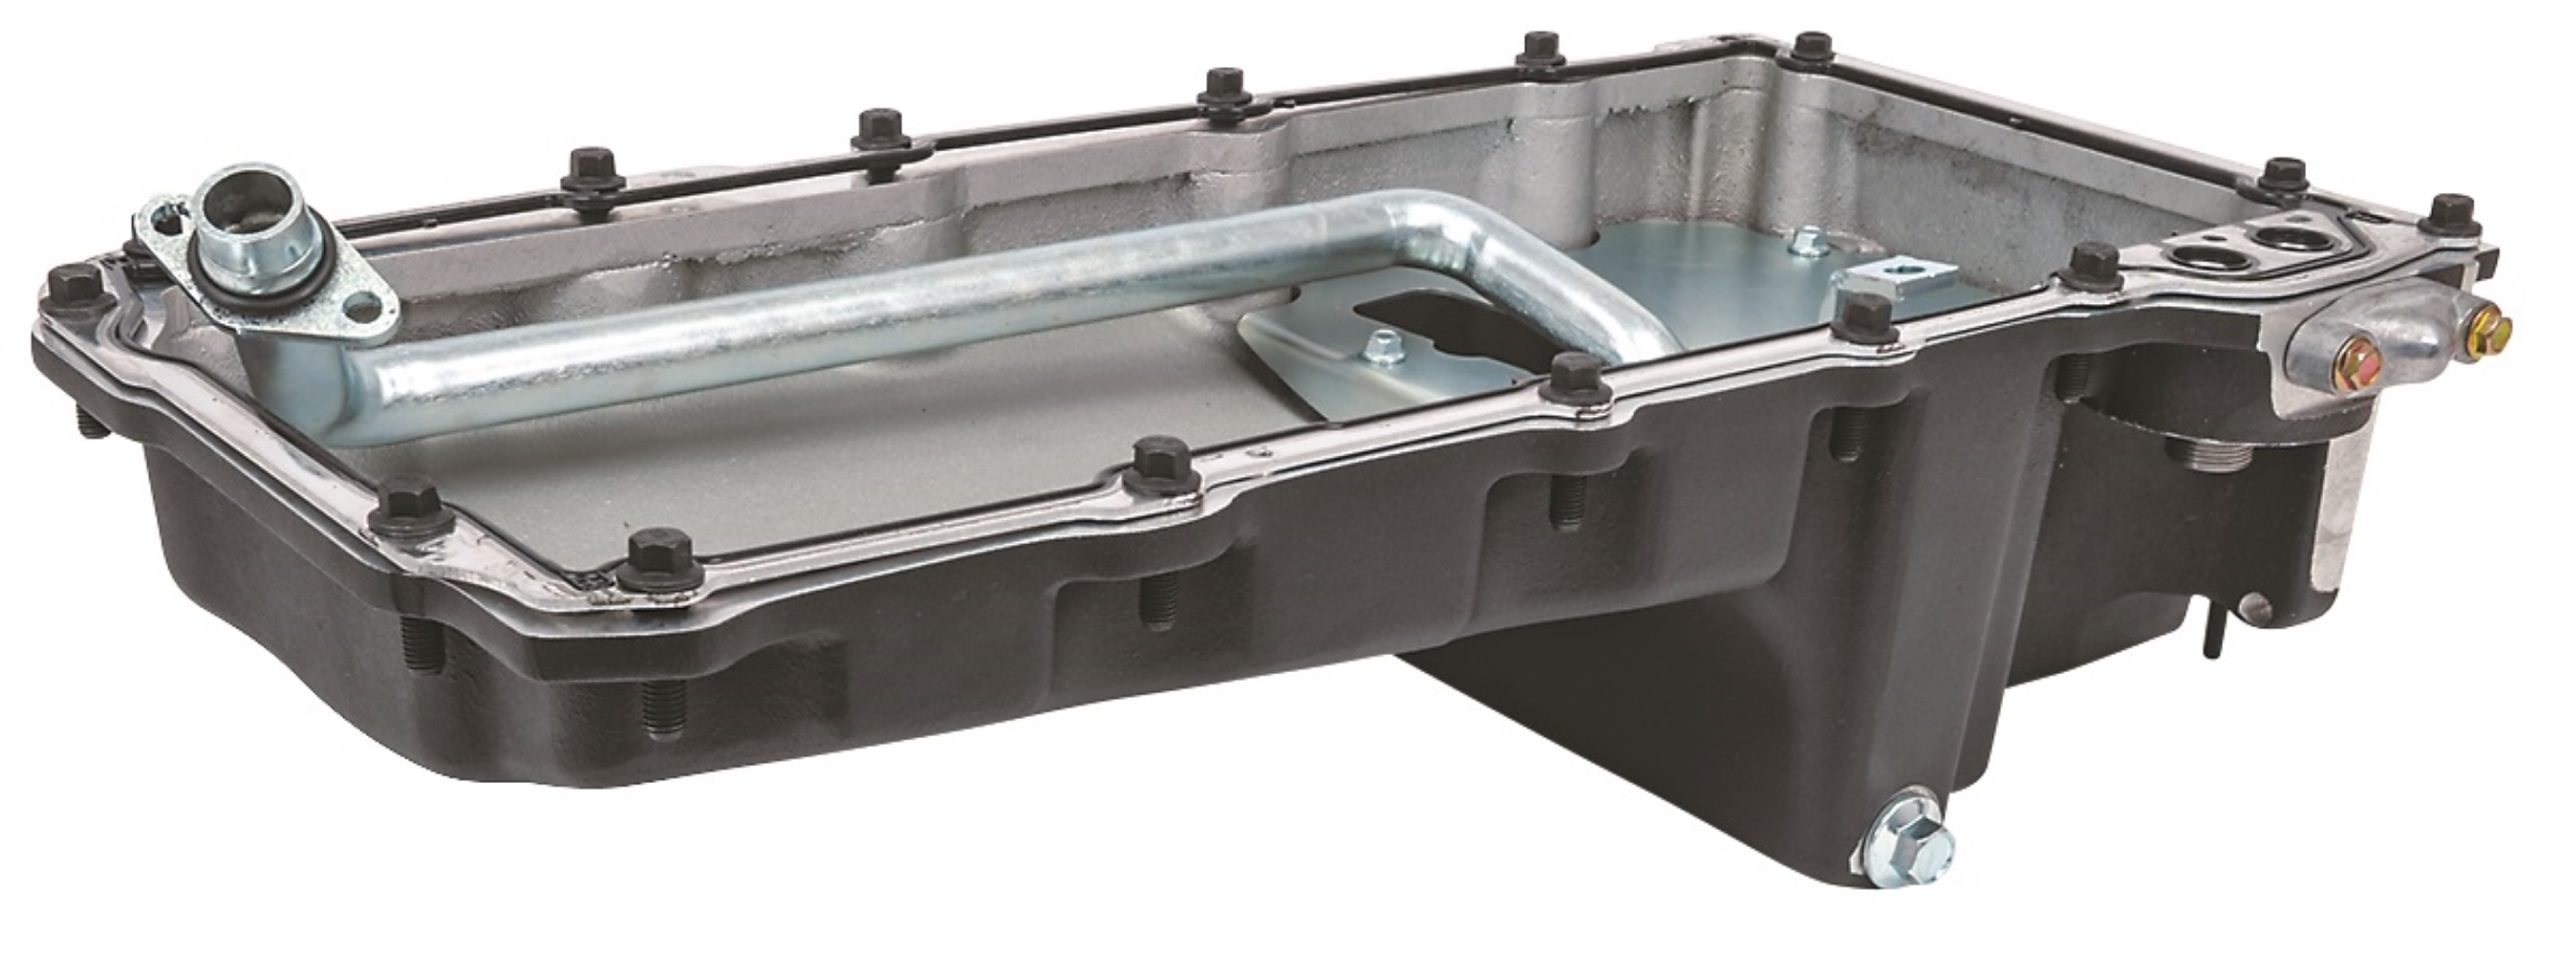
A test fit also revealed that the LS engine’s Gen 4 Camaro oil pan hit the car’s steering linkage. Ryan replaced the pan with a Summit Racing™ Pro LS Cast Aluminum Oil Pan that provided the necessary clearance (approximately a half-inch). The existing windage tray needed to be modified for the oil pump pickup type bracket. Ryan shows you how to do this in the video.
Did u have the computer modified