It is the way of the world today. Technology improves the breed. Flat tappet cams had their day but if performance is your goal, one step that can really complement a good set of cylinder heads is the upgrade to a hydraulic roller cam.
Yes, the cost to convert to a roller is higher than just replacing a flat tappet cam. But there are multiple advantages to hydraulic rollers that we’ll go over before we show how easy it is to convert a 1986 and later model 350ci small block Chevy to a roller.
Story Overview
- Roller cams offer more valve lift and quicker valve acceleration that a flat tappet cam without increasing duration
- Most 1986 and later engines are machined to accept a hydraulic roller cam and can use affordable factory-style roller cam parts
- Pre-1986 engines will require link-style retrofit roller lifters, a cam button, and reinforced timing cover for a roller cam conversion

Things You’ll Need to Consider for an SBC Roller Cam Retrofit
To update a pre-1986, two-piece rear main seal small block Chevy to a roller, beyond just the cost of the cam and lifters, will also require a reinforced timing cover and a cam button to limit forward cam movement. This requires a button that presses against the inside of the timing cover to minimize forward cam travel.
The addition of a cam button is critical because flat tappet cam lobes are ground to offset the forward motion created by the distributor gear. But roller cam lobes cannot be ground with a taper so a button or other form of limiter must be used to prevent that forward motion. As rpm increases and the cam is allowed unbridled forward movement, this radically retards the ignition timing by as much as 20 degrees. This is why the precise effort to install a cam button is so important.
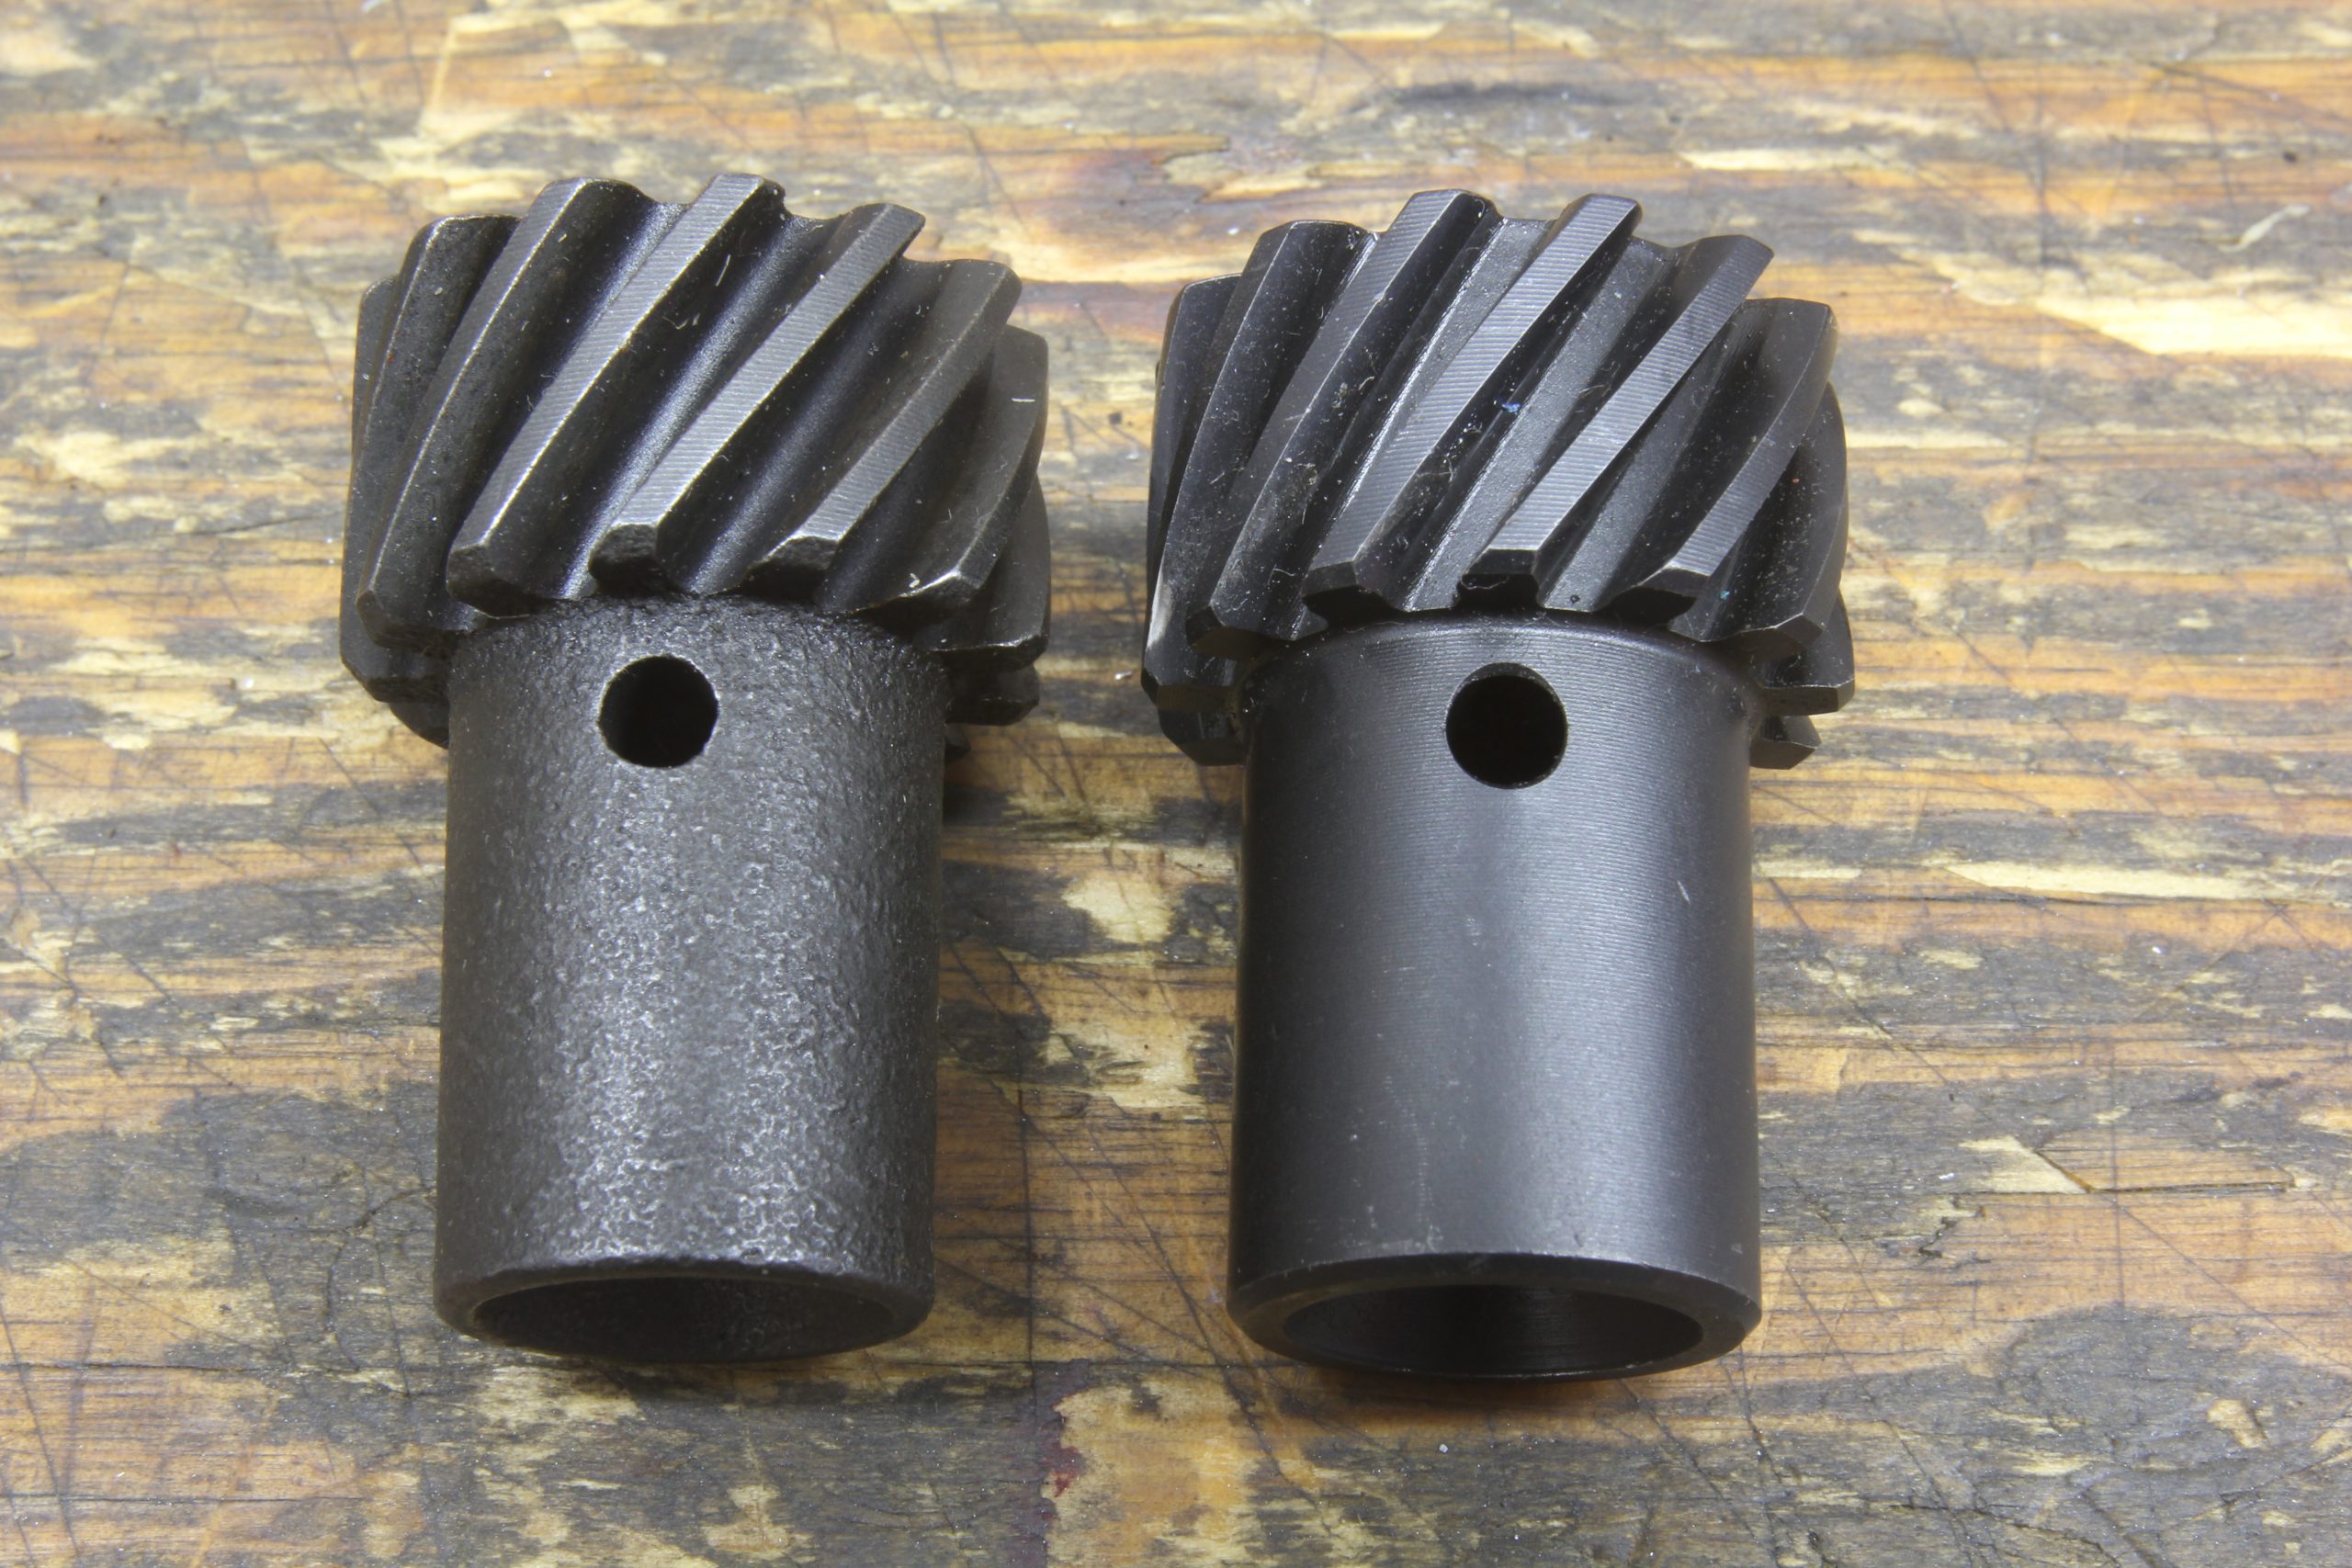
Beginning in 1986, Chevrolet upgraded the original small block to a one-piece rear main seal and also modified the block to accept a hydraulic roller cam. Rather than using linked hydraulic roller lifters like the aftermarket, Chevrolet used pairs of what are called dog bones that slip over the squared upper lifter bodies to align the roller lifters to the cam lobe. Then a large spring called a spider with eight legs bolts over the dog bones to keep them in place.
To limit cam movement, Chevy engineers used a simple steel plate that bolts to the front of the block to retain the camshaft in its preferred location. This demanded a stepped nose configuration on these newer engines which also requires a matching cam timing gear with a smaller bolt circle compared to the original small block pattern.
Many of these one-piece rear main seal engines were used in trucks but were fitted with flat tappet cams. However, all the roller cam machine work was included in the cylinder block to allow an easy roller upgrade to these engines. Our volunteer for this project was a 1990 truck engine block fitted with a flat tappet camshaft.
Using one of these 1986 and later blocks makes the roller cam conversion much easier compared to an earlier small block. Not only is the conversion easier since we don’t have to spend time custom-fitting a cam button, we can also use less expensive factory replacement style lifters, dog bones, and spider as opposed to more expensive retrofit style linked hydraulic roller lifters.
There’s a complete parts list (with part numbers and links) at the bottom of this article.
Advantages of a Roller Camshaft
The significant advantage to a roller cam originates with its design. A flat tappet cam is limited to a certain amount of lift-per-degree of rotation. If this lift-per-degree limit is exceeded, this increased motion will push the edge of the lifter into the lobe which instantly destroys both the lobe and the lifter. This lift-per-degree is a function of lifter diameter so Ford and Mopar engines enjoy a little more valve lift freedom because of their larger lifter diameters.
For our small block, we originally used a mild street flat tappet cam with duration numbers of 214 degrees at 0.050 inch tappet lift. This produced valve lift numbers of 0.444 inch for the intake and 0.466 inch of lift on the exhaust based on the stock small block 1.5:1 rocker ratio.
The hydraulic roller cam we chose to replace this flat tappet cam is from the Summit Racing lineup of Pro SBC Camshafts. It offers similar duration numbers as seen in the accompanying chart with 218/227 degrees of duration at 0.050 inch tappet lift for the intake and exhaust respectively. But note that the valve lift numbers (again based on the 1.5:1 rocker ratio) have jumped to 0.525/0.520 inch. This is an impressive bump in valve lift of 0.081 inch on the intake side and 0.054 inch on the exhaust side.
Summit Racing SUM-8802 Pro SBC Cam Specs
| Advertised Duration | Duration at 0.050 | Valve Lift | Lobe Separation Angle | |
|---|---|---|---|---|
| Intake | 267 | 218 | 0.525" | 112° |
| Exhaust | 275 | 227 | 0.520" |
These valve lift improvements are because there is no mechanical limitation on the acceleration ramps on a roller lifter cam compared to a flat tappet cam. This allows the cam designer to create a much faster acceleration ramp for the roller lifter for the same amount of duration. This immediately creates greater potential power gains with a roller cam. This is especially true for engines with a better-than-average set of cylinder heads. Our budget small block is fitted with a set of Summit Racing Vortec cylinder heads that will accommodate the additional lift with no problem. So we’re anticipating a measurable bump in power with this hydraulic roller cam upgrade.
If you’re still unsure as to whether a roller cam is in your future, consider that any flat tappet cam will require custom oil for the life of the engine. A performance flat tappet cam will demand a typical hot rod oil like Summit Racing’s ZDDP-enhanced 10w30 or 10w40 oil. This is a built-in annual additional cost every time the engine needs an oil change. Hydraulic roller cam engines don’t necessarily need this ZDDP-enhanced oil and can use a slightly less expensive, off-the-shelf engine oil of the same viscosity.
How to Convert From a Flat Tappet to Roller Camshaft
Now that we’ve covered the relative advantages, let’s get into exactly how to convert from a flat tappet to a hydraulic roller. If the engine is in the car, in most cases it will probably be easier to remove the engine from the car unless there’s enough room for the cam to clear the vehicle’s grill assembly. Our conversion will be done on our Summit Racing engine test stand, so all we had to do was drain the coolant and pull the radiator from the stand. Then we unbolted the water pump and removed the harmonic balancer.
We won’t detail the disassembly since that’s a fairly typical effort. Once the intake, rocker arms, pushrod, and lifters are pulled, we removed all the oil pan bolts except the rearmost on each side to lower the oil pan enough to remove the front timing chain cover. With that accomplished, we then pulled the timing chain set and the old cam.
We used a locking three-jaw puller to slide the crank timing gear off and then used our harmonic balancer tool to press the new timing gear in place. The one-piece cylinder block requires a stepped-nose hydraulic roller cam with a different cam bolt pattern compared to the more traditional flat-nose Chevy cams. This new cam also requires its own specific cam gear. The Cloyes crank gear has three different keyways with one for straight up, and one each for two degrees of advance or retard. We installed the crank gear in the straight up position since our new cam is ground with built in advance. With the crank gear in place we installed the cam and then merely lined up the marks on the gear.
As mentioned earlier, these one-piece rear main seal engines use a two-bolt, flat steel plate to limit forward cam movement in the block. What is not commonly known is that there are two versions of this cam limiter plate with either a narrow or a wide bolt pattern. The narrow bolt pattern measures 3.294 inches while the second generation plate is 3.620 inches. Our particular engine is a later model Gen II that uses the wider plate. Both plates are still available. We’ve included both GM part numbers in our parts list although only one is required for any engine.
The Summit Racing hydraulic roller conversion kit that we ordered includes the spider and lifter retainer dog bones along with the narrower Gen 1 limiter plate. It’s also important to note that Chevy uses a pair of round-headed Torx style bolts to attach the limiter plate to the block. These are necessary to clear a performance timing chain set because regular hex-head quarter inch bolt heads may be too tall.
With that part of the install handled, it was time to address the cylinder heads. The original flat tappet valve springs on our engine were way too mild to work with our hydraulic roller cam’s additional lift so we upgraded to a set of what are essentially LS6 beehive valvesprings that offer multiple advantages. First, these springs will offer more clearance to the valve guide seals so we don’t have to worry about smashing the seals because of the greater valve lift. Plus, the reduced size of these beehive retainers improves stability at higher engine speeds. We also ordered new 7 degree, 11/32 inch valve locks although it appears the original locks will work with the beehive retainers.
The spring swap went without mishap. We used compressed air to keep the valve closed and quickly changed the springs using a Moroso over-center valve spring compressor tool. Of course, you could also use the older, lever style tool. The rest of the conversion went rather quickly. We put thread locking compound on all three cam gear bolts, torqued them in place, lubed the chain, and installed the front cover and oil pan. With the harmonic balancer in place and the water pump back on we were ready to install the intake manifold.
We prefer to set valve preload before we install the intake manifold so that we can double check zero preload on the lifters and make sure everything is installed properly. Because our rubber Vortec intake gaskets were near new we didn’t have to replace them. With a nice new bead of RTV for the end seals, the intake slipped right into place.
With this new steel roller cam, we also had to replace the original distributor gear. Steel cam gears do not mesh well with iron distributor gears and can quickly produce damage so it’s critical to install a new melonized distributor gear. Melonizing is a heat treatment process that allows the distributor gear to wear properly with the steel cam gear. In fact, a melonized gear is compatible with any camshaft regardless of material.
Get more in-depth tech on distributor gears here: How to Choose Which Distributor Gear to Use
If the engine will be run with a mechanical fuel pump and because this is a steel camshaft, this will also require a bronze-tipped fuel pump pushrod. We’ve included a part number for a Comp cams pushrod that will prevent damage to the cam.
Read more detail on fuel pump pushrods here: How to Pick the Right Mechanical Fuel Pump Pushrod
Preignition Checklist
Before dropping the distributor in, we took the time to pressure lube the engine to make sure we had plenty of lube up to all 16 rocker arms. We lubed the new distributor gear and placed the distributor at 15 degrees before Top Dead Center (BTDC) and plugged in all the rest of the spark plugs and wires. We then pre-filled the carburetor float bowls and primed the engine with several shots of fuel.
This ensured that the engine would start almost immediately, which it did. We ran the engine for a couple of minutes at around 1,600 rpm to ensure plenty of splash lube on the cam and lifters and then rechecked the timing and locked it down at 15 degrees BTDC for a total of 34 degrees of mechanical advance. We’re now ready to drop this new motor into its new home in our 1965 El Camino with a nice new hydraulic roller cam that should make a little bit more power as well as being more durable.
Check out the photo walkthrough below, then keep scrolling for a parts list at the bottom of this article.


SBC 355 Hydraulic Roller Cam Parts List
- SUM-8802 – Summit Racing Pro SBC Camshaft
- SUM-150123 – Summit Racing Hydraulic Roller Lifter Install Kit
- NAL-10088128 – Chevy Performance Cam Limiting Plate (1st design)
- NAL-10168501 – Chevy Performance Cam Limiting Plate (2nd design)
- NAL-14093637 – Chevy Performance Camshaft Bolt
- SUM-HT217-16 – Summit Racing Performance LS7 Hydraulic Lifters
- CLO-9-1145 – Cloyes Street True Roller Timing Set
- SUM-174002 – Summit Racing Valve Spring Set
- CCA-787-16 – COMP Cams Steel Valve Spring Retainer Set
- CCA-601-16 – COMP Cams Street Valve Lock Set
- SUM-1457200 – Summit Racing Chromoly Pushrod Set
- SUM-G6935-16 – Summit Racing 1.5:1 Roller Rocker Arm Set
- SUM-850466 – Summit Racing Melonized Distributor Gear
- CCA-4607 – COMP Cams Bronze-Tip Fuel Pump Pushrod
- MOR-62371 – Moroso Stud Mount Valve Spring Compressor
- SUM-SAE30 – Summit Racing ZDDP Performance Motor Oil
thats great i love your spects and all of you build
@Jeff Smith I usually love your articles, the attention to detail and accuracy.
(Never start a conversation with but)
But- It should’ve been mentioned that not ALL post-86 blocks are machined for the spider, or have the bosses….
“before we show how easy it is to convert a 1986 and later model 350ci small block Chevy to a roller…….Now that we’ve covered the relative advantages, let’s get into exactly how to convert from a flat tappet to a hydraulic roller. If the engine is in the car, in most cases it will probably be easier to remove the engine from the car unless there’s enough room for the cam to clear the vehicle’s grill assembly.”
Drilling and tapping of the spider mount bosses (if they are there at all) will be required in most cases- mine does, and it’s the original V0930TPA block from my 89 K1500. How long were the 5/16ths bolts you used?
Also…the coolant path differences? Does one drill the holes in the Vortec heads and use a Vortec water pump?
For those like myself putting all their faith (and a couple grand) in the precision of the article, that condition leaves two options:
1) Pull the engine, tear it down, tap the (3) 5/16ths holes in the bosses, rebuild.
or
2) Spend $746.99 more on tie-bar style, retrofit hyd roller lifters for pre-1986 blocks.
Please edit the article for us, kind sir.
Here in Europe I stopped trusting the oil I could buy and as far as I know there are no additives to help aflat tappet cam live.
So I upgraded my 355, originally a roller cam shortblock, with one of Edelbrock´s roller cam kits, ´Edelbrock Rollin’ Thunder Hydraulic Roller Cam, Lifter, and Pushrod Kits 22046´. Set me back without shipping and import duty $864.95 and as it is cast iron no need to fret about the distributor gear drive.
Hello . Great article.
I like countless others have Pre 86′ 2 piece seal sbc’s . Mine is the 290 hp crate engine & was never used . Well my son drove it from new & put less than 100 miles on it . Mine now. ha . I started buying parts for it , eagle stroker , 215 aluminum heads on order , forged pistons , H beam rods & more , all from Summit . I’d like to know what else I have to do & what part’s I need to make this engine a roller cam capable of 550-600 hp . Any and all info would be greatly appreciated & shall determine whether I go roller or not .
Thank You very much
Paul Carlson
Hey Jeff, I ran across this article while searching for some help, and though it is very enlightening, I’m still stumped with my current issue. So I have a Gen 2 90’s LT1 engine. My older gear head uncle had a solid roller cam, lifters and valve springs sitting around that we decided to install in my LT1. This cam setup was for an earlier non-roller sbc block and I’m concerned that we might have messed something up by installing this setup in a later model roller block. Can you shed any light on this dilemma for me please?
Running a old style roller cam in a newer block you won’t be able to use the cam retainer plate because that is for a step nosed cam. Instead you will be needing to install a torrington bearing behind the cam gear and a cam button and rigid timing cover to keep the cam in place. Otherwise everything else should jive….check valve train clearances would be the only other issues…guide height and spring heights
How much horsepower and foot-pounds of torque did this combination make? Are there any videos of how this cam sounds? Thanks!
I SEE YOU DIDNT ANSWER ANY OF THESE PEOPLE . WHY !!??? YOU PUT THIS ARTICLE OUT & PEOPLE HAVE QUESTIONS ABOUT IT AS WELL AS MYSELF .BUT WHY SHOULD I WASTE MY TIME WITH YOUR SITE OR CONTENT IF YOU FOLLOW UP & ANSWER NO ONE !???
Hello Joe and thank you for reading. At OnAllCylinders, we strive to respond to as many questions as we can–but we receive thousands of comments every year across our entire portfolio of automotive tech articles (many of them involving complex, nuanced topics). If you have a specific question, we always recommend you contact the Summit Racing tech folks for direct assistance.
hello,
can anyone tell me , if you use the cam limiting plate, can you eliminate using the cam button????? setup???? thanks
Hey Mario, it depends on the manufacture date of the engine. To make absolutely sure, click here to contact the Summit Racing tech folks. They’ll ask you some specifics on your engine to determine a build date (pre/post 1986) and that’ll help clarify things.
Yes but you will be running a newer style cam core called a step nose cam…that’s what the cam retainer plate fits over to hold the cam in place from walking. Special torks fasteners rounded head are used to hold the retainer on to clean timing chain also
So what kind of power/torque did this motor end up making ?
Thanks for the info, I am in the process of a conversion, a 1975 chevy sb400 to a roller cam. If there is more info, please info me. 706 610 4755. Jbs1016alsq@netzero.com.
You know I got as far as ” well we decided to use a 1990 sbc from a truck because it was easier ” .ARE YOU AFFRAID of taking a job that may be a little more harder for you to accomplish RIGHT!?? You all do articles taking the EASIEST PROJECTS POSSIBLE . WHICH DOES NOTHING FOR OTHERS WITH OLDER ( BETTER) SBC ENGINES . MANY TIMES I HAVE READ ” STAY AWAY FROM 86 AND NEWER ROLLER BLOCKS ” BUT YET THAT IS YOUR RECOMMENDATION .IM GUESSING BECAUSE ITS ” EASIER” FOR YOUR ARTICLE . NO USE FOR ALOT ,GROW A PAIR & TAKE ON SOMETHING DIFFICULT AND WORTH DISCUSSING .
Joe, twice so far in the latest few comments, you are whining and complaining. Older blocks are certainly not better in any way, casting has improved greatly since the 70s.
The articles posted here are to help people, and in no way are they to provide you with mechanical skills or experience, which you obviously think you have plenty of. Maybe just let an engine builder do your work instead of crying about the details?
what length pushrods are used with the hydraulic lifters?
That’s to be established after all other parts are bought and depends on valvetrain geometry, valve height and so on…. if your using all factory replacement parts and a factory cam you will get away with factory pushrods. Otherwise measurements will need to be made.
yeah but where is the dyno graph. come on…