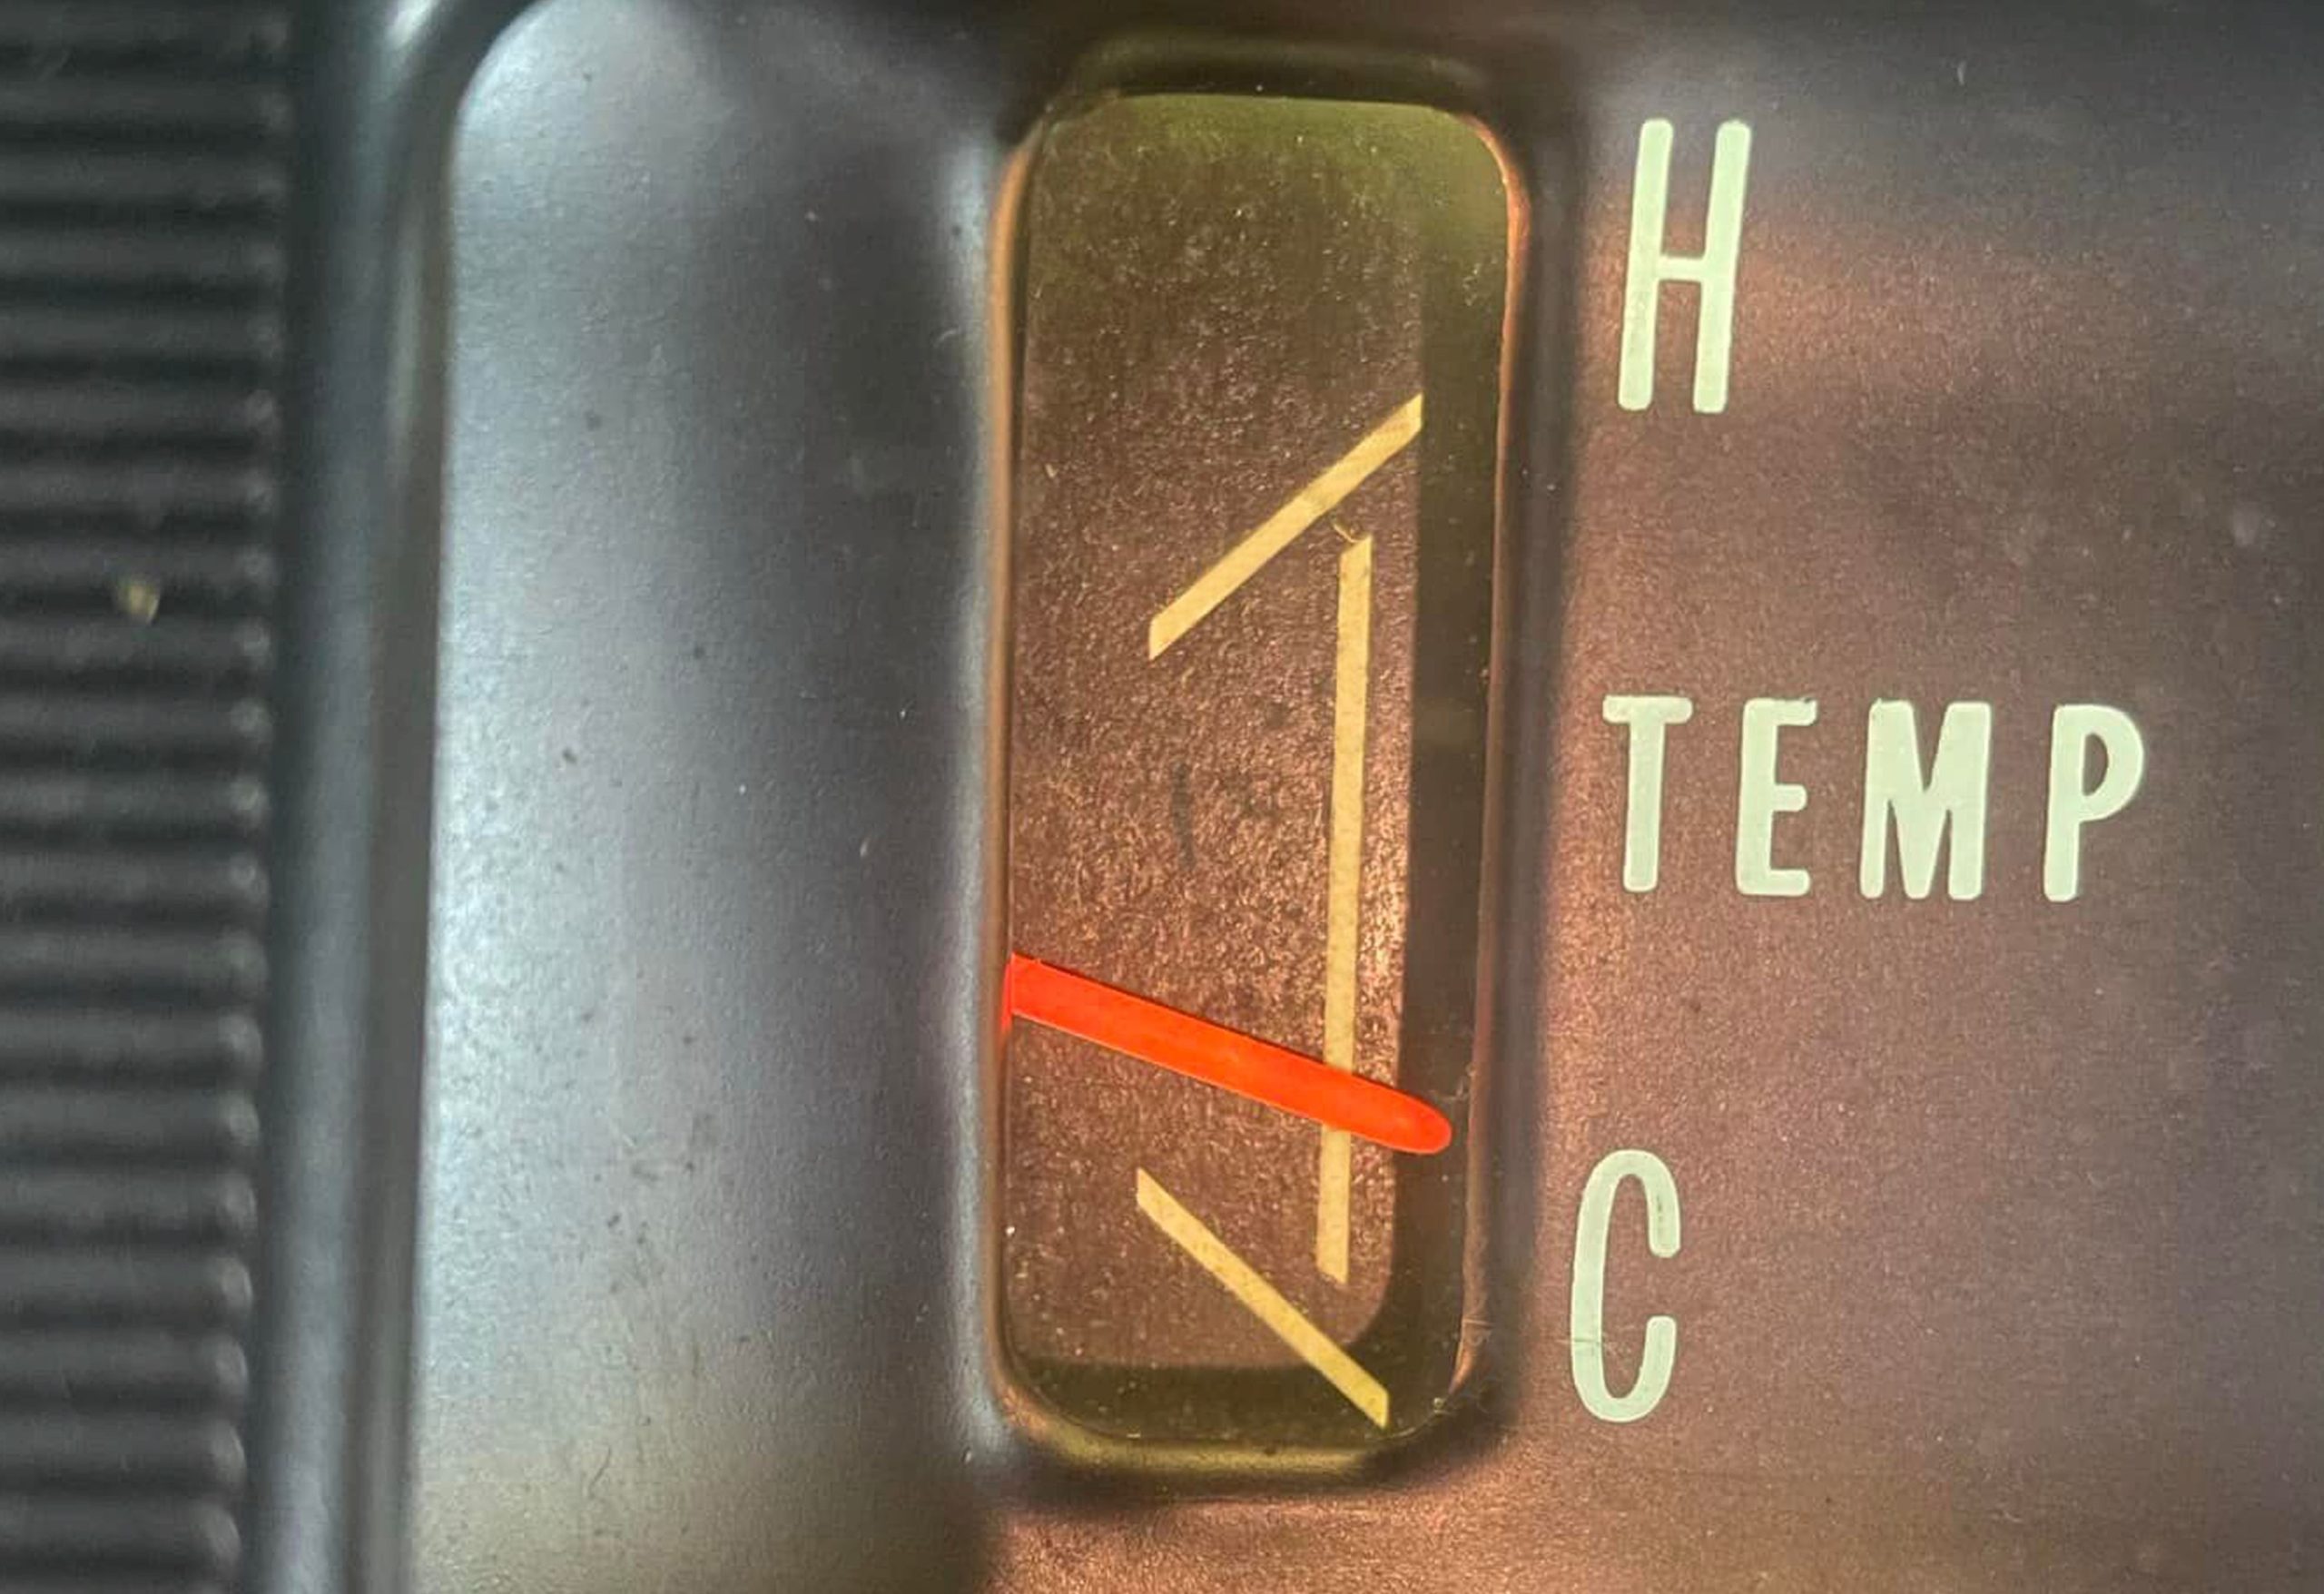
I have a coolant temp gauge in my 1966 Chevy Chevelle that was a conversion from the stock Chevelle instrument panel to a reproduction of the factory temp gauge. The gauge does not have any actual temperature numbers—just cold and hot. Is there an easy way to figure out what these temperatures really are? I’m assuming the middle of gauge would be around 180 degrees, but I don’t want to guess.
D.G.
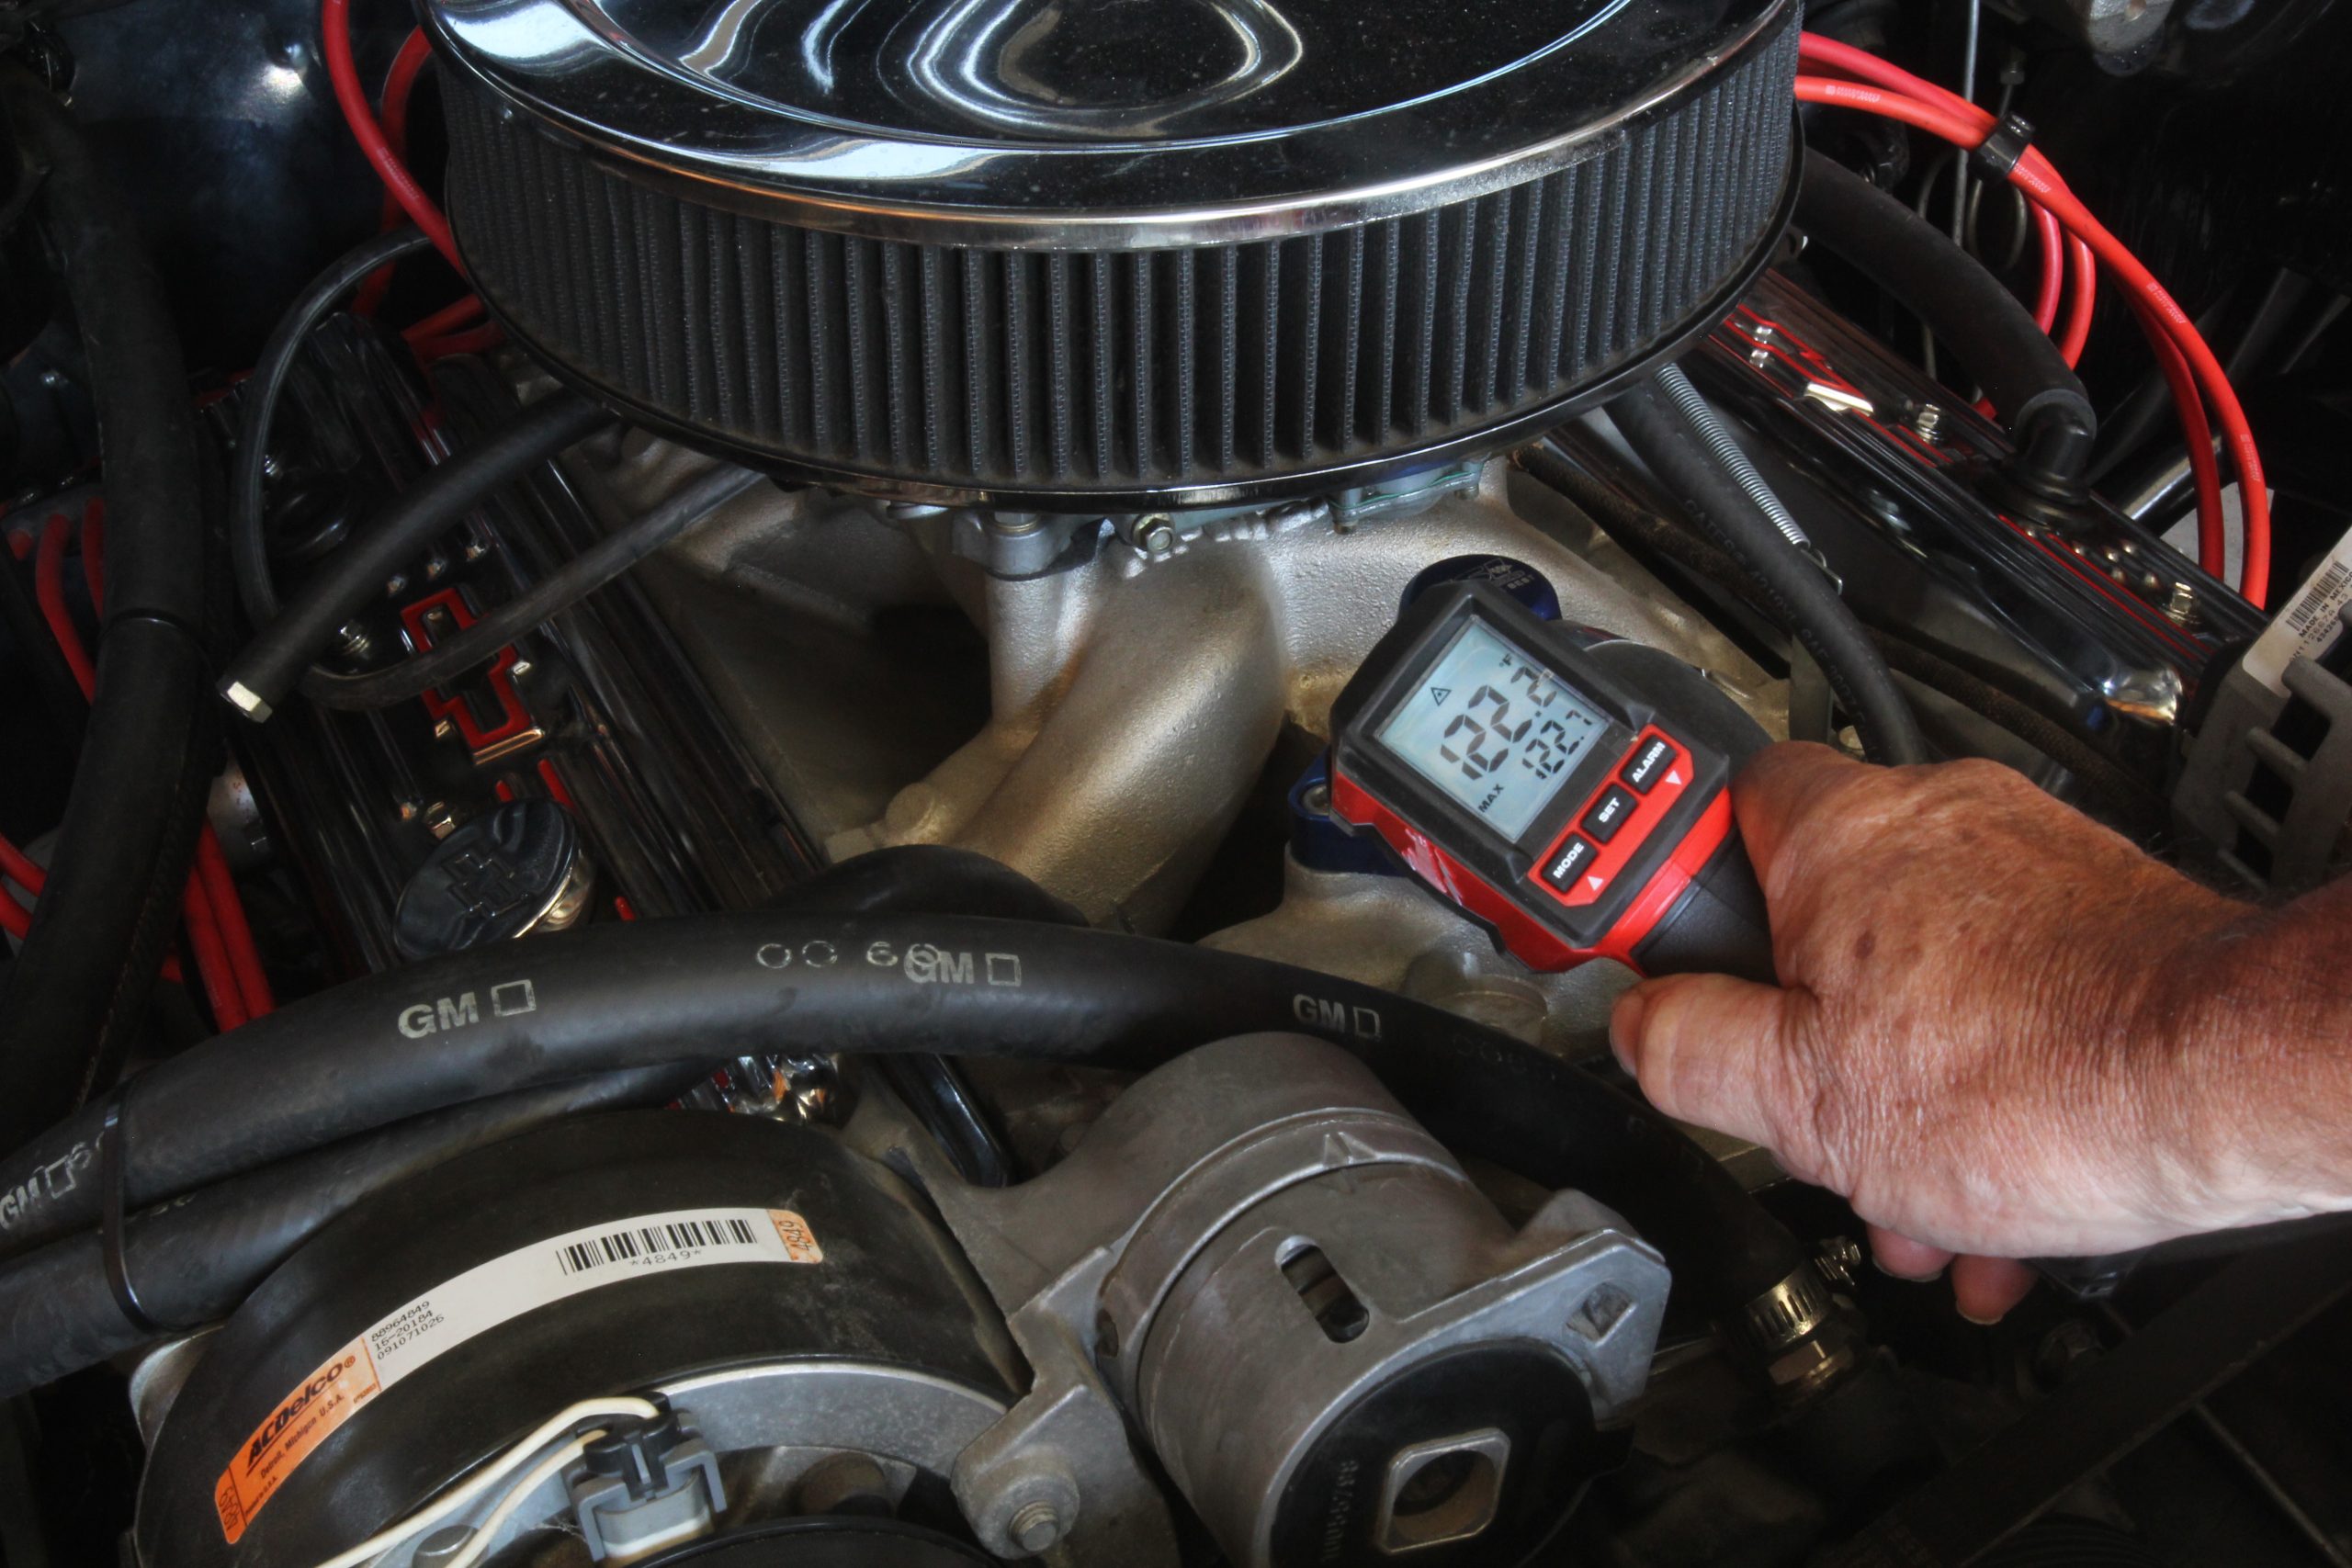
The quickest way to establish the actual temperature would be to point one of those hand-held infrared temperature guns at the thermostat housing or wherever the temp sensor is located on your engine. Then record the readings with the temp gun for say three or four positions on the temperature gauge. This would give you an idea—within 5 to 10 degrees or so of the actual engine temperature.
These infrared guns read the surface temperature of, let’s say, the intake manifold passage where the sensor is located. The reason there will probably be a difference from actual temperature is that the gauge sensor is immersed in the coolant itself while the temperature gun is sensing the surface temperature of the intake manifold. This will likely be slightly different than the coolant temperature since the manifold itself will be radiating heat.
However, this temperature difference will be minimal—again, roughly 5 to perhaps 10 degrees. This will get you pretty close to the actual temperature of the coolant as represented by the gauge.
You may also find this article handy too: What’s the Difference Between a Mechanical & Electrical Temperature Gauge? (& How To Test Them)
We tried this with a Milwaukee 10:1 Infrared Temp-Gun (PN MWT-2267-20) that offers temperature displays in either Celsius or Fahrenheit and can also offer a range of temperatures if the trigger is held down for an extended period of time. These guns operate by converting the infrared radiation emitted by the source into a voltage that is then converted to a temperature reading. The small laser dot is used as a pointer to help the operator pinpoint the location of the reading.
As an example, the coolant temperature may be 180 degrees, while the infrared gun may read something like 175 degrees. If this error is acceptable, and we think it certainly is, then you now would have a fairly accurate idea of the actual coolant temperature.
Accuracy Considerations for an Electrical Temperature Gauge
Part of this equation is that this temp sensor is an electric gauge and therefore subject to errors beyond its control. The way the gauge works is that it establishes electrical resistance based on the coolant temperature. The sensor is basically the ground of the system so that as temperature rises, the resistance in the circuit changes and the gauge moves toward the hot side of the display.
Where this can run into trouble is when the engine or the instrument panel is not properly grounded to the electrical system. Older cars relied on several copper ground straps located between the firewall and the engine to ensure that the body was properly grounded to the engine. Plus then, the instrument panel must also be properly grounded.
One way to tell if the instrument panel is sufficiently grounded is to bring the engine to normal temperature and then turn on the headlights while watching the temperature gauge and/or the voltmeter. If either or both of these gauges change their readings when the headlights are turned on, that’s a good indication that there is an insufficient ground probably from the instrument panel to the body of the car. Or, it could be a poor ground between the body and the engine.
The headlight circuit on older cars is one of the higher continuously-operating amperage loads on the electrical circuit and thus places a higher load on the charging system. Since the ground circuit if part of the circuit, this is a good indicator of how well your engine/body/charging system is grounded.
Another technique would be to temporarily connect a good ground from the dash directly to the battery and see if this affects the temperature reading. If the reading changes with the better ground, this indicates the system needs some improving.
Comments