In Part 1 of our story on building your own small block Chevy, we outlined the plan and detailed the assembly of the short block that included the rotating assembly, camshaft, and lubrication system. In this second installment we will cover the remainder of the engine assembly along with information you will need to successfully break-in the camshaft and ensure your engine will live a long, healthy life.
Compression, Piston-to-Head Clearance & Quench
In Part 1 we discovered that the pistons were sitting a little deeper in the cylinders than we anticipated, even after the block was decked 0.008 inch. After measuring all eight cylinders, we had between 0.025 inch and 0.032 inch of clearance below the deck. When combined with a 0.041 inch composition head gasket, this was not only going to lower our desired compression but also drastically increase the piston-to-head clearance—also called the quench.
Ideally we want somewhere around 0.035 to 0.040 inch piston-to-head clearance. This creates a tight space between the flat portion of the head to the piston which pushes or squishes the inlet air and fuel into the chamber, creating a more homogenous mixture which will burn more rapidly and completely. With a much wider quench area, much of the energy of this squish is lost and combustion efficiency suffers.
Given this, we decided to substitute a thinner 0.016 inch Fel-Pro steel shim head gasket in place of the composition head gasket that came with the gasket set. This improved our static compression ratio to 9.85:1, which should make for a very responsive street engine. This might also require a slightly better grade of fuel like 89 or perhaps to 91 octane. So if your plans include 87 octane fuel, the thicker head gasket will lower the compression to 9.3:1.
Inspecting the Valvetrain
Before bolting on the Summit Racing Vortec heads, we tested the valve springs to double-check their seat pressure. The springs looked hefty so we removed one spring and checked it in our digital valve spring tester. The load came in around 110 pounds at the 1.710 inch installed height. That number is acceptable for a flat tappet camshaft with an open load of around 285 lbs. at 0.470 inch of valve lift for break-in purposes. We wanted to make sure the break-in on this cam was as smooth as possible, so we so we dug up a near-new set of stock small block springs that tested at 95 to 100 pounds at the same installed height with even less load at full valve lift.
We will use these springs for the initial cam break-in period and then return to the original springs once we know the cam and lifters are fully seated. We have to emphasize this is us just being paranoid but we wanted to make sure the cam and lifters had every chance to break-in properly. We also checked the retainer-to-seal clearance and found that the Summit Racing heads will accommodate as much as 0.500 inch of valve lift with 0.025 inch for retainer-to-seal clearance. This won’t be a concern because our max lift is 0.466 inch on the exhaust side.
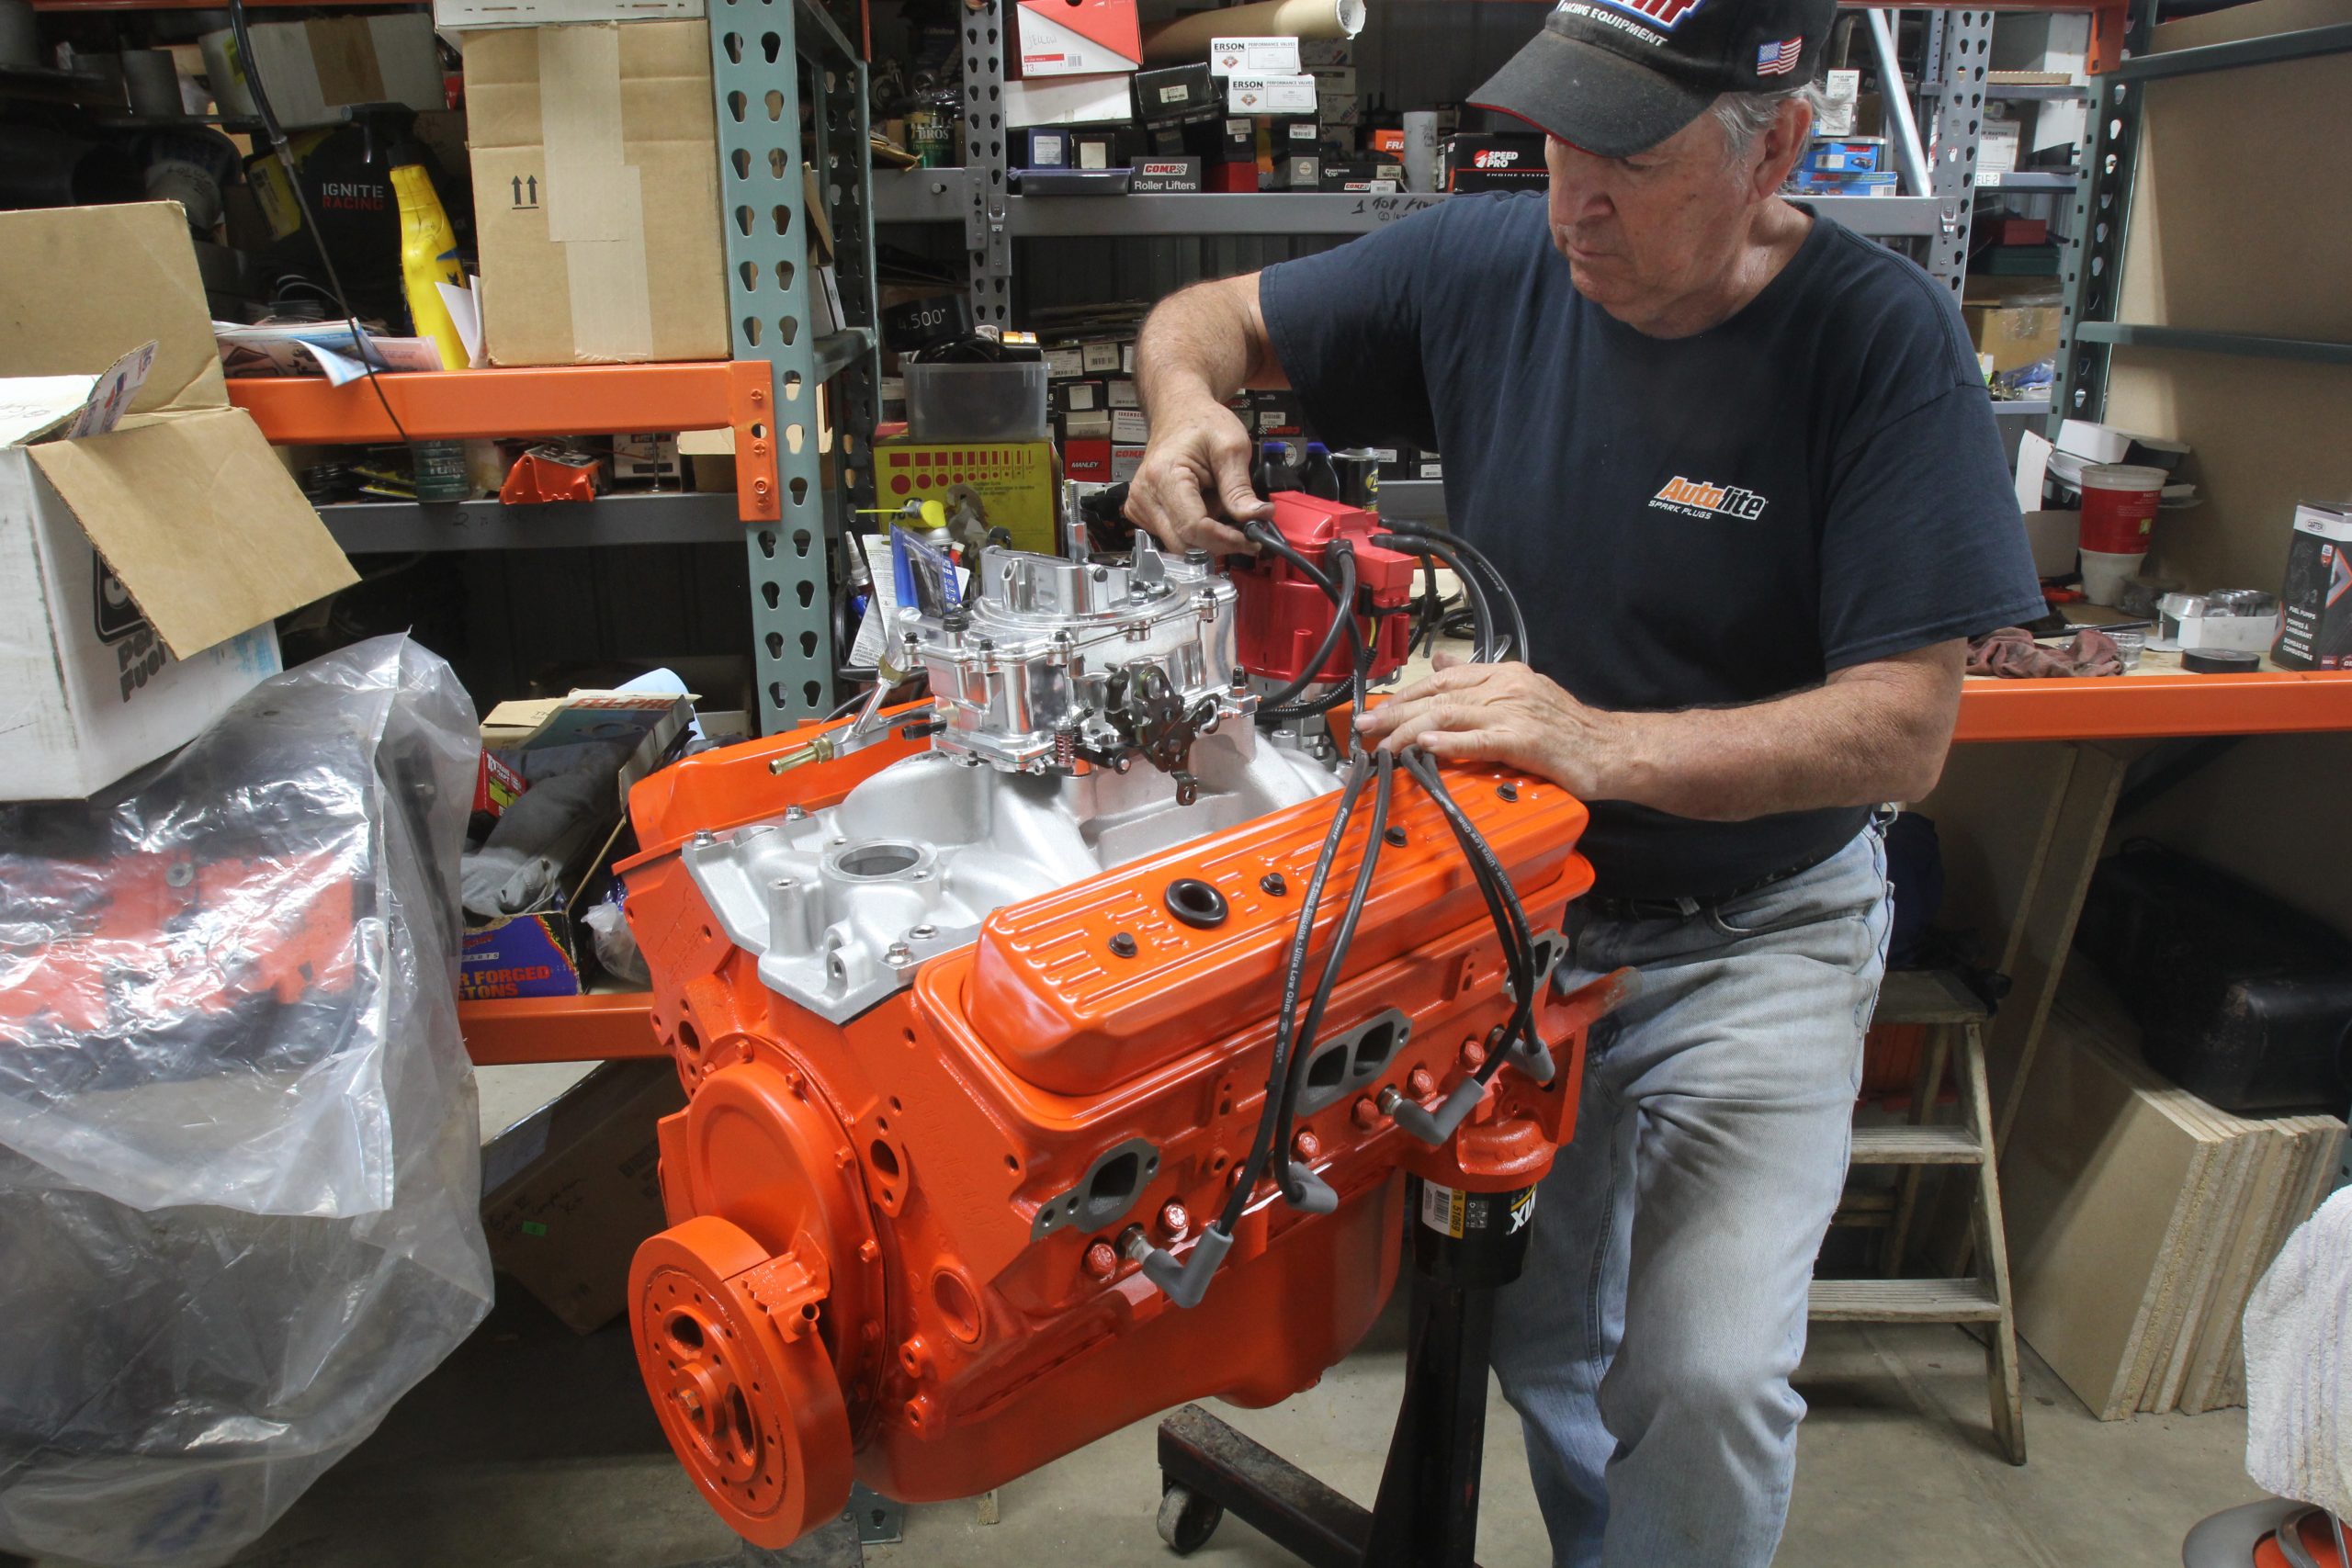
We painted the stock shim gaskets with silver paint (which was all we had) and torqued the heads in place using thread sealer and ARP’s Ultra Torque lubricant under the bolt heads. We also torqued the rocker studs that came with the heads. The next step was to slip the lifters into place and then drop in the pushrods and stamped steel rocker arms.
These new rockers also need some attention since these will also need to break-in properly. The exhaust rockers can get hot because of the exhaust valve’s elevated temperature so we coated the rocker balls and bottoms of the rockers with the same lube used on the cam lobes. This and a full engine pressure pre-lube will ensure they break in properly.
We prefer to adjust valves before the intake is installed just to monitor the lifters and pushrods and make sure everything is arranged properly. We then used our normal exhaust-opening / intake-closing (EO/IC) method of setting the valves. In this procedure rotate the engine until the exhaust valve just begins to open. When this occurs you can then preload the intake valve. Next rotate the crankshaft until the intake valve is halfway down on the closing side and then set the exhaust valve preload. We generally set it between a 1/4 to 1/2 turn on the adjusting nut once zero lash is achieved.
Installing the Intake Manifold
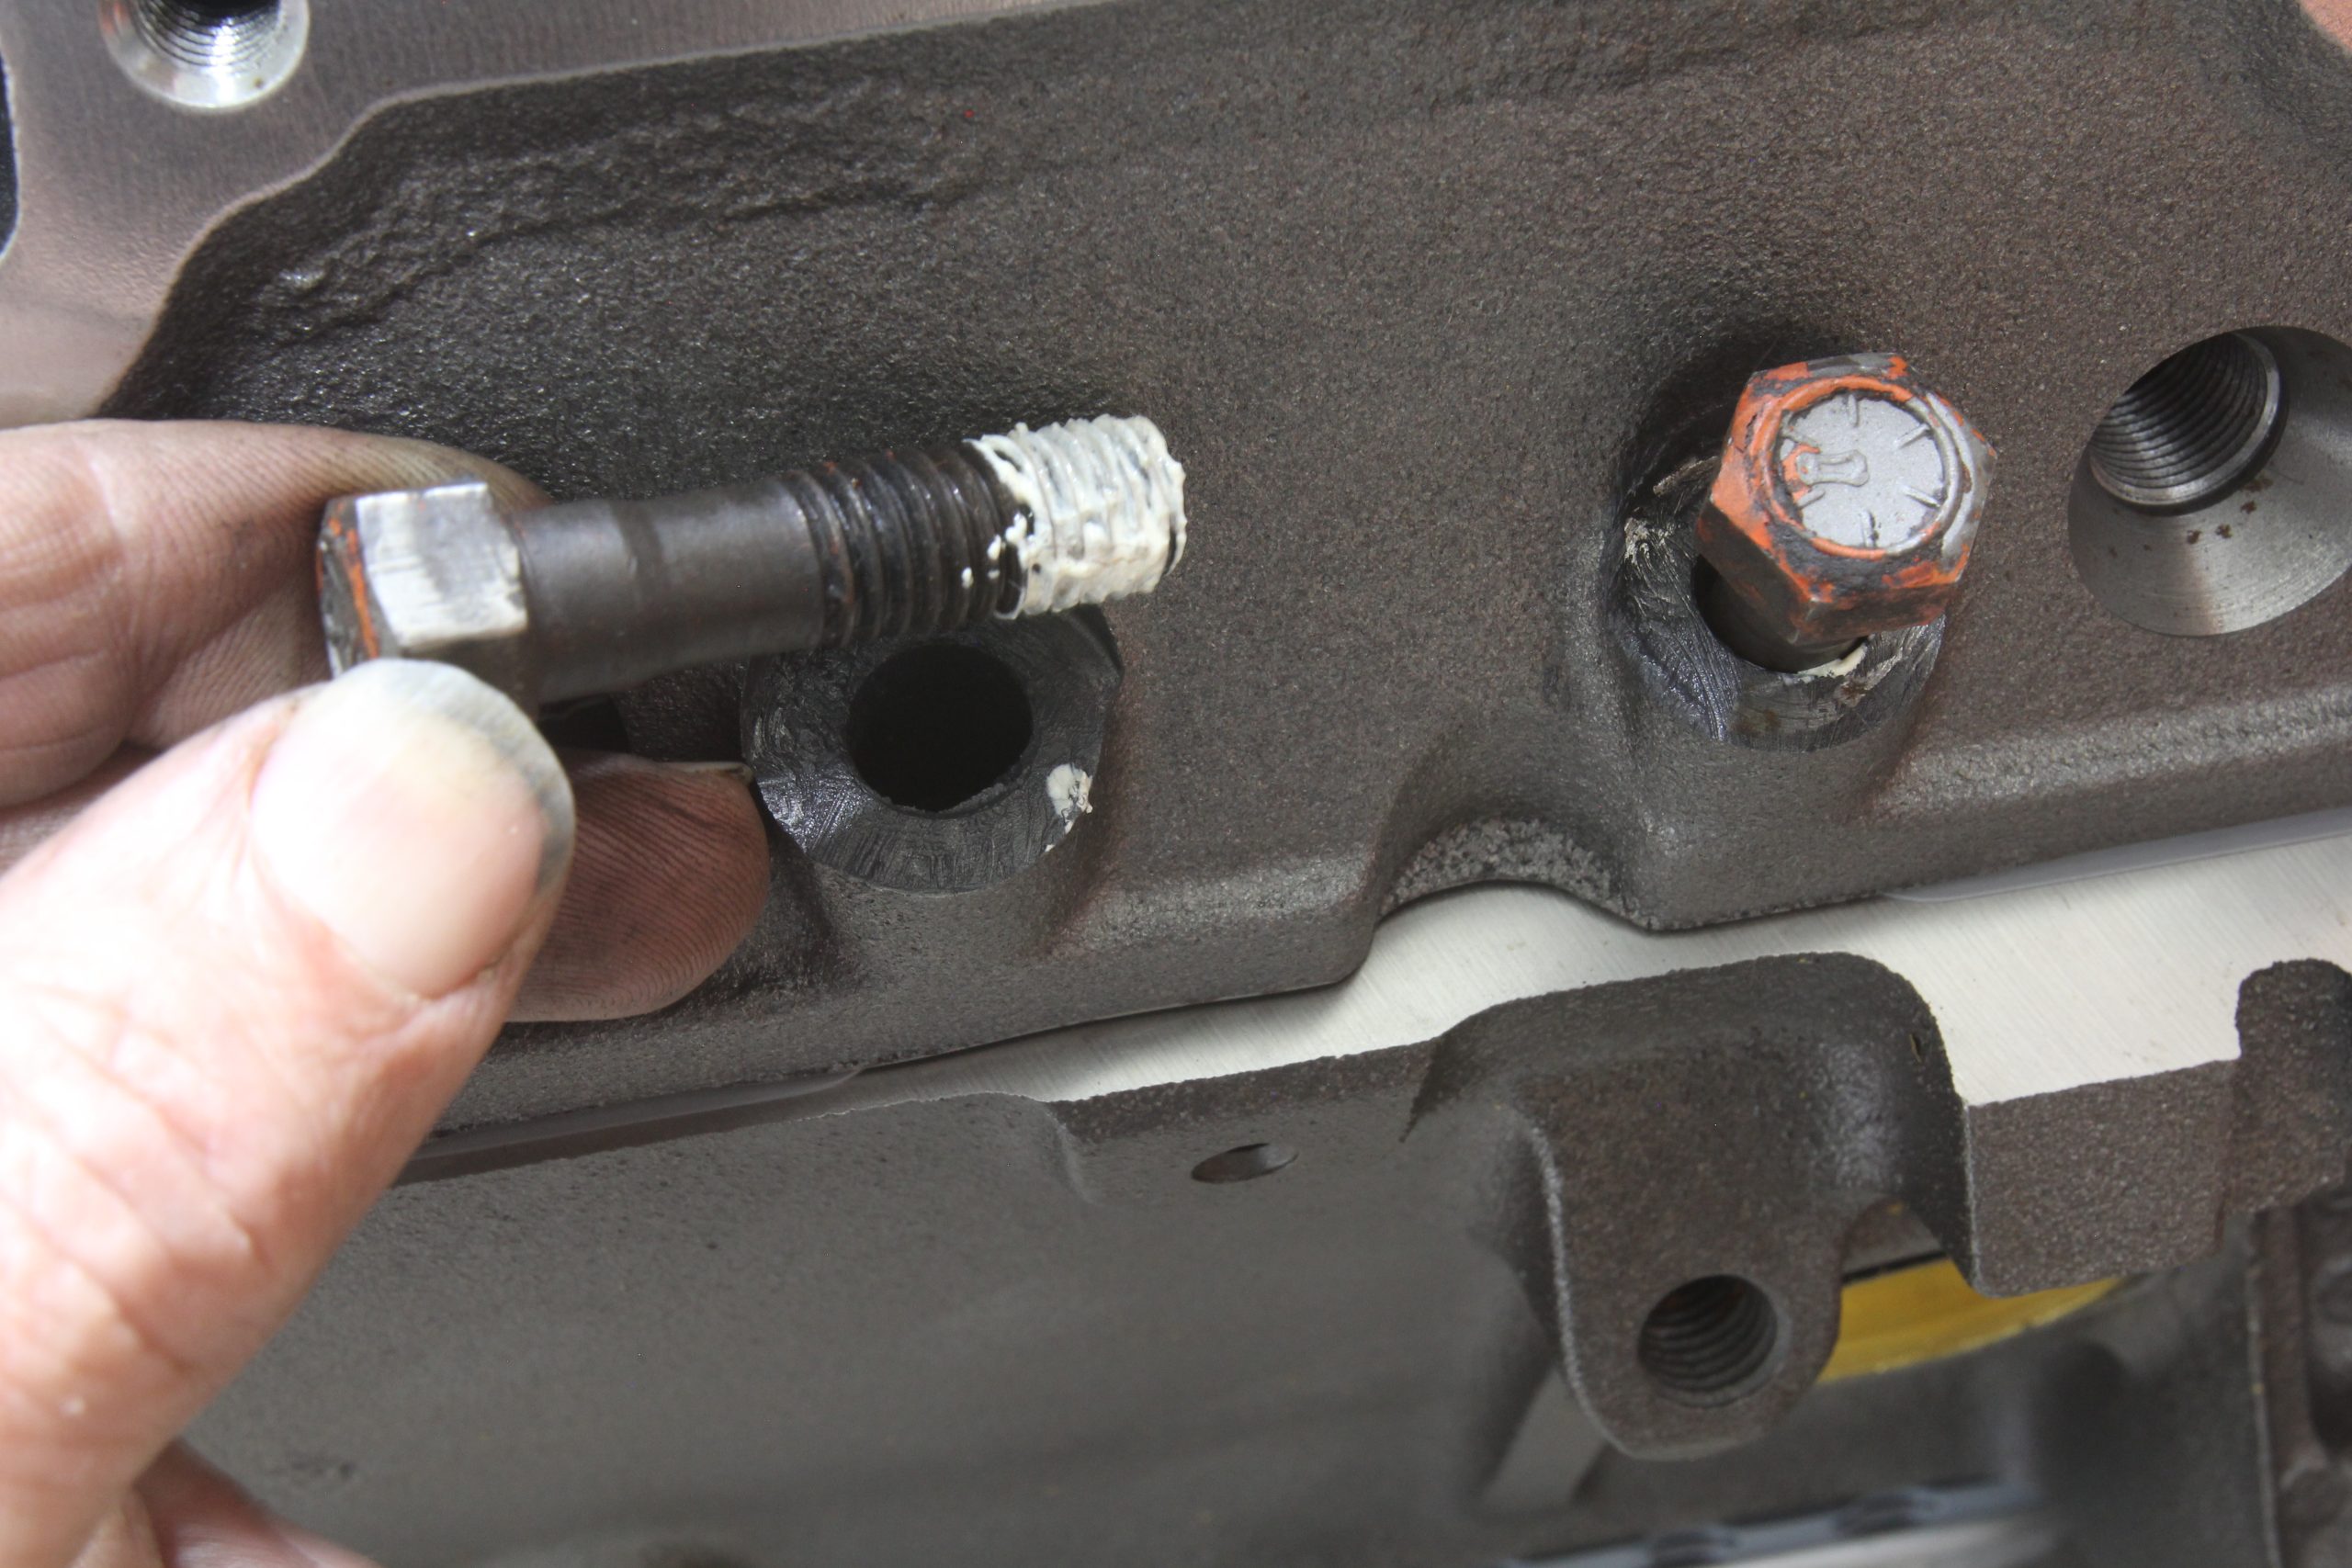
With the valves adjusted we moved on to painting the entire engine before installing the Summit Racing Vortec intake manifold. The Vortec heads require a specific intake manifold bolt pattern and also a specific length 5/16 NC intake bolt. These bolts need to be roughly 1-1/4 inches long. If they are too long, they will bottom out in the blind bolt holes in the head. If they are too short, they could possibly strip threads in the heads. We found GM Vortec intake bolts at SummitRacing.com but we cheated and used a set of ARP stainless bolts we had on hand. The Mahle gaskets require only 11 ft.-lbs. of torque to prevent overly compressing the intake gasket.
You may also find this article handy too: Ask Away! with Jeff Smith: How to Ensure a Good Intake Manifold Gasket Seal on a Small Block Chevy
Final Assembly, Pre-Lubing & Timing
With the intake in place we used the Allen style plugs to close off all the coolant and vacuum passages with pipe plugs. Next it was time to fill the engine with Summit Racing’s SAE 30 Break-in oil and pressure lube the engine. We like to use our old homemade pressure lubing tool made from an old HEI distributor body and shaft, but there are plenty of commercial oil pump primers available. We spin the oil pump clockwise with a 1/2 inch drill motor and run it until oil exits each of the 16 pushrods into the rockers.
OnAllCylinders contributor Wayne Scraba wrote a good article on oil-pump priming: Oil Pump Primer Tech: Starting Up Your New Engine the Right Way
The next step is to turn the engine until the balancer reads 15 degrees before top dead center (BTDC) on the Number One cylinder on the firing stroke. This can be identified by placing your finger over the spark plug hole and feeling pressure. With the crank at 15 degrees, we install the HEI distributor to line up to the rotor at the Number One spark plug position on the distributor. Make sure to lube the distributor gear with a good high-pressure lube to ensure proper life of the gear. It’s important to always use a new distributor gear with a new cam.
We included new spark plugs and wires with our new engine and made sure the Autolite plugs were the correct thread length. This is important because Vortec heads use a longer 0.700 inch tapered seat spark plug that is in between the short 0.400 inch stock small block tapered seat plugs and the longer 0.750 inch thread length gasketed spark plugs aftermarket heads most often use. We’ve included the Autolite part number for this application at the bottom of this article and we double-checked to make sure they were correct before we bolted the heads in place.
The Engine Break-in Process
To begin the start process, we always use straight water in the cooling system for the initial start because there are inevitably leaks with a new engine. To ensure the engine fires on the first crank, we always pre-fill the carburetor float bowls with fuel and hit the accelerator pump until we have about four or five squirts of fuel in the engine then we wait about a minute or so before attempting to start then engine.
If everything is adjusted properly, your engine should start on the first or second rotation of the engine with the starter. After the engine fires, immediately bring the rpm up to around 1,500 to 2,000 rpm. All pushrod V8 engines use oil splashed from the crankshaft to lube the camshaft and lifters so this high rpm ensures plenty of oil is delivered to the cam and lifter interface. We generally will run the engine for around 10 minutes and then shut if off to allow it to cool for about 30 minutes before running it again.
We bolted our small block to a Summit Racing engine run stand because the truck that is intended for this engine still has its original engine. The point is that after running the cam in for 10 minutes, we don’t want to run it any longer without putting a load on the engine to properly seat the rings. This ring seating process demands higher cylinder pressure than occurs with no load on the run-in stand.
To complete the break-in process, we need to install the engine in the car so we can immediately put load on the engine by continuously applying light to medium acceleration for another 10 to 15 minutes. Allow the engine to cool for about an hour and then, after checking coolant and oil levels, you can perform a couple of short, two to three second WOT acceleration runs not to exceed 4,500 rpm to ensure the rings are fully seated. This won’t hurt the engine but you want to always monitor oil pressure and water temperature.
We recommend keeping the rpm low because remember we are using stock valve springs to make it easier on the cam and lifters and they may not be happy much above 4,500 rpm. Of course, if the engine exhibits mild detonation or pinging, immediately lift off the throttle and retard the ignition timing to prevent this from reoccurring.
With this run-in process complete, it’s generally a god idea to leave the Break-In oil in the engine for 100 to 200 miles before changing it to the proper high-zinc oil like Summit Racing’s 10w30. This oil uses the proper zinc and phosphorous additive to ensure a long lifespan for the cam and lifters. At some point after perhaps 300 miles or so, you can then replace the stock valve springs for the original ones supplied with the Vortec heads.
Our modest small block is now ready for bolting it into our next intended project and we’re looking forward to a long lifespan in our parts-running shop truck project.


Summit Racing Classic Cam Specs (SUM-K1103)
| Advertised Duration | Duration at 0.050" | Lift | Lobe Sep. Angle (LSA) | Intake Centerline |
|
|---|---|---|---|---|---|
| Intake | 288° | 214° | 0.444" | 112° | 107° |
| Exhaust | 298° | 224° | 0.466" | — | — |
***
| Jeff Smith's 355 SBC Budget Build Torque Specs | |
|---|---|
| Main Bolts | 65 ft.-lbs. |
| Head Bolts | 65 ft.-lbs. |
| Crank Bolt | 65 ft.-lbs. |
| Rocker Arm Studs | 50 ft.-lbs. |
| Intake Manifold Bolts, Vortec | 11 ft.-lbs. |
| Rod Bolts, ARP | 0.0055" to 0.0060" (bolt stretch) |
***
| Jeff Smith's 355 SBC Budget Build Engine Specs | |
|---|---|
| Compression Ratio | 9.85:1 |
| Bore | 4.030" |
| Stroke | 3.480" |
| Combustion Chamber Volume | 67cc |
| Deck Height | 0.025" |
| Piston Valve Reliefs | 6cc |
| Head Gasket Thickness | 0.016" |
***
| Jeff Smith's 355 SBC Budget Build Parts List | |
|---|---|
| Engine Short Block | |
| Summit Racing Coated Hypereutectic Pistons, 4.030" Bore | SUM-17351C-30 |
| Summit Racing Piston Ring Set, 5/64" | SUM-133-M139-30 |
| Summit Racing Main Bearings (Standard) | SUM-172000 |
| Summit Racing Main Bearings (Undersize, 0.001") | SUM-172001 |
| Summit Racing Connecting Rod Bearings | SUM-171000 |
| Dura-Bond Standard Cam Bearings | DUR-CH-8 |
| Summit Racing Oil Pump (Standard Volume/Pressure) | SUM-121155SV |
| Melling Oil Pump Pickup/Screen Assembly | MEL-55-S1 |
| ARP High Performance Series Connecting Rod Bolt Kit | ARP-134-6003 |
| Summit Racing Classic Cam and Lifter Kit | SUM-K1103 |
| Cloyes Heavy-Duty Timing Set | CLO-C-3023X |
| Fel-Pro Timing Cover Gasket | FEL-TCS51241 |
| Summit Racing Freeze Plug Kit | SUM-G1581 |
| Summit Racing Dowel Pin Kit | SUM-150122 |
| Dorman Harmonic Balancer | RNB-594-121 |
| Summit Racing Harmonic Balancer Bolt | SUM-G1677 |
| Summit Racing Stock Replacement Oil Pan | SUM-G3503X |
| Engine Top End | |
| Summit Racing Vortec Cylinder Head (x2) | SUM-151124 |
| Summit Racing Chromoly Pushrods | SUM-1457800 |
| Mahle Original Engine Gasket Set | MAH-95-3488 |
| Summit Racing Stage 1 Intake Manifold | SUM-226018 |
| Melling Rocker Arm (x16) | MEL-MRK-651 |
| WIX Oil Filter | WIX-51069 |
| Summit Racing ZDDP Performance Motor Oil | SUM-1-SAE30 |
| Autolite Copper Core Spark Plug (x8) | ATL-605 |
| Summit Racing Blueprinted HEI Distributor | SUM-850001-1 |
| Summit Racing 8.5mm Ignition Wire Set | SUM-881020 |
| Summit Racing Valve Covers | SUM-G3319B |
| Special Engine Assembly Tools | |
| Clevite Rod Bolt Sleeves | CLE-2800B1 |
| Summit Racing Cam Degree Wheel | SUM-G1057-16 |
Excellent engine rebuild. I am guessing 325 horsepower at 5200 rpm with 1-5/8 long tube headers.
I would have splurged on the camshaft with 218/224 and 110 LSA Comp Cams..
What kind of horsepower do you estimate this engine to produce? Did you guys reuse the factory connecting rods? This has been a very informative article and enjoyed reading it, puts a lot of ideas in my head for building my 350 for my 68 C10.
What distributors will work in my originally oem ‘ 97 VORTEC 350 block / aftermarket aluminum intake and oem VORTEC heads. I have several distributors,including a new orig. VORTEC oem one(will it work with the new intake?
Great information, but I came up with different deck height figures. The summit 17351C-30 pistons you chose have a compression height of 1.540”, .020 shorter than factory 1.560”. Add 1.540 to 1.74 (1/2 stroke), plus 5.7 (rod length)= 8.98”. Subtract from 9.017 block deck height (.008 removed from factory 9.025”), and pistons actually wind up .037 below deck, and with .016 gaskets result in a poor .053 quench. The only way to achieve the proper .035 quench is removing just .004-.005 from block deck, and using summit 17350C-30 pistons with 1.560 compression height, plus Fel Pro 7733SH1 uncoated .016 steel shim gaskets, only $10.99 each, coated with copper paint. Jeff, can you explain please?
Agree with previous comments. The only way Jeff’s figures make sense is if the machine shop actually took off .015 from block deck, not the .008 he claimed.
Actually, with those Summit pistons, and a .016 steel shim gasket, the block had to have been decked .025” to achieve the claimed .035” quench. Compression height 1.540”+ 1.74”(half of stroke)+ 5.7” rod length= 8.98”, subtracted from 9” block deck height= .020”, added to .016” shim gasket gives .036” quench. The math is indisputable.
I overlooked that piston deck heights varied between .025” and.032”, so with approx. .020” removed from the deck, the actual quench ranged from .041” up to .048”. Fair but hardly the ideal that could be had with 1.560” compression height pistons, and just a minimal deck surfacing that is far more desirable.