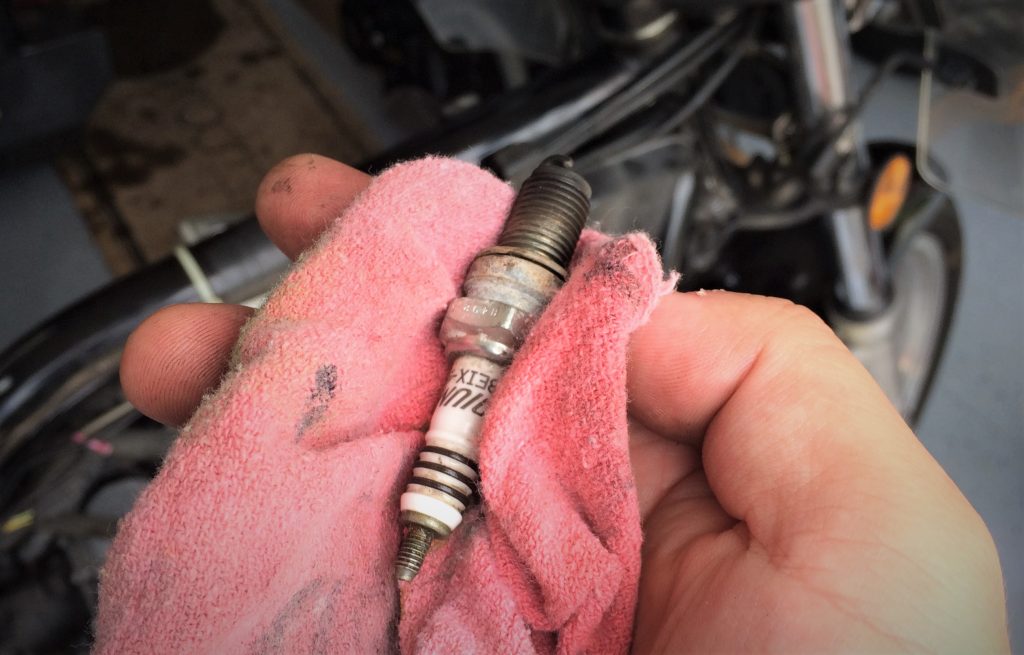
We get it—you’re anxious to get your project vehicle on the road and ready for shows. Eventually we’ll get there, but for now, you’ve got extra time at home to make sure your car or truck is ready when we do.
Our Garage Goals series has offered a road map to using your stay-at-home “social distancing” time to accomplish your organizing and basic maintenance to-dos. And earlier article in our Garage Goals series covered brakes. This time, we’ll go over your tune-up checklist.
So what exactly constitutes a tune-up?
Well, that all depends on what you’re tuning up exactly, but in a general sense, a tune-up and engine maintenance will include things like:
- Spark plugs
- Spark plug wires
- Filters
- Fluids

Replacing Spark Plugs
If you’ve removed spark plugs before — and we’d wager most of you have — you know it’s not difficult.
You’ll need a spark plug socket, ratchet wrench, extension bar, and a spark plug gapping tool. Once you have access to plugs and wires, pull gently on each spark plug wire or coil until it comes loose from the top of the spark plug. You can then remove the plugs by using a ratchet wrench, long extension bar, and a spark plug socket to protect the plugs.
Check the gap on the new plugs and adjust to spec, using your spark plug gapping tool.
Begin the installation of the new plugs by hand to prevent stripping the threads. Finish the installation with a torque wrench set to the vehicle manufacturer’s specs. Reinstall the plug wire or coil, and move to the next cylinder.
Installing Spark Plug Wires
DISCLAIMER: Most modern vehicles have switched to a “coil-on-plug” ignition setup with heavier-duty wires that aren’t meant to be changed as part of routine maintenance. While these types of wires do eventually wear and need replaced, we’re going to focus our attention on old-school spark plug wires.
Being subject to tremendous vibration levels, heat, and grime, spark plug wires gradually deteriorate and lose their ability to conduct high voltage levels necessary for ignition.
When removing the spark plug wires, pull the wire by the boot and not the wire itself. You may need to use a spark plug wire removal tool that can create just the right leverage needed to get them loose without creating damage. As you work to change out your spark plug wires, it’s also important to remember that each spark plug wire is assigned to a specific individual plug. Be careful to not mix them up to avoid misfires and overall power loss.
To avoid mixing up the wires, we recommend removing one wire at a time, replacing the applicable plug, then re-installing the wire.
Or, tag each wire with a cylinder number using masking tape before removing them. When installing a new set of spark plug wires on an older vehicle that doesn’t have an ignition coil on each cylinder, you may find each wire in the set has a different length that corresponds with how far away each spark plug is.
Lastly, be sure your plug wires are routed away from exhaust heat.
A Word About Distributors
Distributor service went away in the early 1990s as vehicles moved to distributorless ignition systems; however, many of our readers are using older vehicles equipped with the time-honored distributor. If this applies to you, you know that your tune-up might include a new cap and rotor at a minimum. (You may also need to replace the points and condenser as well, but we’ll leave that for another, separate post.)
Look at the underside of the distributor cap: there is usually a tang which allows it to be installed in one location only. The cap itself is held on with screws or clips, and its removal and installation is straightforward. The rotor may be held on with screws, or may be a pull-off, push-on affair. Again, it is indexed to go onto the shaft only one way.
If you’ll be removing and reinstalling spark plug wires with the cap, they must remain in the same order for the reasons we mentioned above.
We recommend removing the wires and distributor cap as a unit. Use the old parts as a template, install the new wires into the cap, number the new wires, install the new cap, and then re-install the wires.
So what about setting the timing?
The article and video will take you down that path.
Filters and Fluids
A dirty or clogged air filter can rob your vehicle of performance.
Take this time to inspect your air filter for high levels of dirt and clean or replace as necessary. If your car or truck is equipped with a cabin air filter, it’s also a good time to take a look at that as well. Finally, if an oil change is in the cards, swap out the fuel filter, too.
And speaking of motor oil and fluids, check your oil level (if you’re not changing it) and top off as necessary. Also, top the windshield washer fluid, check power steering, brake, and transmission fluid levels.
A few other things to check:

[…] We get it — you’re anxious to get your project vehicle on the road and ready for shows. Eventually we’ll get there, but for now, you’ve got extra time at […] Read full article at http://www.onallcylinders.com […]
Please proofread your stuff. I DO NOT want to ensure that my threads are stripped!