
A while back, I got my 1979 Jeep Cherokee back on the road after swapping in some full width ¾-ton axles, 63-inch Chevy leaf springs with a shackle flip in the rear, and a spring over the axle conversion in the front.
Needless to say, I was very excited to drive it, test it, wheel it, and do all the other fun things Jeep owners do.
Unfortunately, a meager five miles into its inaugural journey, the Holley red fuel pump burned out, leaving me stranded. Luckily, some fellow four-wheel-drive enthusiasts happened to drive by, hooked the Big Chief up to their big ol’ lifted Dodge, and towed me home. Long story short, I needed a fuel pump, so I got in contact with Summit Racing to try their version of the Holley Micro pump — the Summit Racing Universal Electric Fuel Pump (SUM-G3146).
There are a few things you need to keep in mind when selecting a fuel pump.
First, do you have fuel injection or carburetor?
Fuel injection requires a higher PSI, typically 40-60 PSI, in order to atomize the fuel flowing through the injectors. Subsequently, a carburetor requires a much lower PSI, in my case 4-7 PSI for the Holley 2300. If you were to try and use the fuel injection pump on a carbureted application, the fuel would blow past the needle and seat, flooding your carburetor. This article is going to focus on the carbureted application.
The next thing you need to do is figure out what volume of fuel you need from your pump. The optimal gallons per hour is calculated with the following equation:
Optimal GPH = (Max HP x BSFC)/(6 lbs./gal)
- BSFC= brake specific fuel consumption (typically 0.5 lbs./HP/hour @ wide open throttle)
My 1979 Jeep Cherokee in prime condition with the stock AMC 360 and Holley two-barrel makes a whopping 175 HP, so the calculation is as follows:
(175 HP x 0.5 lbs./HP/hour)/(6 lbs./gal) = 14.6 gal/hour
This Summit pump flows at 35 gph, which is more than sufficient for my tired old AMC 360.
With that stuff out the way, let’s get to the install!
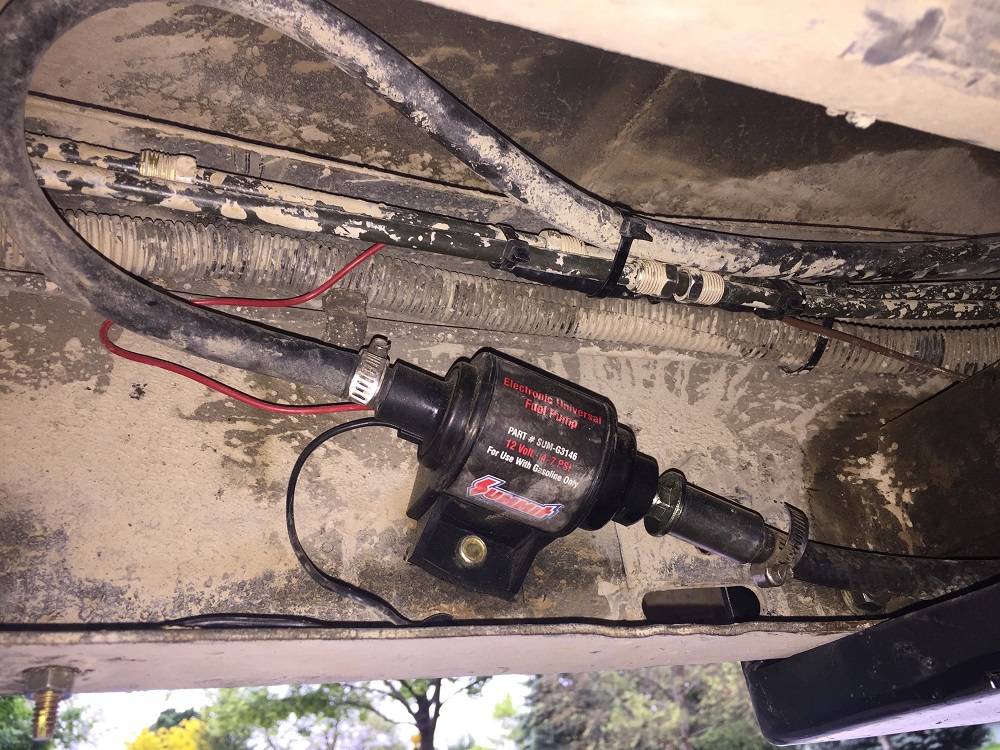
It’s relatively simple, we’ll start with mounting the pump. You want to find a place out of harm’s way, that is lower than your fuel tank. What this does is aids in the self-priming action of the pump by creating a siphon to the pump from your tank.
The pump needs to be mounted at a 30-45-degree angle, with the inlet side lower that the outlet. I used the pump as a template, drilled the top and bottom holes, and used the supplied mounting hardware to secure the pump.
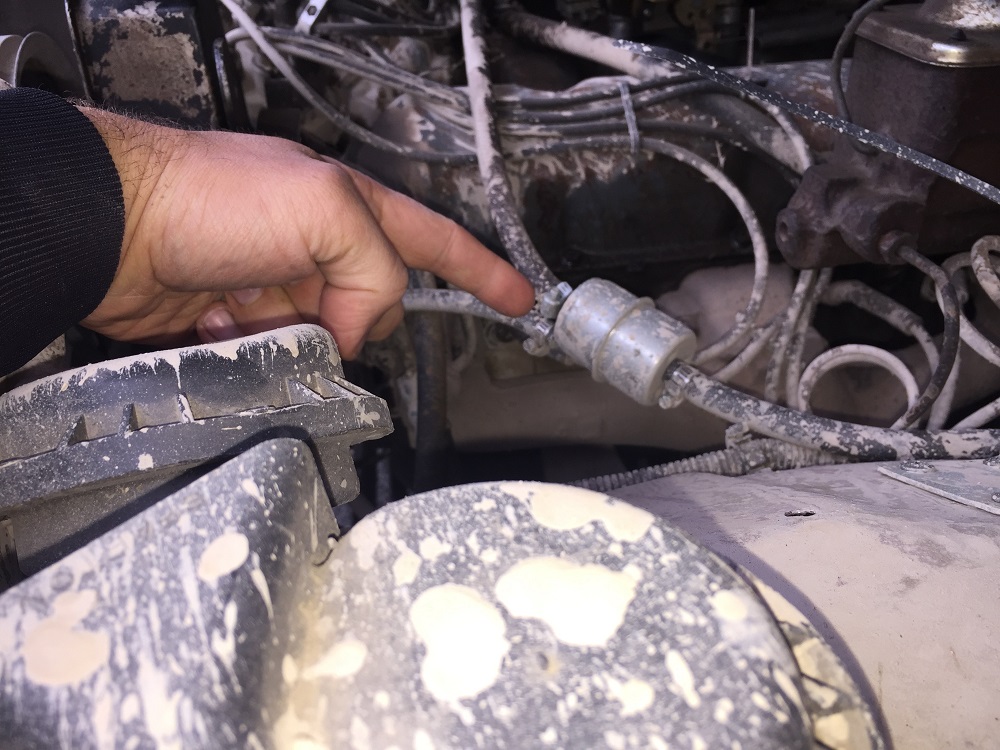
The plumbing is simple as well. You want to use as much hard line as possible, using rubber fuel line only to connect the hard line to your tank, pump, and carburetor. On the inlet side of the pump, make sure to install the supplied pre-filter. It is recommended that you also use a filter just before the carburetor, especially on a vehicle with an older fuel system.
Secure all fuel line away from exhaust and moving parts. I used zip ties for this of course, but you could get fancy with special hardware if you want.
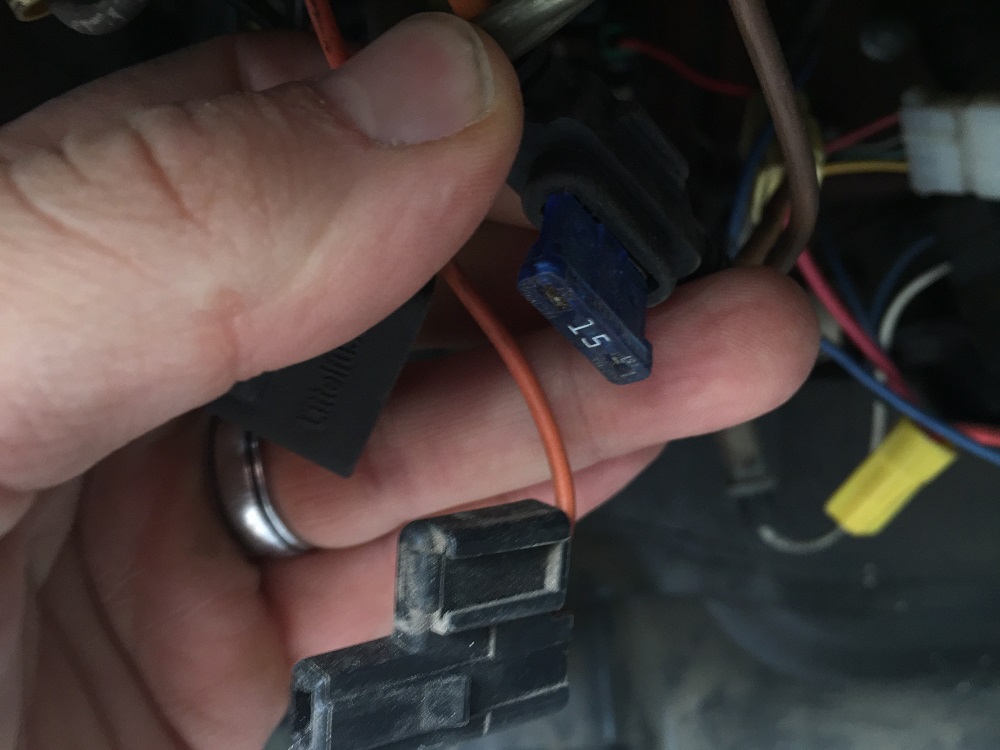
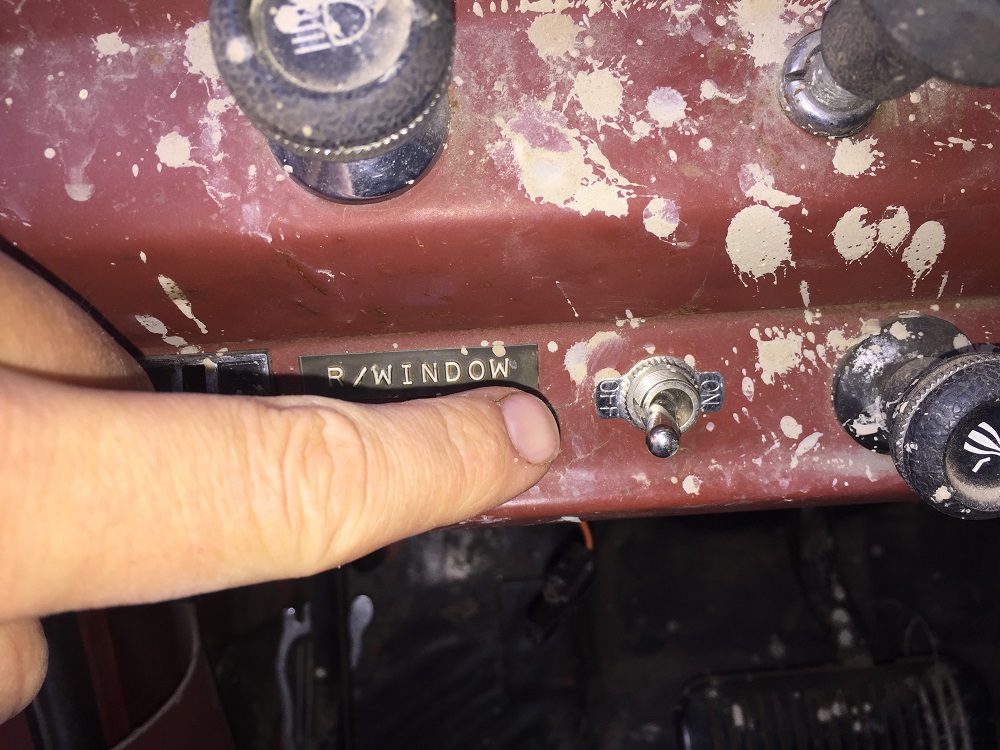
Lastly, the pump needs power. There are several ways to wire up an electric fuel pump. For best results, see mounting and installation instructions here, and check out my install video below.
In conclusion, this is a great fuel pump for most stock to mildly modified carbureted applications. It can also be used as a primer pump for your mechanical fuel pump.
Watch the installation and product review here:
…
oh nice
Very good. I am very proud of you, Josh. My oldest grandson. Your grandfather,Joe was an old time cowboy, worked on old JD, Fordson, and his first car was a Willis-overland, made into a racer about 1924. I worked, operated CATERPILLARs, trucks. Jess is fabricator, and loves his hotrod. so what your doing, runs in the family. Keep up the good work.
Thanks Grandpa!
Help I have to put a elec.pump on 54 willeys. How do I insure I don’t over pump
You can put a fuel pressure regulator in, I had to do that so it didn’t overpower the needle and seat.