Horsepower is the holy grail we all love to chase, but who says you have to be uncomfortable doing it?

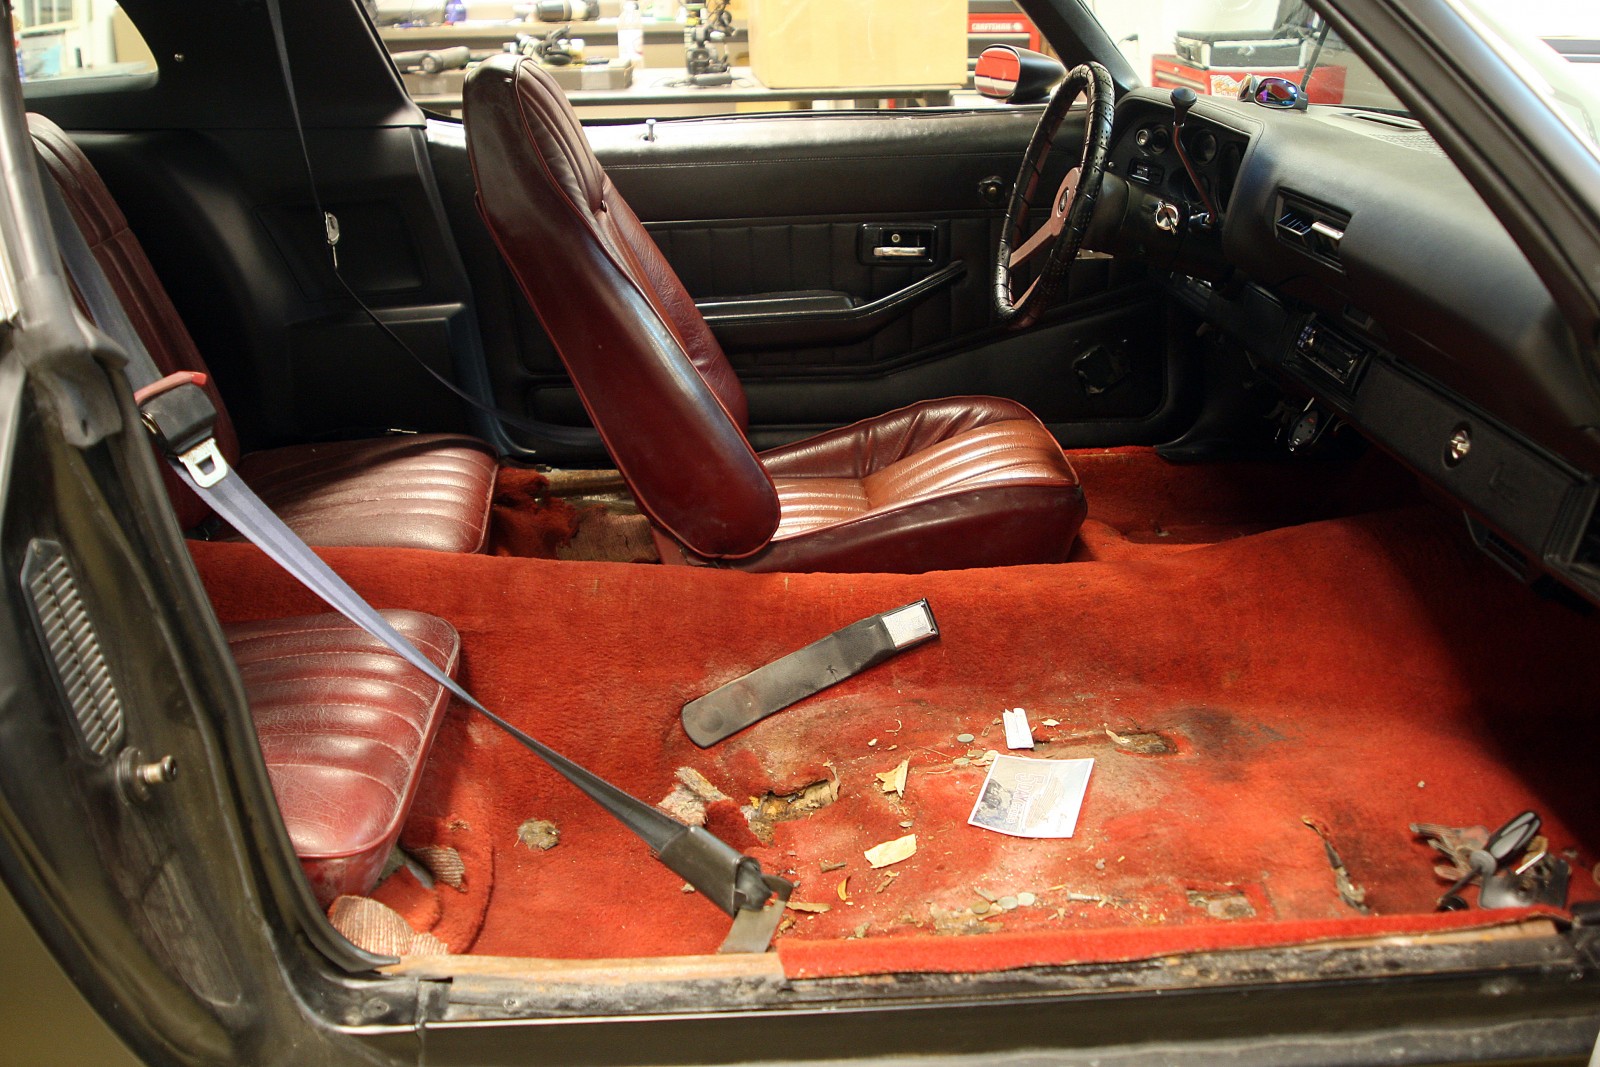
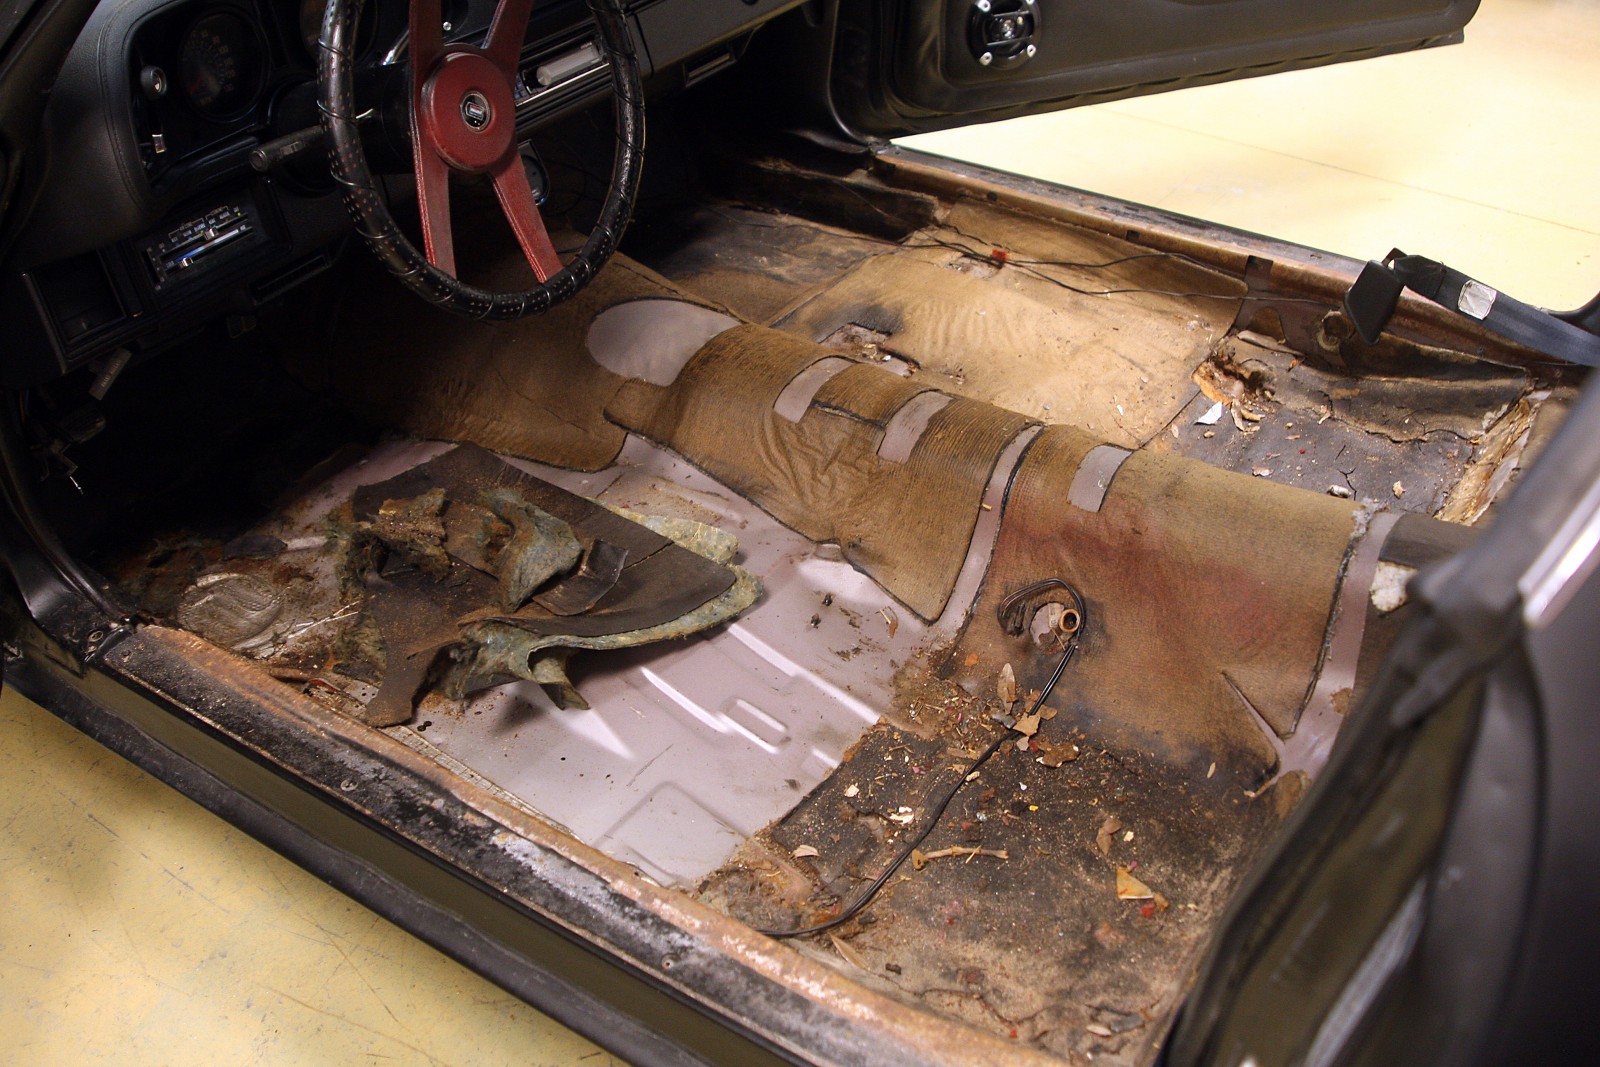
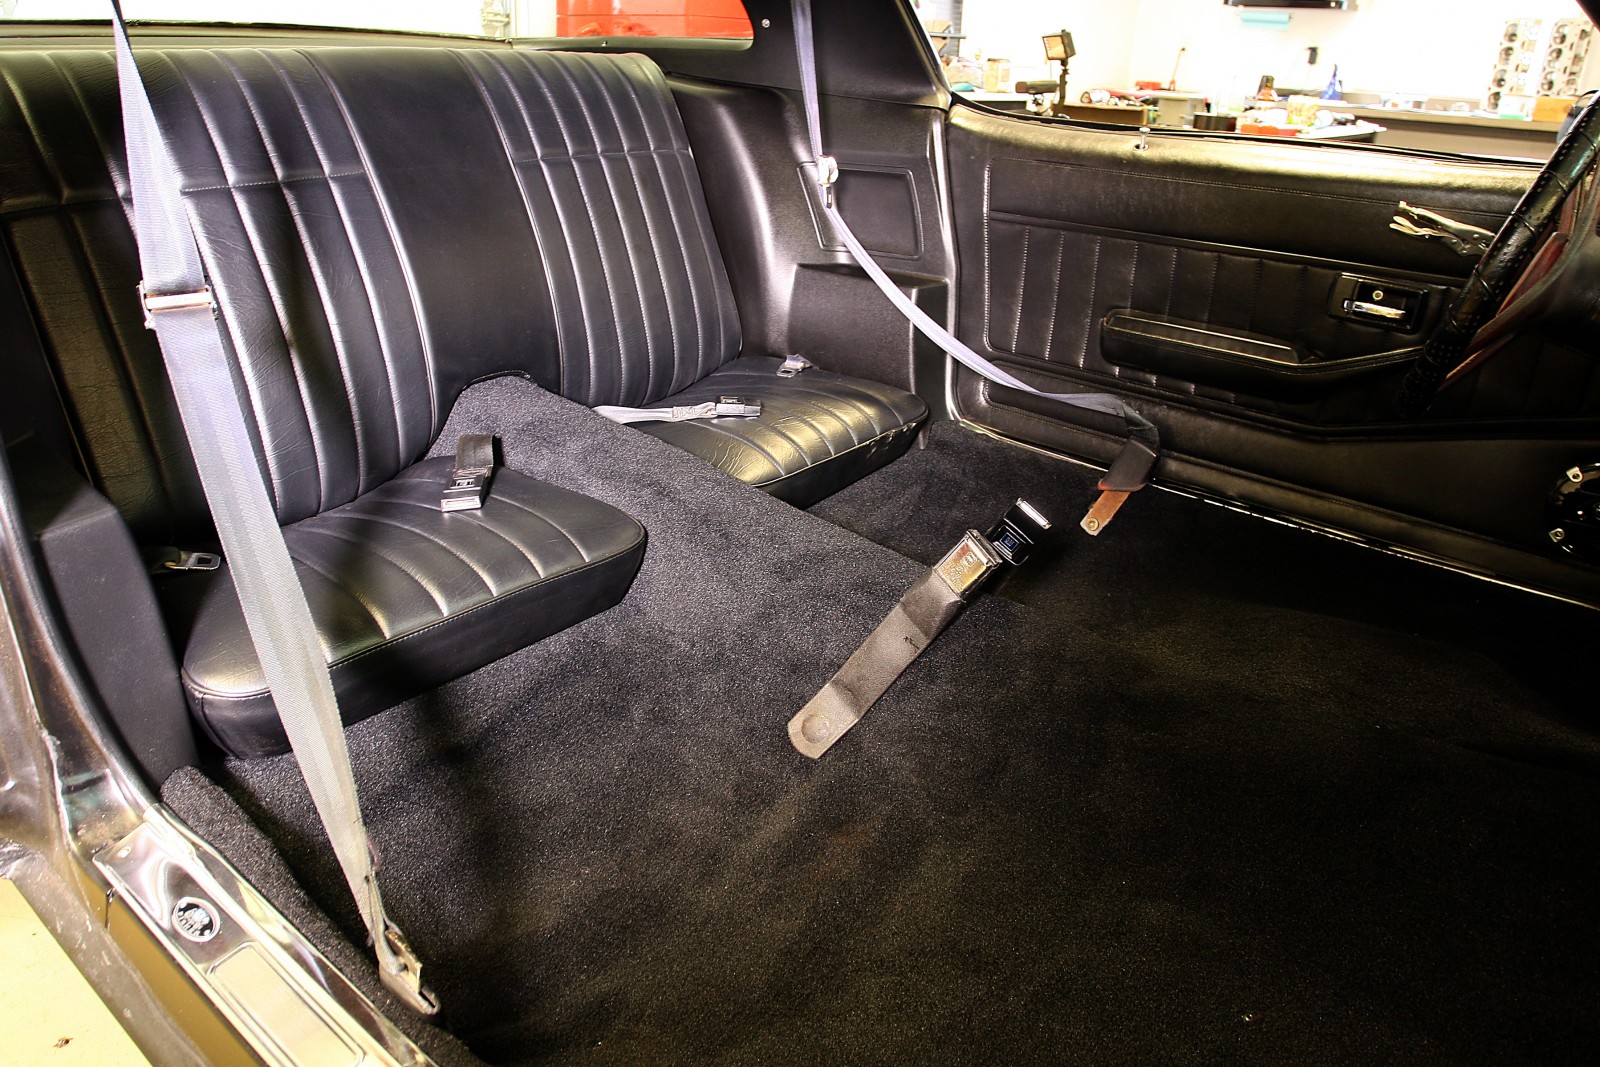
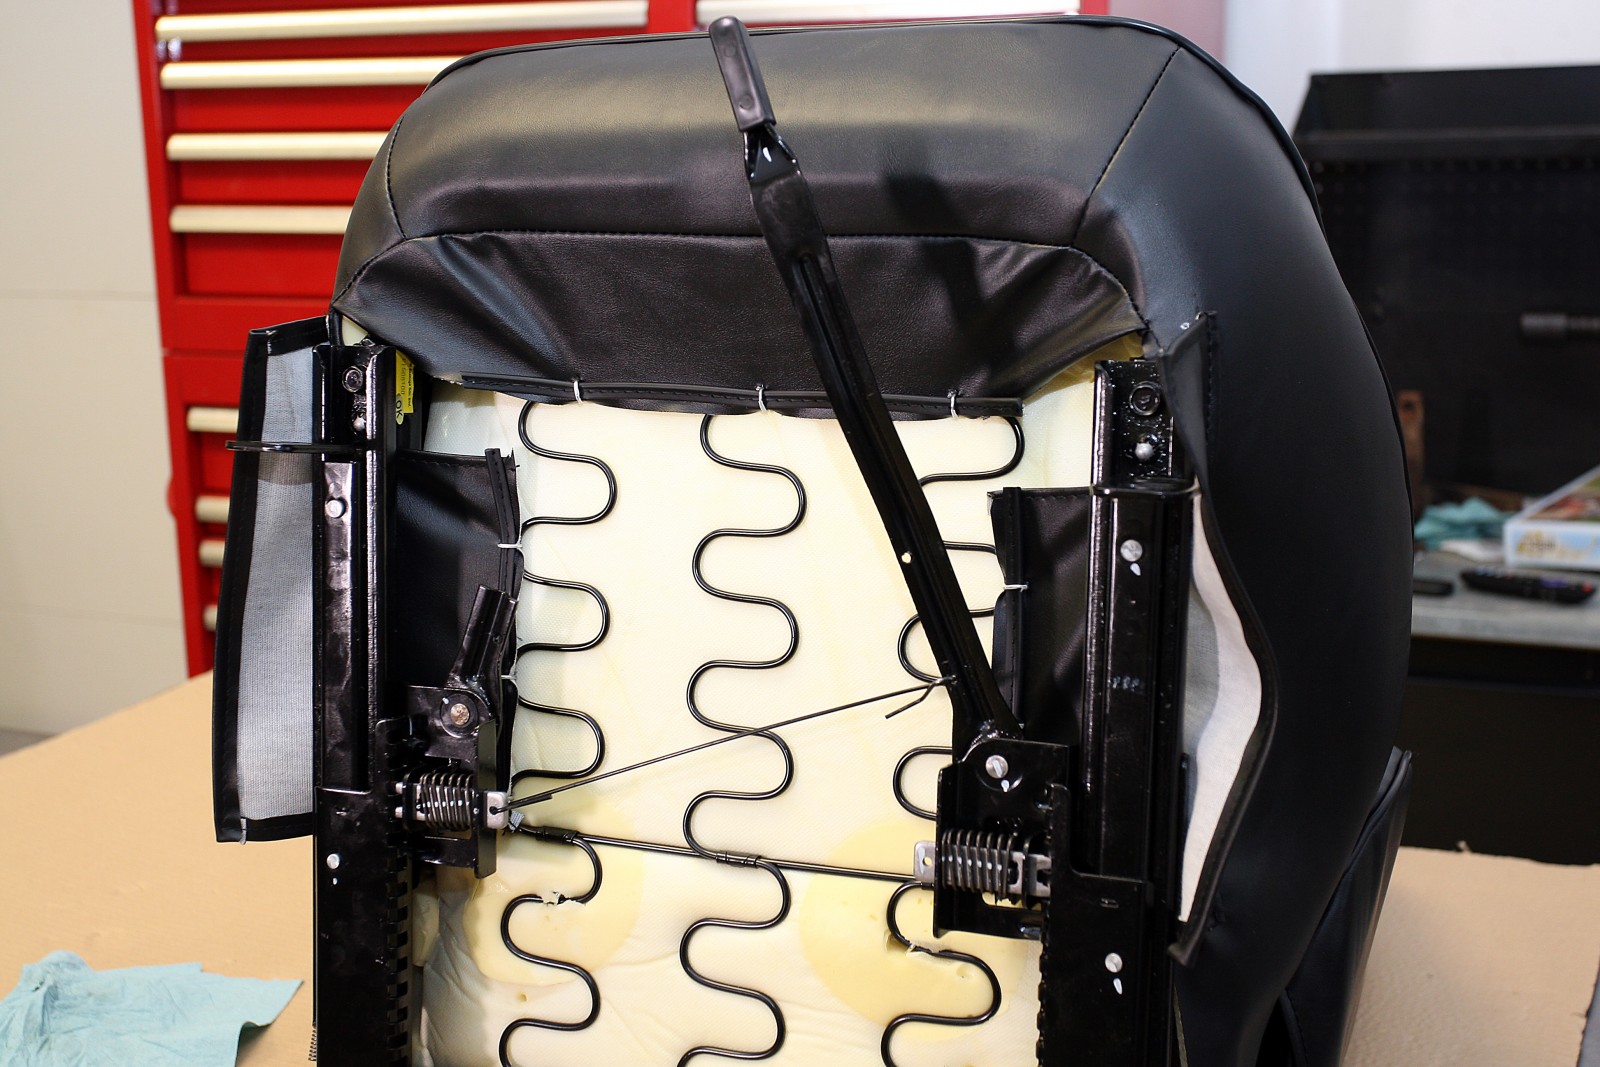
While we worked to upgrade the performance of our 1978 Camaro project, we also had an eye on upgrading the dumpster fire of an interior into something that we actually wouldn’t mind spending some time in. Over the nearly 40-years of its existence, like any other car, the interior of the Camaro had degraded until the carpet was rotten and stained, and the seats were torn, with collapsed foam and—on the driver’s side at least—a bent frame. So we made a plan to completely strip the interior and upgrade it to better-than-new standards.

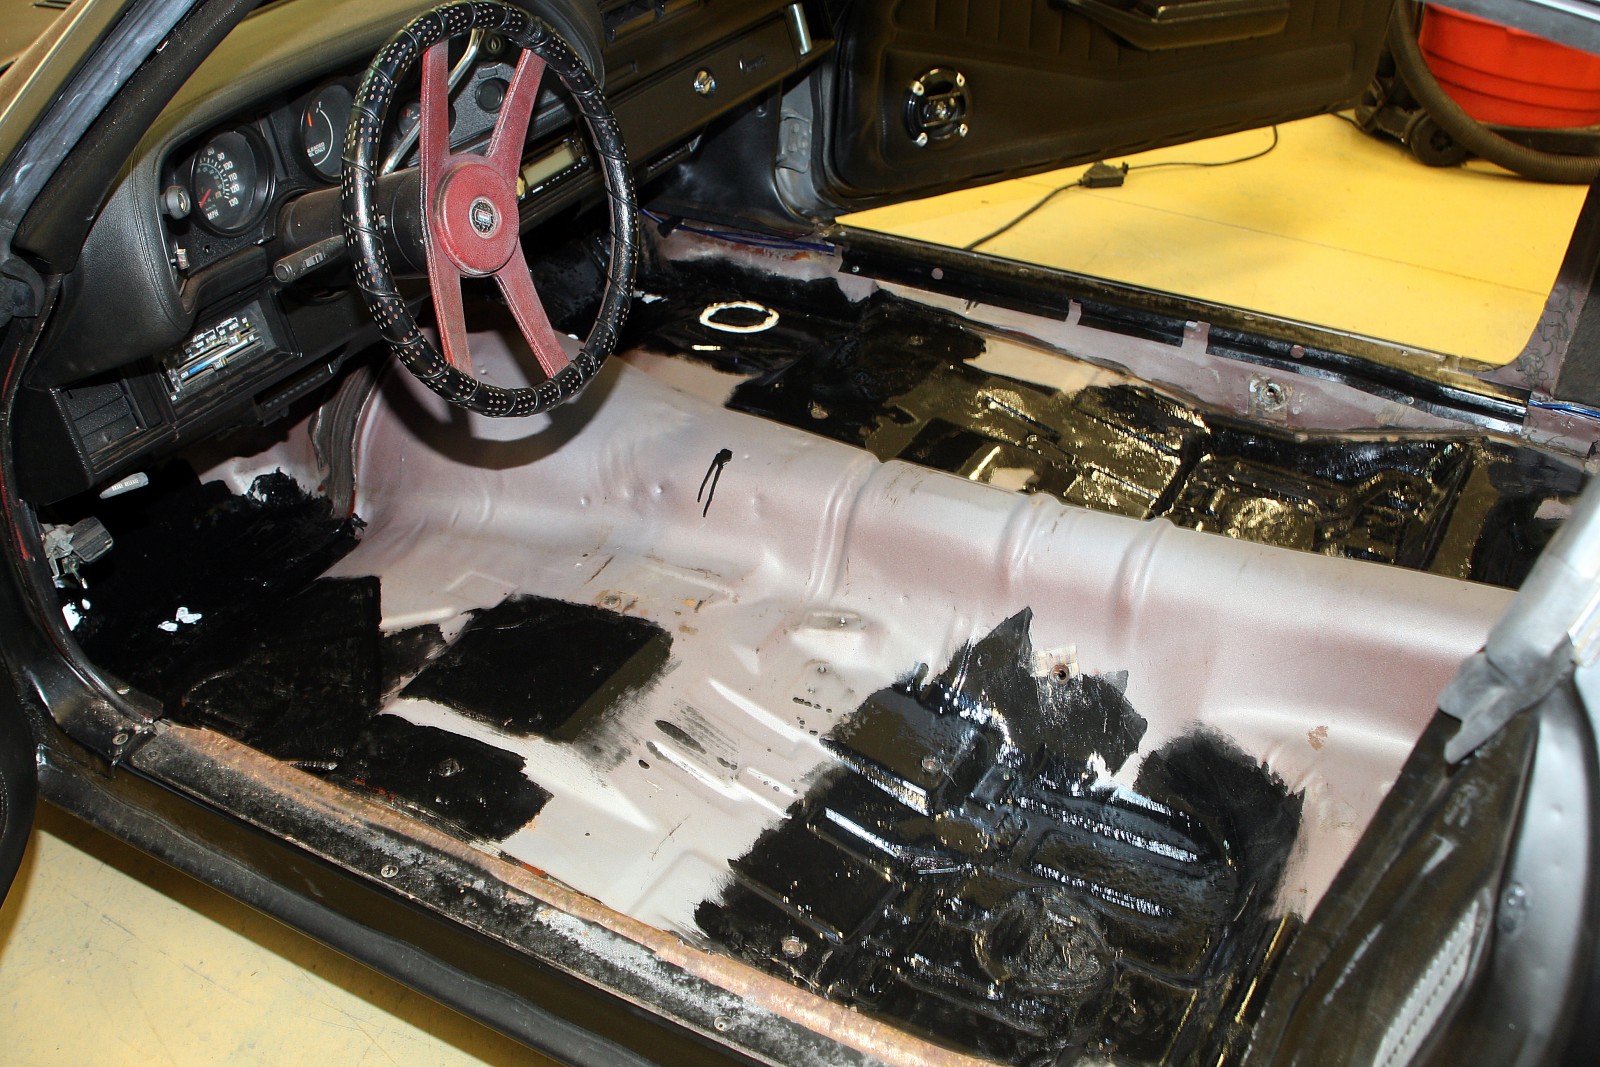
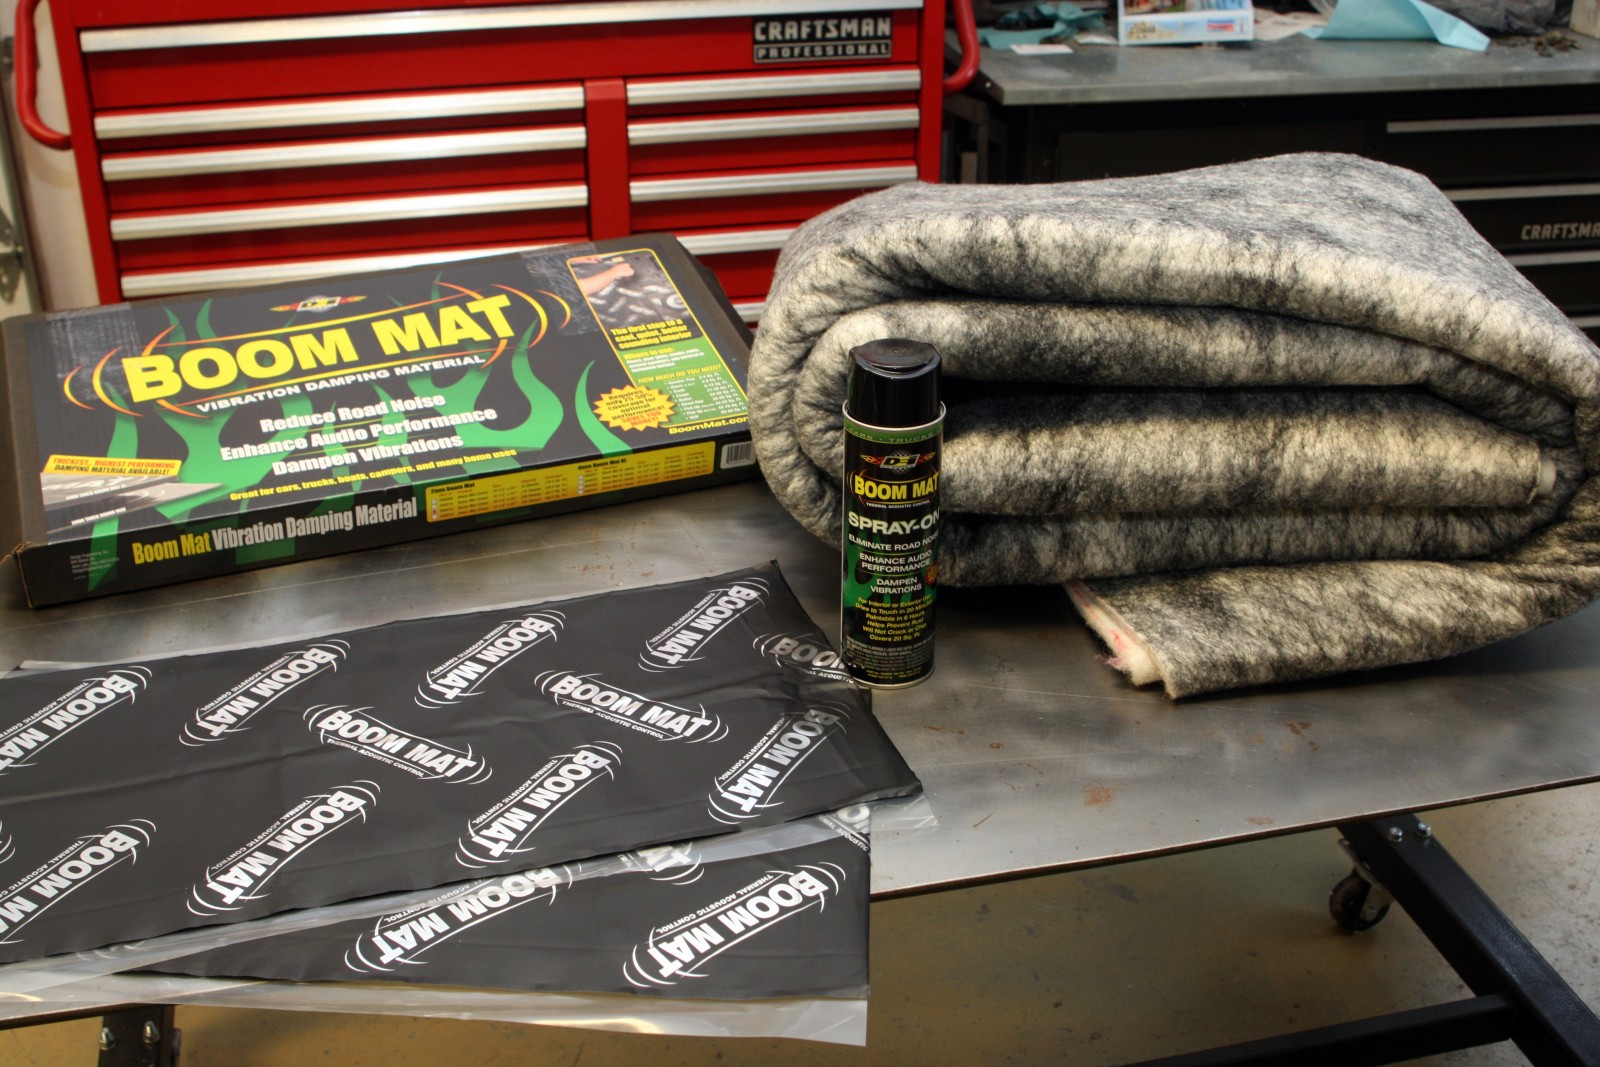
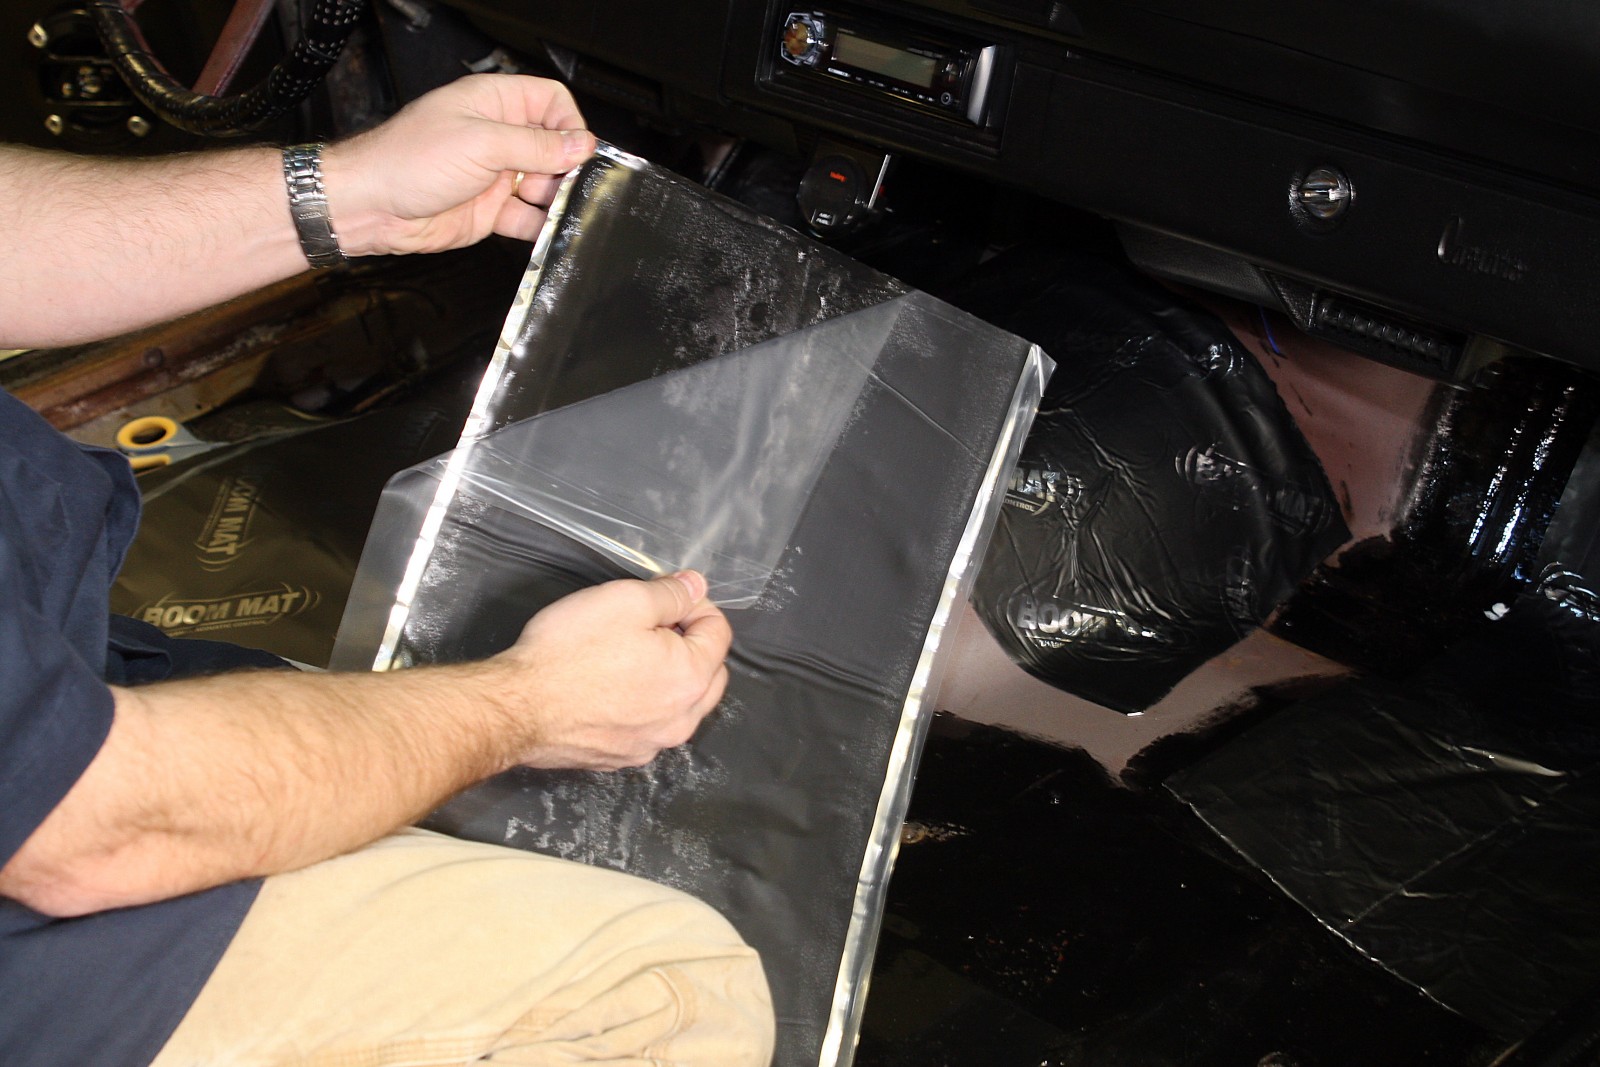
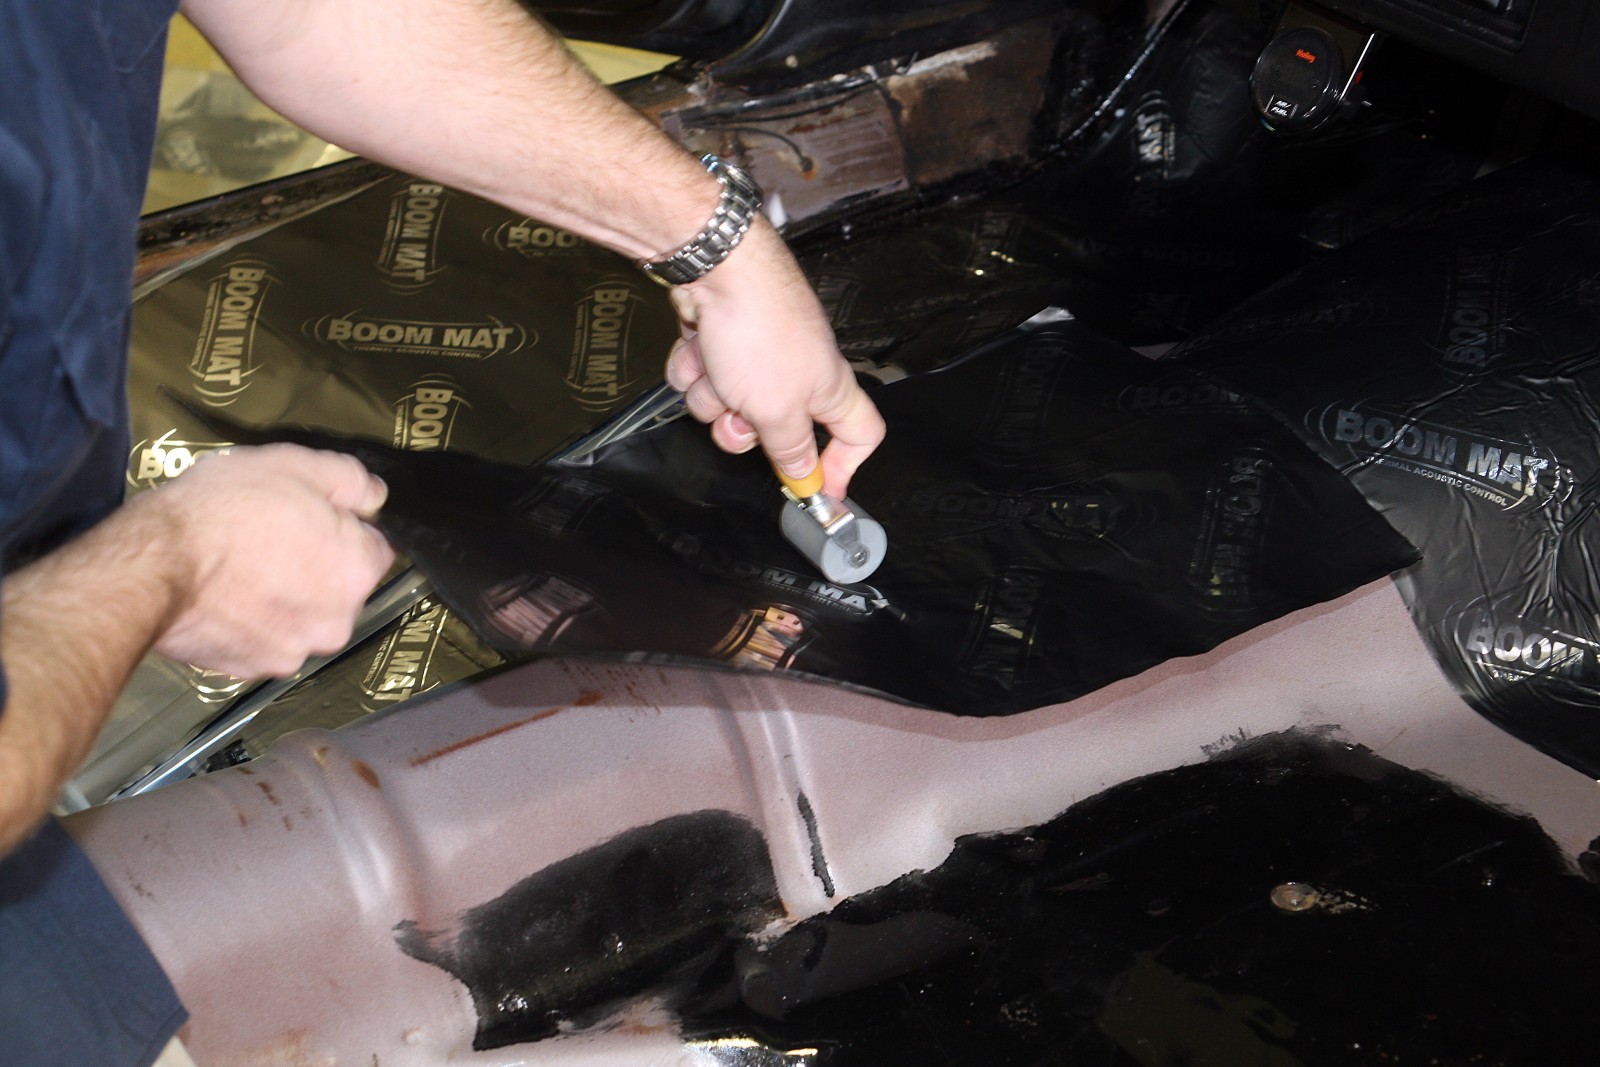
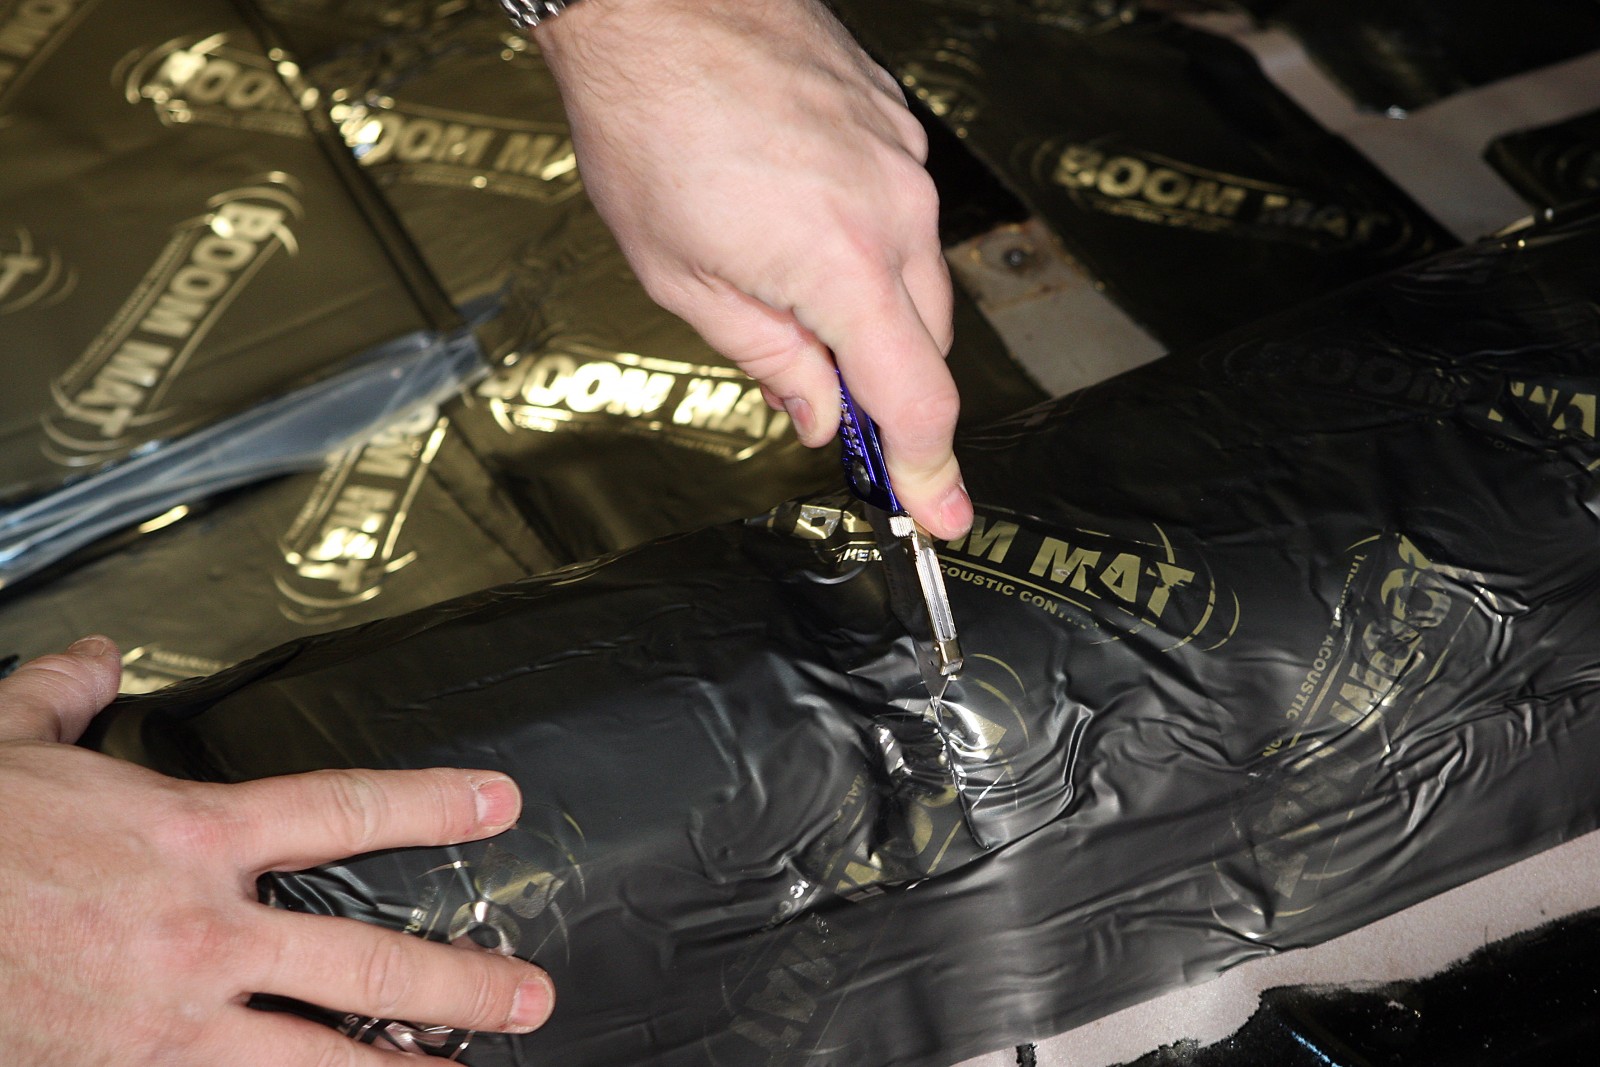
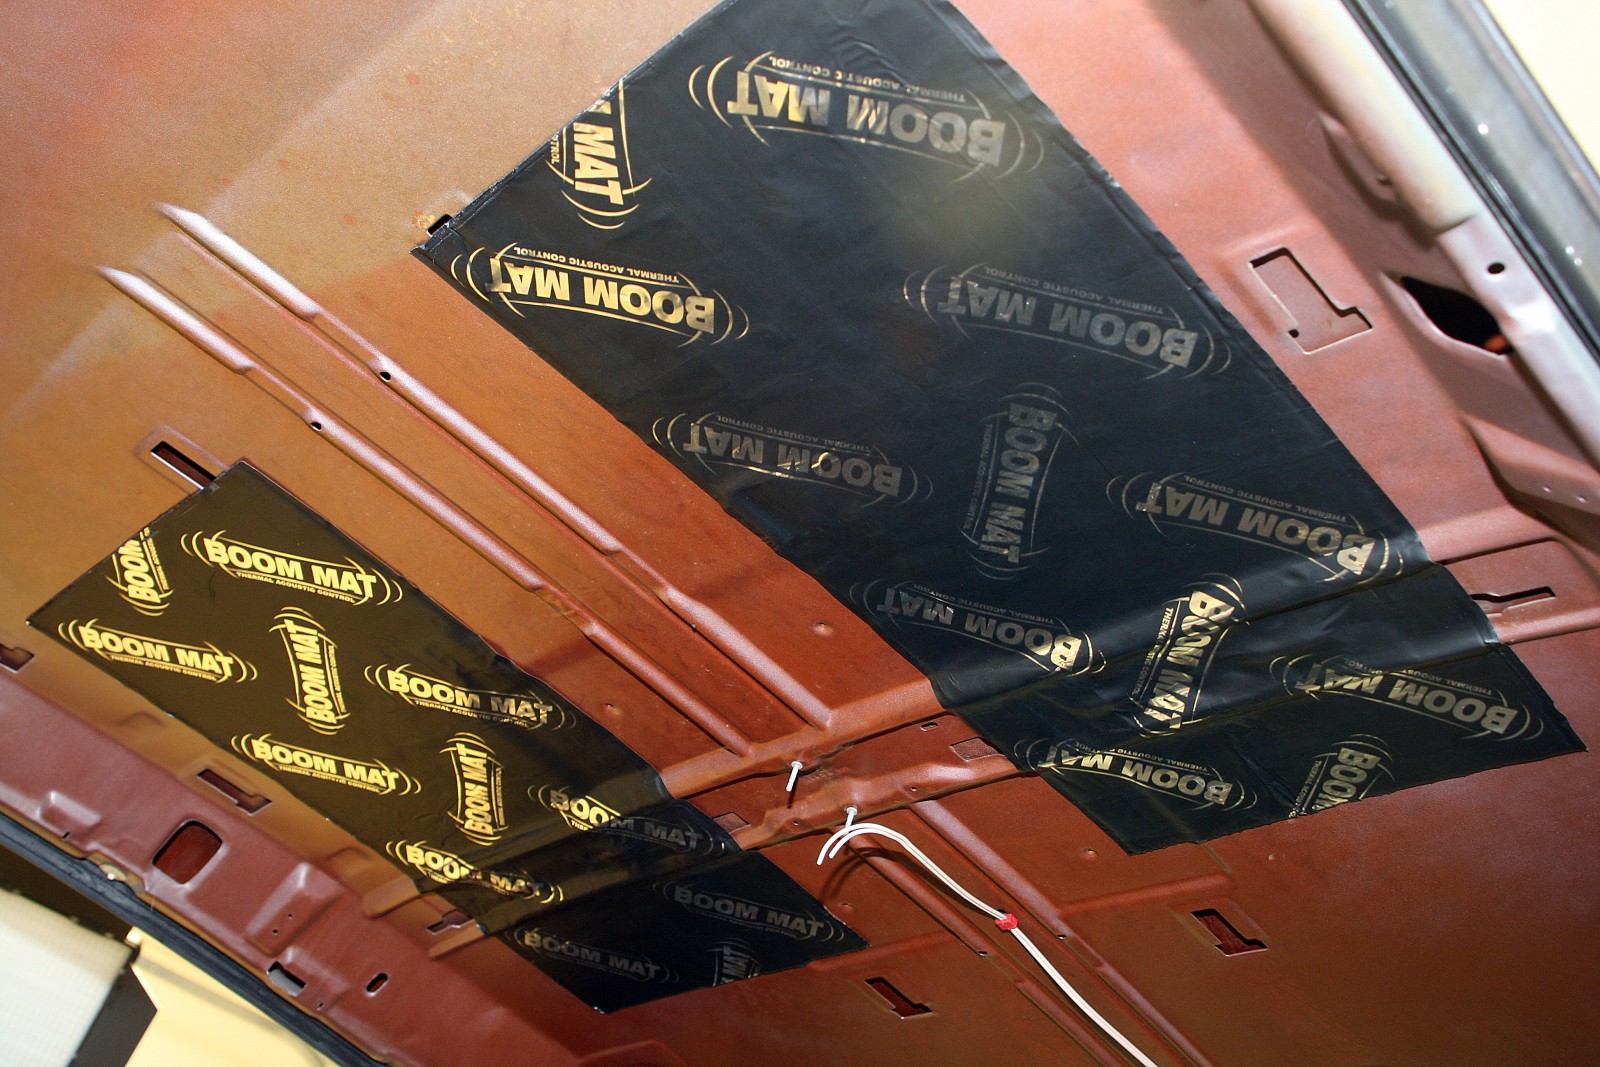
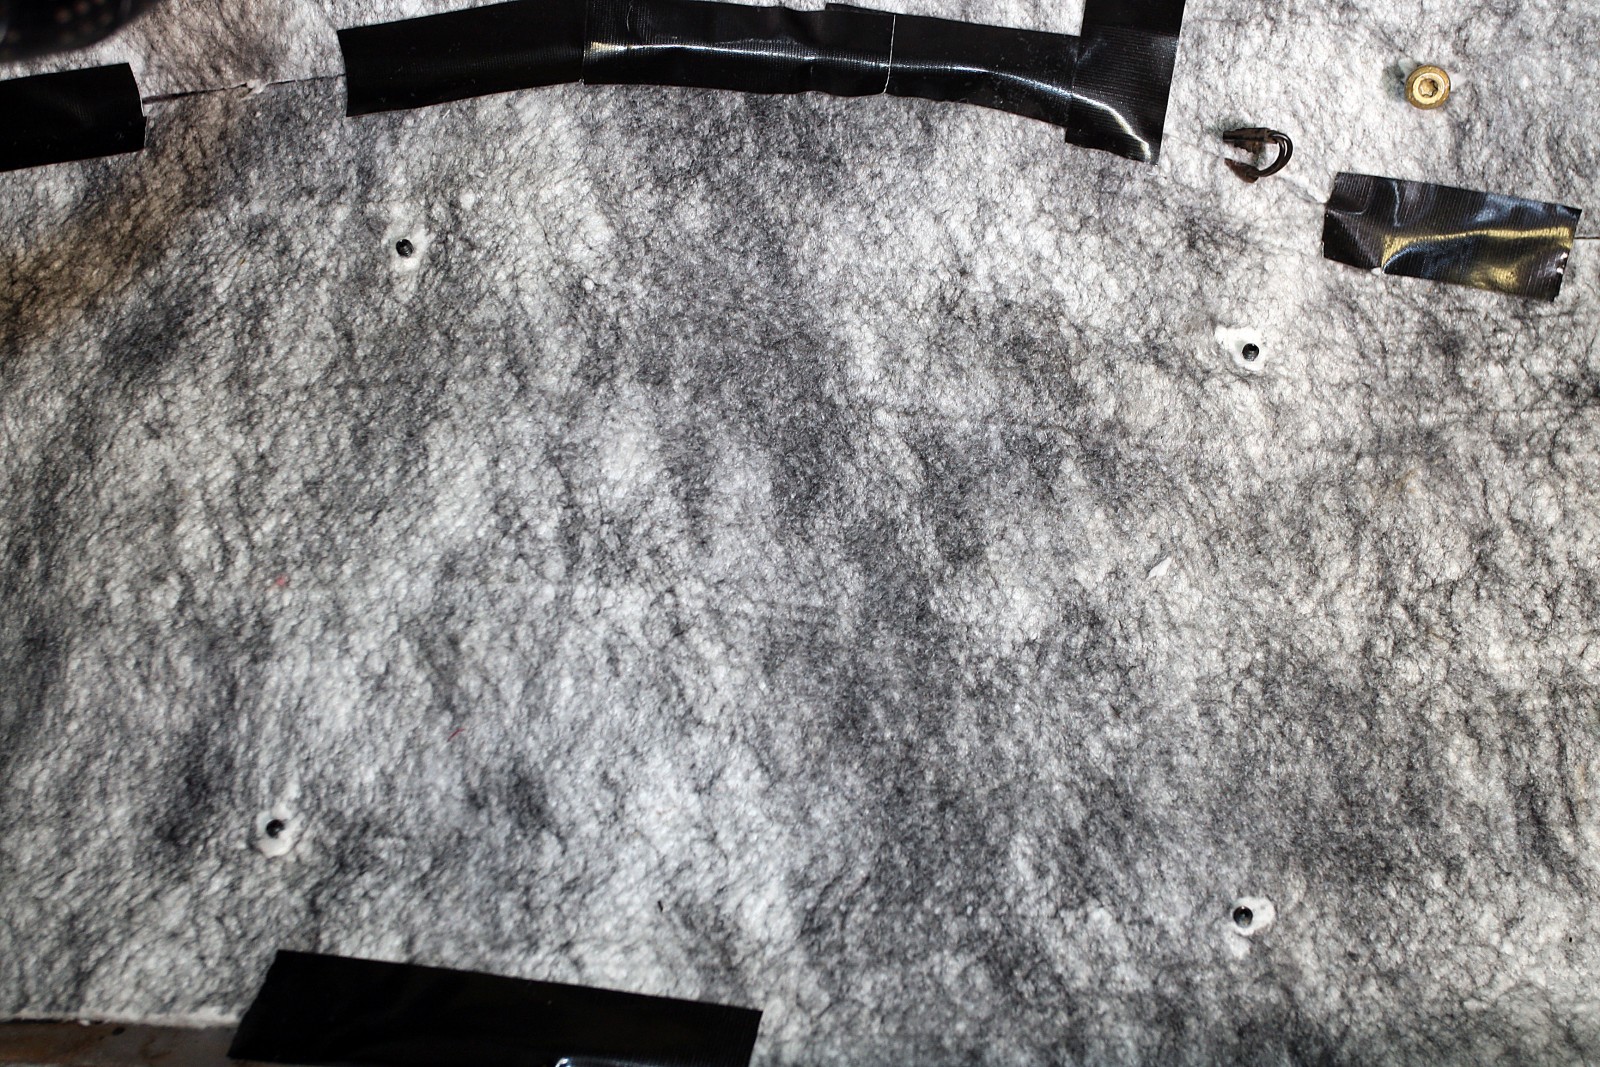
The foundation of the upgrade is some significant sound and vibration insulation thanks to Design Engineering’s Thermal & Acoustic Interior Kit. It includes over 40 square feet of DEI’s excellent Boom Mat damping material, over 60 square feet of Under Carpet Lite—which does an excellent job of killing noise as well as insulating the interior—and a can of Boom Mat Spray-On for getting to those hard-to-reach areas.

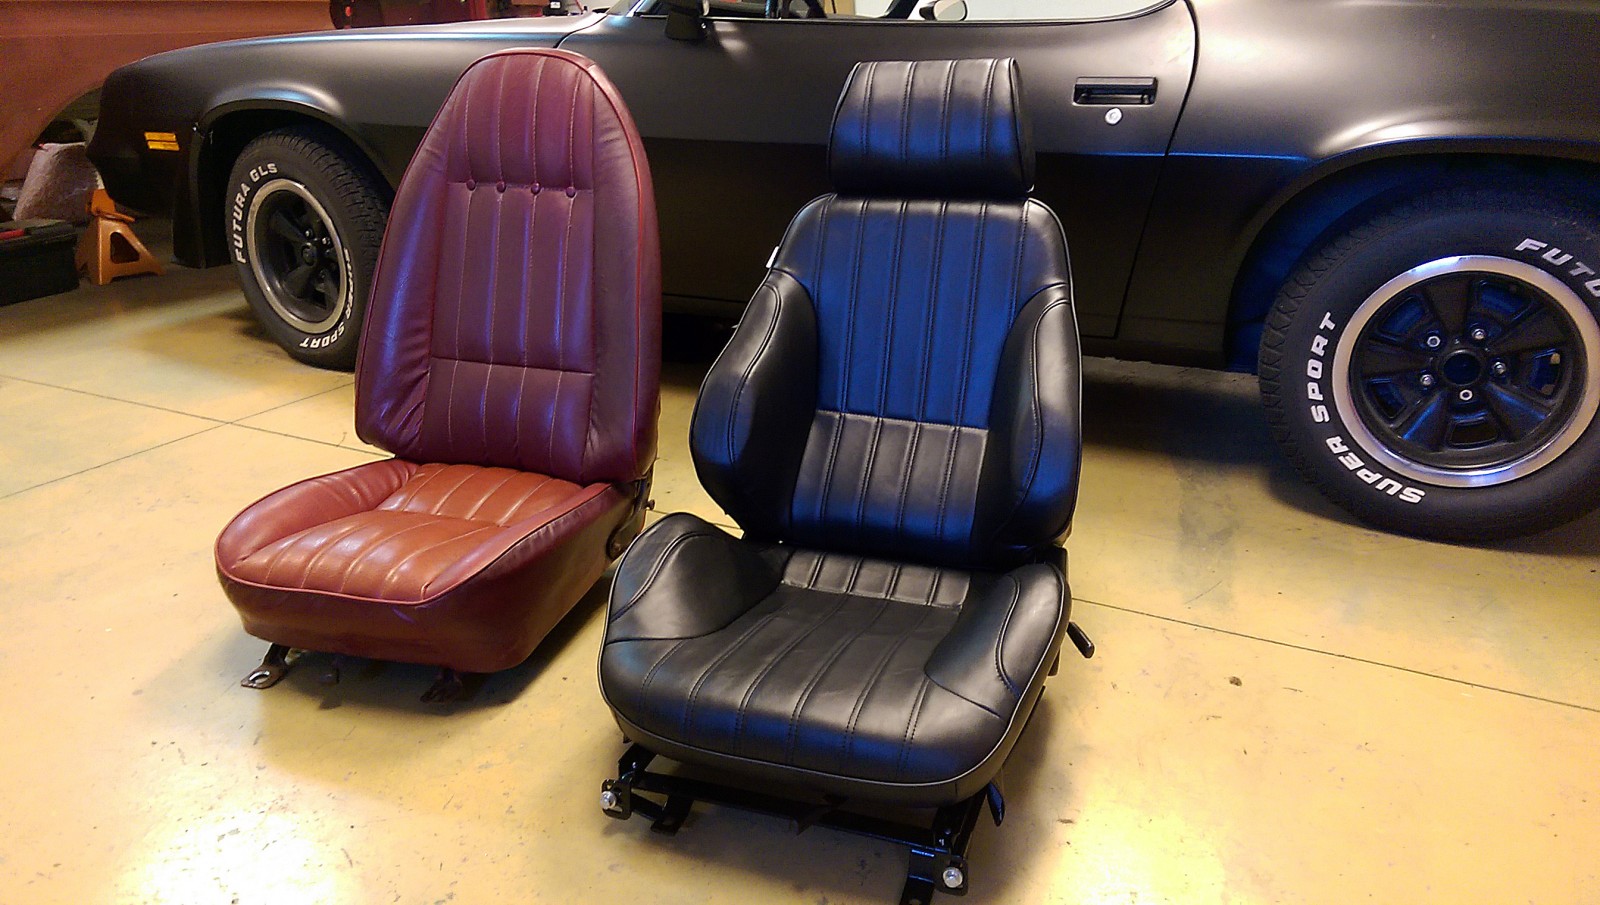
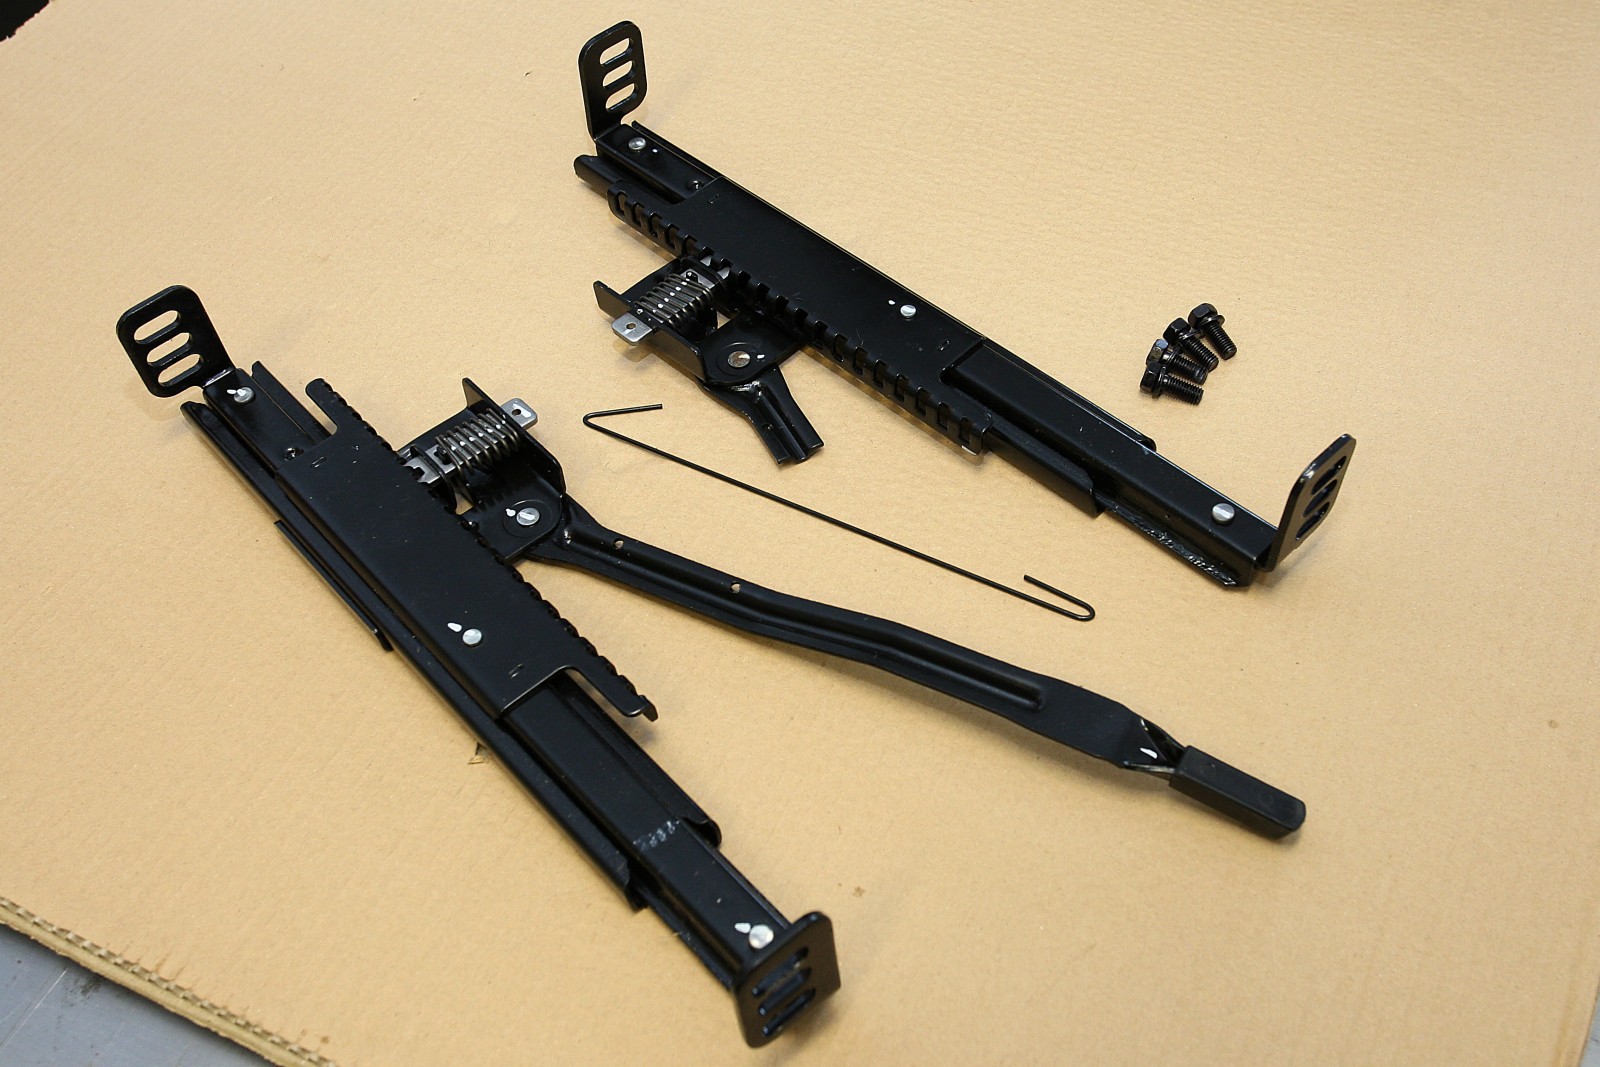
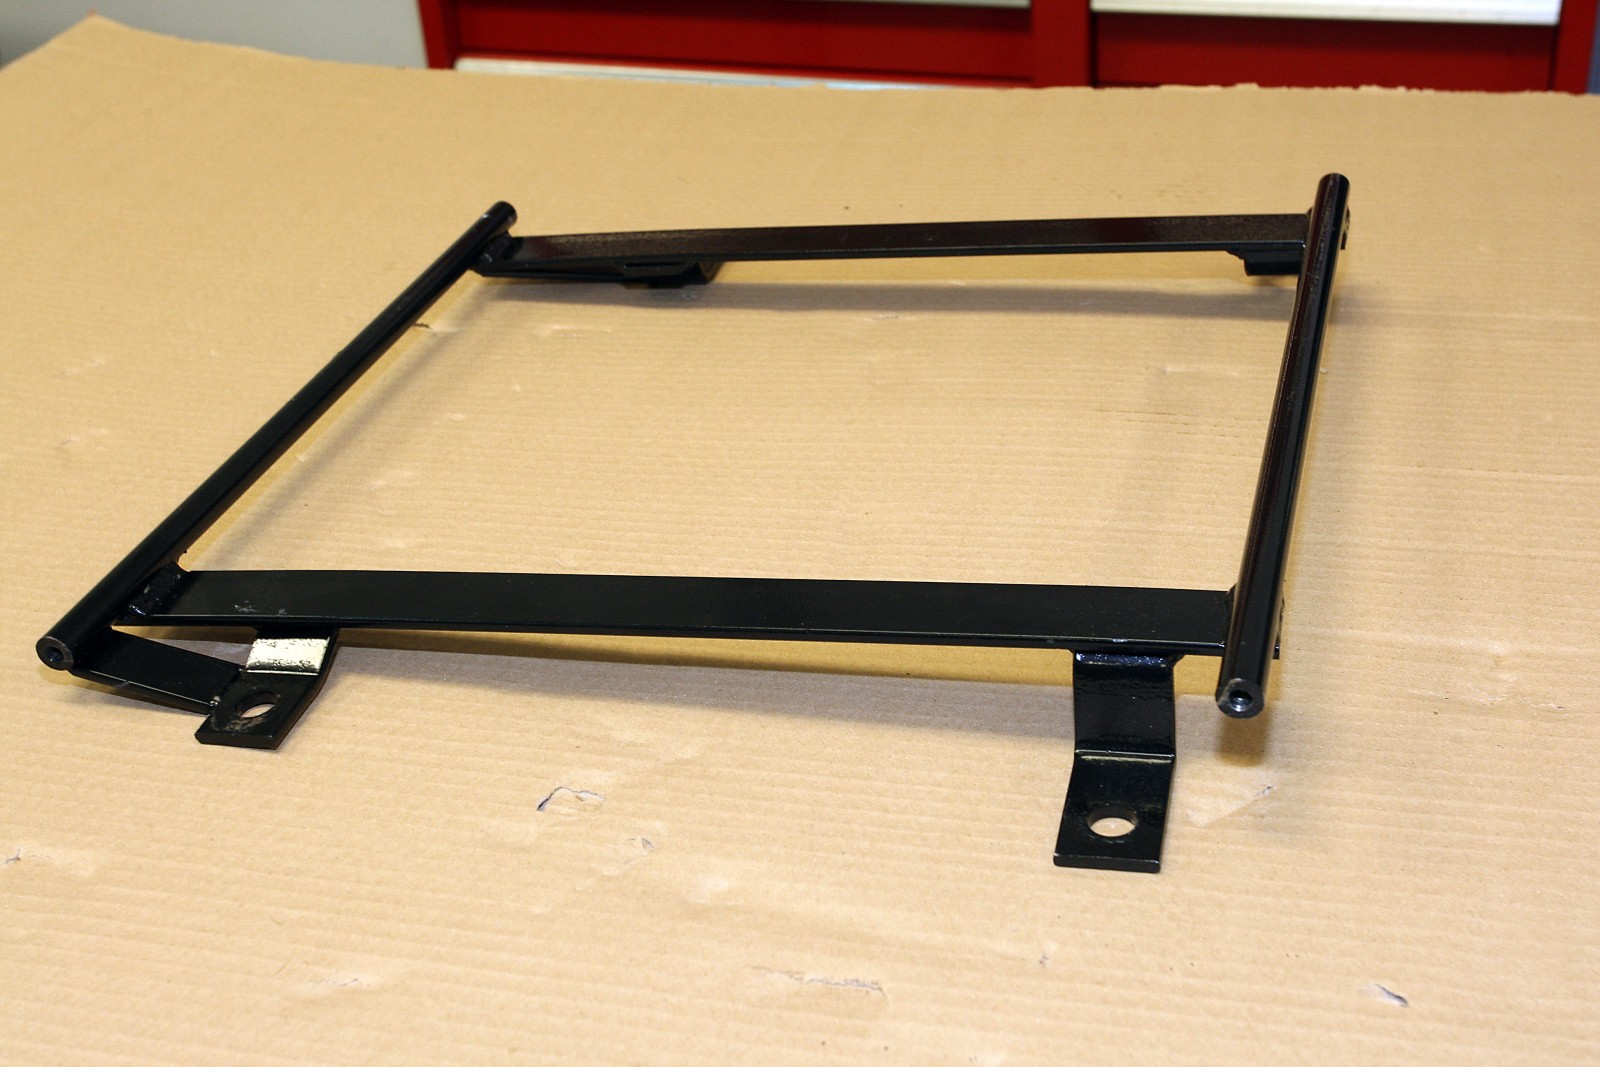
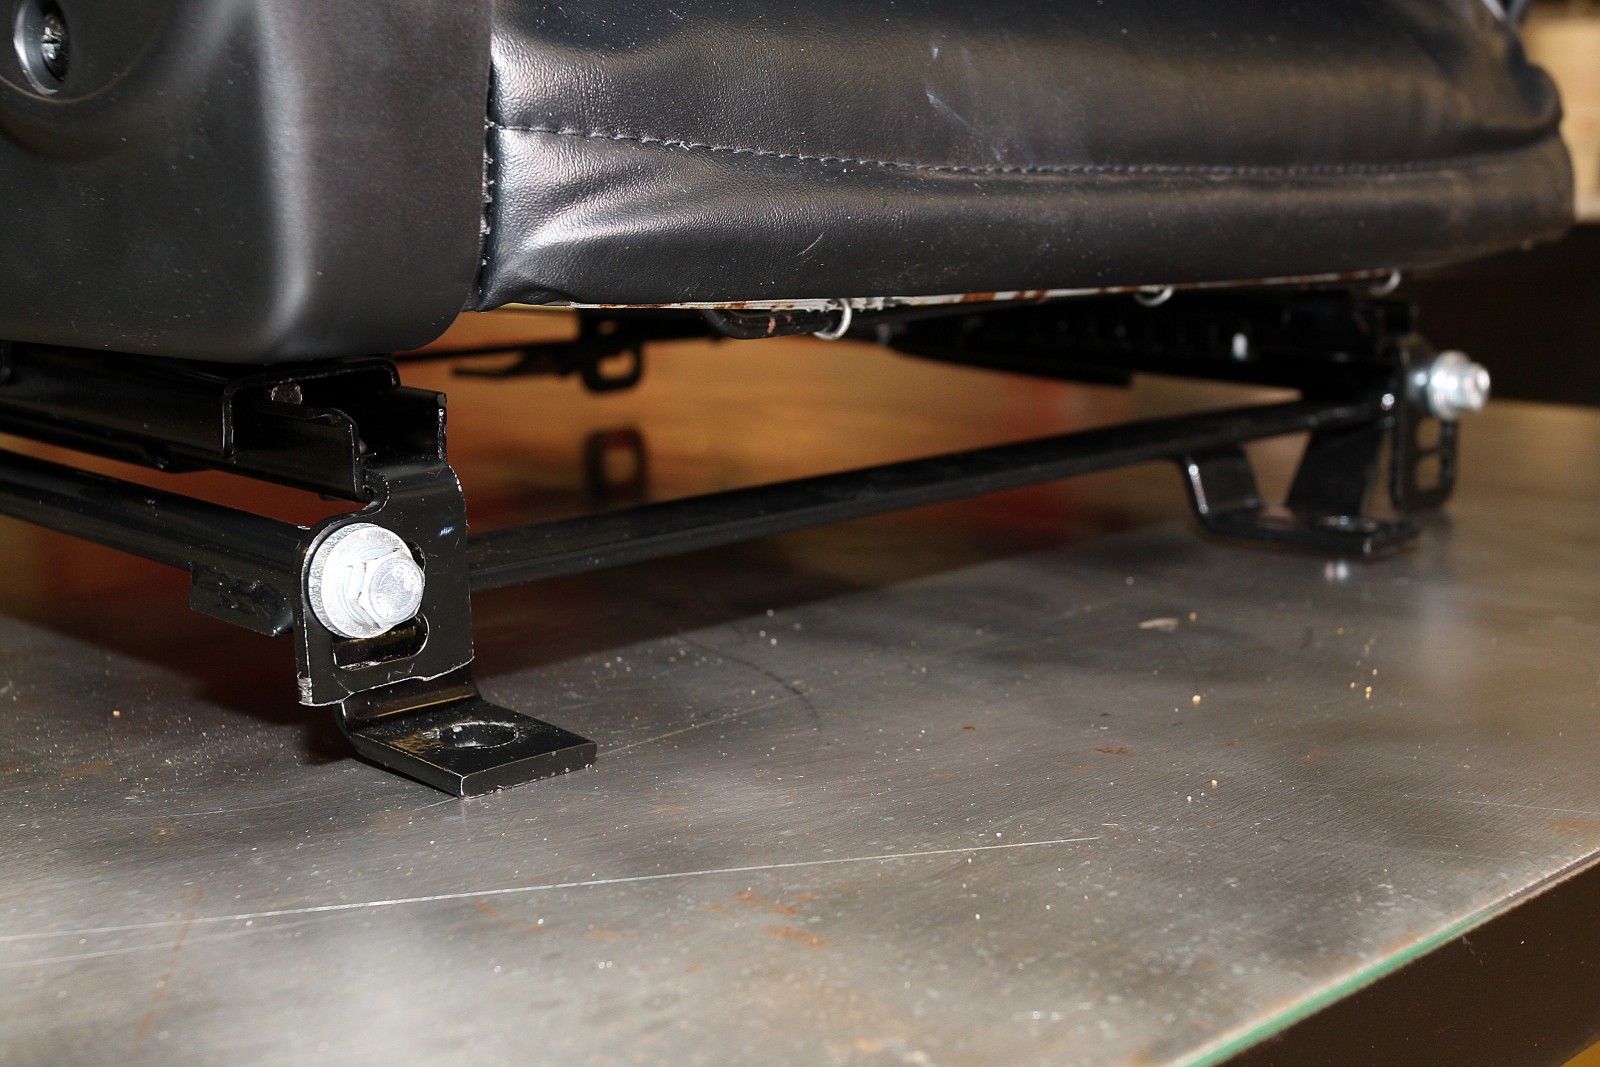
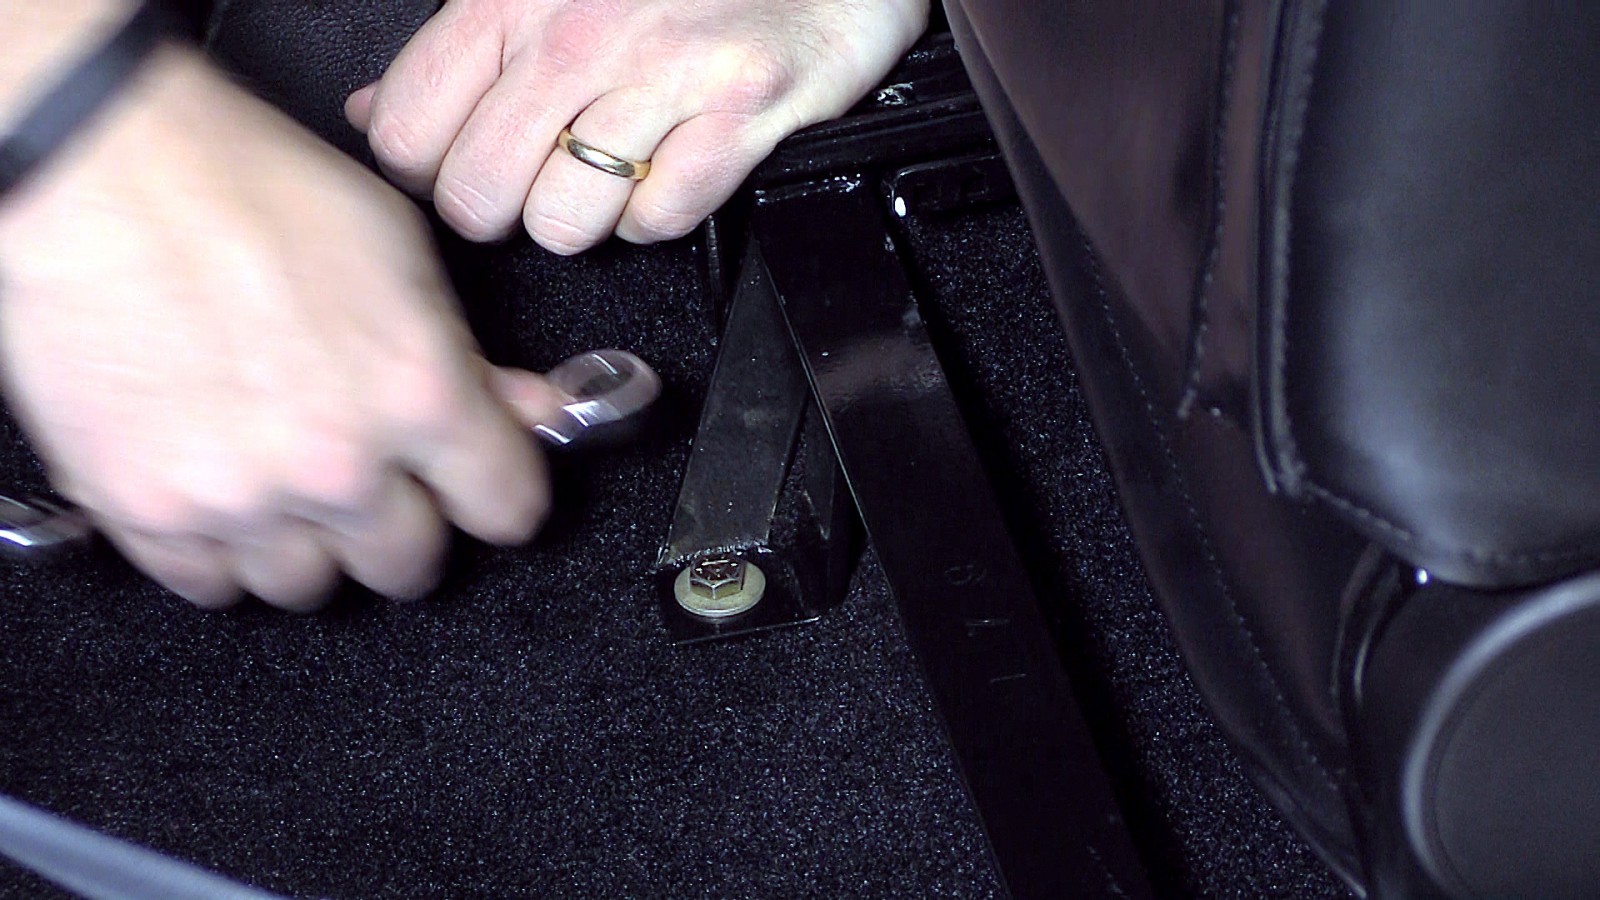
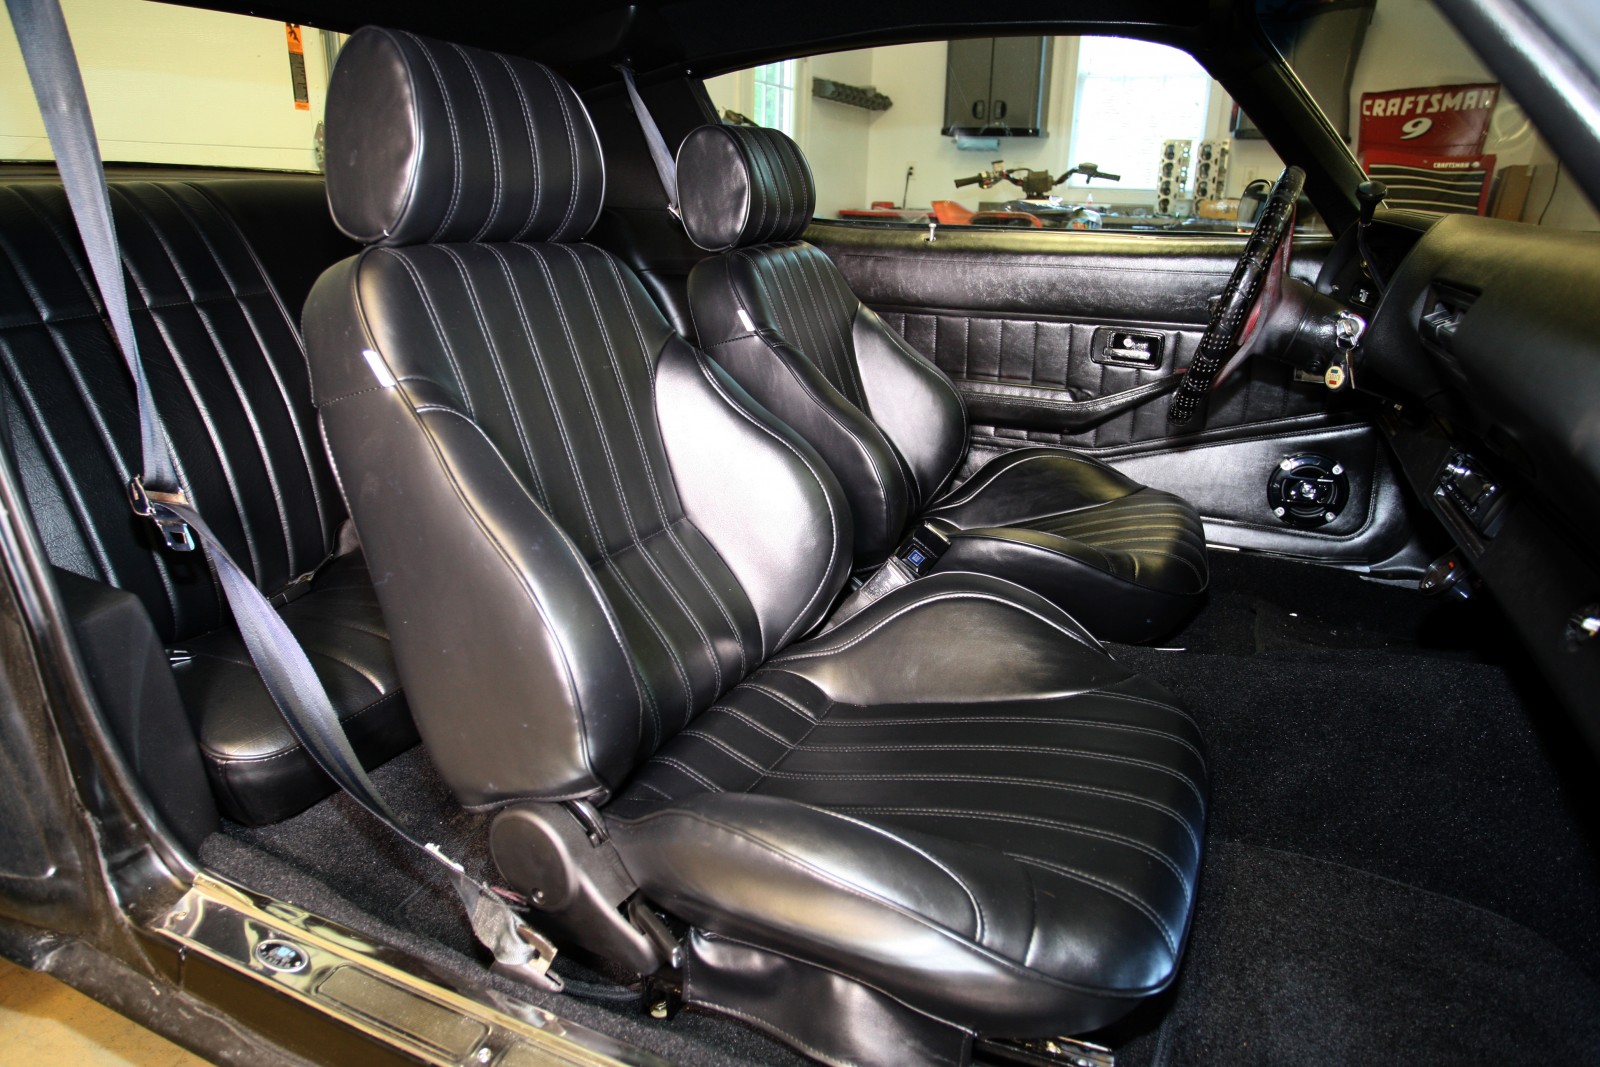
After installing DEI’s kit, getting the molded carpet to lay down was practically a piece of cake. At this point the interior was shaping up pretty well, and it seemed a crime to recover the old, well-worn original seats and put them back into the car. Instead, we found a Summit Racing kit that offers a pair of Procar’s Rally Series 1000 seats, sliders, and mounting brackets specific to the ‘78 Camaro.

The seats are a huge upgrade over the stock units. Procar’s Rally seats have deep bolsters, adjustable headrests, recline, and look great. Both the Rally Seats and DEI’s noise and vibration insulating products work well in a variety of cars and trucks.

We’ve documented their installation in a 1978 Camaro below, but most of these tips will work with any style vehicle.

old red interior of a vintage chevy camaro with seat removed
dirty floor of a vintage camaro prior to restoration
cleaning the floor of a vintage camaro prior to carpet install
boom mat sound proofing kit on workbench
peeling of adhesive covering on boom mat car sound deadener
using a roller to install automotive boom mat sound deadener on a floor
installing boom mat sound deadener on the floor of a classic car
boom mat sound deadener on the roof of a car
new boom mat floor covering in a second gen chevy camaro
cutting seat mounting holes in automotive carpet
installing new carpet in a second gen chevy camaro
a side by side comparison of new and original camaro seats
a pair of seat sliders for a camaro muscle car
underside of a car seat
seat bracket for a camaro on a workbench
close up of a seat bracket for a chevy camaro
installing a seat bracket in a car
interior of a chevy musclecar with procar seats

This is where we began. The Camaro has already undergone significant work on the dash and other panels, but the biggest step was ripping up the rotten carpet and worn red vinyl seats.

Here’s a look at what’s left of the factory insulation underneath the carpet. Besides being ineffective and compressed from years of use, it also had a funky smell that we suspect is a sign of mildew from moisture--so out it goes. It is glued to the metal floorboards in areas, but a wire wheel on a grinder makes quick work of anything that doesn’t pull right out.

After lots of scrubbing and scraping, the clean metal finally revealed itself. But after decades in the elements, several areas of the floor were afflicted with rust. A couple coats of POR15 (part number 45004) encapsulates the rust and effectively kills it. That’s the shiny black areas you see; the white stuff is seam sealer (part number 29362) used to seal off spots where rust has managed to eat all the way through the sheetmetal.

Design Engineering’s Thermal & Acoustic Interior Kit uses modern materials that allows it to cut vibration, noise and heat better than anything the automakers could come up with back in the ‘70s. It includes Boom Mat for cutting vibration, a can of Boom Mat Spray-On for getting to those hard-to-reach areas, and Under Carpet Lite which is an excellent insulator for both sound and heat.

Boom Mat is an excellent material for cutting out those annoying squeaks and rattles that always seem to plague older cars. It can be placed on the floorboard, firewall, inside the trunk and anywhere else you can imagine. Placing it inside the doors can also give you that distinctive “thud” everybody likes to hear when shutting a door. DEI says you don’t need to cover every inch of metal, the Boom Mat will work with 25 to 50 percent coverage. To apply, simply peel back the clear cover to the adhesive side and press it against clean, dust-free sheetmetal.

A roller helps provide enough pressure to make sure the adhesive takes a set against the metal.

Floorboards have lots of compound curves, dips and other irregularities. The Boom Mat material can’t kill vibrations if it is floating over a dip or channel in the sheetmetal, but a couple cuts with a razor blade will fix that easily.

Don’t forget the roof. Just a couple sheets of Boom Mat will kill that droning noise that a large expanse of sheetmetal like the roof can create.

After the Boom Mat is down, a layer of Under Carpet Lite comes next. The material comes in a “blanket,” so you will need to make some cuts to get it to lay flat over the multiple curves of the typical floorboard. Lightly applying some duct tape across the cuts will keep it from separating once you get the carpet down.

Trying to find the seat mounting holes hidden under new carpet can be an exercise in frustration. So before laying down the Under Carpet Lite we placed long set screws in all the seat mounting holes. After the material is laid down it is easy to find the “bumps” by hand and cut slits with a sharp razor blade so that the set screws can push through. We’ll do the same thing when the carpet is laid down. You can also use standard bolts for this, but they require a larger hole in the carpet.

Next came the carpet. The rear seats were in much better shape than the front bucket seats, so we had them recovered and dropped them back in place.

Here’s a comparison shot between an original seat in red and the new Procar by Scat bucket seat that’s part of the Summit Racing kit. You can see the extra bolsters around both the hips and back that will provide much more support when the driving gets spirited. Plus, they look tons better, too.

The slider kit is constructed from heavy gauge steel and bolts directly to the seat frame. It also includes multiple tabs to allow you to easily adjust the height of the seat in your car.

Here’s a look at the sliders mounted to the seat. There’s a lock on both sides, connected by heavy-gauge wire, to help hold the seat securely in position.

The floorboards on the driver and passenger sides of the Camaro aren’t mirror image, so the seat mounting brackets are unique to each side. As you can see here, the brackets--which are custom made for the Camaro--have different height “legs” on each corner to fit the uneven floor. So it is definitely a good idea to prefit the brackets to make sure you have them oriented correctly.

Because of the Camaro’s low roofline and swept windshield, the new seats needed to be as low as possible. We found that on one seat the mounting bracket was shaped so that it contacted the tab on the slider. Of course, two minutes with a cutoff wheel solved that problem and the seat was ready to mount up.

Here’s where using set screws to mark the seat mounting holes pays off. Set the seat in the floor so that the holes in the mounting bracket is over the four set screws. Now you can pull each set screw one at a time and replace it with grade eight hardware to secure the seat to the car. No more searching for bolt holes!

The finished product looks worlds better than where we started. Now this interior will be a lot more comfortable place to spend some time.


Keywords
Share this Article
Author: Jeff Huneycutt