Every once in a while a product comes along that’s not only good for your vehicle and good for your comfort, but is also somewhat easy to install. It’s rare indeed that a product can look good, work well, and slide in exactly like the instruction sheet says it should.

Bestop’s Trektop NX is such a product.

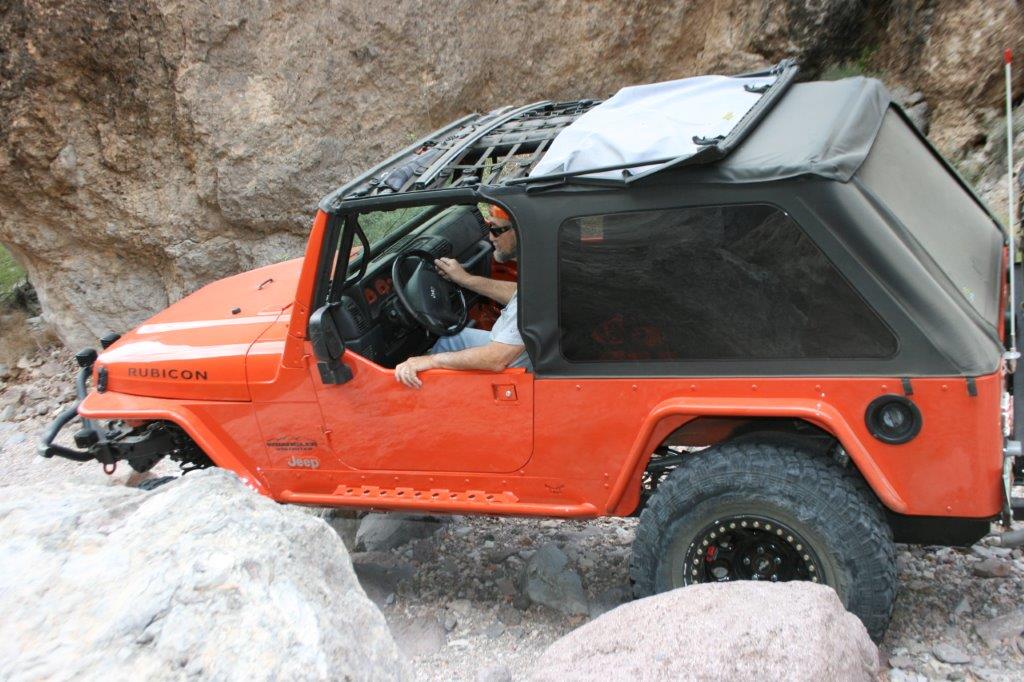
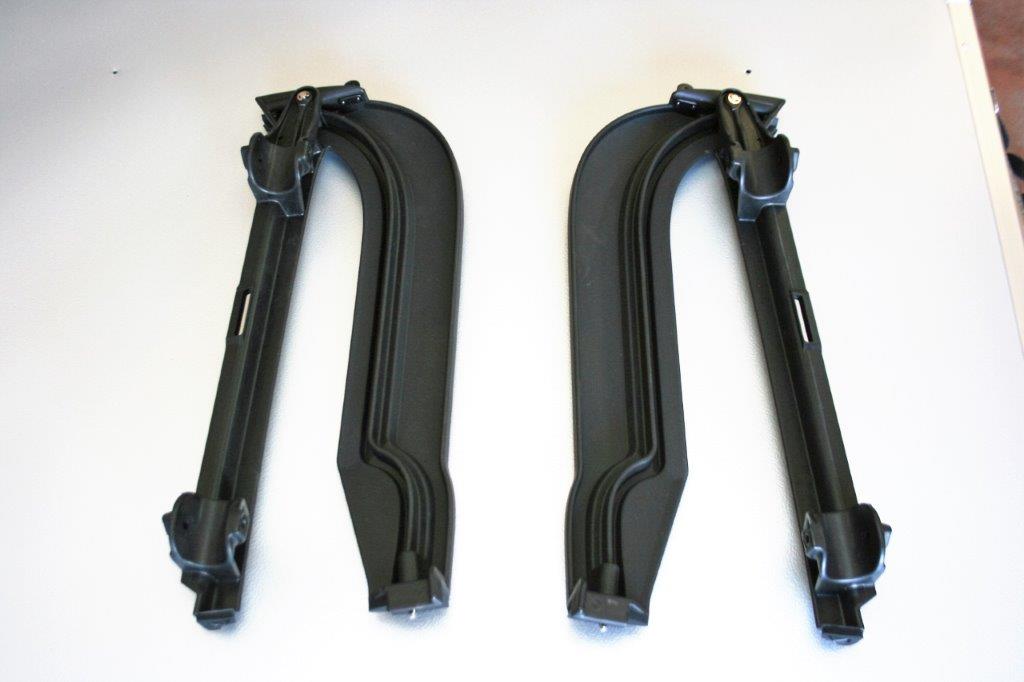
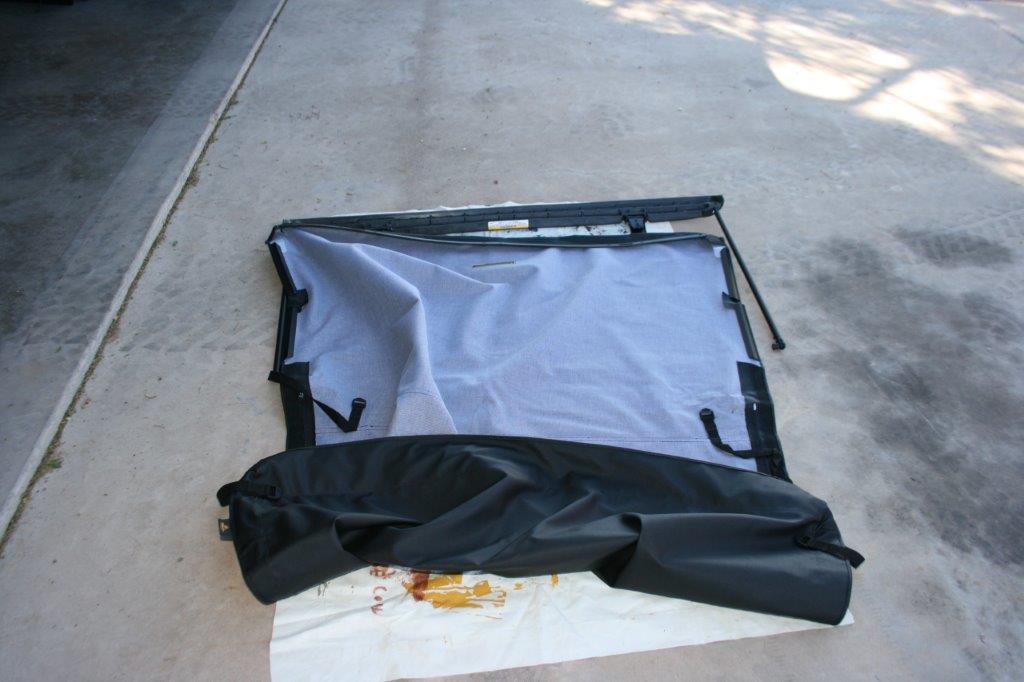
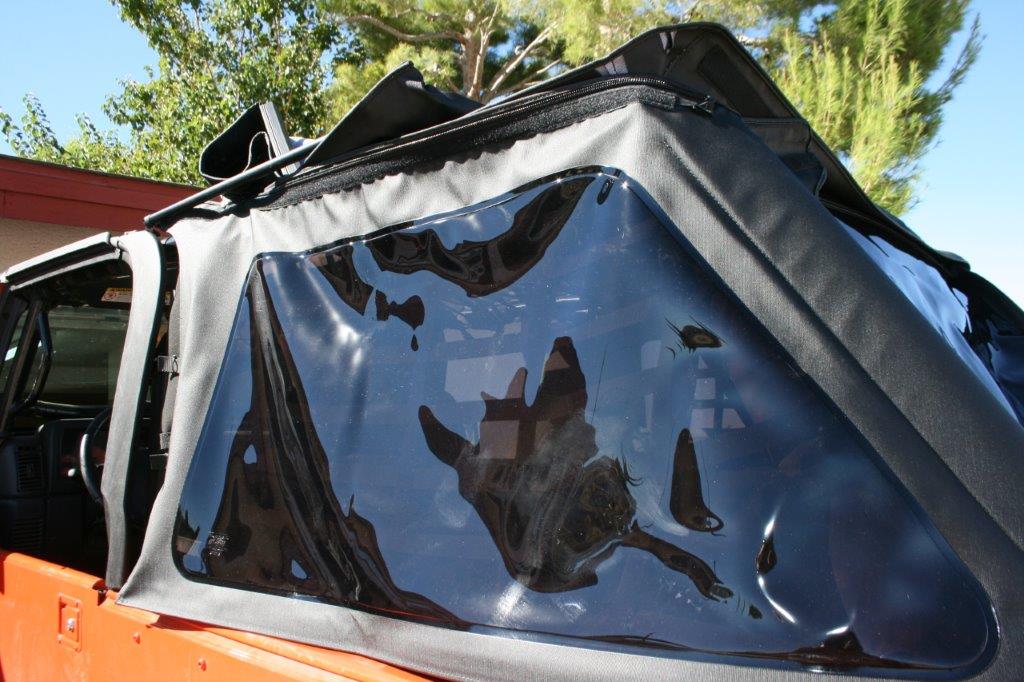
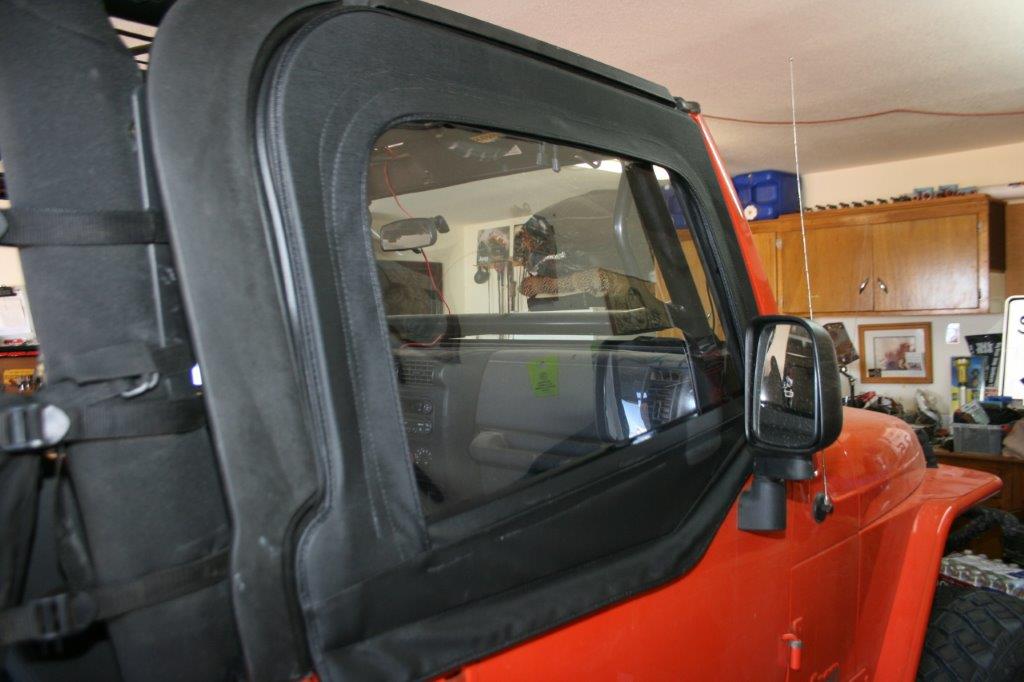
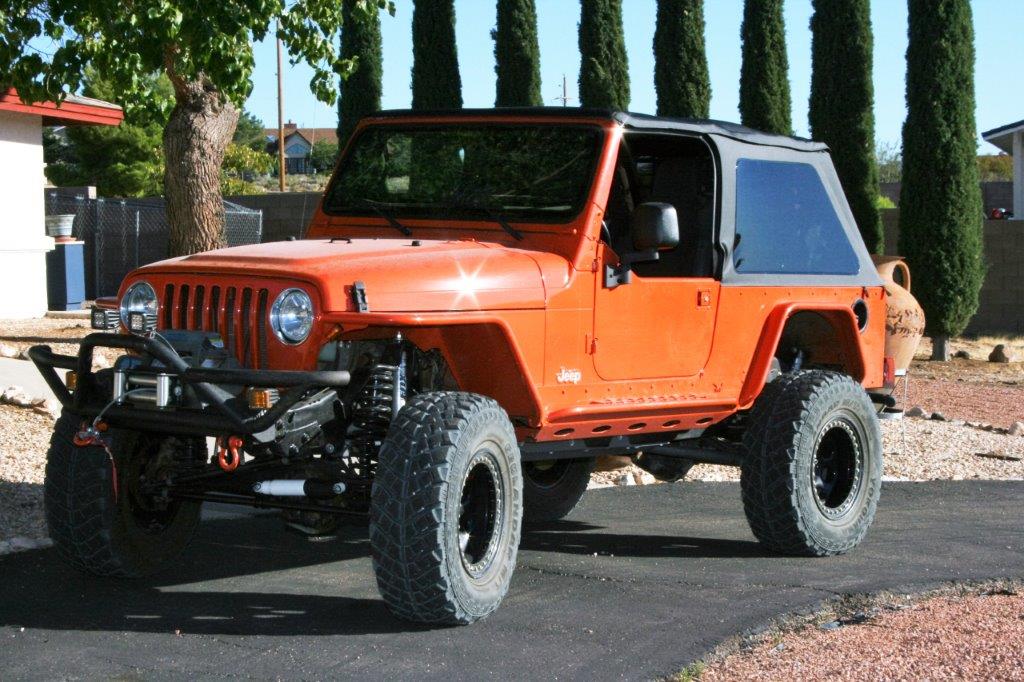
The Bestop Supertop quickly became the standard against which all other soft tops are measured by offering the highest quality in function, fit, and style. The Trektop NX offers a whole new level of versatility by acting essentially as two tops in one. You can use it as a full soft top or you can remove the side and rear windows for a safari-style bikini top setup. The Bestop Trektop NX utilizes a “bowless” design, which does away with the top bows and frames and uses Wrangler sports bars to give them shape and support. This gives it a sporty fastback or “raceback” look that sets it apart from its Supertop brethren. When you’re using your new Bestop soft top, each of the two side windows and the rear window can be removed and stored while leaving the top in place for shade.

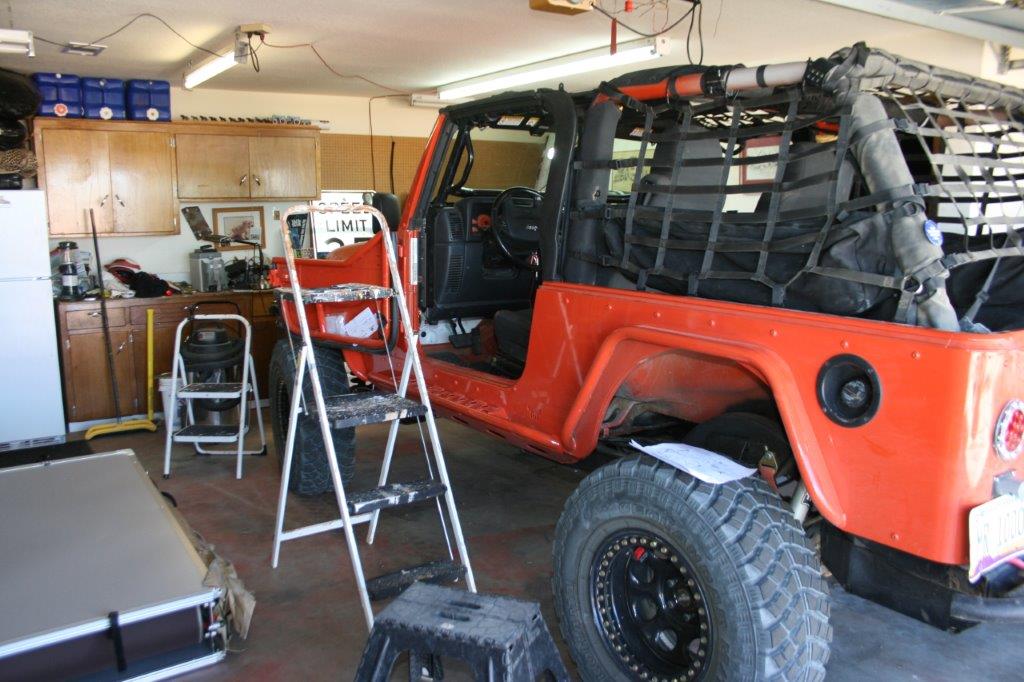
We’ve installed soft tops on nearly every model of Jeep — starting with a ’46 CJ-2a, going through a few more editions of CJs, an early model Bronco or two, an IH Scout, and on to an ’07 Rubicon Unlimited. We’ve found that installation has become easier and quicker with each new design, and the Trektop NX continues the trend.

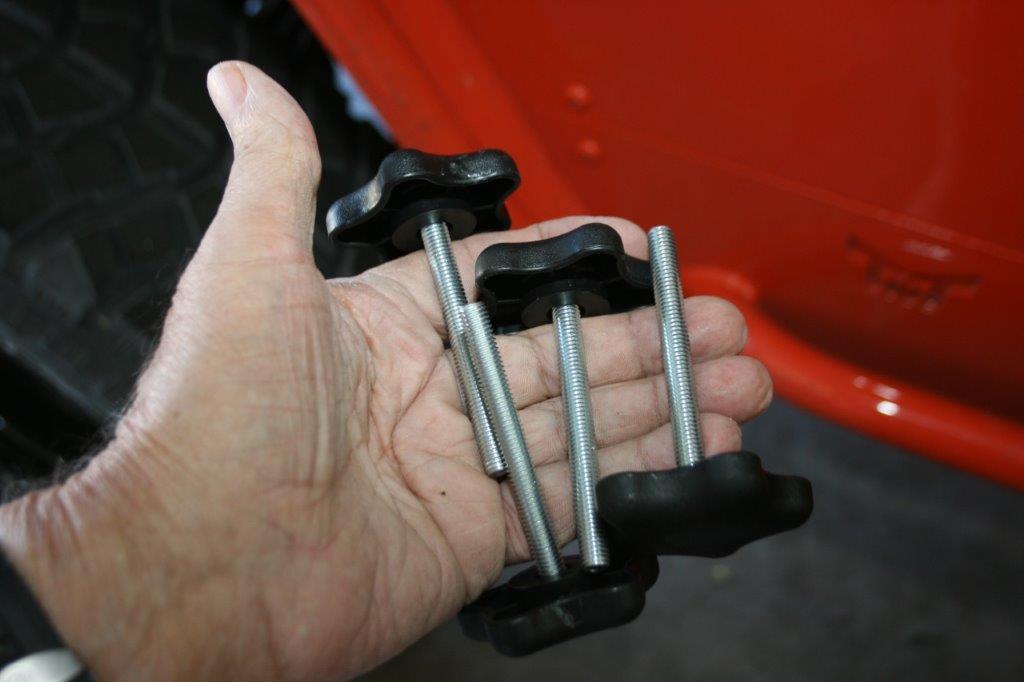
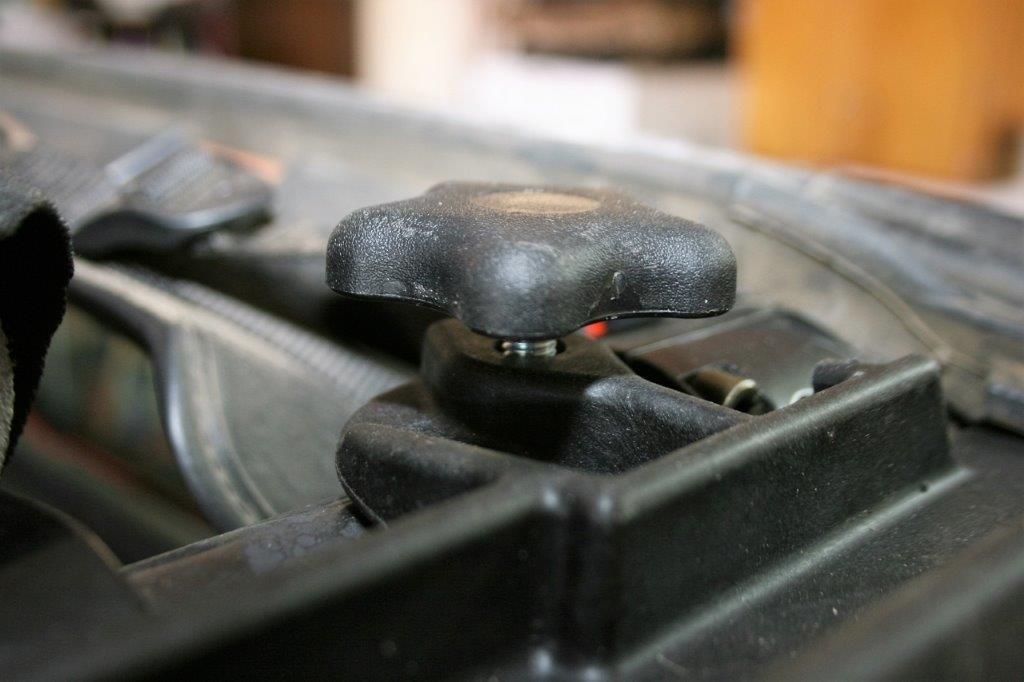
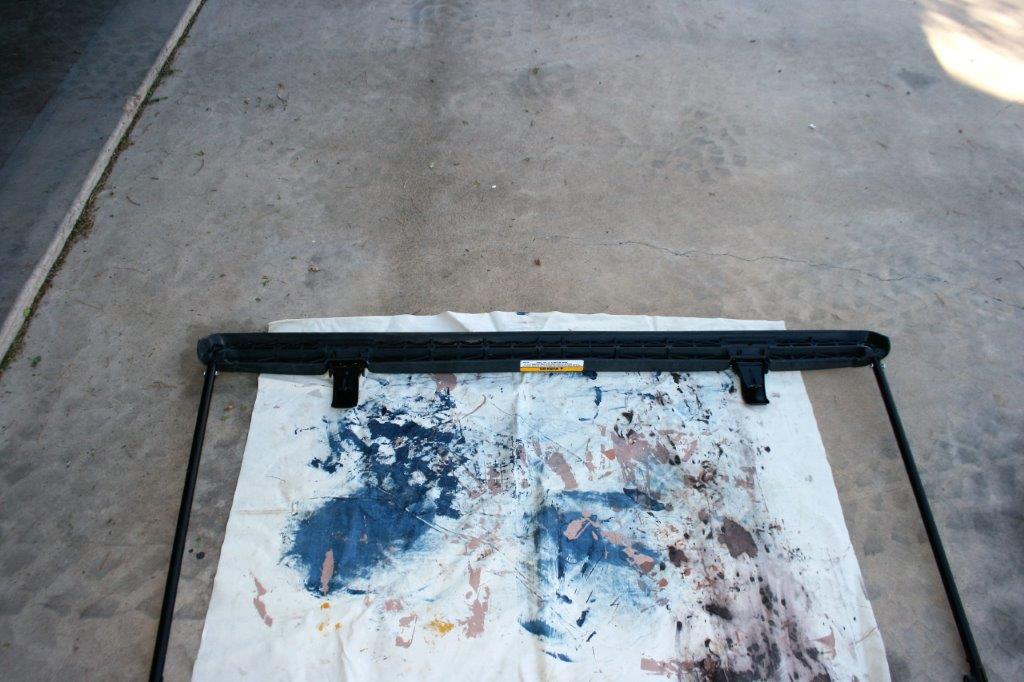
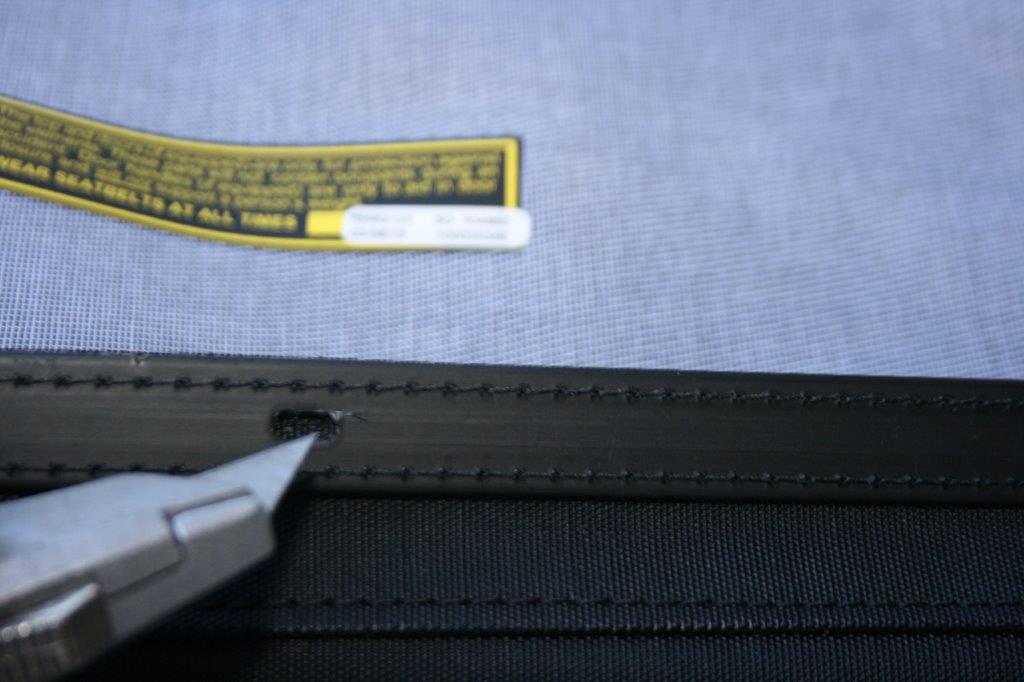
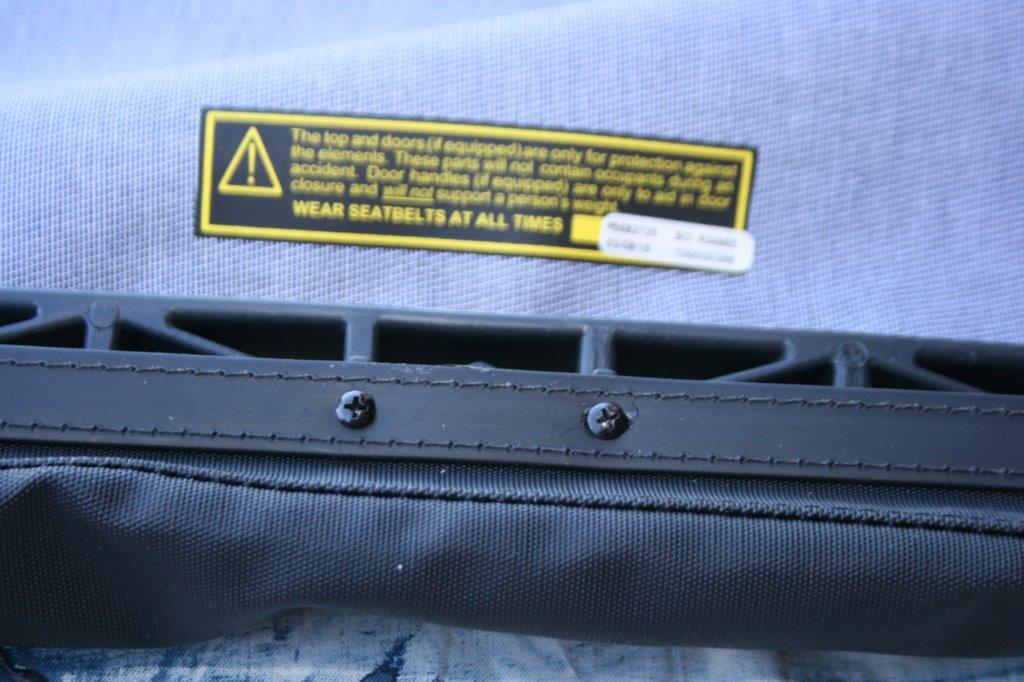
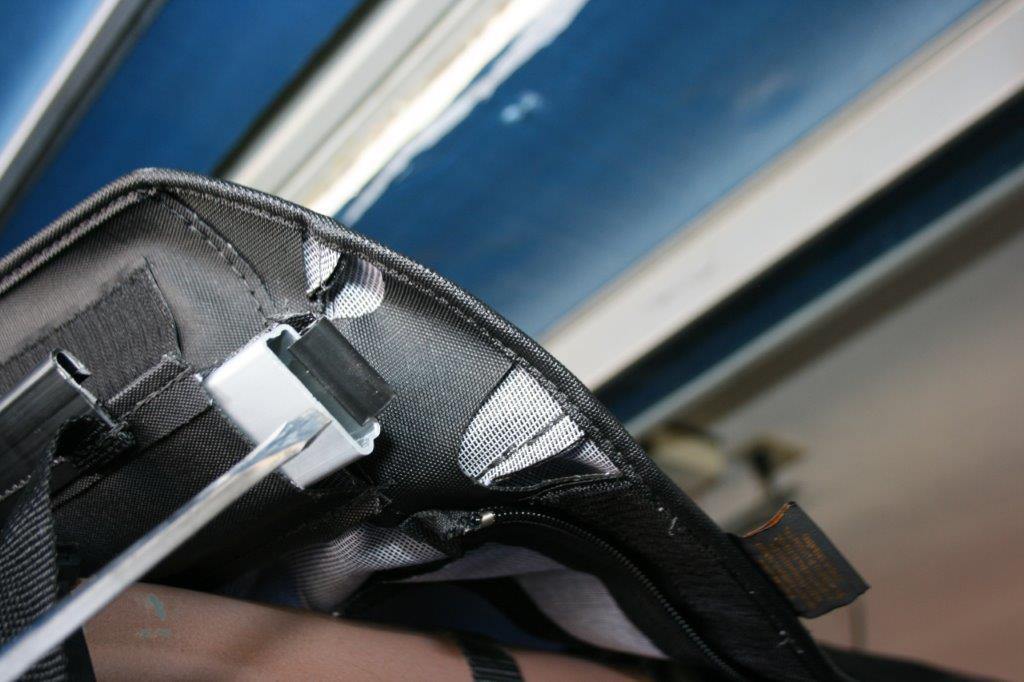
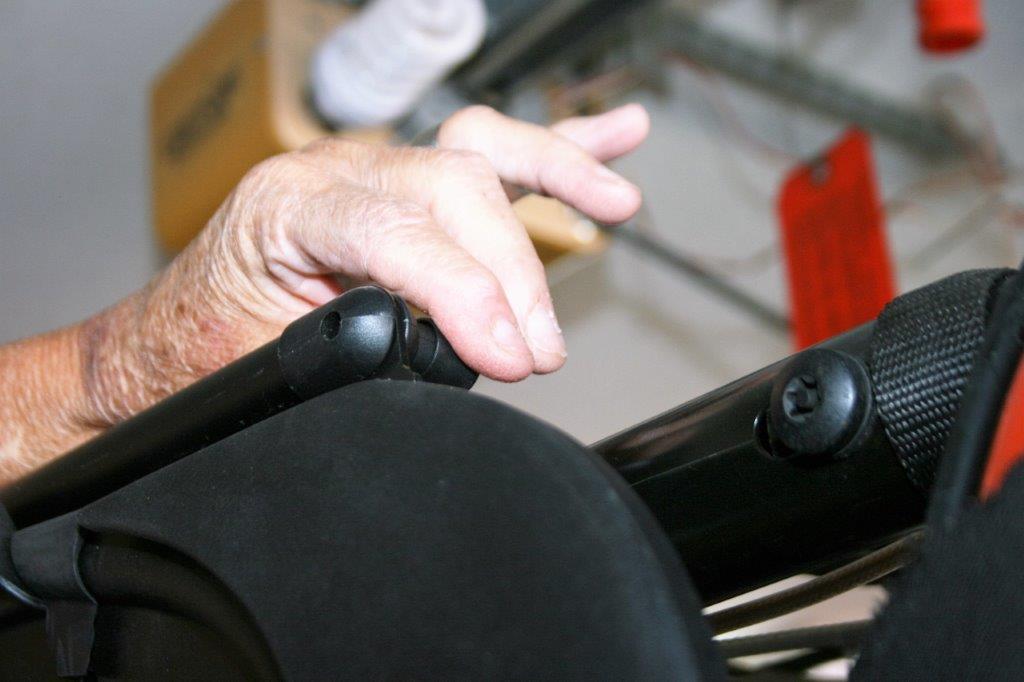
When installing a Trektop — or any soft top from Bestop (even a simple replacement skin of the OEM top) — you’ll want to wait until the ambient temperature is above 72 degrees F for the entire install. According to Bestop, the material can shrink up to an inch in colder weather. Once we had our Trektop NX in hand, we waited until daytime temperatures reached acceptable levels and then left the top’s cloth portions in the sun while installing hardware. This allowed our top to be slightly larger and even more pliable, making it easier to stretch during installation.

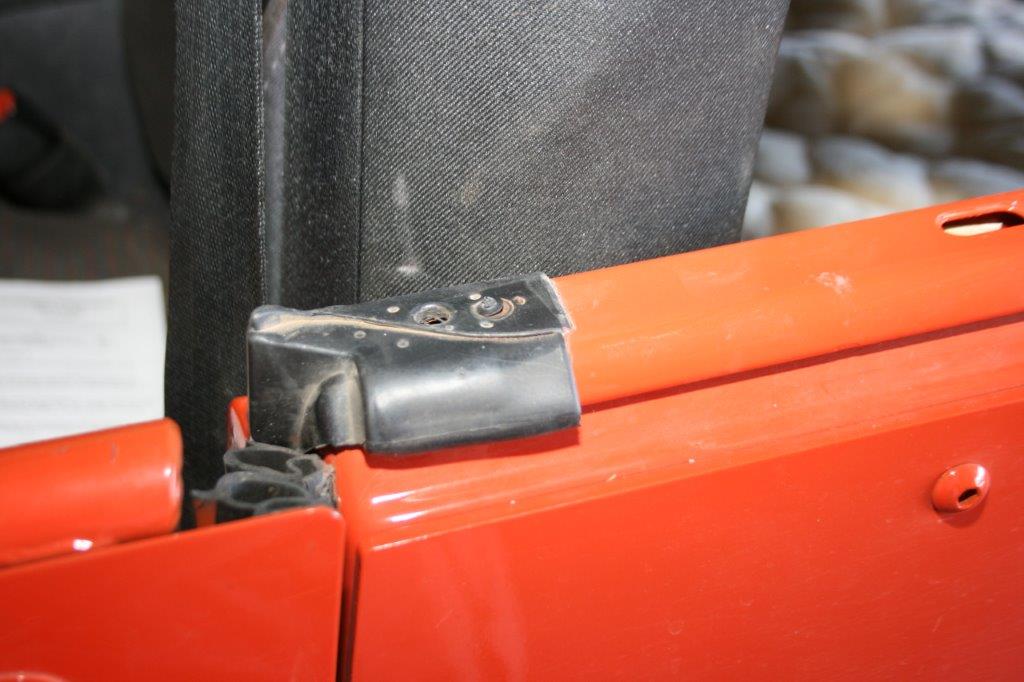
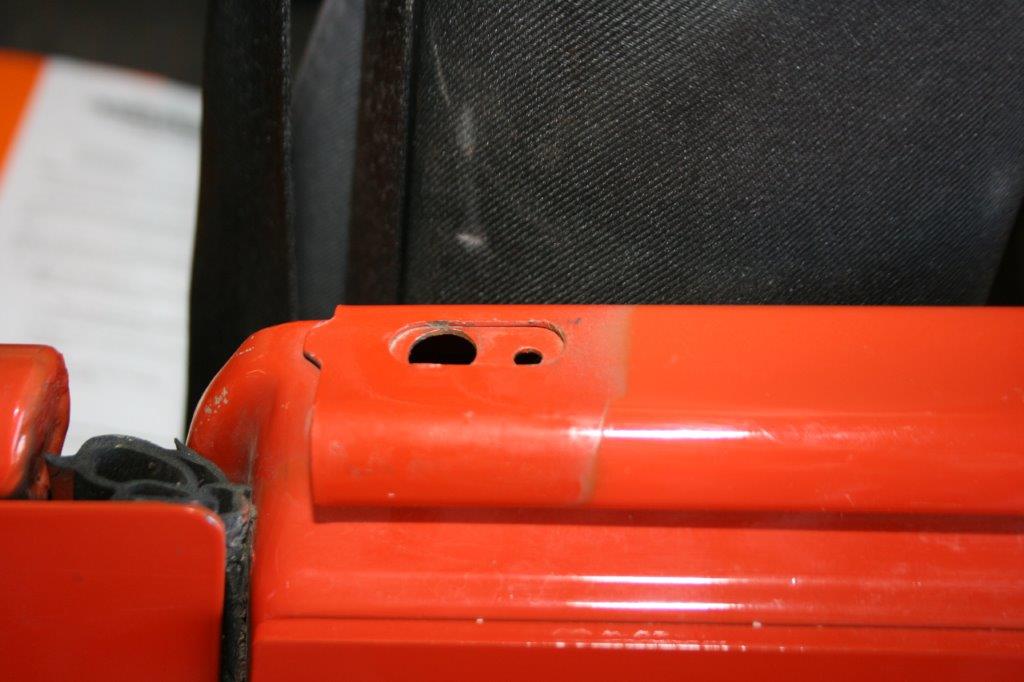
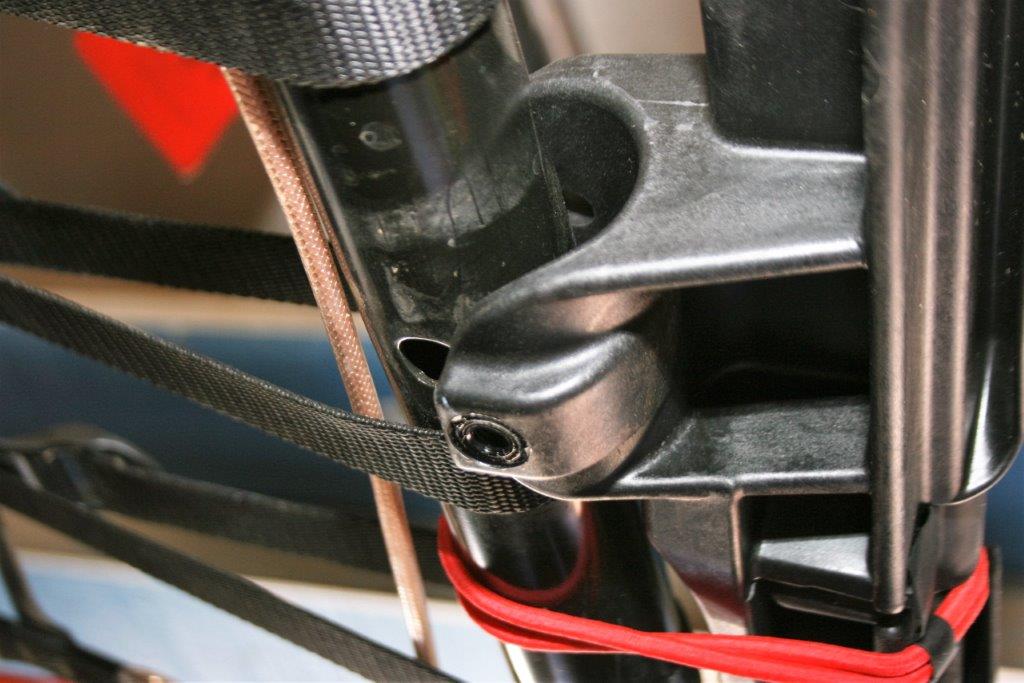
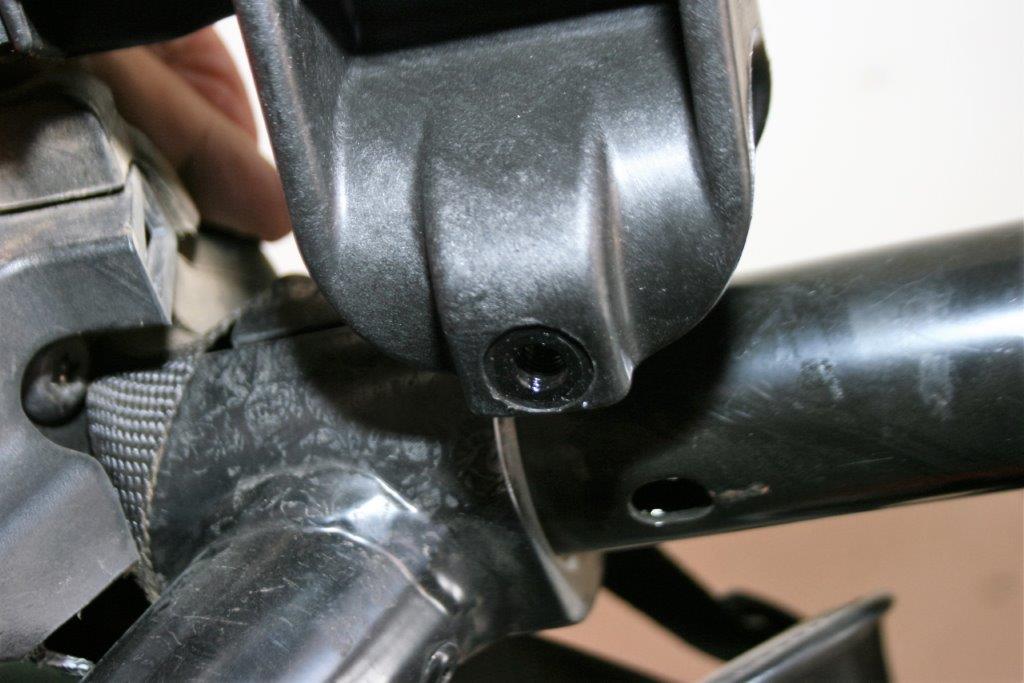
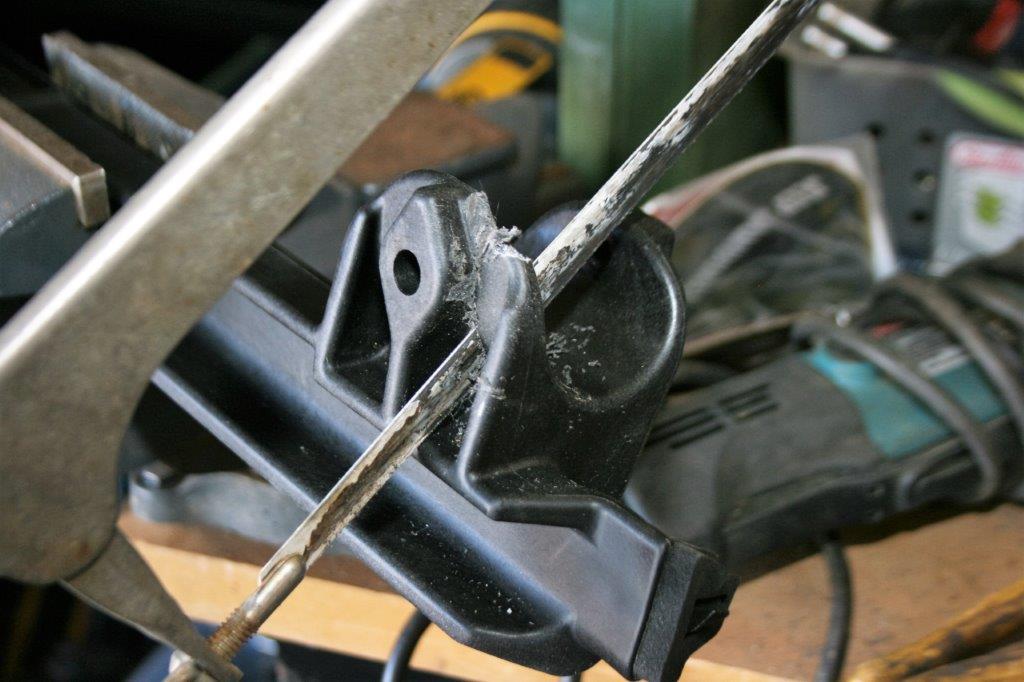
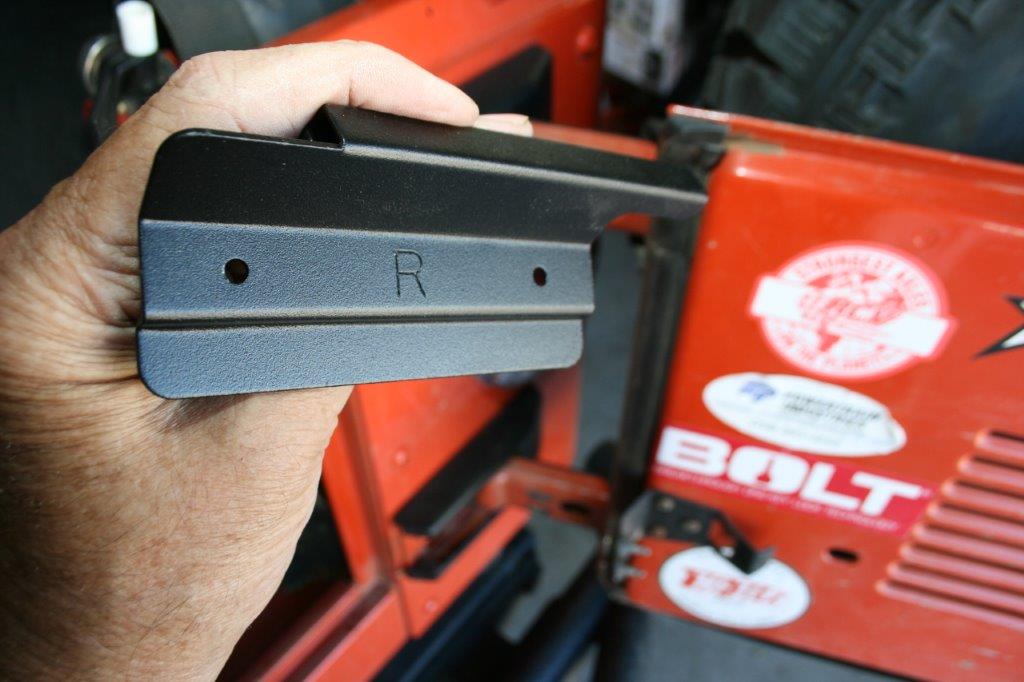
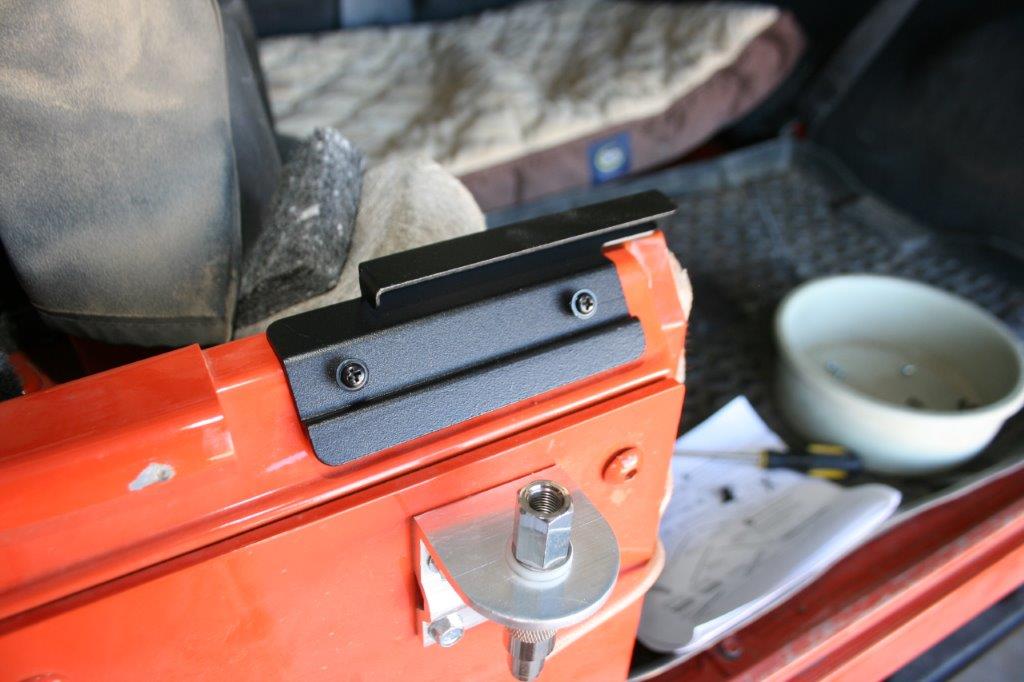
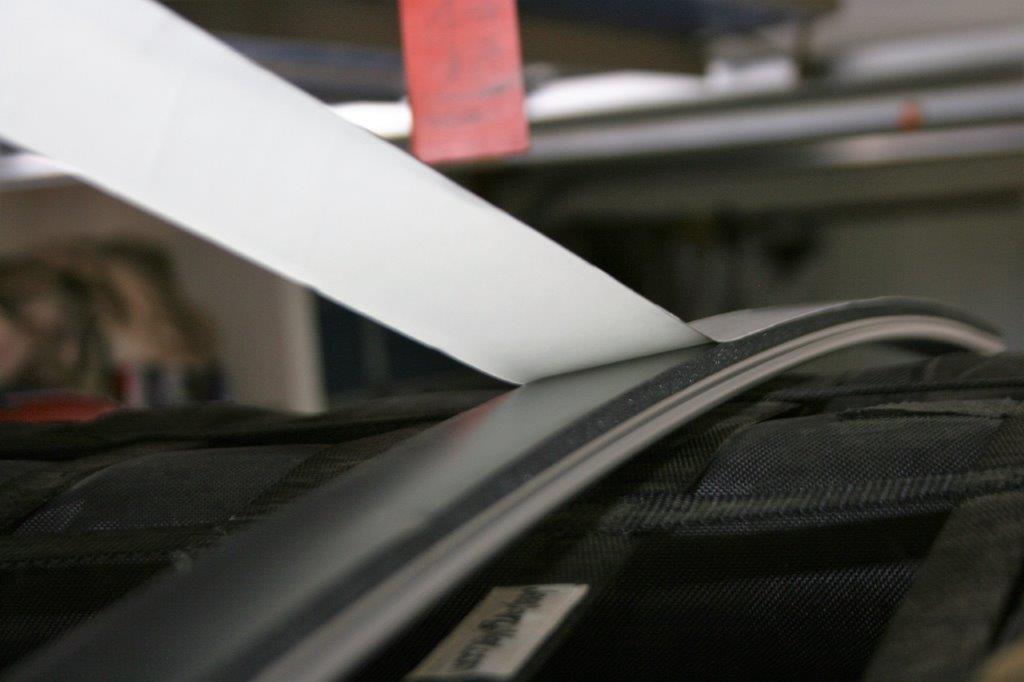
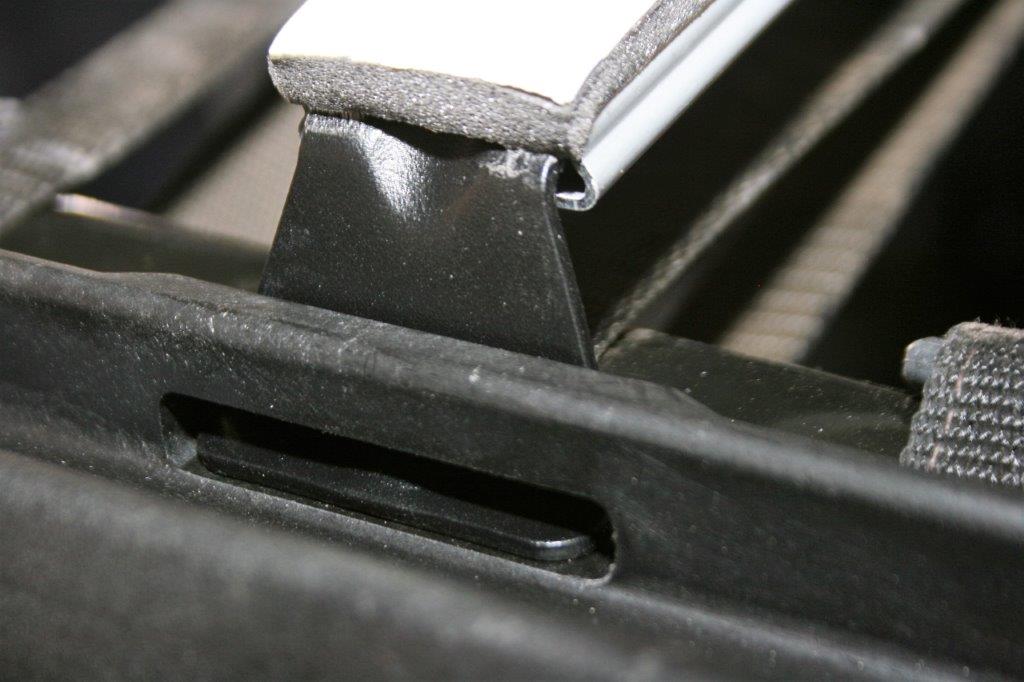
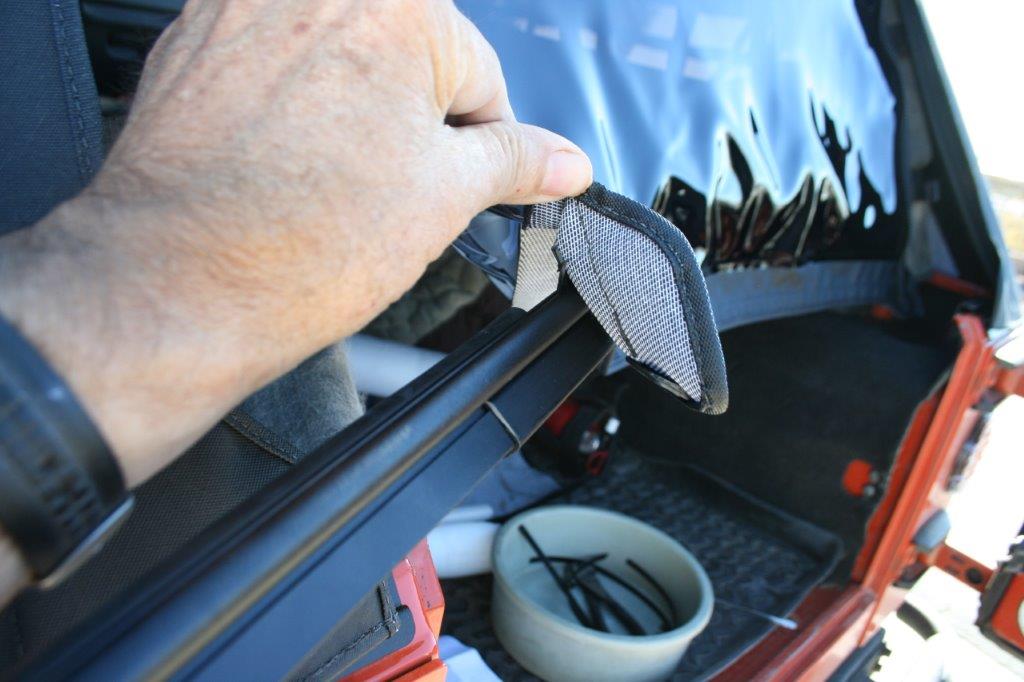
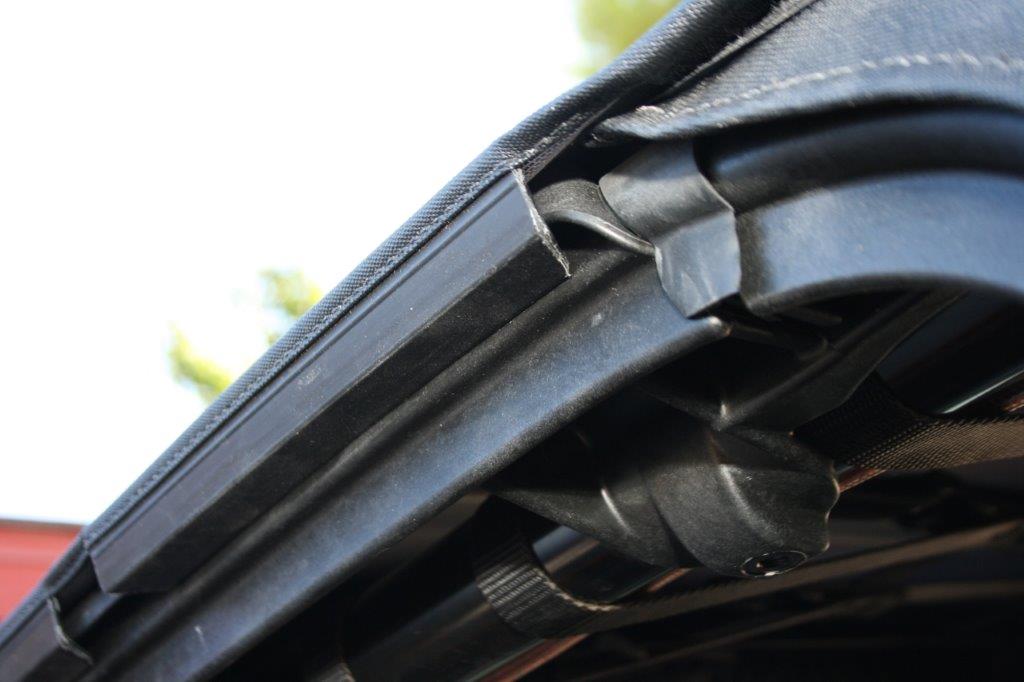
Follow along as we install our Bestop Trektop NX:

jeep wrangler tj going down a desert trail
jeep grommet for a soft top frame mount
grommet for soft top jeep wrangler frame
a jeep wrangler in a garage
jeep soft door clips
jeep soft top frame clip
roll bar clamp for a jeep soft top frame
modifying a jeep soft top clip with a hacksaw
door frame for soft top on a jeep wrangler
threaded knobs for jeep soft top adjustment
soft top frame knob for a jeep
tailgate mount for jeep wrangler soft top
soft top frame clip on body of jeep wrangler
frame for a jeep wrangler soft top on shop floor
screws on a jeep wrangler soft top frame
adhesive strip on a jeep wrangler soft top
close up of a jeep wrangler soft top frame mount
a jeep soft top on a shop floor
holes on a jeep soft top install channel
cutting holes for fasteners on a jeep soft top
warning label on a jeep soft top
adjusting soft top clip for a jeep wrangler tj
adjusting frame for a jeep soft top
installing clips on a jeep wrangler soft top
putting up a soft top on a jeep wrangler tj
installing window onto soft top jeep frame
soft top flap from a jeep wrangler tj
soft half door on jeep wrangler tj
modified jeep wrangler tj

With the top folded back, it’s just like being lidless. However, should the weather turn bad, it can quickly be folded back into place for warmth, comfort, and security.

On each side of the Jeep, just behind the door, you’ll find this OEM rubber grommet. They must be removed so the door surrounds will fit properly.

With the grommet removed, two holes are revealed.

For the next several installation steps you’ll need a tall stool or a ladder on each side of the Jeep.

The pin on the bottom of the curved portion of the door surround goes in the larger hole on each side.

Here this installation differs from the standard install. This Jeep is equipped with a Smittybilt front roll cage kit, which attaches to the factory sport bar near the windshield.

The Smittybilt roll bar clamp interferes with the Bestop channel that secures the door surround to the OEM sport bar.

I used a hacksaw to trip the Bestop channel back on both sides.

The door surround now slips onto the factory sport bar with ease.

Find the four threaded knobs.

The knobs secure the channels to the sport bar. They also make sure the door surrounds are aligned properly for the door and the top.

We’ll now move to the tailgate and install the tailgate mounts. They are marked left and right.

Follow Bestop’s instructions and drill four 1/8-inch holes where indicated. Secure the tailgate mounts with the supplied screws.

Lay the header upside down on a clean surface. The side bows slip onto the header. Verify with the Bestop instructions as to which side bow goes on which side.

Tighten the screws securing the side bows to the header.

Remove the adhesive paper from top arch. Make sure you avoid touching the adhesive while installing.

Insert one end of the top arch into the slot in the middle of the door surrounds. Push the other end inward to flex the bow and insert it into the slot on the other side of the Jeep.

Lay the top outside down and align it with the header.

Locate the round hole that marks the center of the plastic strip (all other holes are slotted). Install a supplied pan head screw in the round hole to secure the fabric to the header as well as to center the top.

Use a utility knife to slit the fabric over each screw position.

Install pan head screws in the remaining seven holes along the front of the header.

Slide the rear bow into the pocket inside the top, and secure the J-hooks to the ends of the rear bow.

Place the header on the Jeep. Pull the release knob on the side bows and insert the pins into the door surround brackets.

Loosen the speaker bar and slip the straps between it and the sport bar. Wrap the straps around the sport bar on each side of the vehicle. Thread the ends of the straps through the buckles and tighten. Tighten the speaker bar. Thread a J-hook buckle strap through the buckle on one of the rear straps. Hook the straps to the ledge inside the rear corners of the Jeep.

Install the side windows and then align the rear window with the plastic J-slide toward the top.

Slip the plastic strips along the bottom of the rear window into the channel in the tailgate mounts on each side of the tailgate. Wrap the quarter windows over the rear window and slip the plastic strips on each quarter window into the channel in the tailgate mounts on each side of the tailgate.

Hook the latches on the header into the holes in the windshield and close them. Slip the plastic strip along the bottom of the quarter windows into the channel in the belt rail on each side of the vehicle. Slip the plastic strips above the doors into the channel in the door surround on each side of the Jeep.

Align the posts in the half windows into matching holes in the half doors—in this case they are tube doors with skins painted to match the Jeep. Adjust the window frames to seal the upper opening.

We’re now ready to go wheeling.


Share this Article
Author: Jim Brightly

A former editor of Truckin’ and Trailer Life magazines, and tech editor of Four Wheeler, Petersen’s 4-Wheel & Off-Road, and Family Motor Coaching magazines, Jim Brightly is now a semi-retired photojournalist living, writing, and wheeling in northern Arizona. He’s been building and wheeling Jeeps for more than fifty years.