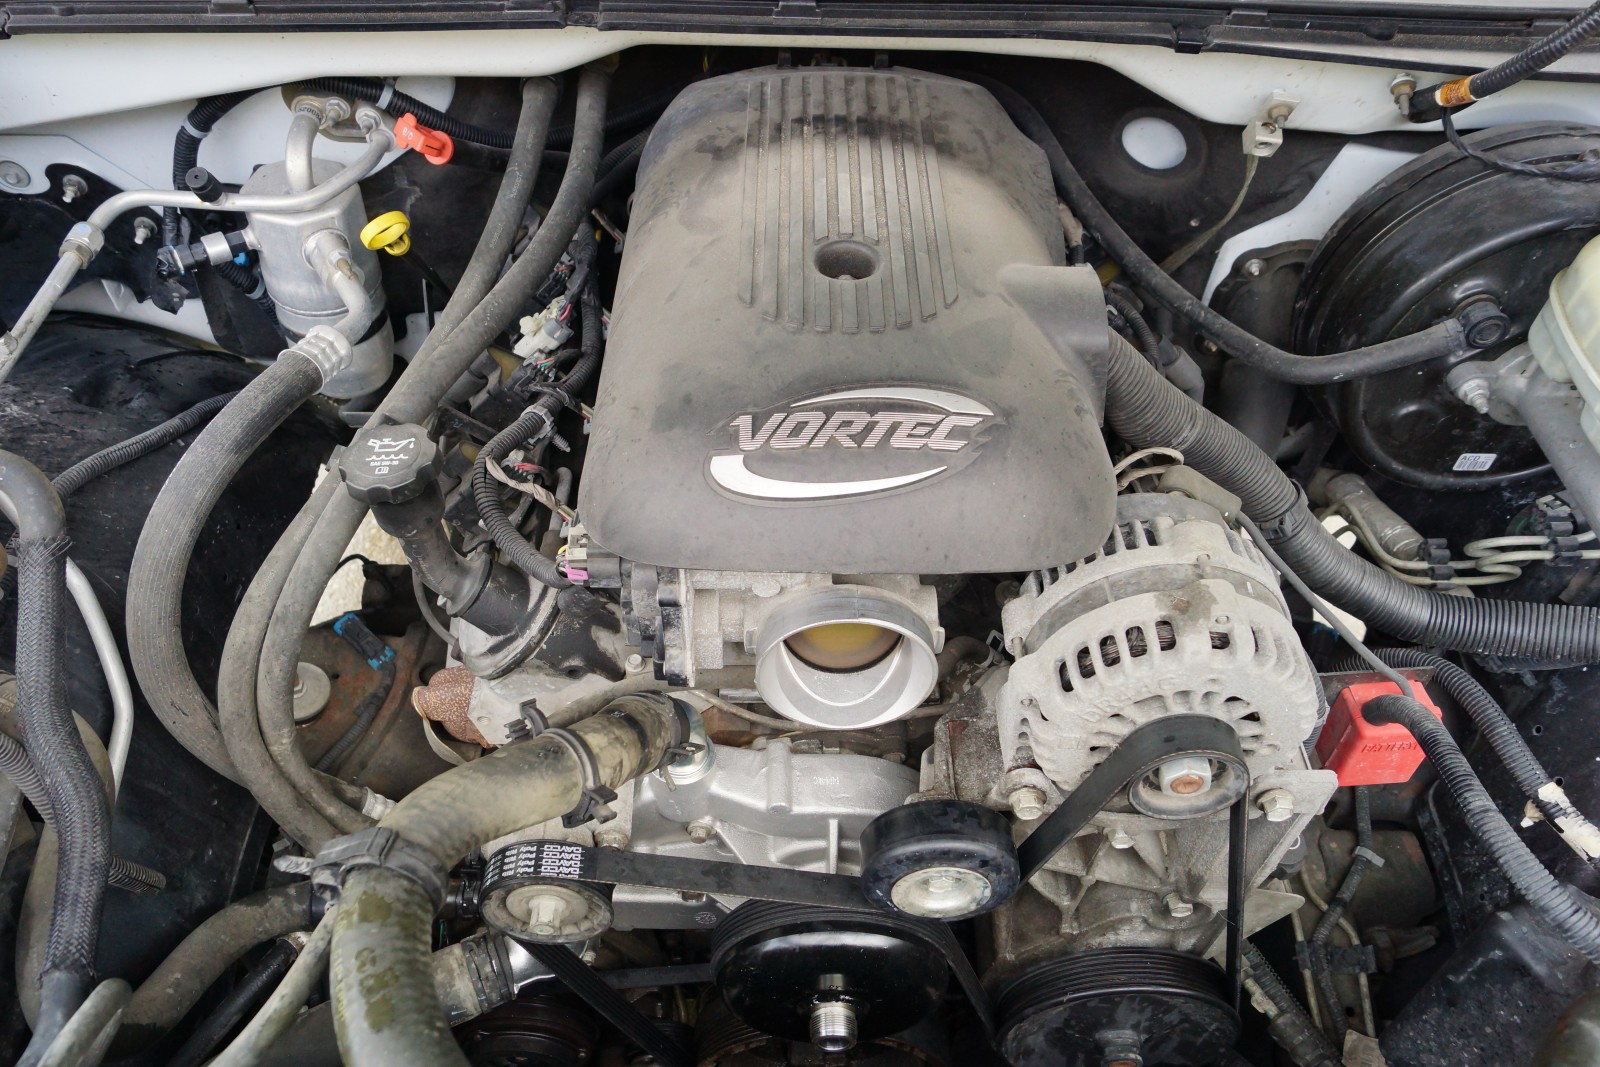
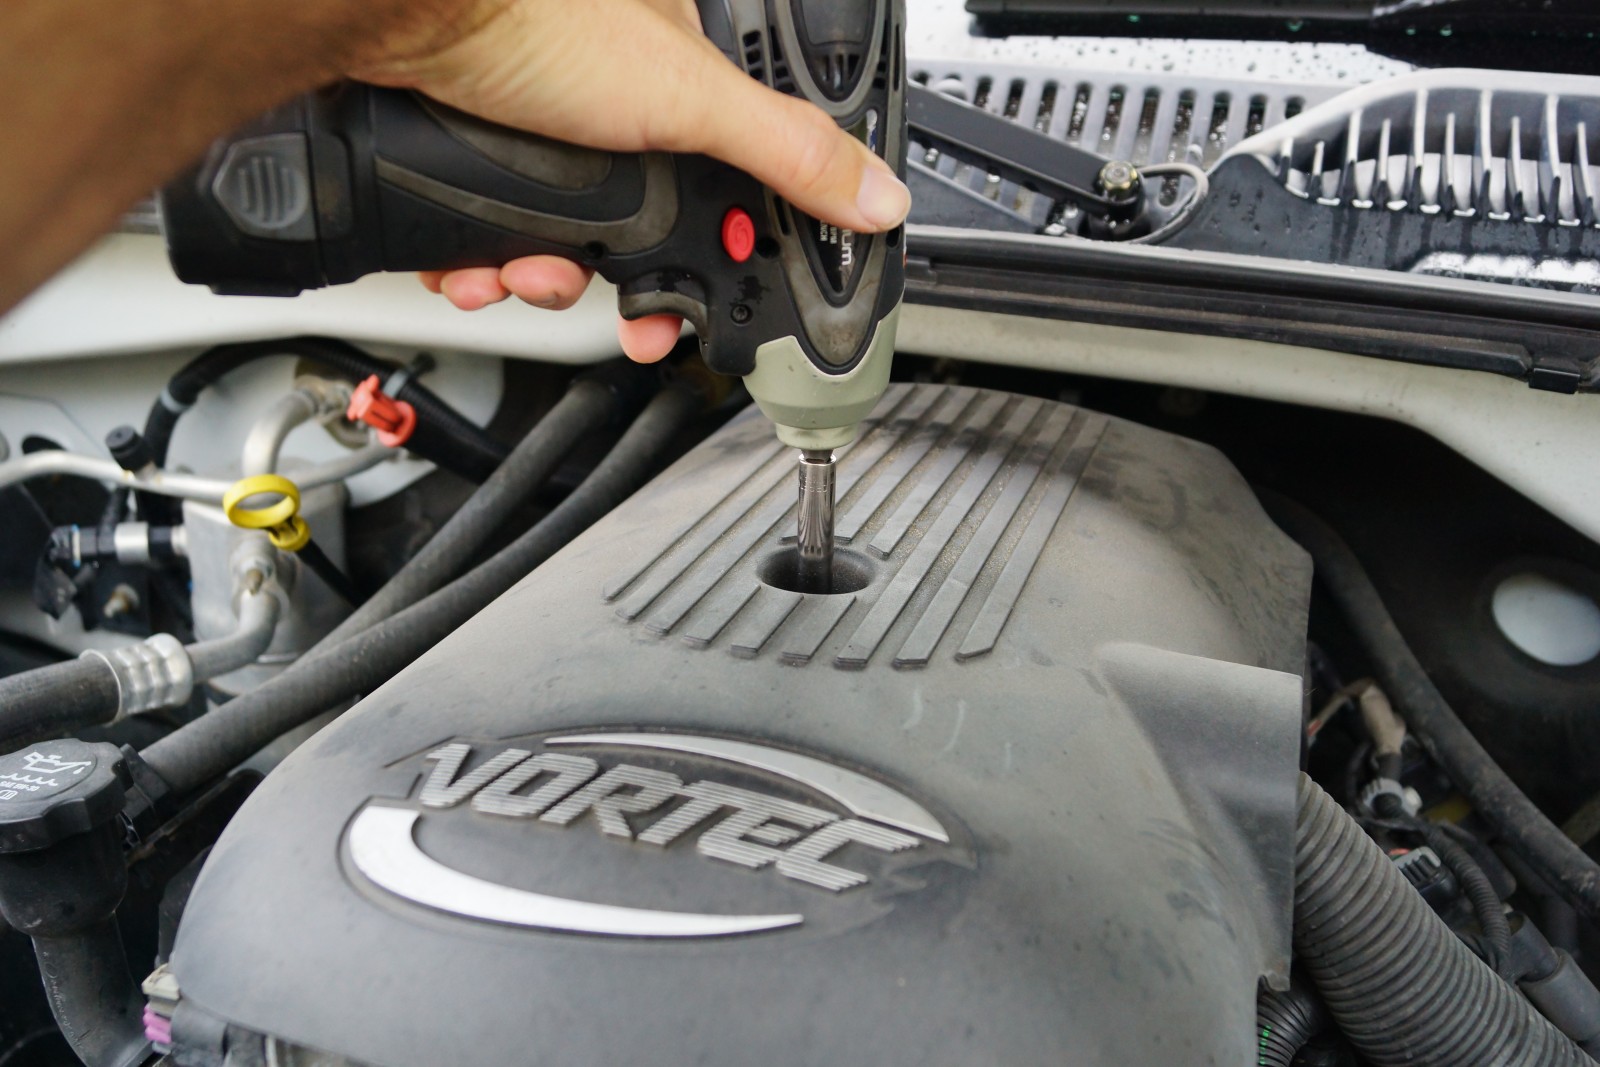
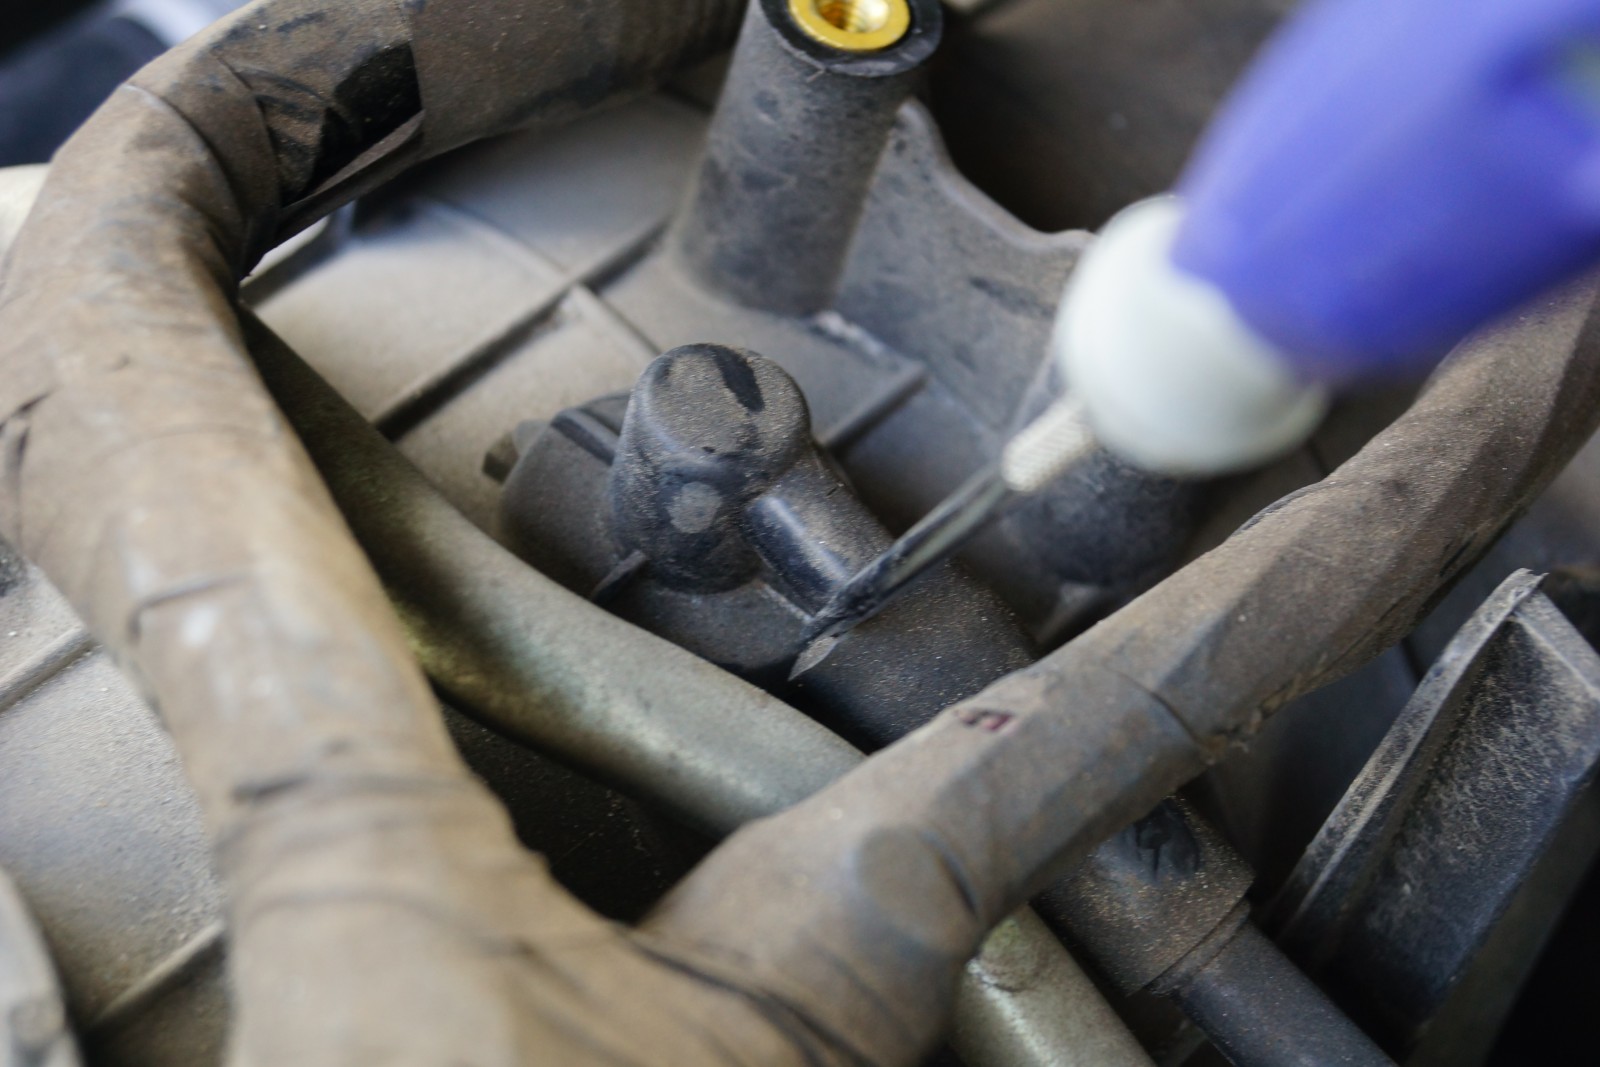
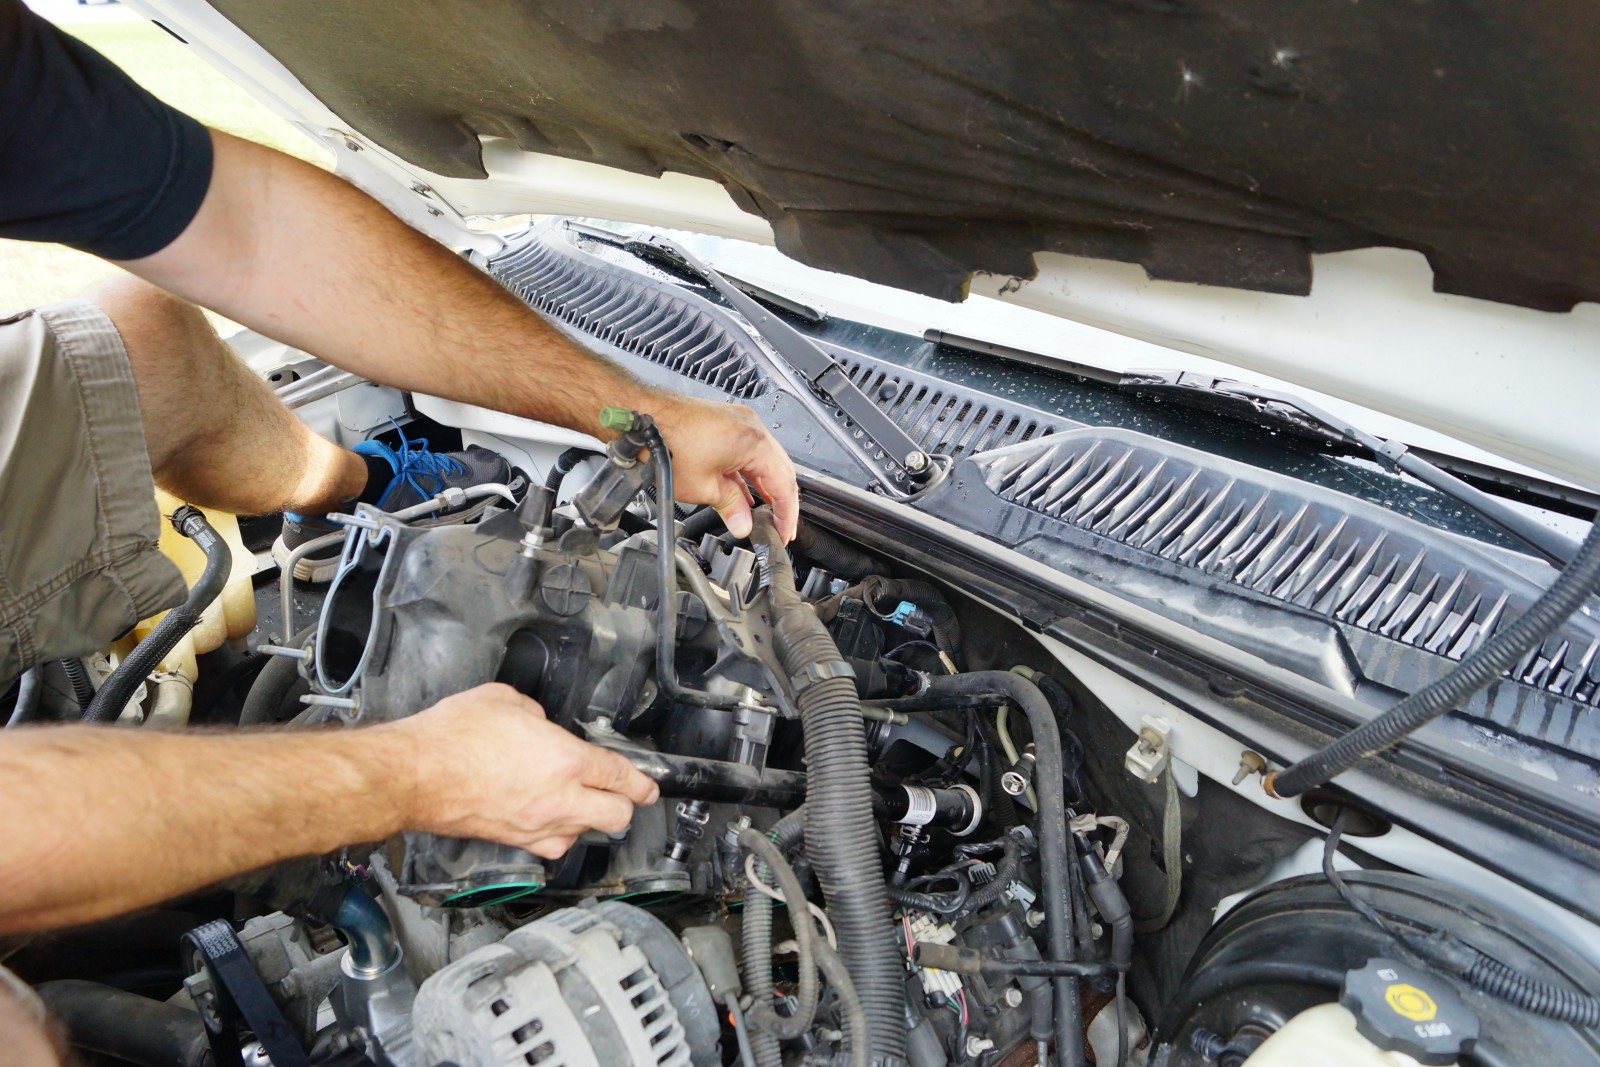
Search the Internet about it and you’ll quickly find that failing knock sensors in LS-powered GM trucks are a common occurrence. Replacing a knock sensor may seem like a daunting task once you find out that you have to remove the intake manifold. Thankfully, intake manifold removal is much easier on an LS engine than a Gen I small block, and if you plan ahead and take your time during the job, it’s actually quite easy.
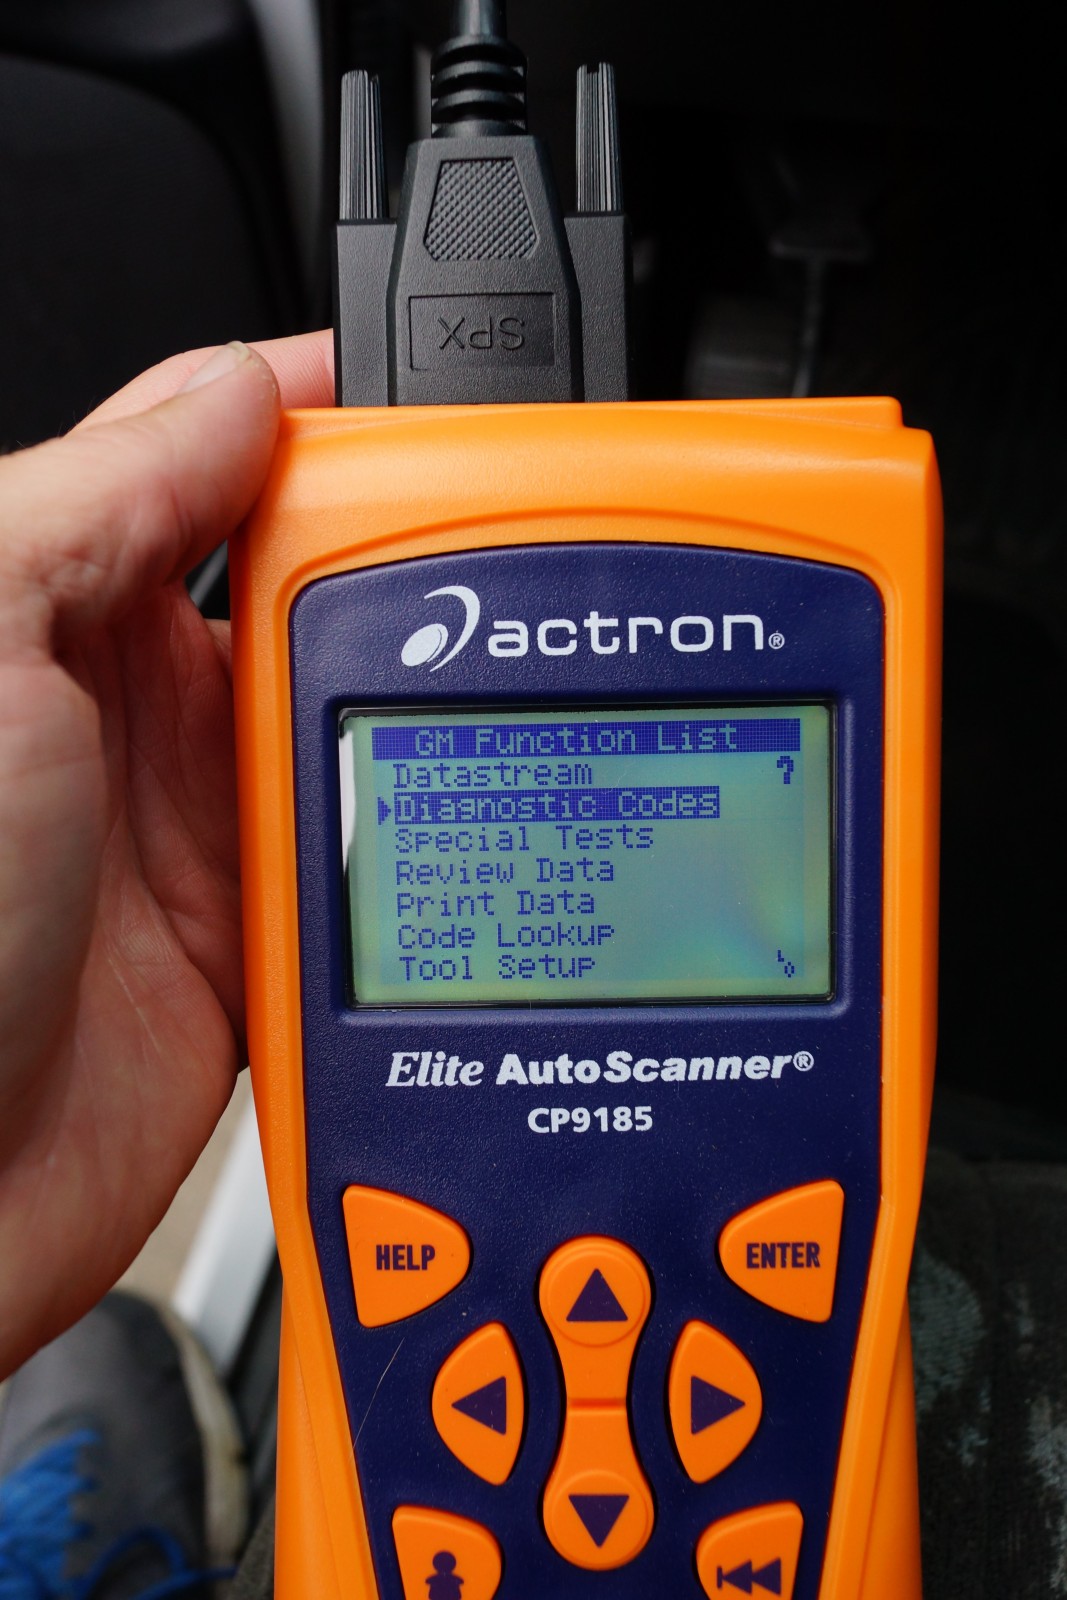
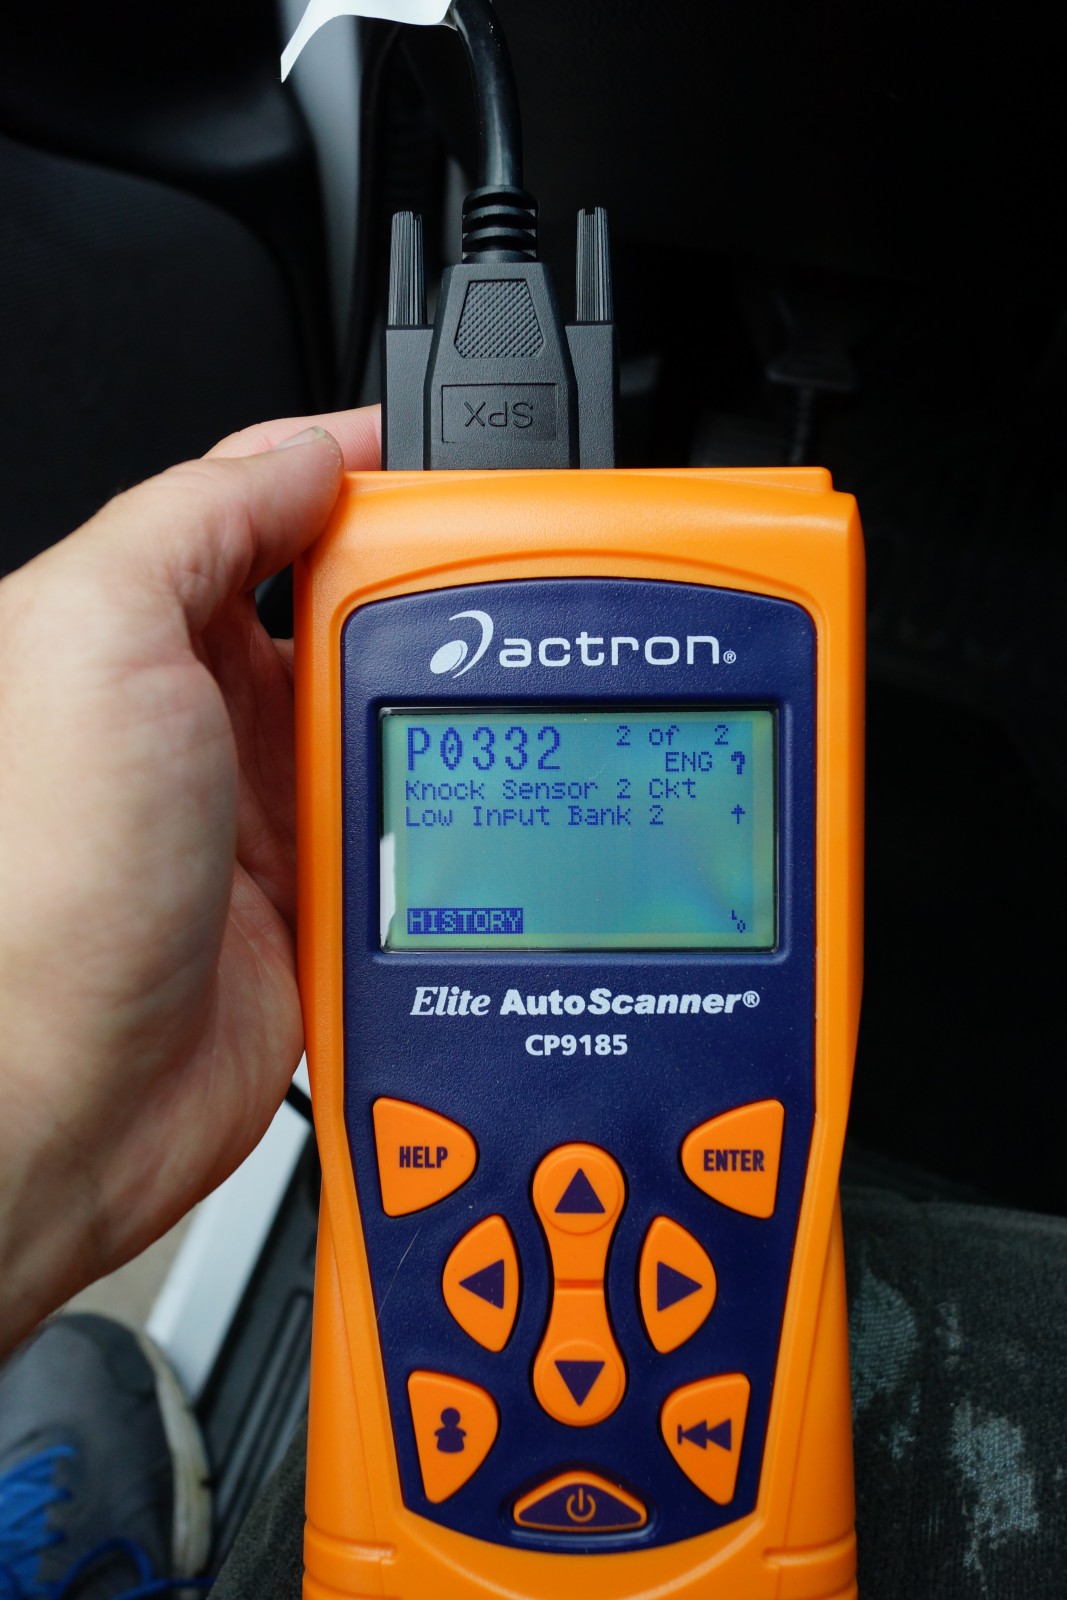
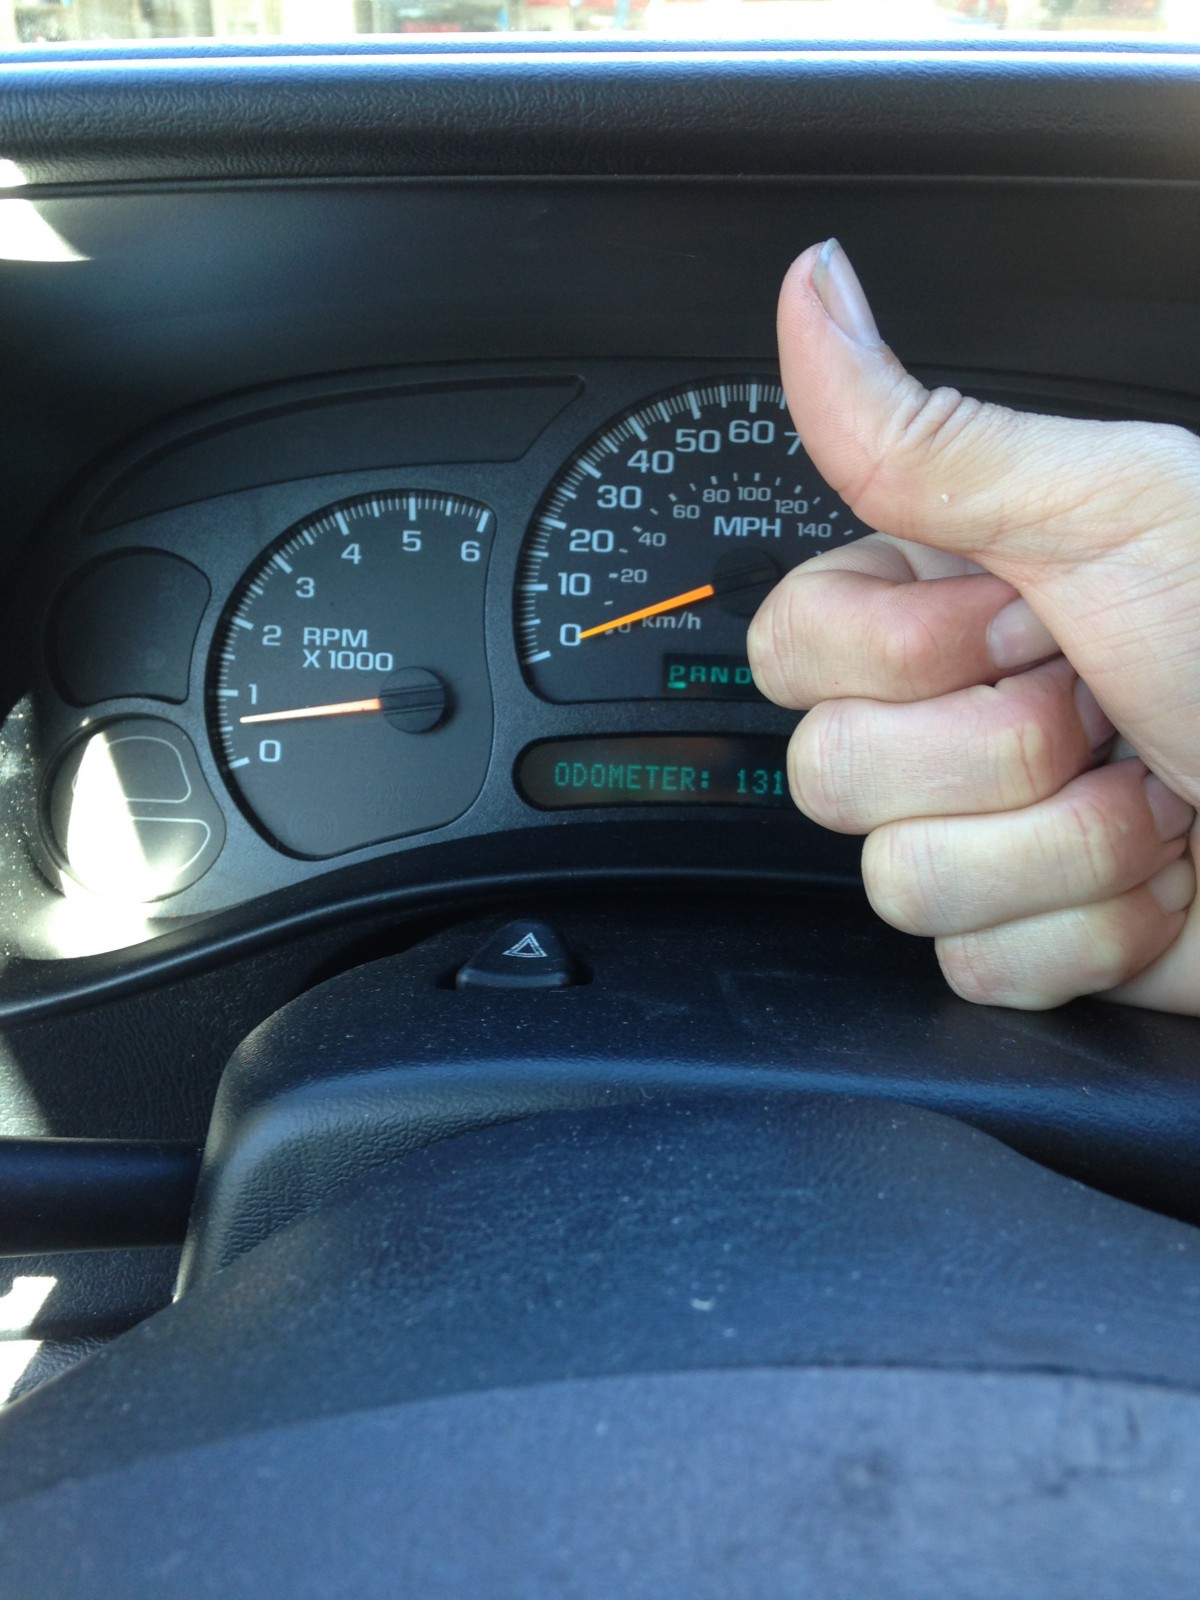
Despite spending over 20 minutes test-driving the subject vehicle used in this article, it wasn’t until 20 minutes into the drive home after making the purchase that the check engine light (CEL) came on. We worried not, as the truck drove fine and the gauges noted that coolant and oil pressure were in the normal range. Later on, we made a trip to the local auto parts store to have them scan and read the trouble code only to find out that the power ports were not functioning, which is a requirement for the OBD II port to function as well. We simply replaced the fuse and were able to get it scanned. The outcome of which was a faulty knock sensor code.
While the issue was apparent, the actual sensor replacement got neglected for some time, largely due to the perceived “invasive” nature of the procedure. As we found out, it was actually pretty easy, especially after researching the job online and gathering all of the necessary tools and parts to complete the job. Needing a bit of a push, the water pump elected to check out, so while that was in need of repair as well, it couldn’t have been a better time to tackle the knock sensors.
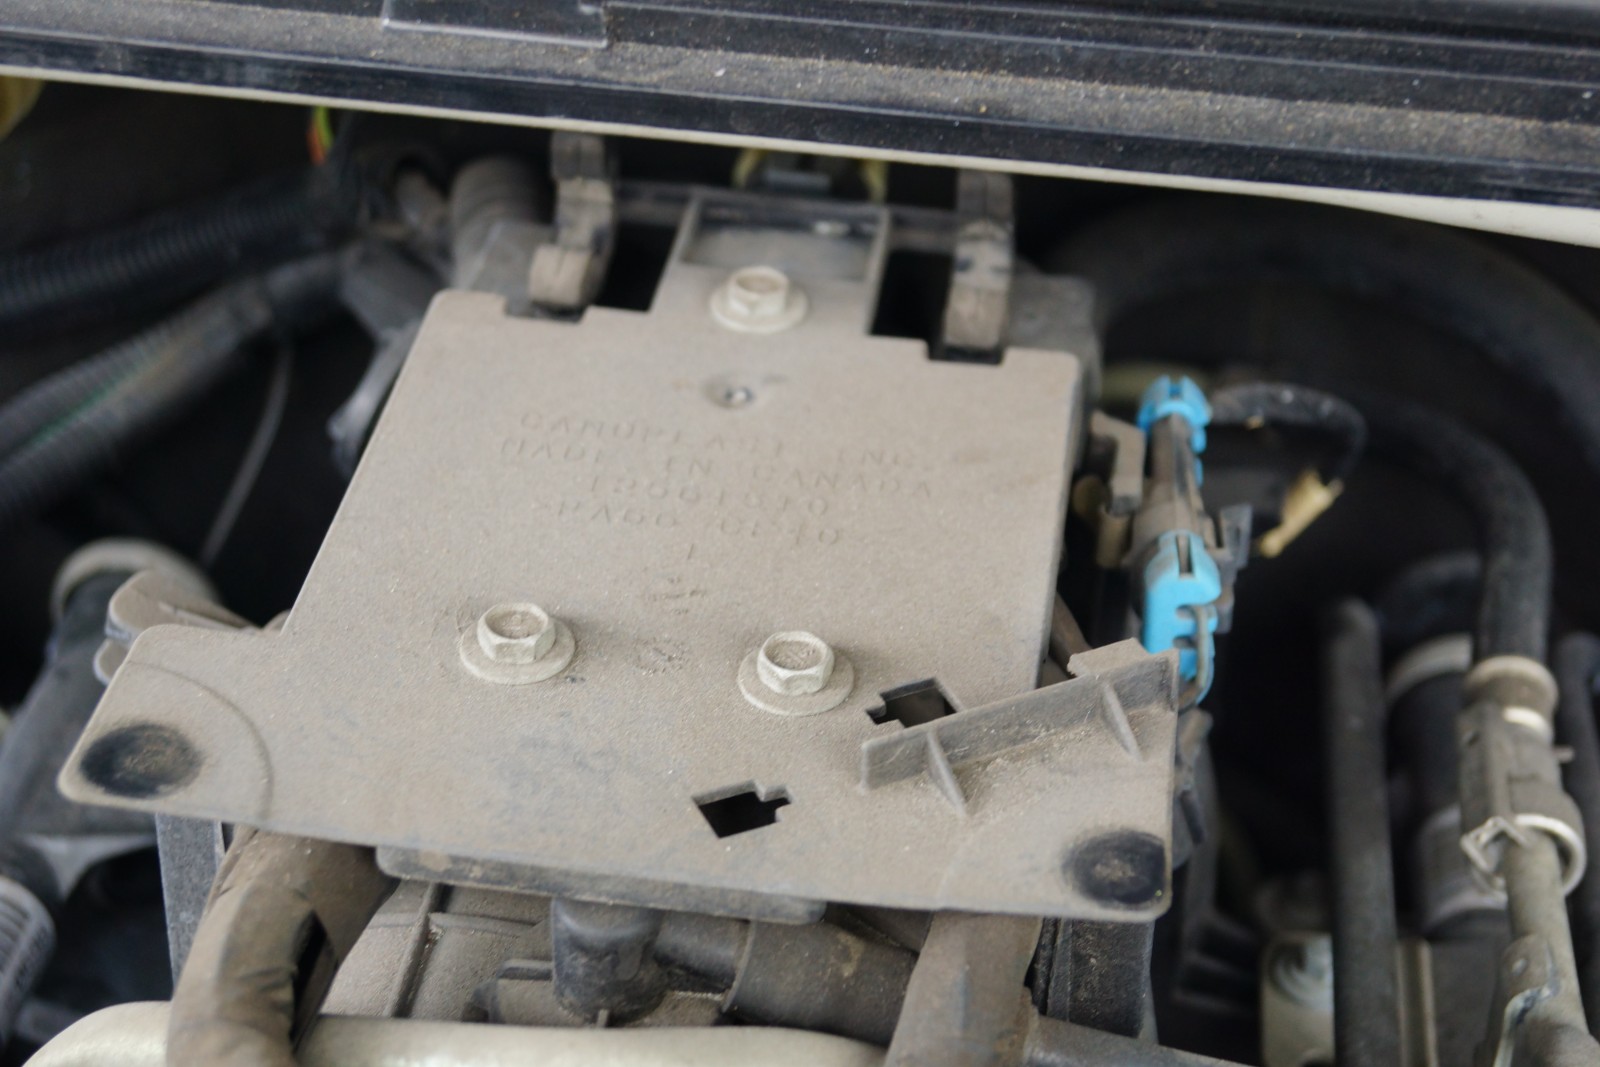
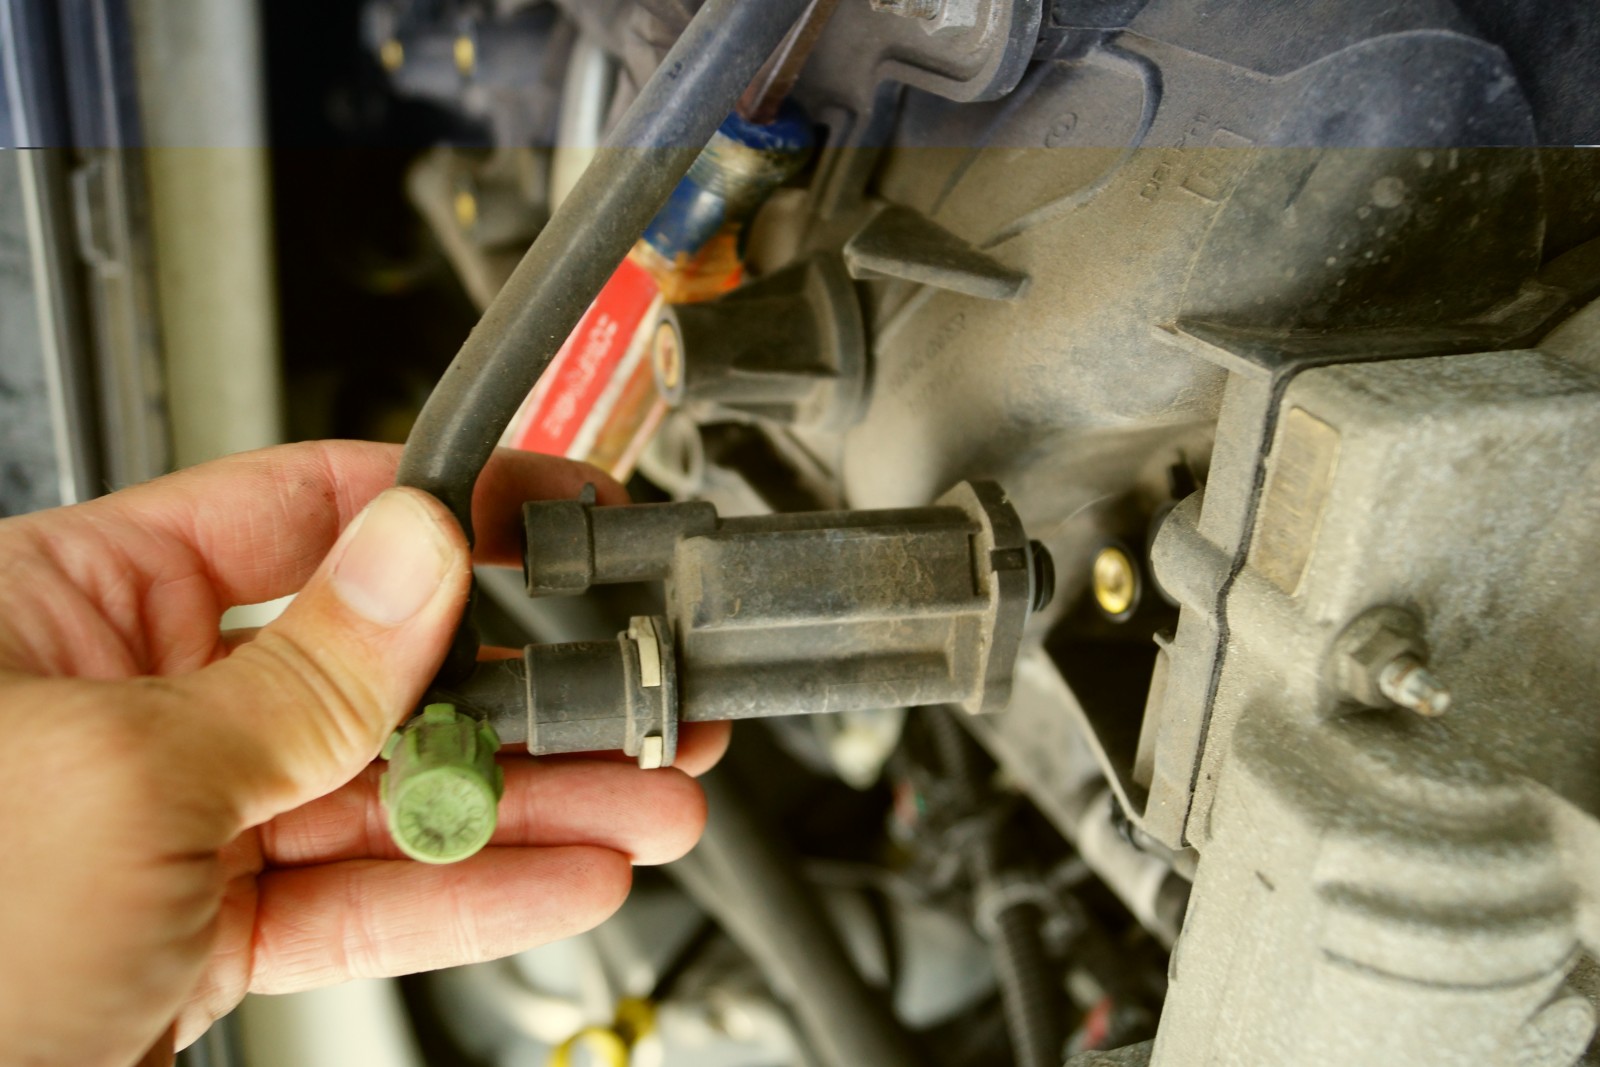
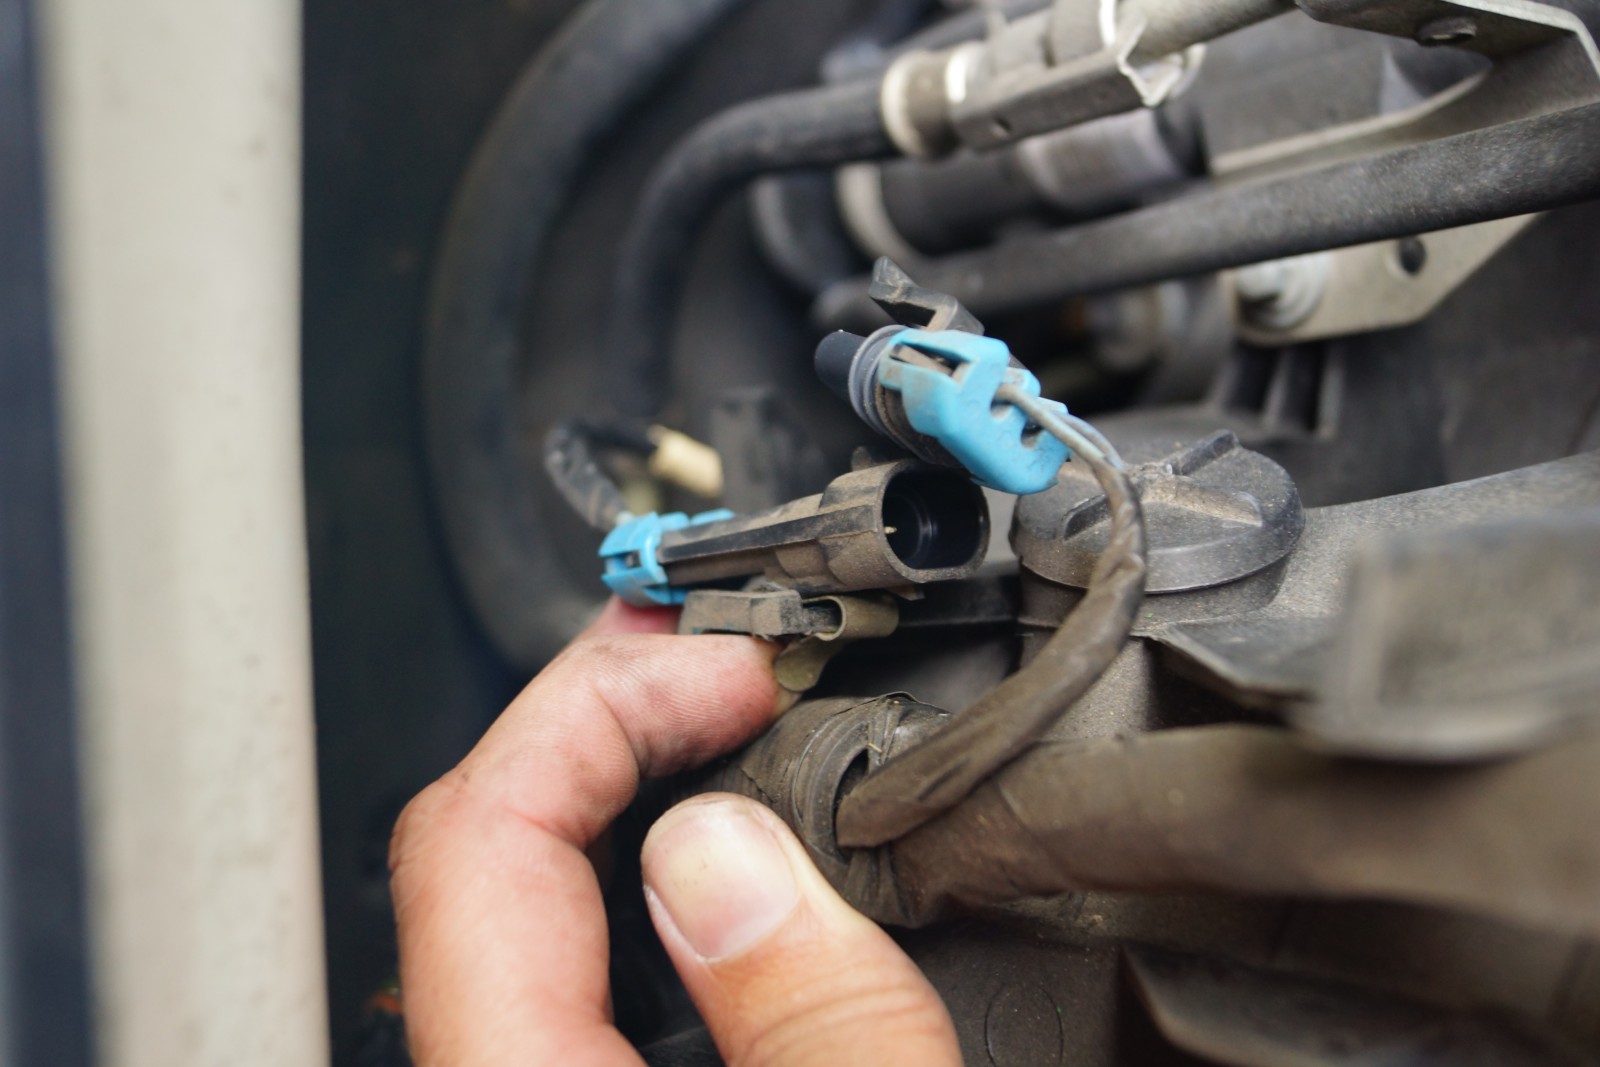
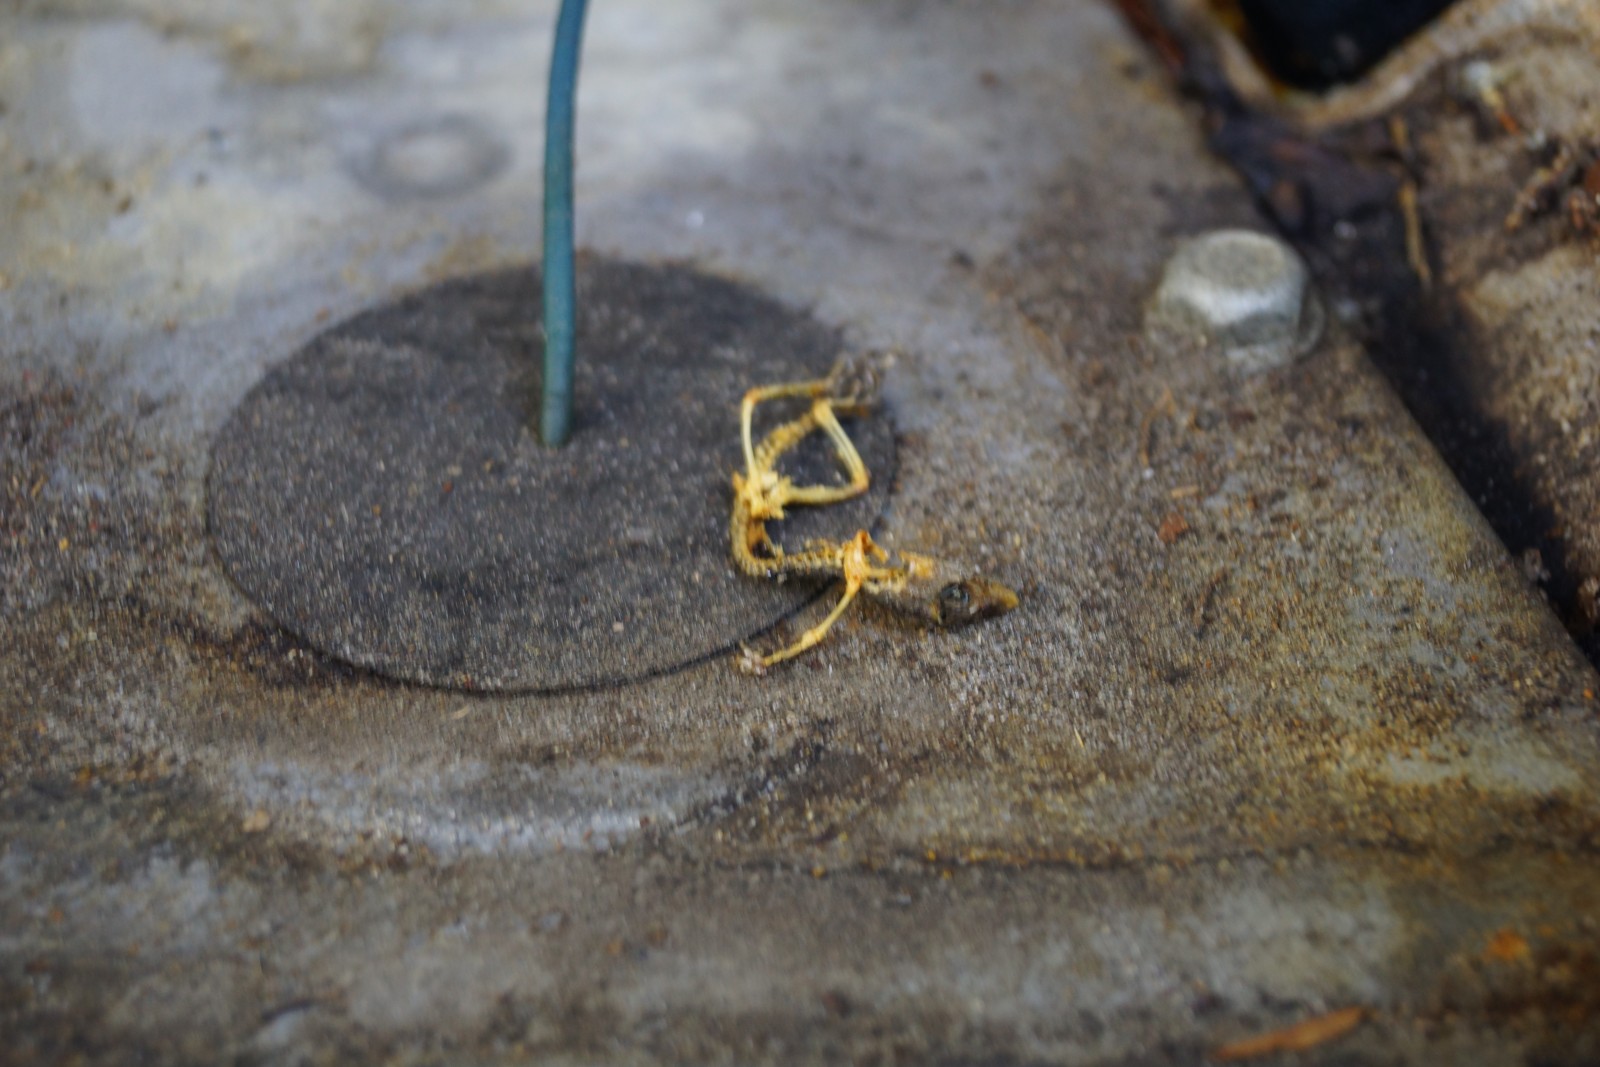
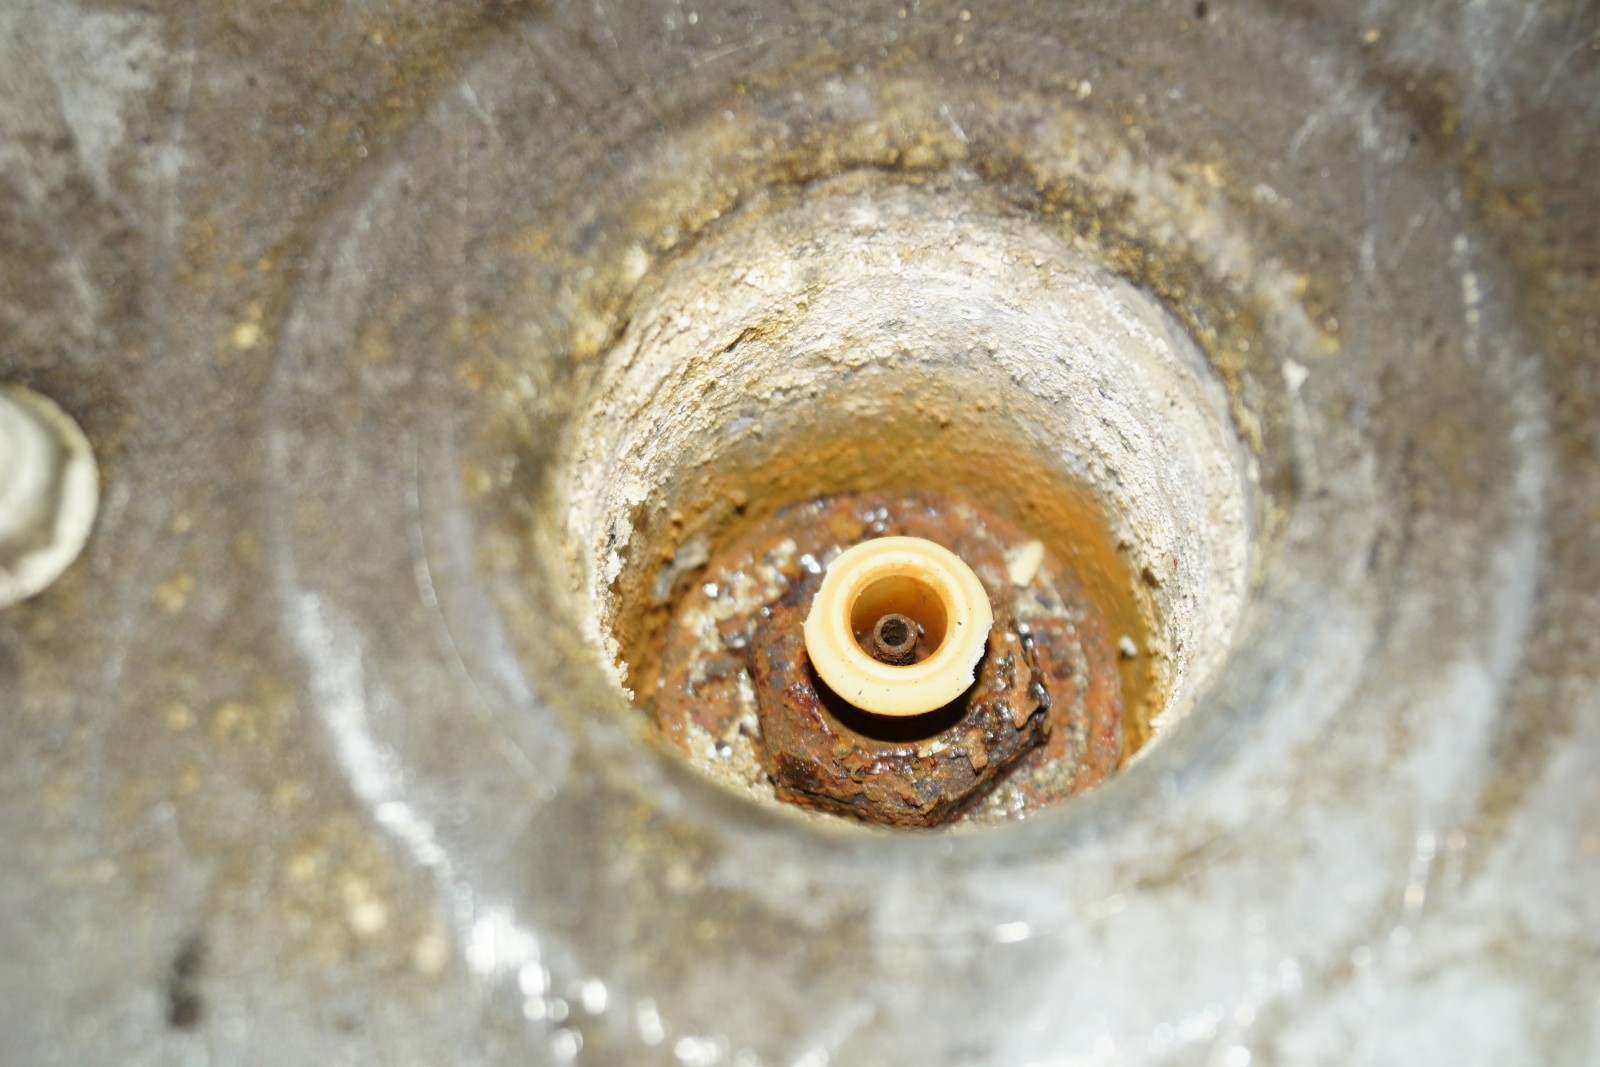
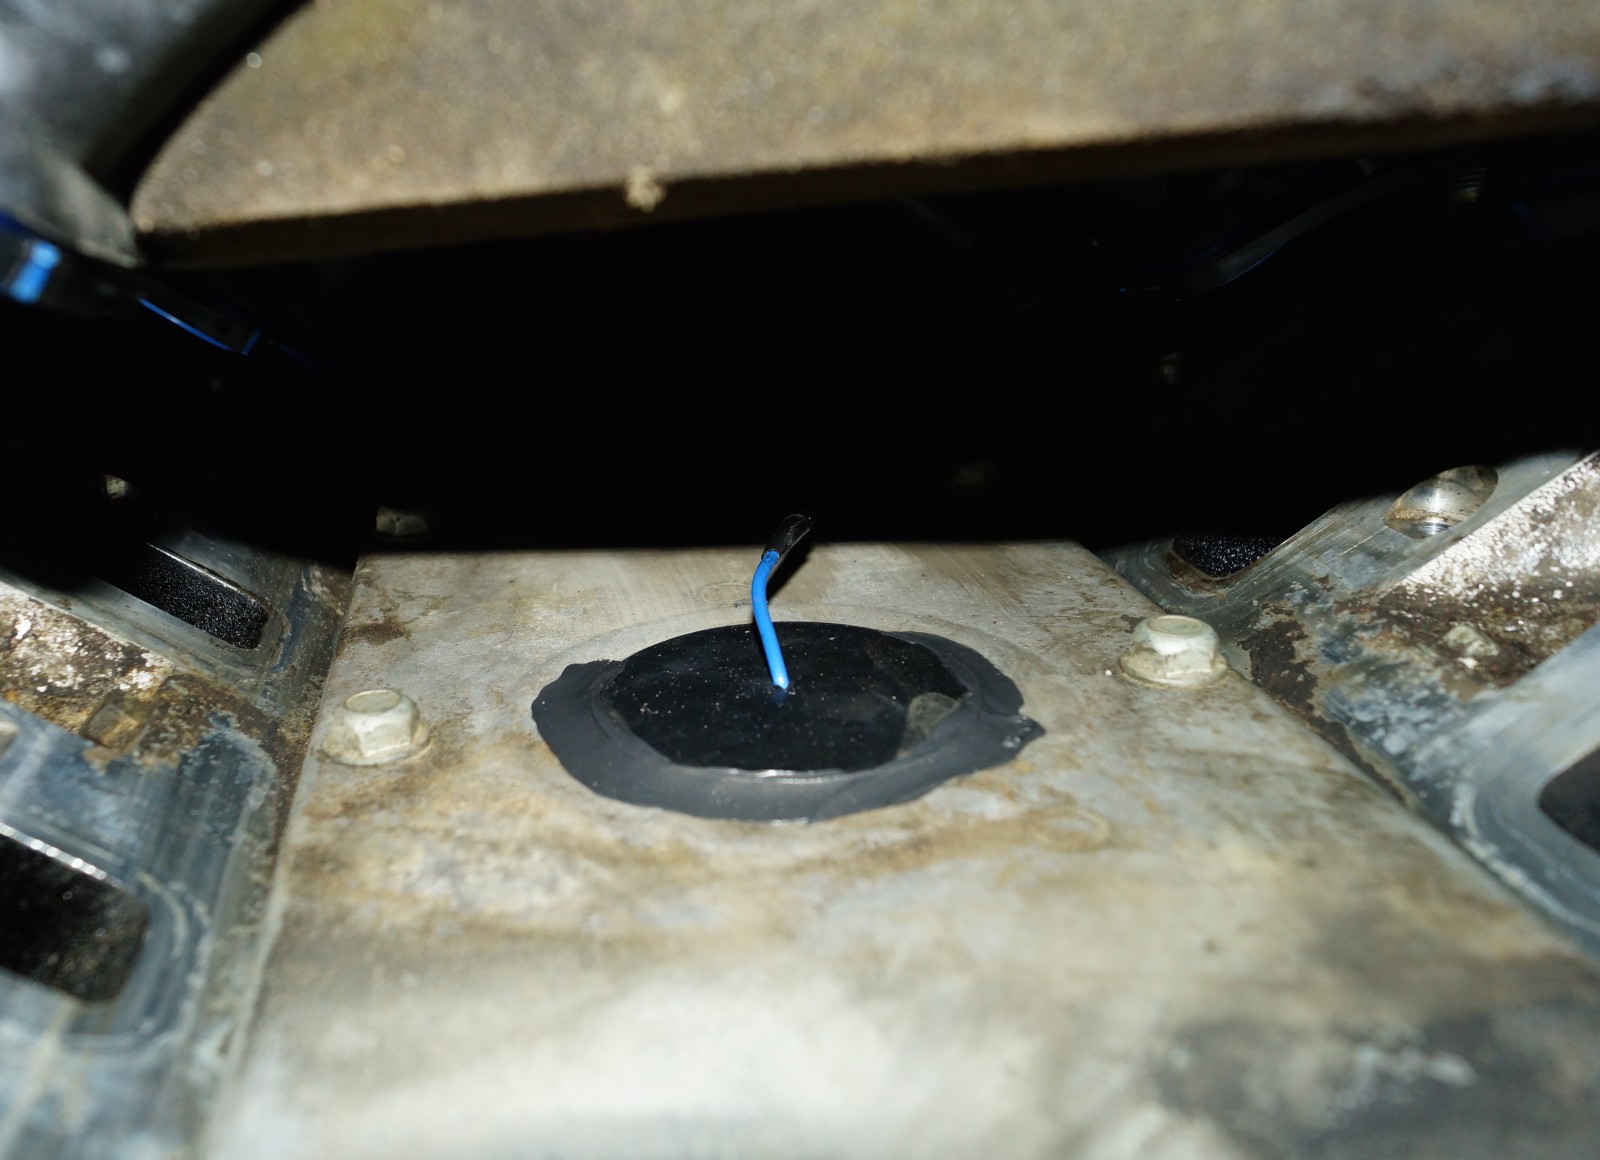
From the research gathered on various forums and YouTube channels, it was recommended to replace both knock sensors at the same time, as well as the harness that connects them to the main harness. The rear-most sensor is usually the one that fails the most, but both are susceptible to the same issue. Namely, the rubber molded plugs that are supposed to seal them up become dry and hard over time. They also shrink, which in turn allows moisture to collect in the tub that the sensor rests in. The harness that connects the sensor is also prone to fail as it becomes dry and brittle from the engine heat. The plug on the end of the rusty sensor also rusts. It’s relatively inexpensive and well worth the piece of mind that comes with replacing it.
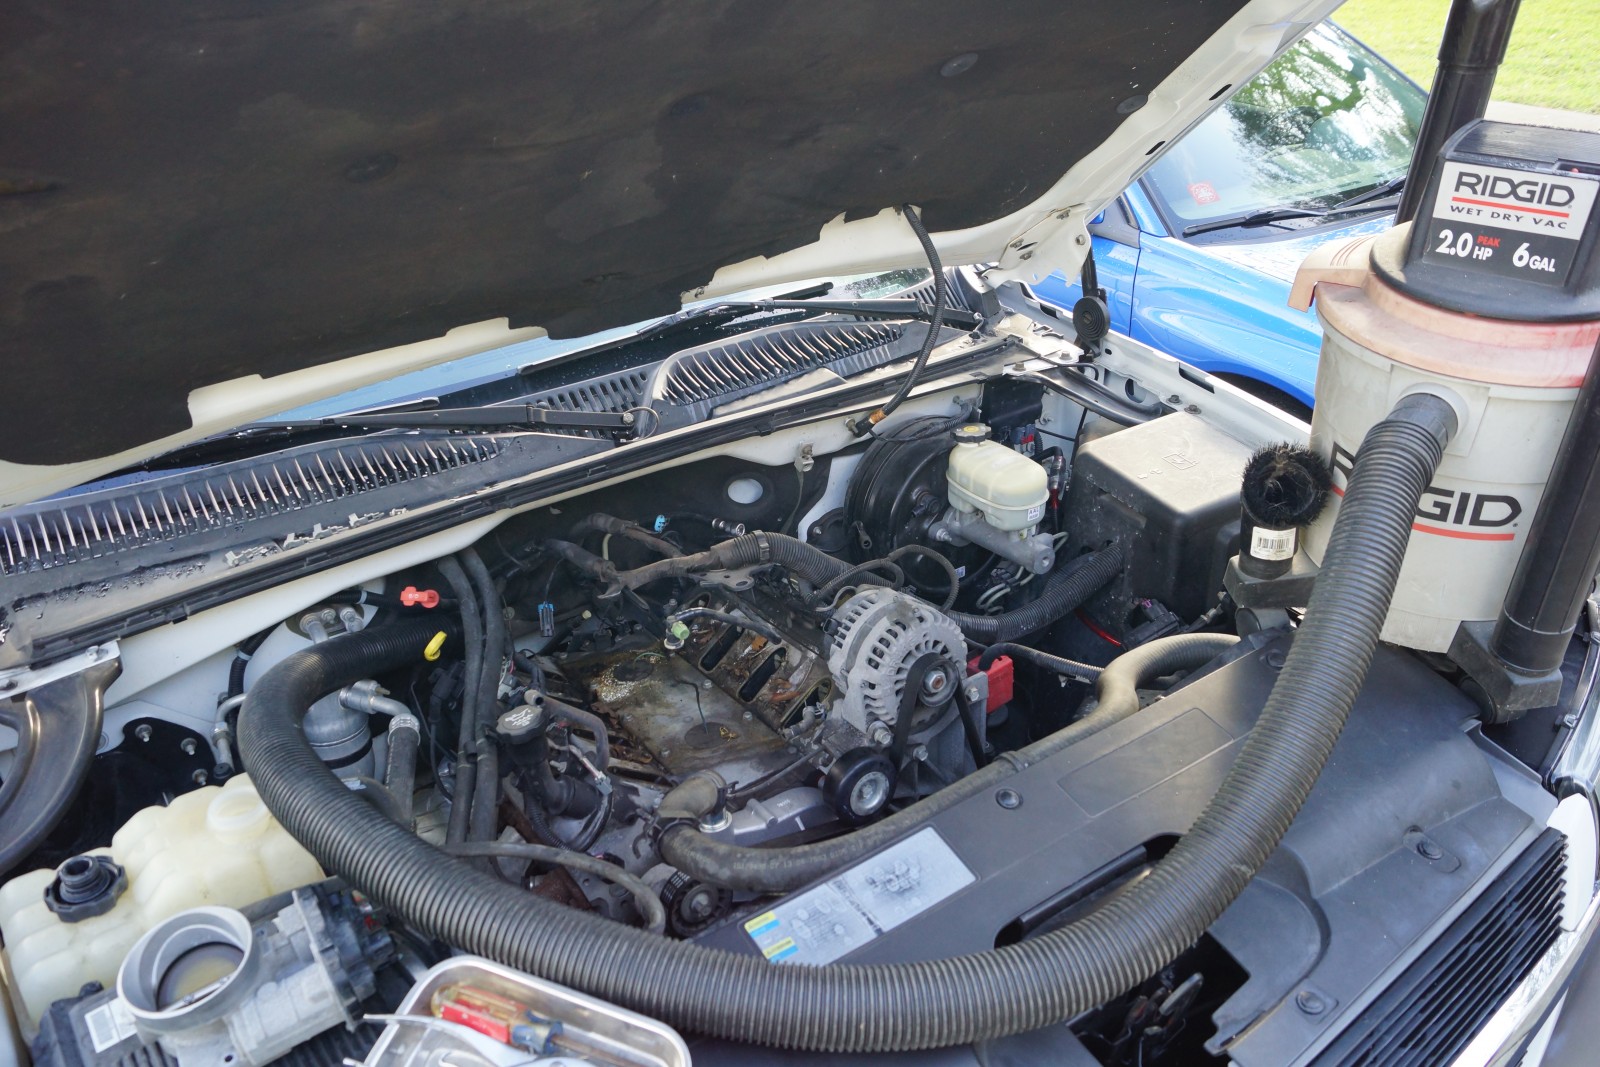
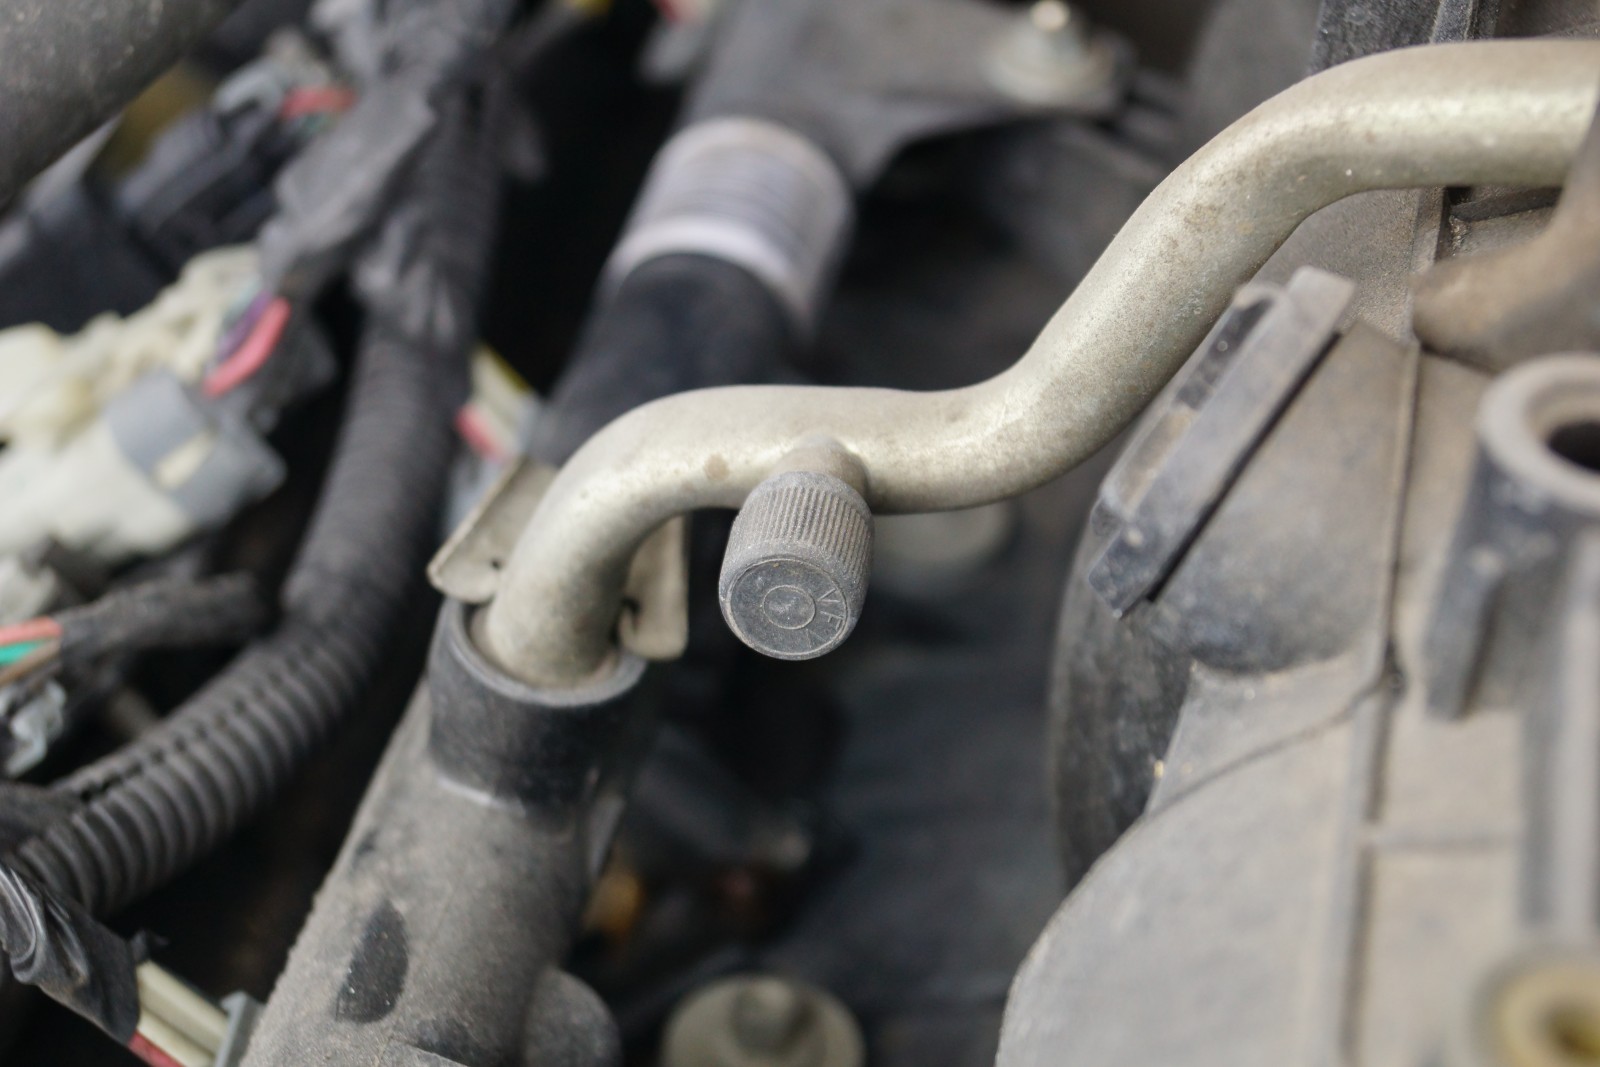
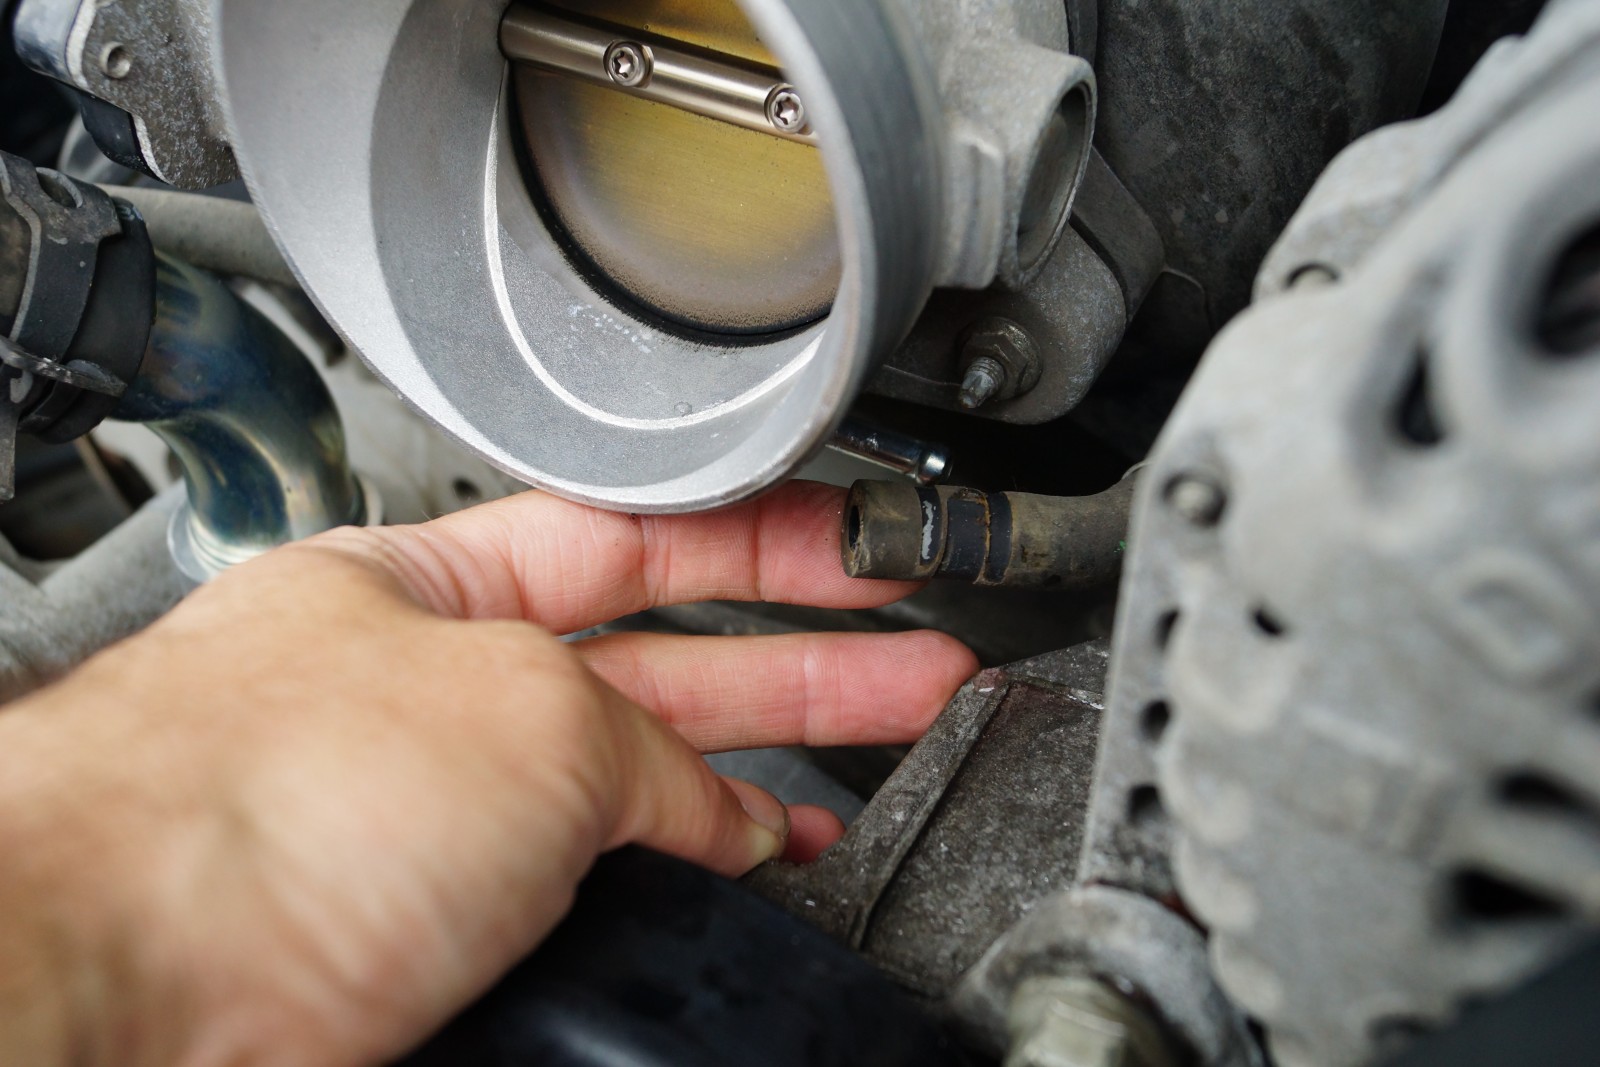
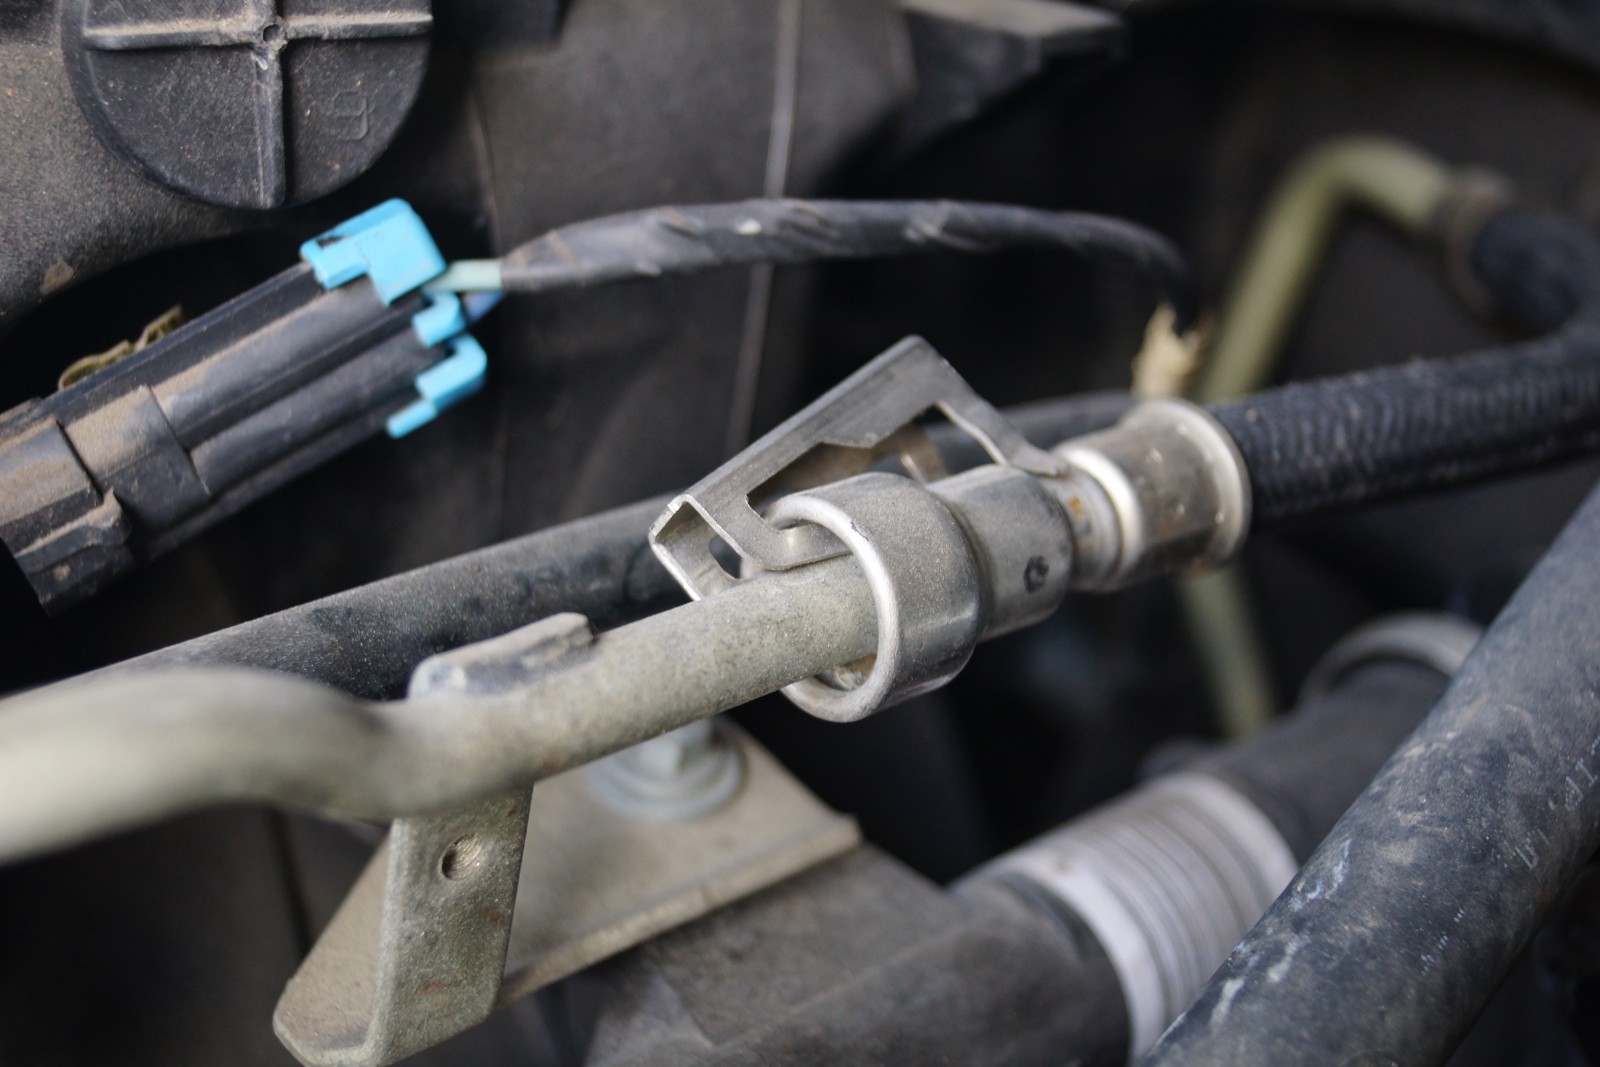
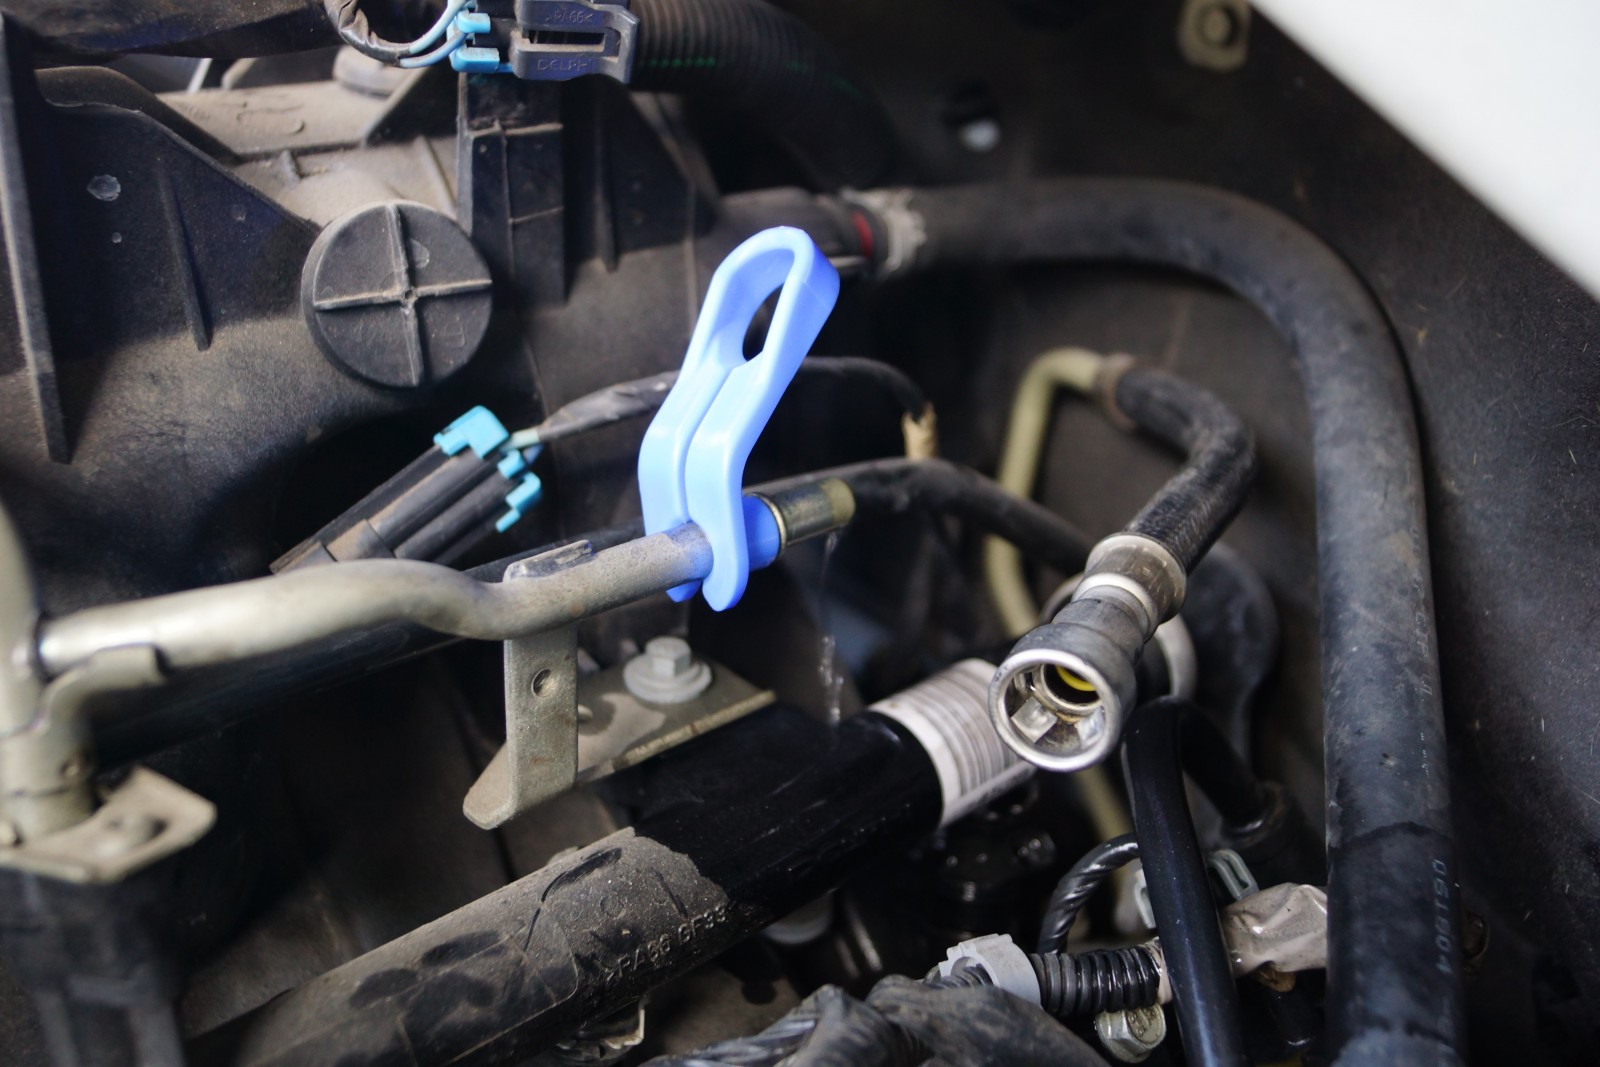
One option was to leave the fuel line connected, but to remove the fuel rails—with the injectors still attached to them—from the intake manifold and just move them out of the way enough to slide the intake out. Feeling that it was a safer bet to not chance ripping or losing any injector O rings, it was decided to disconnect the fuel line and leave the rails and injectors attached to the intake. It may be hard to do, but we would also suggest getting a vacuum in between the valve covers and the fuel rails to try and remove as much debris as possible before pulling the intake manifold. What you don’t get will likely end up in the intake ports during intake removal, and then you’ll likely have to create a smaller attachment to get into the ports to remove the debris—don’t ask how we know.
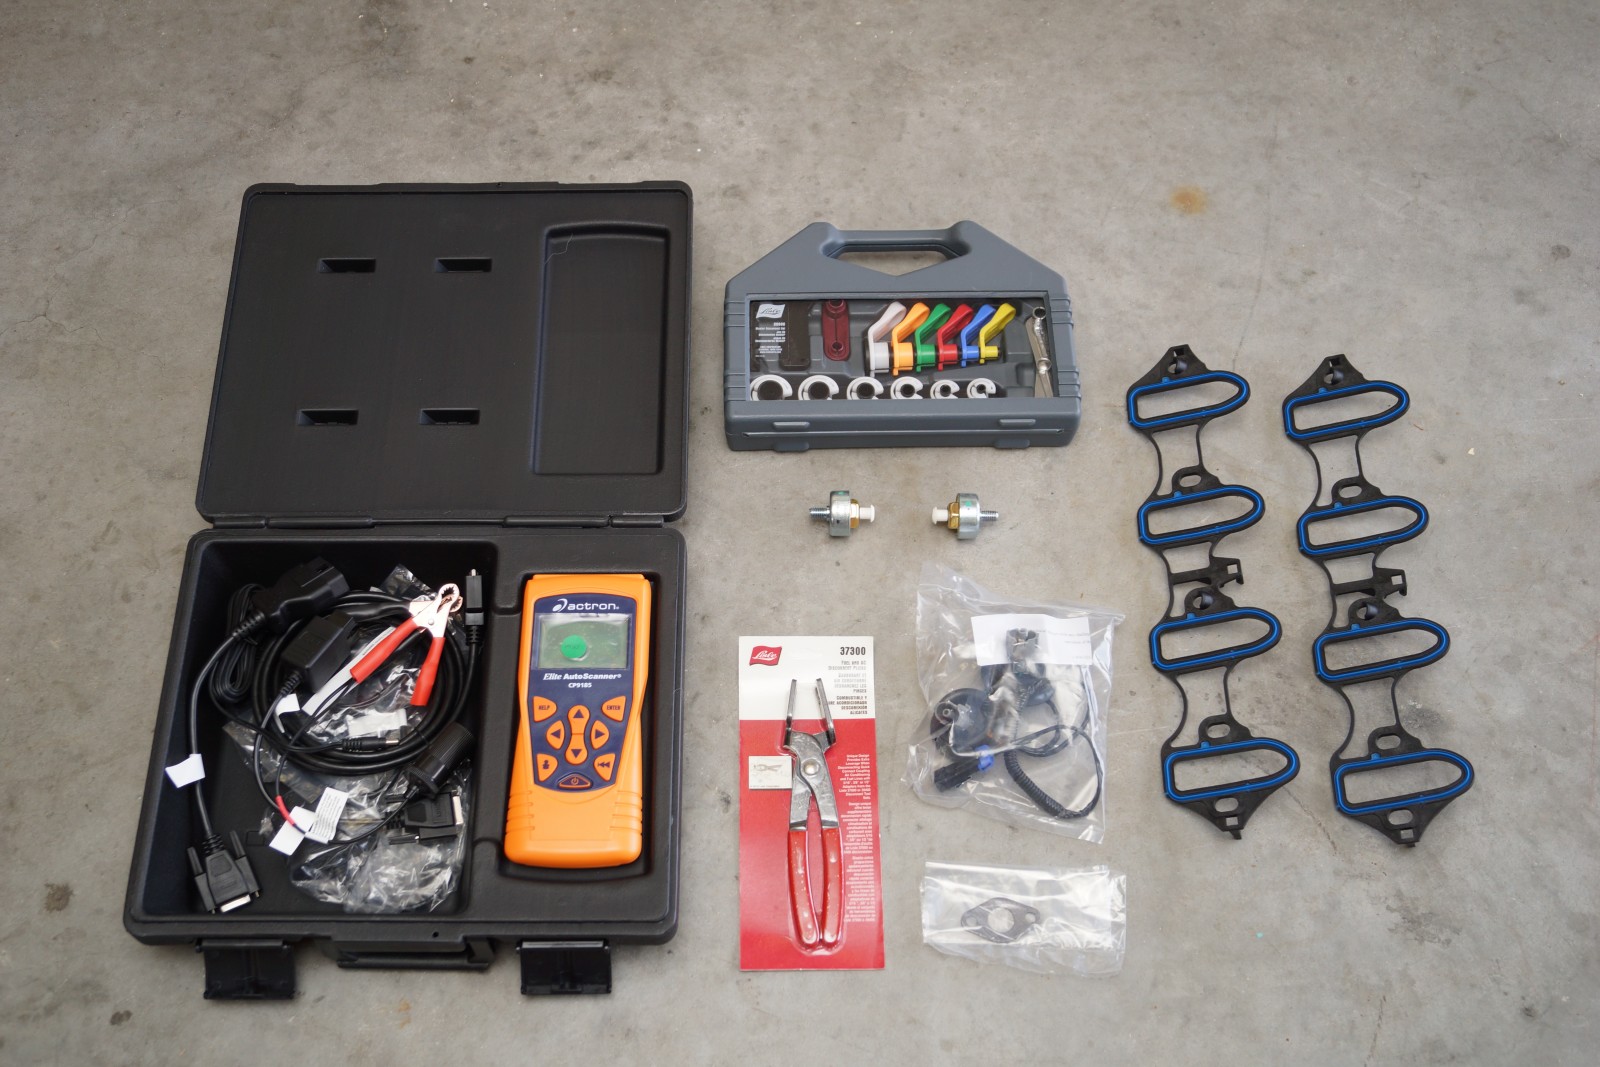
We were able to procure everything needed to complete the task through summitracing.com. The sensors, the harness, the intake gaskets, the hand-held scanner and more were all sourced from one place, which is always a nice way to get things started. If you aren’t already aware, Summit Racing is way more than just speed parts. The company carries a multitude of tools and stock replacement parts as well.
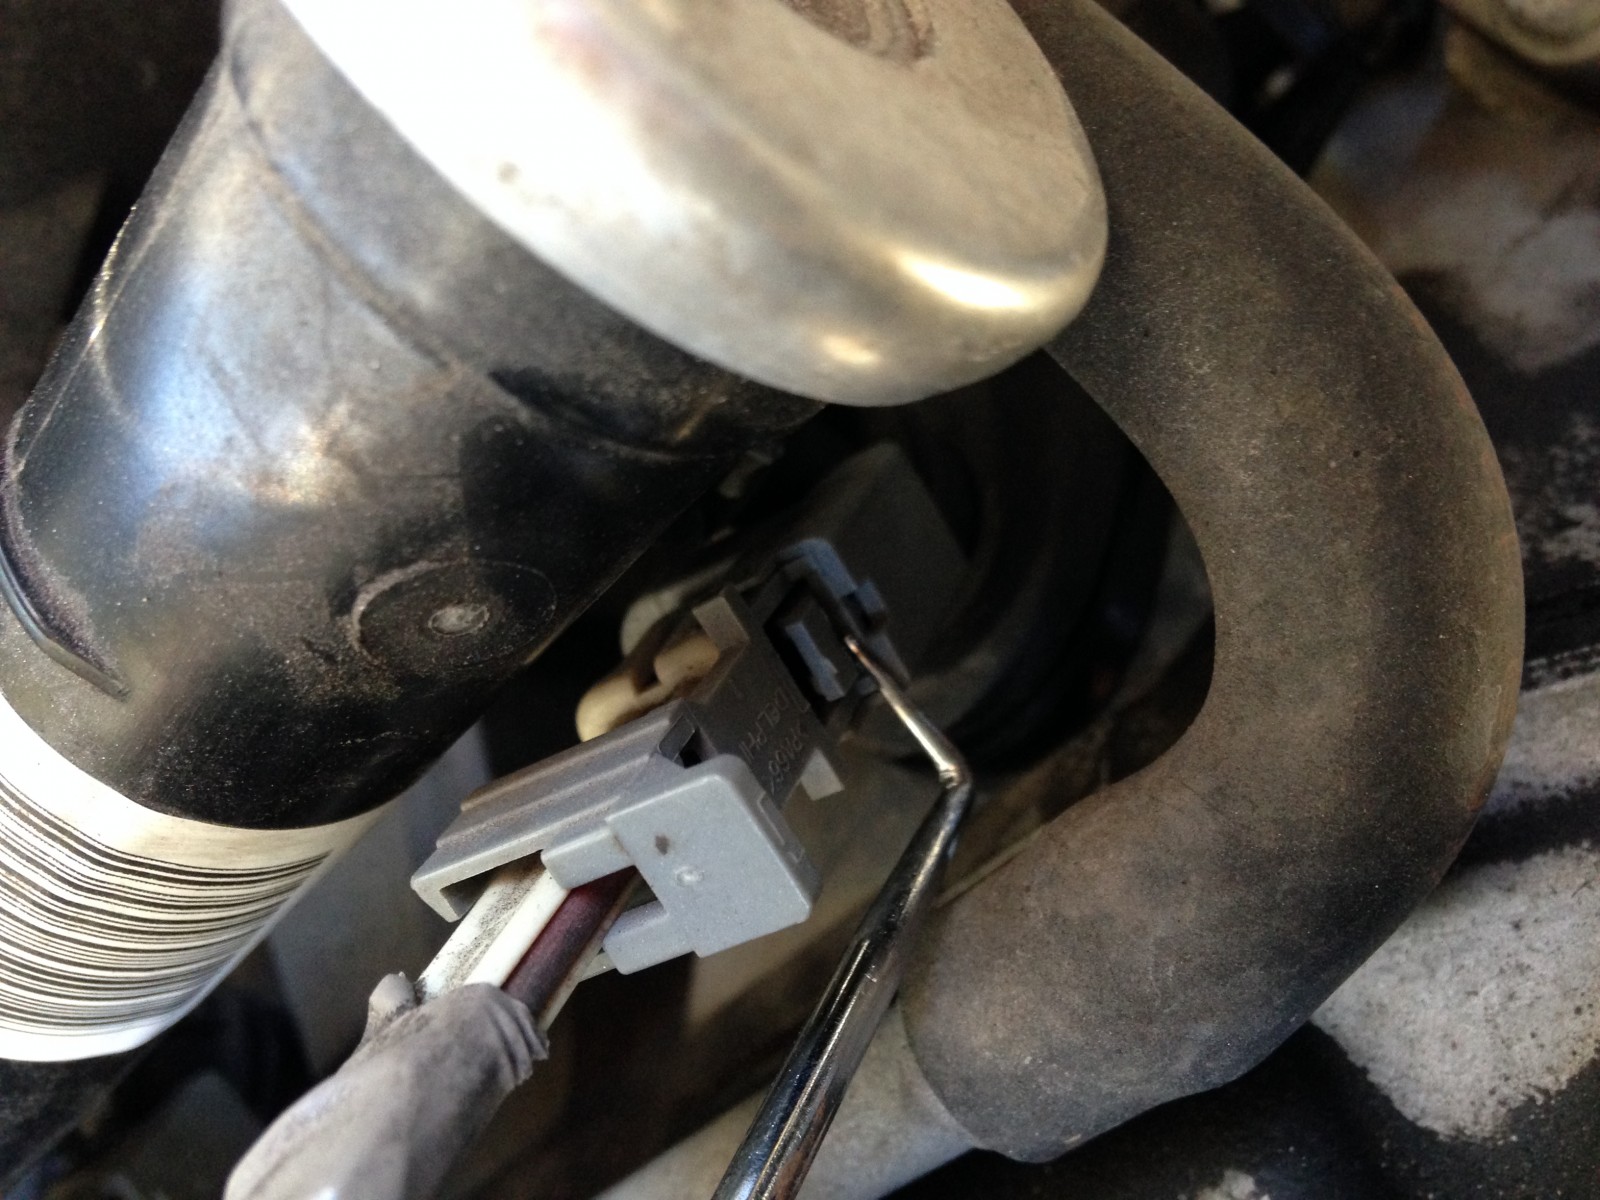
Anytime you have to do a job that you haven’t done before, it’s always good (funds permitting) to make a few new additions to your tool box. We had a rudimentary set of fuel line disconnect tools, some of which were broken, and all of which proved difficult to use. To solve that issue, we ordered a master disconnect set and a set of disconnect pliers so we would have a number of options as well as some muscle to get the fittings separated should they be stubborn.
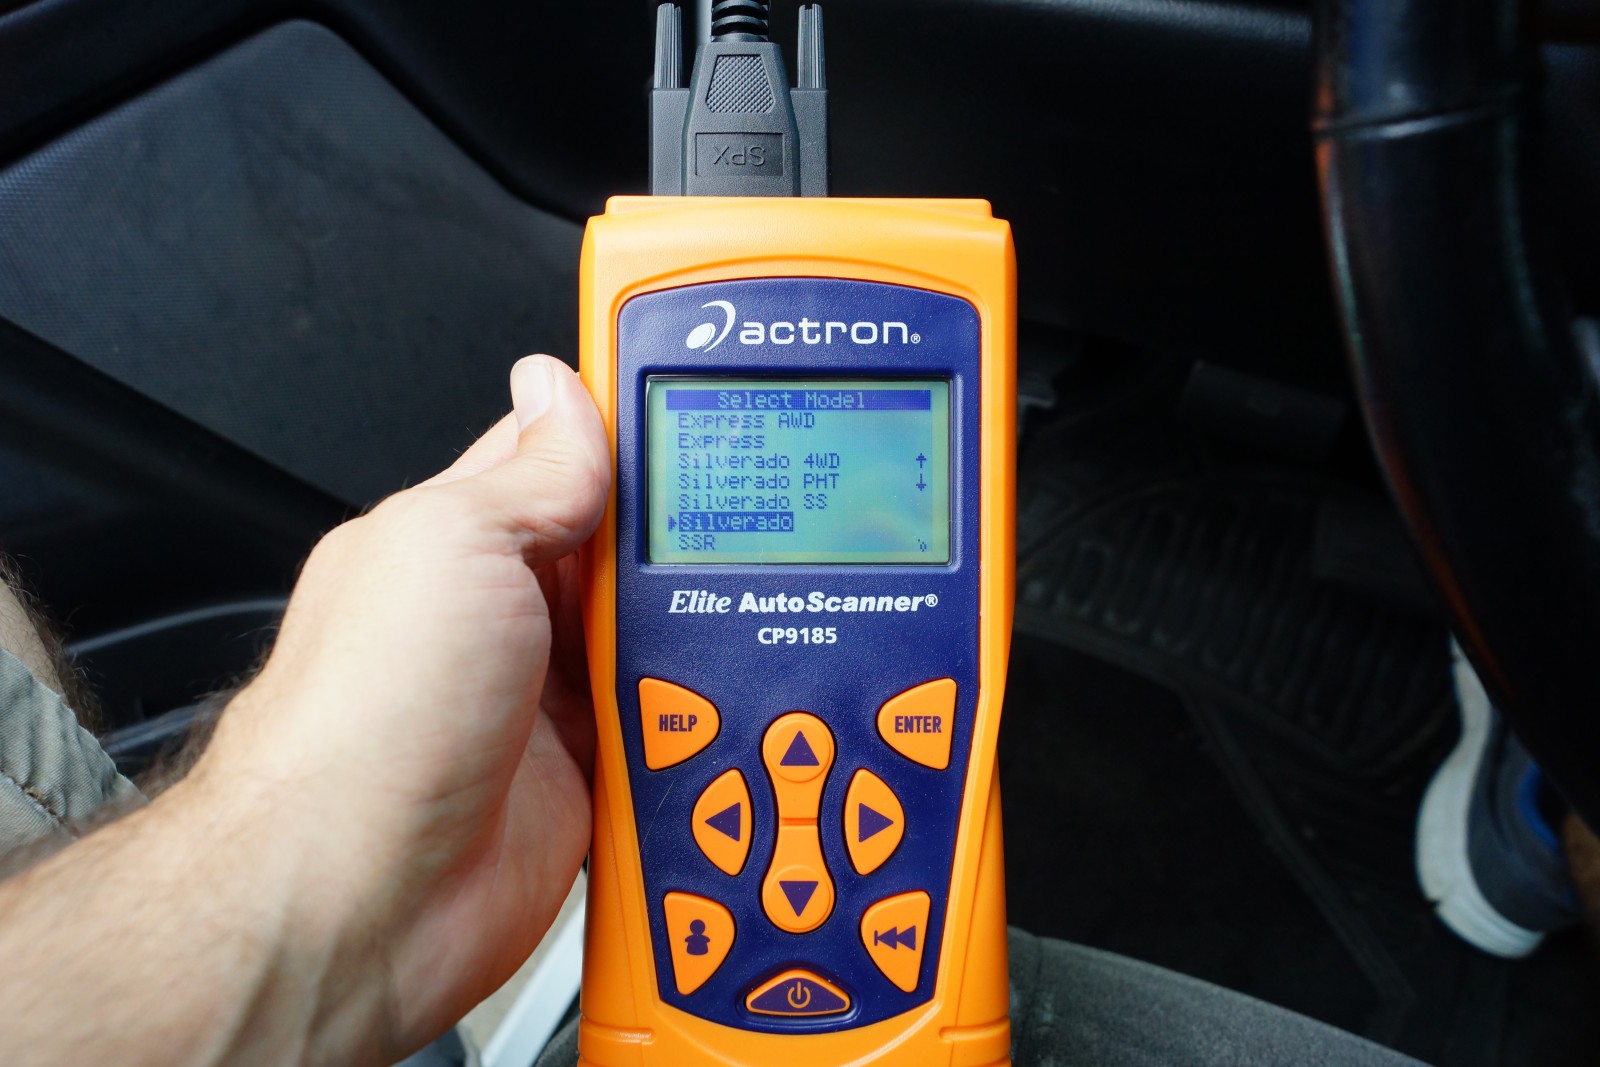
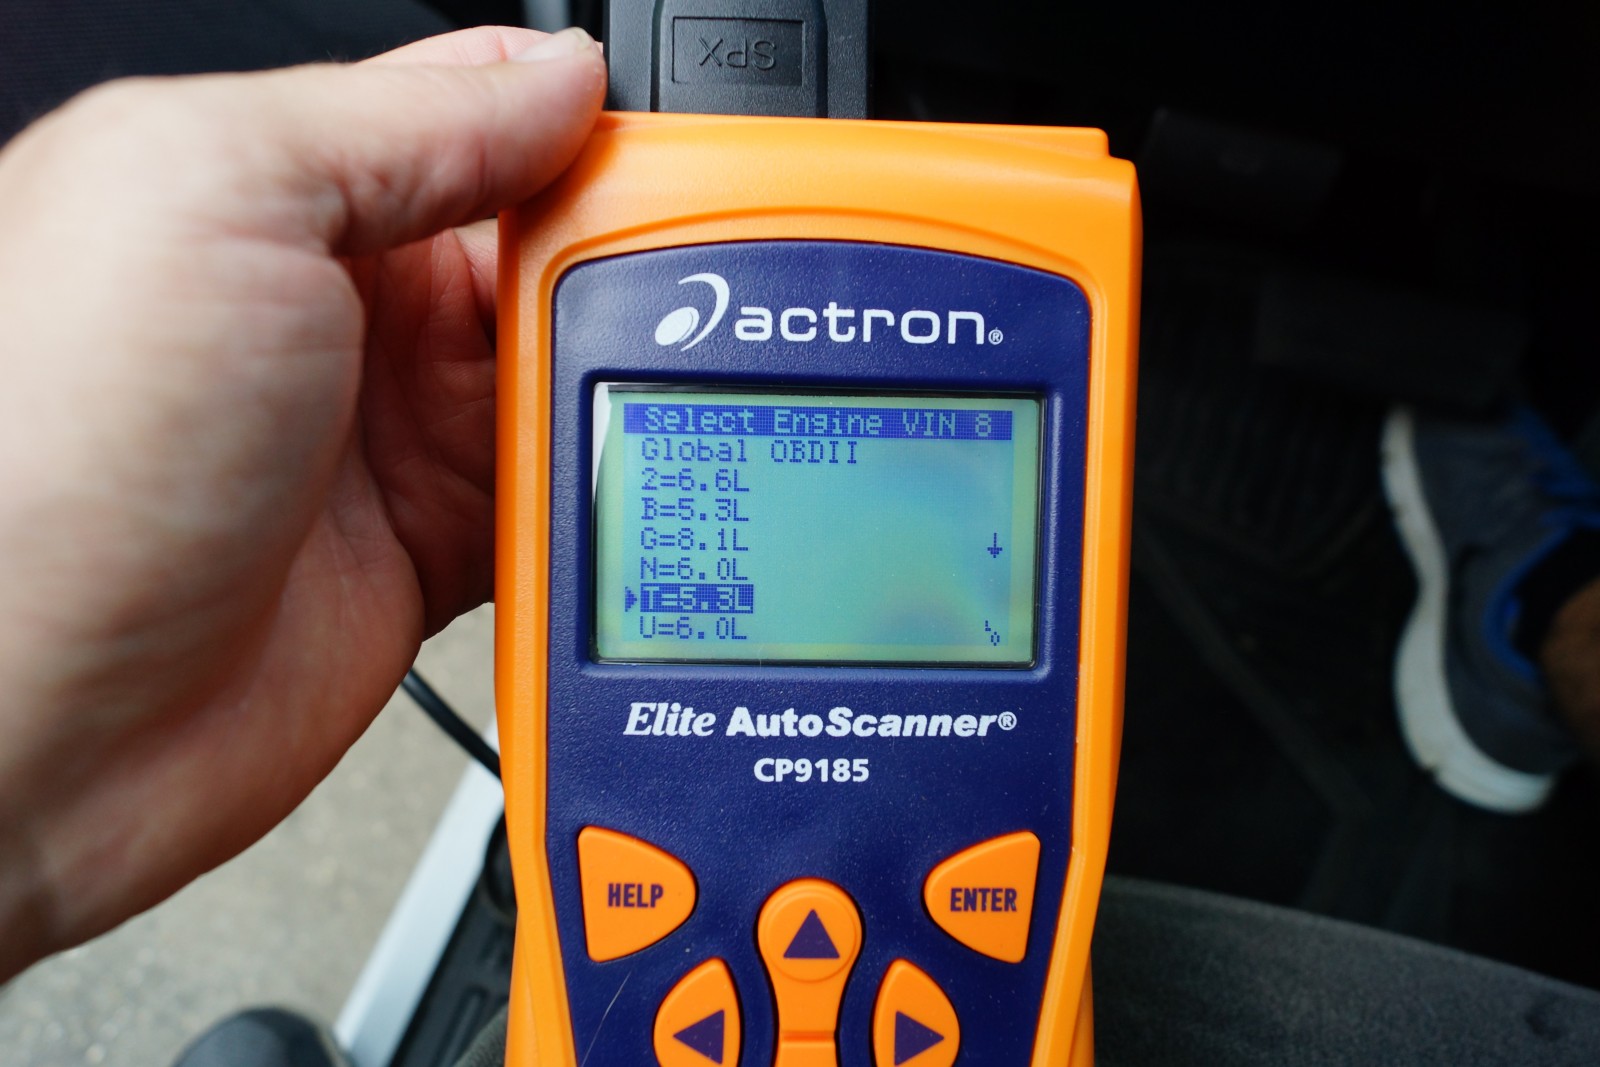
Also in the upgrade, or rather the add column, was the Actron Elite Auto Scanner. If you work on numerous vehicles across many brands, buy as much scanner as you can afford since you’ll be able to read, diagnose, and erase trouble codes from various vehicles. With all of the necessary items in hand, it was time to go CEL-free on the dash.
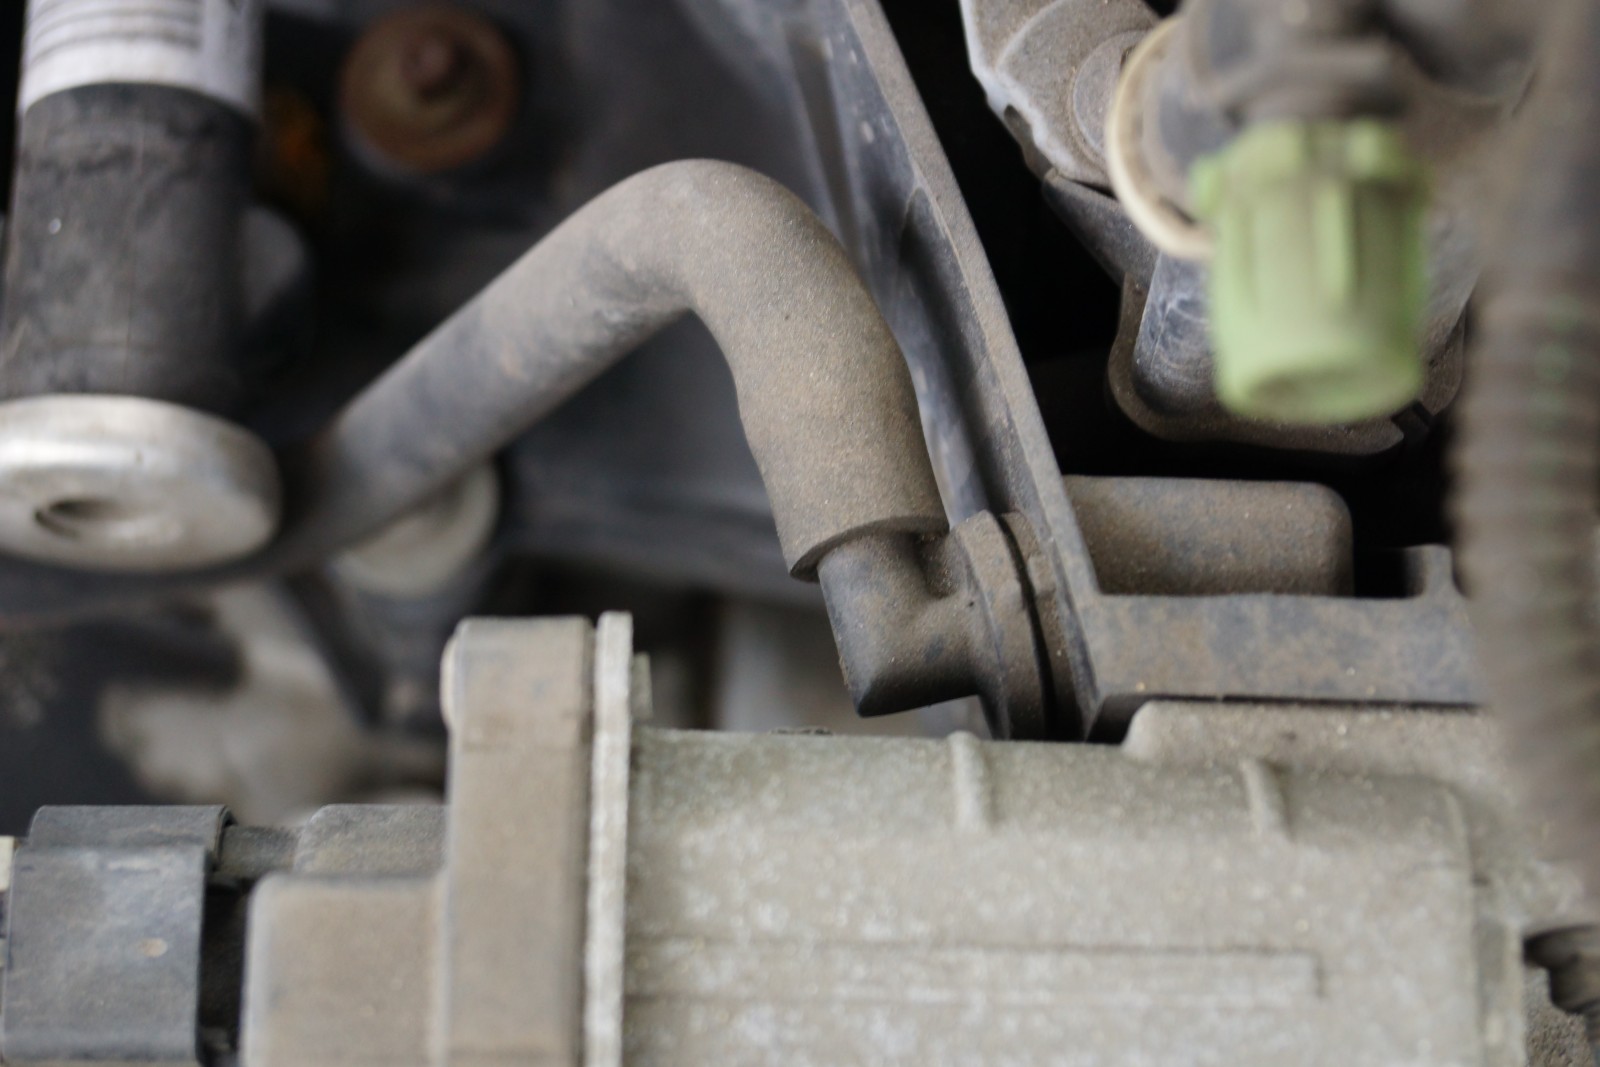
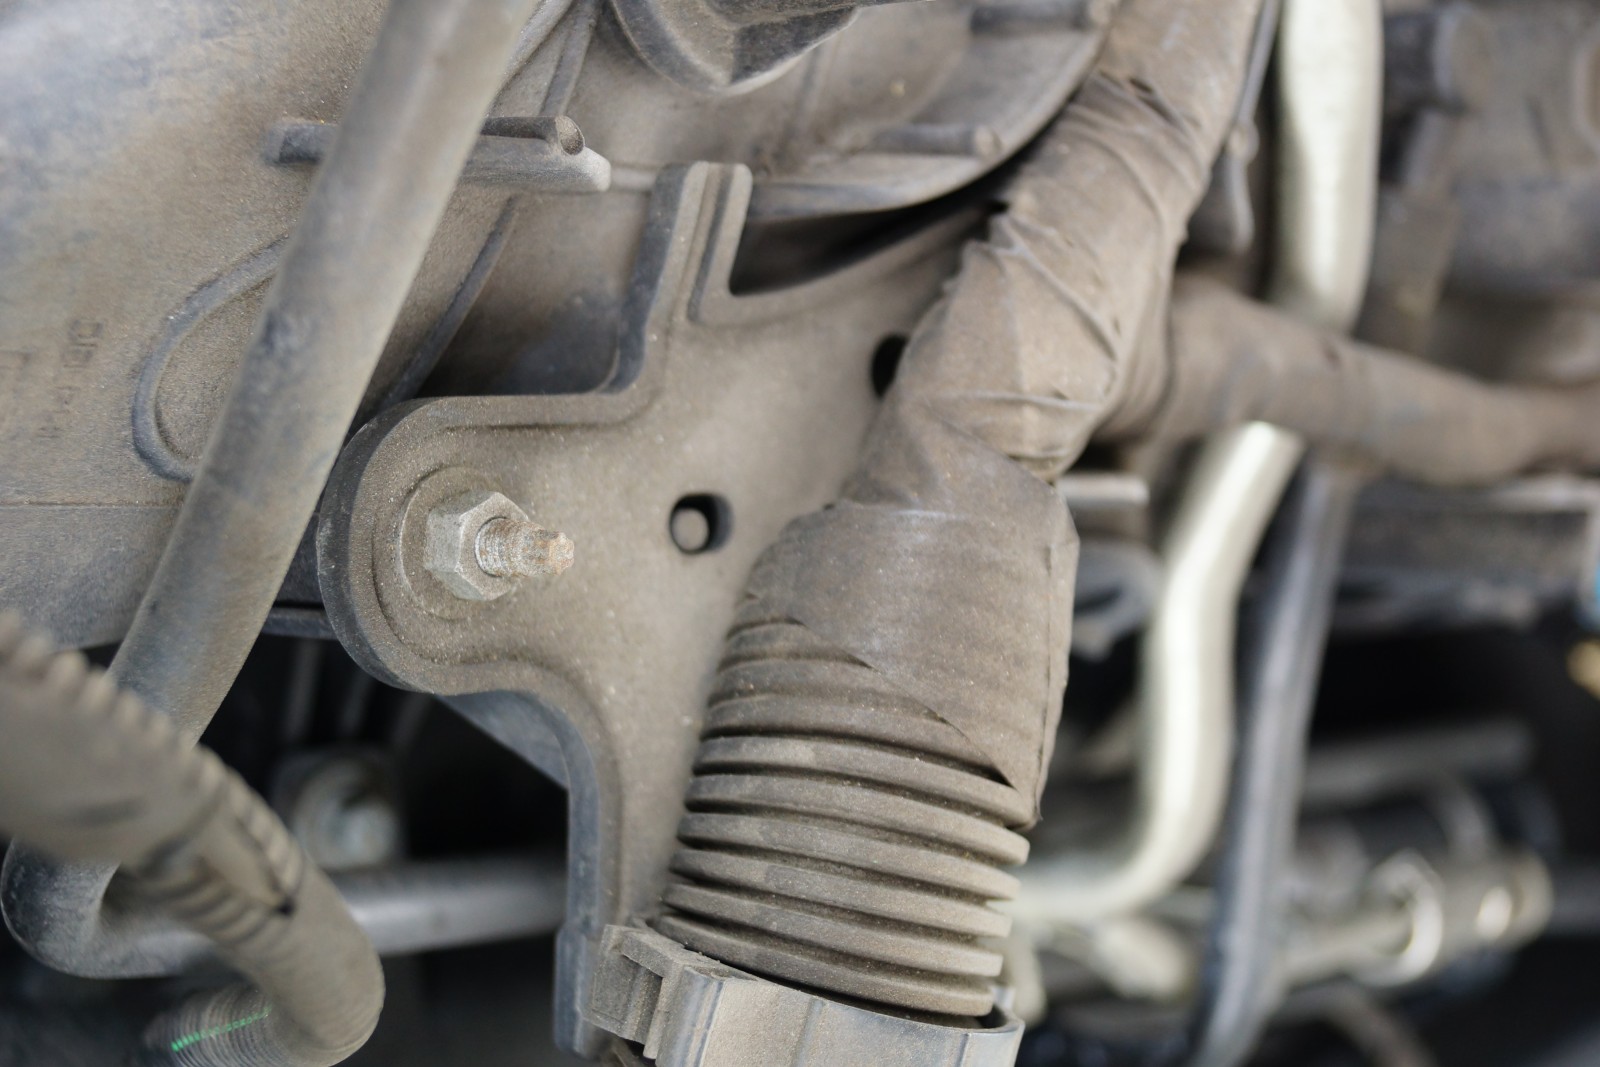
Scroll through the slideshow below to see how we knocked out this knock sensor replacement step by step.


I did all of this, and it runs like crap now.
Did it run poorly before you did it?
Did you replace gaskets with new ones? Clean throttle body? Verify all fuel injector wires are seated correctly and in the right place? They should click when inserted properly. Are vacuum lines plugged in and not broken? Is pcv plugged into back of valve cover? Are all electrical connectors connected as they were?
what was the total cost?
[…] Download Image More @ http://www.onallcylinders.com […]
Hello,
this was extremely helpful. Thank you very much. Unfortunately I’ve done this twice now and still get the CEL after about 40 miles. First time, I used KS from amazon. Later, I used AC Delco and new wire harness. Tested for open ground etc. Not sure if I may have a computer issue.
I changed both knock sensors and wiring harness and the engine light still came on. I checked all connections and they look good then cleared codes again. The light comes on again with same codes. 327 and 332 ant thoughts
I changed both knock sensors and wiring harness and the engine light still came on. I checked all connections and they look good then cleared codes again. The light comes on again with same codes. 327 and 332 any thoughts. But it runs smooth.
Sometimes sensors are bad out of the box. always want to verify 99 ohms.
I wonder if I will need to get a new computer.
I was just trying to accomplish this today, but when I got the intake manifold up, there’s no access to the plugs. It’s just the metal plate. Although it has shapes on the plate suggesting the sensors are underneath it. Is that normal?
I’ve got a 2007 Tahoe LTZ with the 5.3L non-FlexFuel
Your knock sensors are in a different location on a Gen 4 LS Motor.
that retainer on my fuel line is missing on my 2004 hummer h2. I think the part number is 22695614 but I’m not sure. I’ve been told it is important so hummer doesn’t spontaneously go up in flames. Any help or thoughts would be hot! thanks.
So i was replacing my knock sensors and the one closest to the firewall would not come out. Its broken. the bolt is still in. Need to easy out this but its so deep into the shaft is to short and so far i’m screwed. The wire harness. I hear there is a way to short out the sensors and the light goes out?
I have a 2002 GMC 1500. 5.3ltr. engine. I had to change out my intake manifold gaskets so I changed out my 2 knock sensors while I was at it. I can’t seem to be able to get them to tighten down to 15 ft pounds. Both knock sensors and the harness Everything I bought is Ac Delco. Somebody help me.
Tested new knock sensors for the 5.3 ltr GM. All YouTube videos show voltage should be.5 to 1 volt AC. At best, they hit .5
Before I go thru the process of install, does the voltage sound right? Seems a bit low.