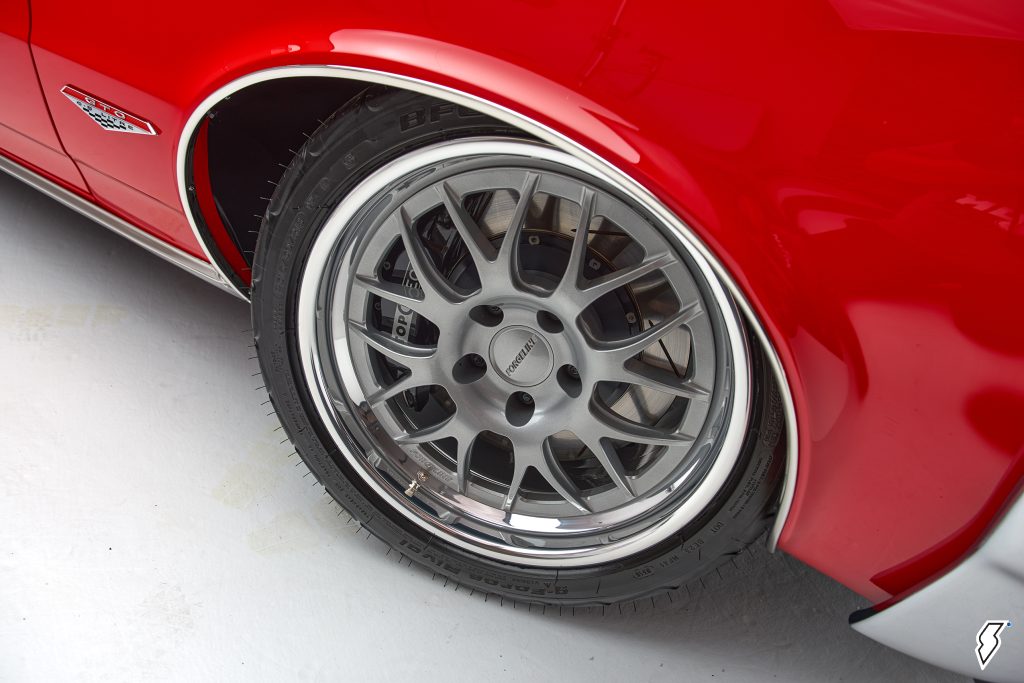
The hard part is over, right?
After much hand-wringing about fitment and flip-flopping between styles, you’ve finally selected a new set of wheels for your ride. Now all you have to do is slap ’em on your vehicle, tighten them up, and you’re ready to roll.
Well — sort of.

While installing a set of new wheels really is a quick and easy job, there’s a little more to it than just throwing them on and bolting them down. Summit Racing sells hundreds of wheels each year, and they shared a few tips and guidelines to ensure proper installation and maximum wheel and tire life.
1. Before you install your new wheels, apply a coat of wax to make them easier to clean later.
2. Break the lug nuts on your existing wheels before lifting your vehicle.
3. VERY IMPORTANT: Make sure you lift and support your vehicle on a flat surface only.
4. Before installing them on your vehicle, position each wheel and tire around the vehicle next to where they will be installed. This is especially important with directional or asymmetric tires. Look for directional arrows and/or the branding on the sidewall to indicate which side faces out.
5. Ideally, remove the lug nuts or bolts using a four-way wrench or a socket on a breaker bar. Frozen lug nuts can be removed with a power wrench with extreme caution, but consult your owner’s manual for specific wheel removal recommendations.
6. Check the studs or bolts for resistance or roughness as you loosen them, and replace any worn or damaged components before installing your new wheels. Remove any rust or dirt from the hubs of brake rotors and drums, and remove any temporary retaining devices, like stud clips, used by the vehicle manufacturer. Remove hub centering rings from previously mounted aftermarket wheels.
7. Test fit each wheel in its final position. The bolt circles must match and the wheel must make full contact with the mating surface of the hub. If your vehicle is equipped with drum brakes and the drum’s outer flange or balance weights extend beyond the center of the drum, check that the wheel seats on the hub and not against the drum’s outer flange or weights.
8. If you have new lug nuts and bolts, make sure the thread sizes match by installing them by hand before mounting the wheel.
9. If your ride is a daily driver, keep a set of your vehicle’s original lug nuts or bolts in your trunk in case you need to use your spare tire.
10. Apply a thin coat of anti seize around the axle hubs to prevent rust and promote easy removal for tire rotation. Do not apply the anti seize or any lubricants to the threads of the studs or lug nuts.
11. Put the wheels on and tighten the lug nuts or bolts finger tight (this should not require a wrench).
12. Put your vehicle in neutral and turn each wheel by hand. Make sure the outer edge of the disc brake caliper doesn’t touch the inside of the rim, and that the side of the caliper doesn’t come into contact with the back of the wheel or wheel weights.
13. Once you’ve test fitted the wheels and everything is correct, torque the lug nuts according to the wheel manufacturer’s specifications using a properly calibrated torque wrench. Tighten the lug nuts in a criss-cross sequence (see right). Do not over-tighten and do not use a power wrench!
14. Re-torque the wheels after the first 50-100 miles using the same criss-cross pattern. New wheels may compress slightly when you start driving them, causing the lug nuts to lose some of their torque.
By following these tips, you’ll be ready to enjoy your new rims for years to come.


“2. Break the lug nuts on your existing wheels before lifting your vehicle.”
Should I use a hammer and a chisel for this? Or just use my trusty angle grinder?
Oh wait, I’m sure you mean “Break loose the lug nuts…”
🙂
One more thing, aftermarket wheels hub bore is normally bigger (to fit a wide range of vehicles) than the hub on your vehicle. They have hub centric ring adapters, like on ebay, to fit your wheel hub combo.