chevy silverado with aftermarket grille and light upgrades
foggy damaged headlights from an old chevy Silverado
aftermarket headlight kit for a late model chevy silverado
removing plastic shroud on a chevy silverado to change headlight bulb
headlight retaining pin for a chevy silverado truck
rear view of a late model truck headlight bulb mount
drilling out a hole on a chevy silverado grille bracket
front grille and bowtie emblem on a chevy silverado
clips holding a chevy silverado grille in place
mounting brackets for a chevy Silverado truck grille
new headlights installed in a chevy silverado truck
foggy marred taillight lens on a Chevy silverado
removing a fastener from a chevy silverado taillight
taillight removed from the rear bed of a chevy Silverado
wiring connector bulkhead for a chevy Silverado taillight
wiring loom for a chevy Silverado taillight
new taillight on a chevy Silverado truck
removing the rear third brake light from a silverado truck cab
custom bed cab light on a silverado truck

Our Silverado project is looking big and proud with its new lighting and upgraded front grille.

This is the nastiness that was the front turn signal lamps. The headlights weren’t much better. It’s time to chuck this stuff in the round file.

The Matrix head light kit from Summit Racing retails for $189.97 and includes all four lights. If we’re being honest, the lower lights are a bit less smoked than the top ones, but it’s nothing we couldn’t live with in the long term. They are very close and most people likely won’t notice unless you point it out. Don’t ruin their perception!

To swap out the headlight assemblies, first remove the upper plastic engine bay cover. It is held in place with plastic fasteners that you lift the centers and then remove the base.

Slide out the top retaining pin and put it somewhere where it won’t roll off into the engine compartment and get lost.

With the pin out, wiggle the lamp free and twist the bulbs out of the lenses.

Here comes the drill part. We had read on the interwebs ahead of time that many aftermarket assemblies require a little clearancing for the stock pin and that was the case here. It’s a very simple operation and the drill bit cuts through the plastic like butter so be careful you don’t get crazy with it. Also, be sure to size the drill bit appropriately to ensure a proper fit.

With the lights out, we’re going to pull the front grille assembly to install the T-Rex billet grille (PN 21100), which fits 2003-05 Silverados and 2003-06 Avalanche. But first, we set the top piece in to see how it would look. We definitely needed to paint or remove the stock grille—the aftermarket T-Rex grille has installation notes for doing it both ways.

To remove the grill assembly, just pop these tabs out at the ends. There should be a couple closer to the center as well.

After taping off the stock grill and giving it a solid coat of satin black, we mocked up the billet grill and inserted the included machine screws through the front. On the back, you simply slide these braces onto the screw and then secure it with the included nut. Make sure you check your progress on the front side to ensure that the grille is sitting in the assembly the way you want it to.

Lights, grille, action! The new headlights and grille fit well and the front of this rig is looking good. Time to move out back and address the issues there.

You wouldn’t think you would notice your own taillights that much, but the red lens on a white truck really makes them stand out, so they better look good. These, do not.

Removal of the stock tail lights is simple; grab a Phillips screwdriver and remove the two screws.

With the lens pulled away from the body, you can see the bulb harness. Unplug the harness from the lights and remove the light bulb sockets if you need to swap them over to the new lenses.

Since our replacements came with new harnesses, we needed to push the harnesses into the bed and then go underneath to disconnect them. These can get pretty crusty over the years, but you just need to push the tab in and work the plug loose.

With both ends of the harness free, you’ll need to pop open the plastic retainers, which is easily done with a flat-blade screwdriver. Now install the new harnesses if you have them.

Glossy, aren’t they. We just didn’t find any of the Euro-style aftermarket lenses to our liking, so we went the stock replacement route. Still, the new lenses make a significant improvement.

Ah, yes, the source of our interior water leak. The factory gasket was shrunken and parts of it not even against the body to ensure proper sealing. Furthermore, we discovered several of the stock bulbs and sockets were missing. For many trucks, this lamp serves not only as the brake light, but the bed light as well.

The Matrix replacement looks a little crazy when you get close to it, but from outside of the bed it’s pretty good. The LED lighting is far and away better than what was there previously, and we also have a brand new seal to keep the elements out of the cabin. It smells better in there already!

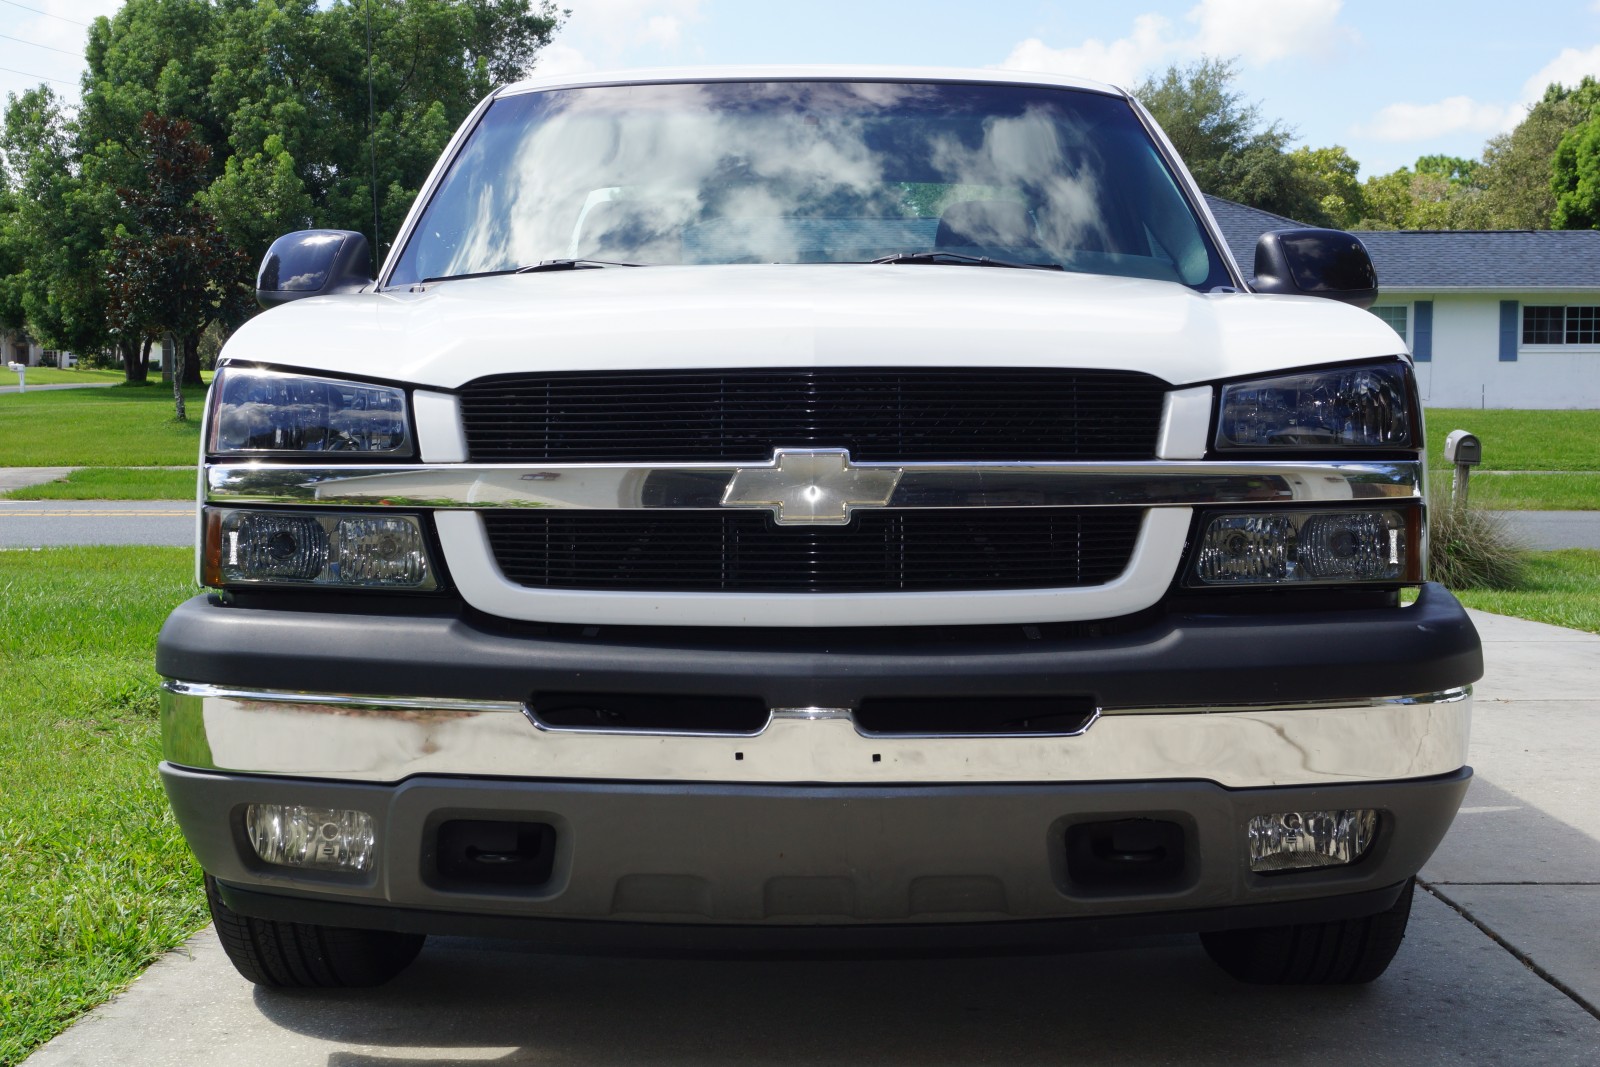
In our last installment of this Saving Silverado project, we remedied some issues with the HVAC system, and until this point, we’ve been doing a lot of fixing and repairing on the truck. I’d say it’s time to do something a bit more fun, so this time around, we’re going to “fix” the lighting situation by upgrading and/or replacing the factory lenses all the way around.

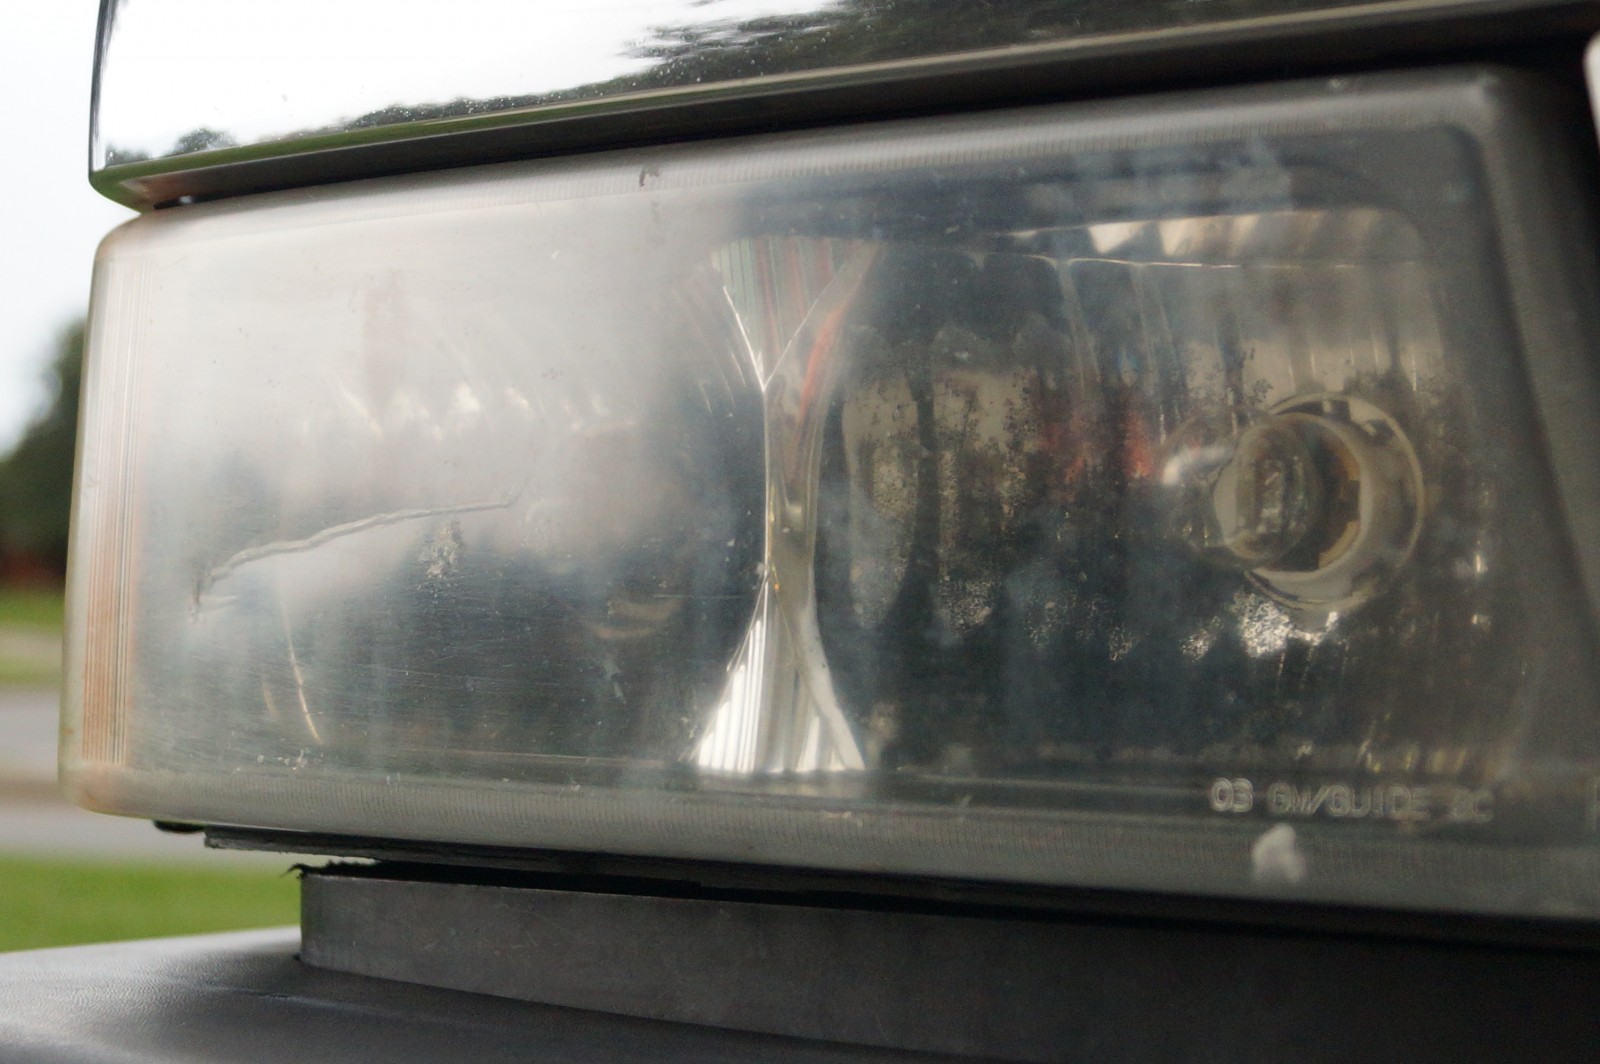
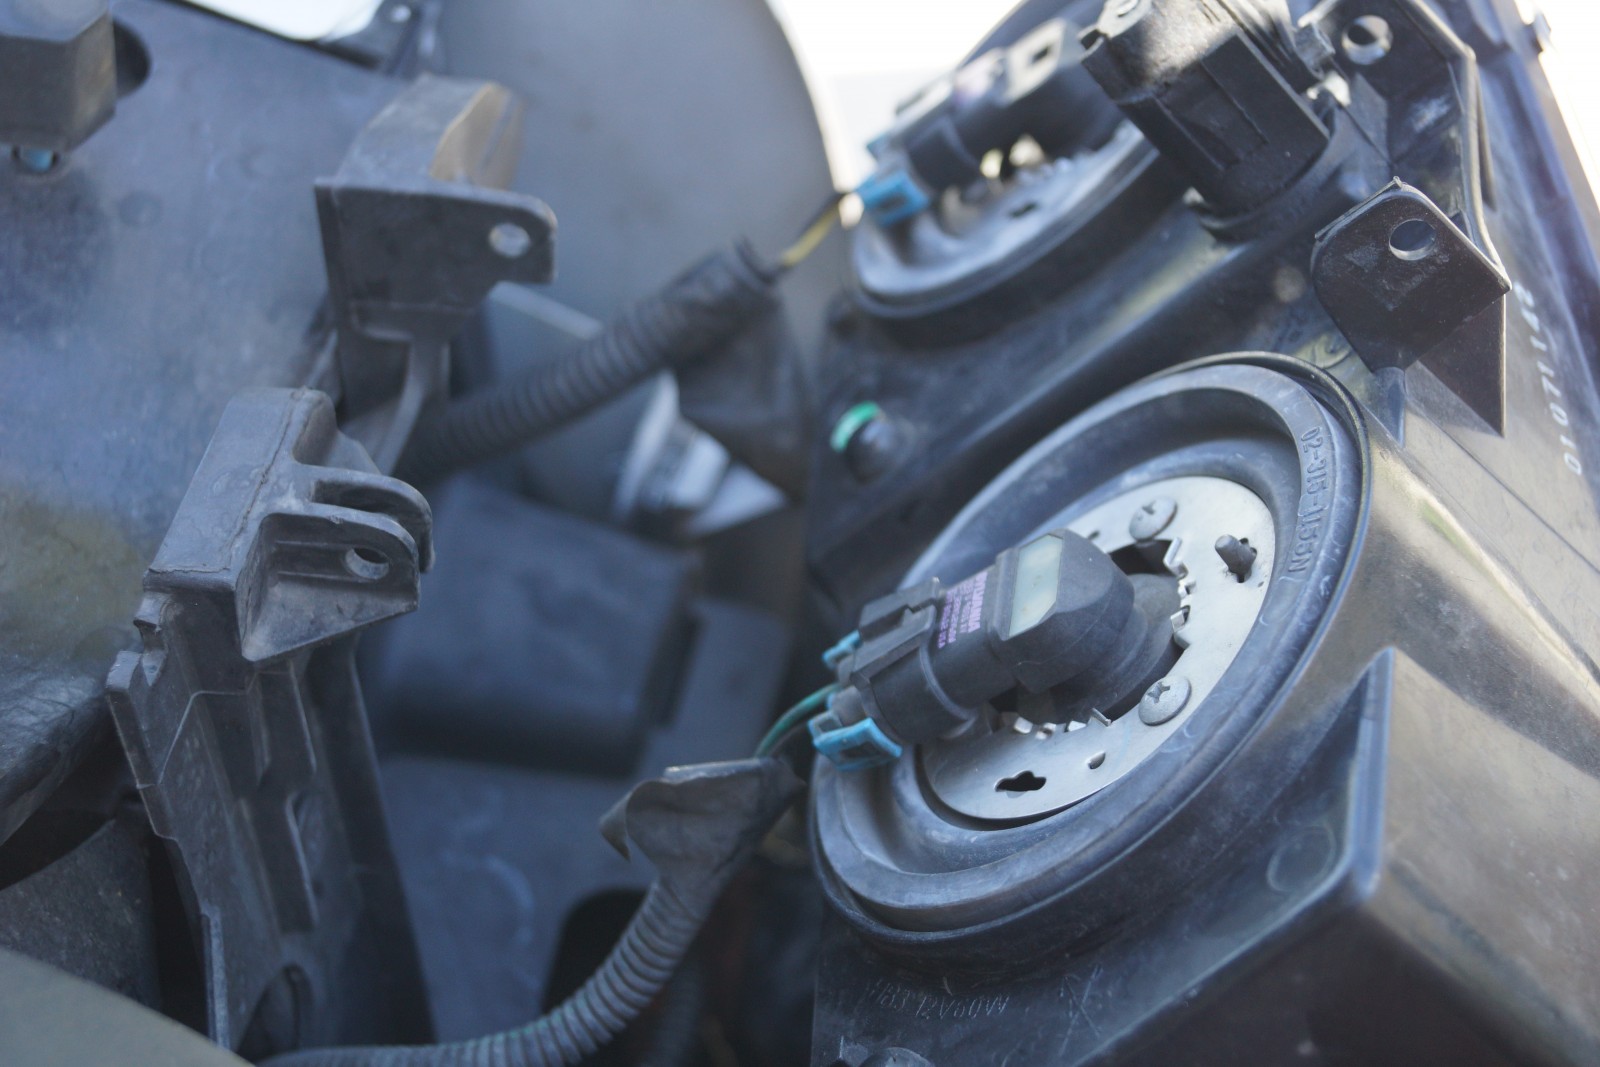
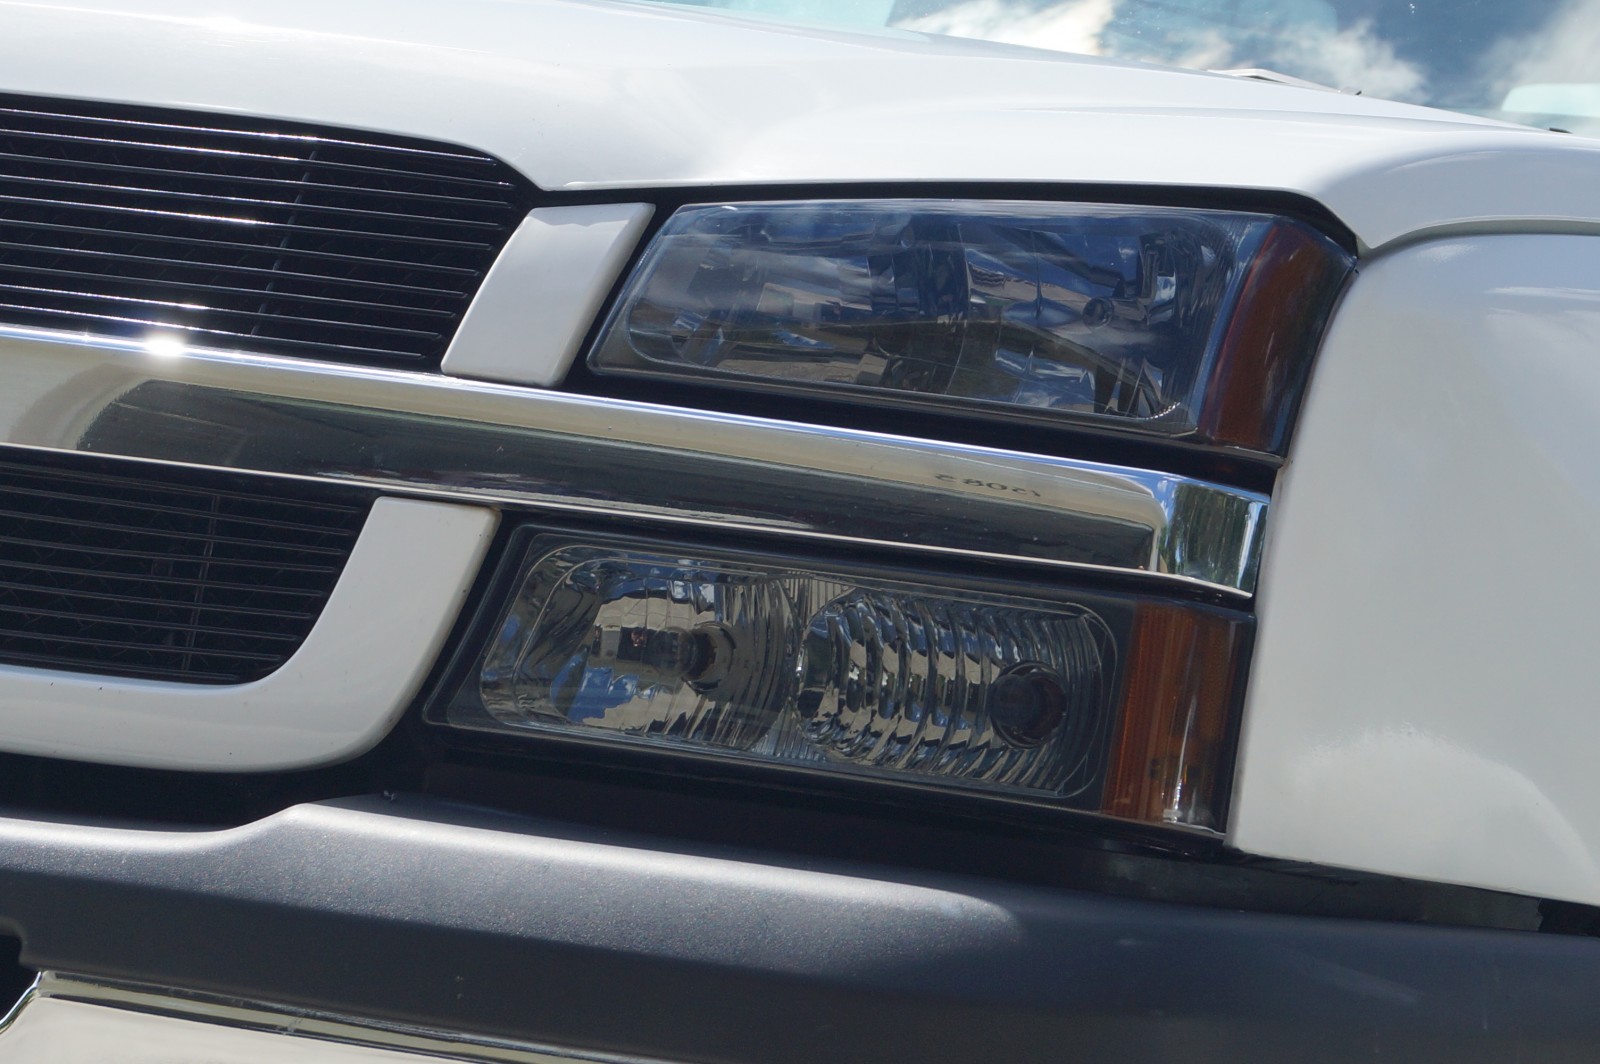
The Silverado is no exception when it comes to modern composite lens deterioration due to UV light. One of the headlight lenses had been replaced at some point, so it looked a bit newer, but the other side wasn’t in good shape, and the lower lamps were even worse with much of the inner chrome plating flaking off due to the assemblies collecting condensation and filling up with water.

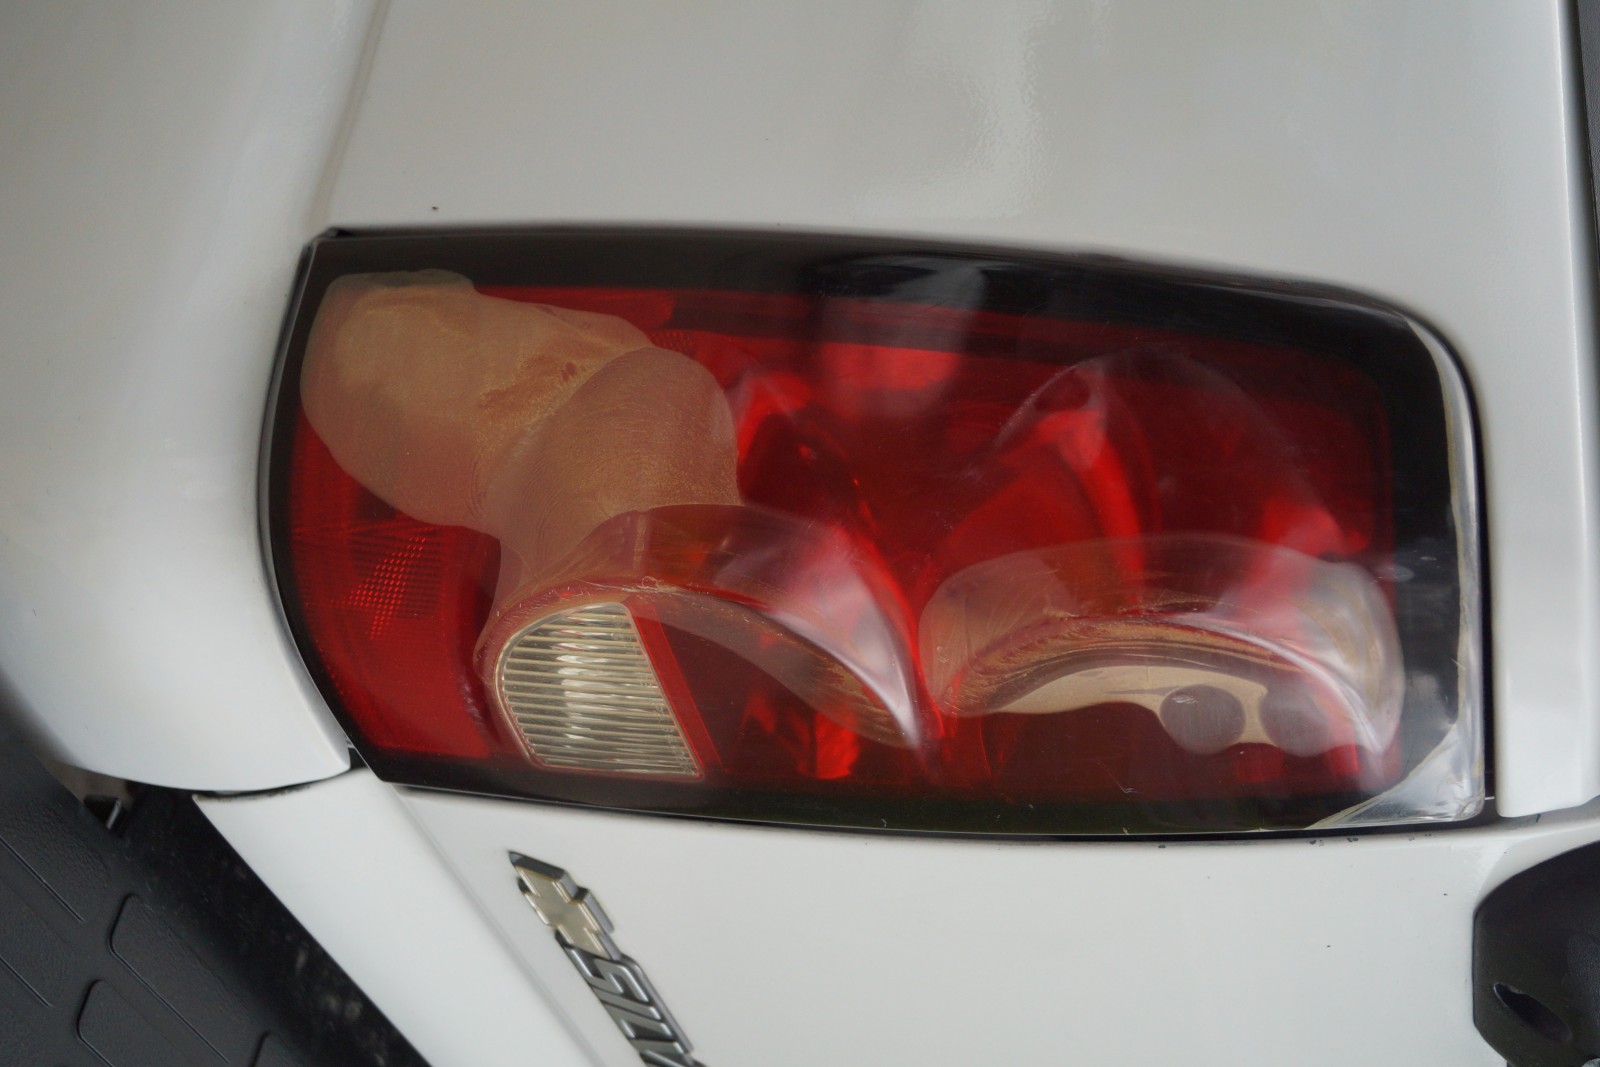
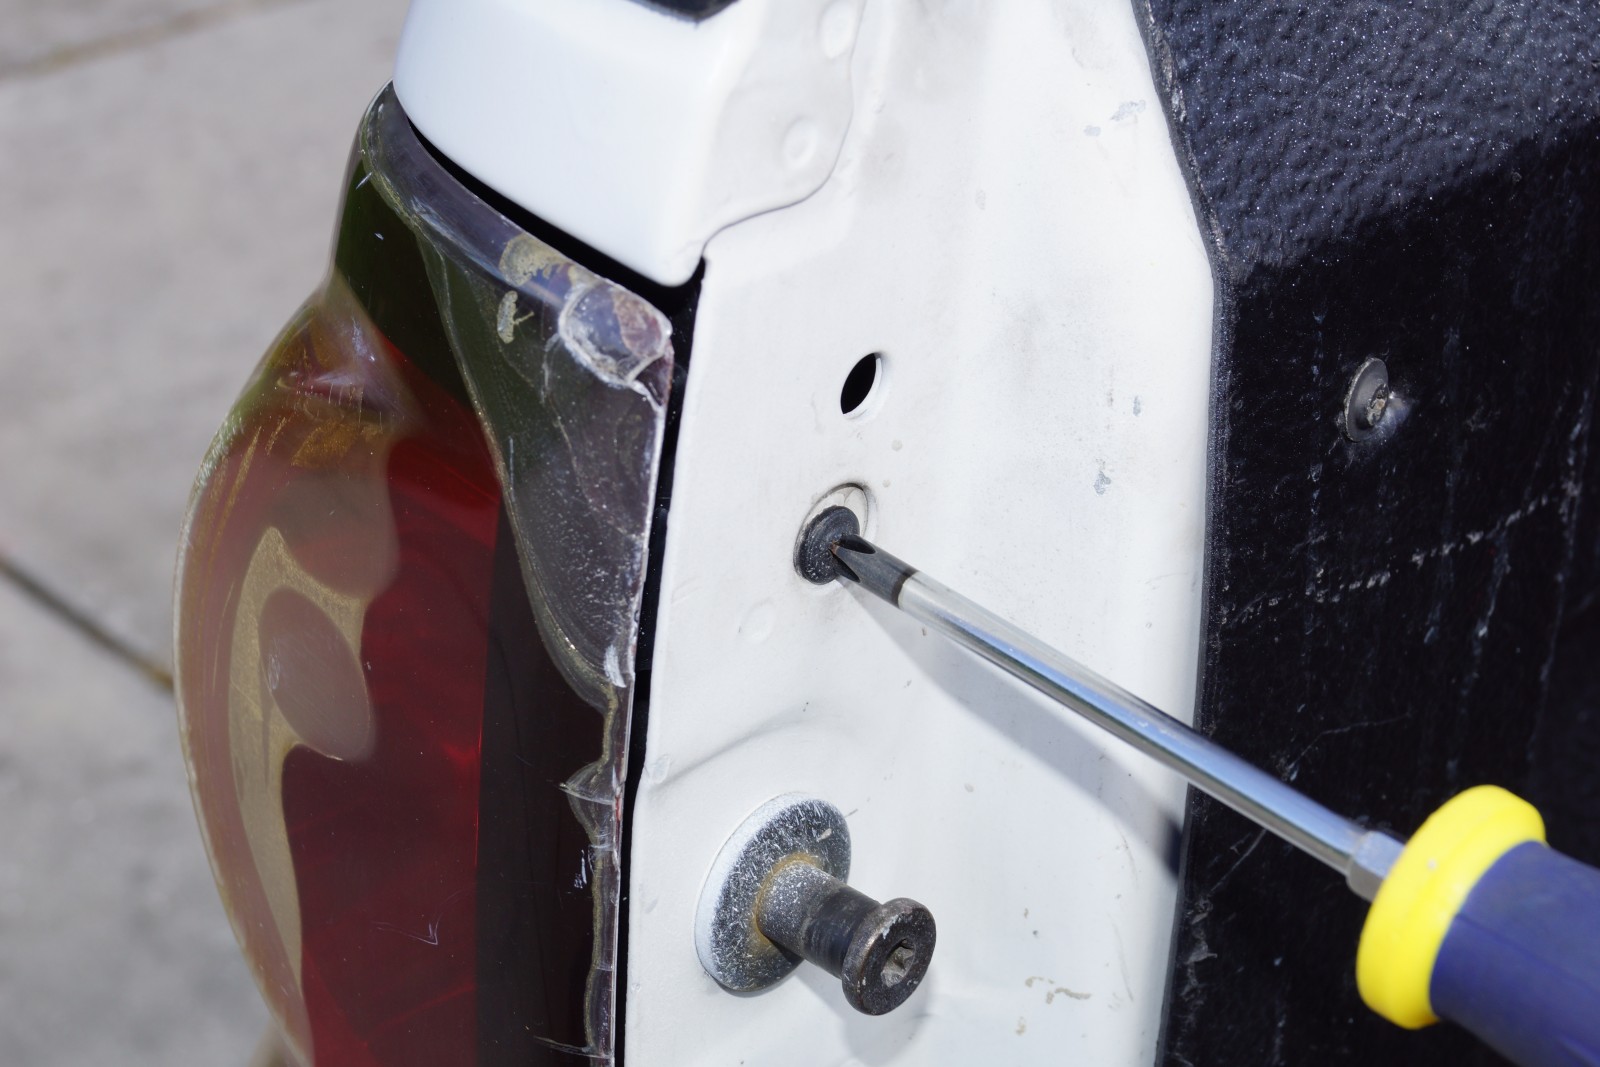
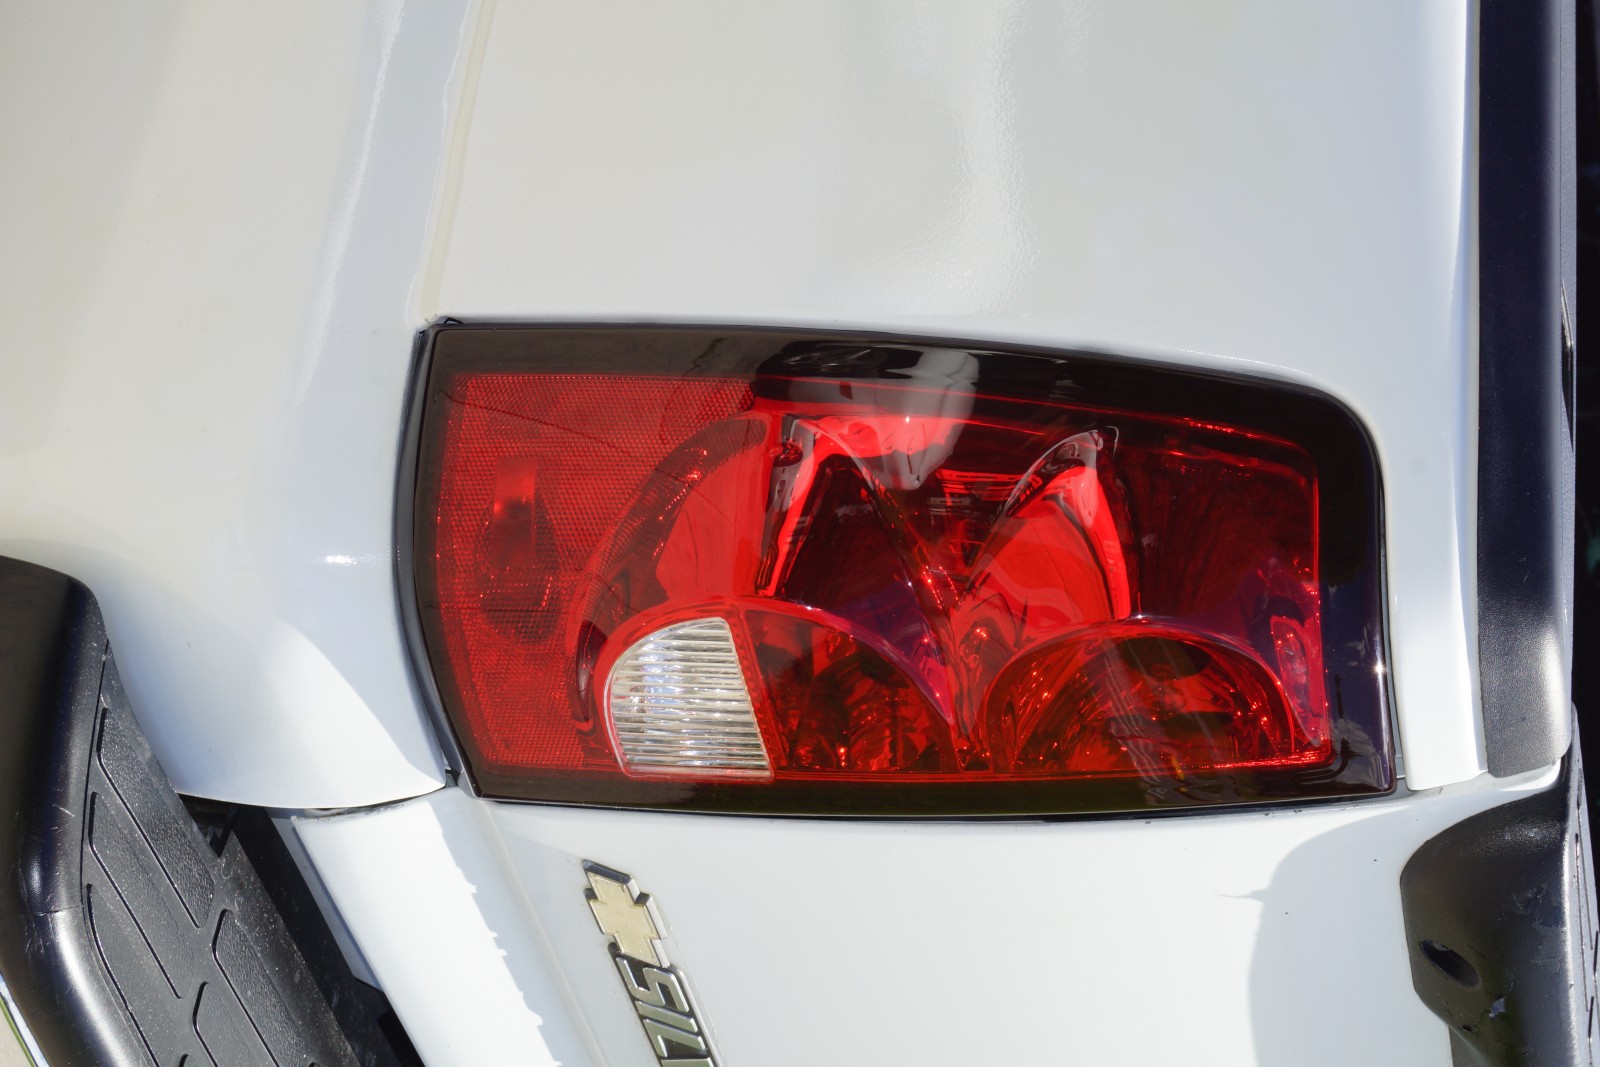
At the back of the truck, the stock taillight lenses were deteriorating badly and looked as if they might be de-laminating or something. They were an eyesore for sure and had to go. While we’re talking about brake lights, we replaced the center high-mounted or third brake light at the top of the cab.

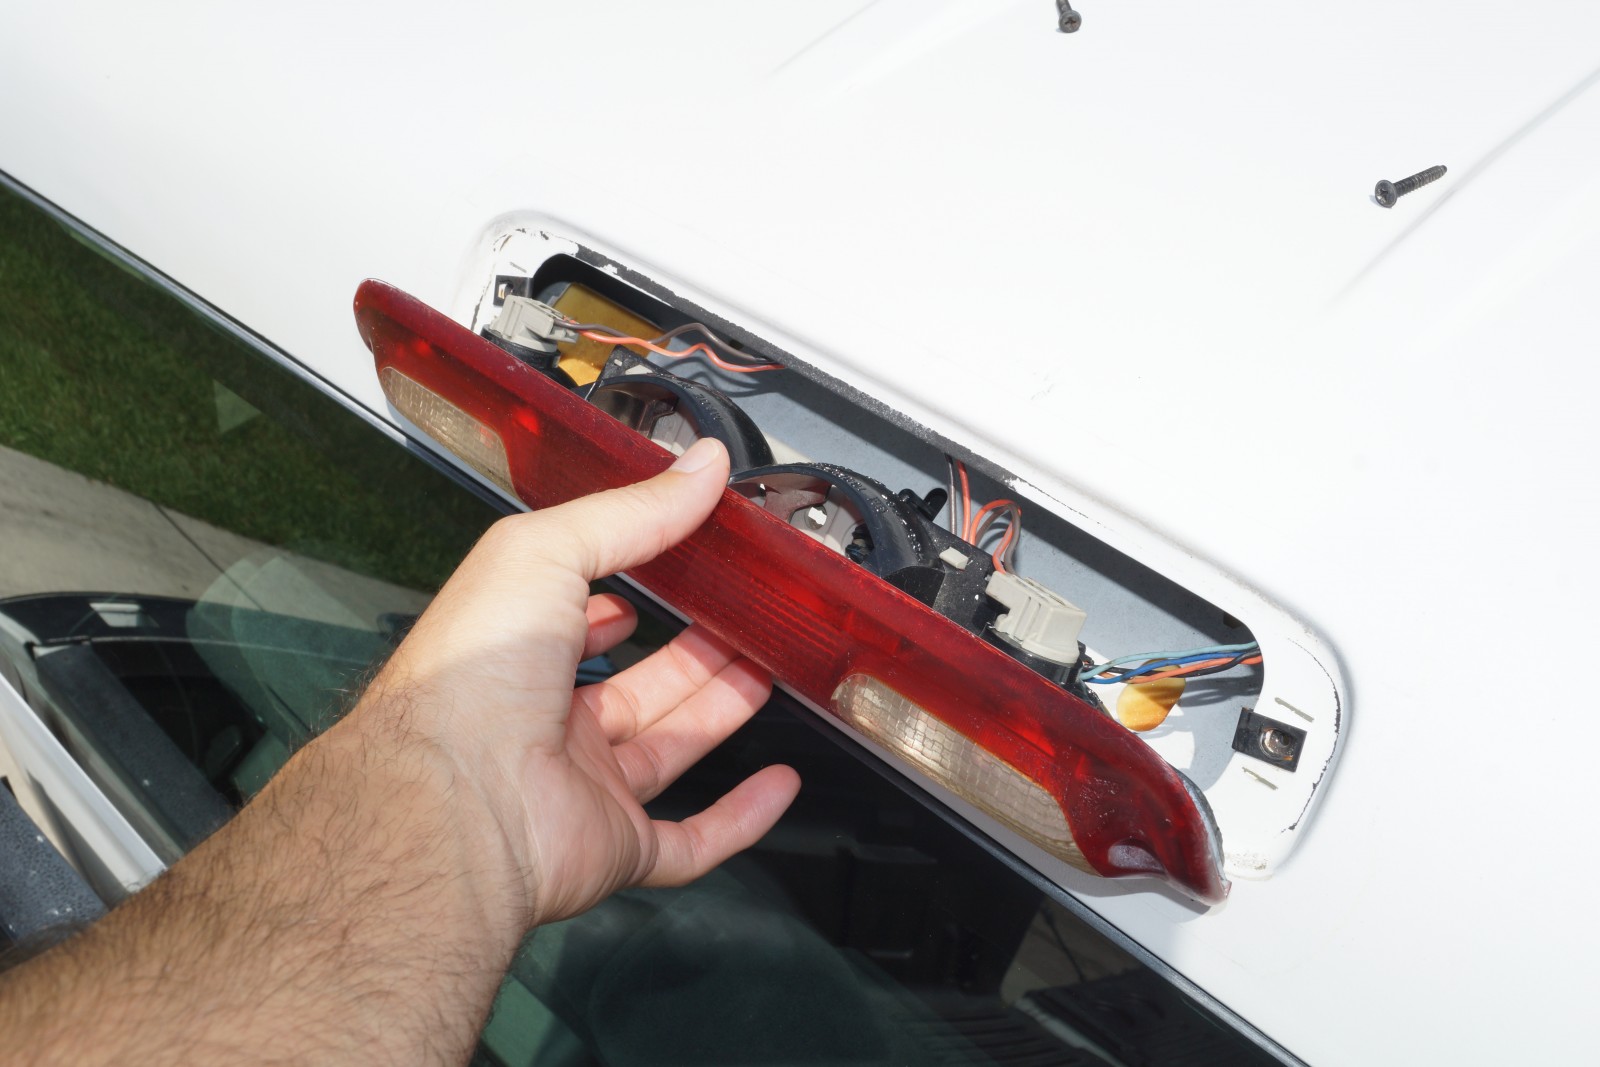
The third brake light actually turned out to be the most important of all the lights to replace. Our subject Silverado had a water leak somewhere, and while we first suspected the poor-sealing door weather strips, a good friend told us that the third brake light is usually the cause.

We grabbed the garden hose and ran water all along each door and around the window perimeters. Finally it was time to douse the third brake light and almost immediately, we started to see drips at the corners of the back window on the inside. Once we removed the stock lens, it was easy to see why. Much of the stock gasket had simply disappeared or slid inside of the body. Unfortunately we had no luck in finding a replacement gasket. You have to buy a whole lens, or maybe make your own gasket. Seeing as how the lens itself had lost its shine, we opted to replace it with the others.

When it comes to lenses for your vehicle, Summit Racing Equipment offers quite a selection across a number of brands. We found that replacement lenses, especially those from the aftermarket, are largely a matter of personal taste. We didn’t want to divert from stock in this instance all that much.

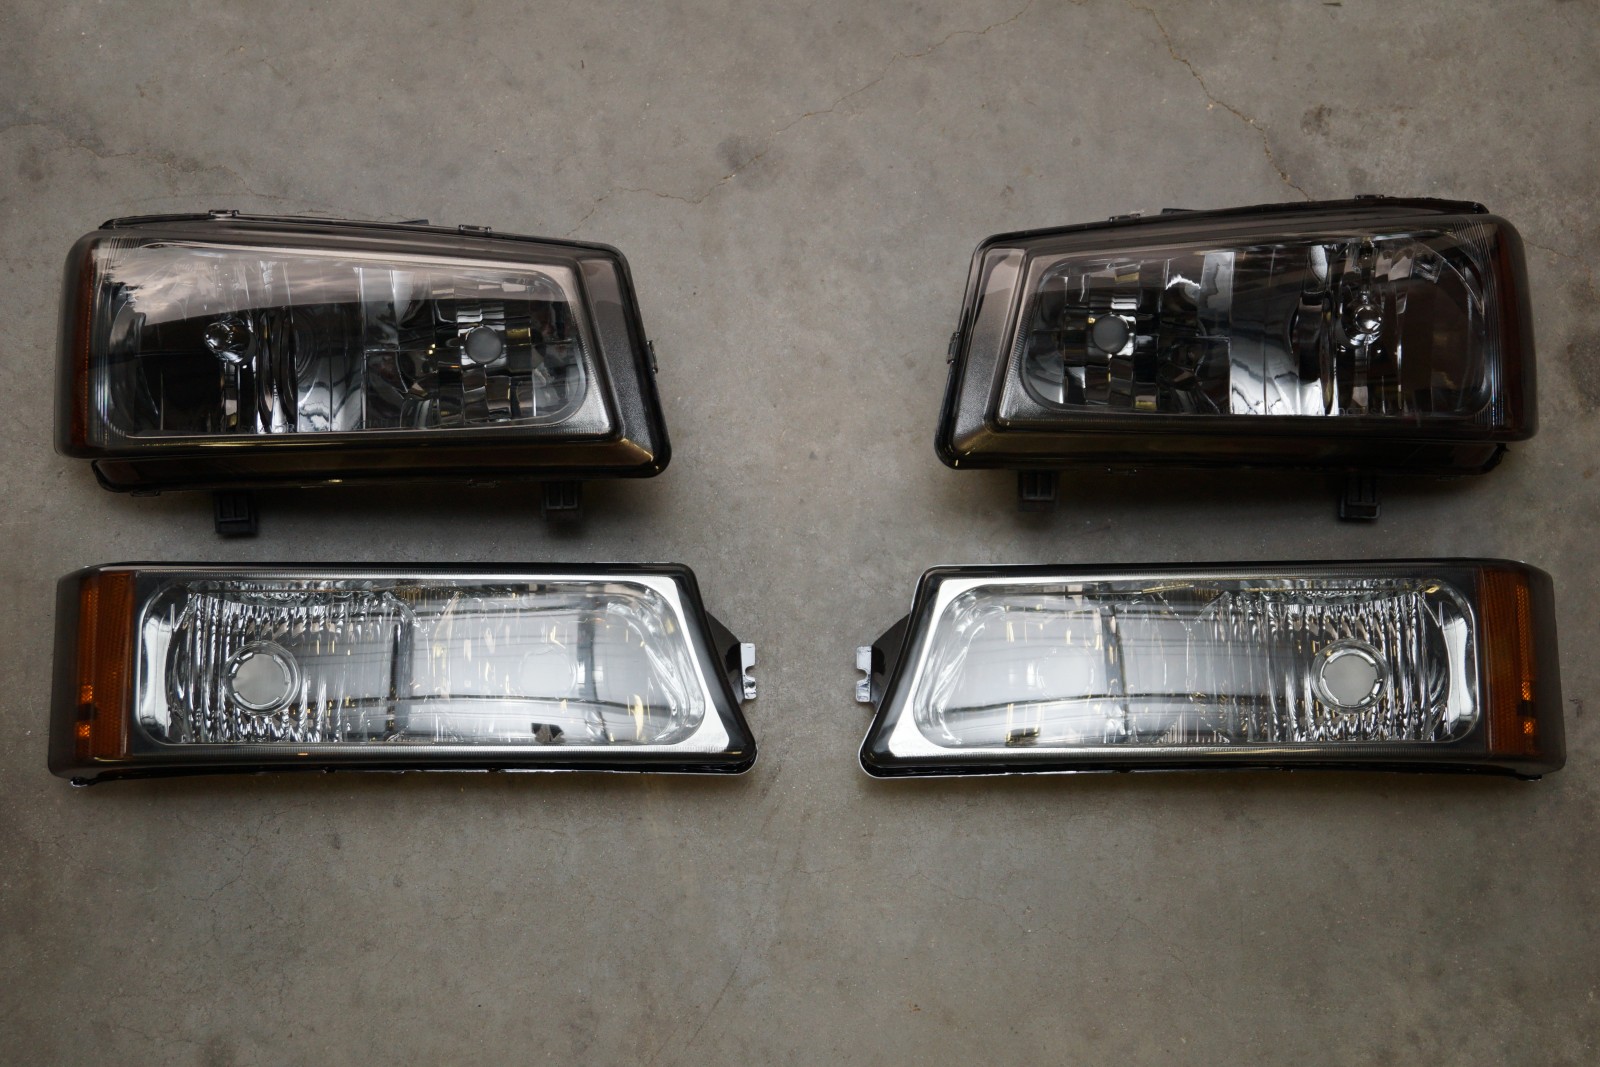
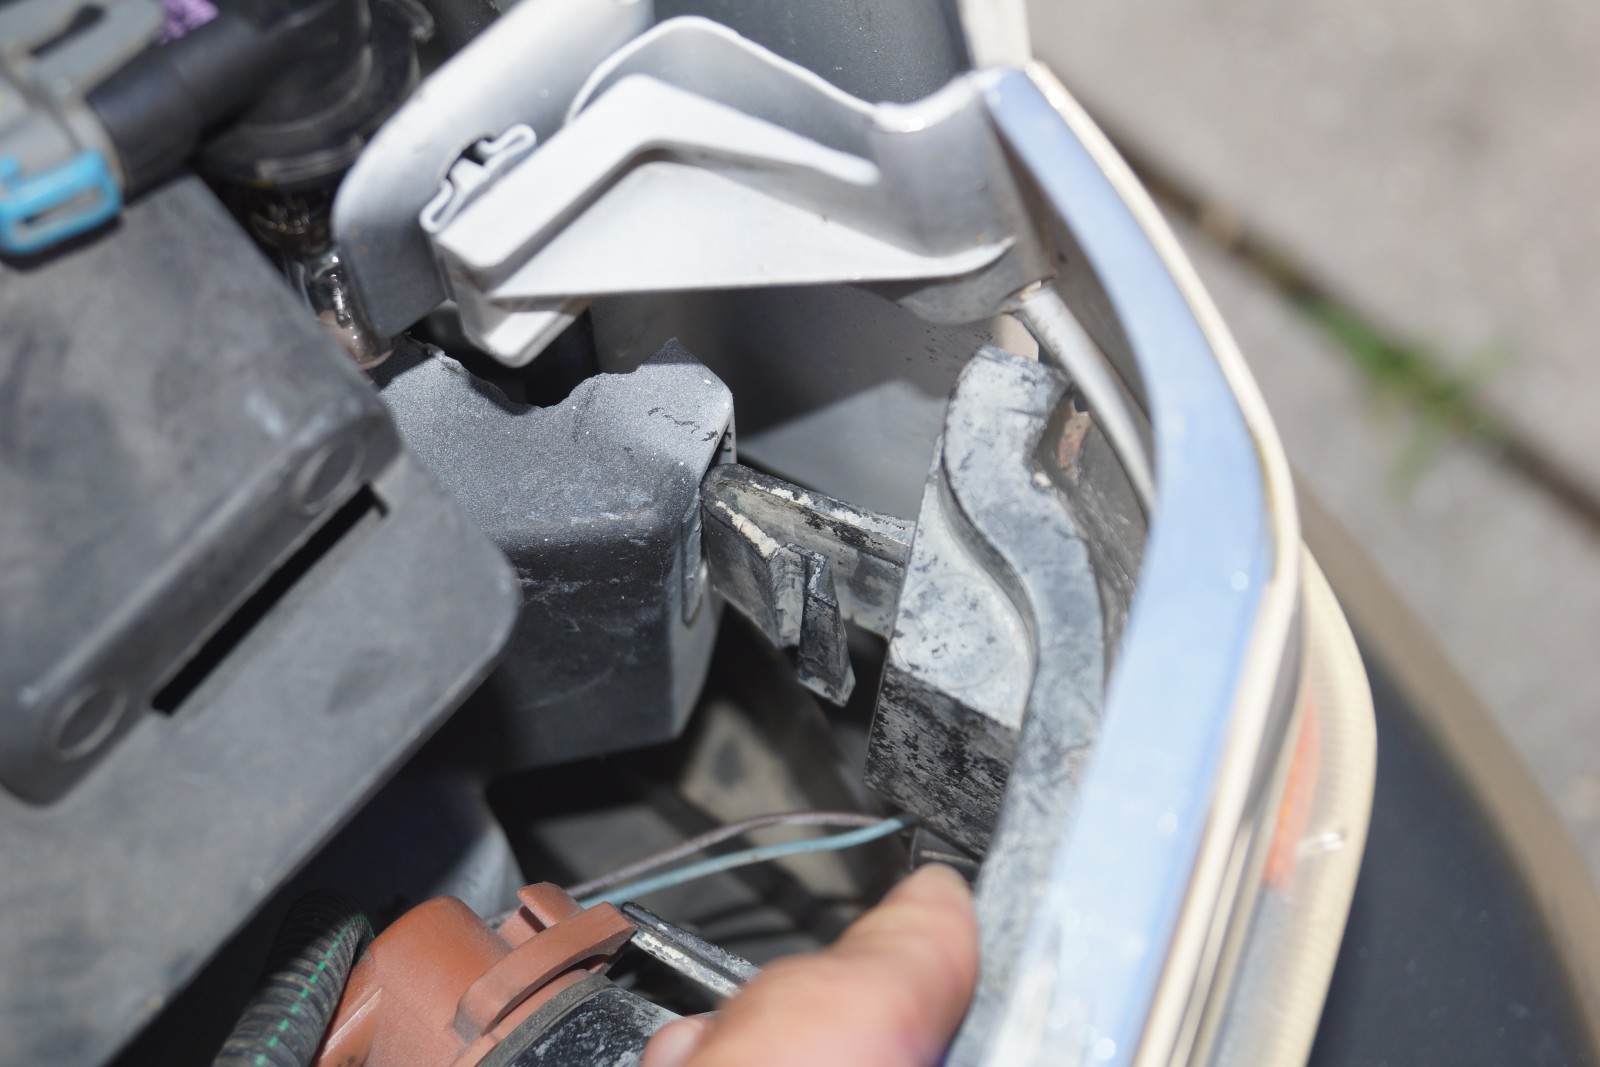
Despite its sizable catalog of factory replacement parts, Summit Racing didn’t have stock Silverado replacement lenses for this truck. It did, however, have some suitable front headlight lenses from Matrix. These are smoked lenses and the retail price was reasonable at just $189.97. They are advertised as a direct fit and use the OE bulbs.

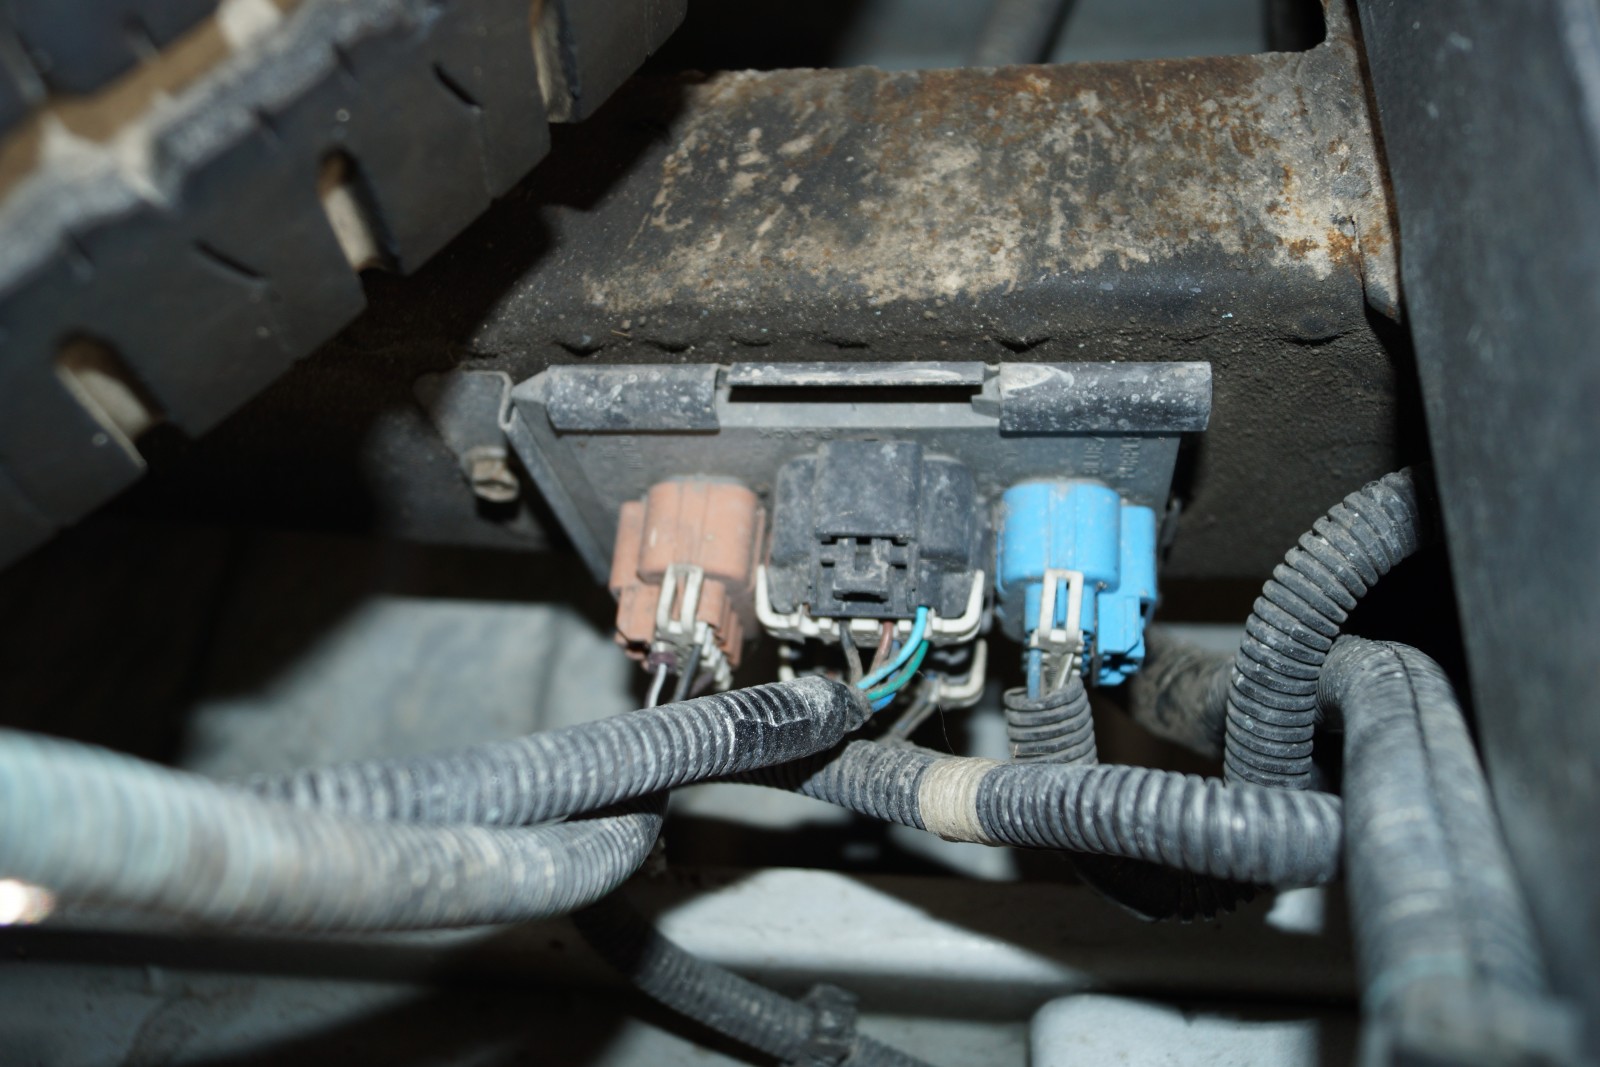
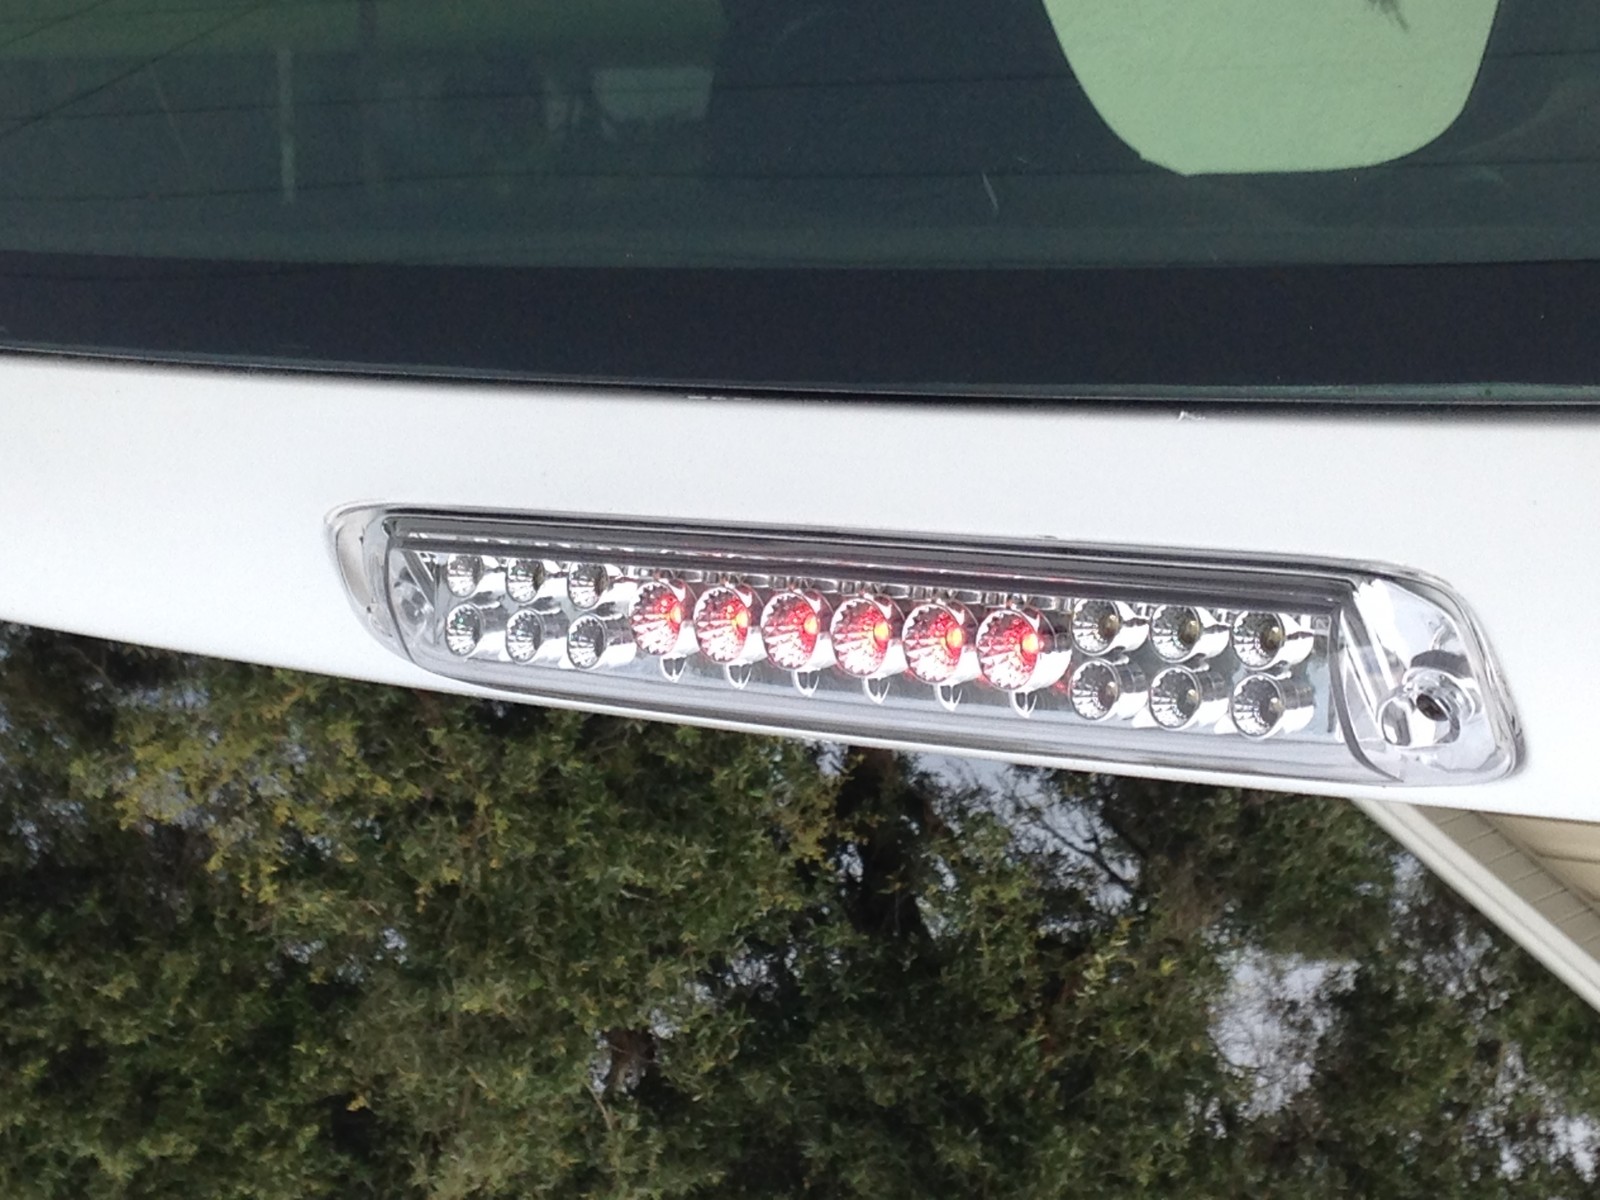
At the back of the truck, the stock lens was again not an option, so we picked out the least Euro-looking of the third brake light options and went with the Matrix Truck-Tek LED light. It’s a clear lens and backing with LED lighting, and we really like the way it blends well on the white body. After surveying the taillight options, we didn’t find any to our personal liking, so we just ordered a set of stock replacements for about $80. One thing to pay attention to when ordering these is whether or not they come with harnesses. Some aftermarket lights will not work with your factory harnesses/bulbs, and some just come with replacements, usually at a slightly higher price than others.

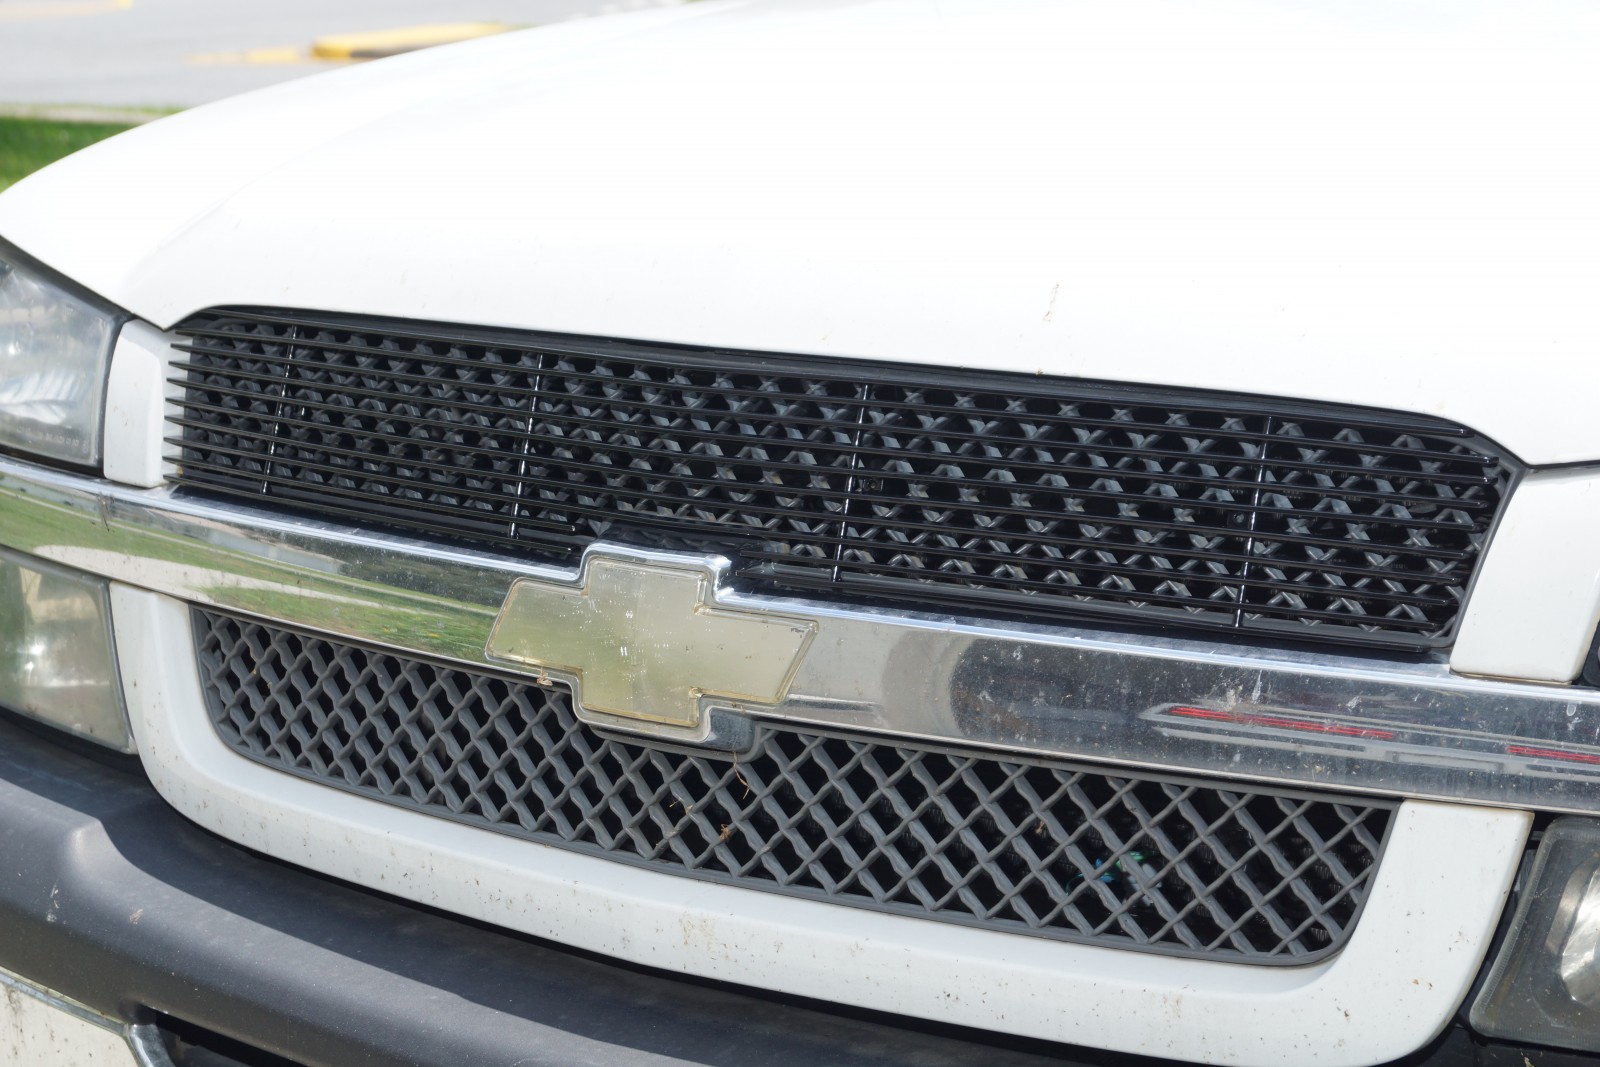
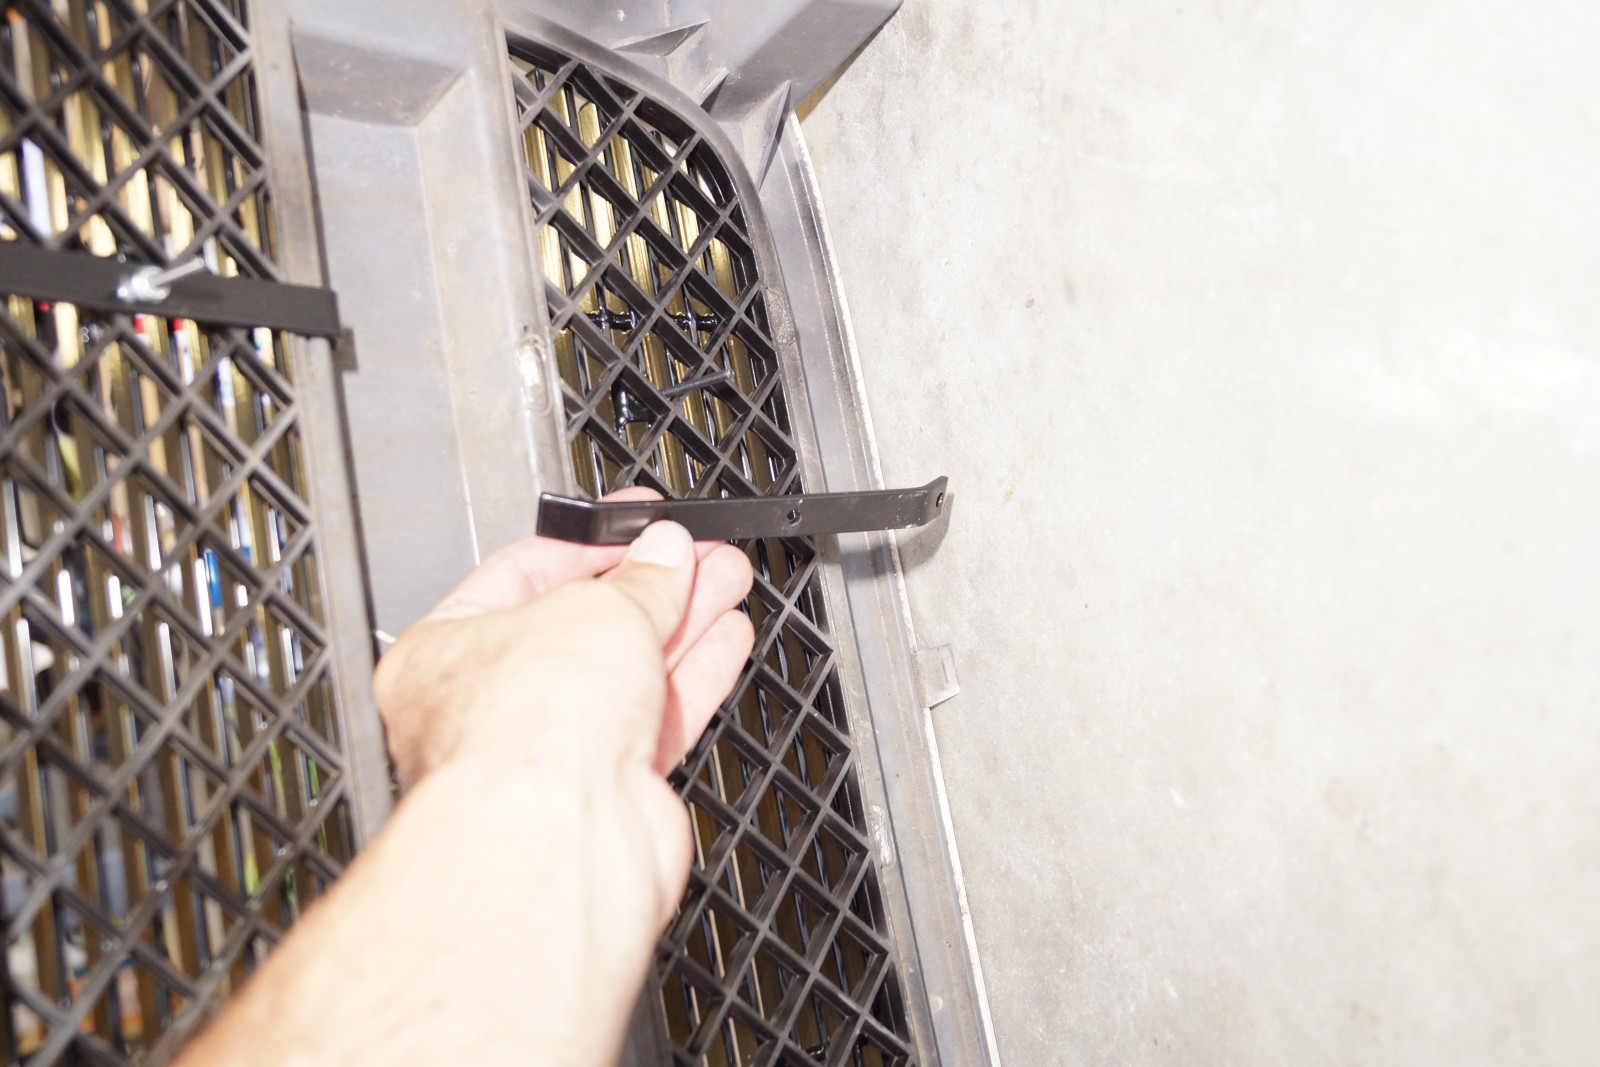
The last thing we wanted to do was add a little style to the front of the truck by going with an aftermarket grille. These, just like the lights, are a matter of personal taste, and since we’ve been playing it relatively low key thus far, the grille we picked was a T-Rex billet grille that was simple in design and powdercoated black so as not to attract to much attention to itself.

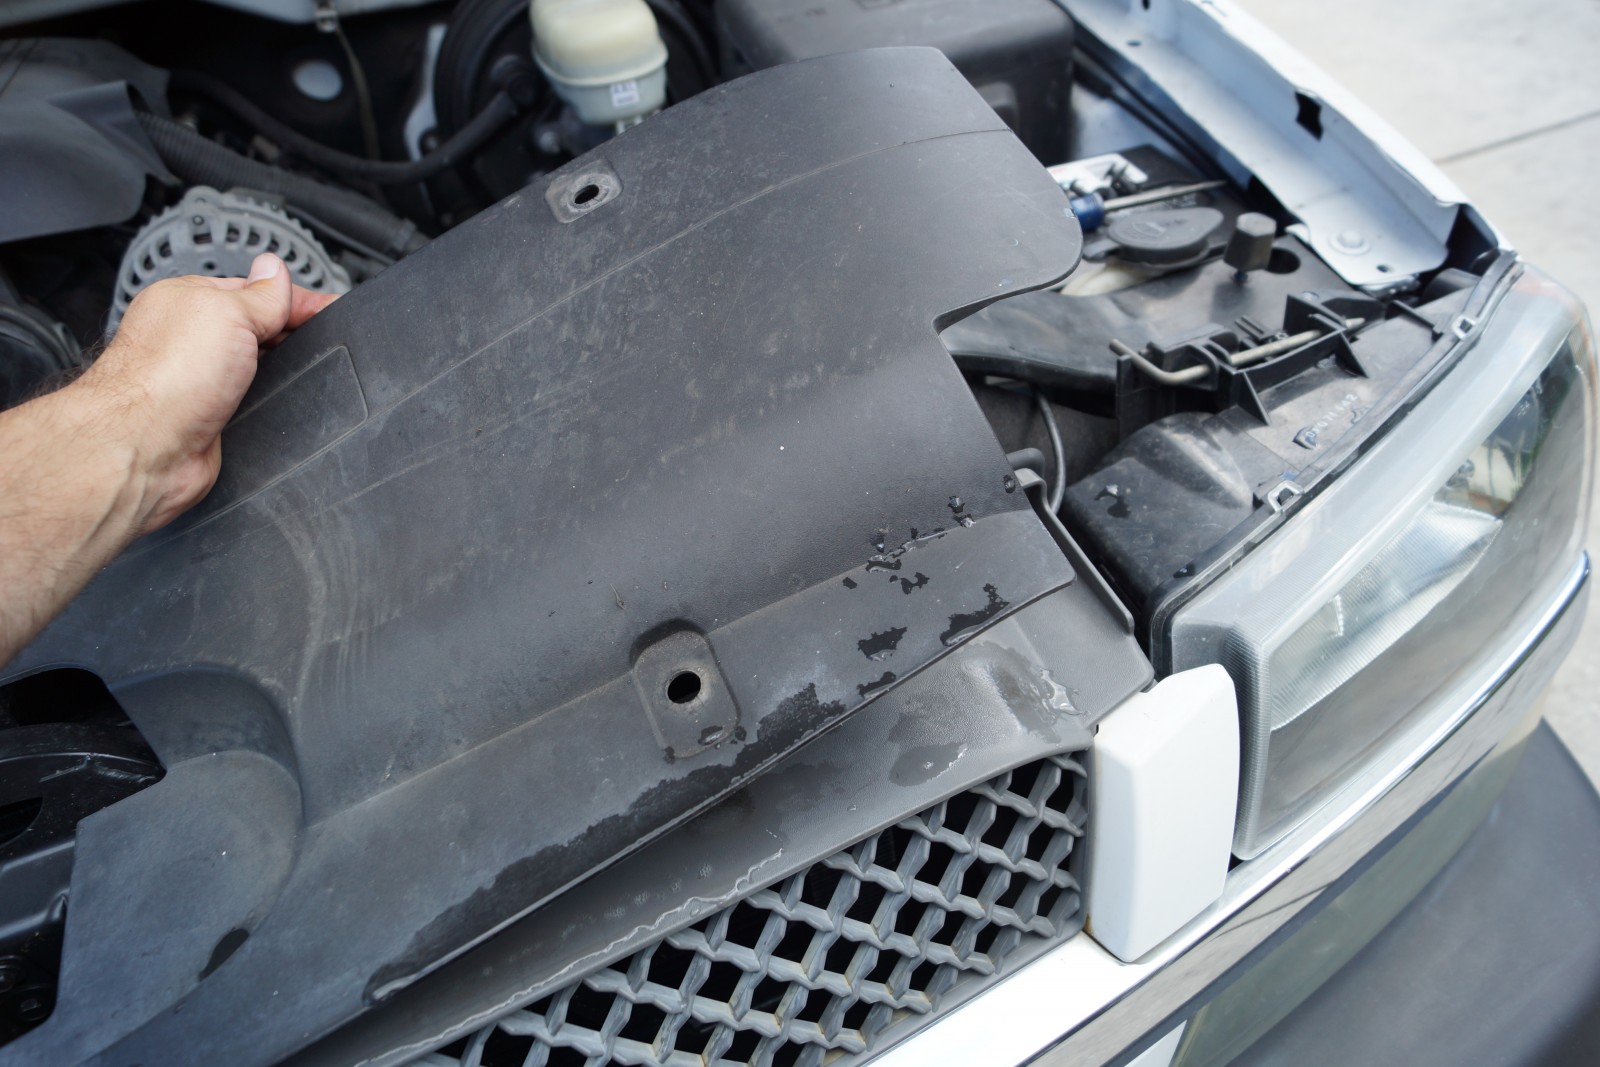
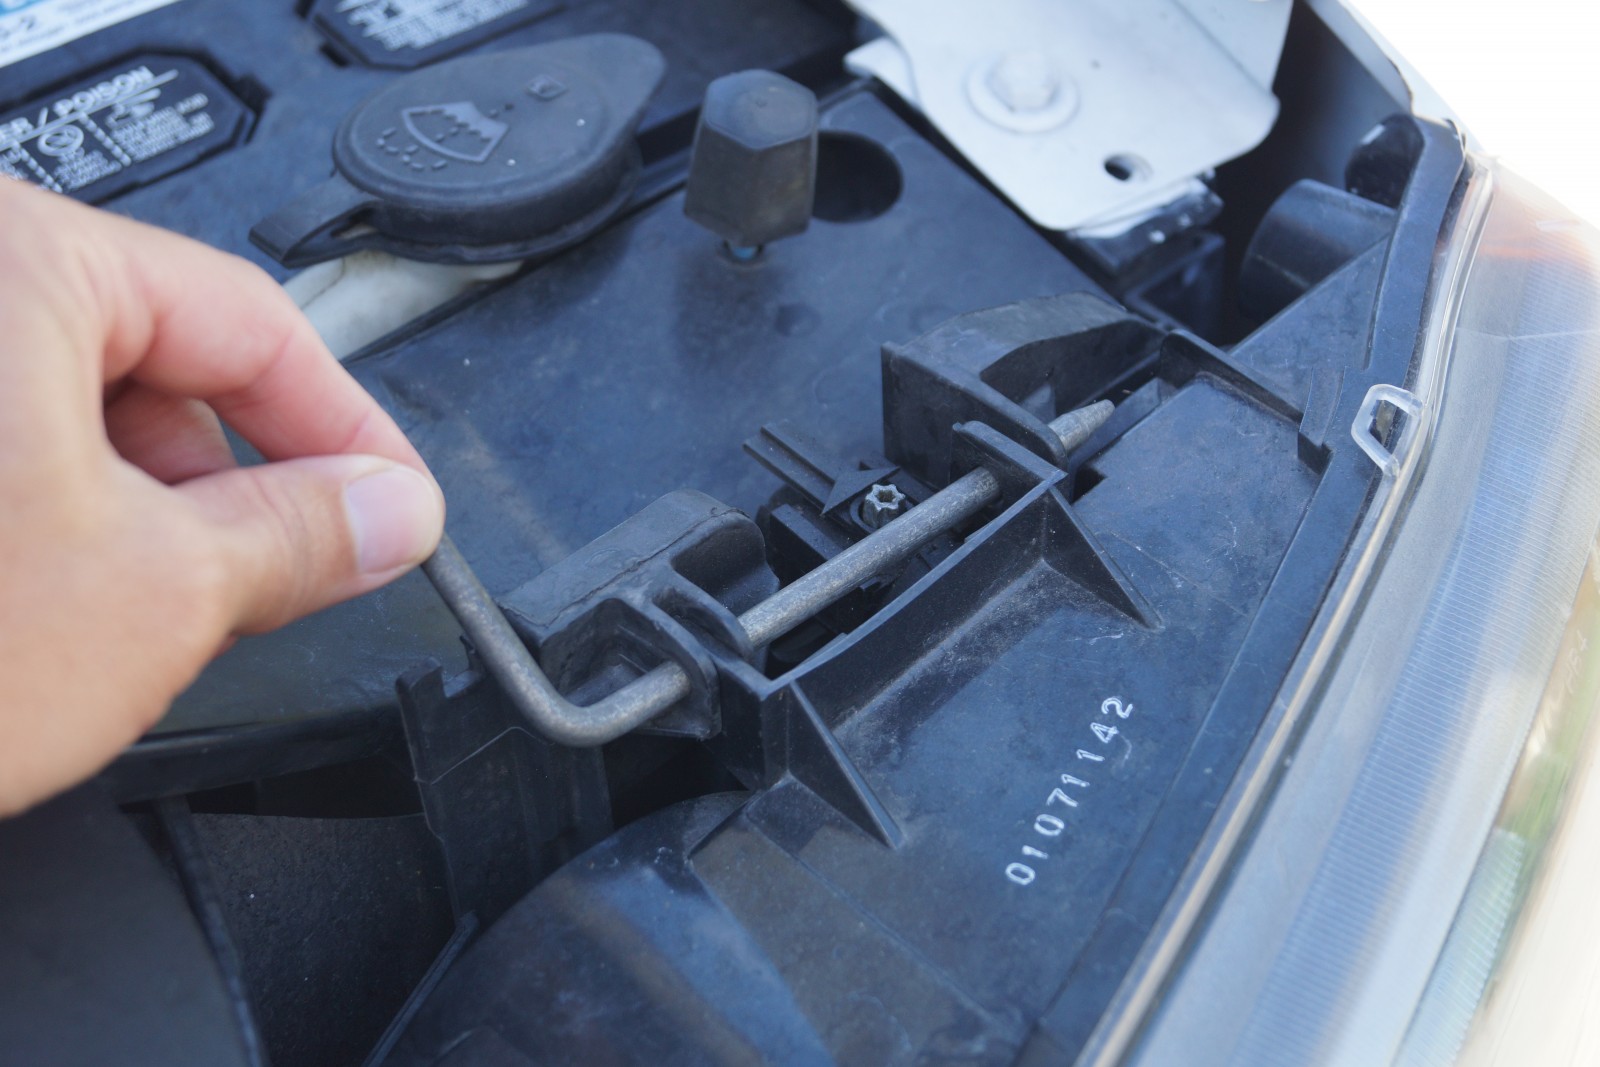
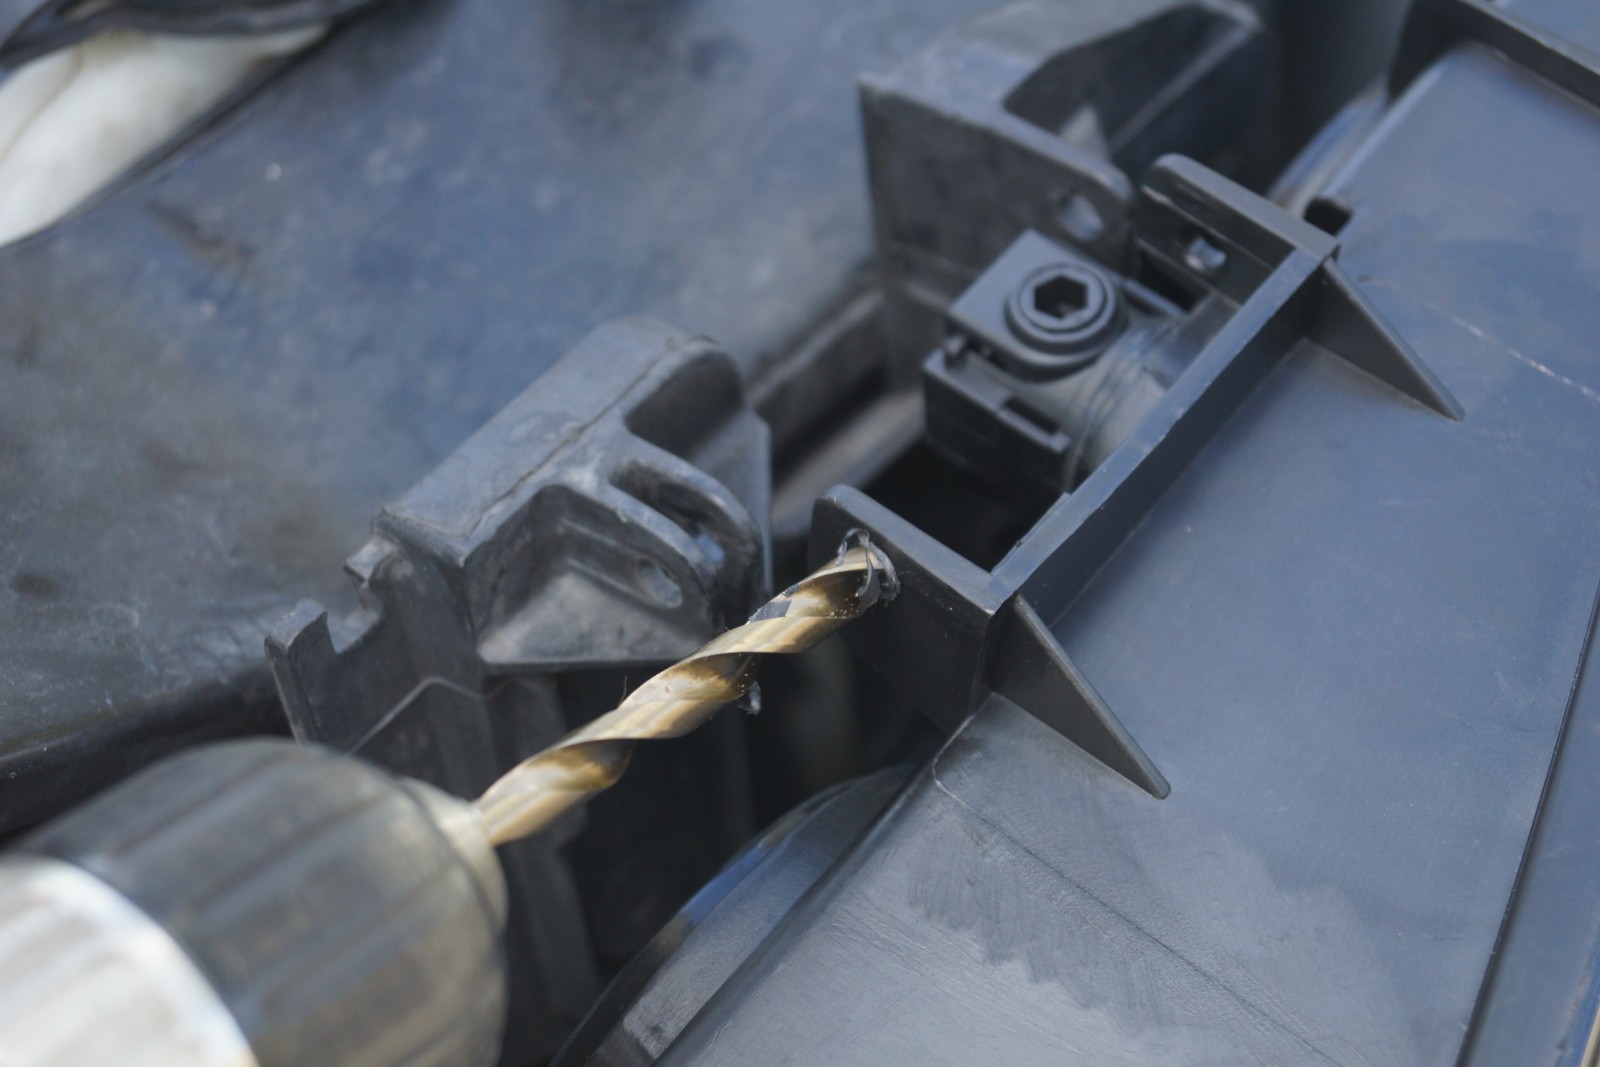
With all of the updates complete, the Silverado is looking better than ever, and the lights are brighter all the way around the truck—which is a good safety benefit. Installation is very easy and only requires basic hand tools for the most part. We did need to fire up the cordless drill for the headlights, but it’s something the average enthusiast can easily handle.

Author: Steve Baur

Steve Baur is the founder and principal of Driven Media Works, a Florida-based creative-services firm serving the automotive aftermarket. After attending the University of South Florida for journalism, Steve signed on with Muscle Mustangs & Fast Fords magazine, where he served as associate editor and, later, technical editor during his nine-year tenure. In 2010, he was promoted to the editorship of Modified Mustangs & Fords, a publication he helmed for four years before launching Driven Media Works in 2014. A lover of all things automotive, Steve has contributed to a wide range of motoring publications, including Car Craft, Truckin', Modified, Super Chevy, Race Pages, GM High Tech Performance, Fastest Street Car, and High Performance Pontiac.