


Hot rodders like to customize just about every aspect of their life, and the garage is certainly not immune. Summit Gifts, Clothing & Memorabilia understands this, and offers the Harley-Davidson® Interlocking Tile Floor System from Race Deck. This system uses durable, 12-inch by 12-inch interlocking floor tiles, so it’s easy to create any pattern you choose. We used these tiles to create a unique look that will last darn near forever.
What’s in the Kit
The Harley-Davidson® Interlocking Tile Floor System comes in a kit with 36 tiles, plus edges and corner trim pieces, to build a four-foot by eight-foot section. The tiles come in your choice of classic Harley black and orange or alloy gray (aka satin aluminum). Made of a high-impact polypropylene copolymer, each tile can support 25,000 psi of rolling stress and 250 psi for standing loads—strong enough to support a vehicle lift. The tiles can protect your concrete floor from impacts and stains and won’t fade, discolor, or stain.
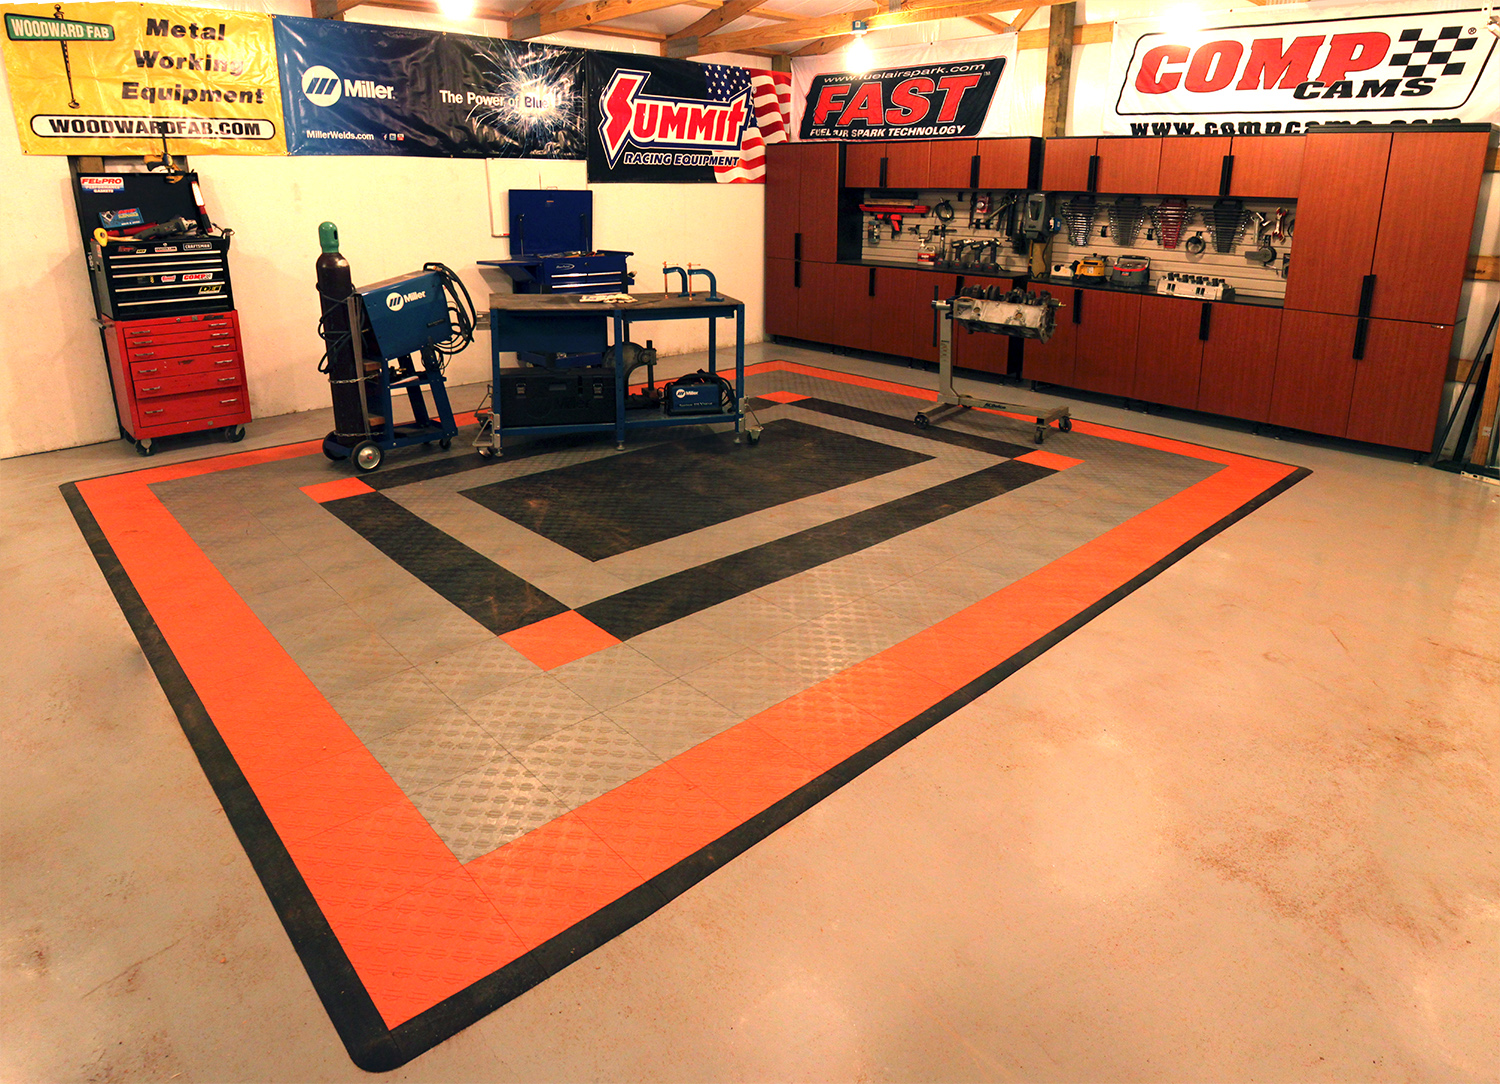
Because the tiles are universal, you can combine several kits to cover larger areas. We ordered eight kits for our studio to cover a 14-foot by 18-foot area. We used the layout tool on Race Deck’s website to create a design combining alloy and the orange/black tiles. The layout tool gives you valuable resources for complex designs, such as how many tiles of each color you need.
Installation
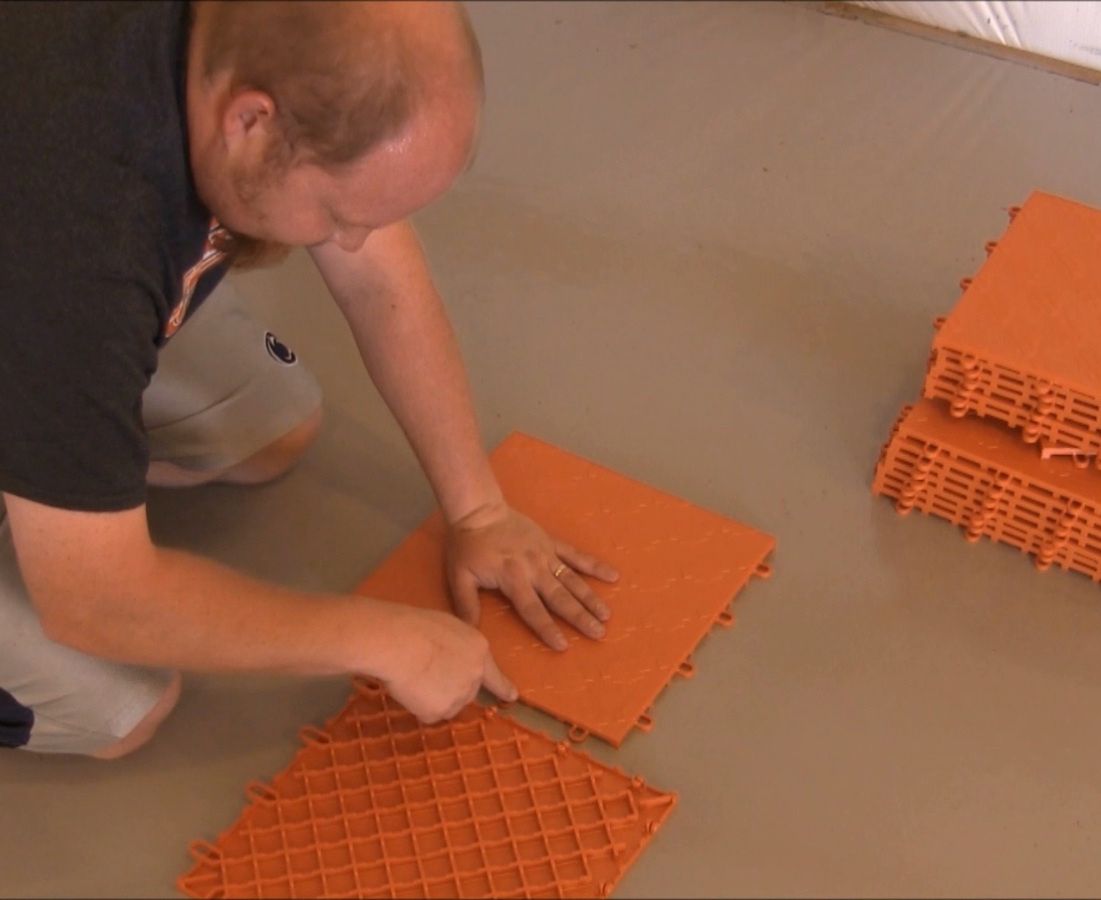
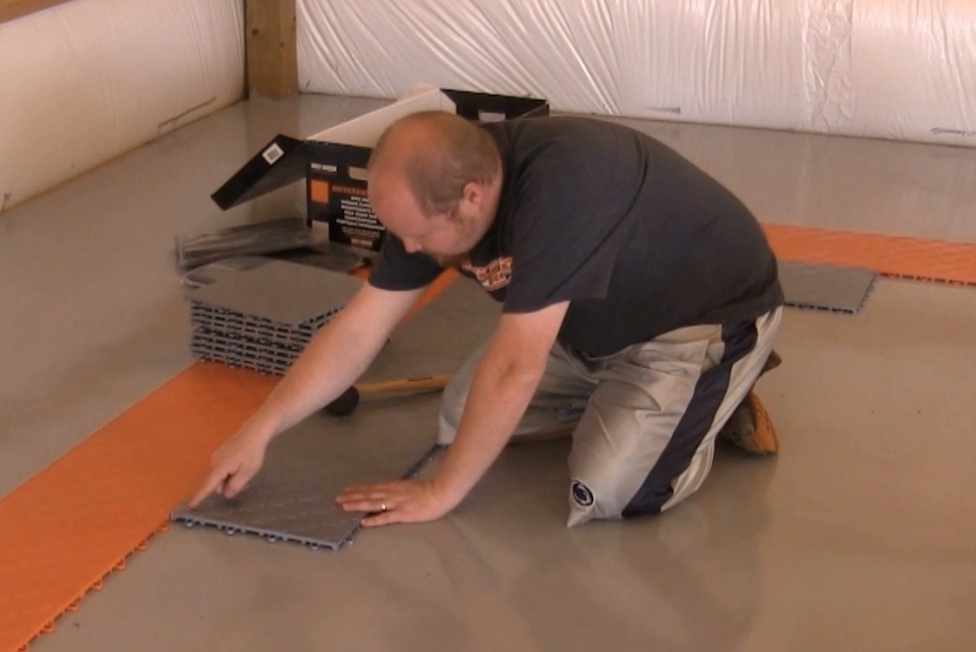
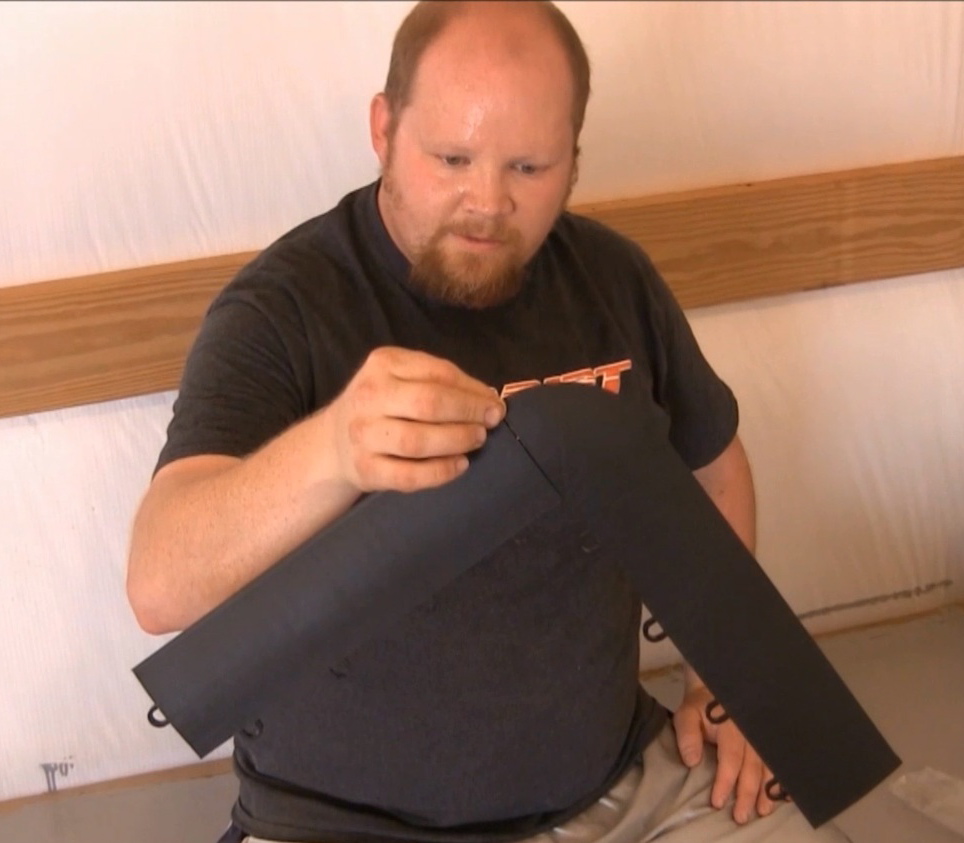
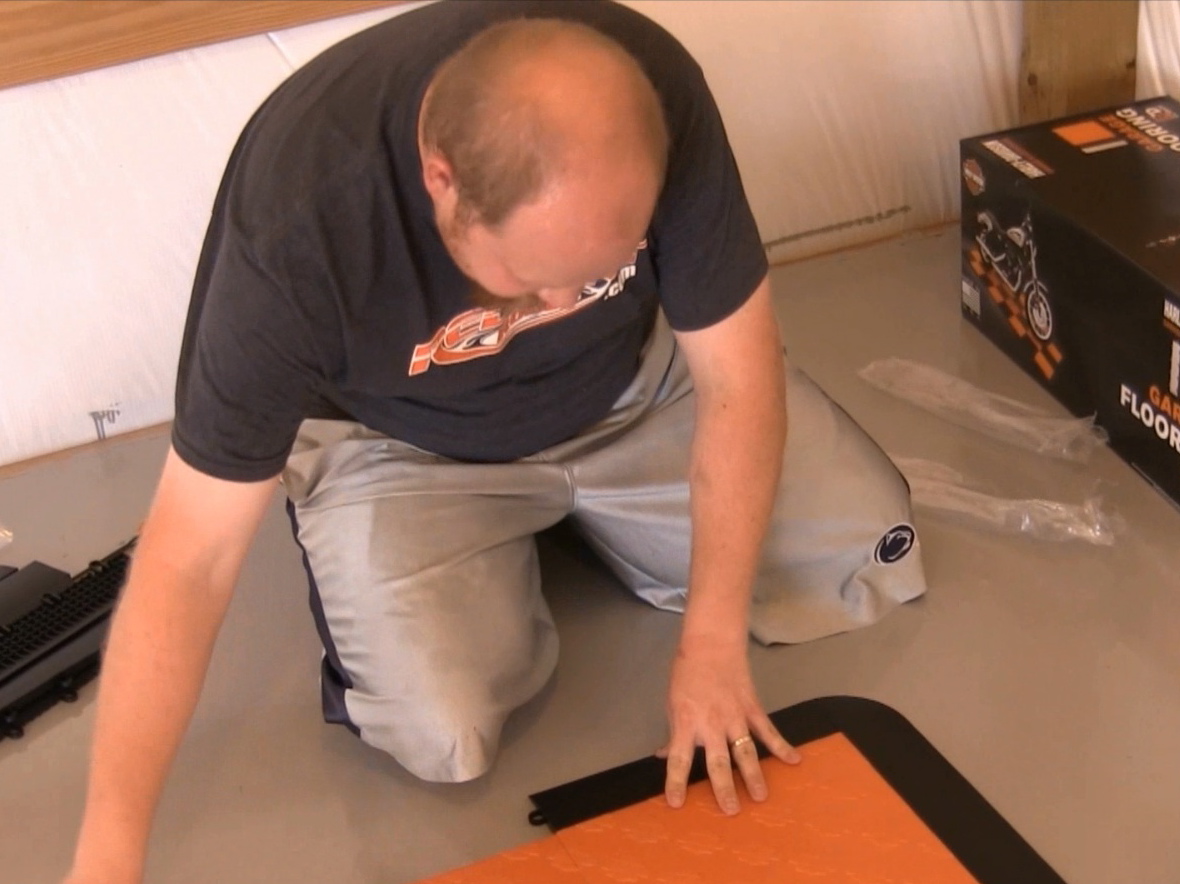
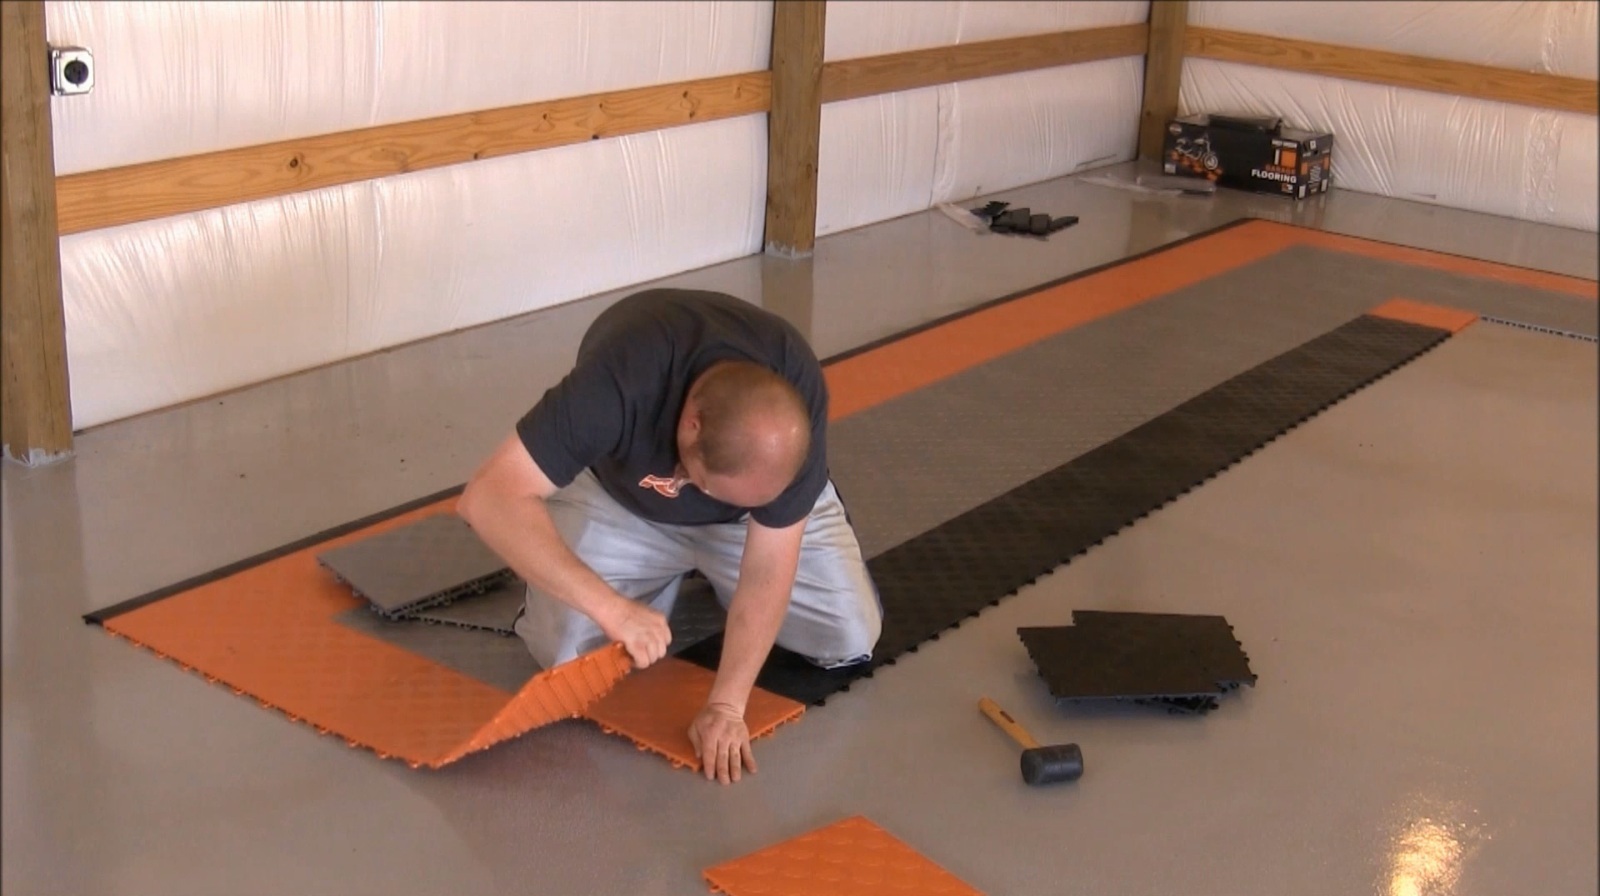
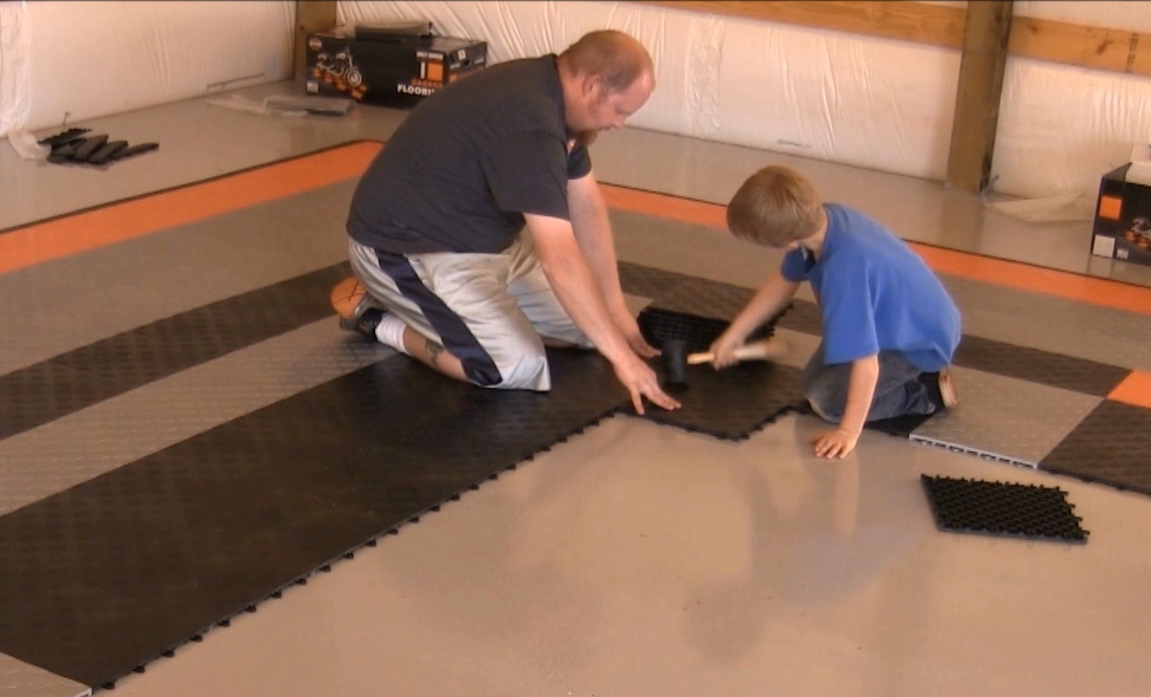
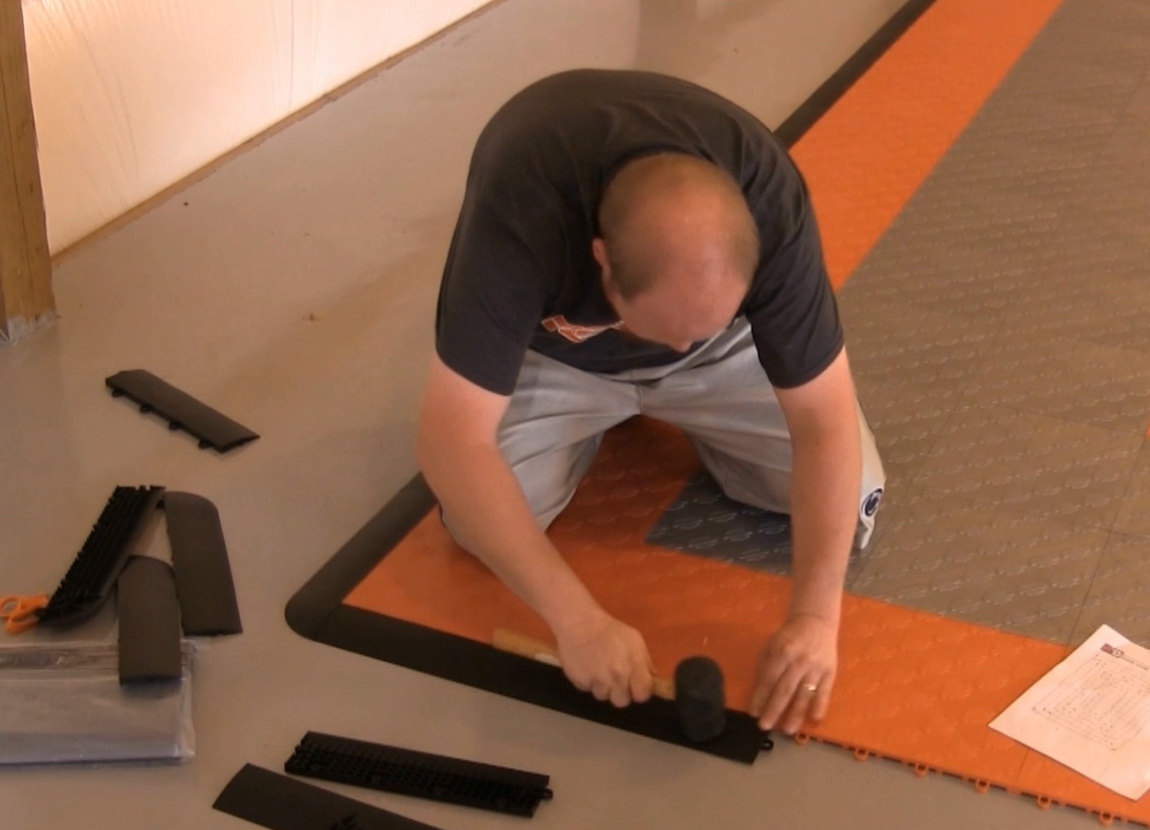
The installation process is simple. The tiles have male tabs on two sides and female tabs on the other. Lay each tile together with the male tabs on top and tap them with a mallet (much easier on your hands). Start with the smooth side of the tile facing out with the female loops to the inside; this makes installation much easier. The corners and edges are beveled—a complete corner consists of one corner strip and one edge strip.
We started assembly with the main tiles, then added the corners and edging. This helps maintain the tiles’ position. The narrow edge tiles tend to curve, making it difficult to keep things in line if you start with them. If you make a mistake in your pattern or just want to move the tiles, they are easy to take apart. We popped ours apart by hand, but a putty knife will release the locks without damaging them.
Maintenance
The entire assembly process for our floor took about two hours. Once in position the tiles won’t shift or move, even under the weight of a moving vehicle. Maintenance is very simple. Dirt and debris can be swept up or vacuumed; oil and fuel spills can be mopped up.
If you’re looking for a durable floor covering for your garage or shop, you can’t do much better. It looks great and it’s easy–check out the slide show above for installation photos or watch the video below:
What a great resource! Two thumbs up! I have to say it appears that they simply get what clients want so they provide various color selections to fit your own unique design style. My husband own Harley Davidsons and it’s a great thing for him that they offer options like orange and dark tile mix for the purpose that he can make his own particular carport floor mat outline.
http://thedeckingoutlet.com/