With race and car show season winding down for the year, and colder temperatures descending upon the OnAllCylinders World Headquarters in Ohio, we’ve been looking for fun, easy projects that we can do indoors.
So when my young sons—who are already hopelessly addicted to diecast toy cars AND model trains—also got hooked on the “Back to the Future” movie trilogy, it sparked an idea.
But first, some context.
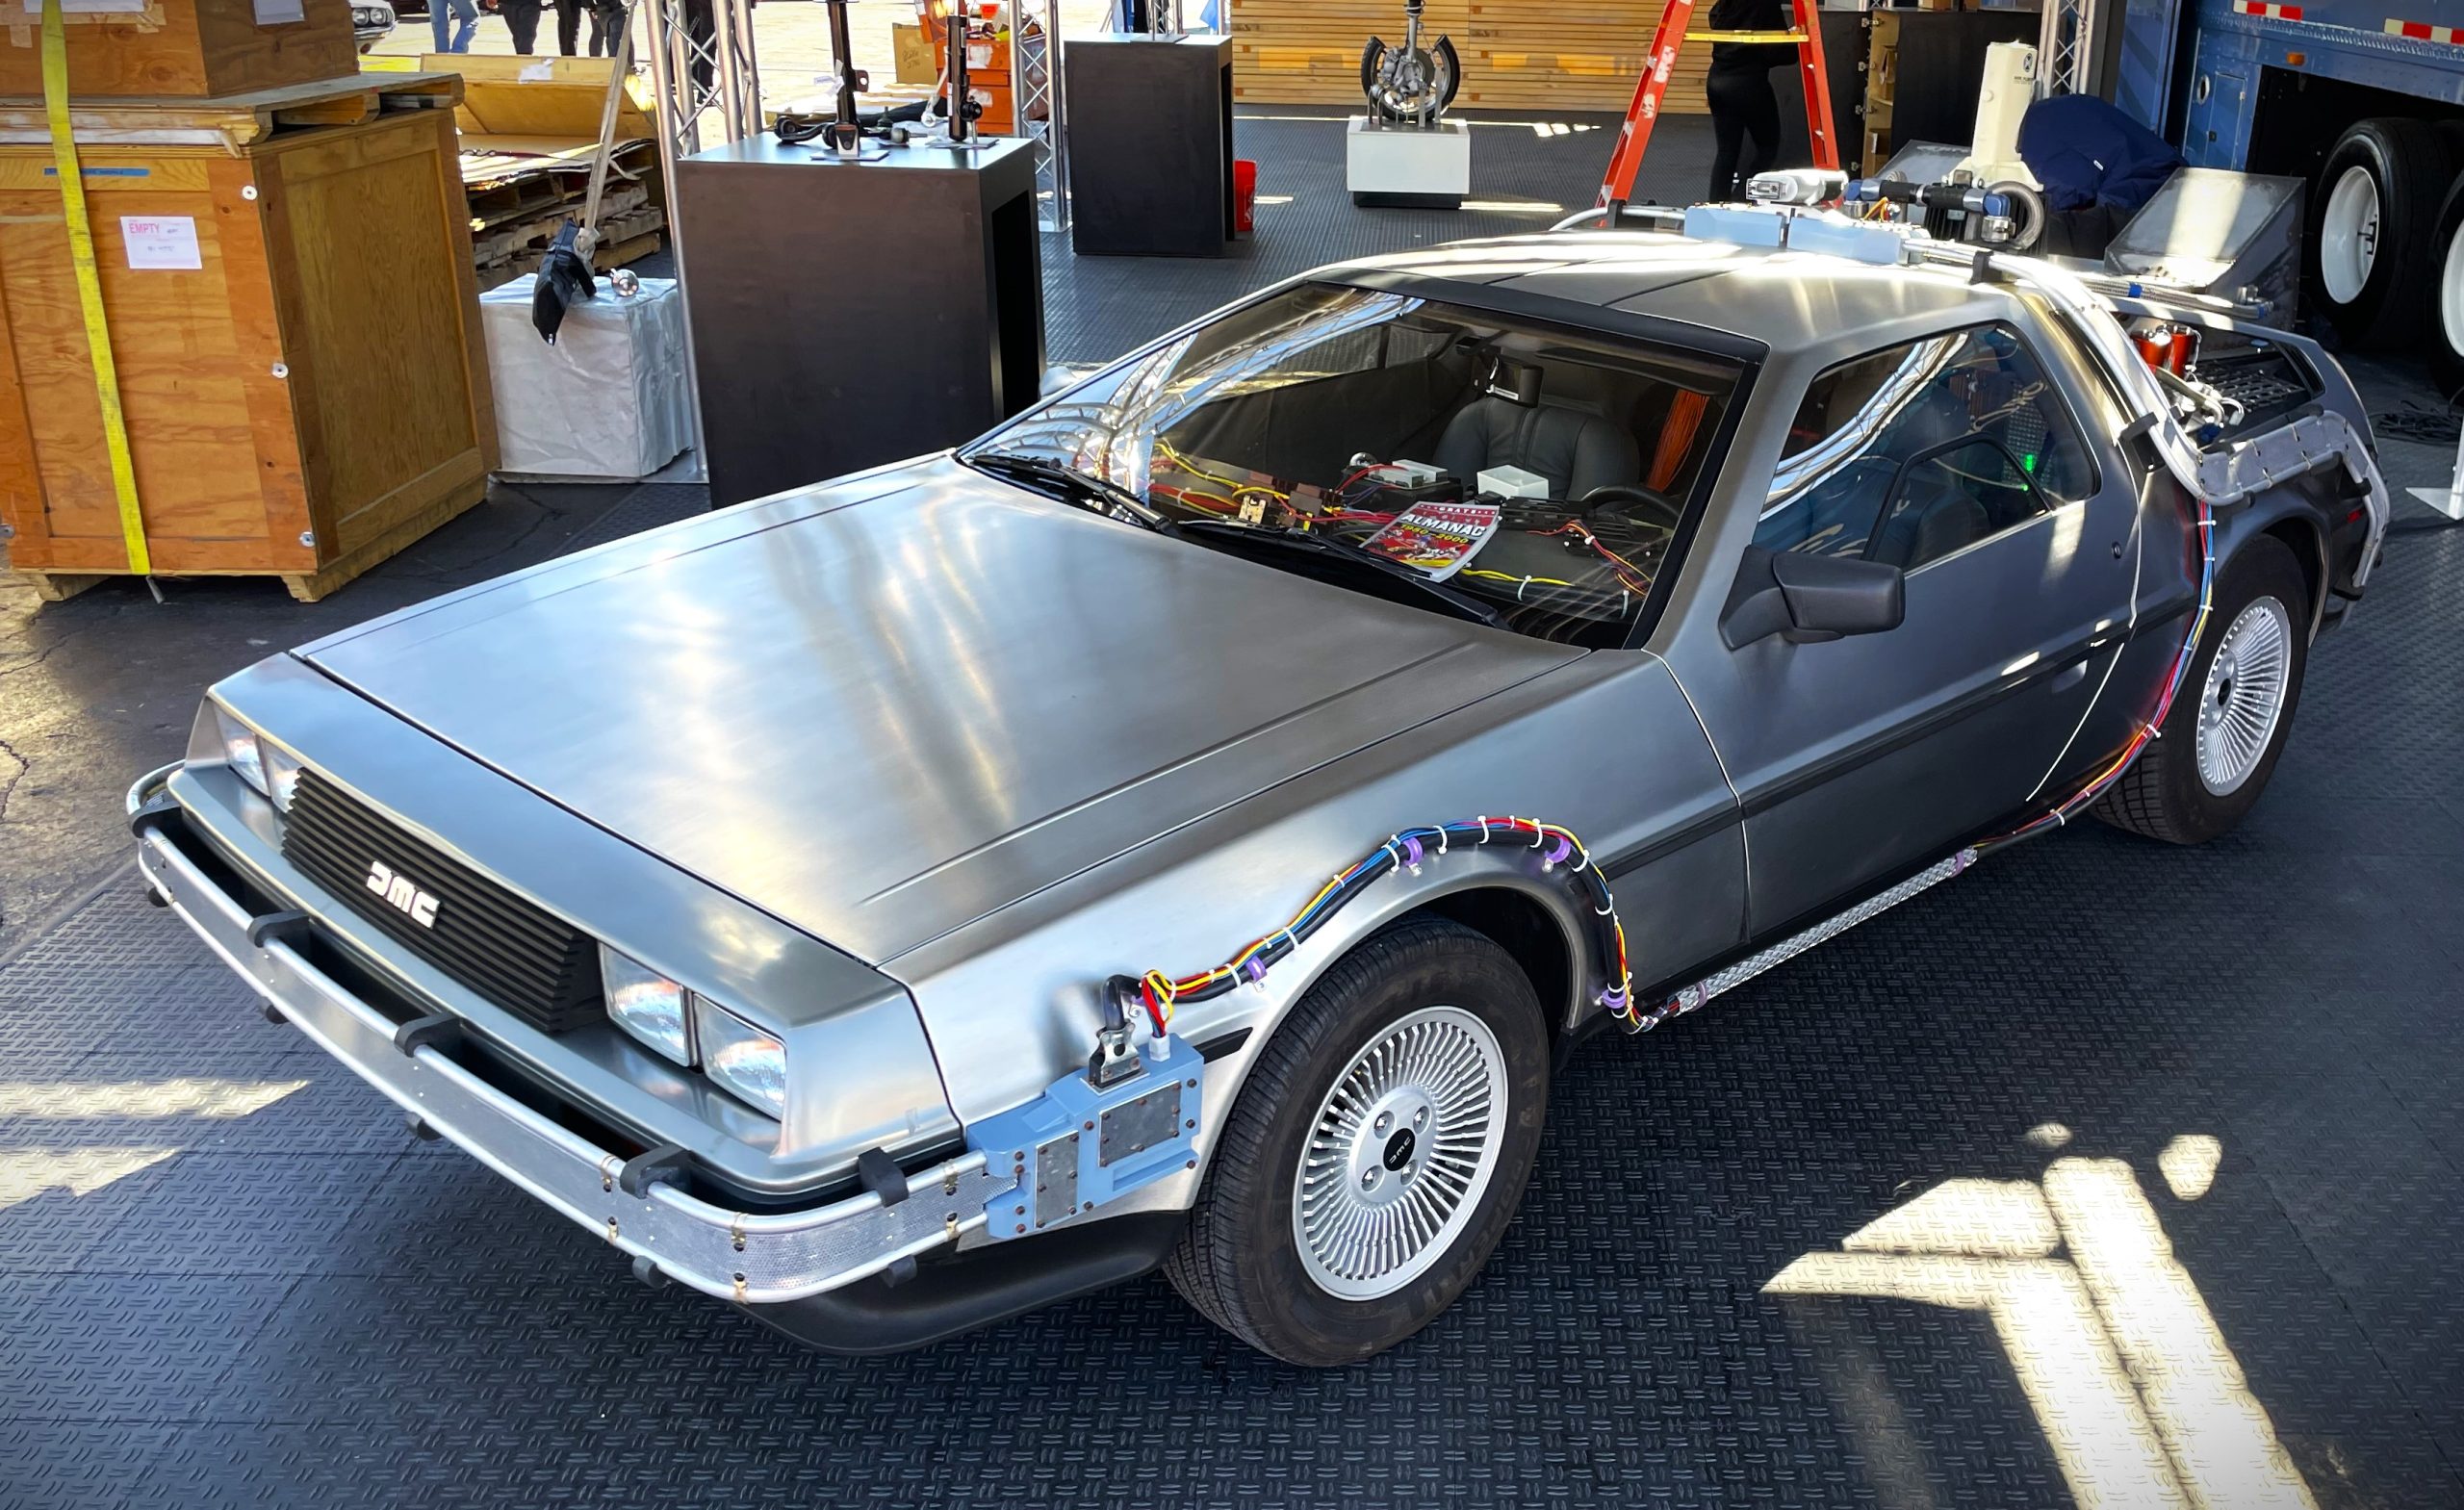
If you’ve never seen the films, they involve a time-travelling DeLorean with “Time Circuits” that can only be activated when the car hits 88 mph. This presents a dilemma as, by the final film in the trilogy, the adventurers get trapped in the Old West of the late 1800s because there’s no gasoline available to help the DeLorean reach that speed.
Undaunted, the time-travelers hatch an ingenious idea to use a steam locomotive to push the car up to 88 mph, thereby engaging the Time Circuits, and sending them safely back home.
If you’ve got a few minutes, the final cinematic sequence is a good watch for gearheads and railfans alike:
Suffice it to say, after the boys saw the trilogy’s thrilling climax, a 1:32 scale DeLorean DMC-12 time machine soon joined their diecast toy car collection.
Problem was, when they tried to recreate the scene on their model train layout in our basement, the car—with its traditional rubber wheels and wider axles—didn’t fit on the O-gauge Lionel train track. Since I’ve been eager to introduce them both to saws, drills, and other various hand tools to give them some familiarity with building and fabricating things, I saw this challenge as an opportunity.
I rummaged through a box of old busted train cars we got cheap at a local model train show, and spotted the remnants of a broken “Bobber” caboose that was included in the budget Lionel train sets from the 1980s.
…And as luck would have it, the DeLorean and the caboose shared an almost identical wheelbase.
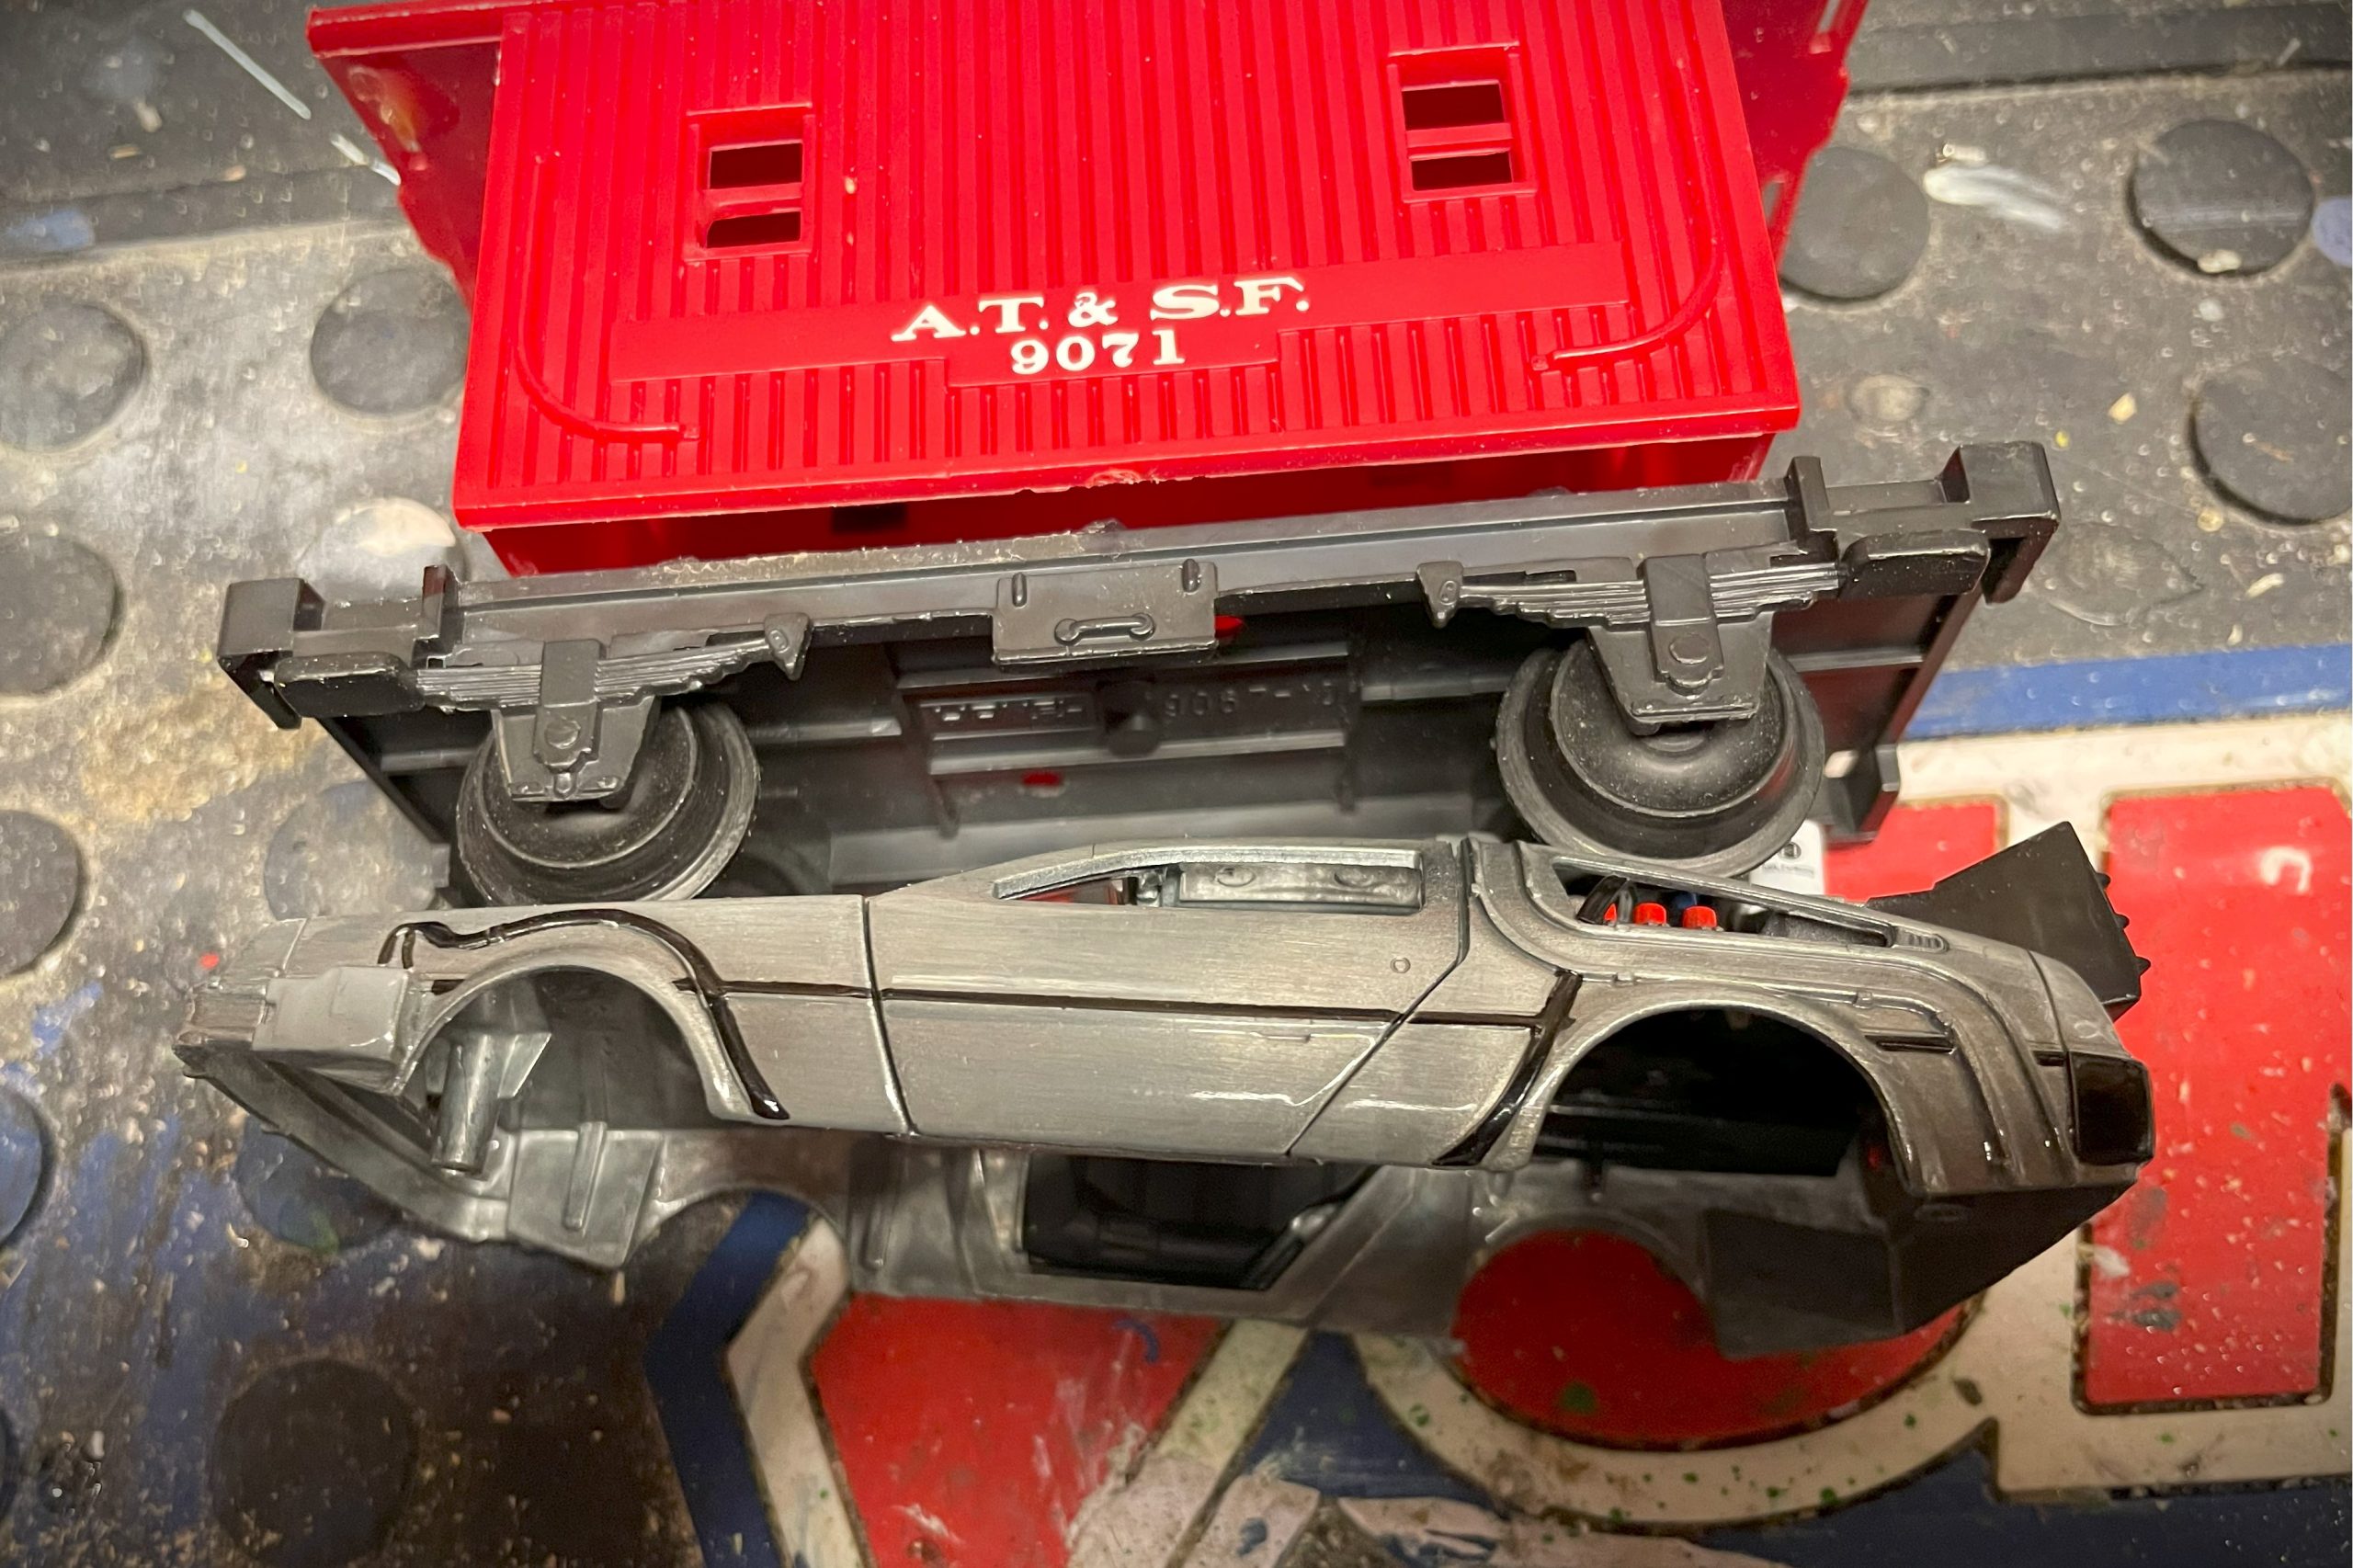
I separated the caboose and the DeLorean from their respective bases and, though it was close, there was some further modification required. I had to shorten the caboose wheelbase by about a 1/4 inch to ensure the wheels would line up perfectly in the DeLorean’s fenders.
We busted out our rotary cutting tool, cut a sliver from the caboose chassis’ center section, and then re-joined the pieces with support from an old credit card to reinforce the joint.
You may appreciate this article too: Understanding Model Scale & Gauge Sizes
Then, after a series of further cuts and test fittings, we had shaved down the old caboose base’s front, back, and sides so it slipped perfectly under the 1:32 DeLorean time machine body.
Now that it was able to fit under the body shell, we added another flat piece of wood stock (a typical paint can stir stick) to run the length of the DeLorean’s center section, bumper to bumper.
Not only did this add further support to the center cut seam, it allowed us to use the same front/back screw mounting points used by the DeLorean’s original model car base.
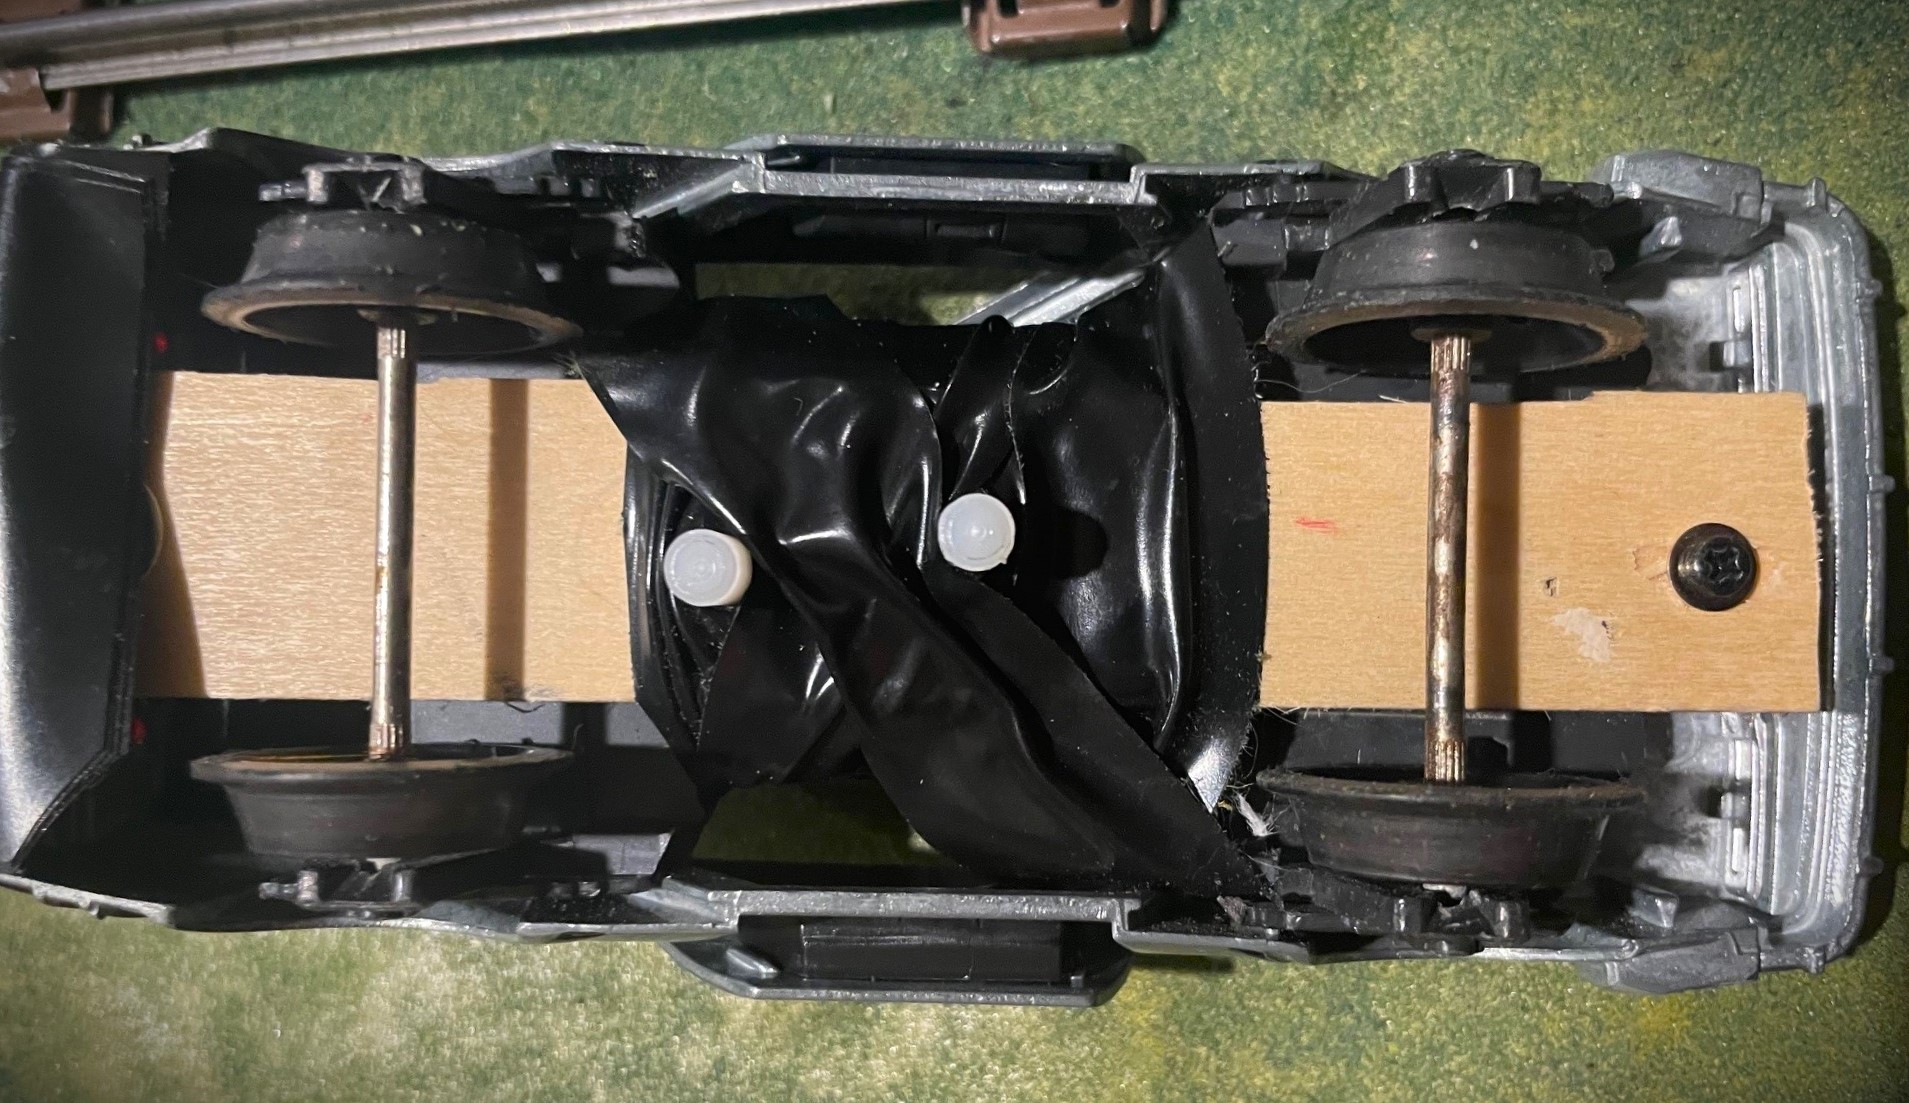
We experimented with sizes, gradually trimming it down, fore and aft, to get the proper fitment under the car—hence the black electrical tape in the image above. Once we got it perfect, we removed the tape and glued the wood section to the modified caboose base.
You’ll also notice two small offset nylon fasteners in that above photo. Those were just supplemental security, added to ensure the credit card, caboose base, and wood mounting section stayed firmly sandwiched together. (I used the nylon hardware in case the nuts accidentally made contact with the track and temporarily shorted the transformer. Truth is, we had plenty of clearance regardless.)
Now that the DeLorean was rolling freely on the track, it meant we could address some cosmetics.
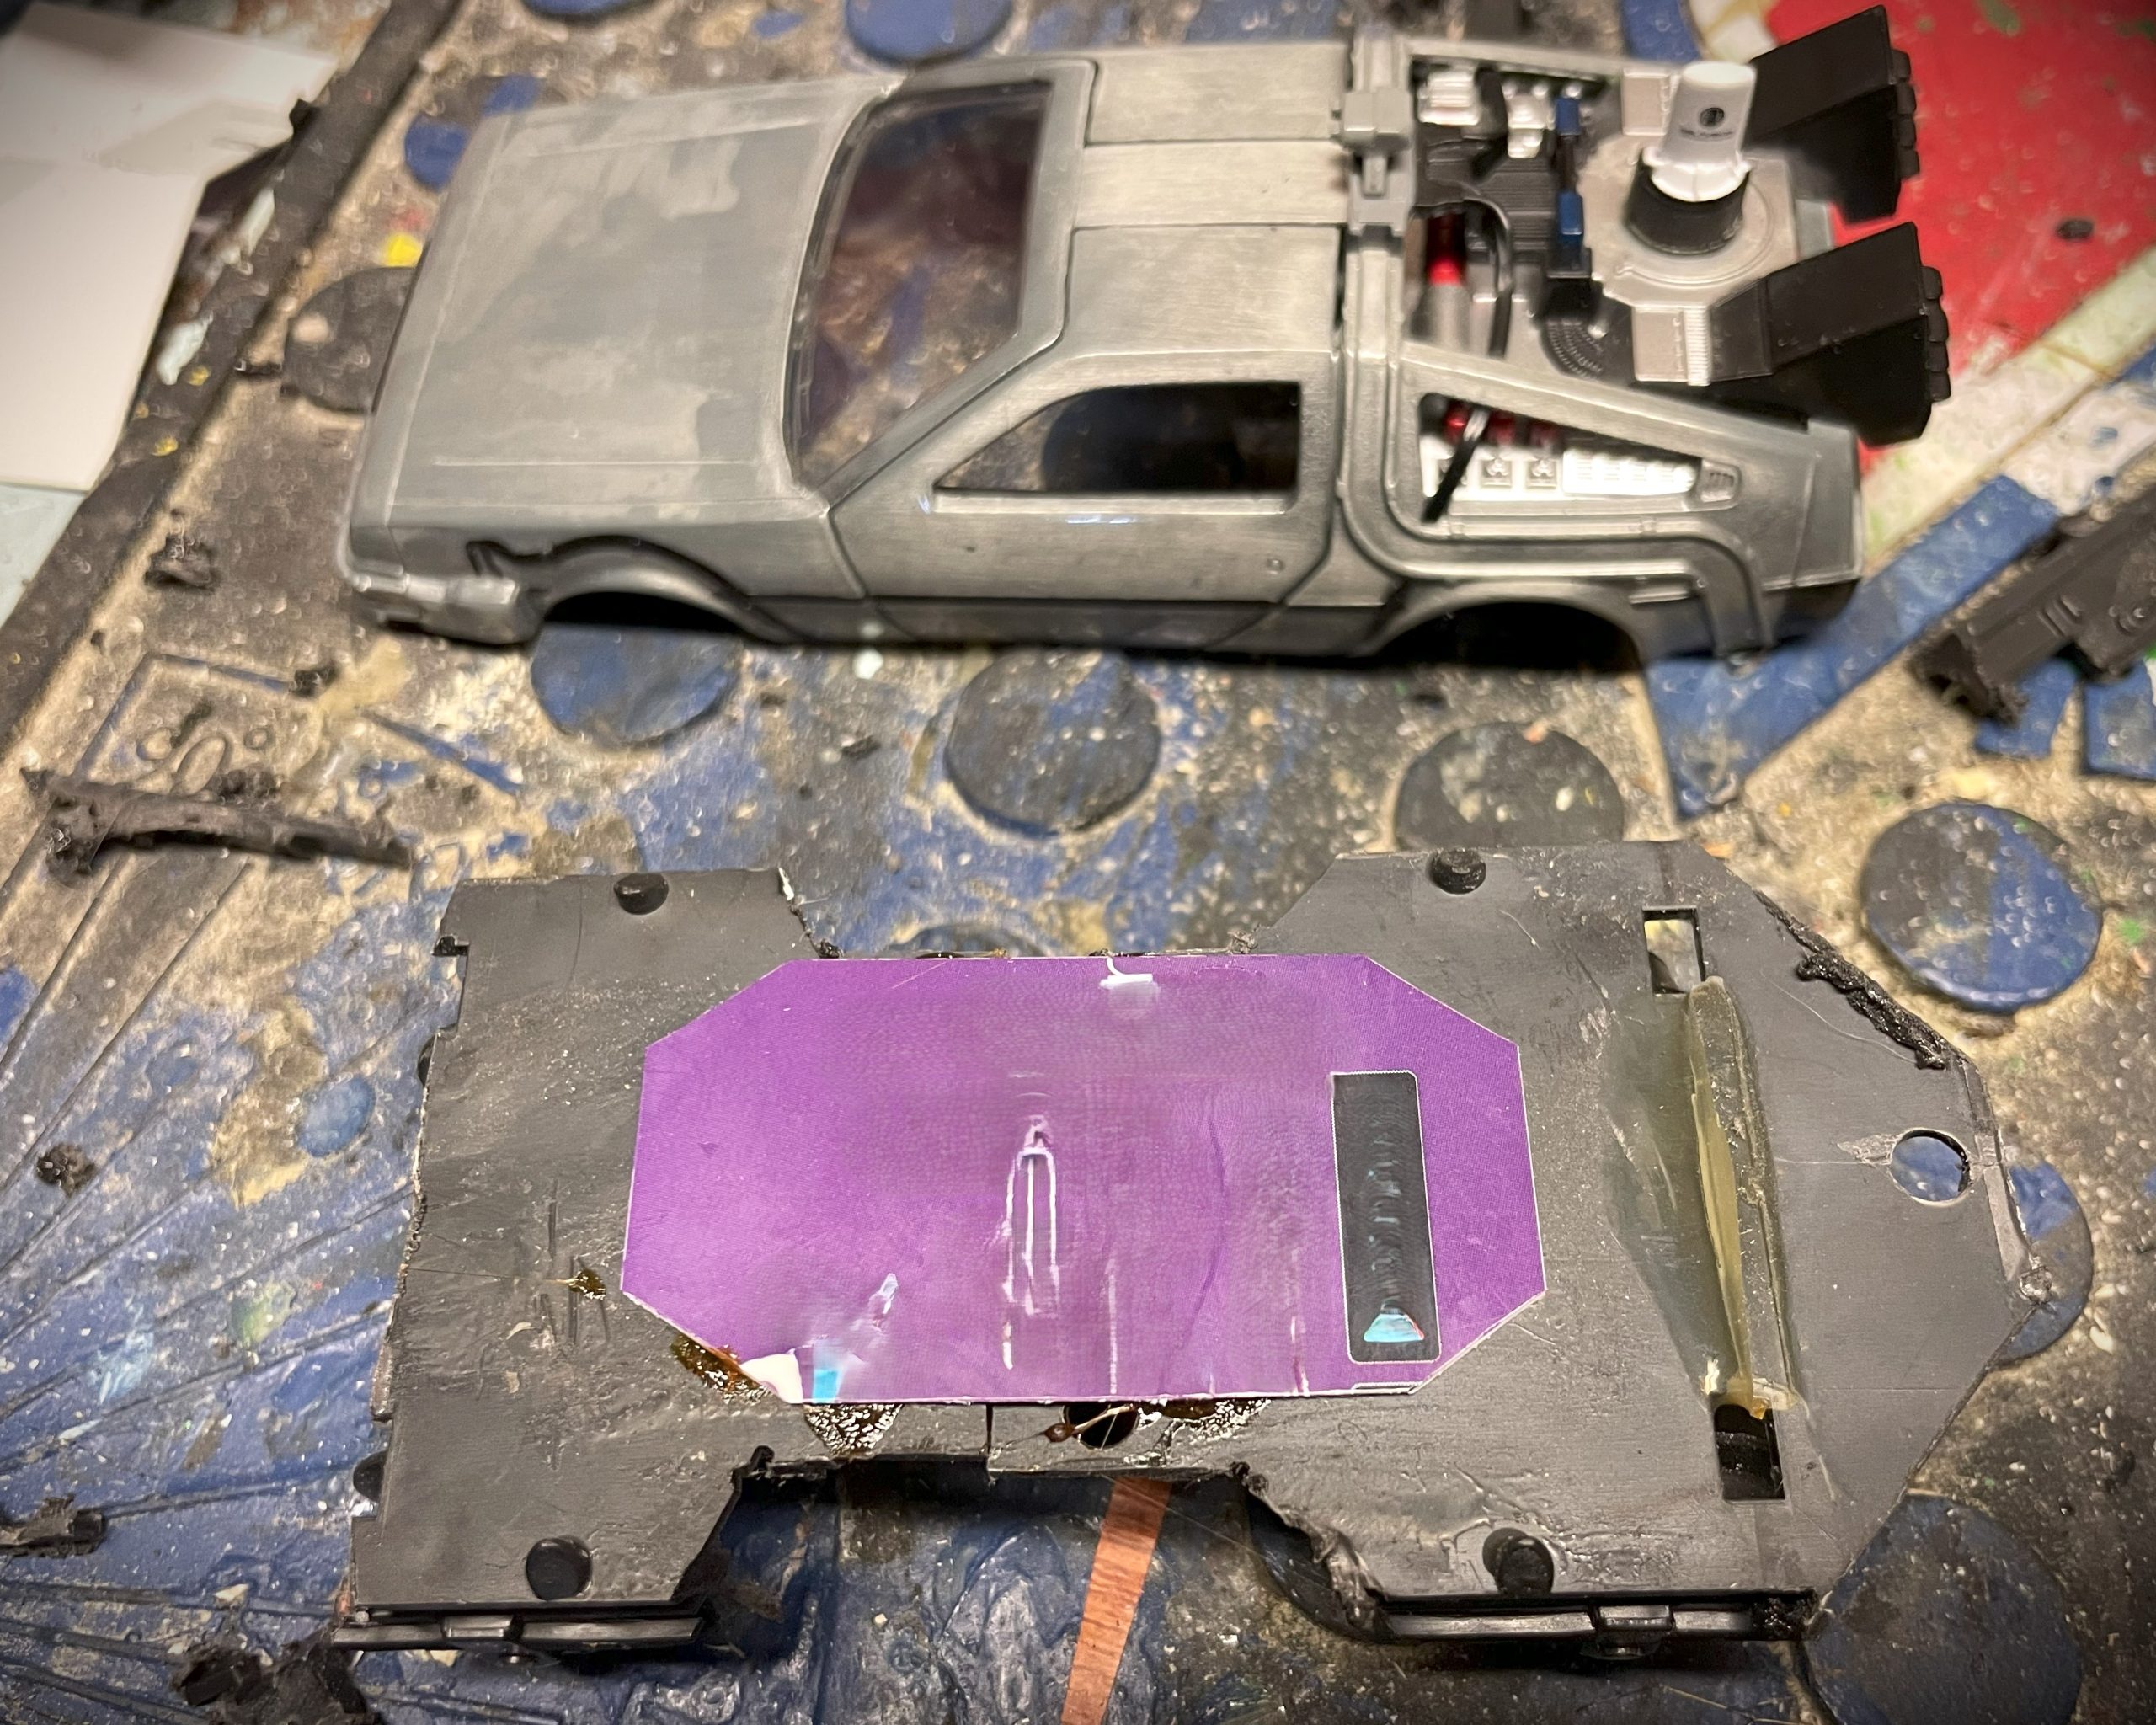
First, since we had to reluctantly remove the car’s detailed interior, we blacked-out the windshield by securing standard electrical tape against the back of the clear plastic window.
Next, astute fans of the “Back to the Future” movie series will point out that, by the third movie, the time machine had suffered some electrical problems and was modified with improvised 1950s technology—as a result, there was a large array of vacuum tubes, transformers, and other period-correct electrical accessories attached to a soda crate and strapped to the DeLorean’s hood.
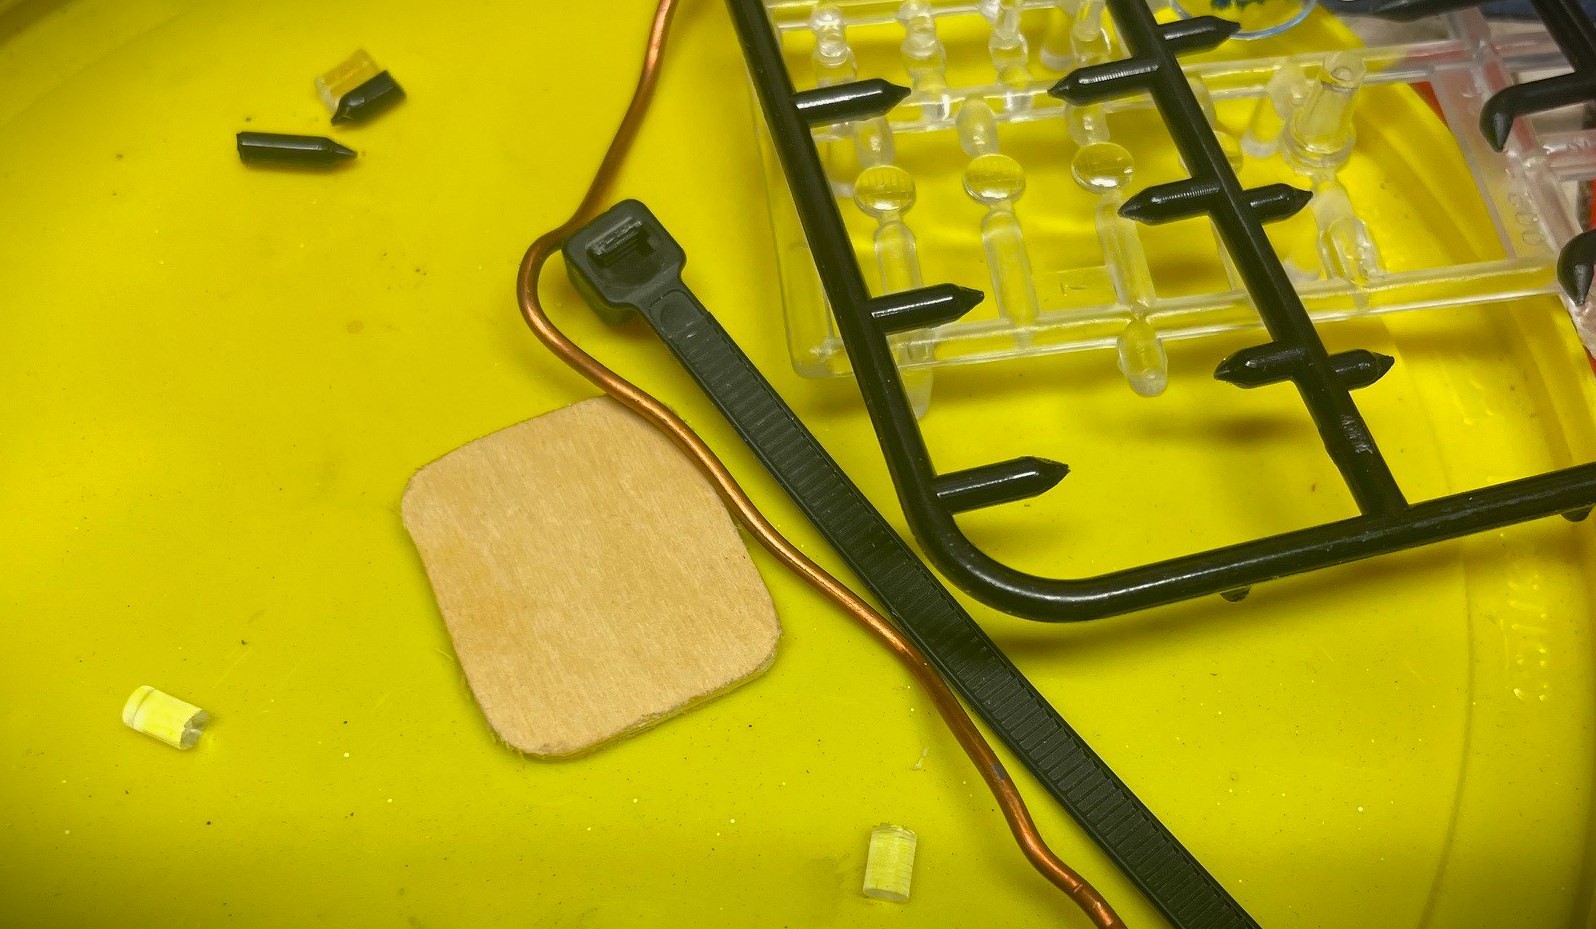
Thankfully, years of building Pinewood Derby race cars had made us familiar with “kitbashing” details like this, so we rummaged through our random parts bins and grabbed some bits of wood, old clear model sprue, copper Romex wire, and a spare Zip Tie.
Kitbashing: Combining random parts, often from different model kits, to create a new, unique creation.
Using a band saw followed by a powered scroll saw, my oldest cut down the wood into a small square for the base, and we used a drill press to add holes to mount the other accessories.
With a little imagination, it was astonishing how the tip of a Zip Tie resembles the bell ends of a power transformer. Better yet, the plastic sprue tips made good stand-ins for vacuum tubes, and the Romex mimicked a large wiring loom. The leather straps were simply wood-hued tape. I used standard wood glue to secure things—though it’s visible as white goo in the pic below, it eventually dried clear.
Sure, it wasn’t movie-quality perfect, but it did the job.
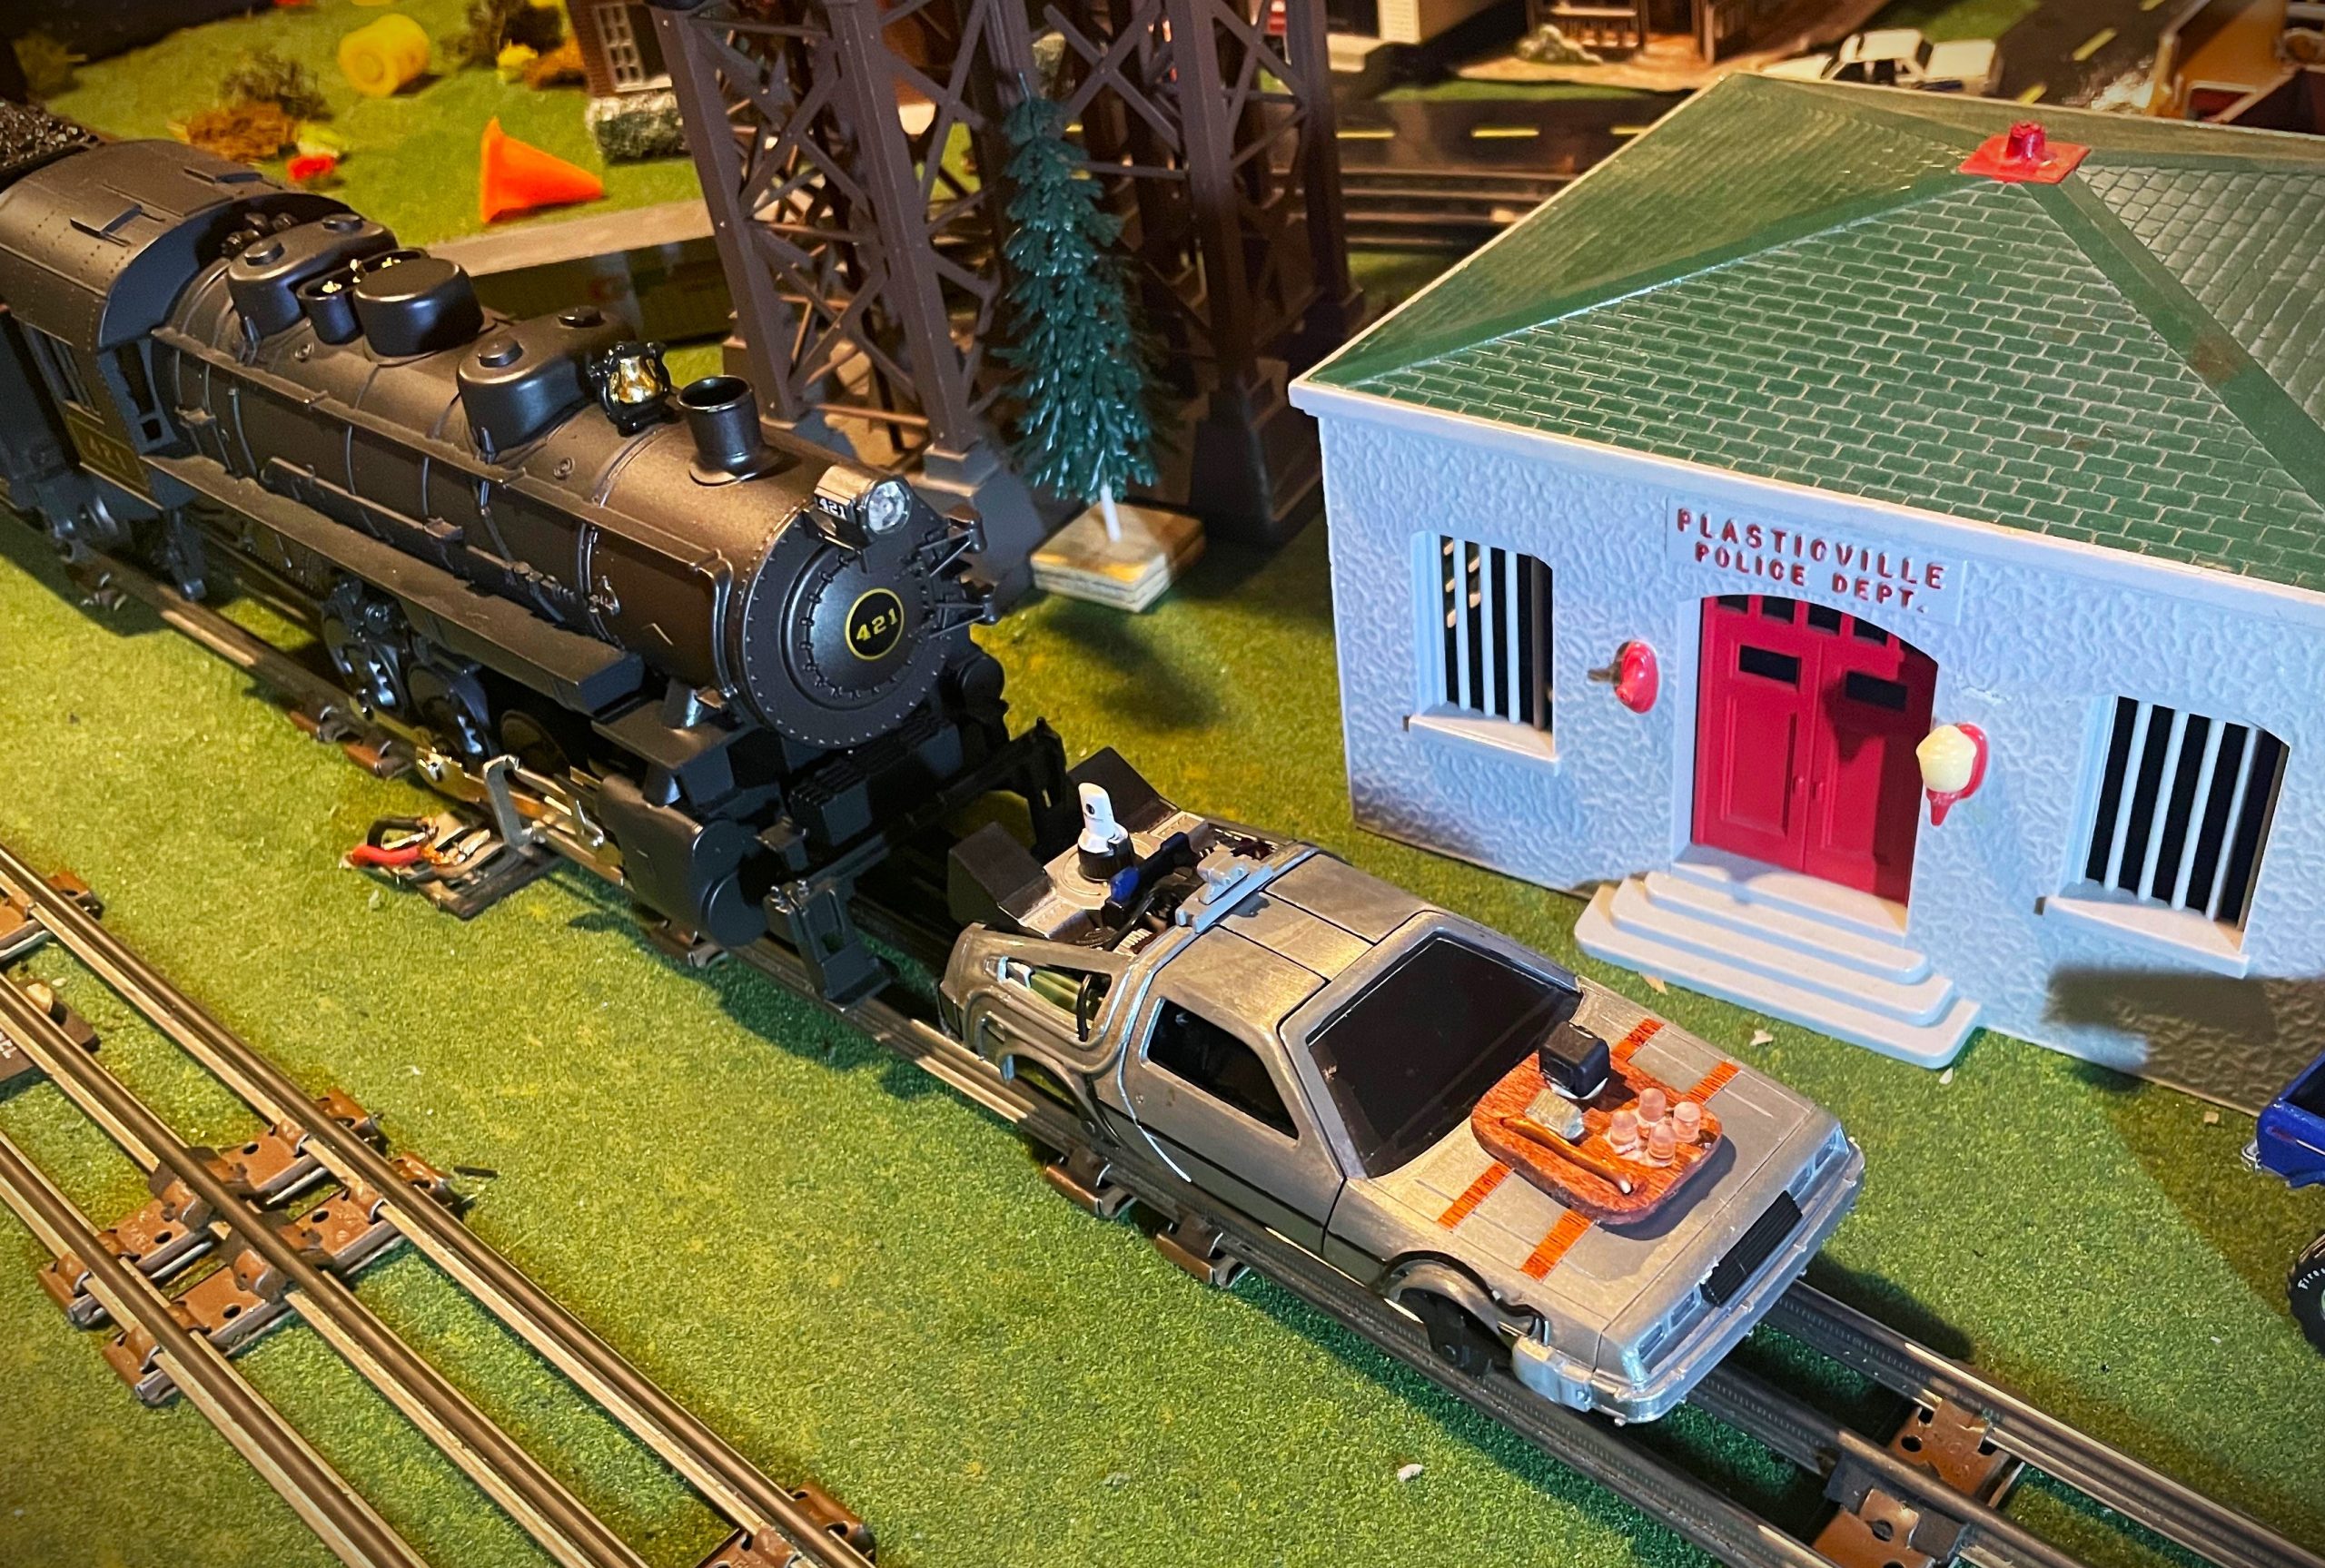
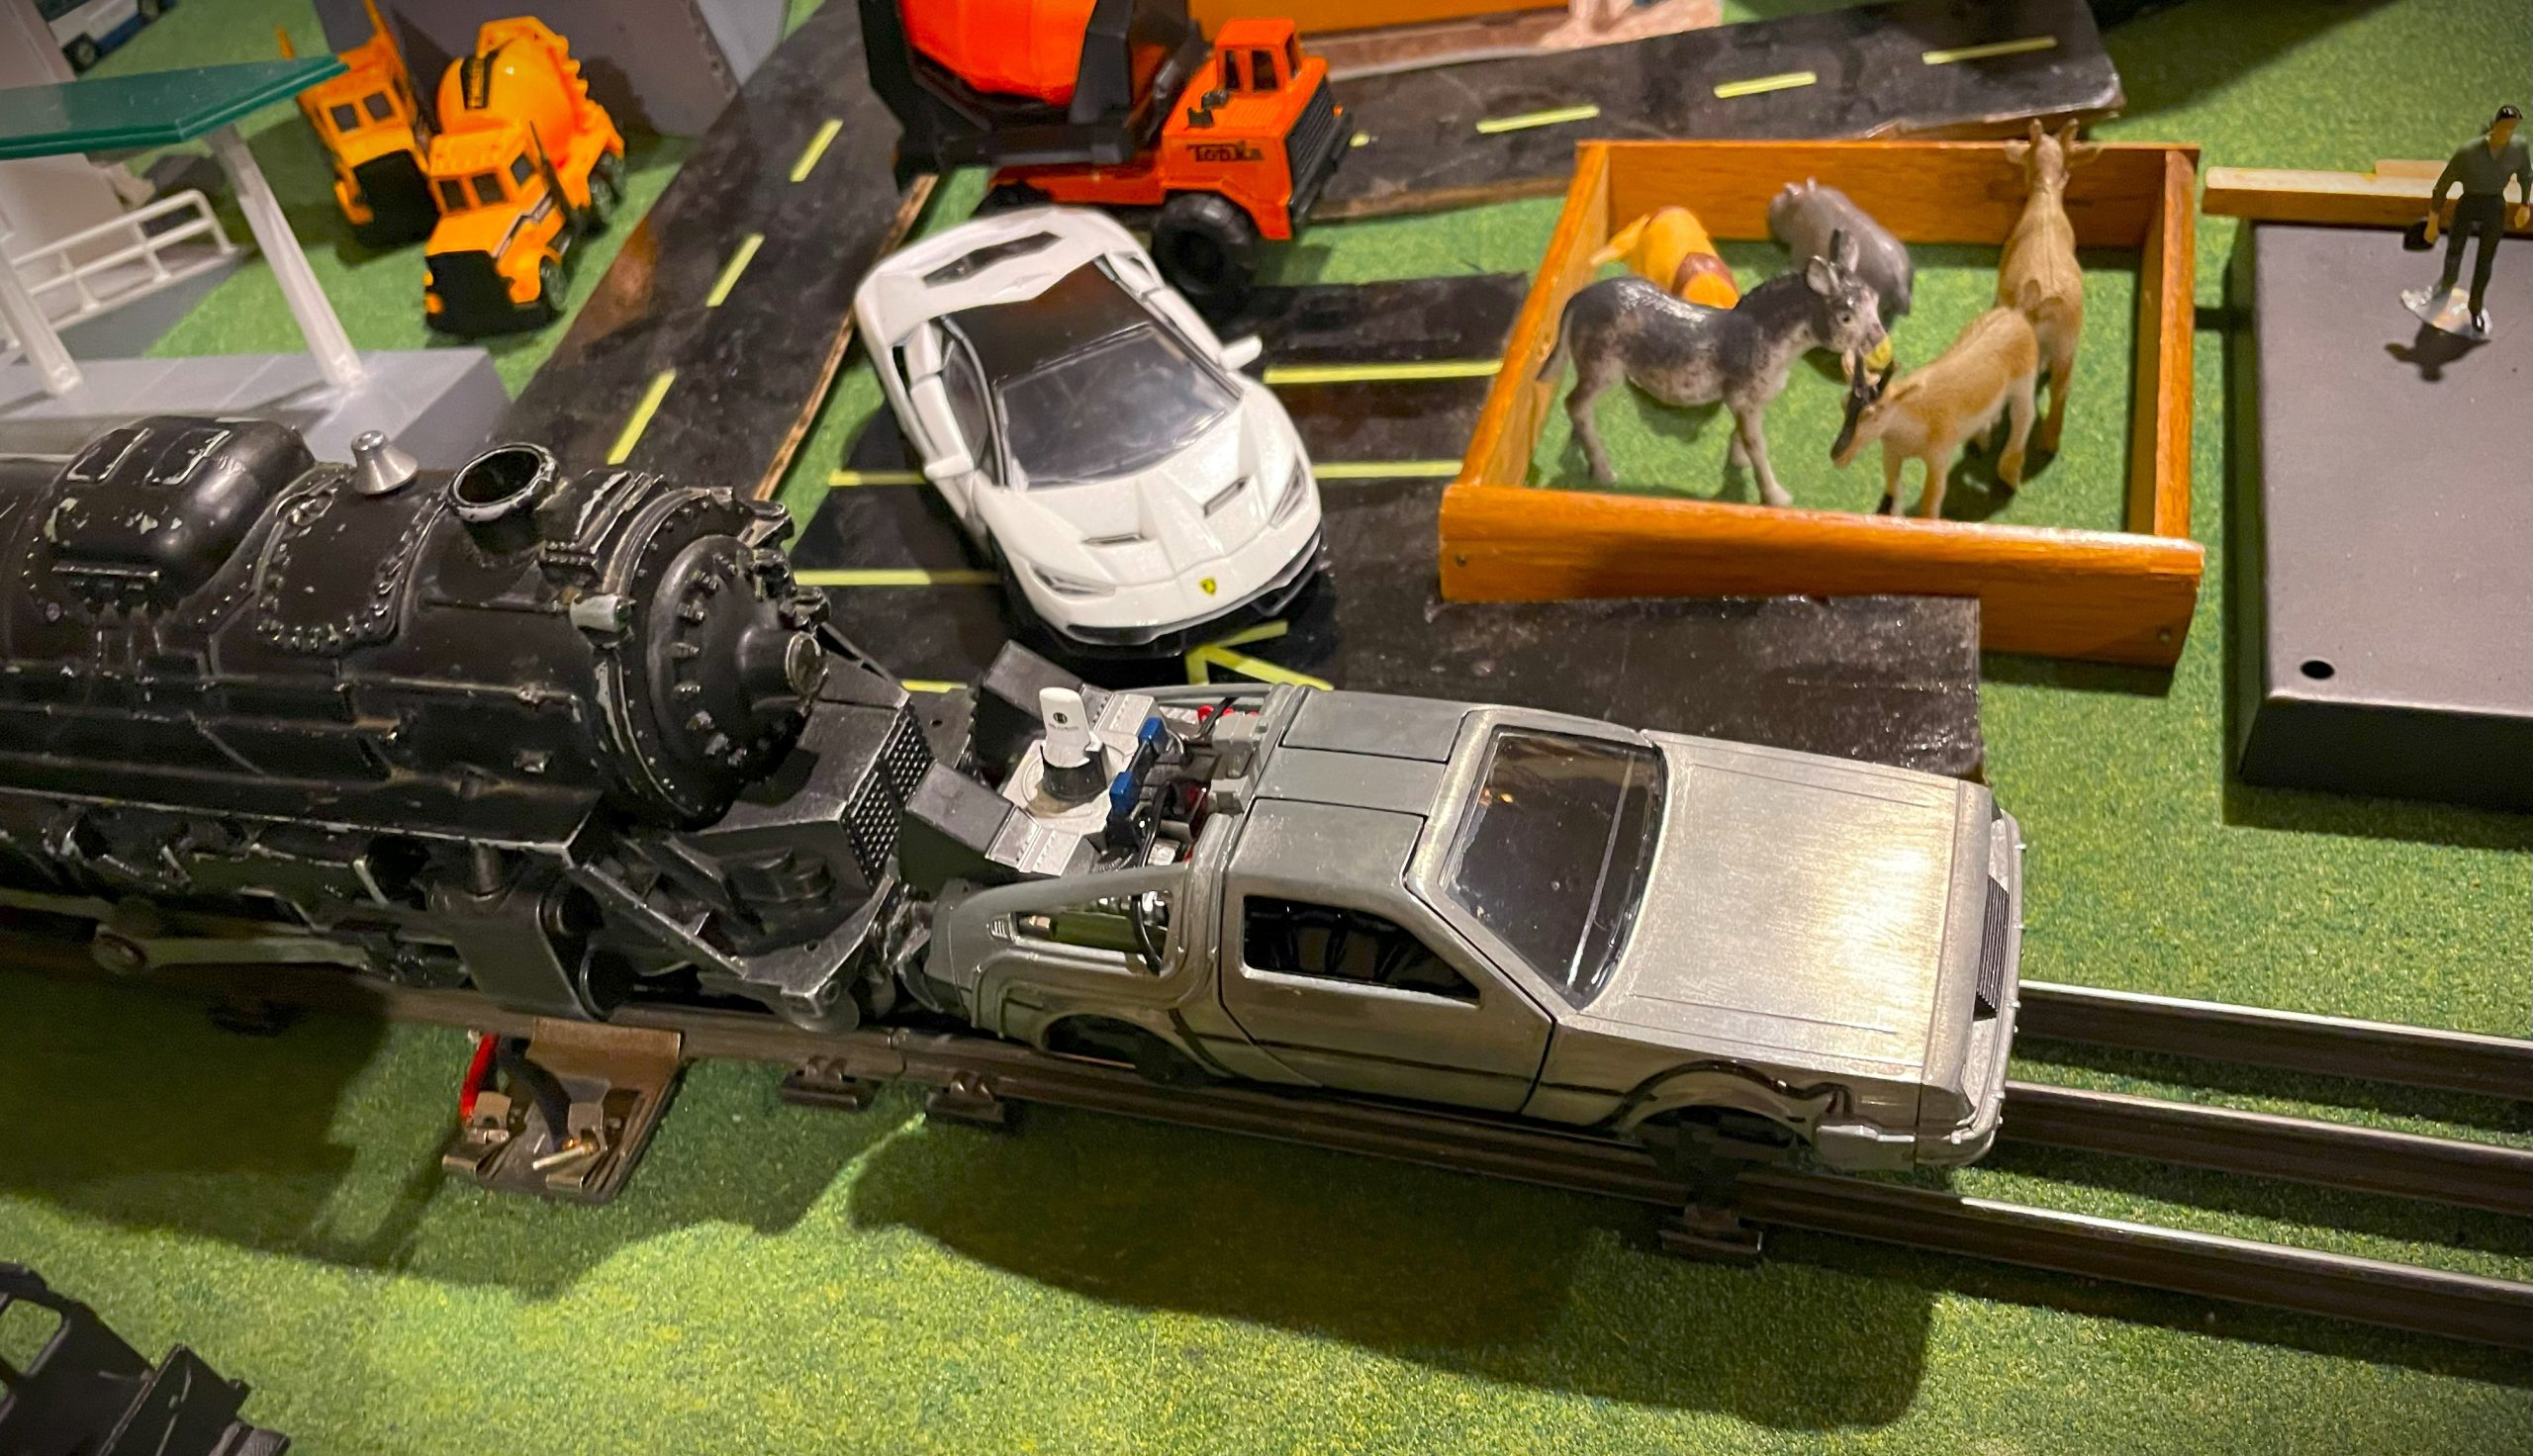
Once it was finished, the boys hastily tossed it on the track ahead of their favorite 0-8-0 Pennsylvania steam switcher and pushed it around the layout for hours, with Alan Silverstri’s “Back to the Future” soundtrack pouring through our basement stereo.
In the weeks that followed, we discovered that the little time machine played nice with most of their engines around the simple 4 x 8 foot oval tracks. Only a few times did the DeLorean derail ahead of some of their larger, faster locomotives.
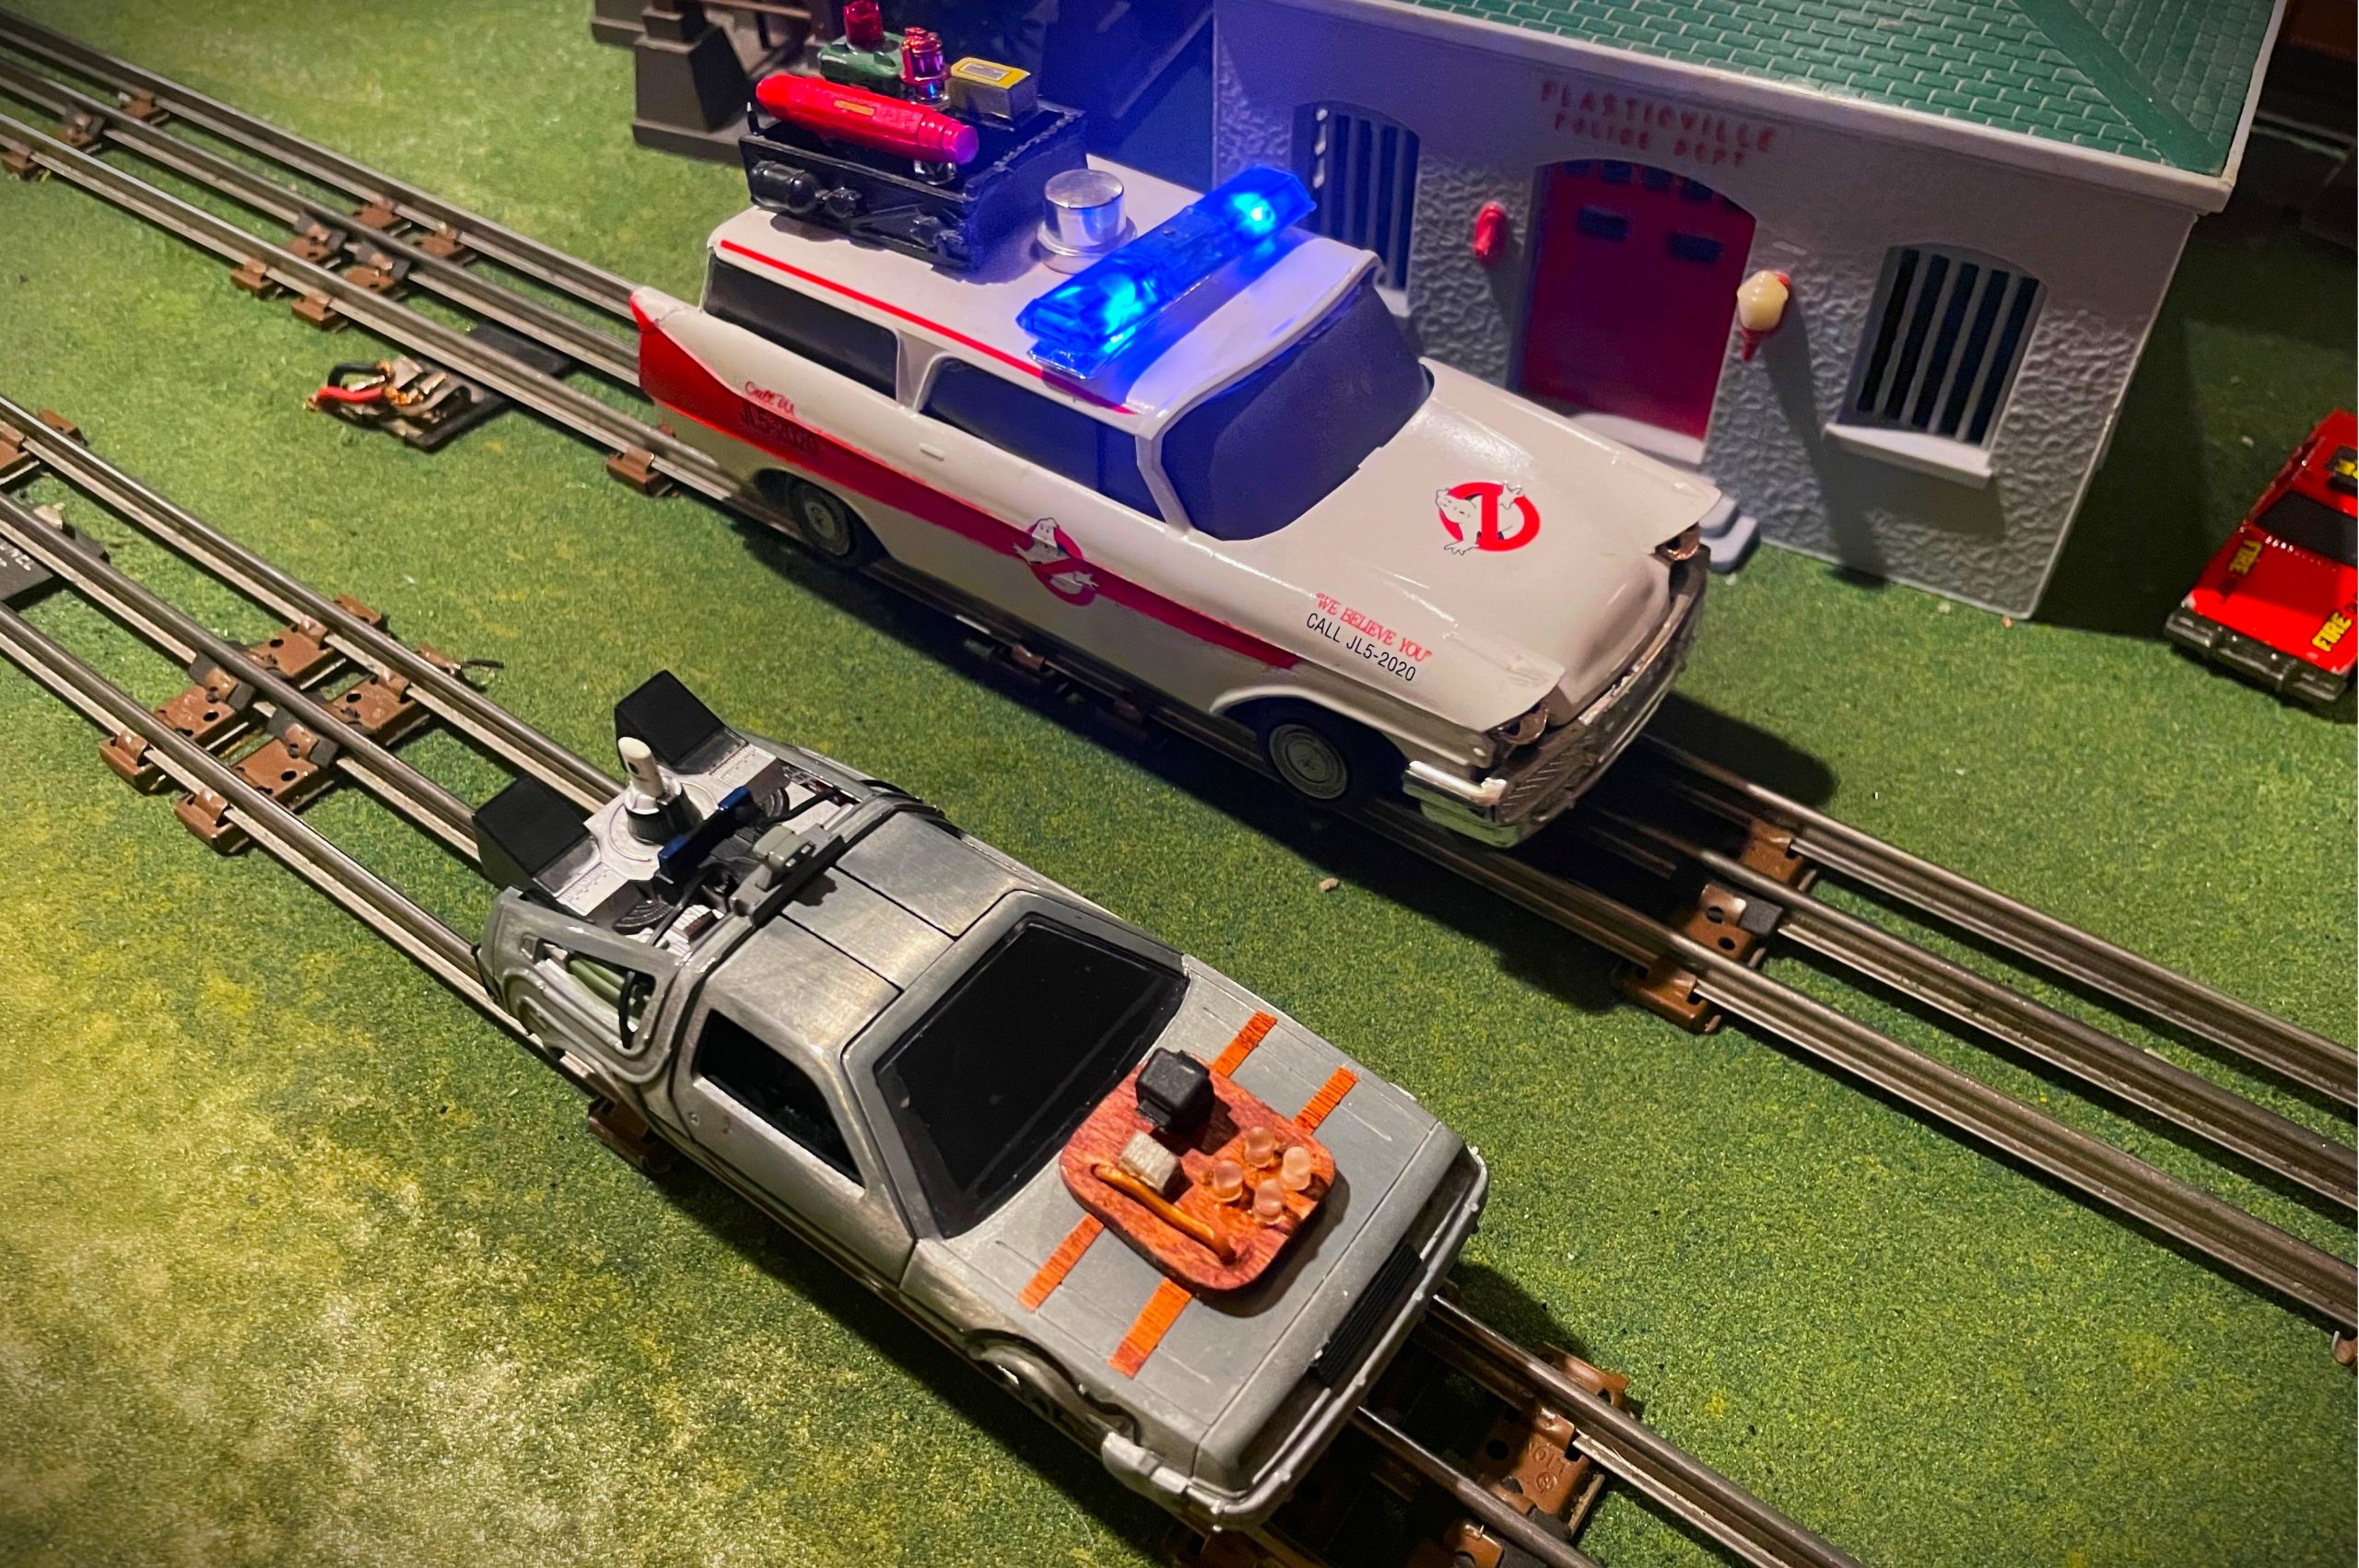
And it looks great parked on the track next to our last movie-themed model train project…
You may enjoy this article too: Hot Wheels—The Tiny Toy Cars That Inspired Millions of Gearheads
Comments