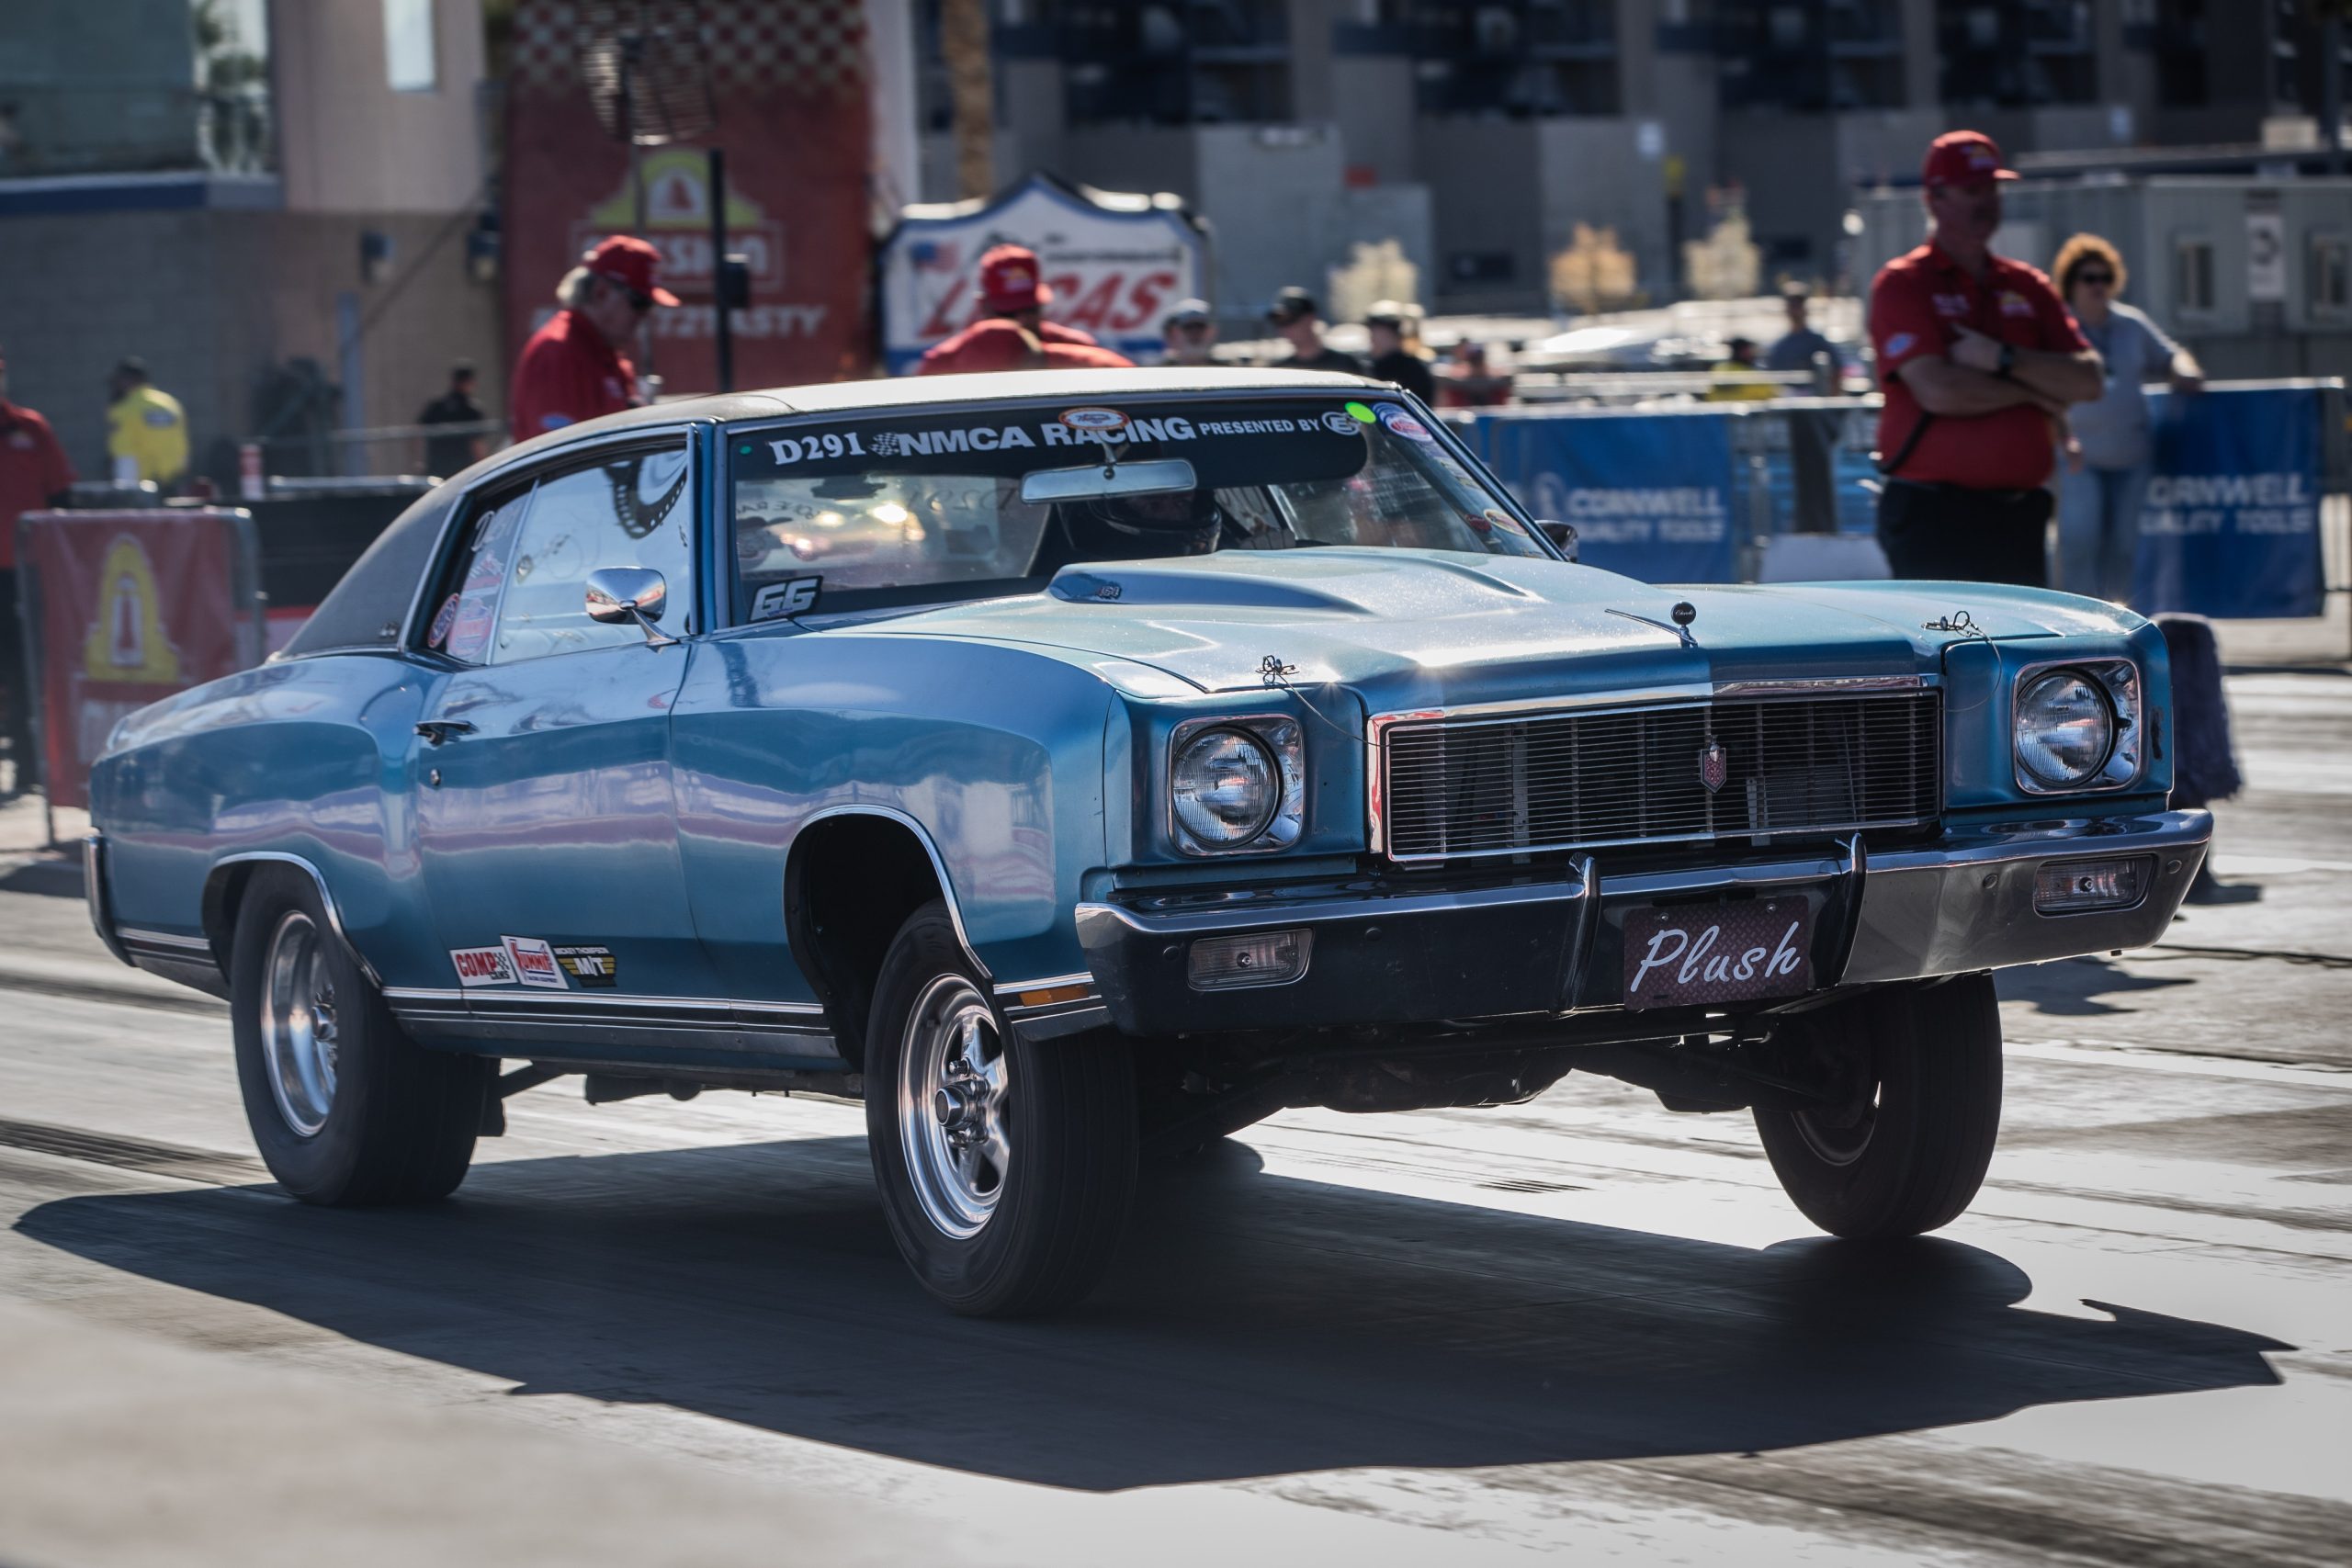
One commonality amongst straight-line performance enthusiasts is that we want to know what our vehicle will run in the quarter mile. In the old days, we’d see magazine editors wringing out new cars to publish the quickest elapsed times possible. Today, we turn to YouTube and other web-based sources for this vital information.
What the newbie will quickly learn is that it takes time to master the skills of preparing, launching, and shifting (if your car, truck or bike has a manual) and it all must come together to make great runs. In drag racing, the scoreboard doesn’t lie and matching what you read in a magazine or saw on the web isn’t always so easy. And without an education you’ll be left wondering; is there a quicker e.t. left in there?
The answer is often YES—you can run quicker, and chasing elapsed time is part of the fun.
While rookie racers must start with the basics, in short time you’ll be showing off those time slips to your friends. Reaching your goal will take an understanding of your vehicle and its mods, track, and weather conditions, and lastly, you’ll need driver talent. Knowing a bit about tires, suspension and the track’s timing system won’t hurt either.
To help you along, I’ve decided to share some of my knowledge of drag racing. I got my start in racing long before I was a magazine editor (I spent 20 years producing Muscle Mustangs & Fast Fords magazine), and over time I’ve won on the NHRA sportsman level and served as a test driver for Ford Motor Company on a variety of Mustang programs. But credentials aside, most of my early drag racing came when I was a cash-poor college student craving low elapsed times.
Back then, my ’87 5.0 LX five-speed Mustang served as my daily driver/college commuter and race car. I couldn’t afford to break it, so I learned to be smooth in my hunt for low elapsed times. Of course I broke a few T-5 transmissions, but that was to be expected.
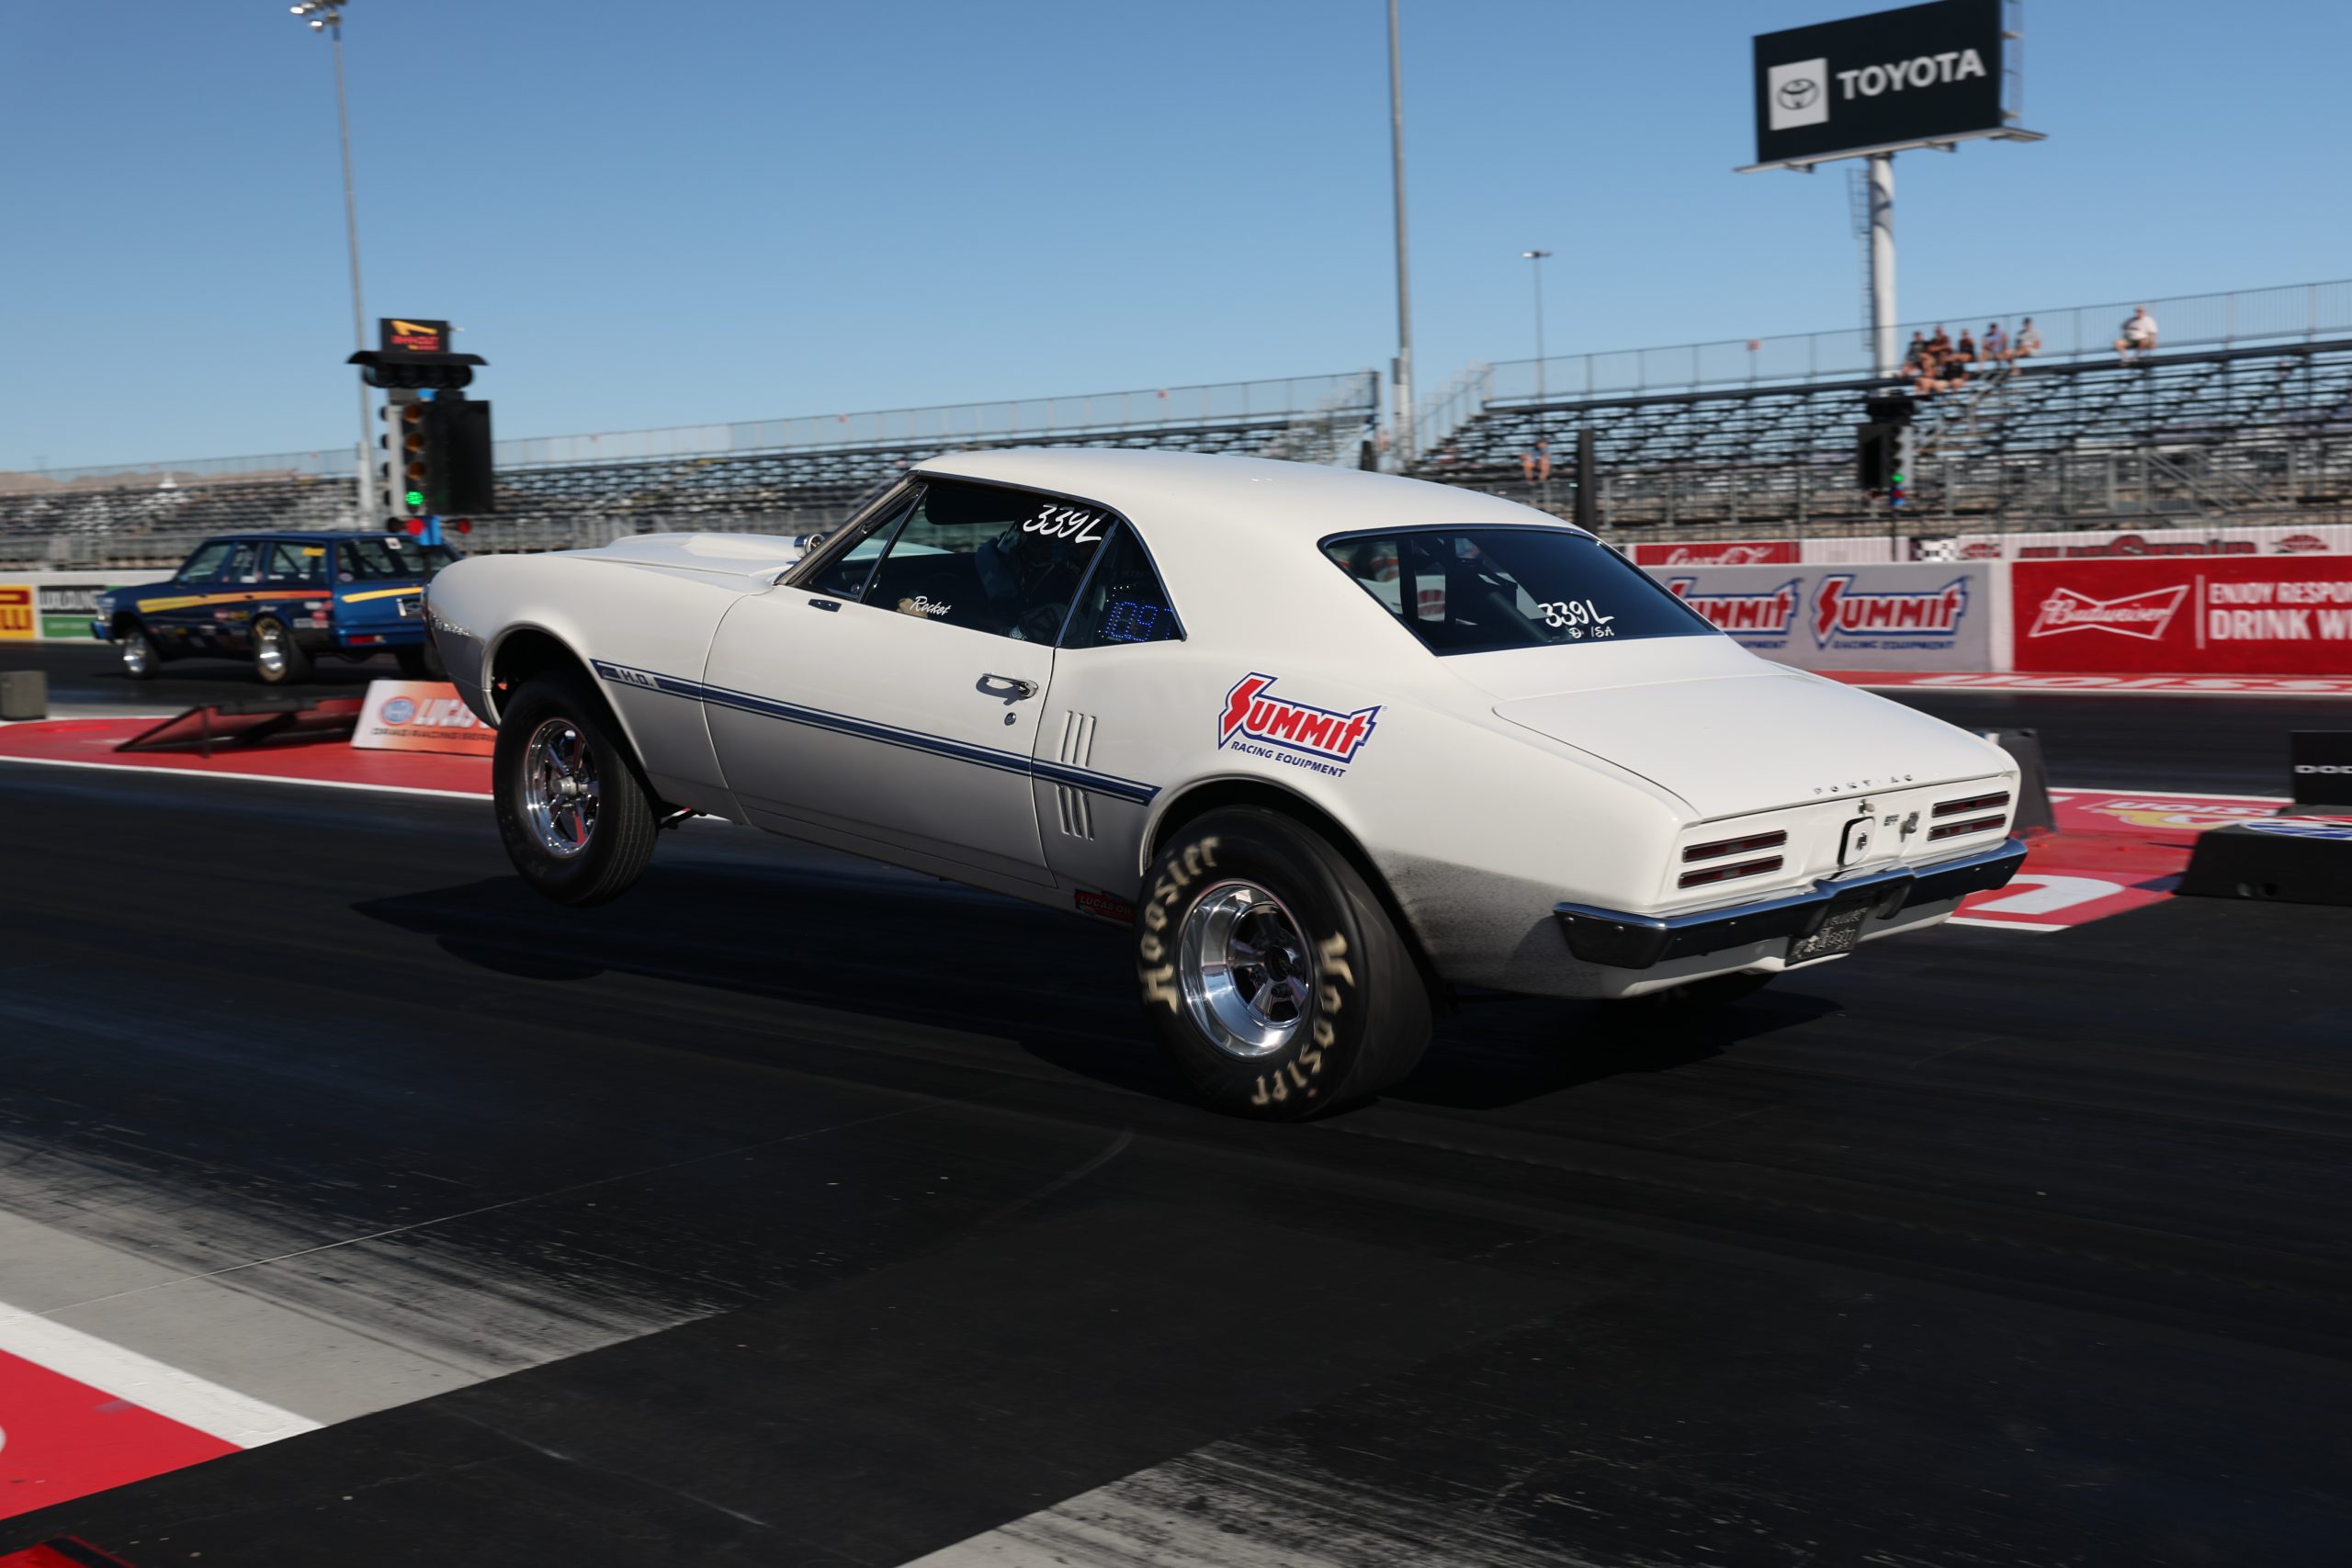
My formula was no sticky tires, no nitrous, and no blower. I learned to launch using street tires, too. Becoming proficient required a smooth clutch release combined with aggressive, but controlled, throttle application and a feel for what the car was doing. Things are easier today as tire technology is in your favor. And that leads me to the first thing you’ll need to master, which is vehicle prep.
Vehicle Prep
While it may be obvious to some, you won’t be quick or consistent without a well-prepared vehicle. So, before hitting the track, it’s important to have your car/truck/motorcycle/sled in good running order. Most newer cars (read: anything 2005 or newer) will likely have a robust powertrain and suspension. With a stock or mildly modified engine, you can safely add drag radials or slicks without fear of breaking a driveshaft or axle.
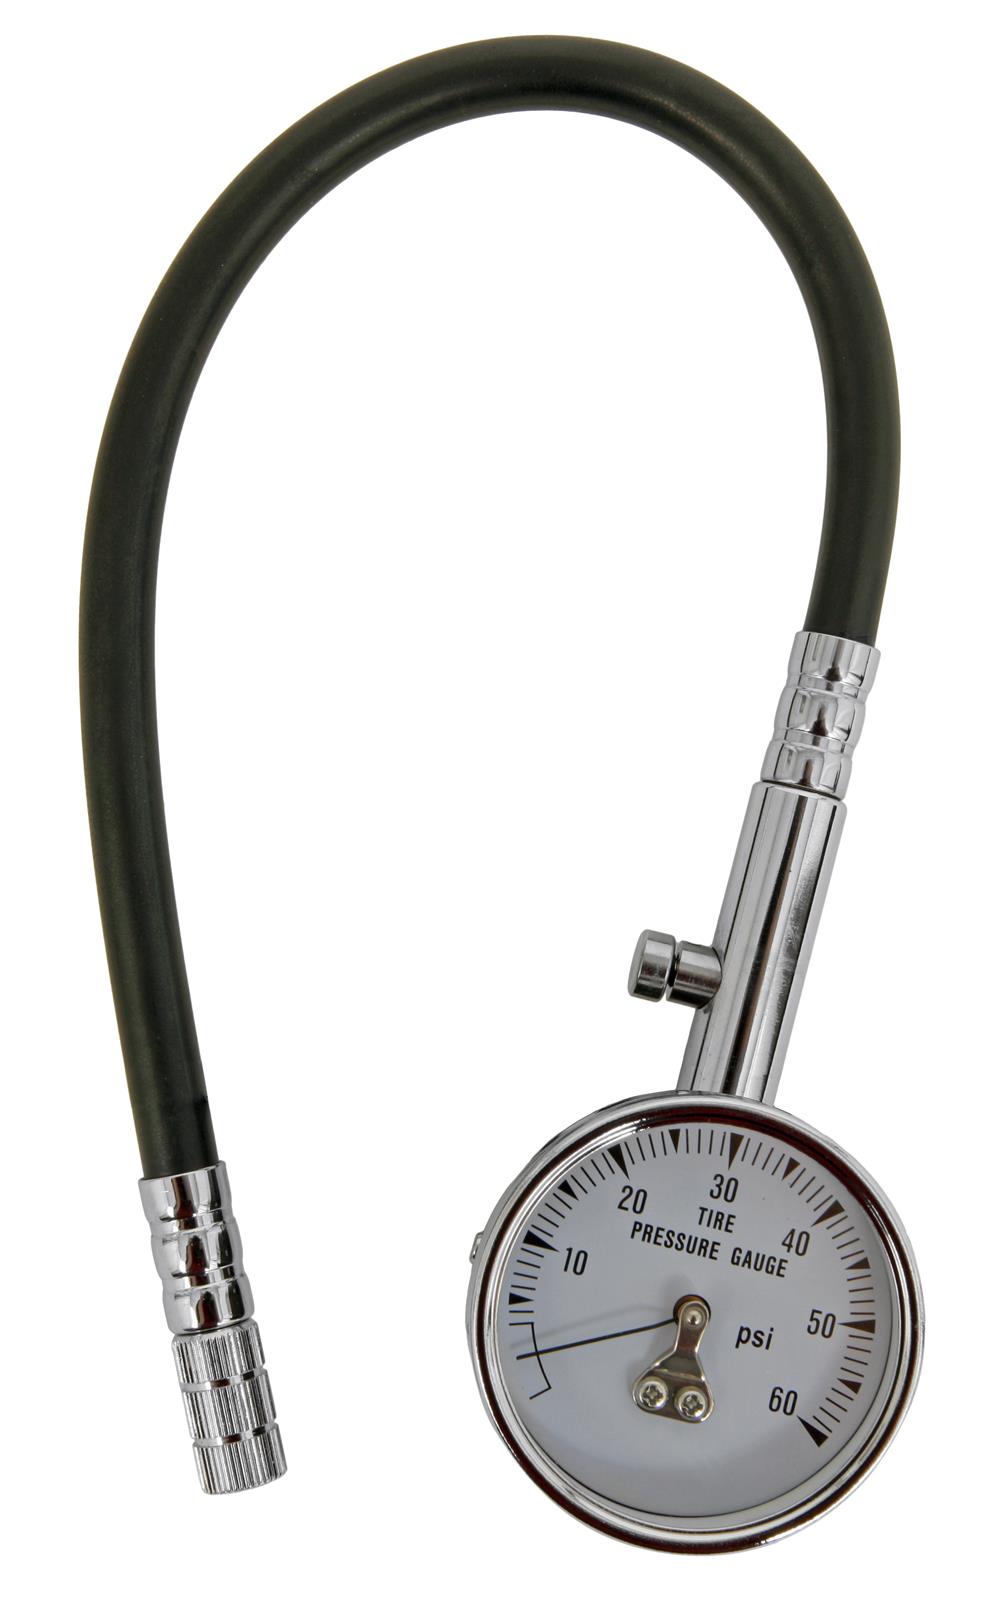
Nevertheless, get in the habit of inspecting the lugs, battery hold-down (and connections), fluid levels, brakes, accessory drive belt(s), and tires before you go to the track. If you have added significant power or sticky tires, consider a driveshaft safety loop, which may be mandatory under NHRA or IHRA rules. You’ll also want to bring along a tire pressure gauge and basic tools.
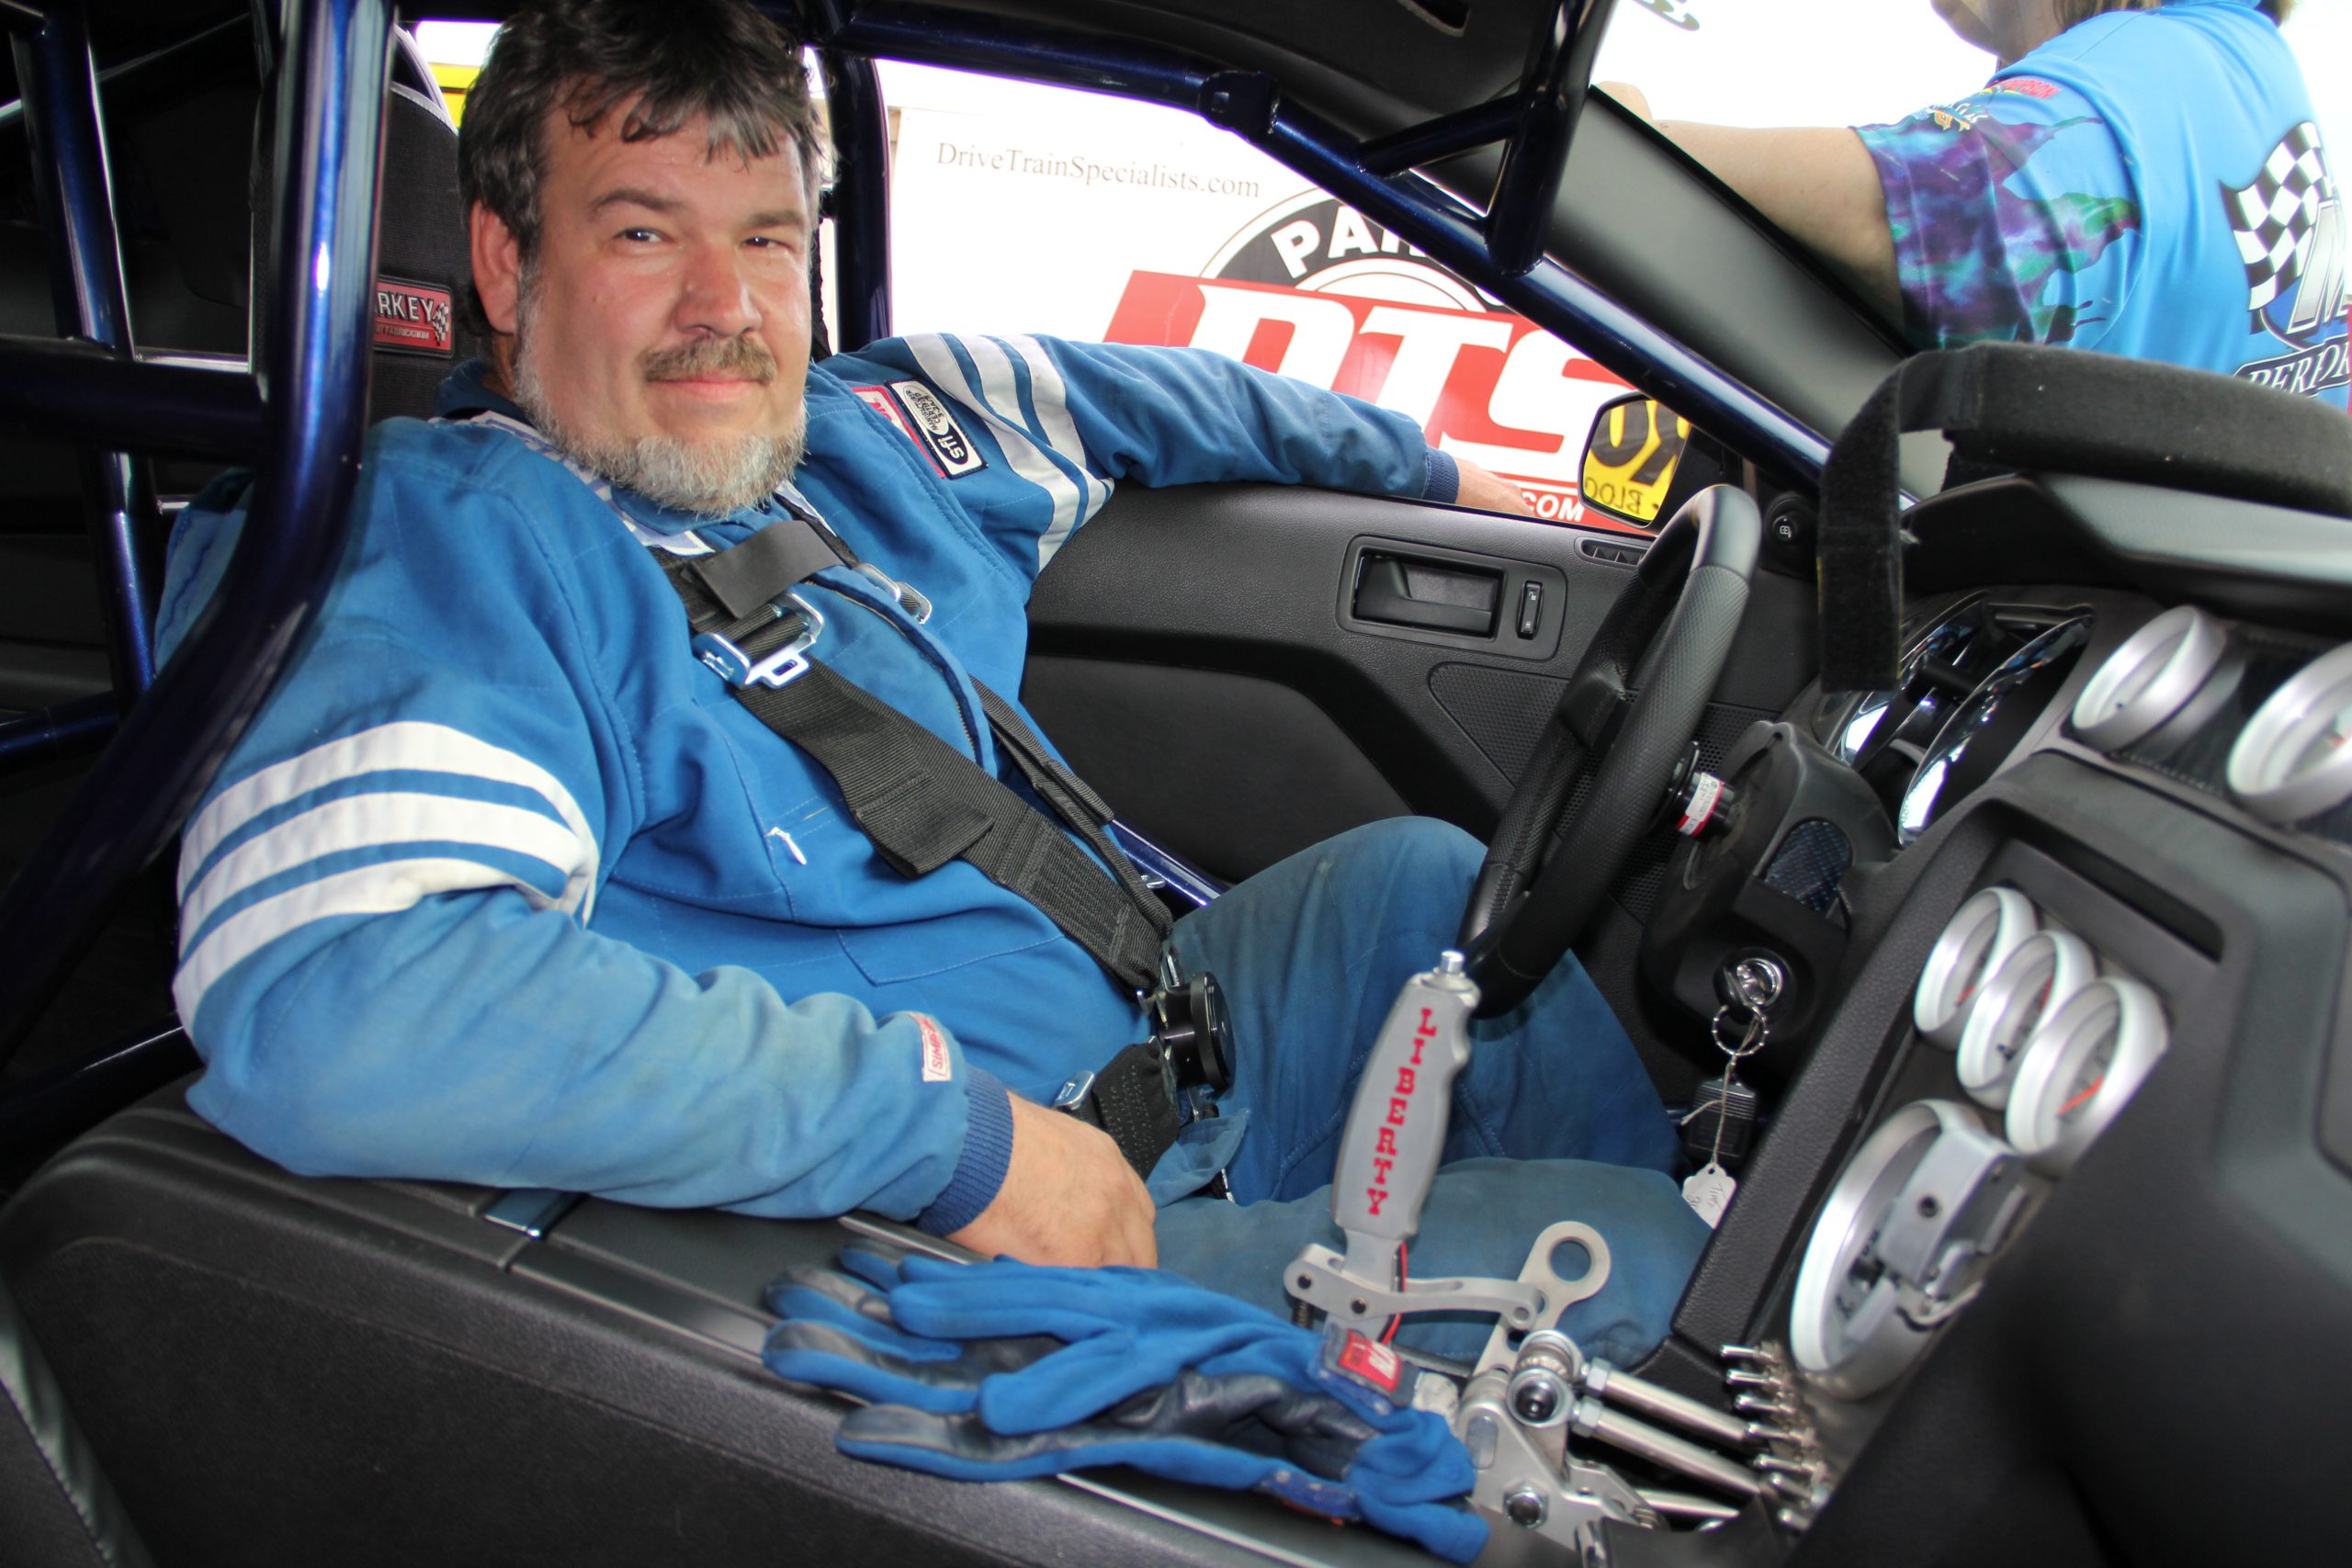
Driver Prep
Once your vehicle is ready to go, it’s time to get yourself ready to race. Drag races take place over just a few seconds and there’s a lot to get right in a short time frame. Therefore, mental preparation is just as important as horsepower in your quest for on-track success.
Good runs don’t just “happen.” They come from preparation, which in turn gives you the best chance for success. This means understanding the process along with the capabilities of you and your car. Next, you’ll build a routine by placing the tasks in order, accomplishing them, and practicing them.
My routine goes like this: before each run, while in my pit area, I charge the battery, add air to the tires, make sure my safety gear is in order and I fuel the car. Once in the lanes, I set tire pressure (right side, then left), I check the hood latch, then I slide into the seat. I attach my harness (same order for the belts every time), then my helmet, HANS device, and finally my gloves go on last. After firing the engine, I check the gauges, then I pull the belts tight (lap belts first, then shoulder belts). After years of racing, I don’t often think about this routine, it just happens from muscle memory. With a routine, fewer things will clog your mind, so you can focus intently on the tree and the actual race.
As a rookie you may feel pressure to hustle through this process. Try to resist the urge. You may be worried about holding up the guy in the other lane, but chances are you are not. Relax and complete each task as best you can. Remember, each part of the process plays a role in the outcome. Being comfortable in the car will allow you to drive better. A quality burnout leads to better traction, and staging consistently leads to good lights and consistent, predictable ETs.
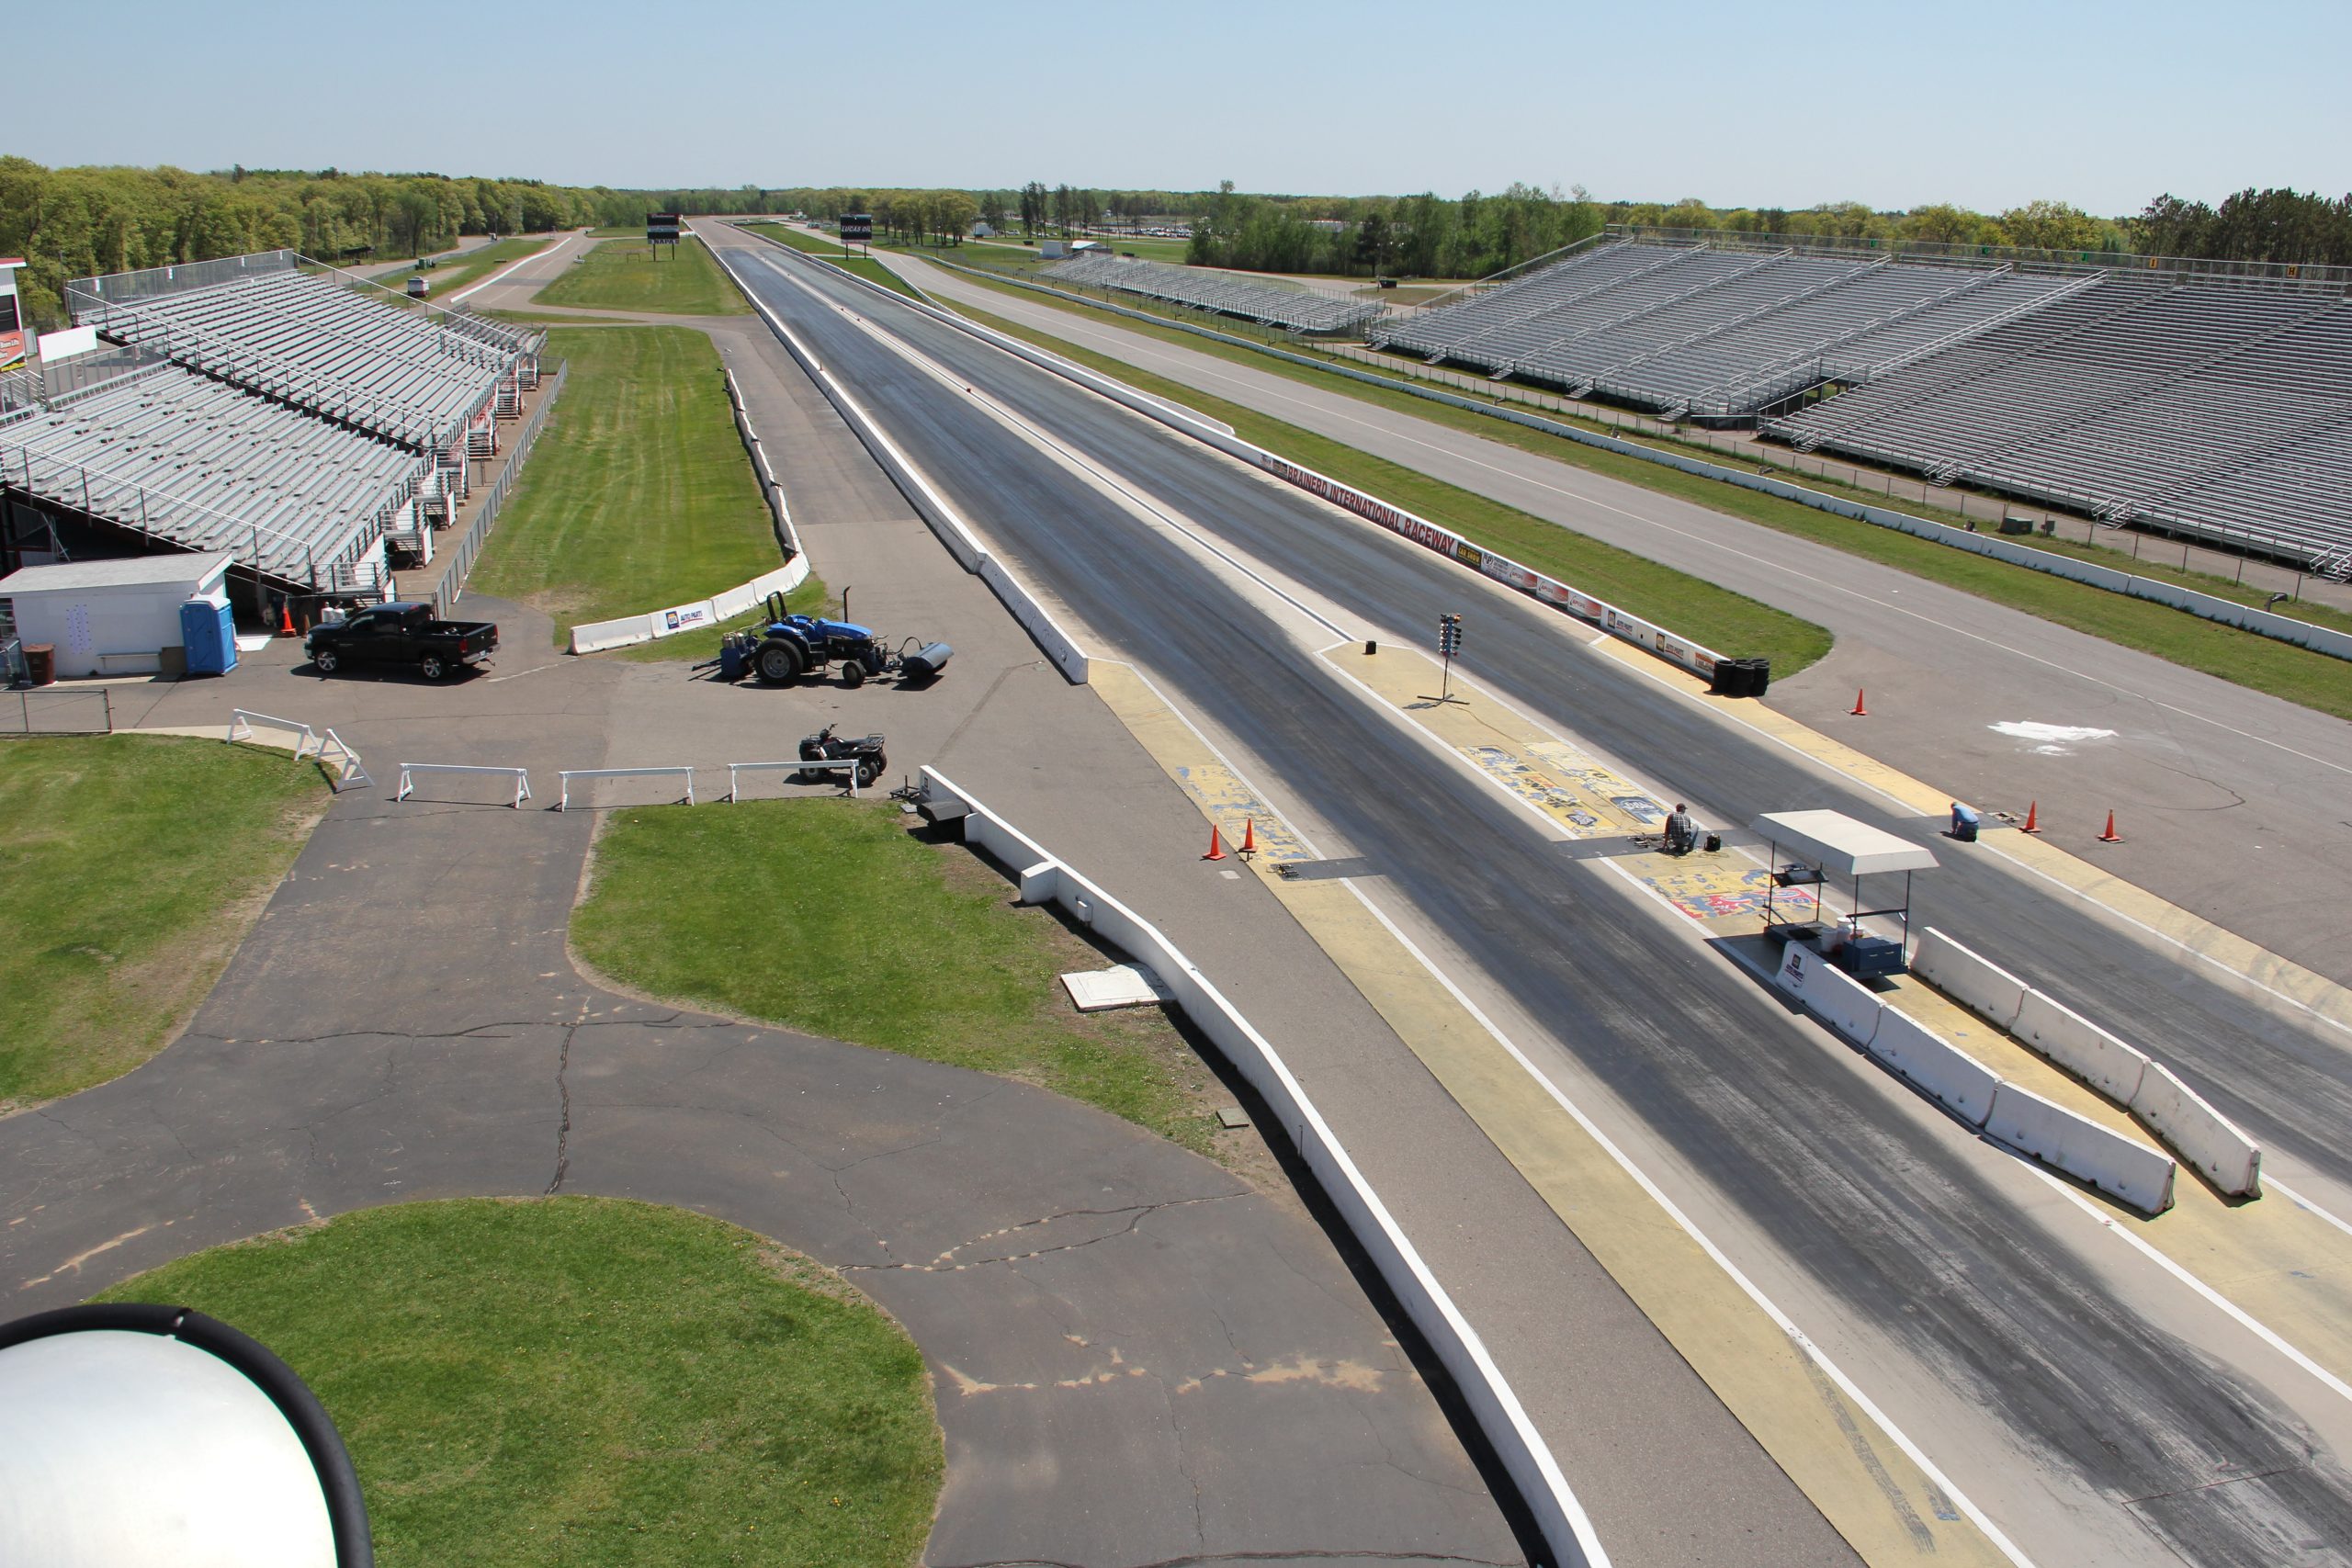
The Track
There are drag strips with various lengths (eighth-mile, 1,000-feet, and quarter mile), but we’ll focus on the good old 1,320. Before heading out for your track outing, check the track schedule. This will prevent you from showing up on VW day with your Camaro. Second, we recommend making your debut at a test-and-tune and not at a major event. You’ll get more runs; it will cost less, and there will be other newbies.
After paying your entry fee, you will fill out a tech card and then proceed to tech inspection. The inspector will look for the basic safety items, such as a radiator overflow tank, seat belts, helmet (if required), and a proper battery hold-down. If your car can run low 11s or quicker, you may need advanced safety items such as a 6-point roll bar (or cage) and harness system. Consult NHRA.com or IHRA.com for specifics on building a track-legal car.
Every track will have a slightly different layout, but you can expect there will be a pit area, staging lanes, burnout box located behind the starting line, and the actual track where you will race, plus a shutdown area and a return road. Always ask if the track broadcasts the PA announcements over the radio so you can pay attention. The timing system incorporates infrared beams with reflectors and a computer system with a Christmas Tree for staging and starting each race.
Most time slips (paper or electronic) will show reaction time, plus your incremental e.t at 60-feet, 330-feet, 660 feet (1/8-mile), 1/8-mile speed, 1,000-feet e.t. and quarter-mile e.t and mph. While e.t. is measured by the time it takes you to cover the track’s length, your speed is measured by the time it takes to pass through “speed trap” that is 66 feet long and starts before finish line.
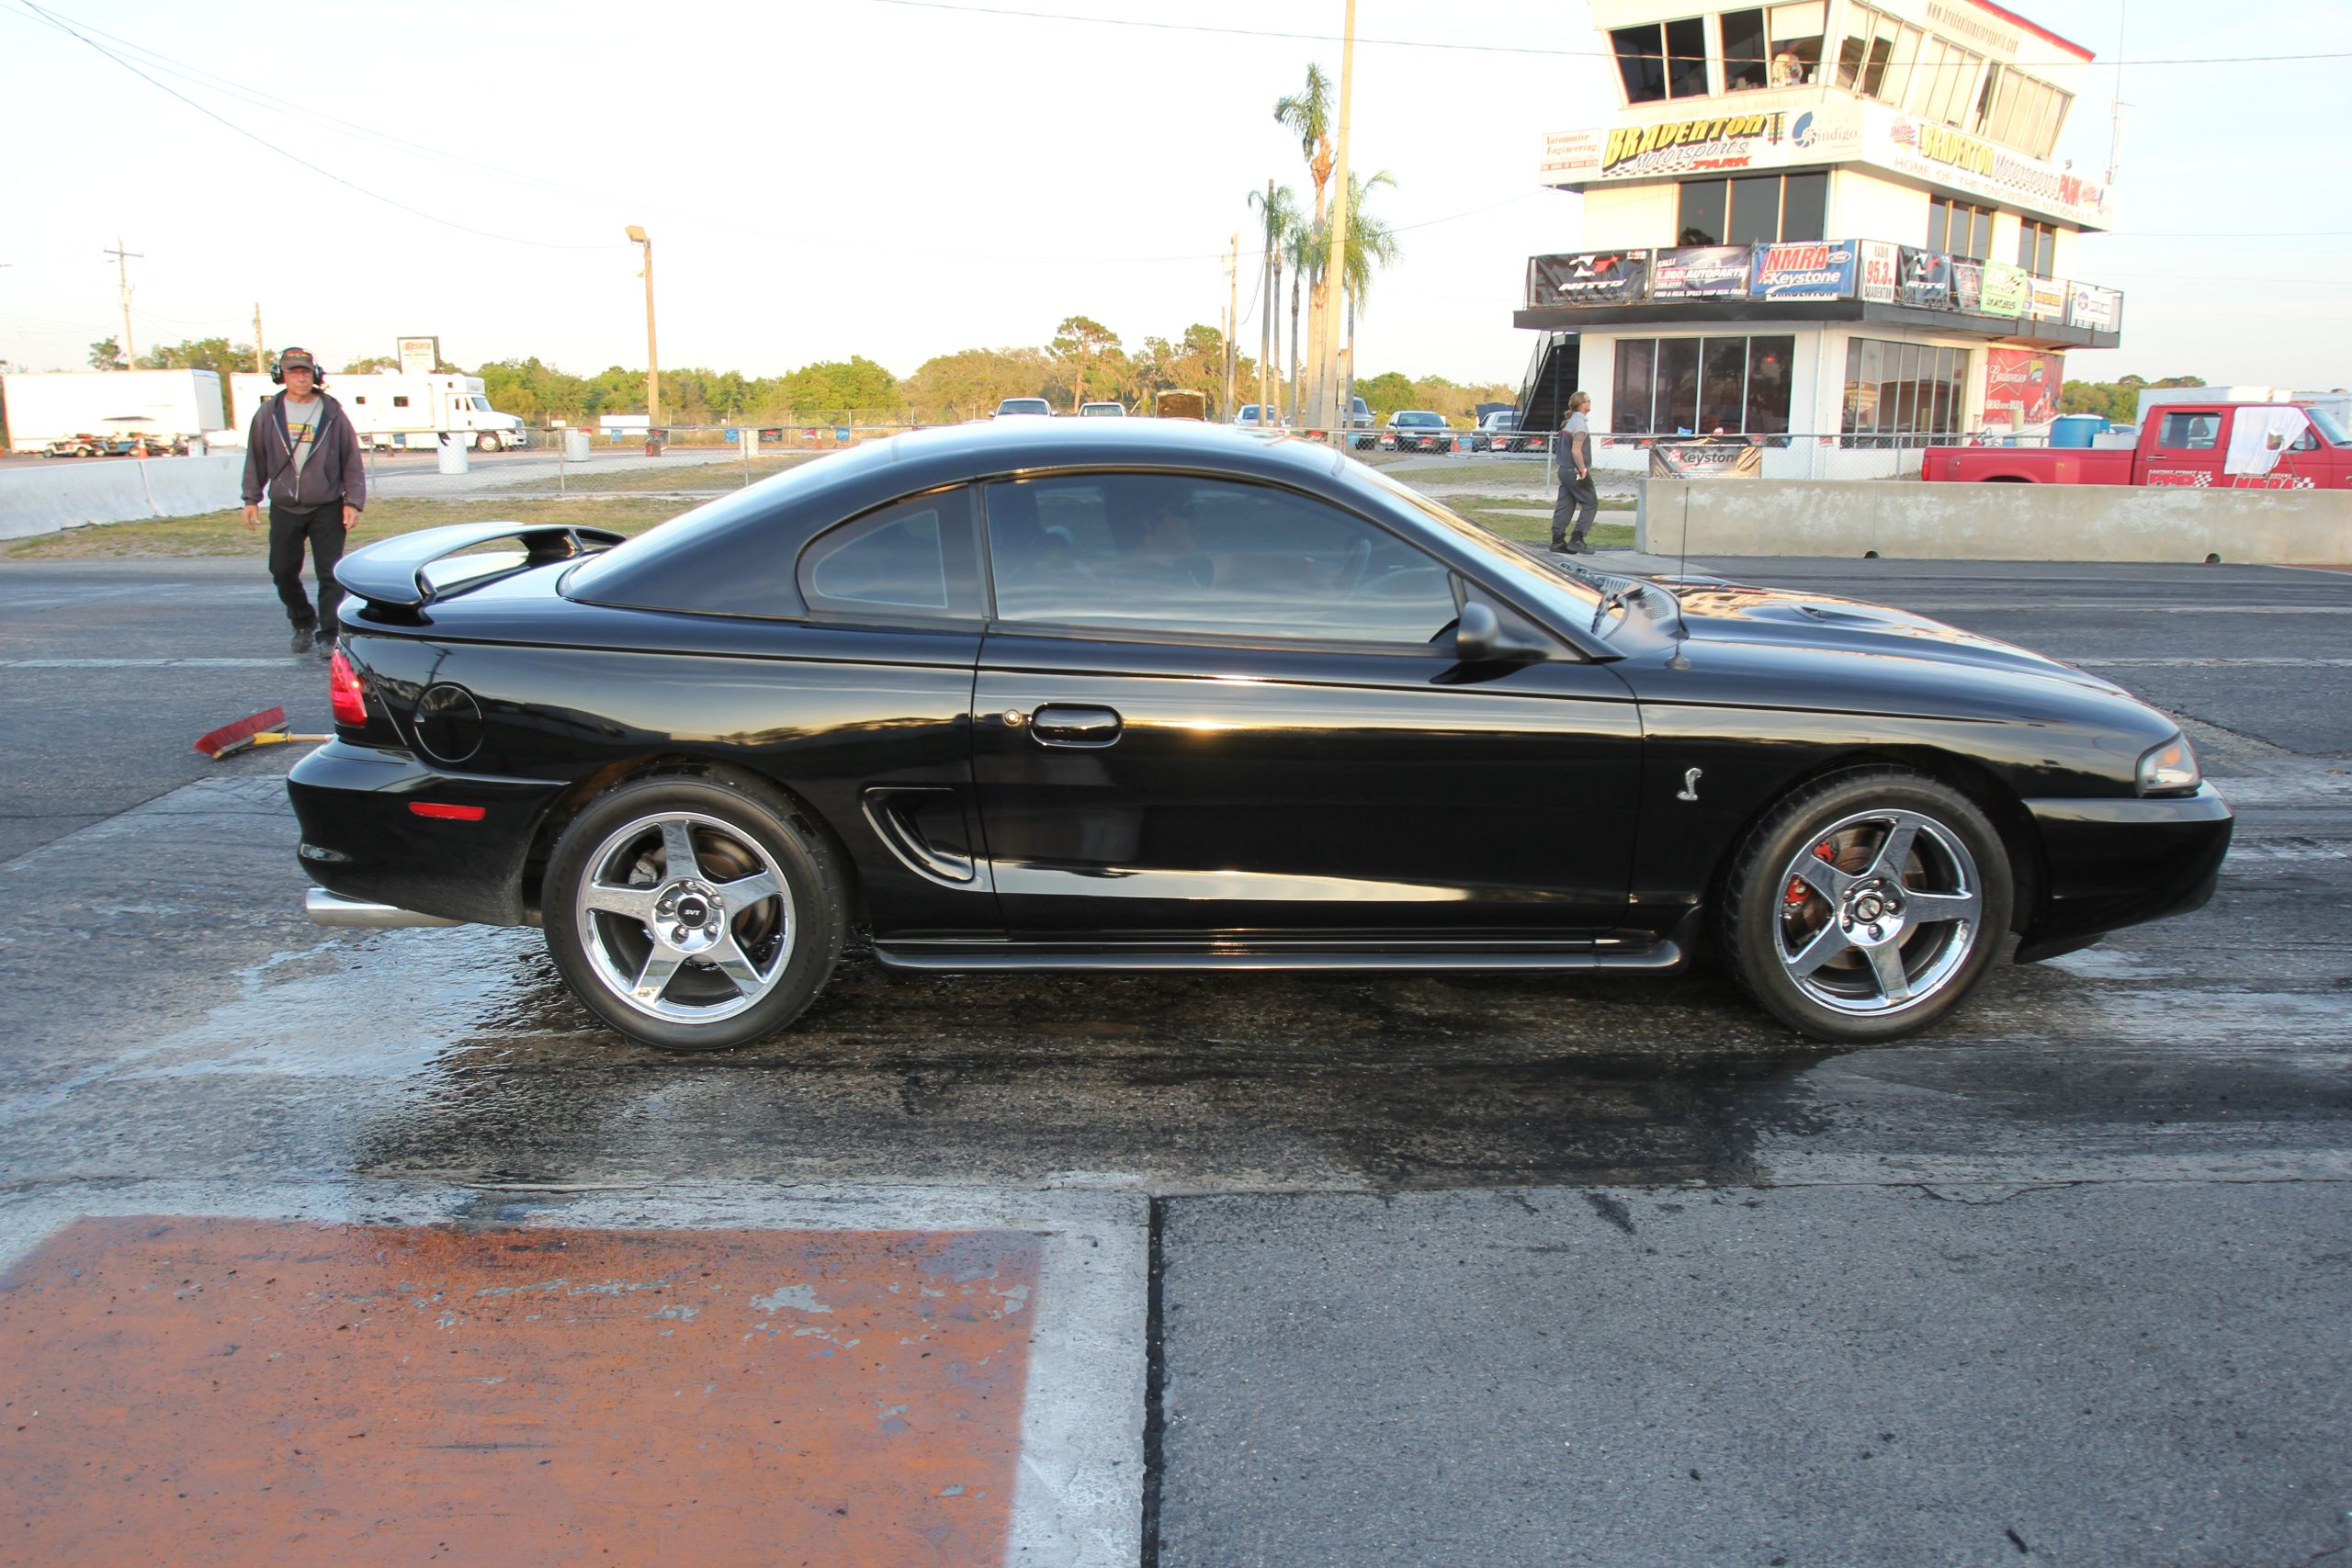
Burnout
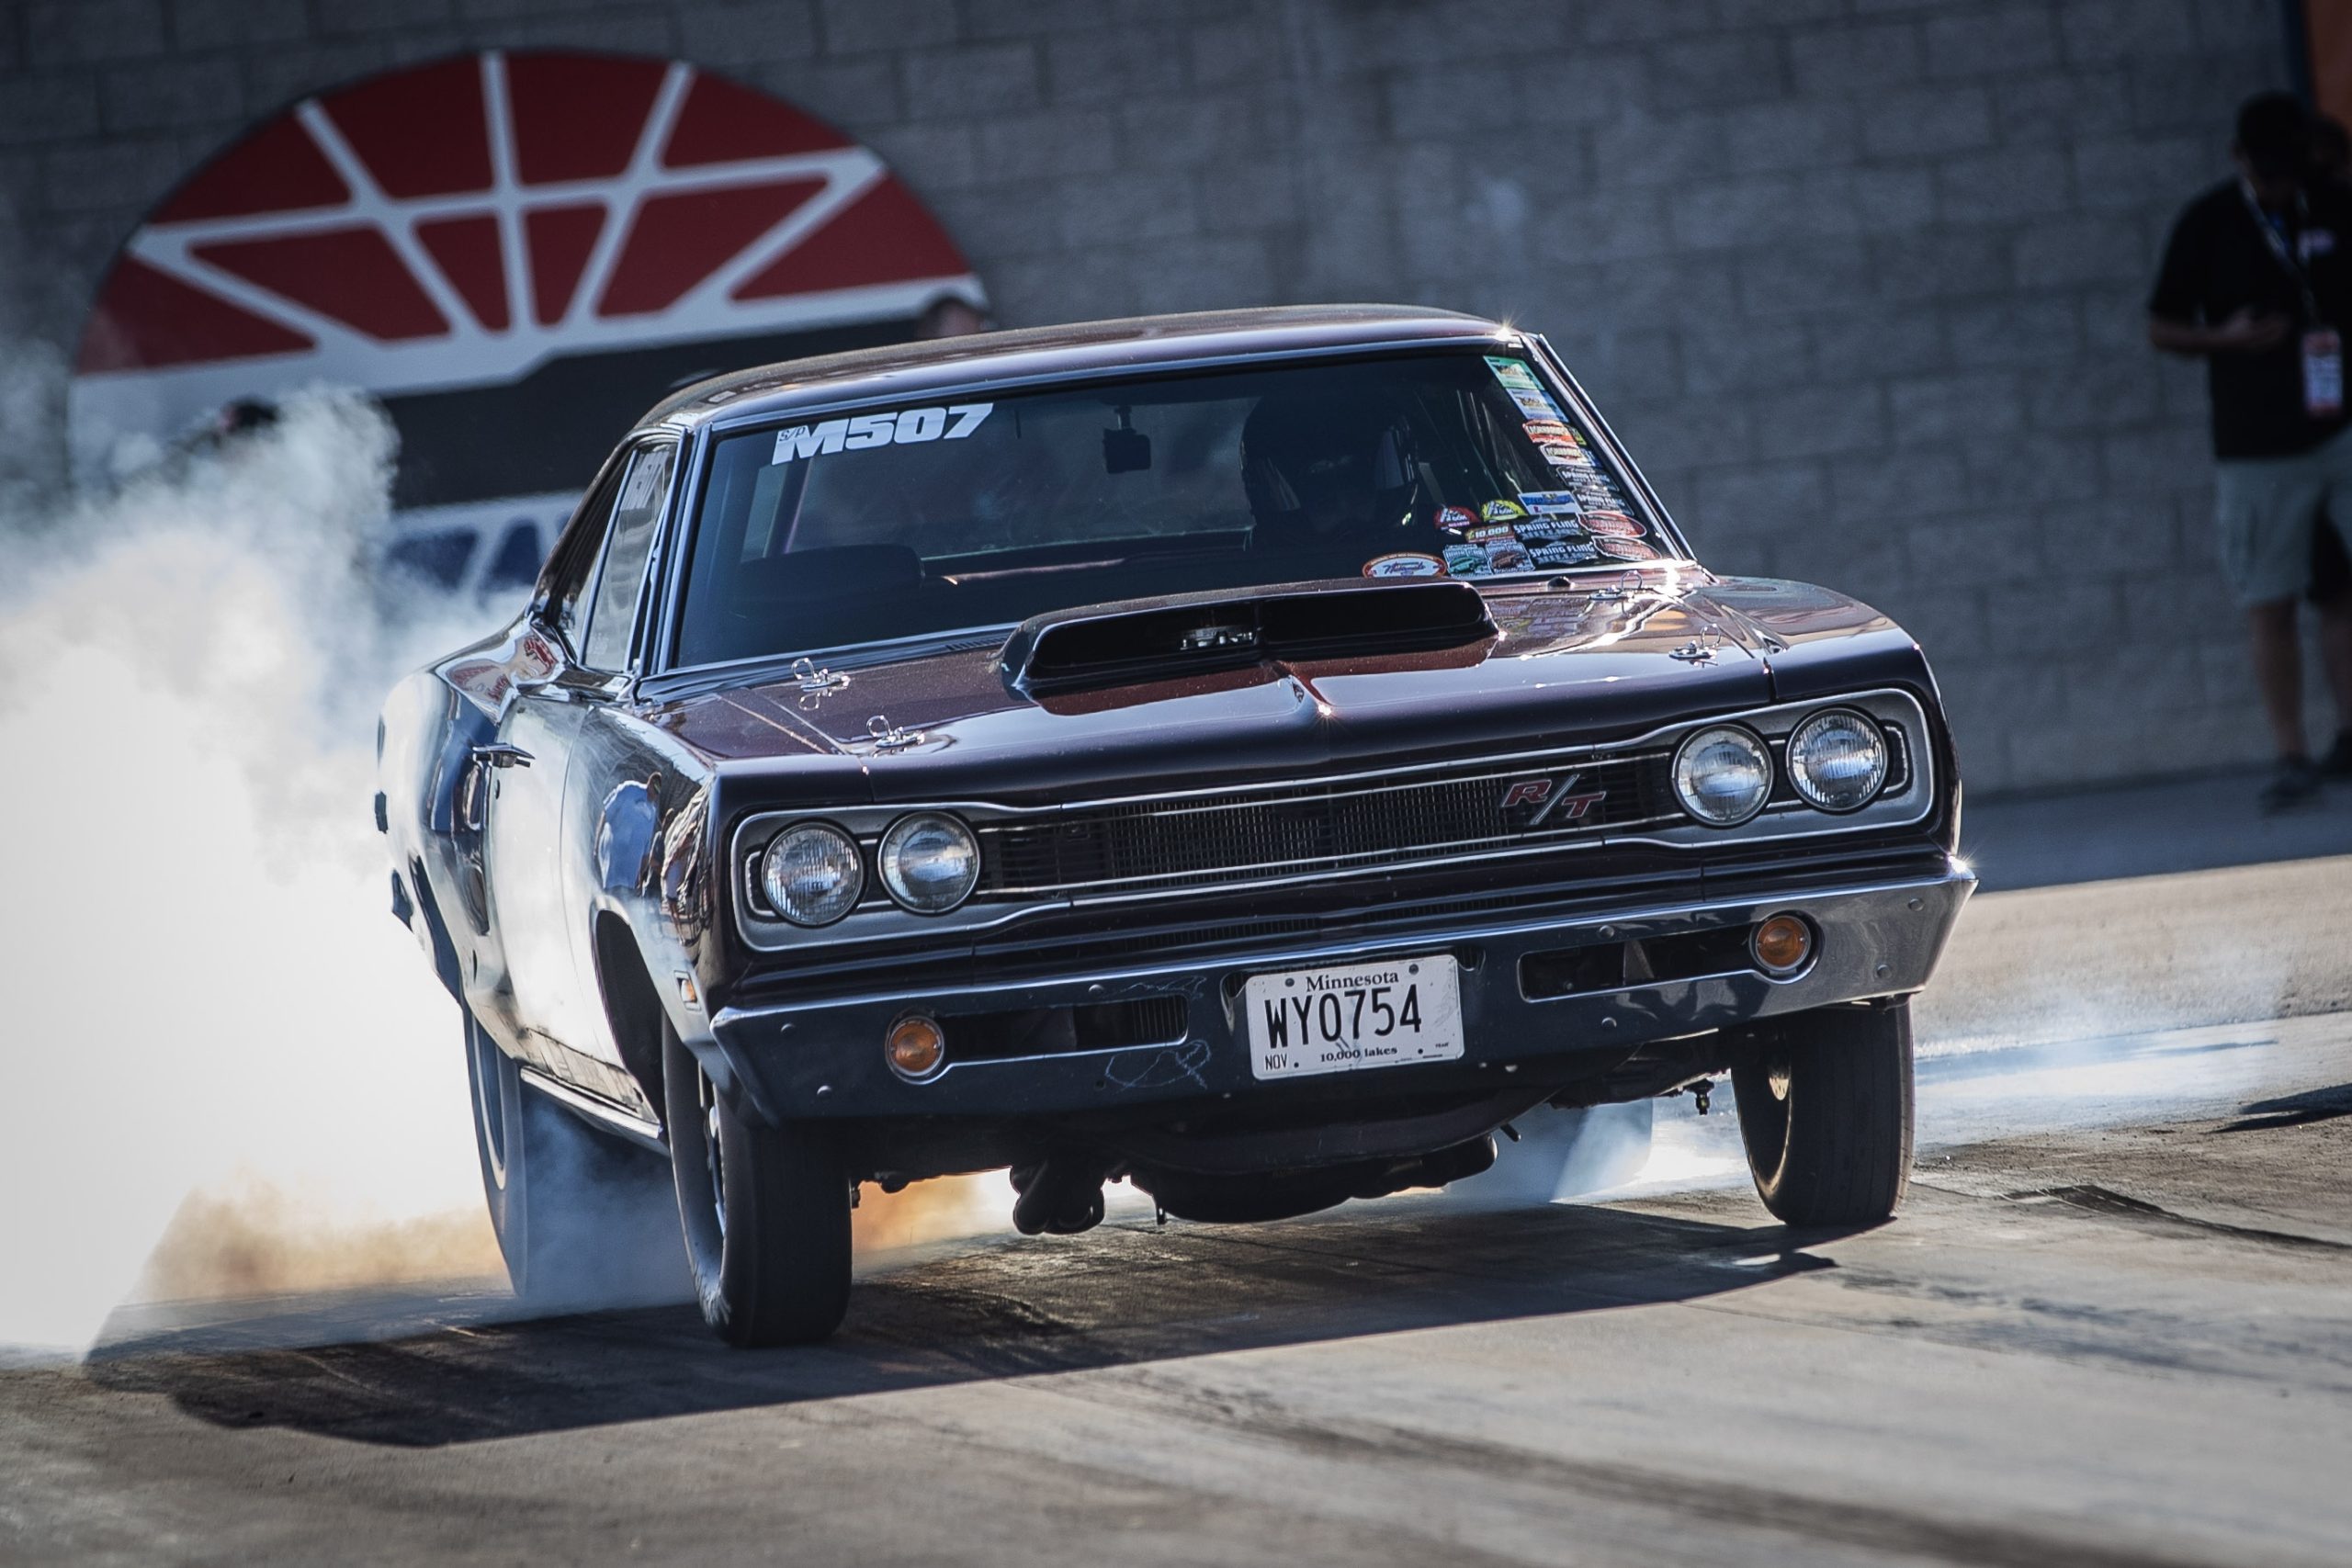
Before making a pass, it is best to do a burnout—yes, even if you are running street tires. Burnouts are fun, but most importantly they prepare your tires for launch. The length (in time) of the burnout is dependent on track, weather conditions, and the type of tires you are running.
Most importantly, the burnout cleans debris from the surface of your tires and prepares the surface for launch. Too much burnout wears out your tires prematurely and can bring oils within the compound to the surface making them greasy. By burning out properly, the outer most layer of the tire is shaved away, and a fresh surface is revealed. Additionally, the tire heats up and gets sticky. On hot days less burnout is needed, on cold days you can heat them longer.
Here are a few things to avoid: Don’t do a burnout with your tires in the middle of the water puddle. Of course, you want the tires to be wet (as this helps them to get spinning quickly and easily), but ALWAYS roll through the water box to the front or just out of the water before burning out. However, don’t roll too far, because the track gets very sticky just ahead of the burnout box, due to the cars powering out and laying down fresh rubber. Some tracks are so sticky between the burnout box and starting line that attempting a burnout there can break an axle or melt a clutch in seconds. Pay attention to the track officials, and with the tires wet, begin the burnout.
Auto Burnout
To get ’er done, place your left foot on the brake and your right on the throttle. Apply enough brake pressure to keep the car from moving, then feed in throttle to get the tires spinning. Nailing the throttle will jerk the car forward, you don’t want that. Aim your side-view mirrors at your tires to monitor the smoke and keep the rpm steady. Generally, 3-5 seconds is enough to get the tires cleaned and heated. Release the brake, feed in some throttle, and drive forward under power.
Stick Burnout (No Line Lock)
This is tricky because you must work all three pedals with two feet. As described above, first, get the tires wet, roll forward and stop. If you have 3.55s (or numerically higher gears such as 4.10s or 4.30s), do the burnout in Second gear—and don’t upshift.
Rev the engine between 4,000-5,000 rpm and snap your foot off the clutch and quickly grab the brake with the ball of your left foot—however apply just enough brake pressure to hold the car. Applying too much brake can bog the engine, since you will be applying rear brake, and you’ll have to feed in throttle to keep the revs up. Getting this right takes a bit of practice—so get out there and practice. Remember, you only want enough pressure to hold the car for a few seconds. Wait until you see ample smoke and then release the brake—but (now listen, this is critical) add throttle and drive out of the burnout box under power!
It’s important to keep ‘em spinning in case there is any residual water in front of the tires. Drive it out and then get the clutch in and stop the car. I recommend coming to a complete stop, then collect yourself and engage First gear. Try not to roll directly into the pre-stage beam (or worse, the staged beam) without stopping and taking a deep breath.
Staging
Staging places your car on the actual starting line, so the timing system can be activated to start the race. By staging you are saying “I’m ready to race.” How you stage affects both your elapsed time and your reaction time, so it is important to understand the procedure.
Believe it or not, by staging shallow (meaning you barely turn on the stage beam) you can get a running start at the timing clocks, which equates to free ET. This can amount to a couple of tenths in ET—and 11.99 sounds (and feels) a lot better than 12.20.
Quick Note on Reaction Time
With a 0.000 starting system (full-tree), there will be 0.500 (or half a second) between the last yellow and the green light. Since it takes time for your brain to signal your leg and for the car to move forward, launching when you see the last yellow, should provide the time to break the beam just after the green comes on.
Consequently, the ET clock doesn’t start counting until your car breaks the staged beam—in other words, you can sit there all day and it won’t affect your elapsed time.
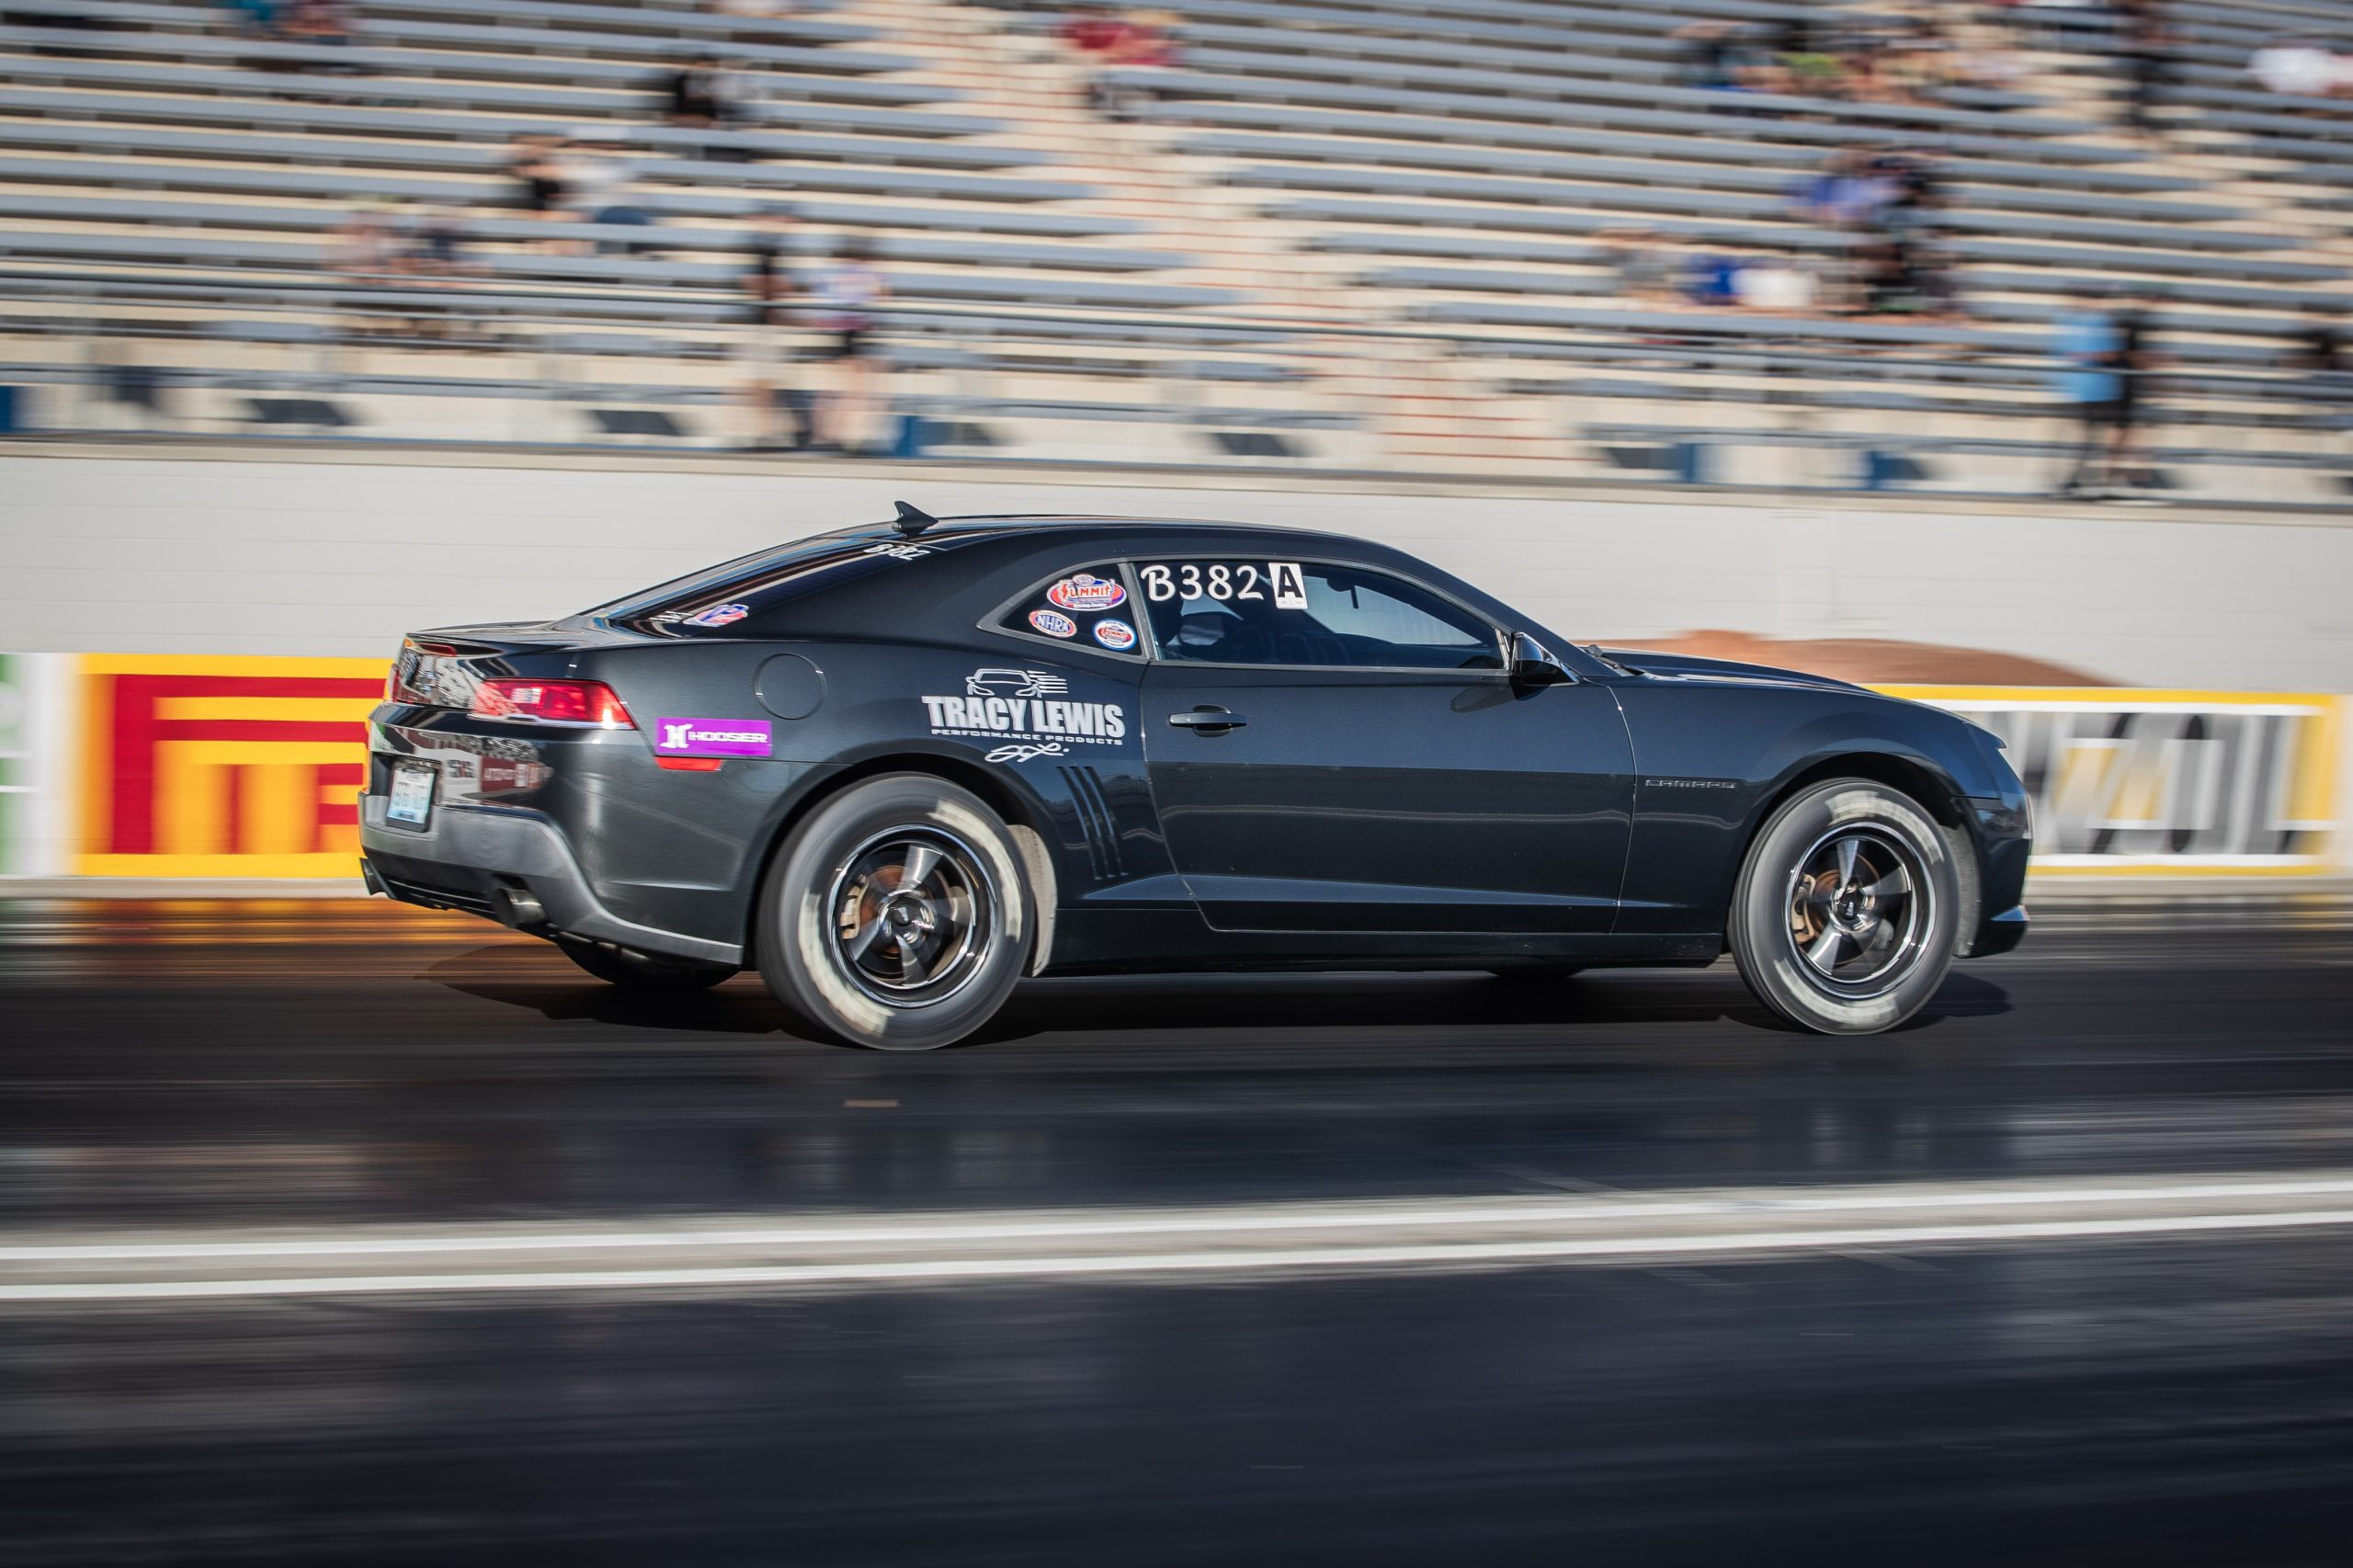
Launch It!
The moment of truth has come. Your heart is pounding, your eyes are glued to the tree and you’re awaiting those yellow bulbs dropping. Of course you’ll want to make a great run, but I recommend making a few runs without thinking about too much, just experience all that encompasses making a run. After that, you will know what to expect, and you can dial in your routine and get down the business.
Assuming you’ve done a nice burnout and staged shallow, you’ll want to get the revs up and be ready to let out the clutch. Reaction time isn’t a concern—a smooth application of power is your goal. The ultimate launch will be one that is hard and gets the power on fast. A launch that is overly aggressive can lead to tire spin, wheel hop, and a slow e.t. Trust me, bogging isn’t the worst thing when you are learning.
Start at a comfortable rpm (2,500-3,500) and trade feel quickly and smoothly, but don’t jerk the clutch out and roll on the power, don’t jam it. It’s during this transition that you will need maximum “feel” to know whether the car is bogging, spinning, or hooking perfectly.
The first thing is to get the car moving forward and to make it transfer weight. As the nose lifts you can apply more power and release the clutch all the way. If you do it right, the car will launch out, then bog a little, then go hard. The perfect street-tire launch will have the tires on the verge of spinning, and they will make the eeek…eeek …eeek sound.
The beauty of drag racing is that you get a time slip immediately so you can see your results. I urge you to take notes such as tire pressure, track conditions, launch rpm, shift points, etc. The numbers don’t lie so get out there and practice. From this point, it’s about gathering feel and experience.
Shut Down
No run is complete until you’re back in the pits. As you cross the traps you must slow down and make a safe turnoff. Brake accordingly and note where the location of competitor in the other lane. You don’t want to cut him off or be cut off yourself. Don’t speed on the return road, or in the pits, and pay attention until you’re back in the lanes or your pit.
And most of all, have fun.
Comments