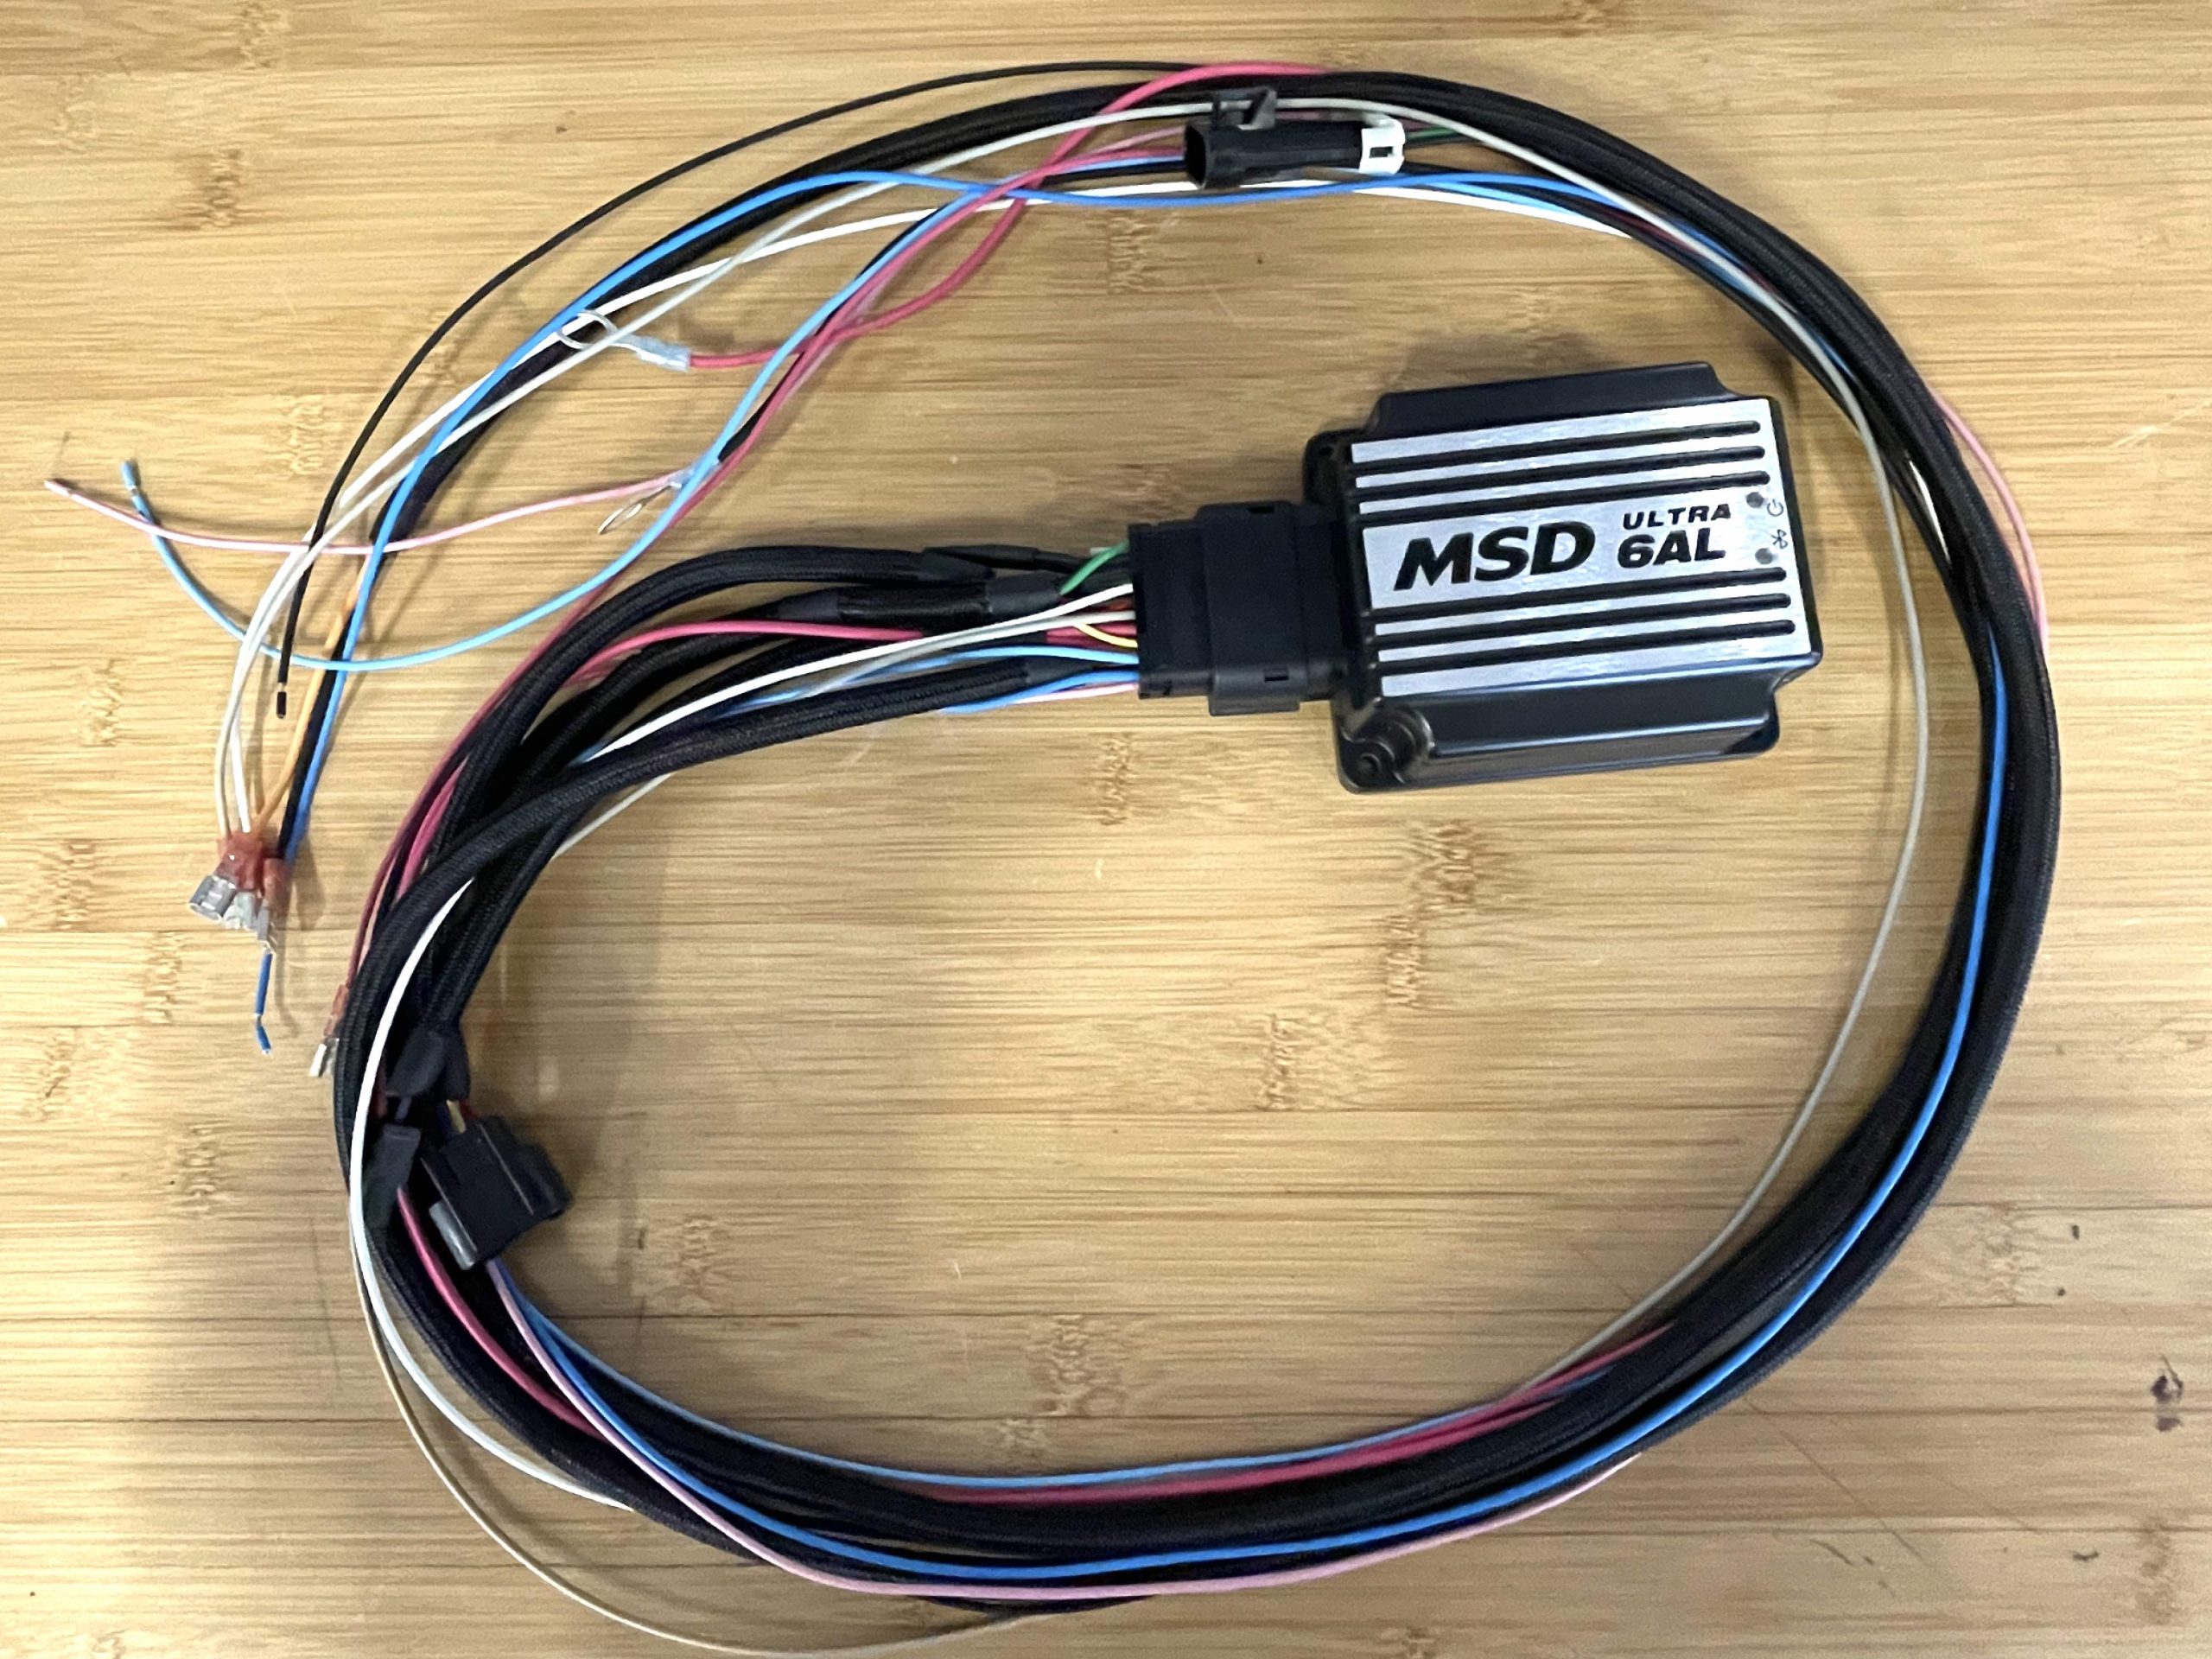
Aftermarket ignition boxes are a popular high-performance upgrade. One issue that comes up is mounting. Many are mounted on the firewall. On some cars, mounting one directly above the heater box is a popular choice. Some folks like the clandestine look and mount the box out of sight.
Like everything car-related, there are plusses and minuses for these mounting options. Keep in mind that heat is a big factor with aftermarket ignition boxes. Many generate a considerable amount of heat that needs to be dissipated. Locating a box in a high-heat area can cause issues with the electronic innards. That’s why most manufacturers recommend you mount an ignition box where it is exposed to airflow.
Story Overview
- There are several options for mounting an aftermarket ignition box in a vehicle
- Three considerations when choosing a mounting location are heat, wiring, and access
- Don’t wire an ignition box to the alternator or a power distribution terminal to ensure the box gets reliable power with no voltage fluctuations
Let’s look at some popular ignition box mounting locations:
Firewall
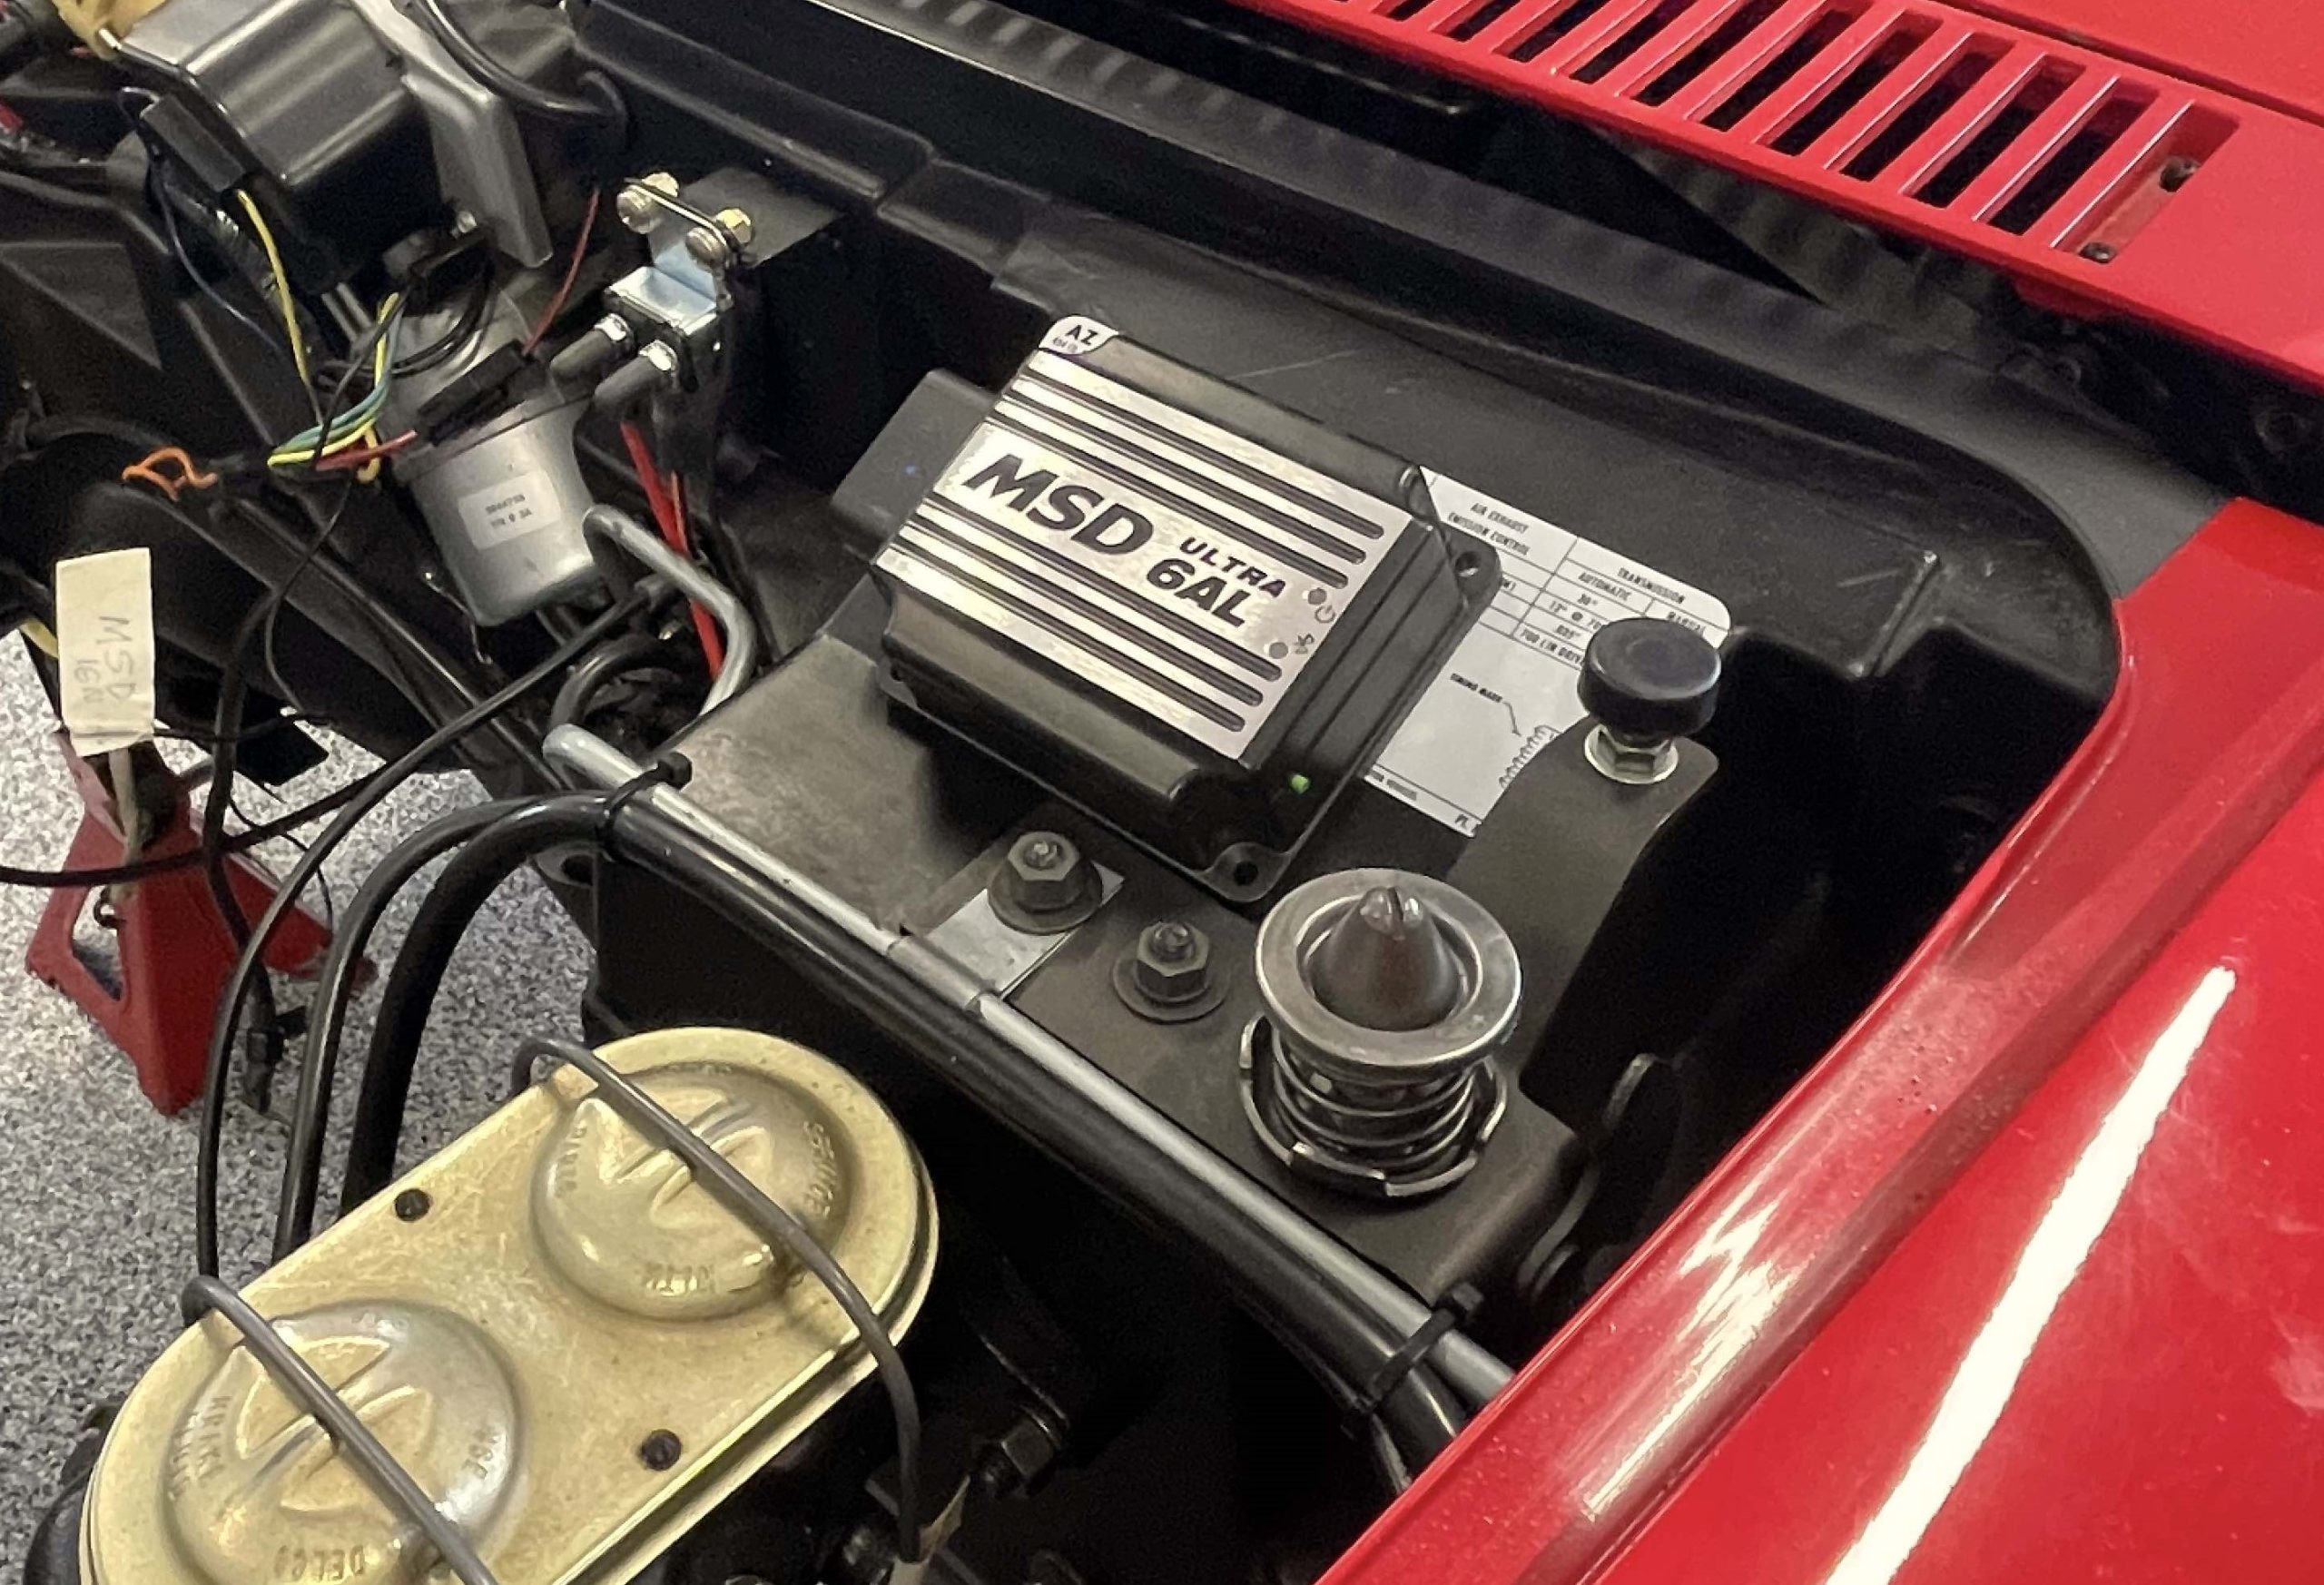
The firewall is perhaps the most obvious place to mount an ignition box. For many GM applications, this makes wiring the box easier because it’s close to the distributor and in most cases, the coil. But with something like a big block Mopar or a typical Ford engine, the distributor and the coil are a long way away from the firewall. That requires a considerable run of wire.
The area over the heater box is a popular location as this is usually an open space. The problem with this area is the ignition box can exposed to a considerable amount of heat as there is relatively little airflow.
Inner Fender
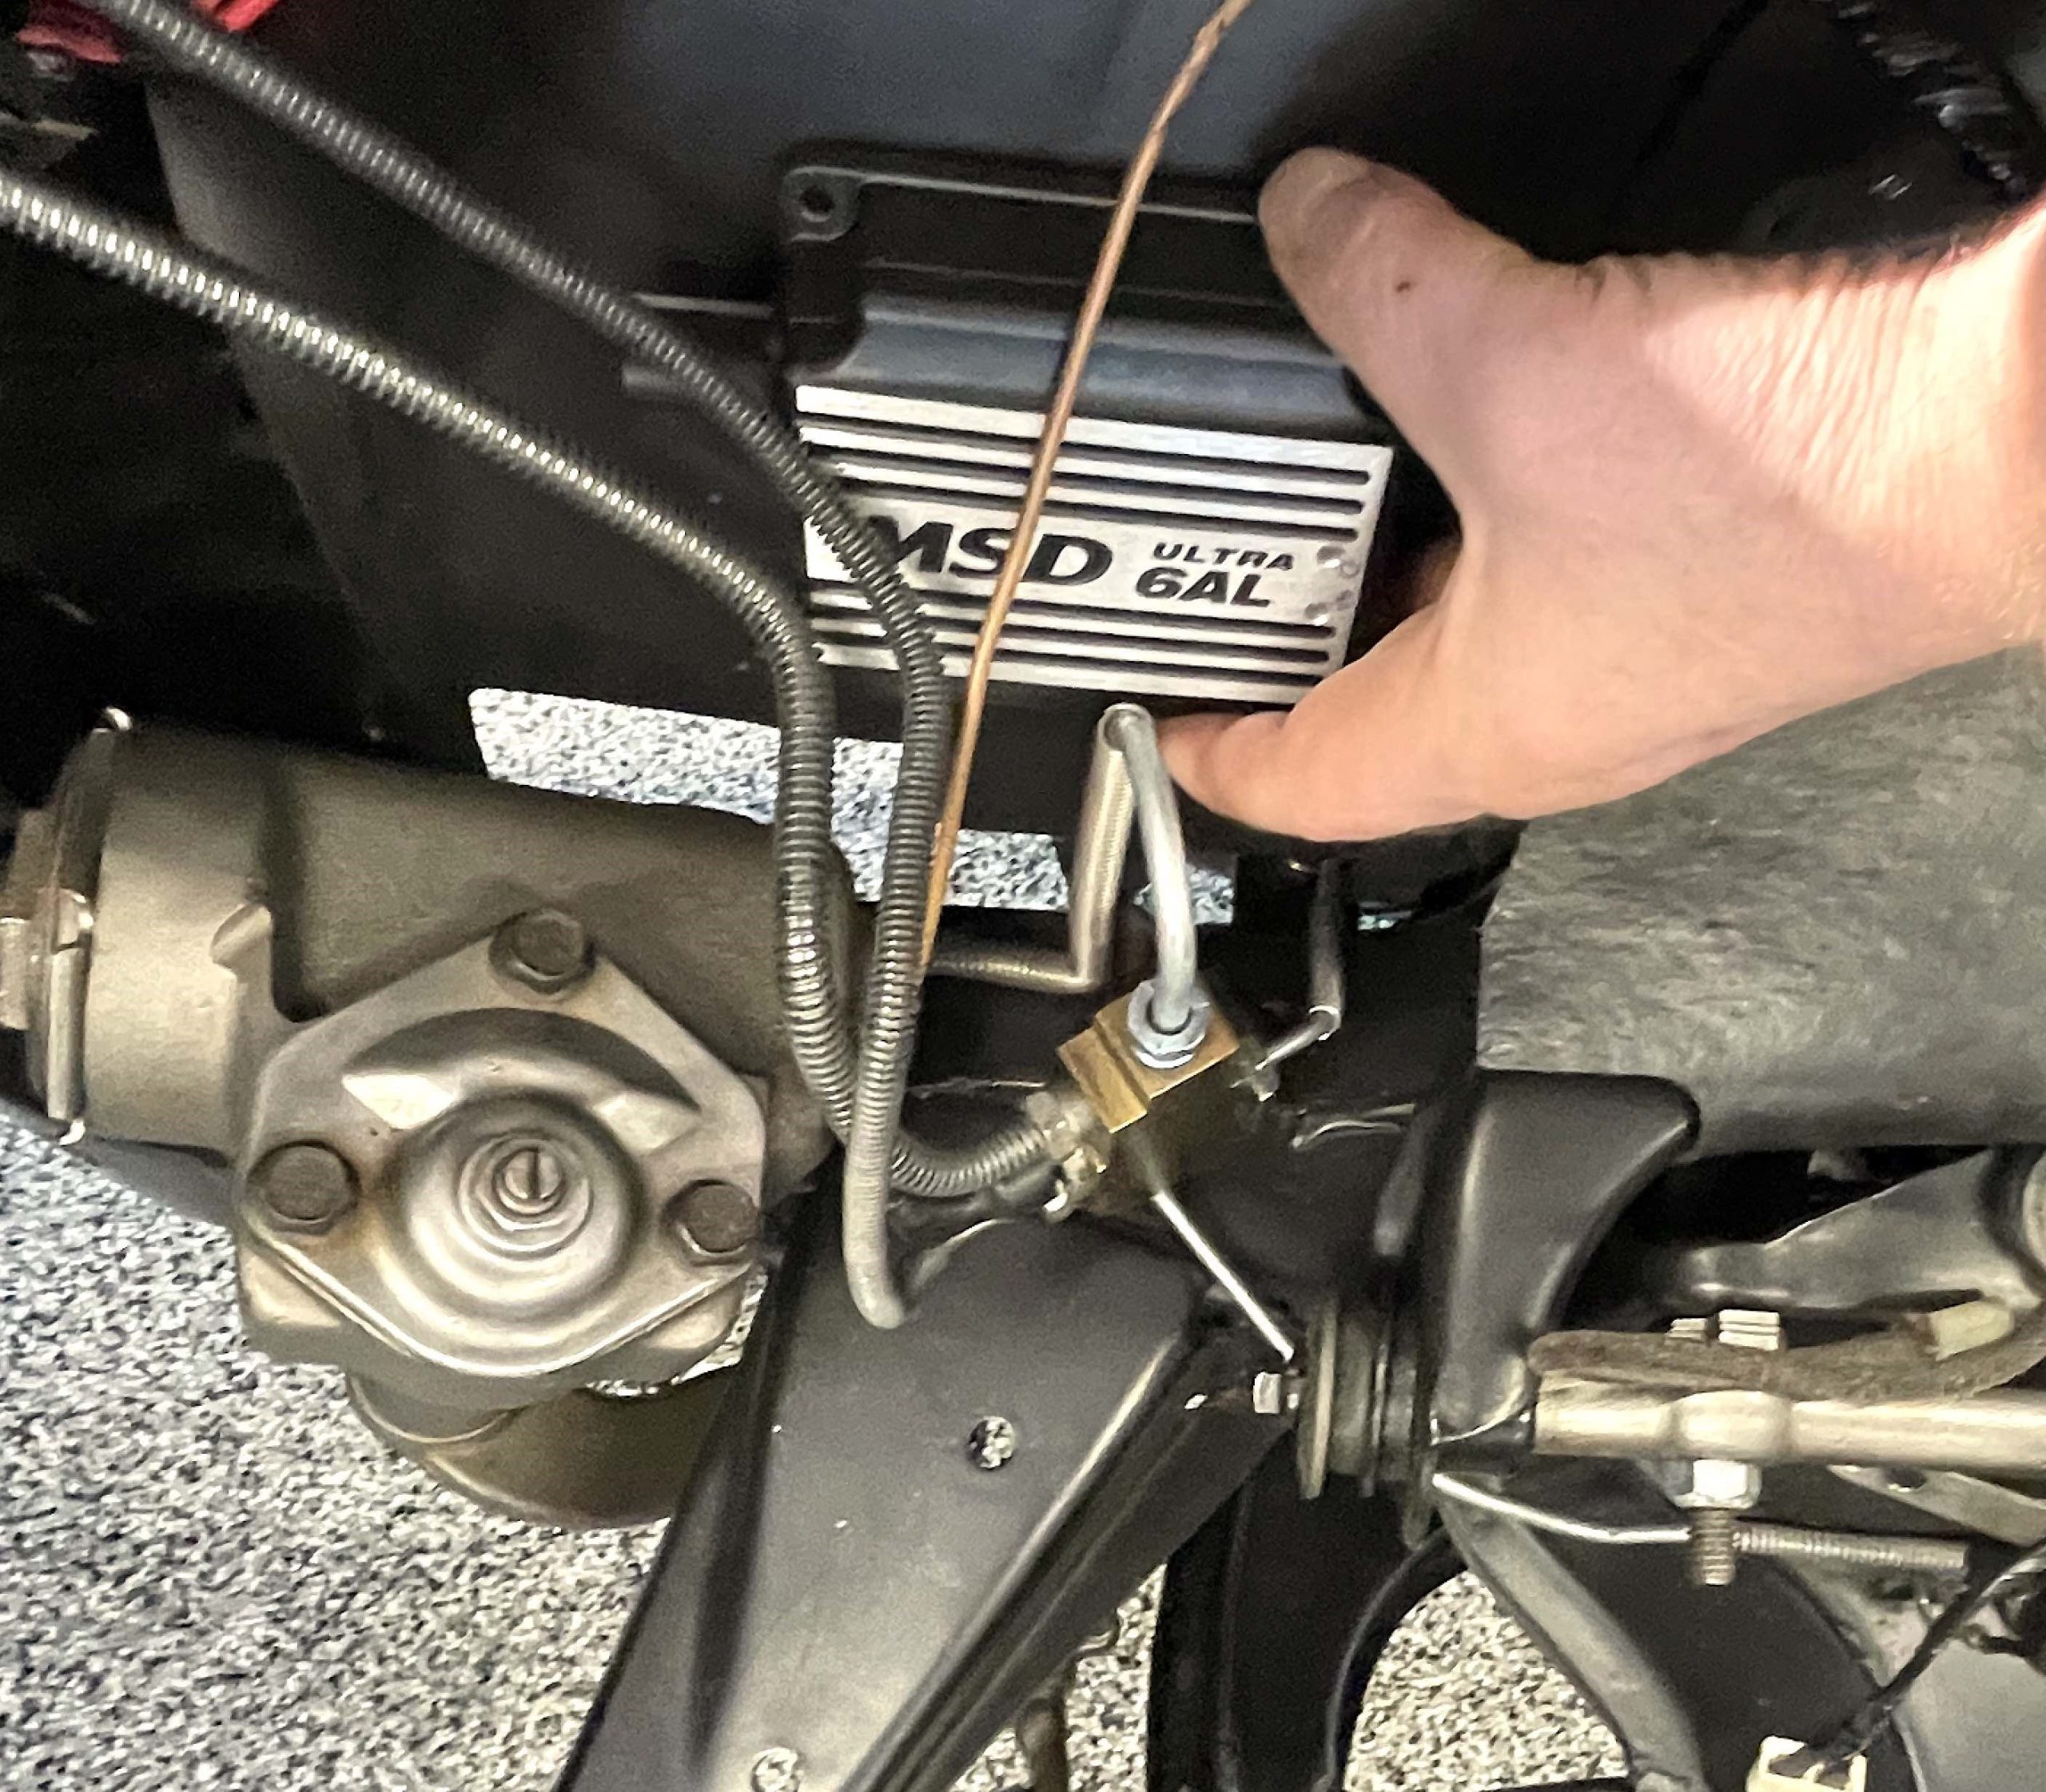
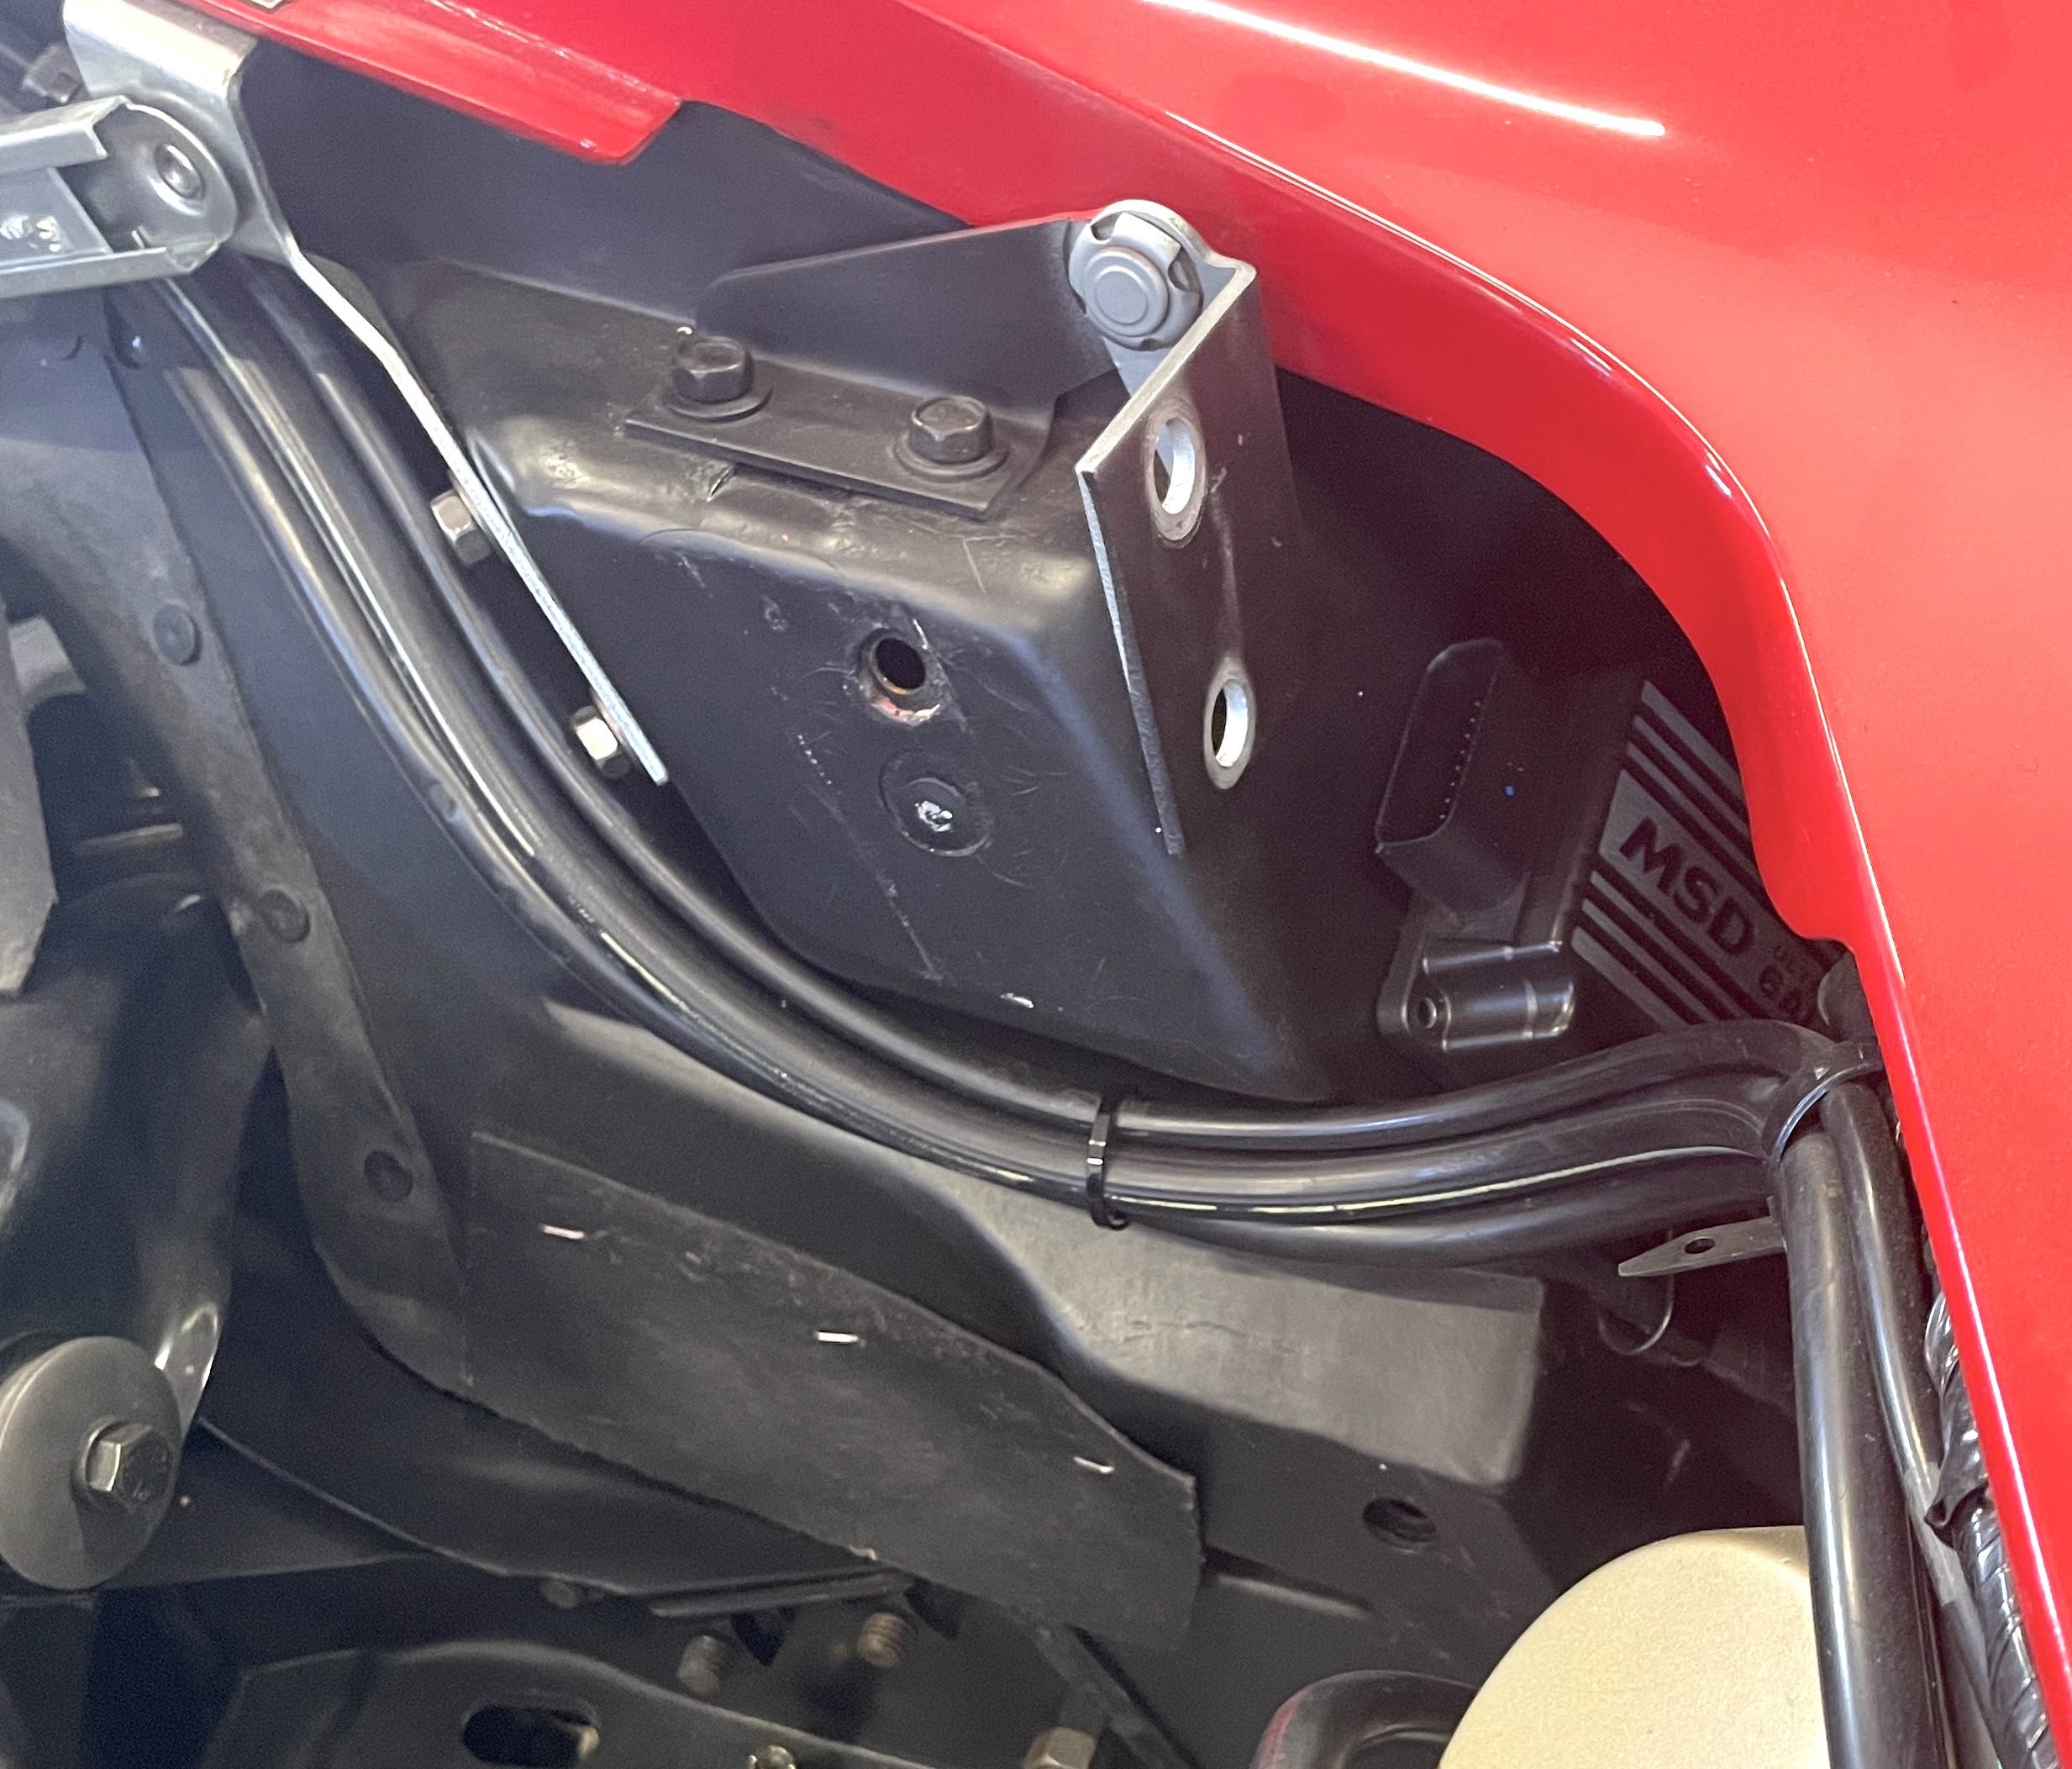
This is another common mounting location. In some cars, it’s possible to mount the box in the air stream that comes through the vehicle’s grille. In my application (C3 Corvette), mounting the box on the backside of the inner fender is a great location for airflow because it’s adjacent to the air extraction gills on the fender flanks. Depending upon the car, inner fender mounting makes wiring easy because the box is close to the coil and the distributor and in some cases, closer to the battery. The downside (at least for me) is access isn’t all that great.
Glove Box
Mounting an ignition in the glovebox gets it out of sight. It’s easy to access and for many cars, relatively easy to wire. The wire runs for rear mount distributor applications are short. However, wiring for many Mopars and Fords can be problematic.
Another issue with glovebox mounting is there’s zero airflow available to cool the ignition box. For a C2 or C3 Corvette, you can mitigate the issue by removing the glovebox liner and fabricating a mount to position the box in the vacant space.
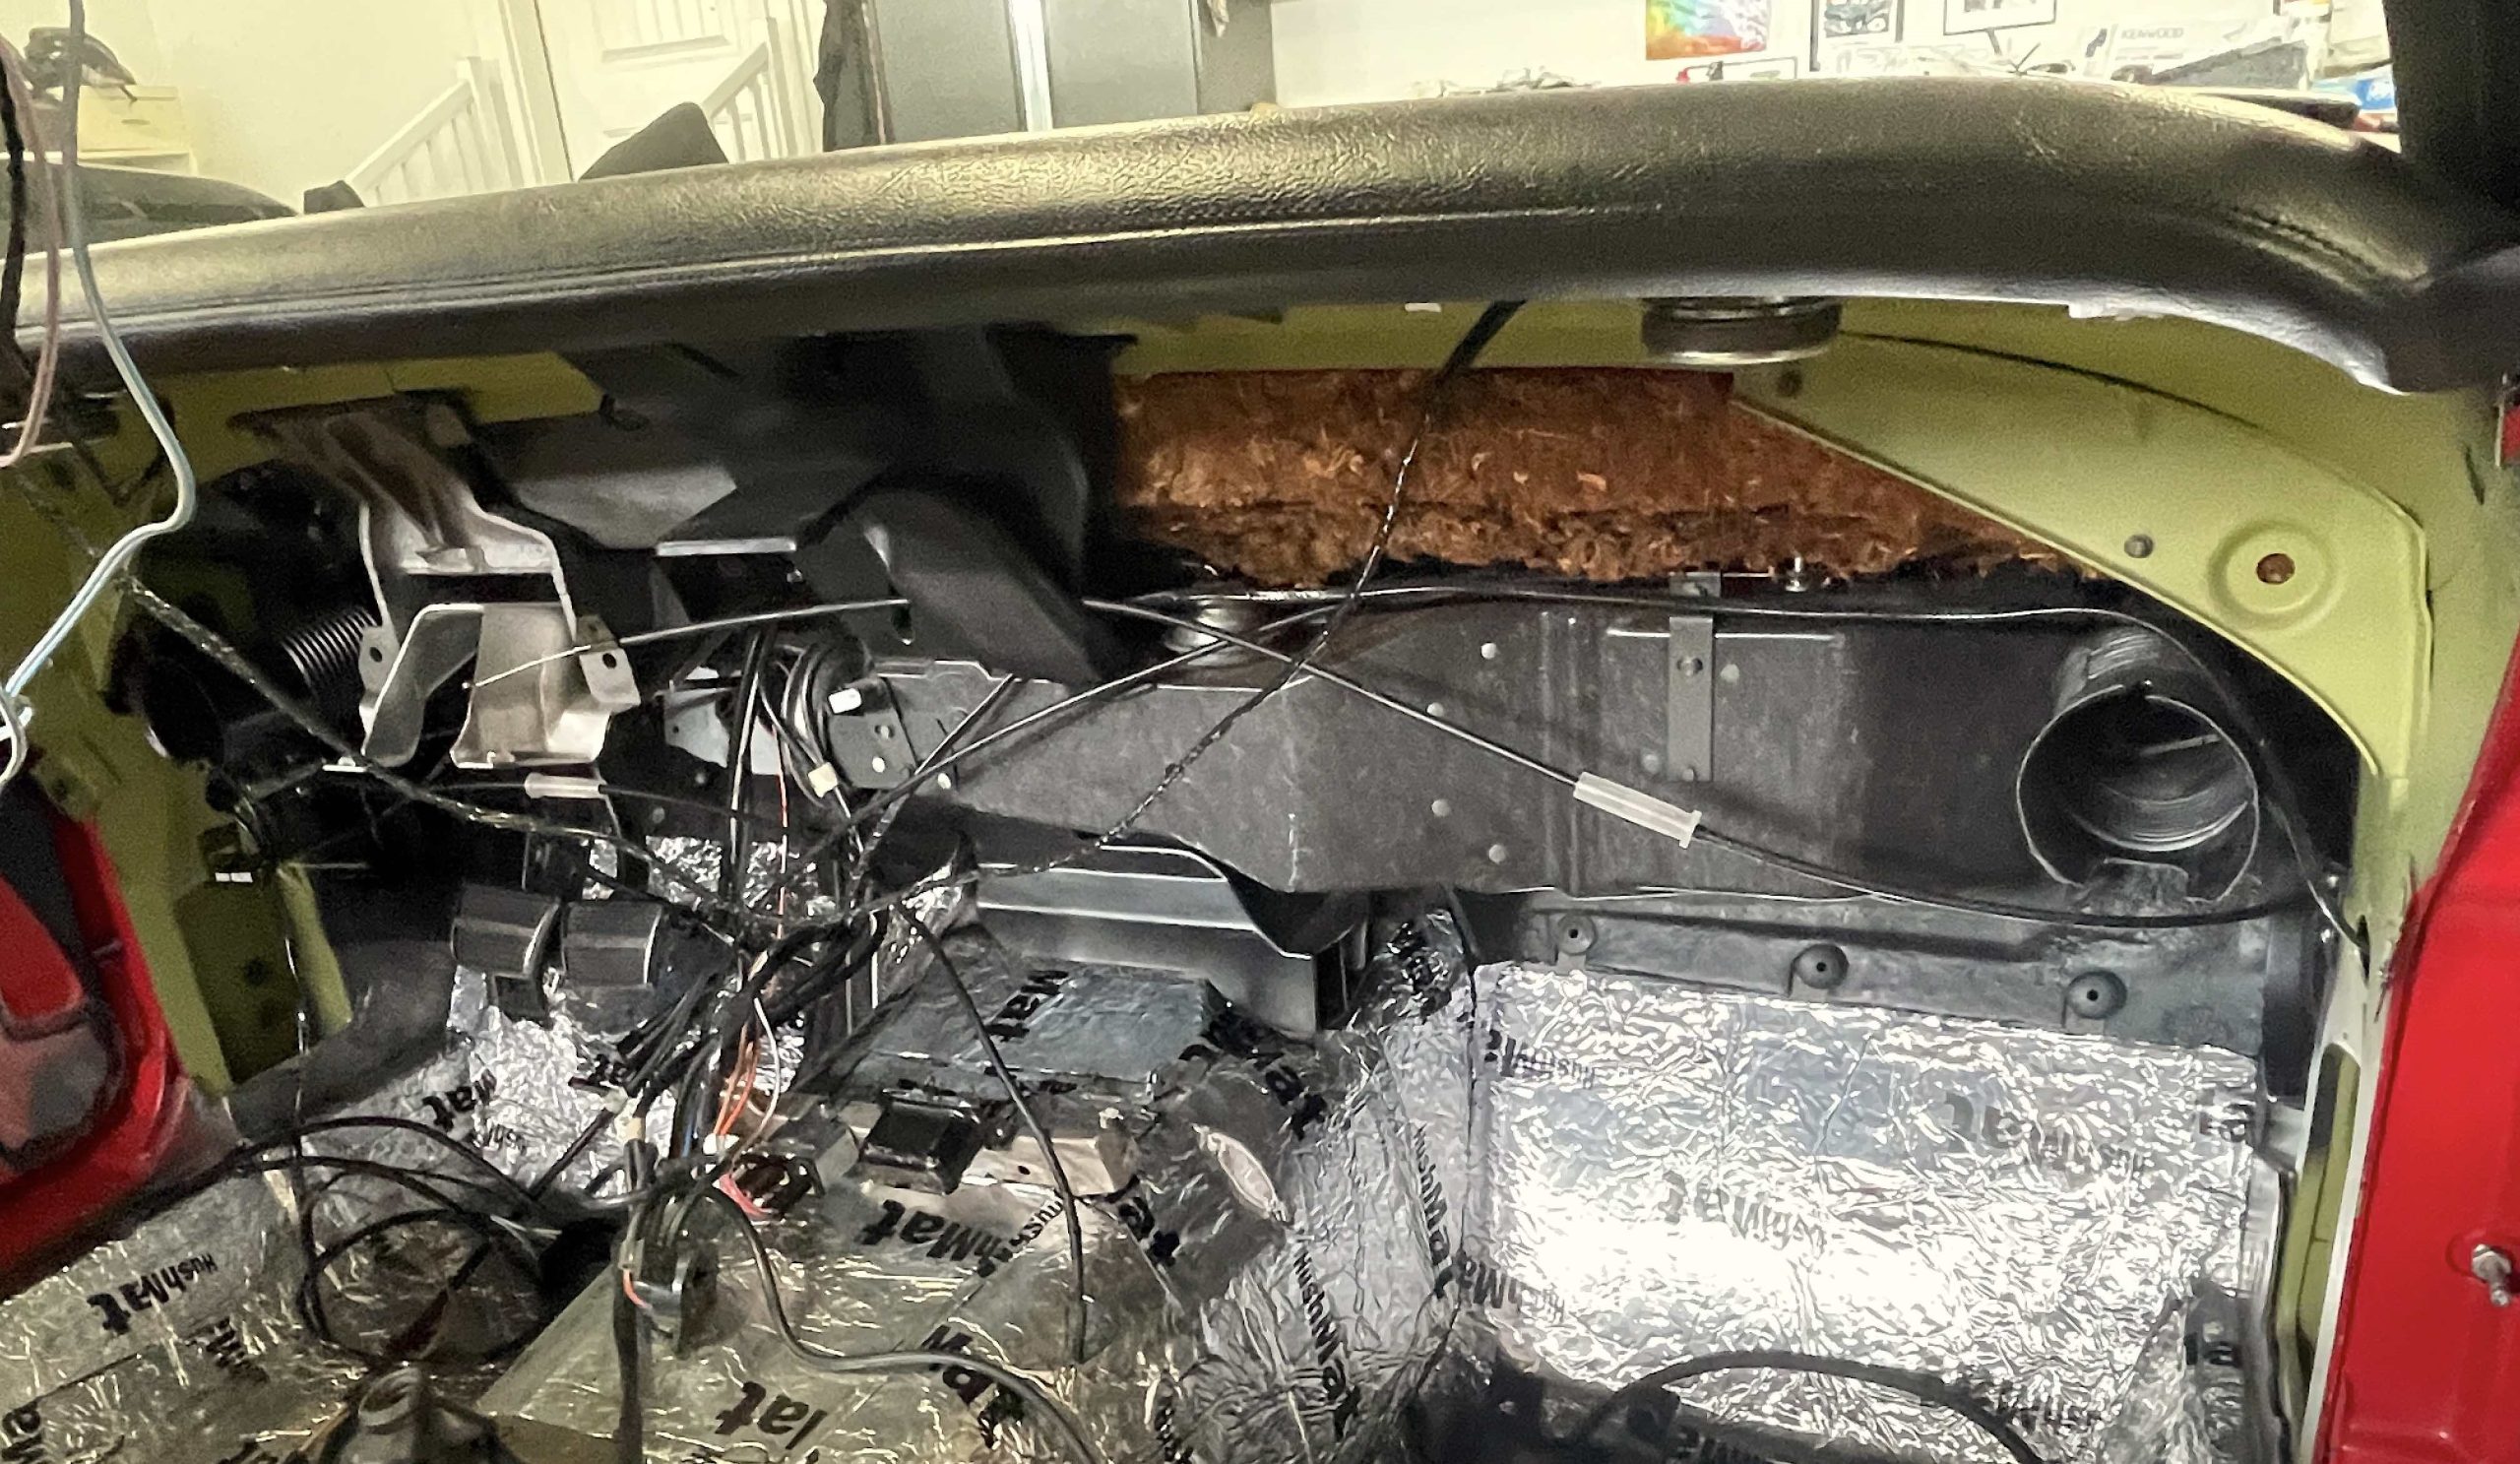
Underdash Heater Area
If you’ve removed the heater box on the firewall, you can locate the ignition box inside the car where the heater once lived. It keeps the box out of sight and relatively easy to access. Wiring isn’t that difficult, and airflow can be really good because the box is adjacent to the passenger side kick panel vent.
Radiator Support
This is good location for many cars, especially Ford and many Mopar applications where the wiring path can be kept short. For many GM cars wiring can be an issue. It’s doable; GM cars that came with the factory K66 transistor ignition had the box mounted on the radiator support. Wire runs to the battery are short, but wiring to the distributor and coil will be much longer. This location does offer great airflow.
Behind or Under the Front Seat
These are popular mounting locations for race cars, though I’ve seen it used on street cars too. Access is good and wiring is not difficult, but there can be some really long runs to the coil and the distributor. There isn’t much airflow in this location but there isn’t a lot of heat, either. A variation of this arrangement is to simply mount the box on the passenger side floor or on the inside of the passenger side door brace on tube-frame cars.
Engine
It’s easy enough to fab up a bracket and mount the box directly over the intake manifold, but this can look really cluttered and the ignition box is exposed to a lot of engine heat. It’s pretty much the location of last resort.
Wiring Considerations
As you’ve seen, wiring is an important consideration when choosing an ignition box mounting location. Here are some wiring options to think about.
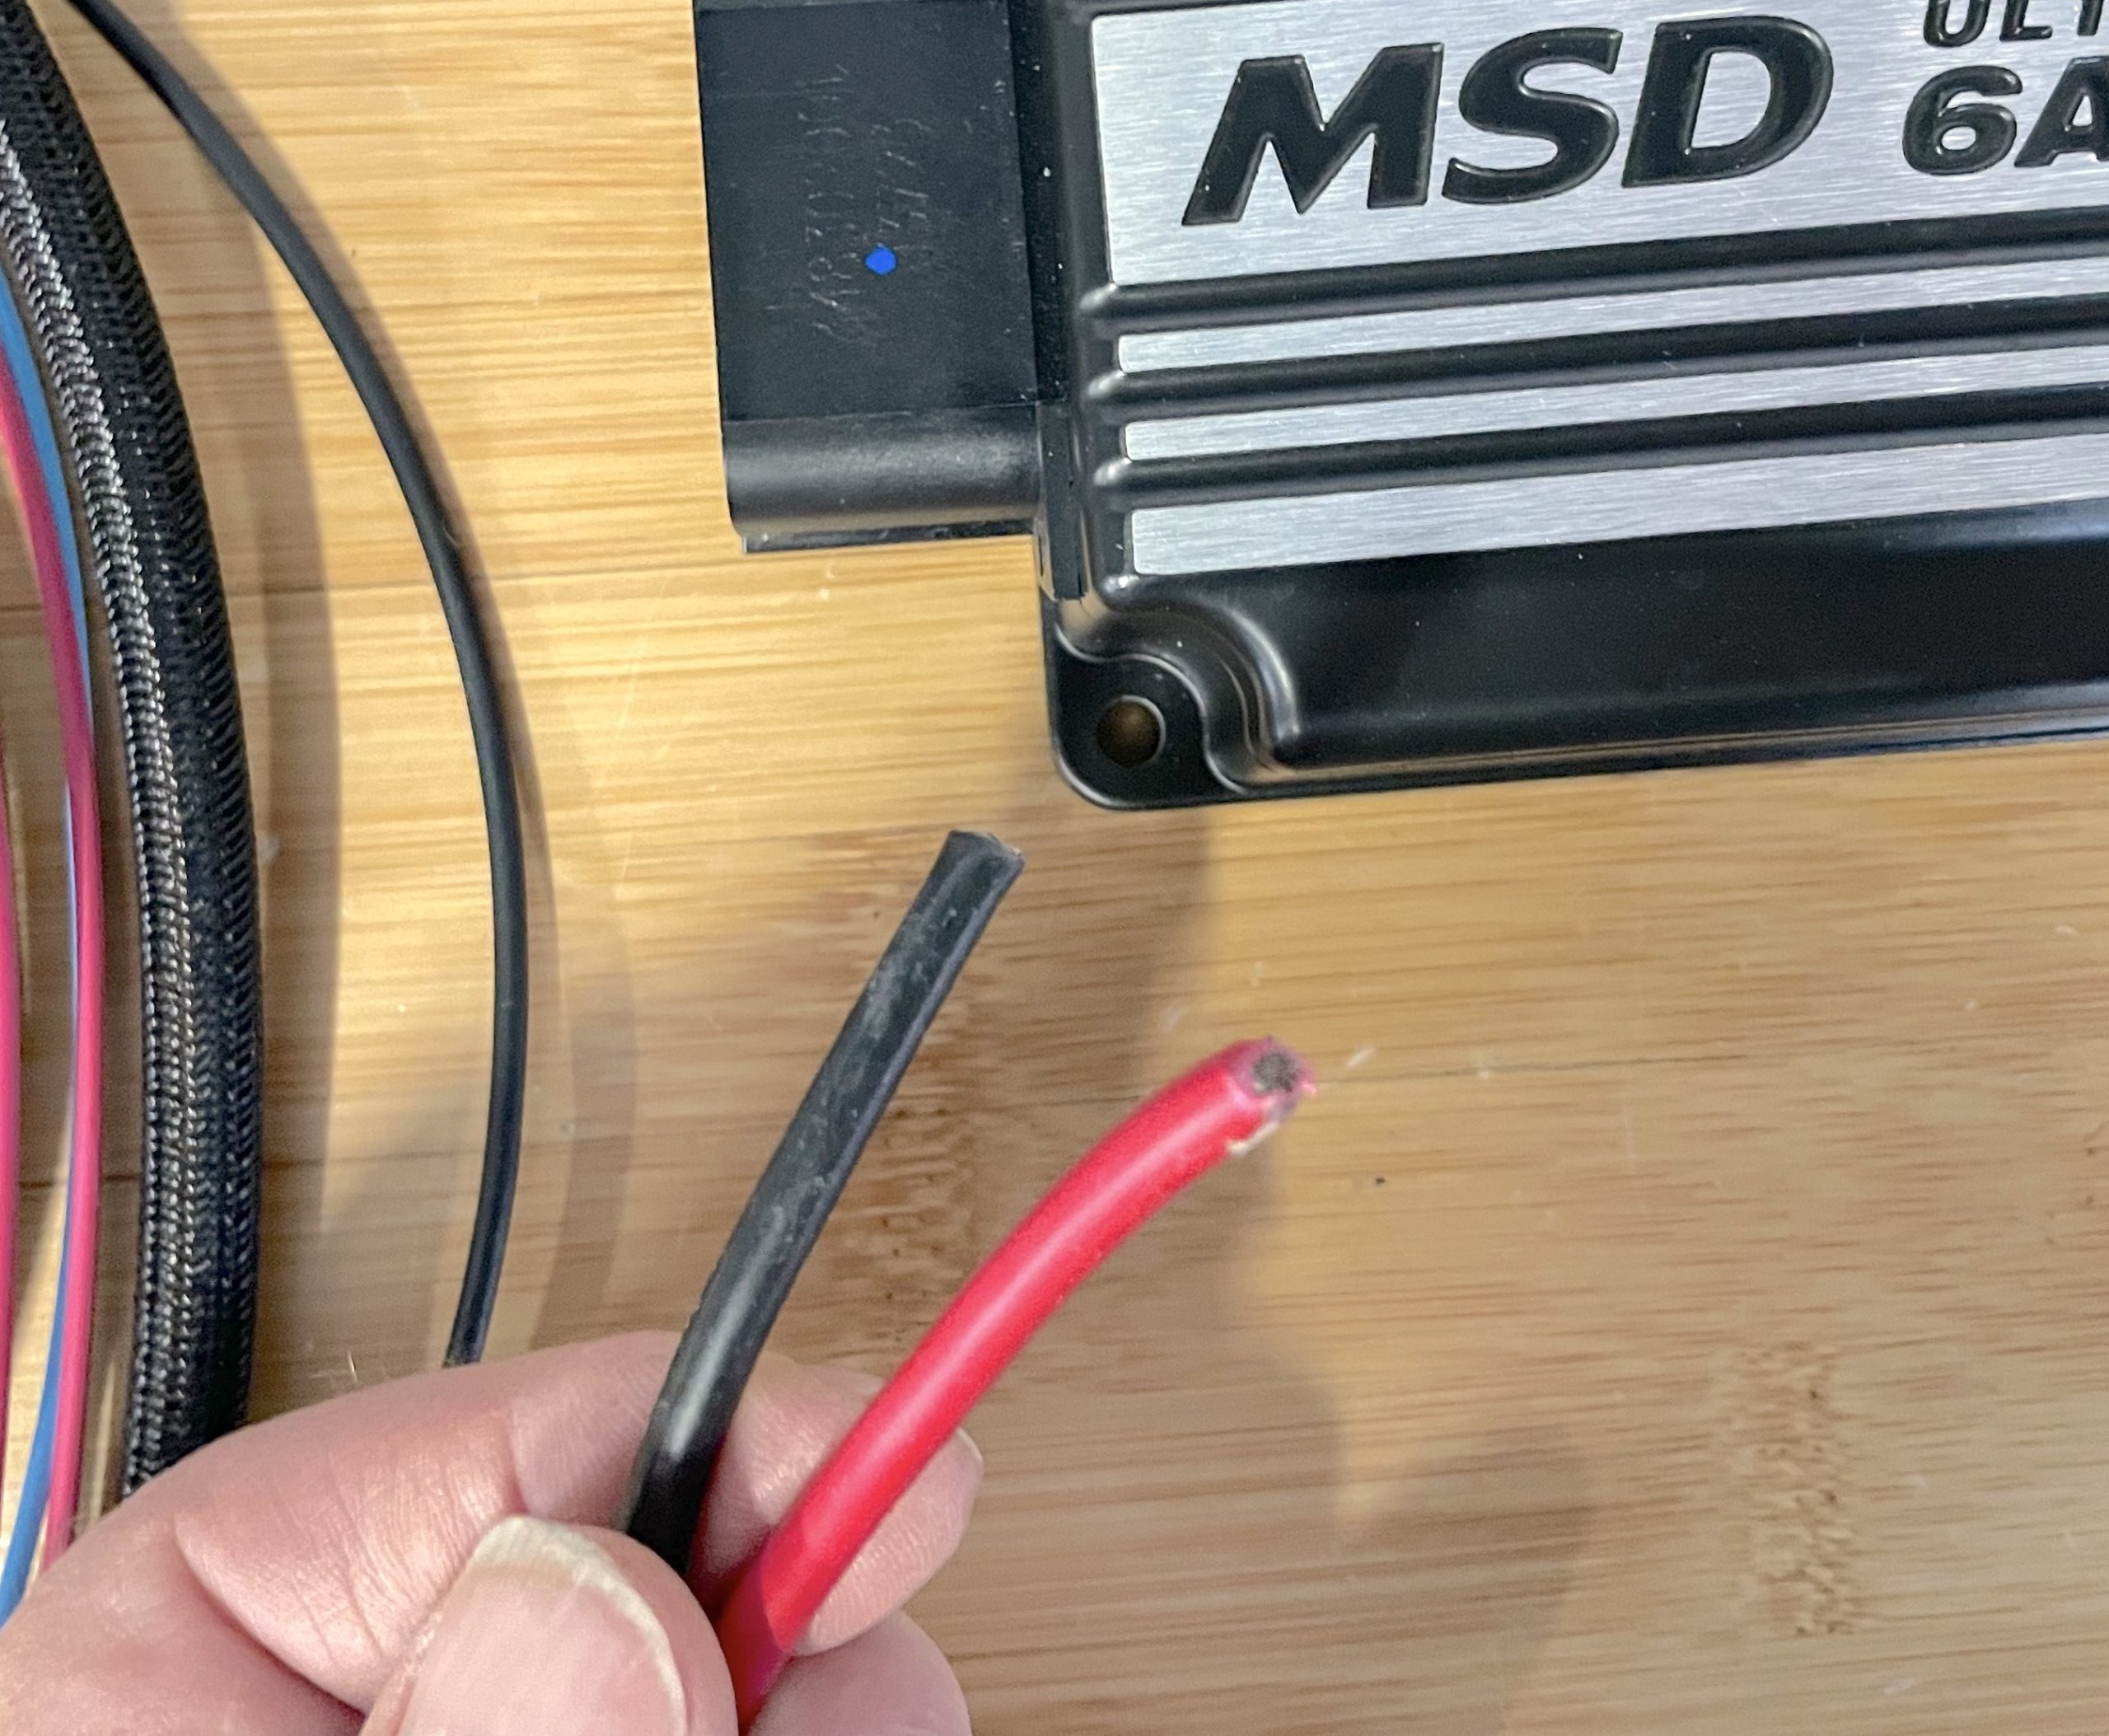
The power and ground wires from the ignition box can be routed directly to the battery. You can also connect the positive power wire to the starter battery terminal and connect the ground directly to the engine block. If you need to extend the wires to reach the battery, you should increase the wire gauge size to compensate.
Powering the ignition box at the alternator is not a good idea. The box needs a clean, steady supply of power, and alternators often have fluctuations in voltage. Voltage spikes are potential death for an ignition box’s electronics.
Some cars have spots in the engine compartment where there is a “hot” terminal for power distribution. Using my Corvette as an example, the horn relay is the power pickup point for many electrical components and accessories. However, these terminals are not a good power source for an ignition box as they’re already loaded up with accessory wiring. Adding more wires is usually physically impossible.
The ignition activation wire is usually connected directly to the fuse box or the ignition switch. It’s a single wire so it should be easy to run. The ignition box to coil wire connection is also simple. For many ignition boxes, including MSD’s, the only wires that connect to the coil are the ones that come directly from the box.
Most ignition boxes come with wiring diagrams for factory and aftermarket distributors. For example, this MSD Digital 6A instruction manual has diagrams for points distributors, GM HEI, Ford DuraSpark and TFS systems, crank trigger systems, and other types.
As you can see, there are many considerations when you decide to step up to an aftermarket electronic ignition system. The two biggest factors are heat and wire length. Keep these in mind during installation and everything will be hunky-dory.

Comments