Black rubber coolant hose has three great advantages: it’s cheap, it works, and it’s everywhere. It’s also so ordinary looking it might as well be invisible. When you want an engine bay that’s a standout in the looks department, that’s a big downside.
That was the issue I had when it came to my 1965 Impala. I wanted something that looked a lot cooler than black rubber hose but didn’t cost an arm and a leg. That led me to make my own tube hard line out of stainless steel mandrel bends. It’s not hard to work with, doesn’t cost a lot, and looks pretty killer.
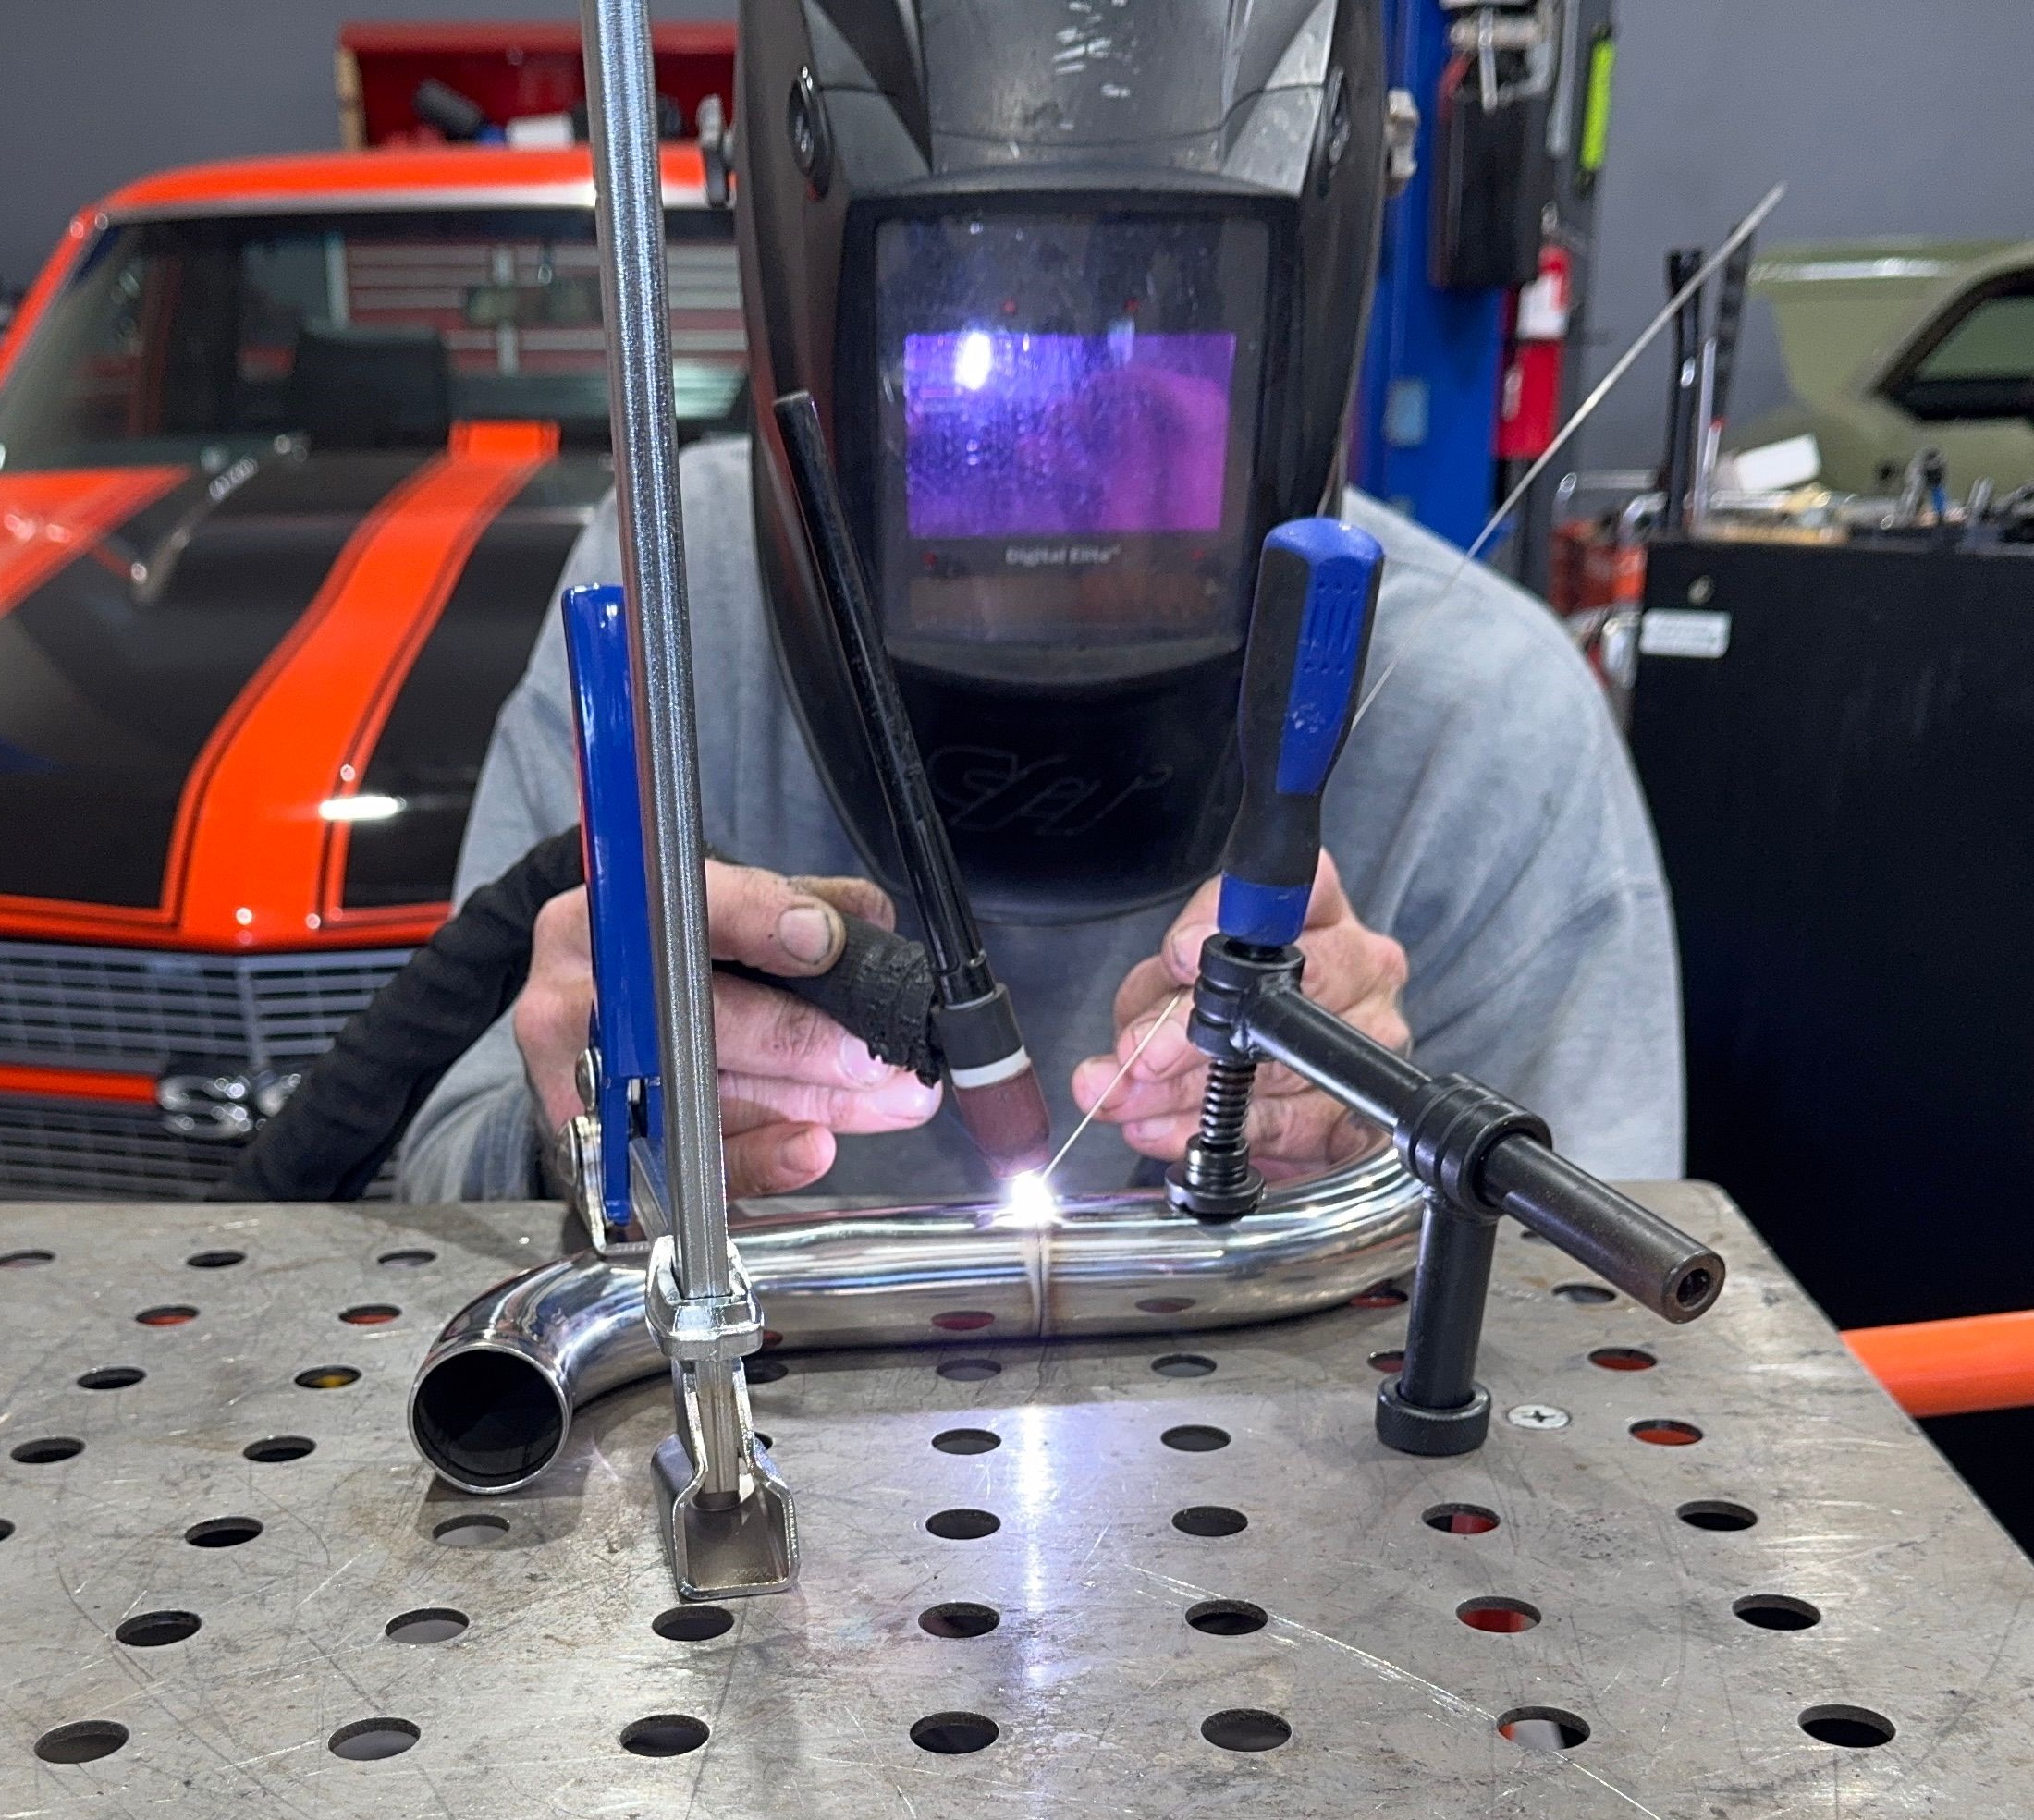
A call to Summit Racing got me all of the materials I needed—stainless tubing, hose couplers, a nifty vise-mounted bead roller, and some welding table clamps. I’ll be showing you how I made the upper radiator tube. It took me about an hour to make including cutting, welding, and bead rolling. If you can measure and TIG-weld, you can make your own radiator tubes, too.
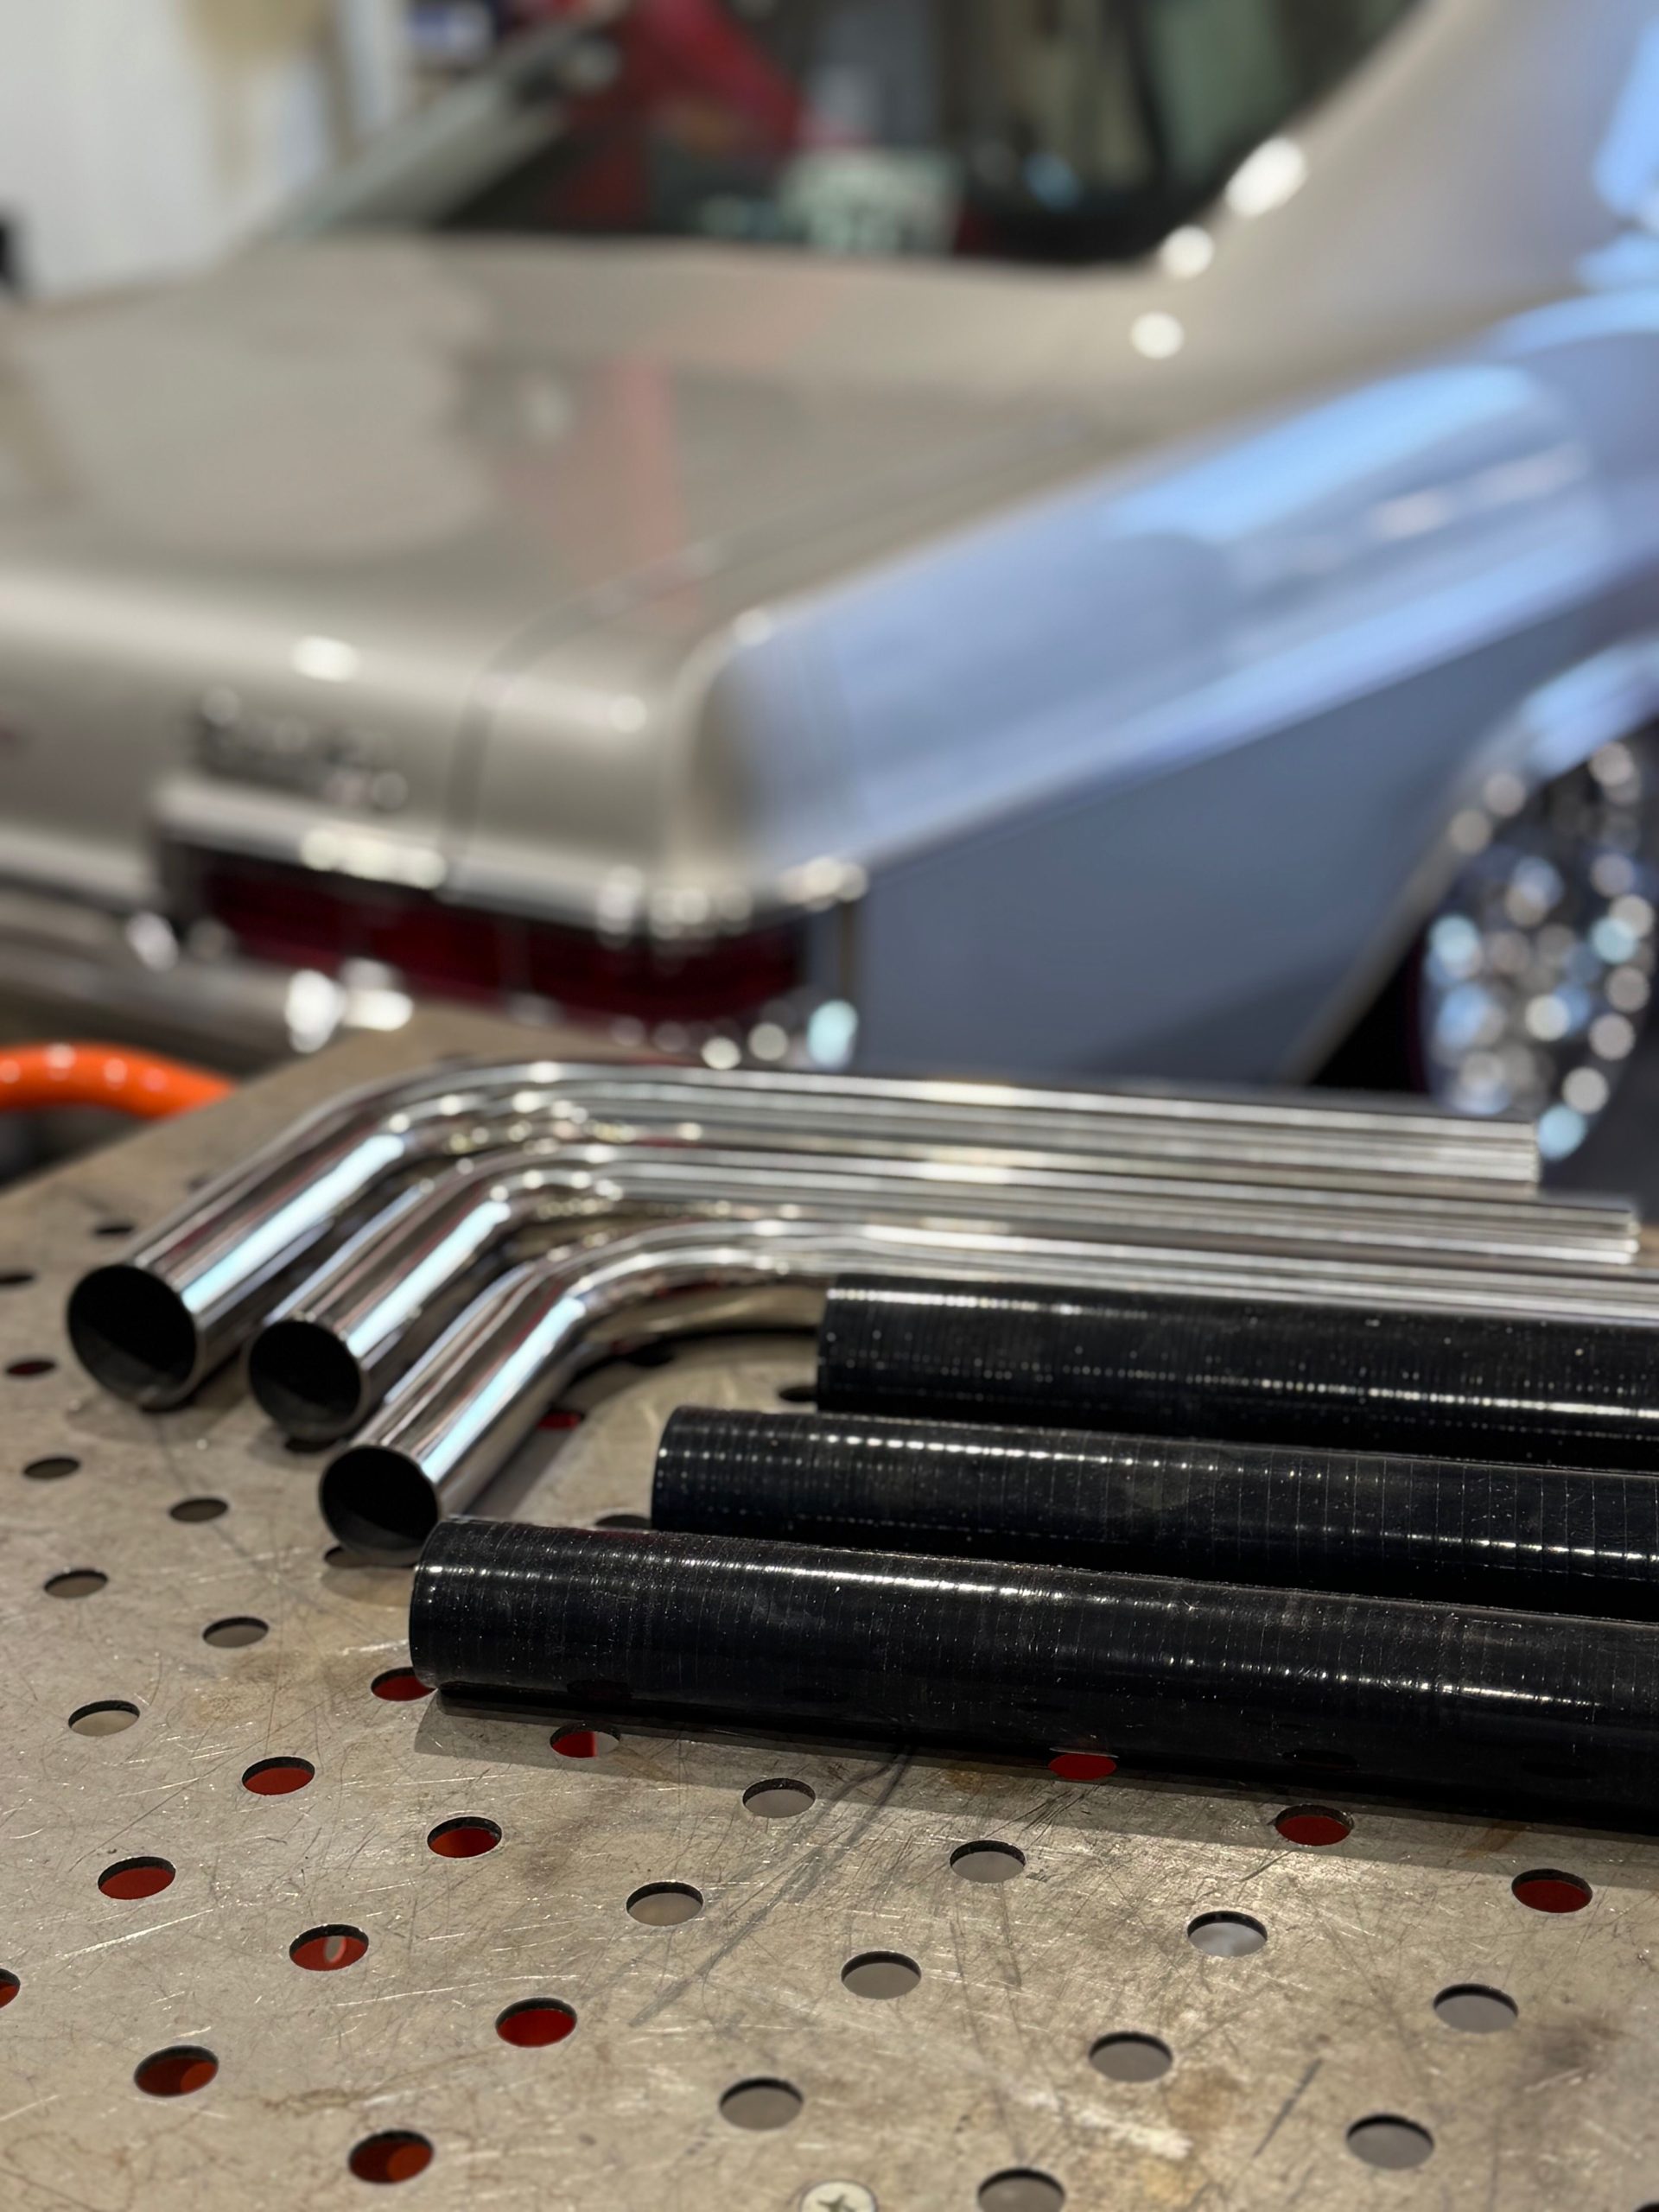
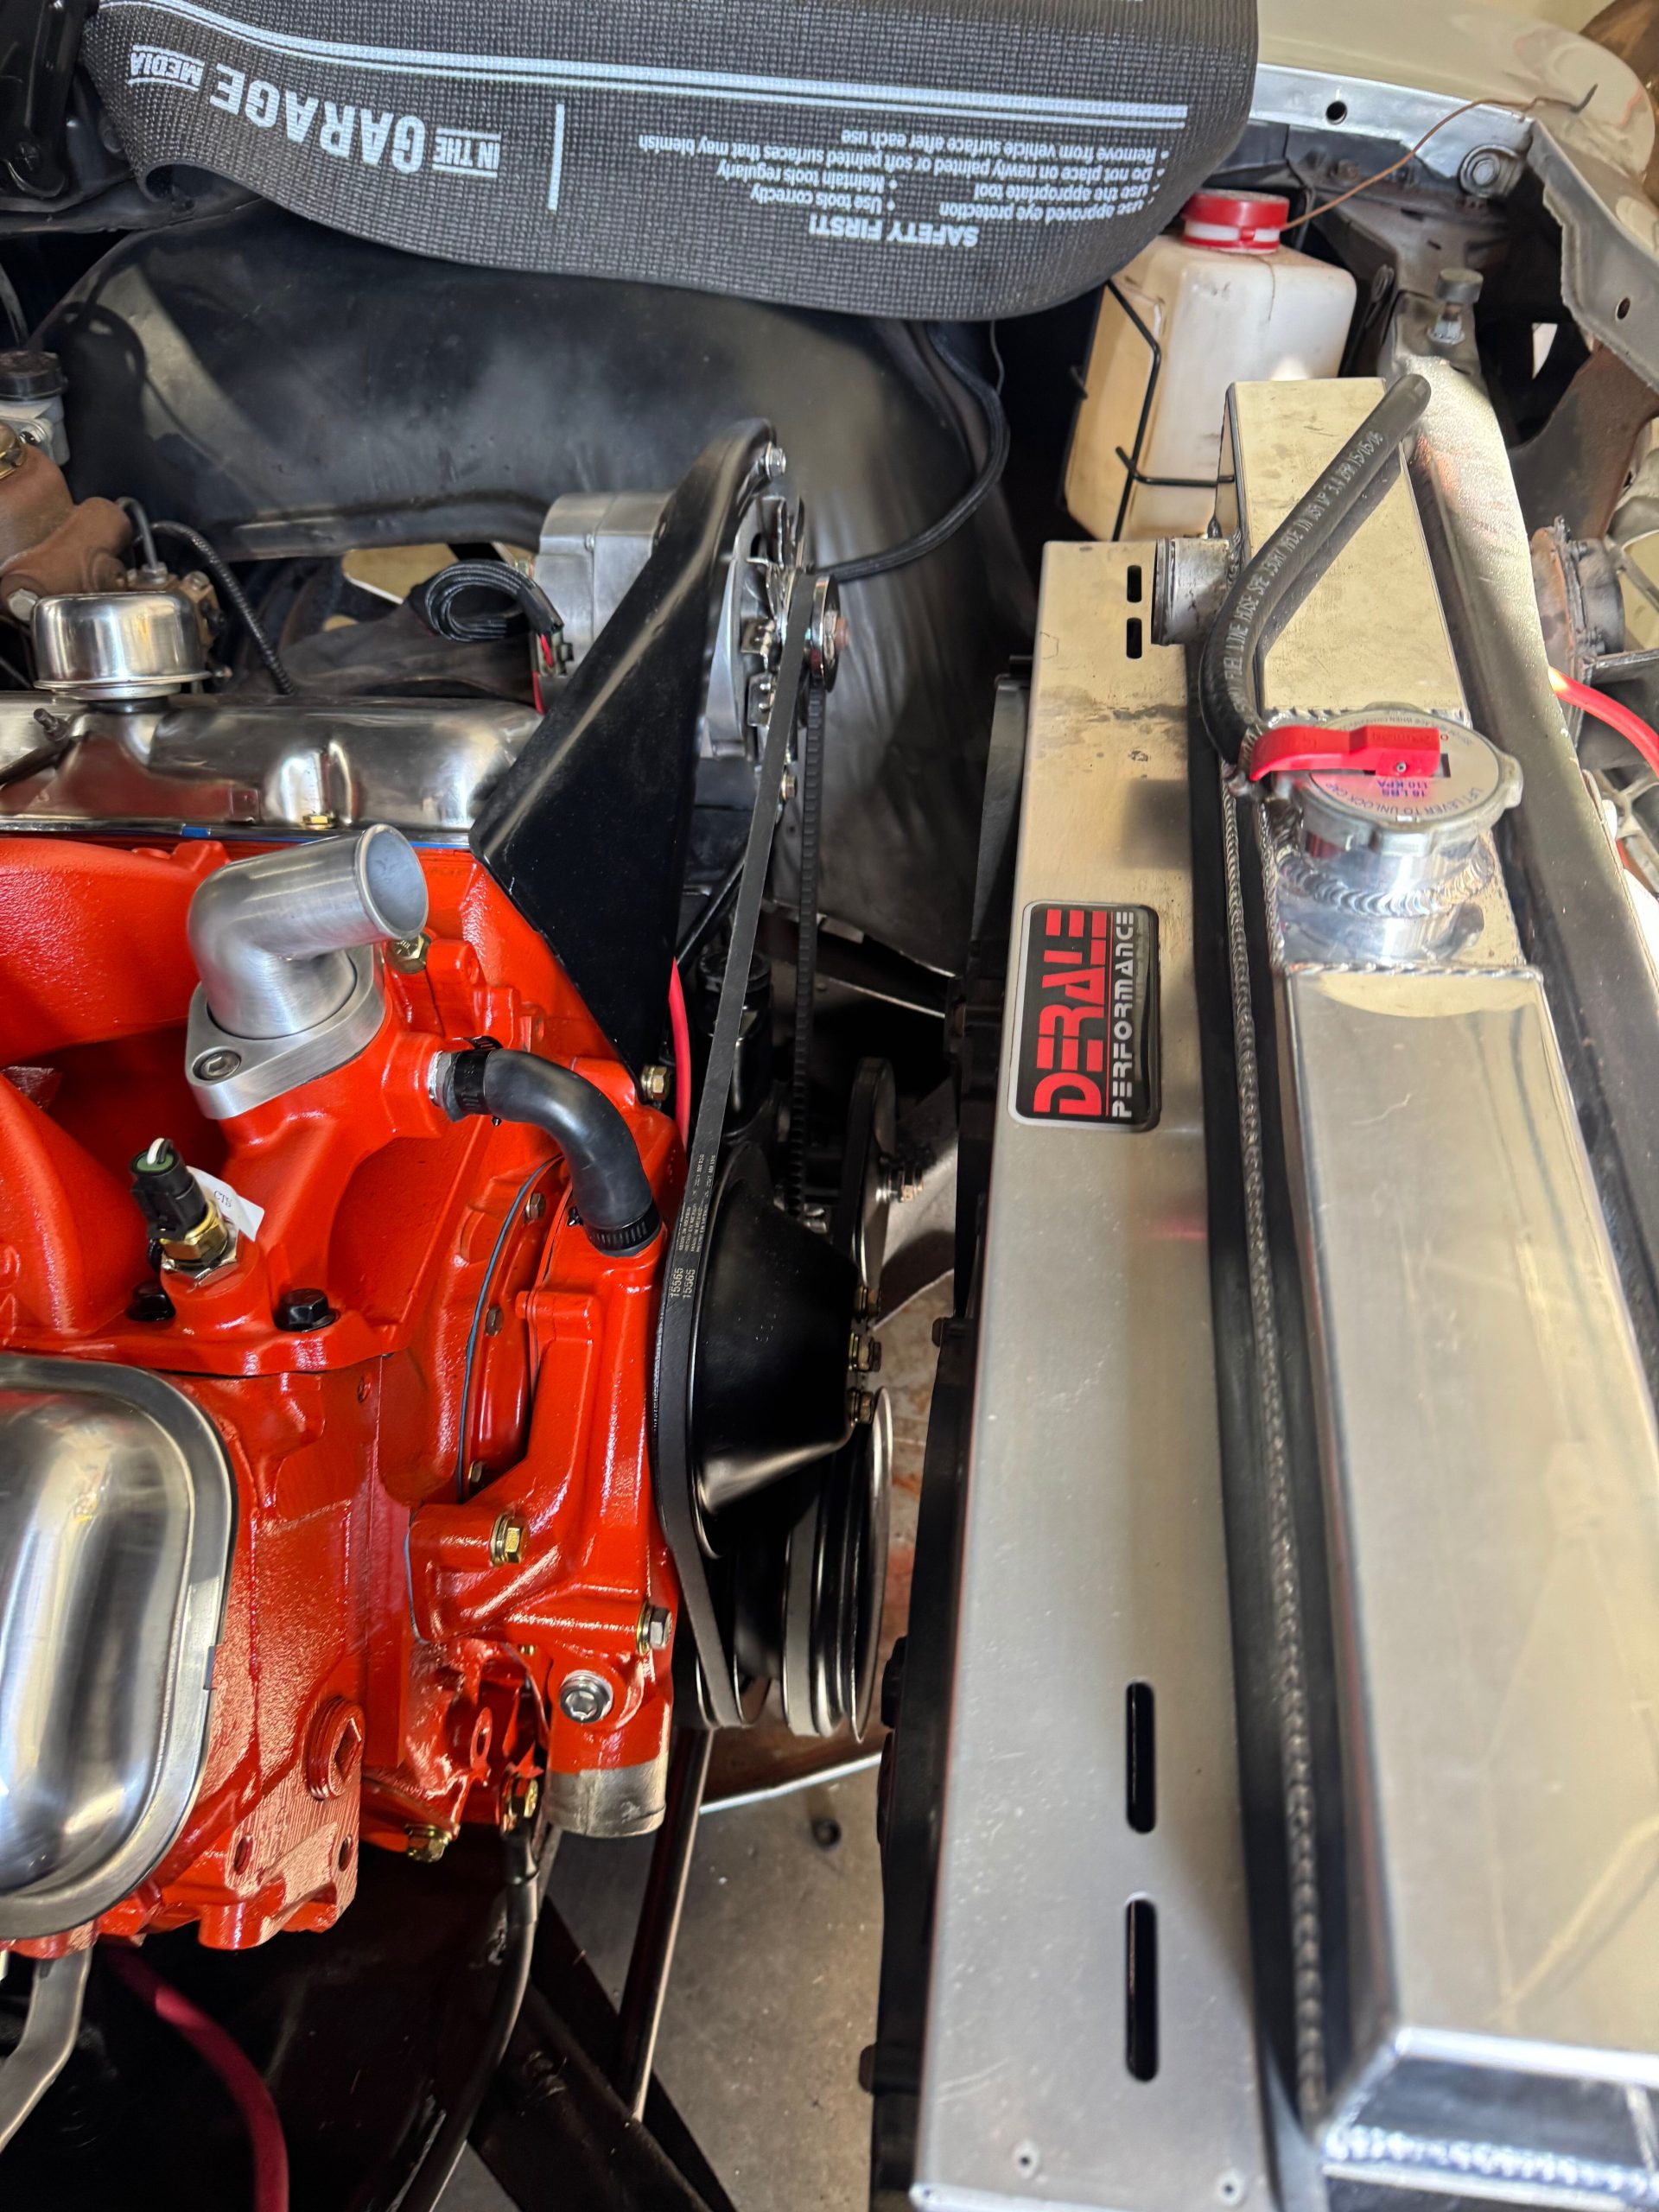
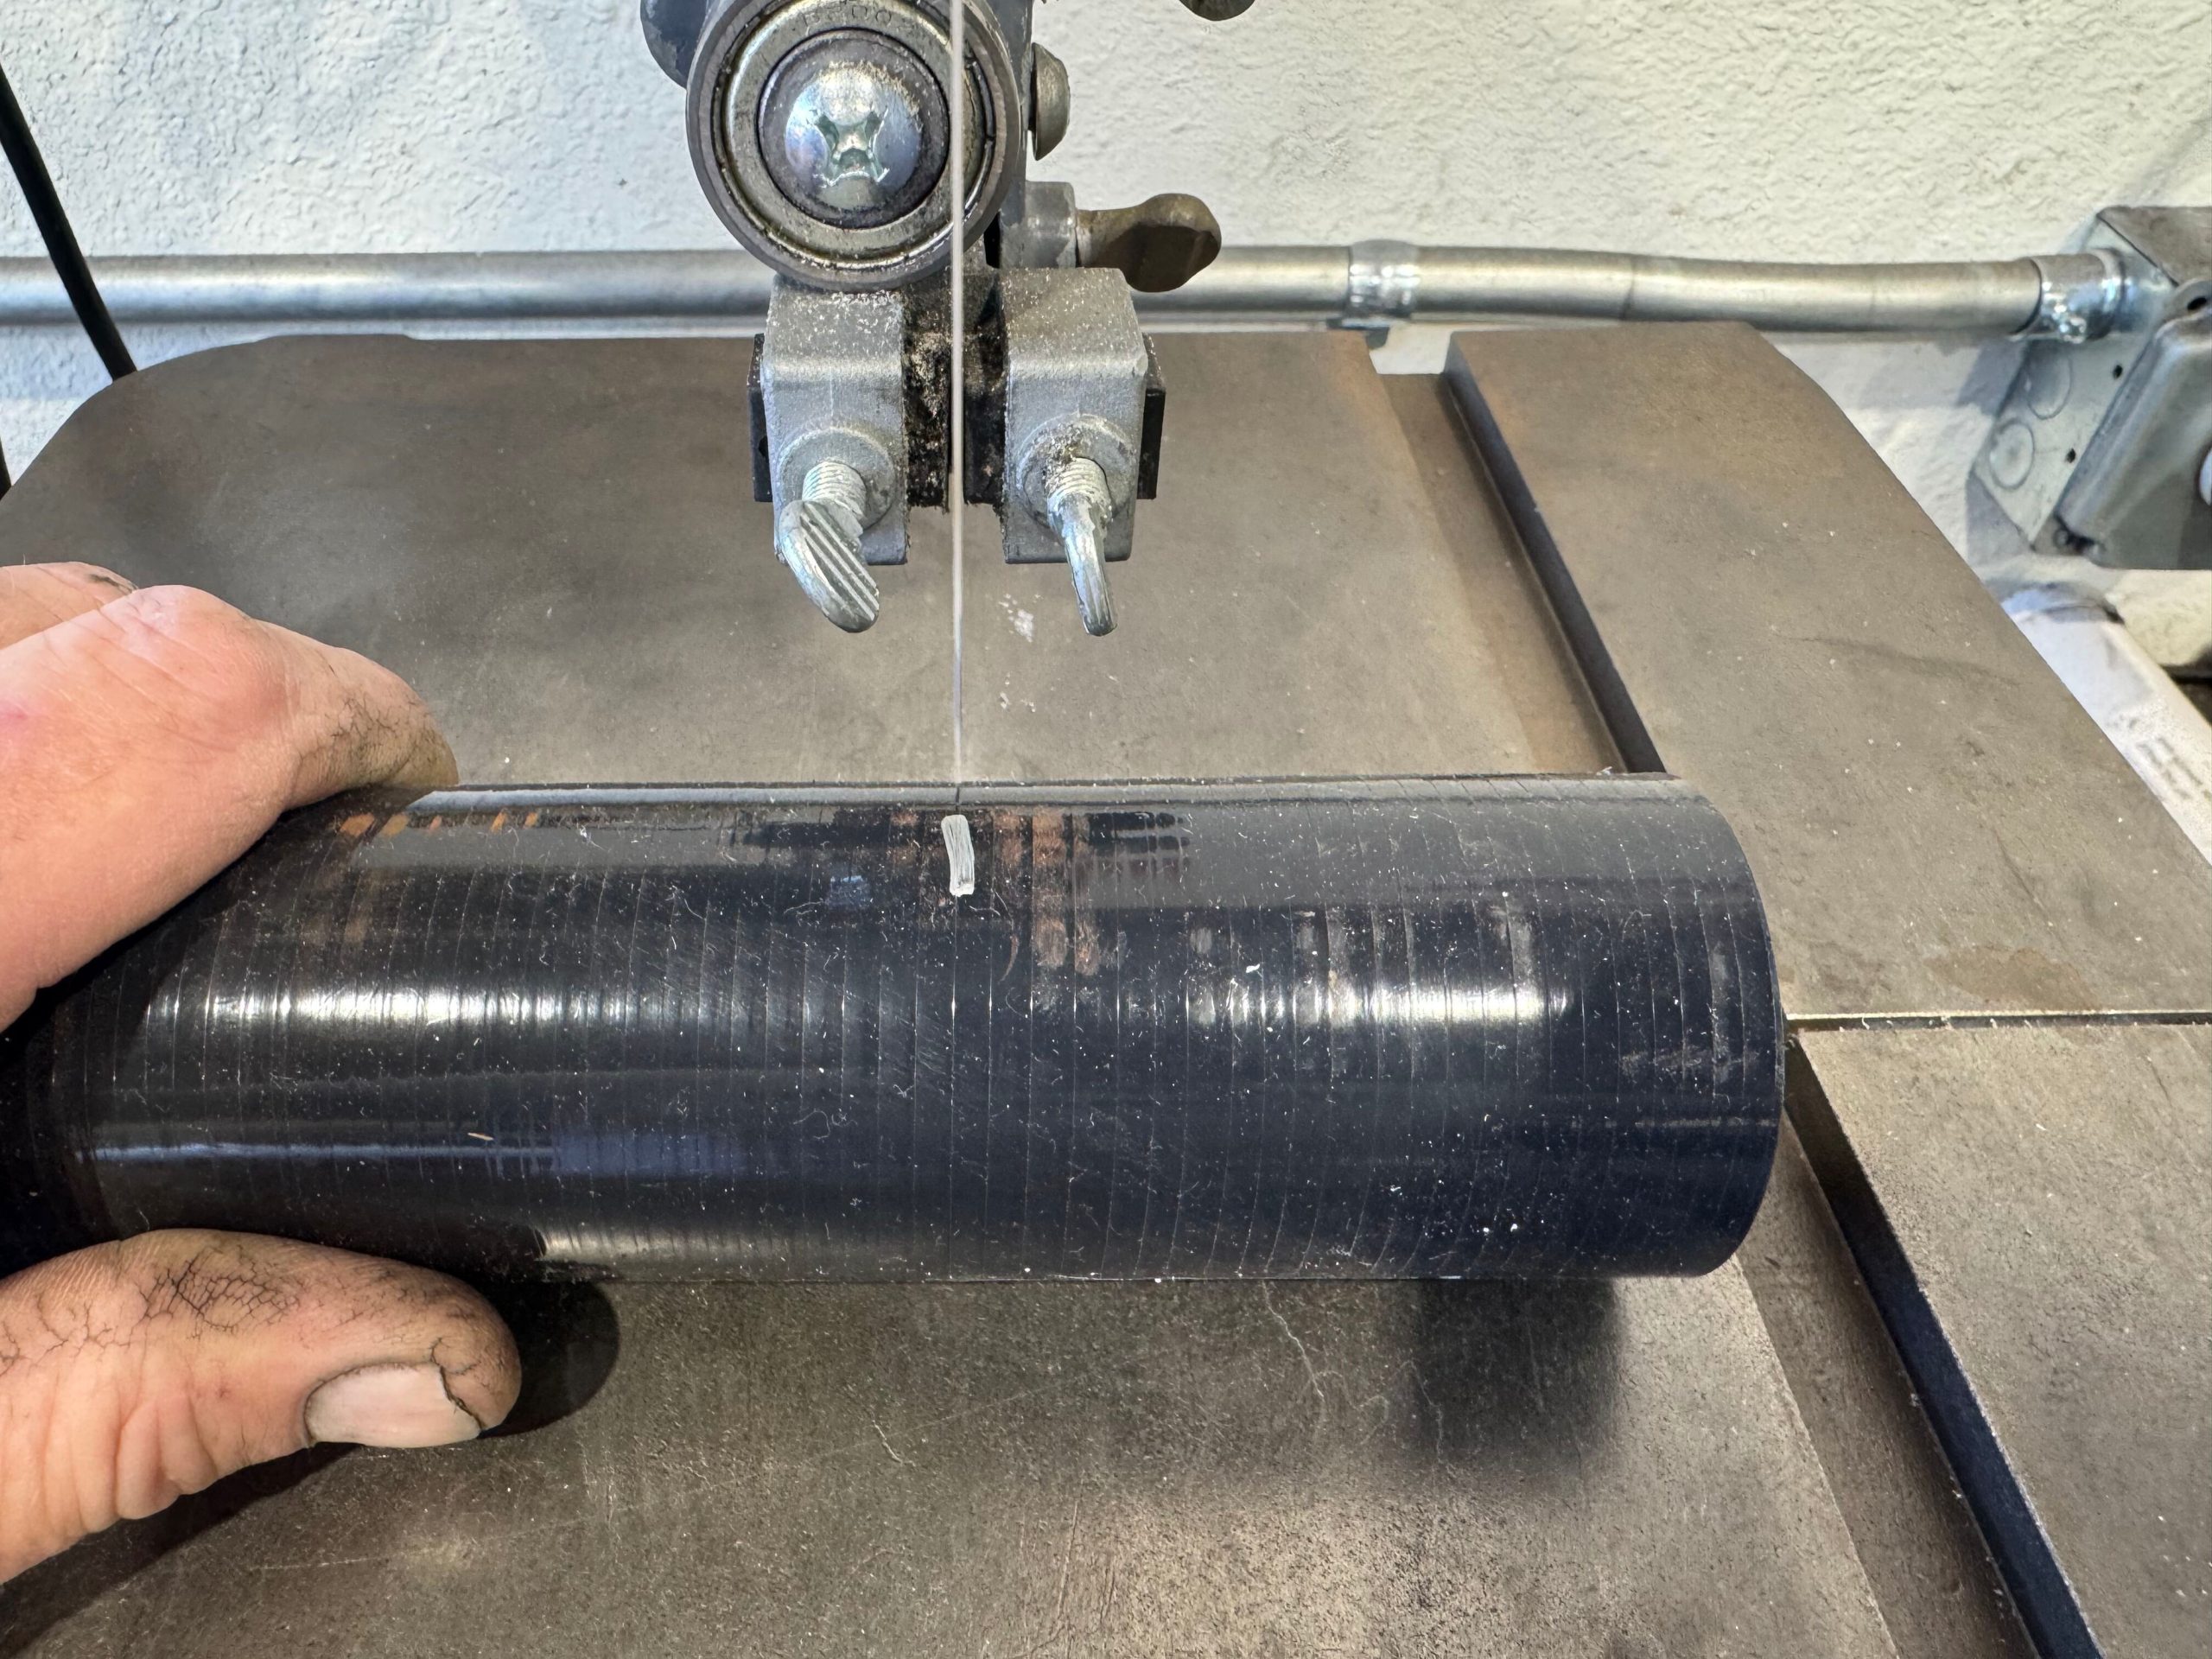
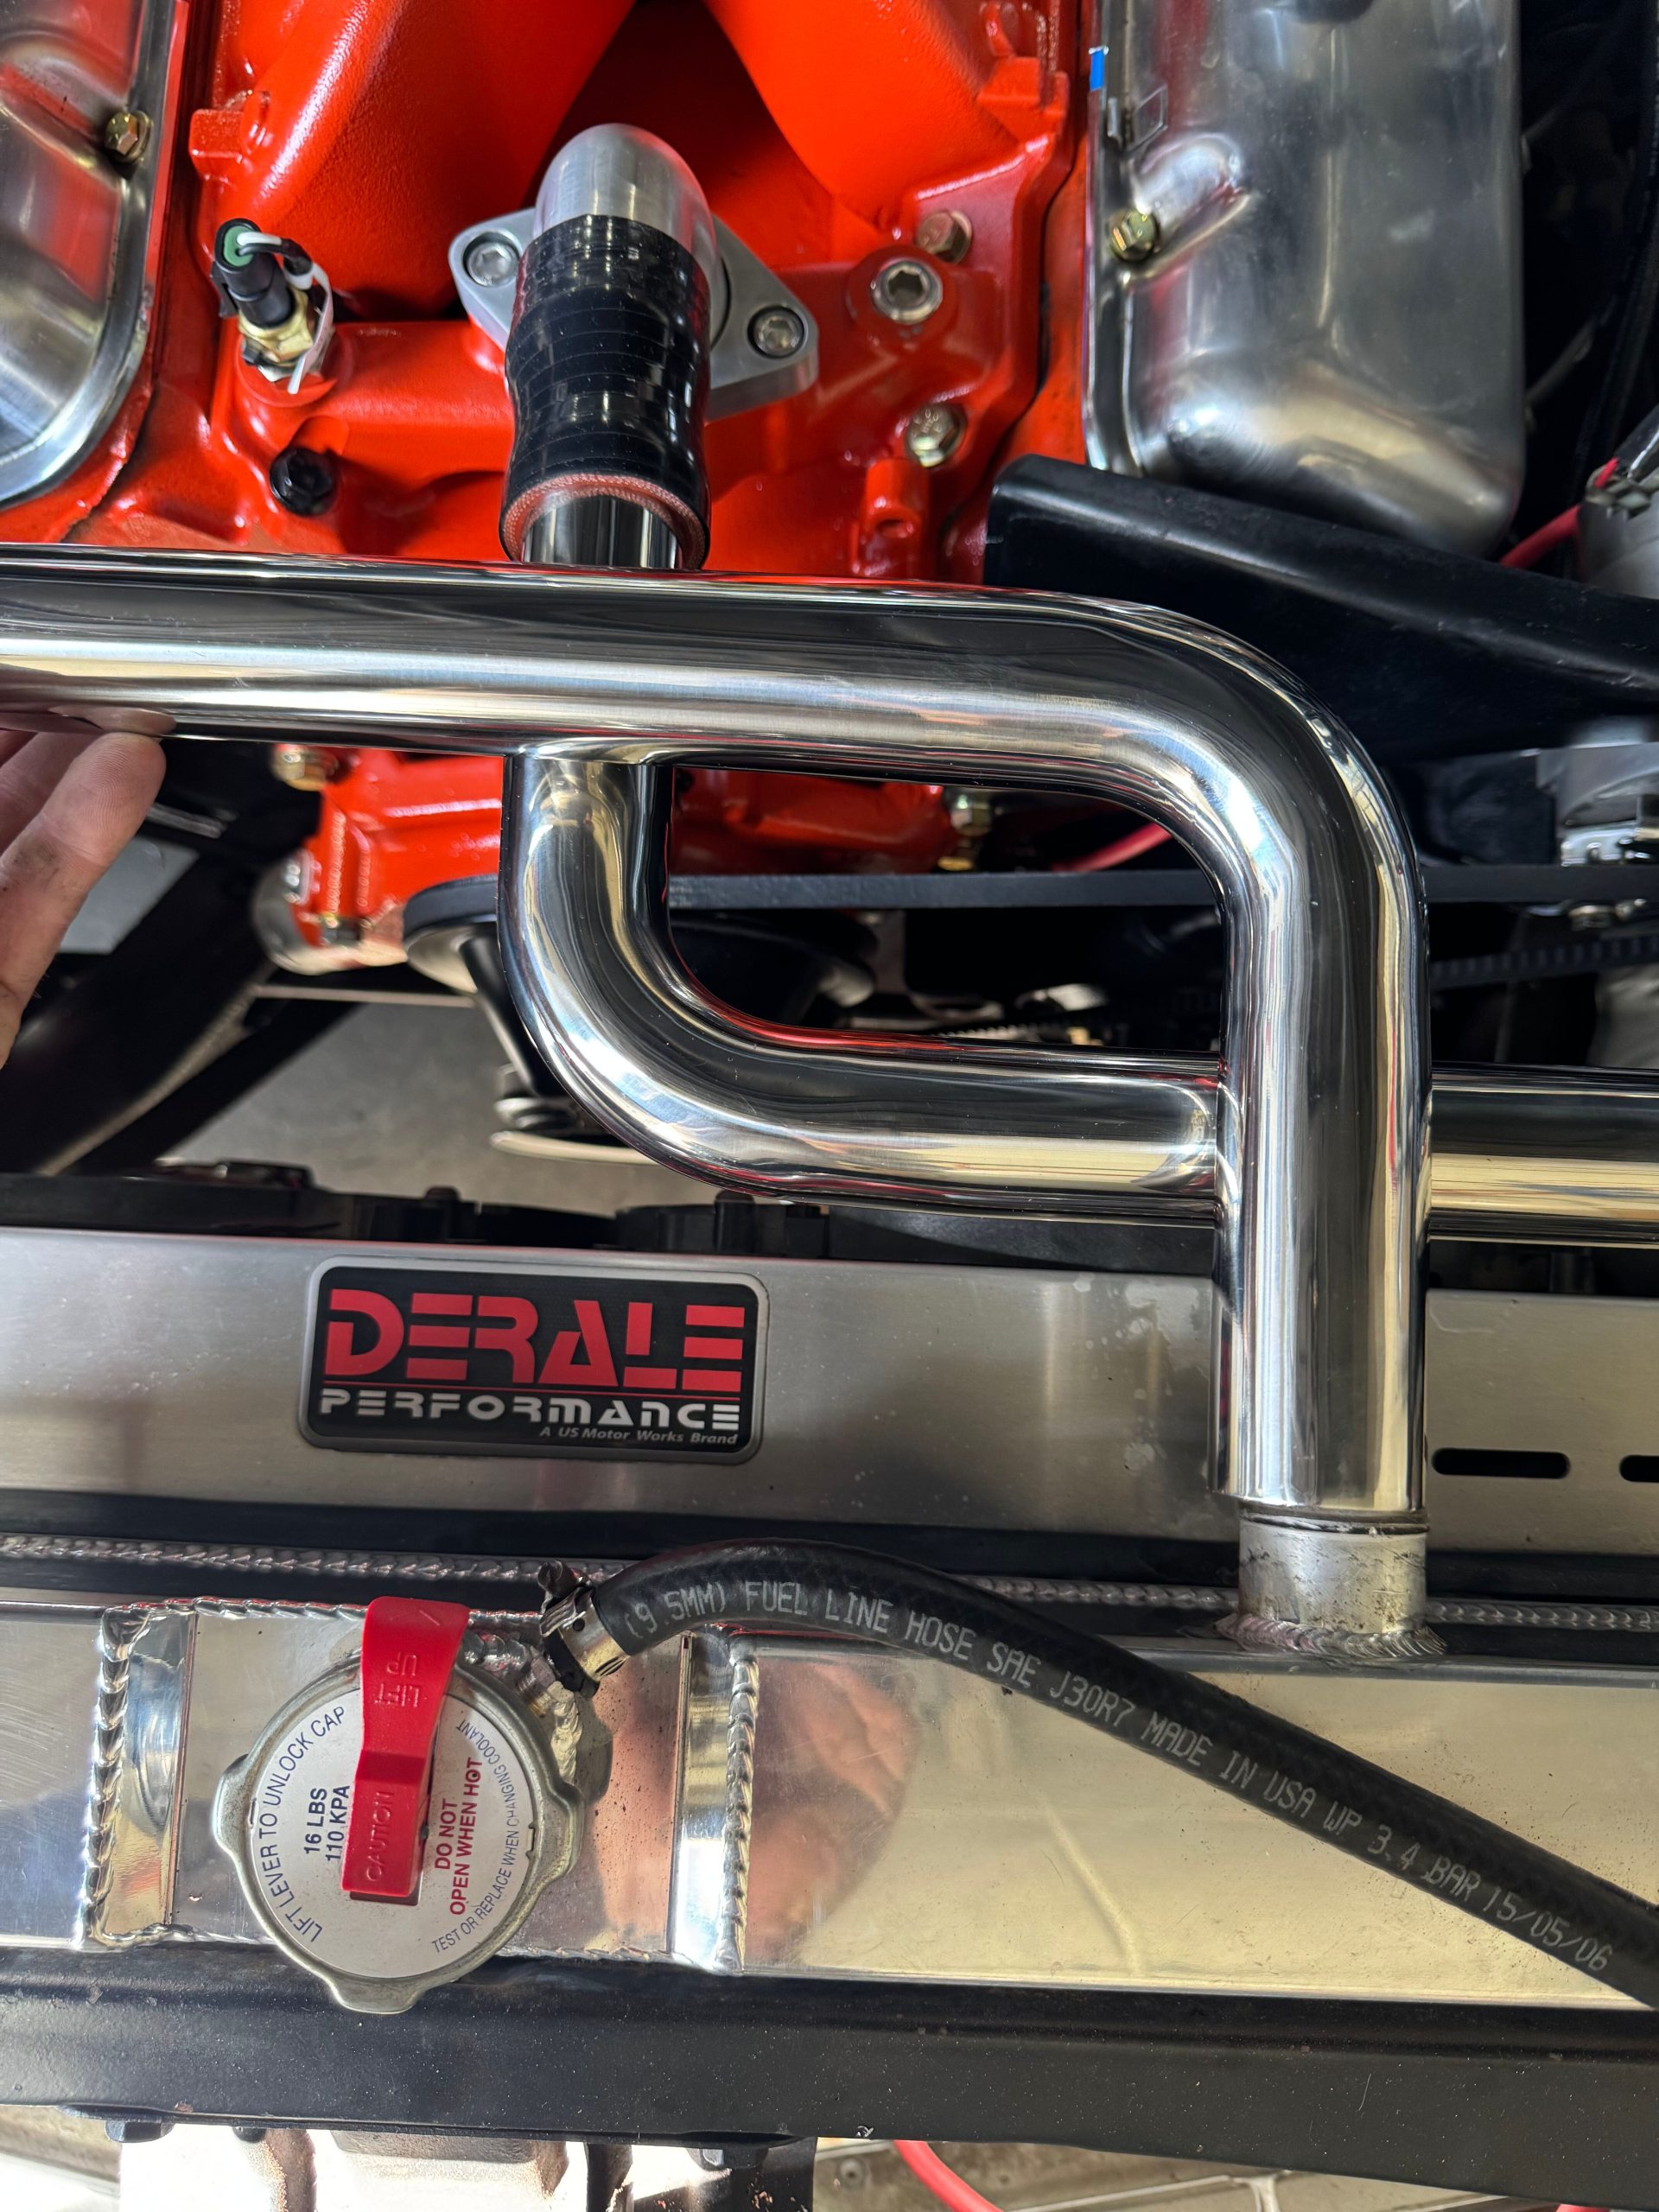
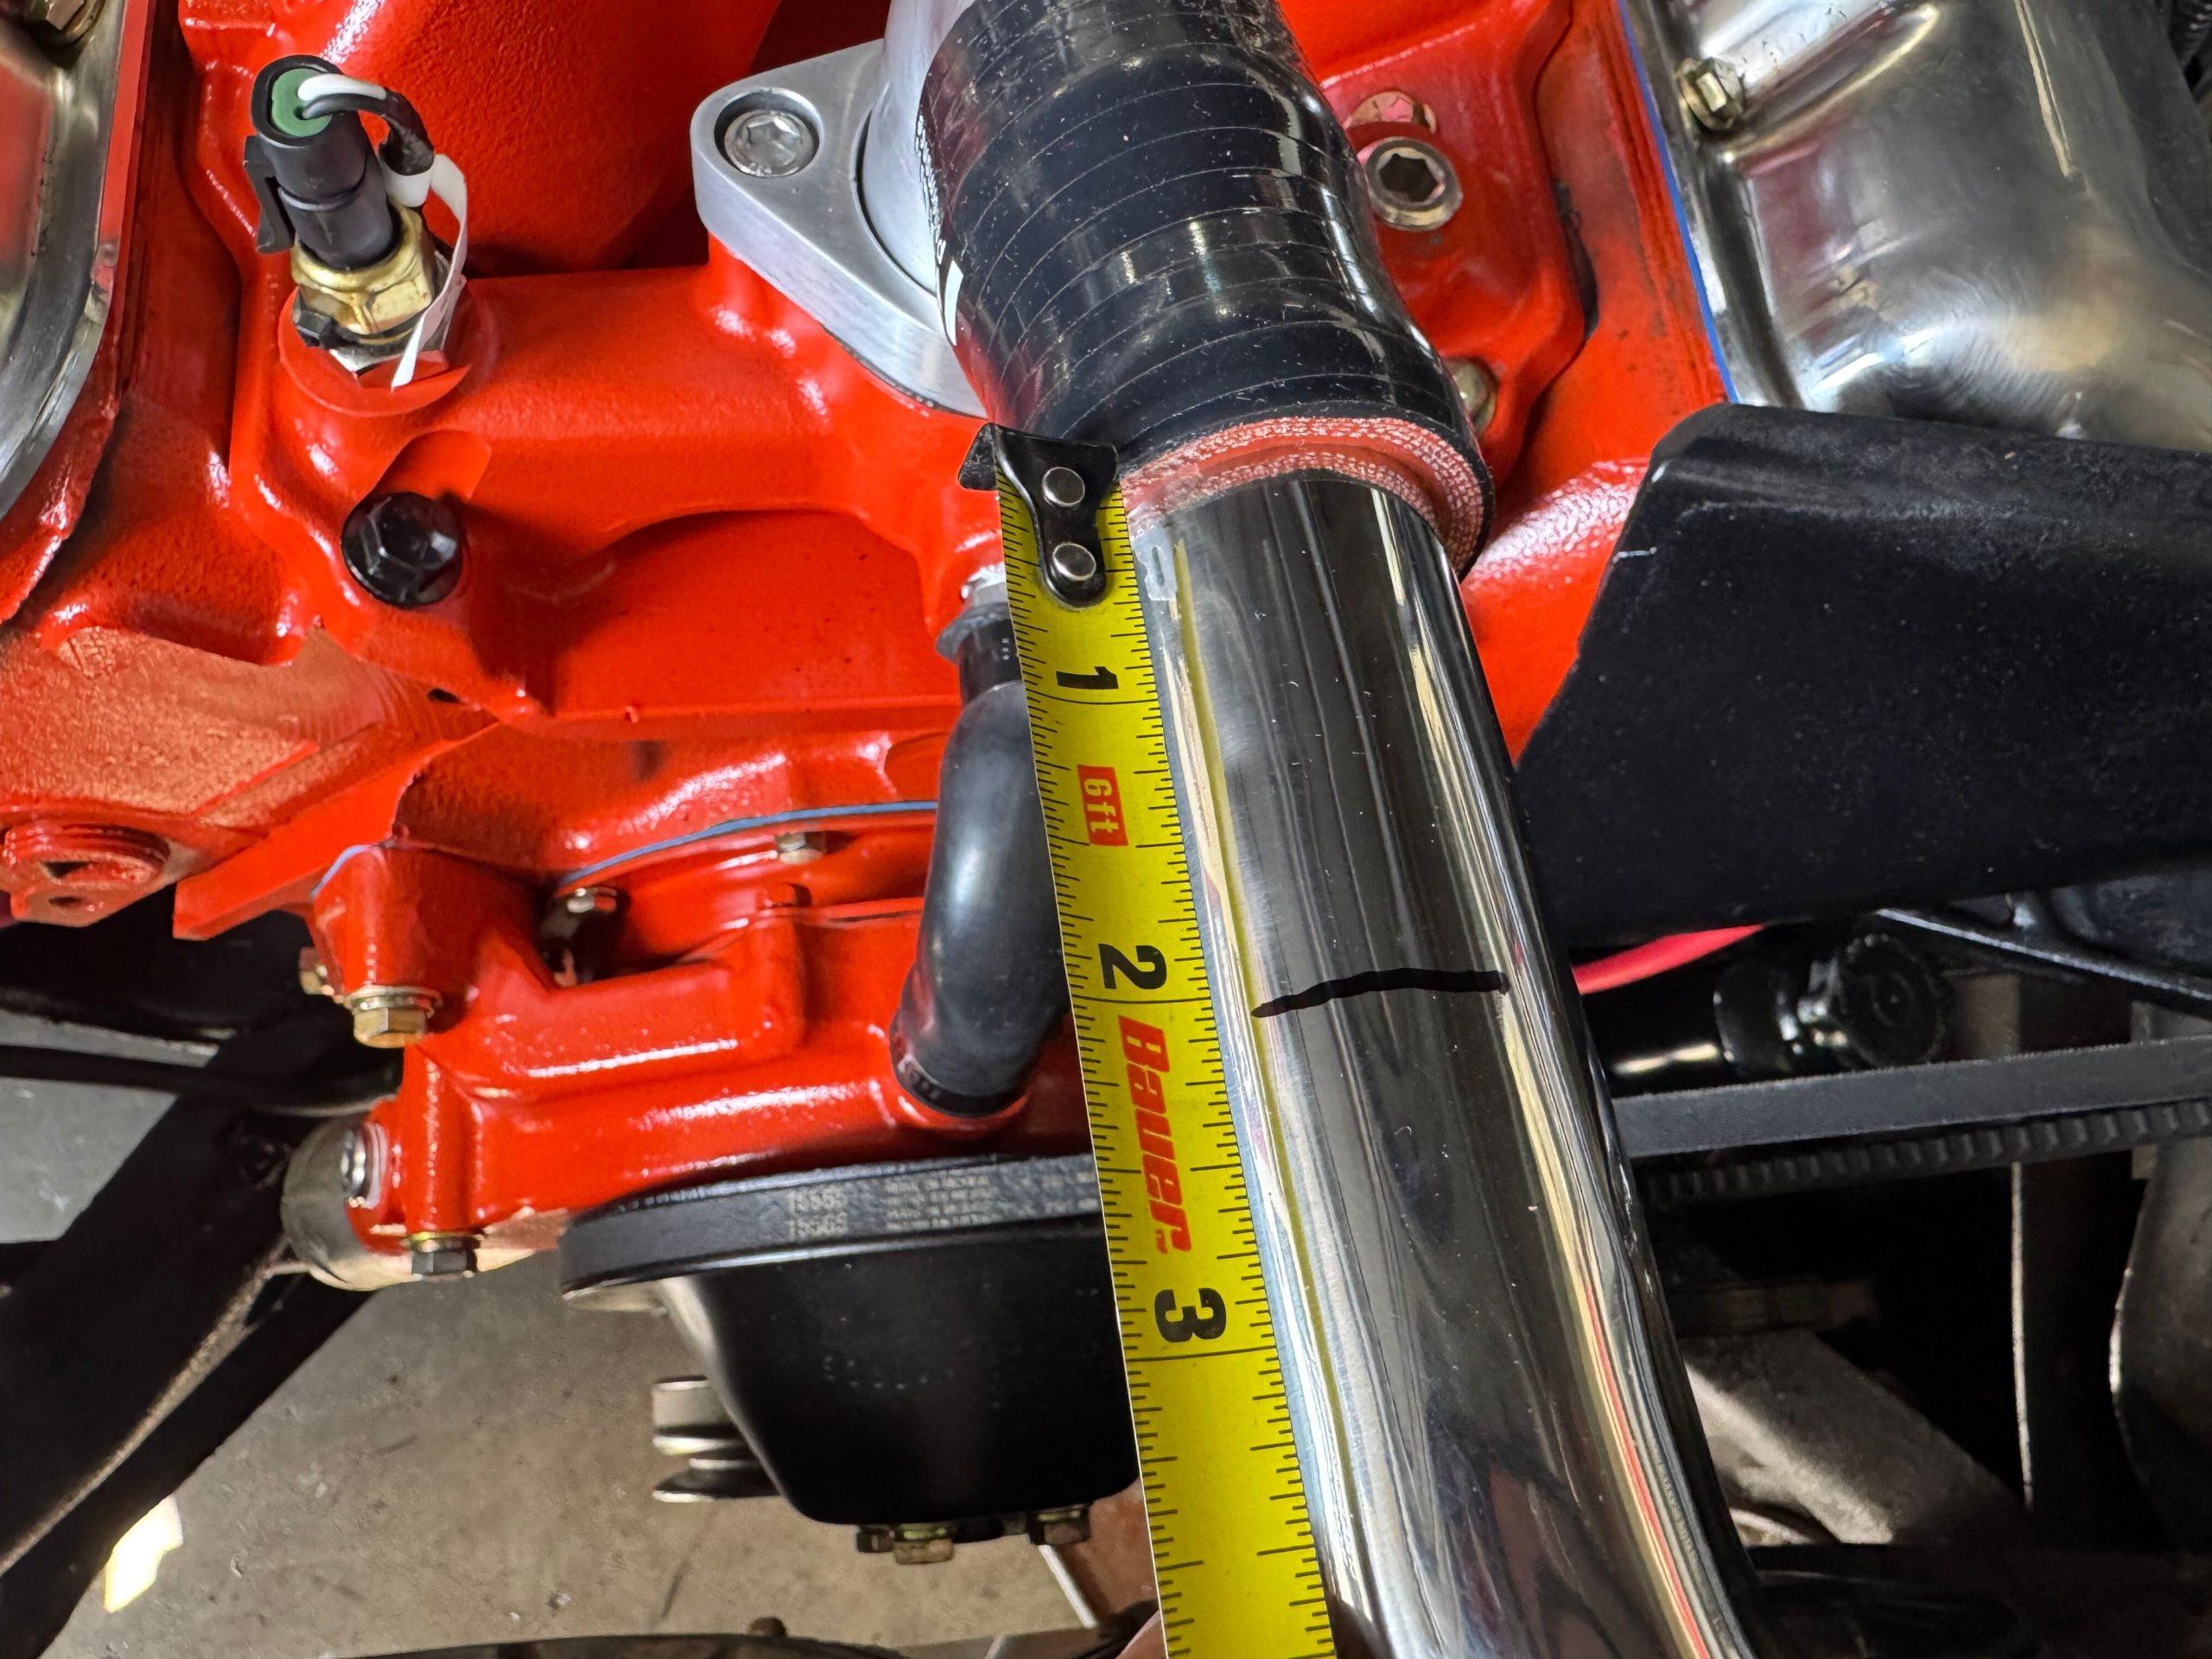
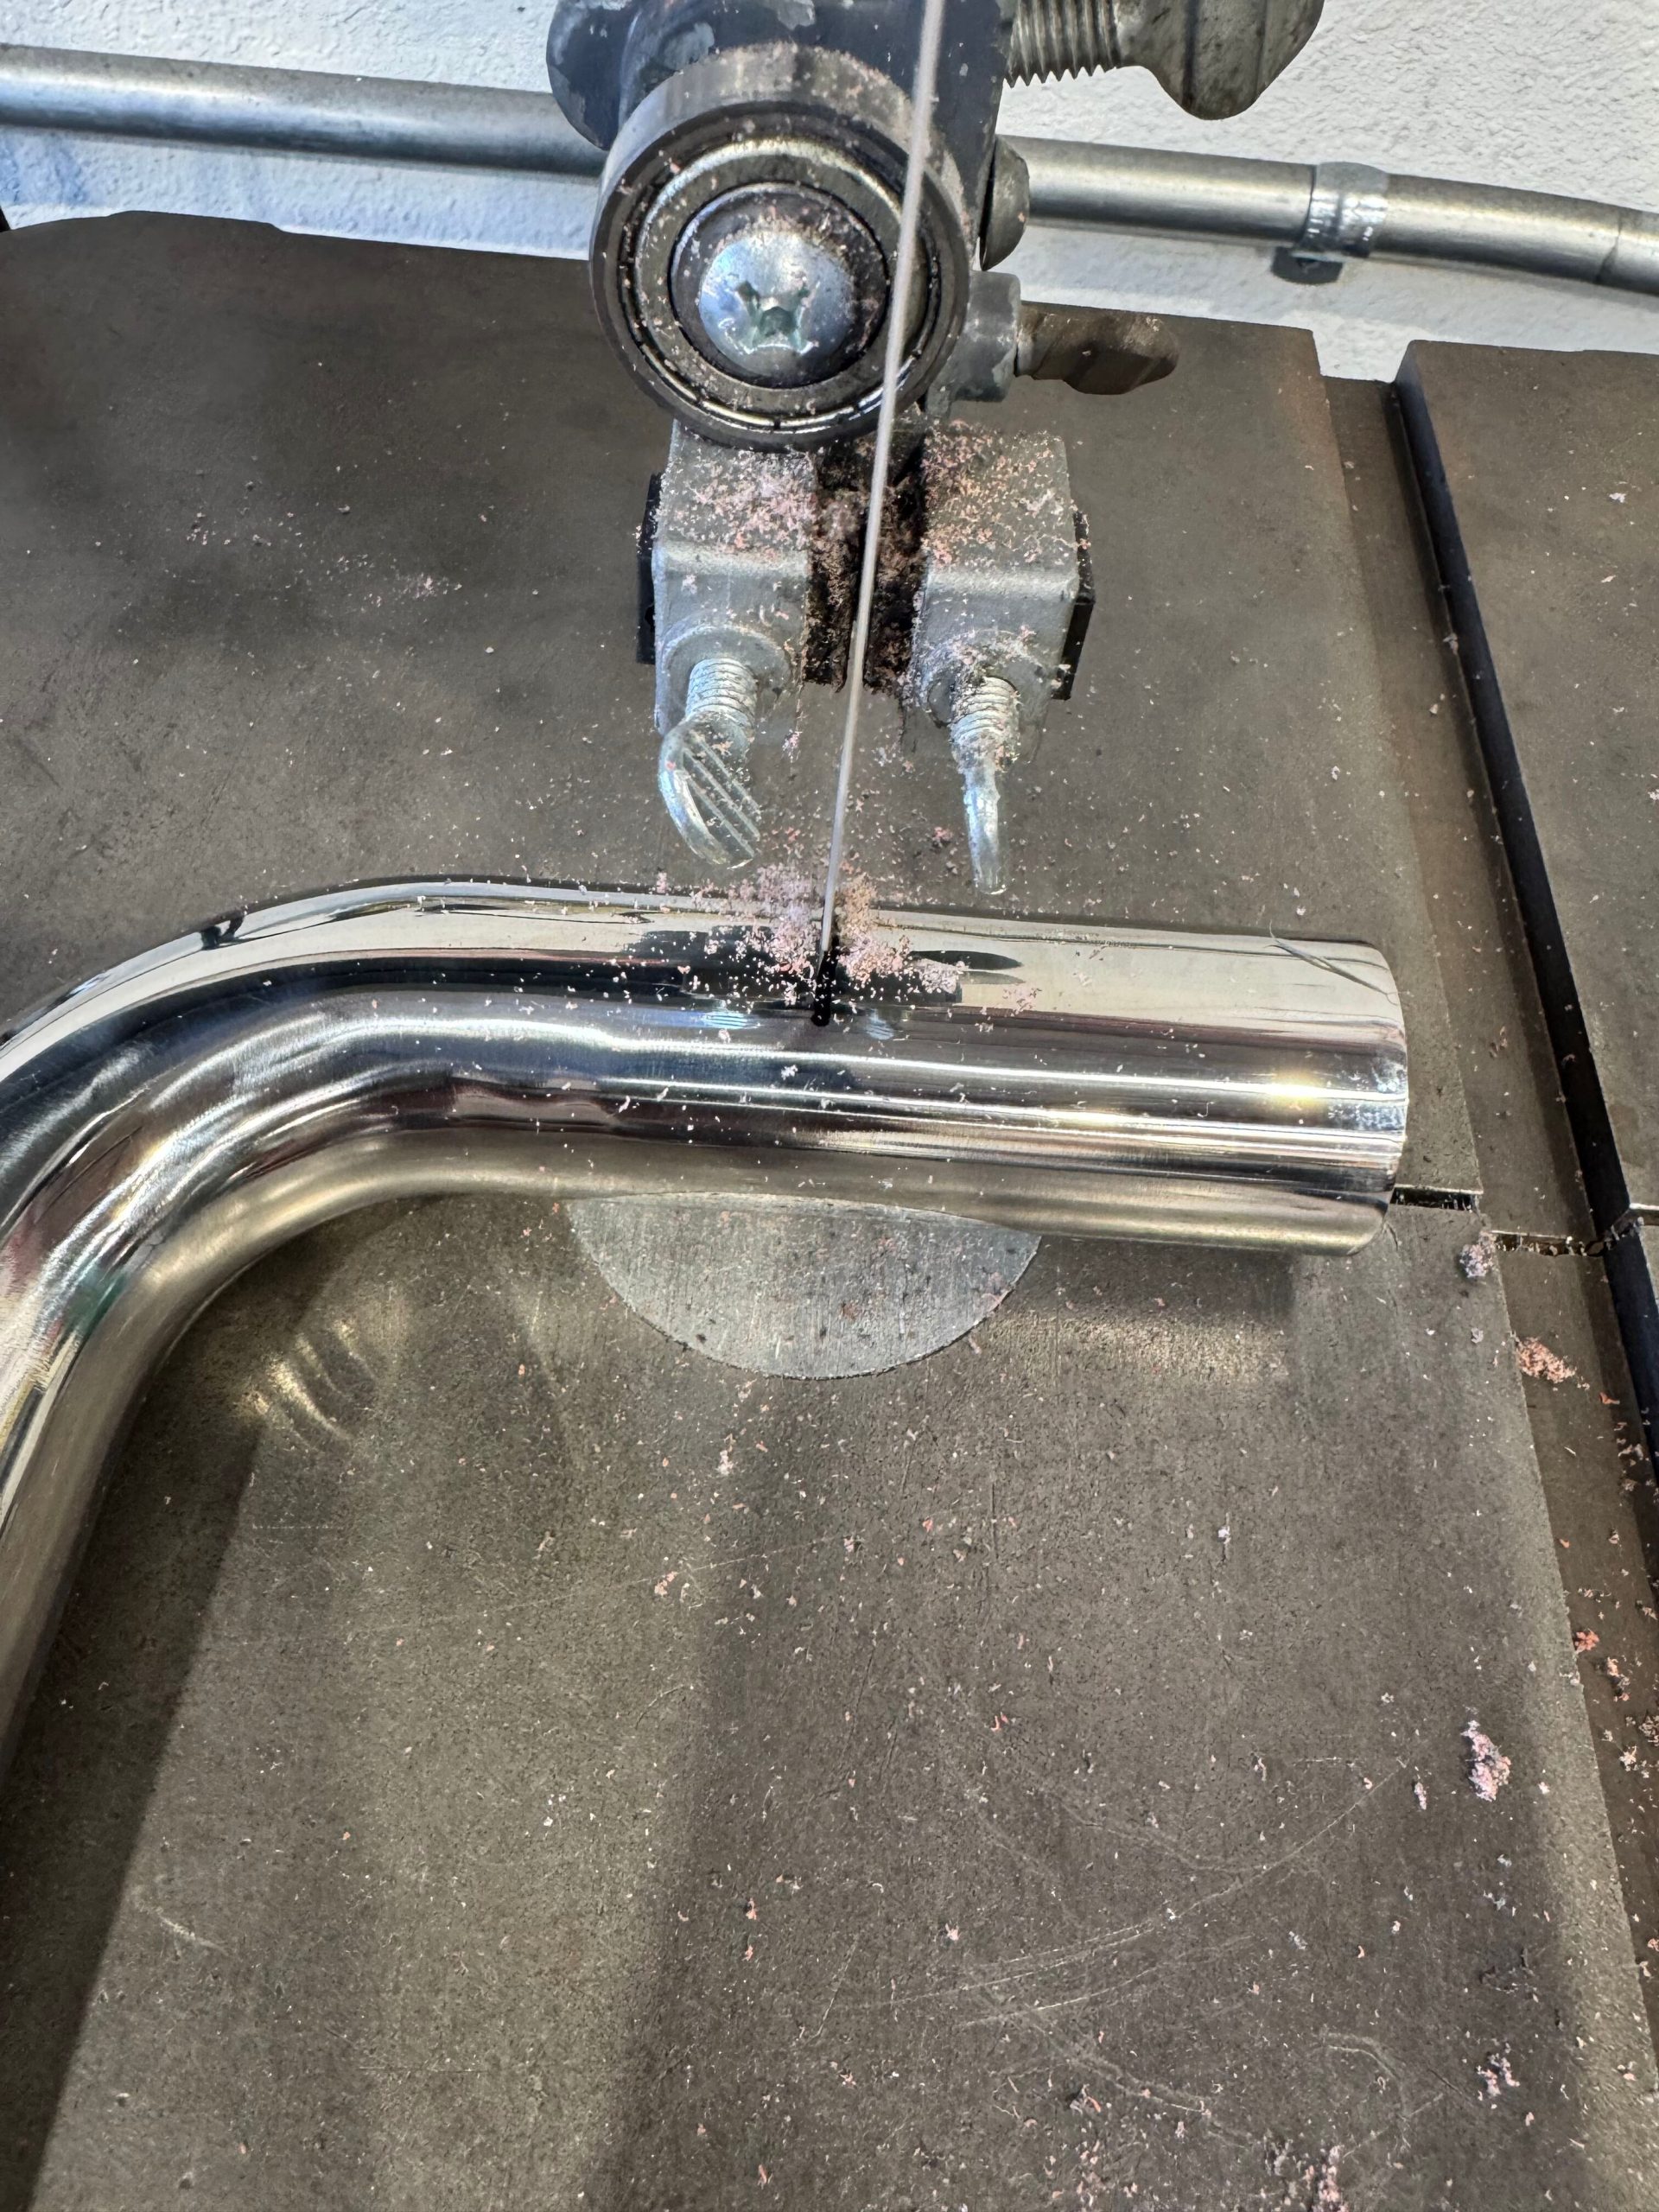
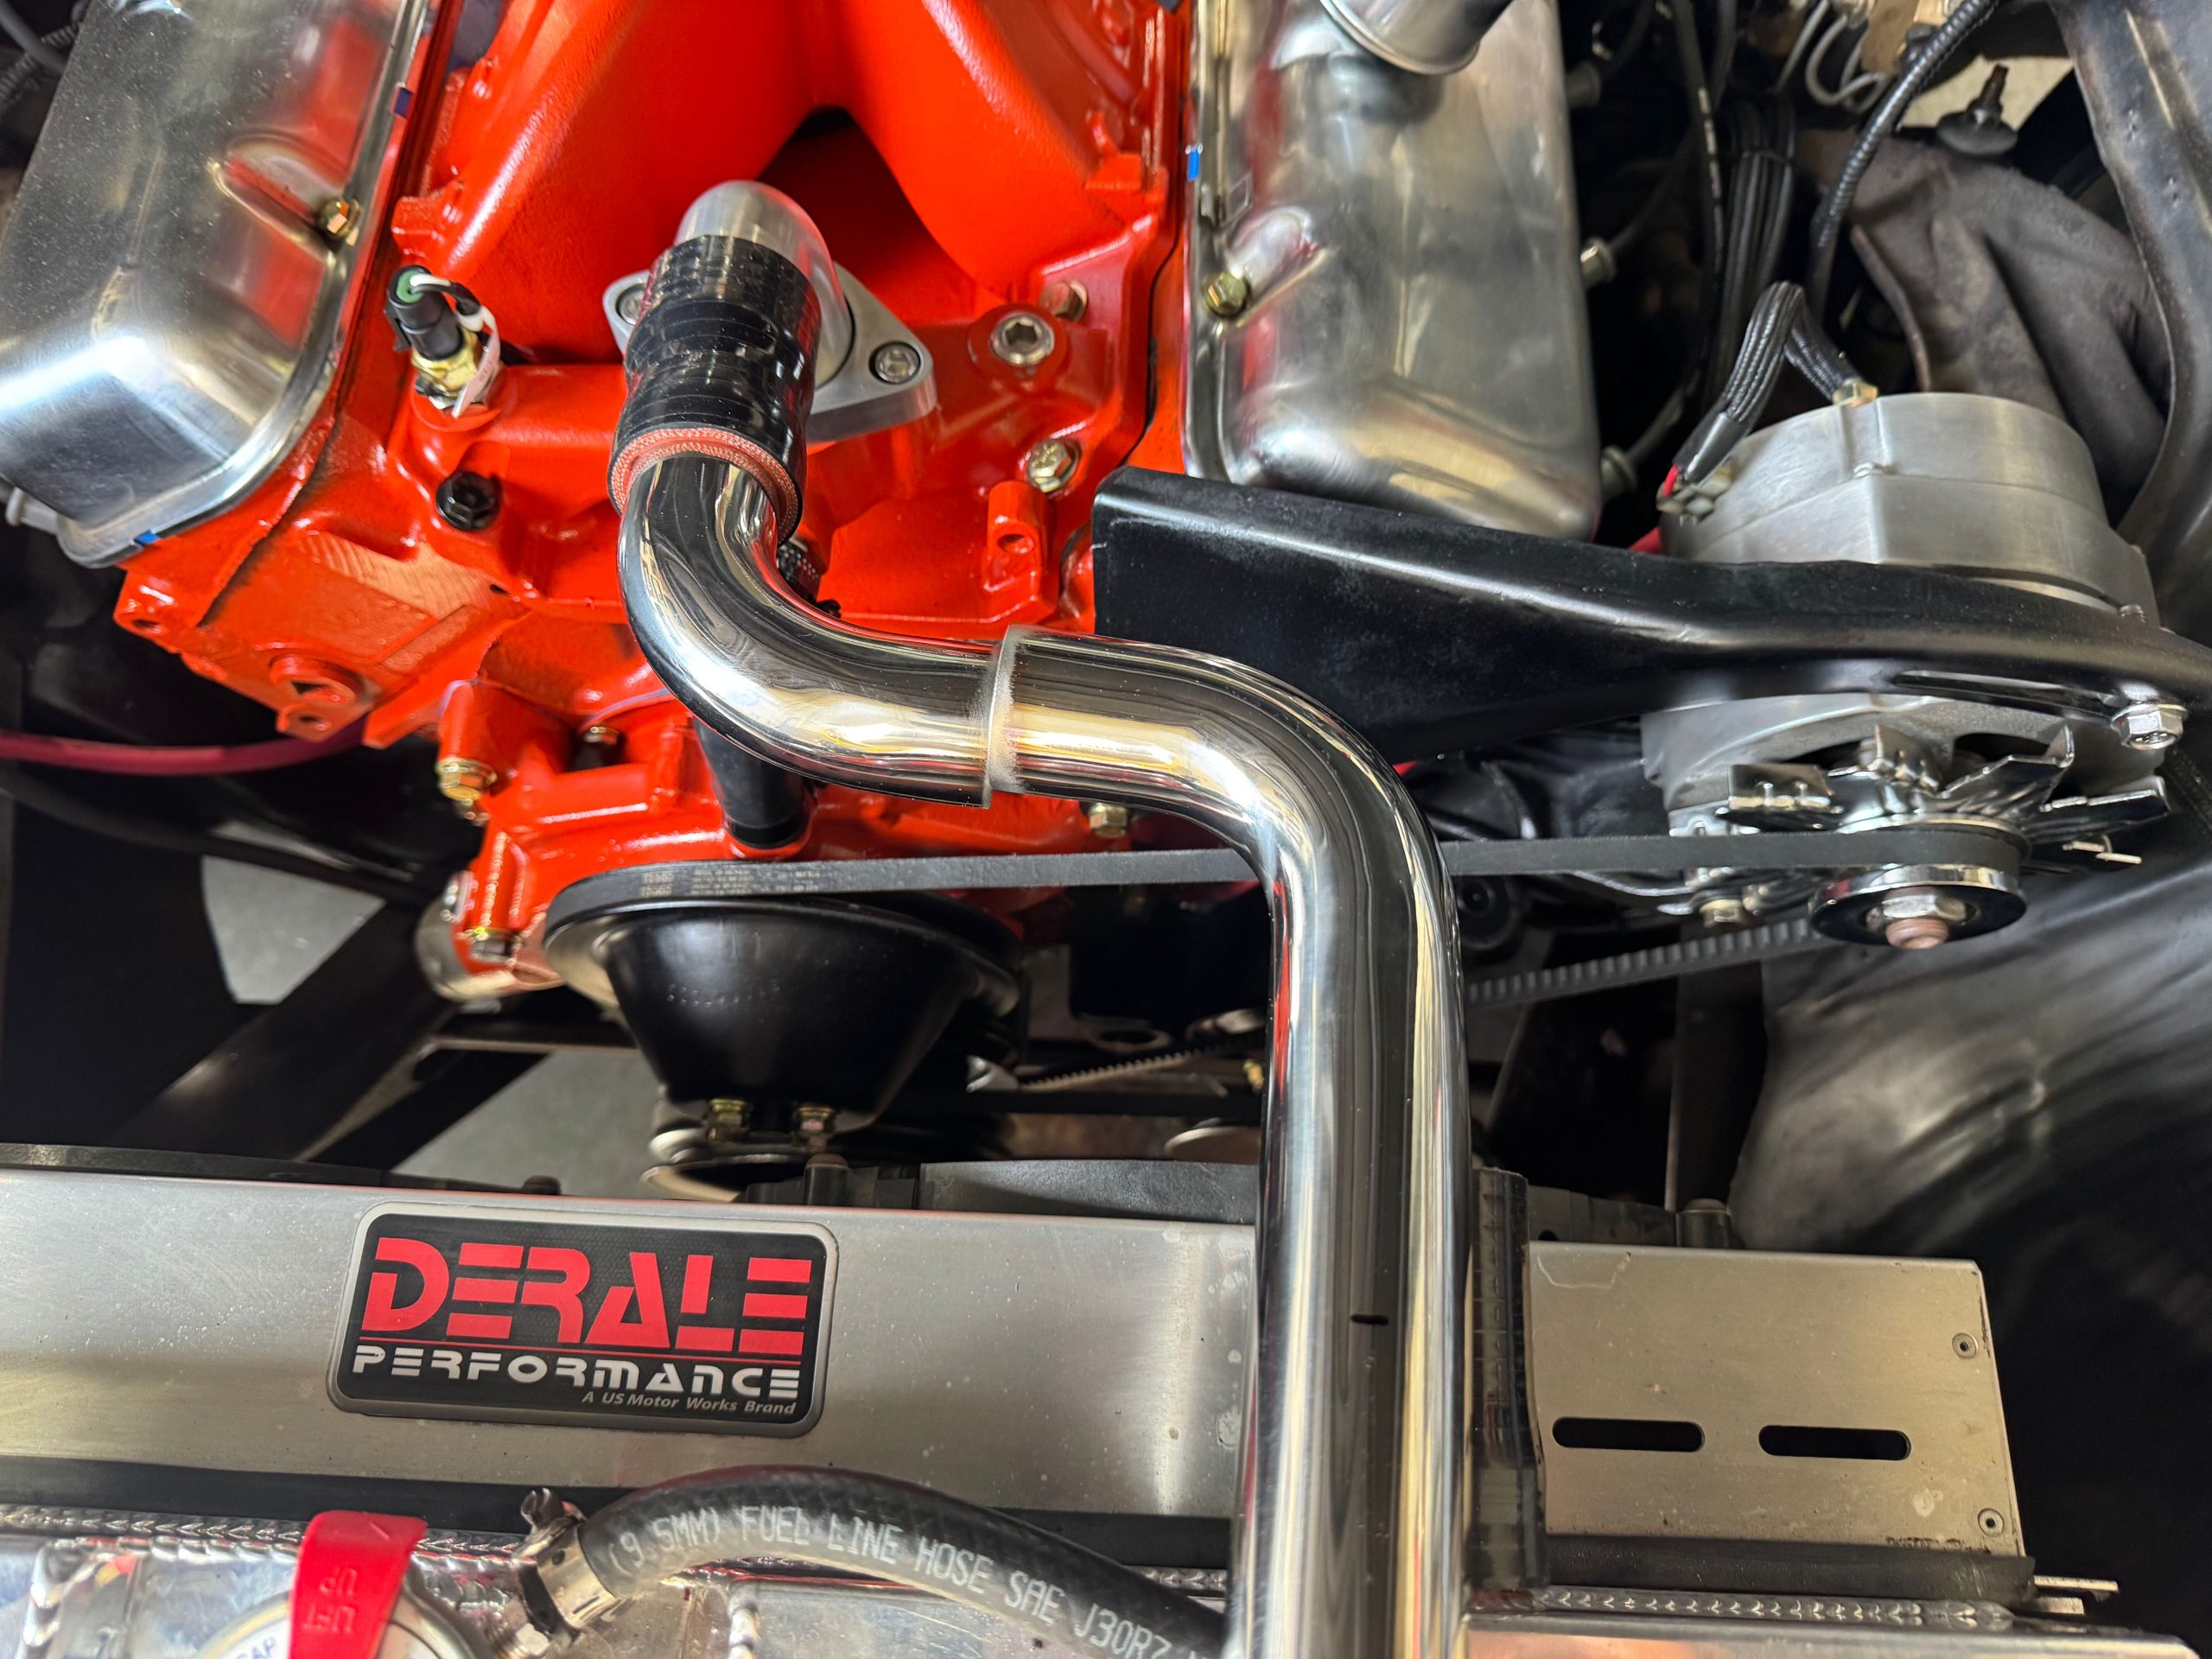
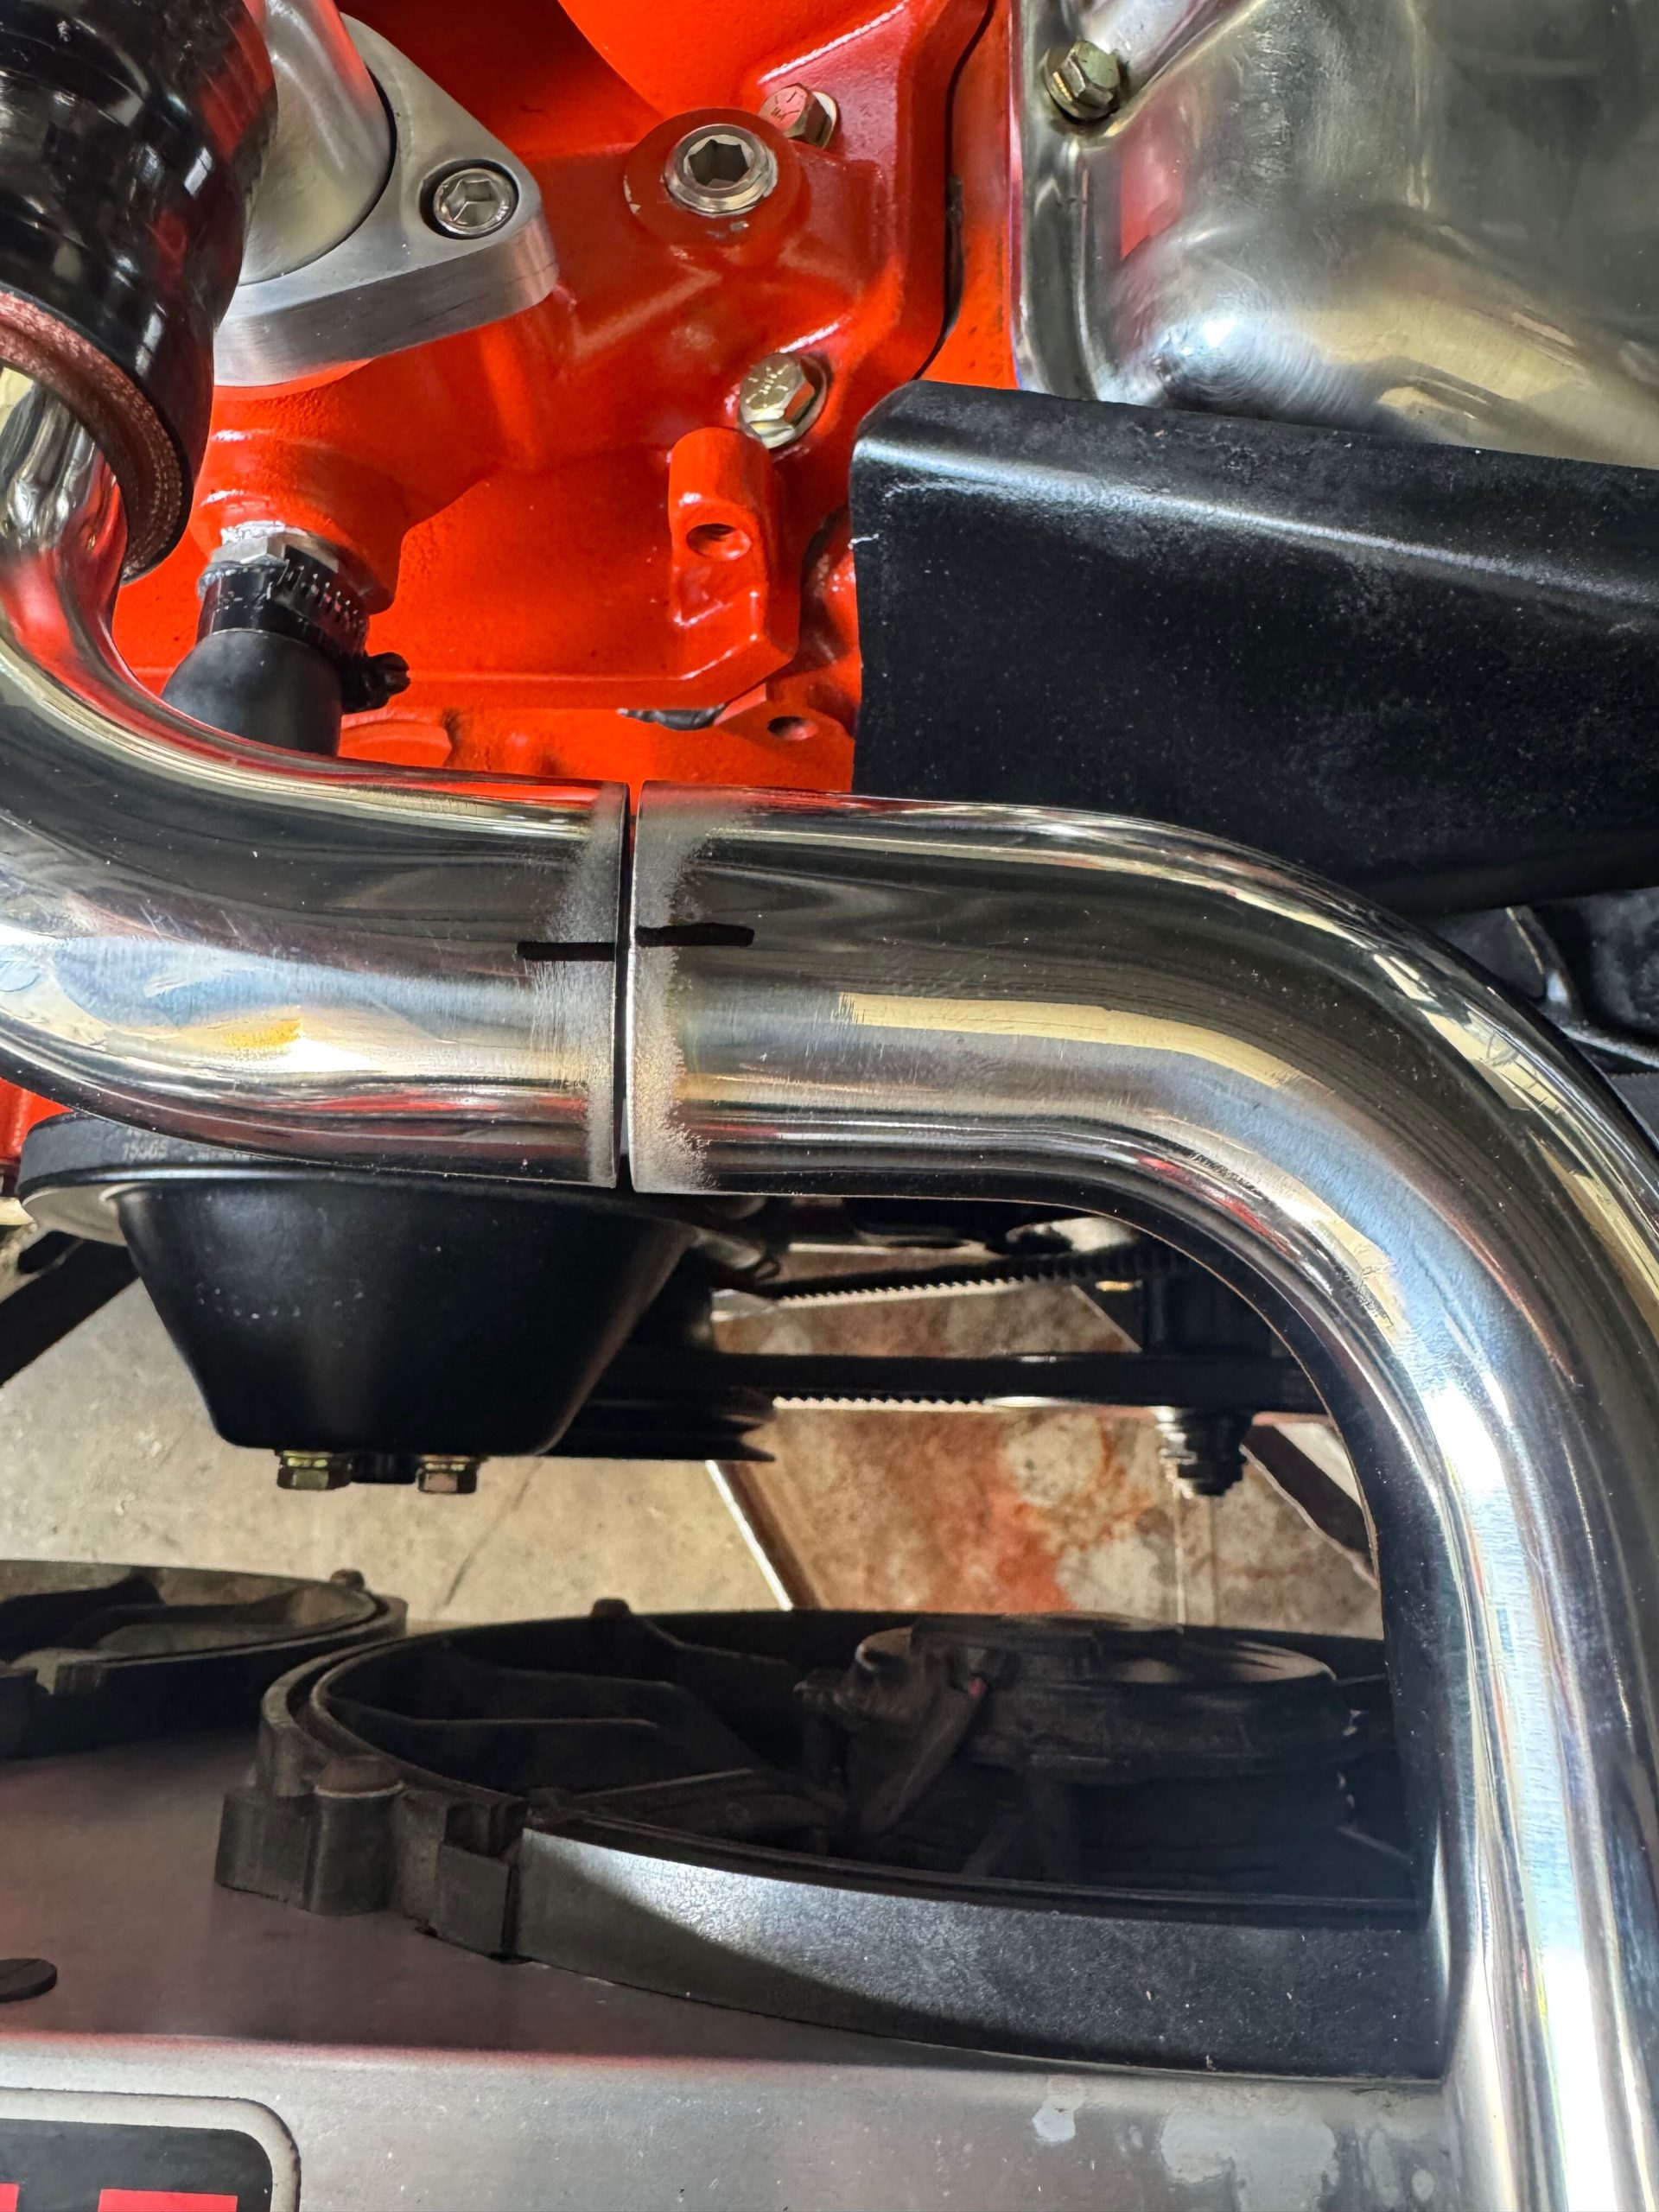
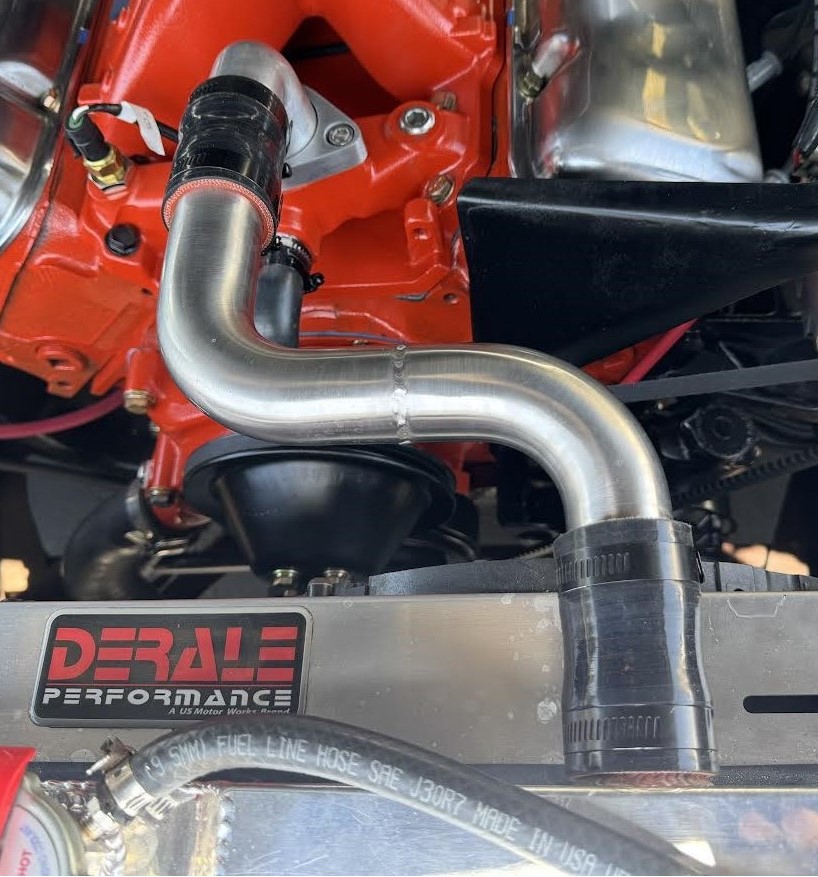
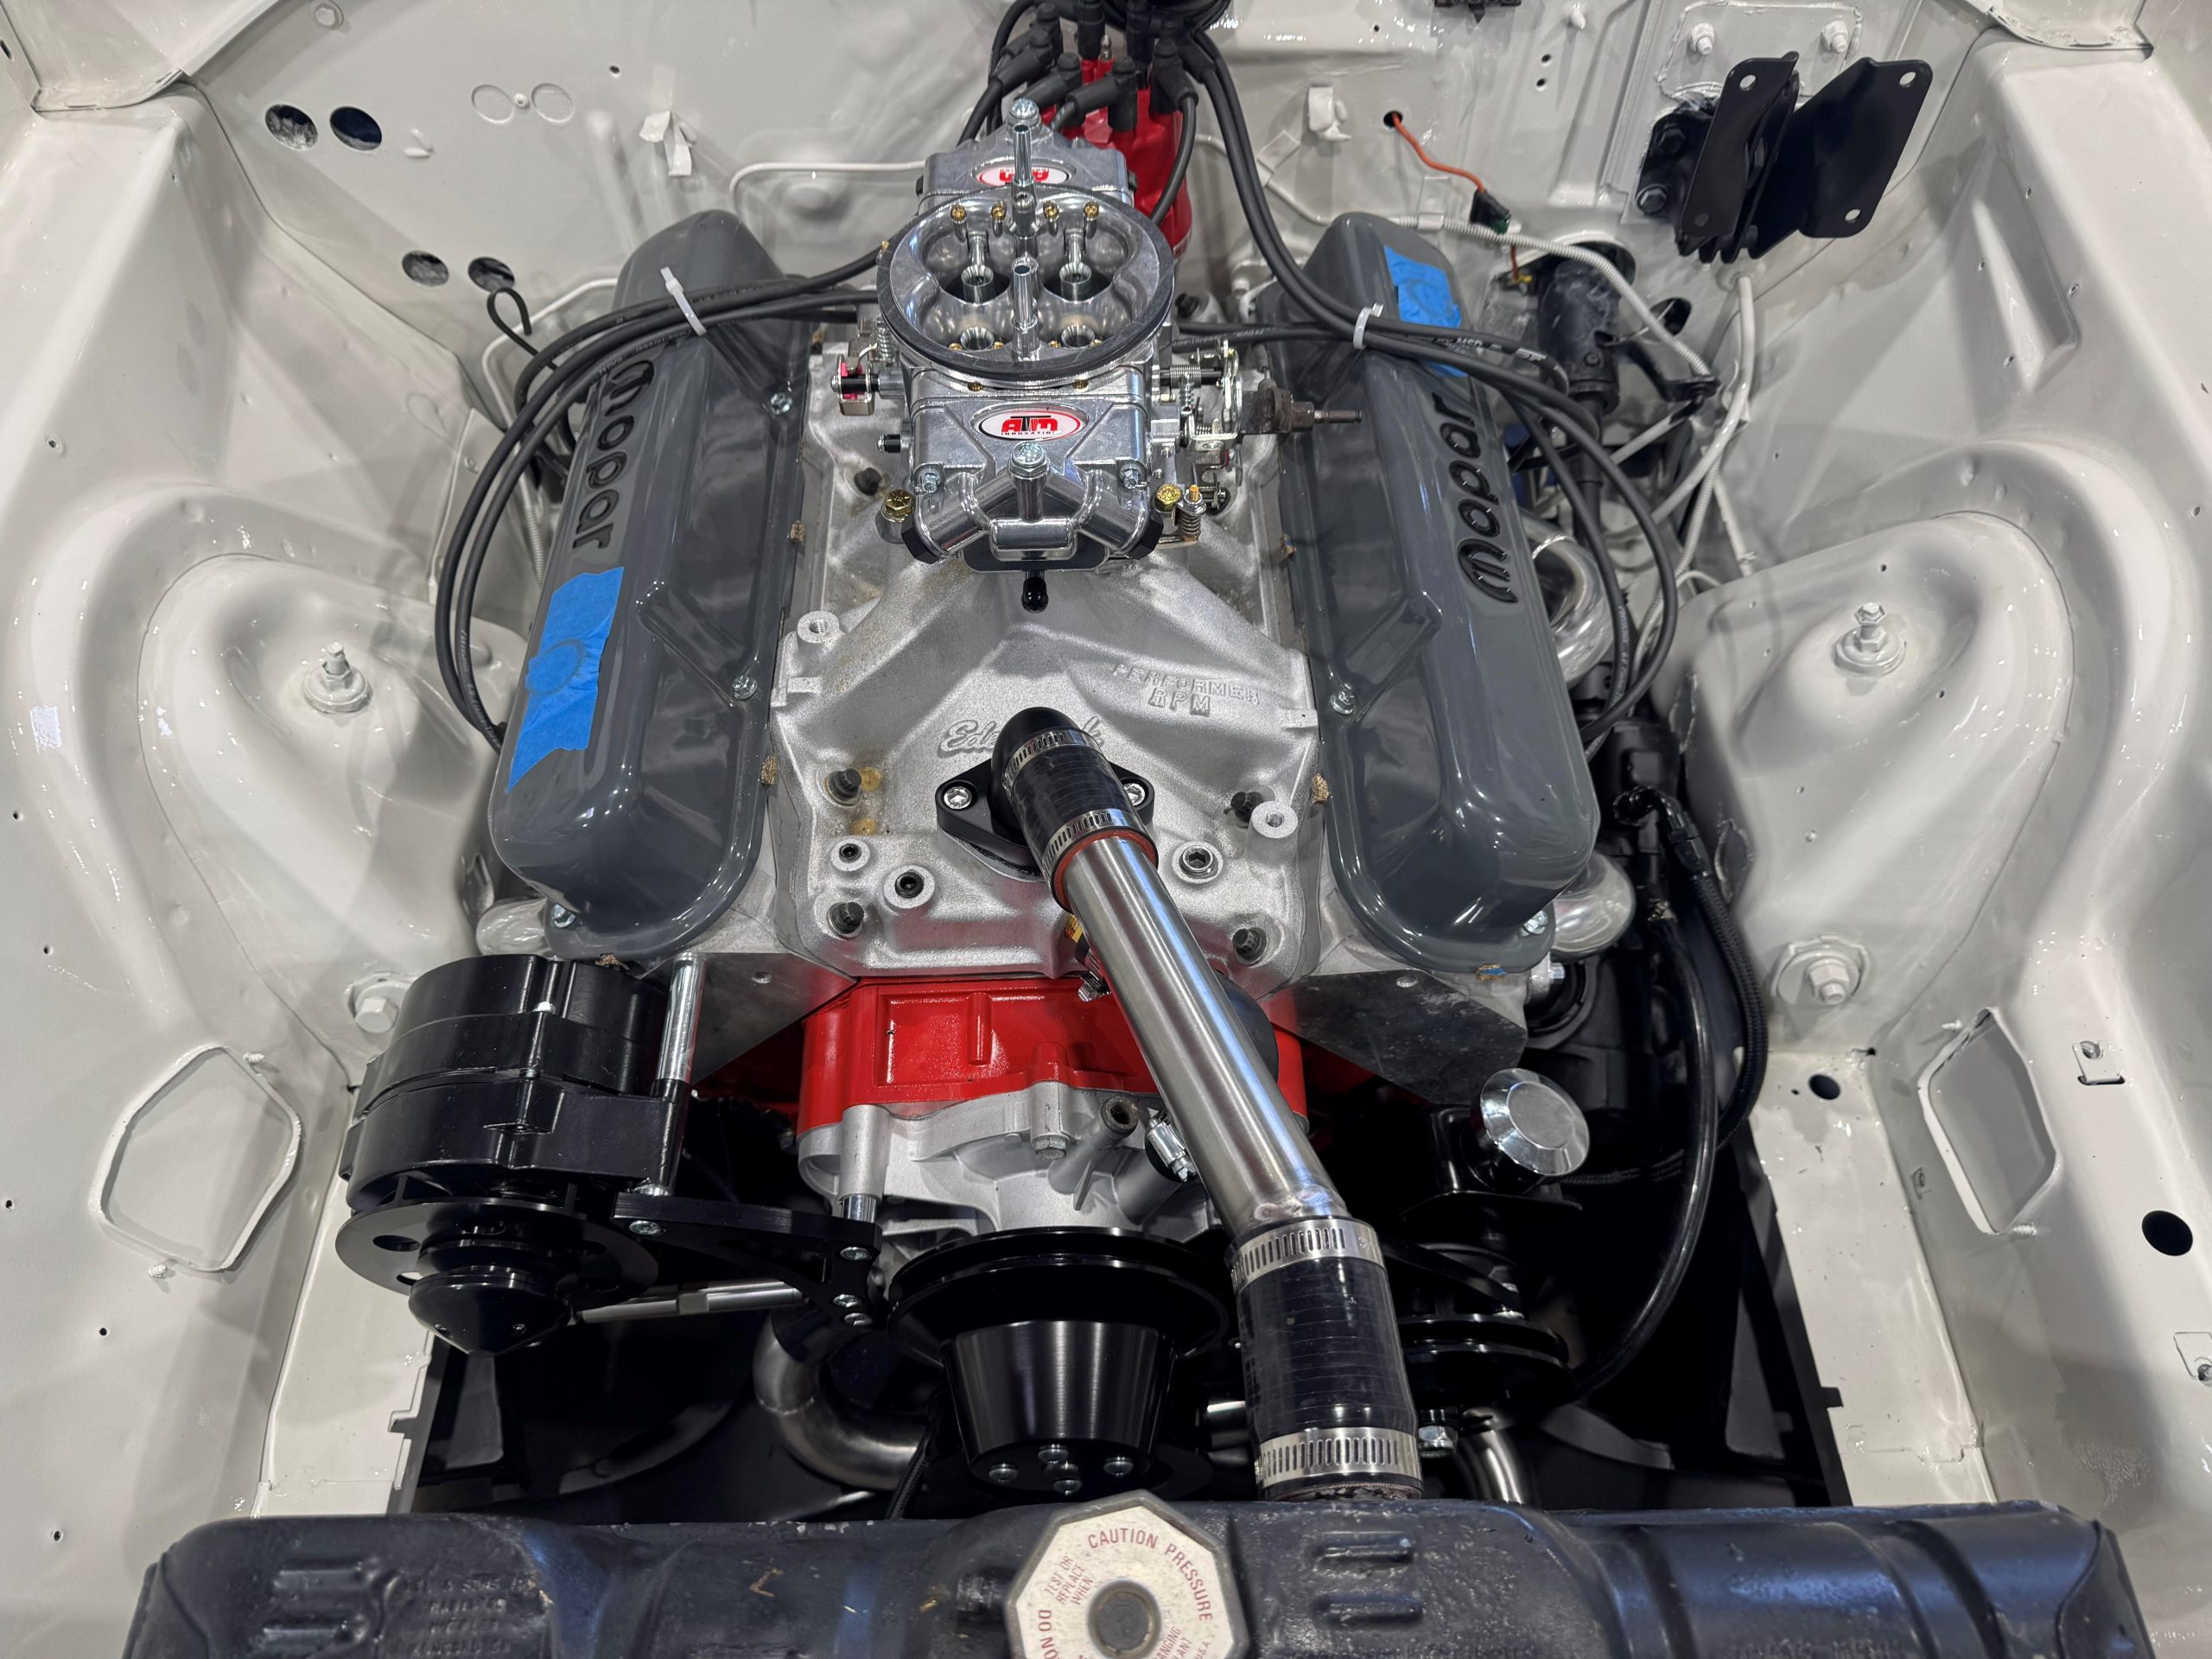
Here are the Summit Racing Exhaust Tubing Mandrel Bends and the Vibrant Performance Silicone Hose Couplers I’ll be using. The tubing is made from 18-gauge 304 stainless steel so it will handle coolant just fine. We use 1.25-, 1.375-, and 1.5-inch 90-degree bends most often to build hard tubing for Chevy small block, big block, and LS engines. (Image/HB Hot Rods)Here’s a look at what we’ve got—a big block Chevy with an aluminum radiator and a Derale High-Output RAD Fan and Shroud Kit with dual 12-inch fans that generate 4,000 CFM of airflow. Note the positions of the engine’s water neck and the upper hose inlet on the radiator. (Image/HB Hot Rods)We cut the 1 3/8-inch Vibrant coupler into three-inch long segments We used a bandsaw to cut the coupler, but a hacksaw or a sharp blade will also work. (Image/HB Hot Rods)We’re using two mandrel bends to build our upper radiator hard tube. We connected one to the water neck with a coupler segment and positioned the other at the radiator inlet. This shows us where the bends roughly intersect and determines the tube layout. (Image/HB Hot Rods)Based on our layout, we measure and mark a two-inch section to be removed from the tube connected to the water neck. (Image/HB Hot Rods)We cut the tubing on the bandsaw, then used a disc sander to square up the cut end. You do this to ensure the tubes will butt together with little to no gap. The smaller the gap, the better the weld will be. (Image/HB Hot Rods)We used a Vibrant Performance Manual Bead Roller to put a bead around the end of the tube to ensure a good nonslip seal. The bead roller mounts in a regular bench vise and works on aluminum up to 16-gauge and stainless steel or titanium up to 18-gauge. Tubing must be at least 3/4-inch OD. (Image/HB Hot Rods)We mocked up the tubes and mark both pieces to the desired size. After squaring the ends, here’s how they meet up. We also marked a line where we need to cut the tube at the radiator inlet. (Image/HB Hot Rods)We marked a line on each tube so we can weld them together at the correct rotation. (Image/HB Hot Rods)We used Summit Racing Welding Table Clamps to secure the tubing to our welding table. This made it much easier to weld the tubes together. We used 0.35-inch stainless steel TIG welding rod to create a nice-looking weld. (Image/HB Hot Rods)Here is a shot of the finished upper radiator hard tube. Follow the procedure outlined in this story and you too can make upper and lower radiator tubes for your hot rod. (Image/HB Hot Rods)Here’s are the upper and lower radiator hard tubes for a 383 CID big block in a 1968 Coronet. The upper tube was made using 1.5-inch Summit Racing 90-Degree Mandrel Bends, the lower from 1.75-inch 90-Degree Mandrel Bends. (Image/HB Hot Rods)The finished upper radiator hard tube for the 383 in the Coronet. (Image/HB Hot Rods)


Comments