I’ve been building cars for decades, including a lot of Corvettes. Over the years, I’ve owned and worked on C2s and chrome bumper C3s. I even toiled for the NCRS (National Corvette Restorers Society) in a previous life.
After I sold the big block-powered green Nova you’ve probably seen in dozens of OnAllCylinders articles, I went Corvette shopping. I couldn’t afford a decent C2, but I did find a 1971 coupe with minimal options, great colors, and outstanding detailing. The icing on the cake was the fact it was an NCRS Top Flight show car with an incredibly high judging score of 99.6 points. This meant the car was near perfect (or even over-restored), at least cosmetically. Basically, it was drop dead gorgeous.
Given my past job with the NCRS, I didn’t bother getting the Corvette inspected but I knew there was a chance it would have the odd mechanical issue. Plenty of show cars do.
‘Odd mechanical issue’ turned out to be a big understatement.
But when life gives you Corvette-shaped lemons, you make a story out of it. I’ll show you many of the issues I found during my inspections. Some are Corvette-specific but many will apply to most any car. Hopefully you’ll get an idea of what to look for when buying a vintage ride. Grab a beverage and take a seat as we go over what I discovered.
First Look
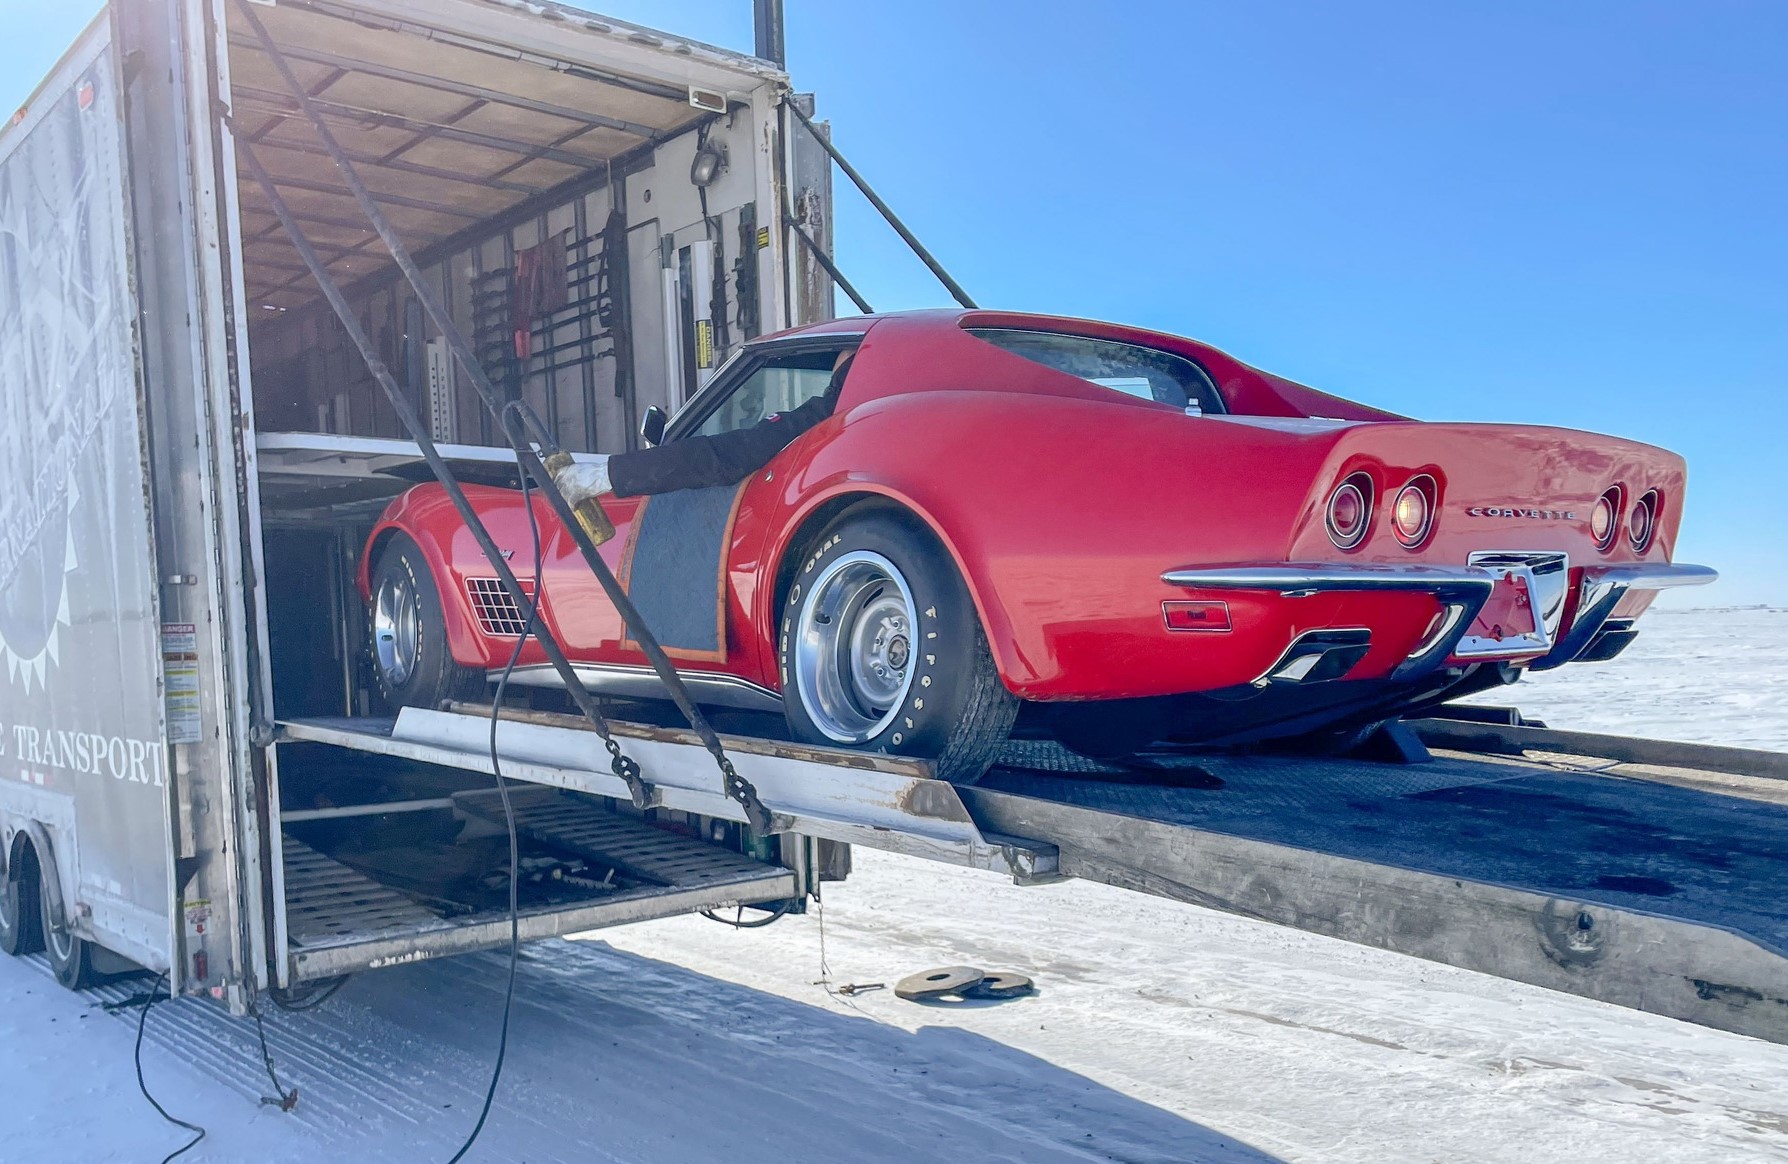
The Corvette arrived in the dead of winter. There was no hope of it starting, let alone moving under its own power. We had to offload it from the car carrier to a rollback truck to get it into my shop.
The first thing I noticed was the incredibly excessive rear wheel camber. Once the car had thawed out a bit, I crawled underneath to have a look. Sure enough, the camber eccentric bolts were only finger tight. When the transport driver strapped down the Corvette during loading, the camber eccentrics moved. That caused the wheels to go full negative camber.
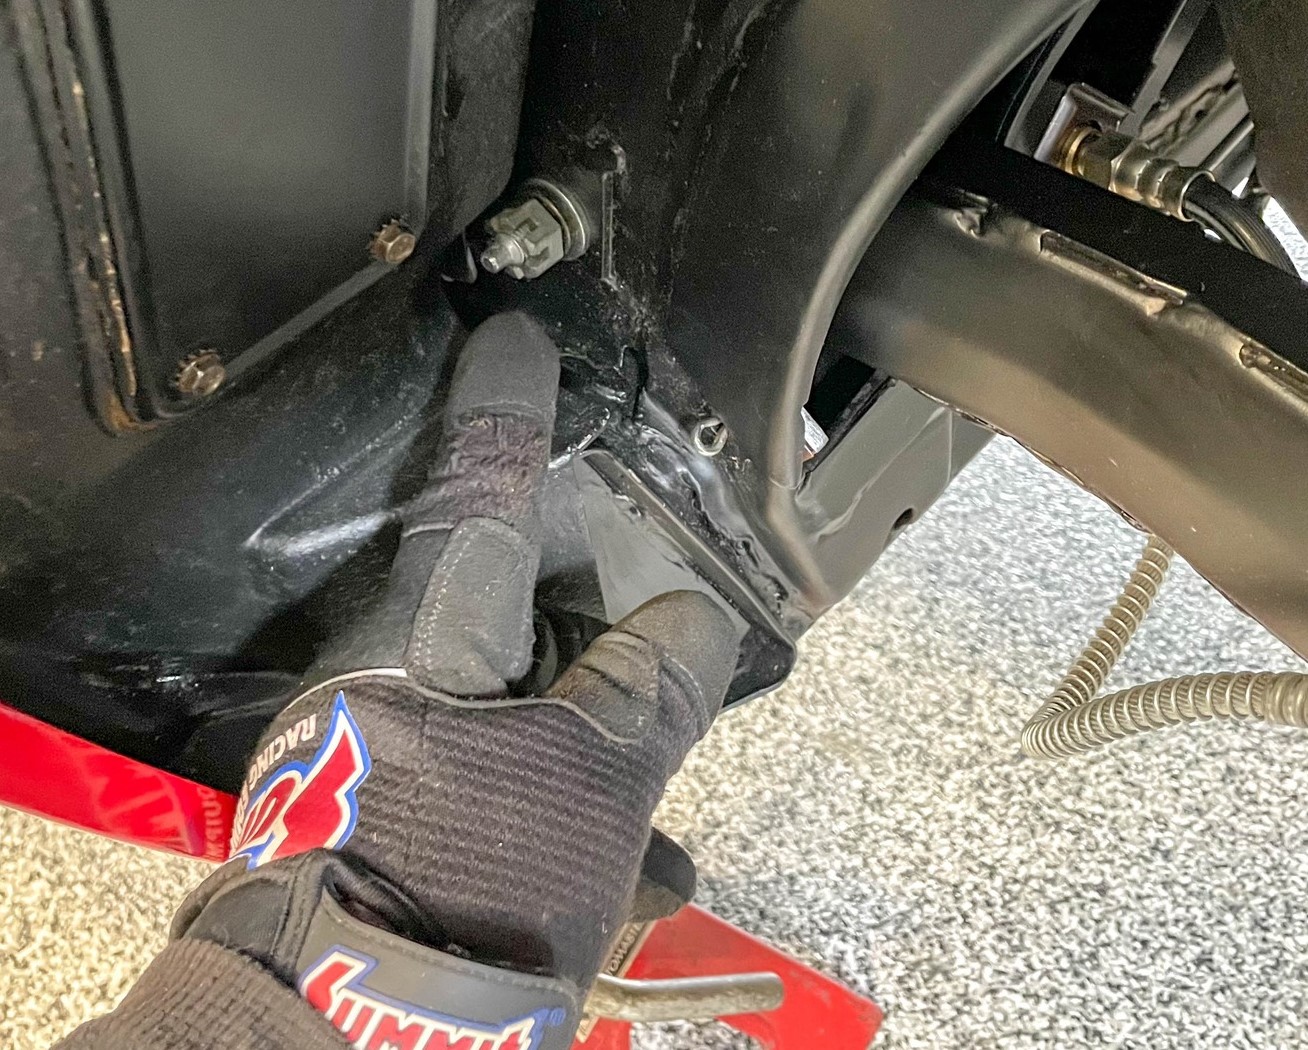
While I was under the car I leaned on the driver side exhaust pipe. It was completely loose because the exhaust manifold clamps were not properly installed. They were installed at an angle rather than 90 degrees to the pipe. They had no hope of clamping anything.
At this point, I was in close proximity to one of the body mount bolts. I decided to check the torque with a beam-style torque wrench. Chevy’s specifications for these bolts call for 40-50 foot pounds of torque. The bolt barely registered 15 foot-pounds.
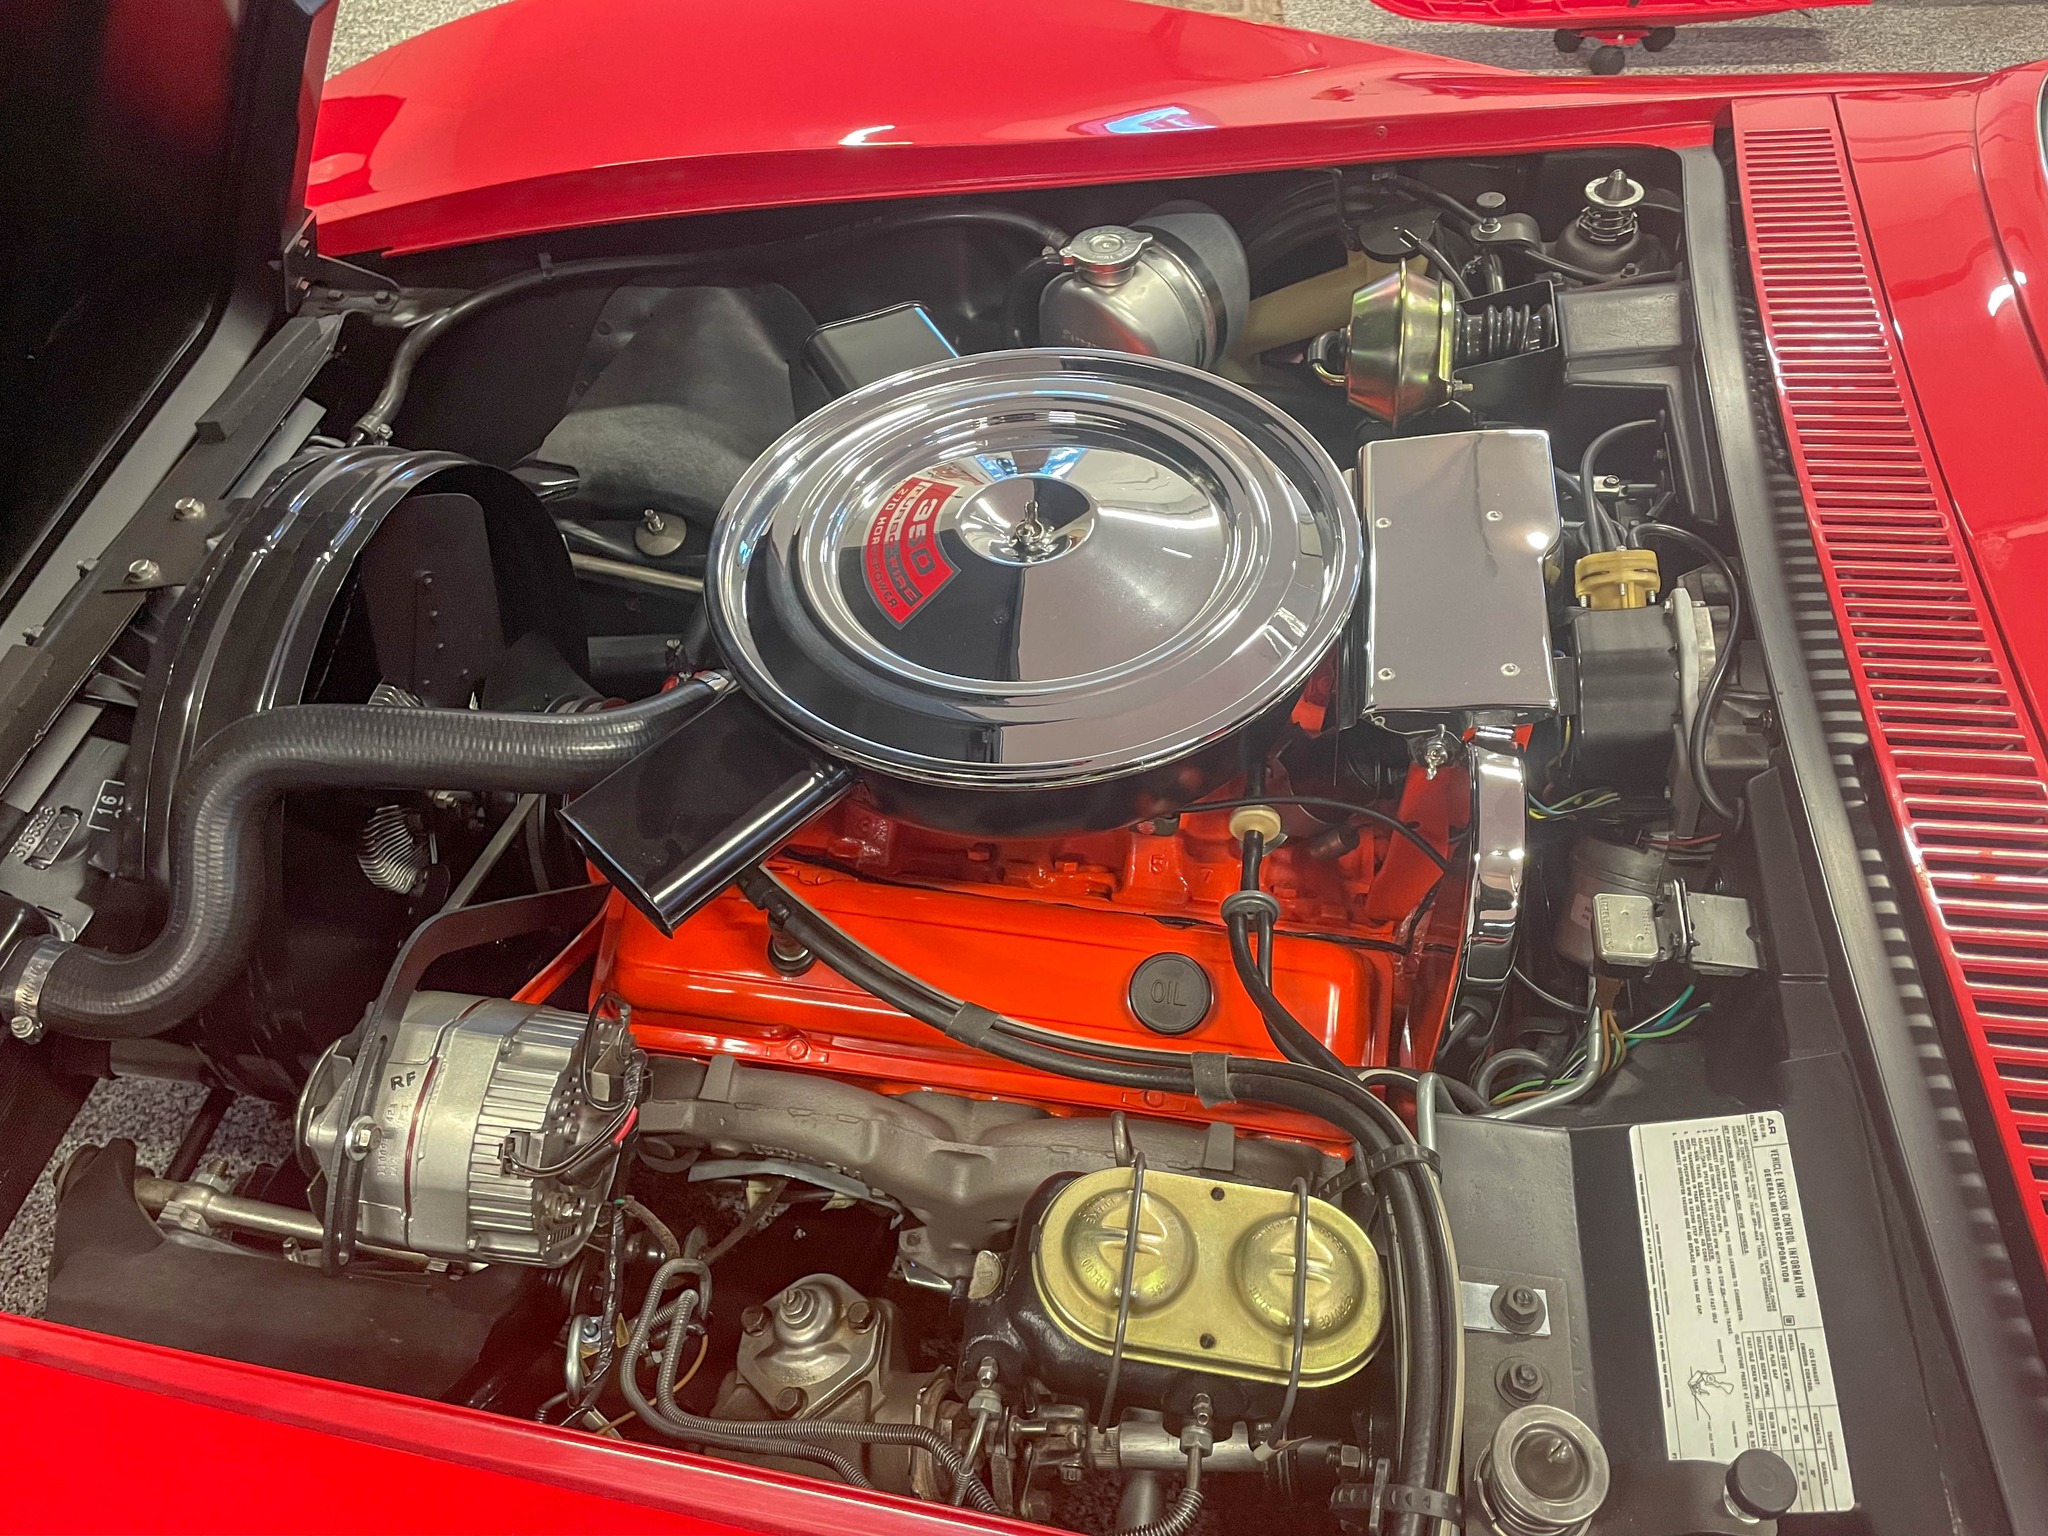
Once the Corvette was fully warmed, I decided to start it and see how the L48 small block 350 ran. I noticed was the clutch was wonky but I fired the car up anyway. The engine ran OK but seemed a little lazy when I whacked the throttle. I shut it down and called it a day.
The next morning, I walked into the garage and was greeted with a pool of engine oil under the car. A leaking rear main seal was my best guess. I thought this could explain why the clutch was messed up too. As you’ll see, I was wrong on both counts.
Serious Inspection
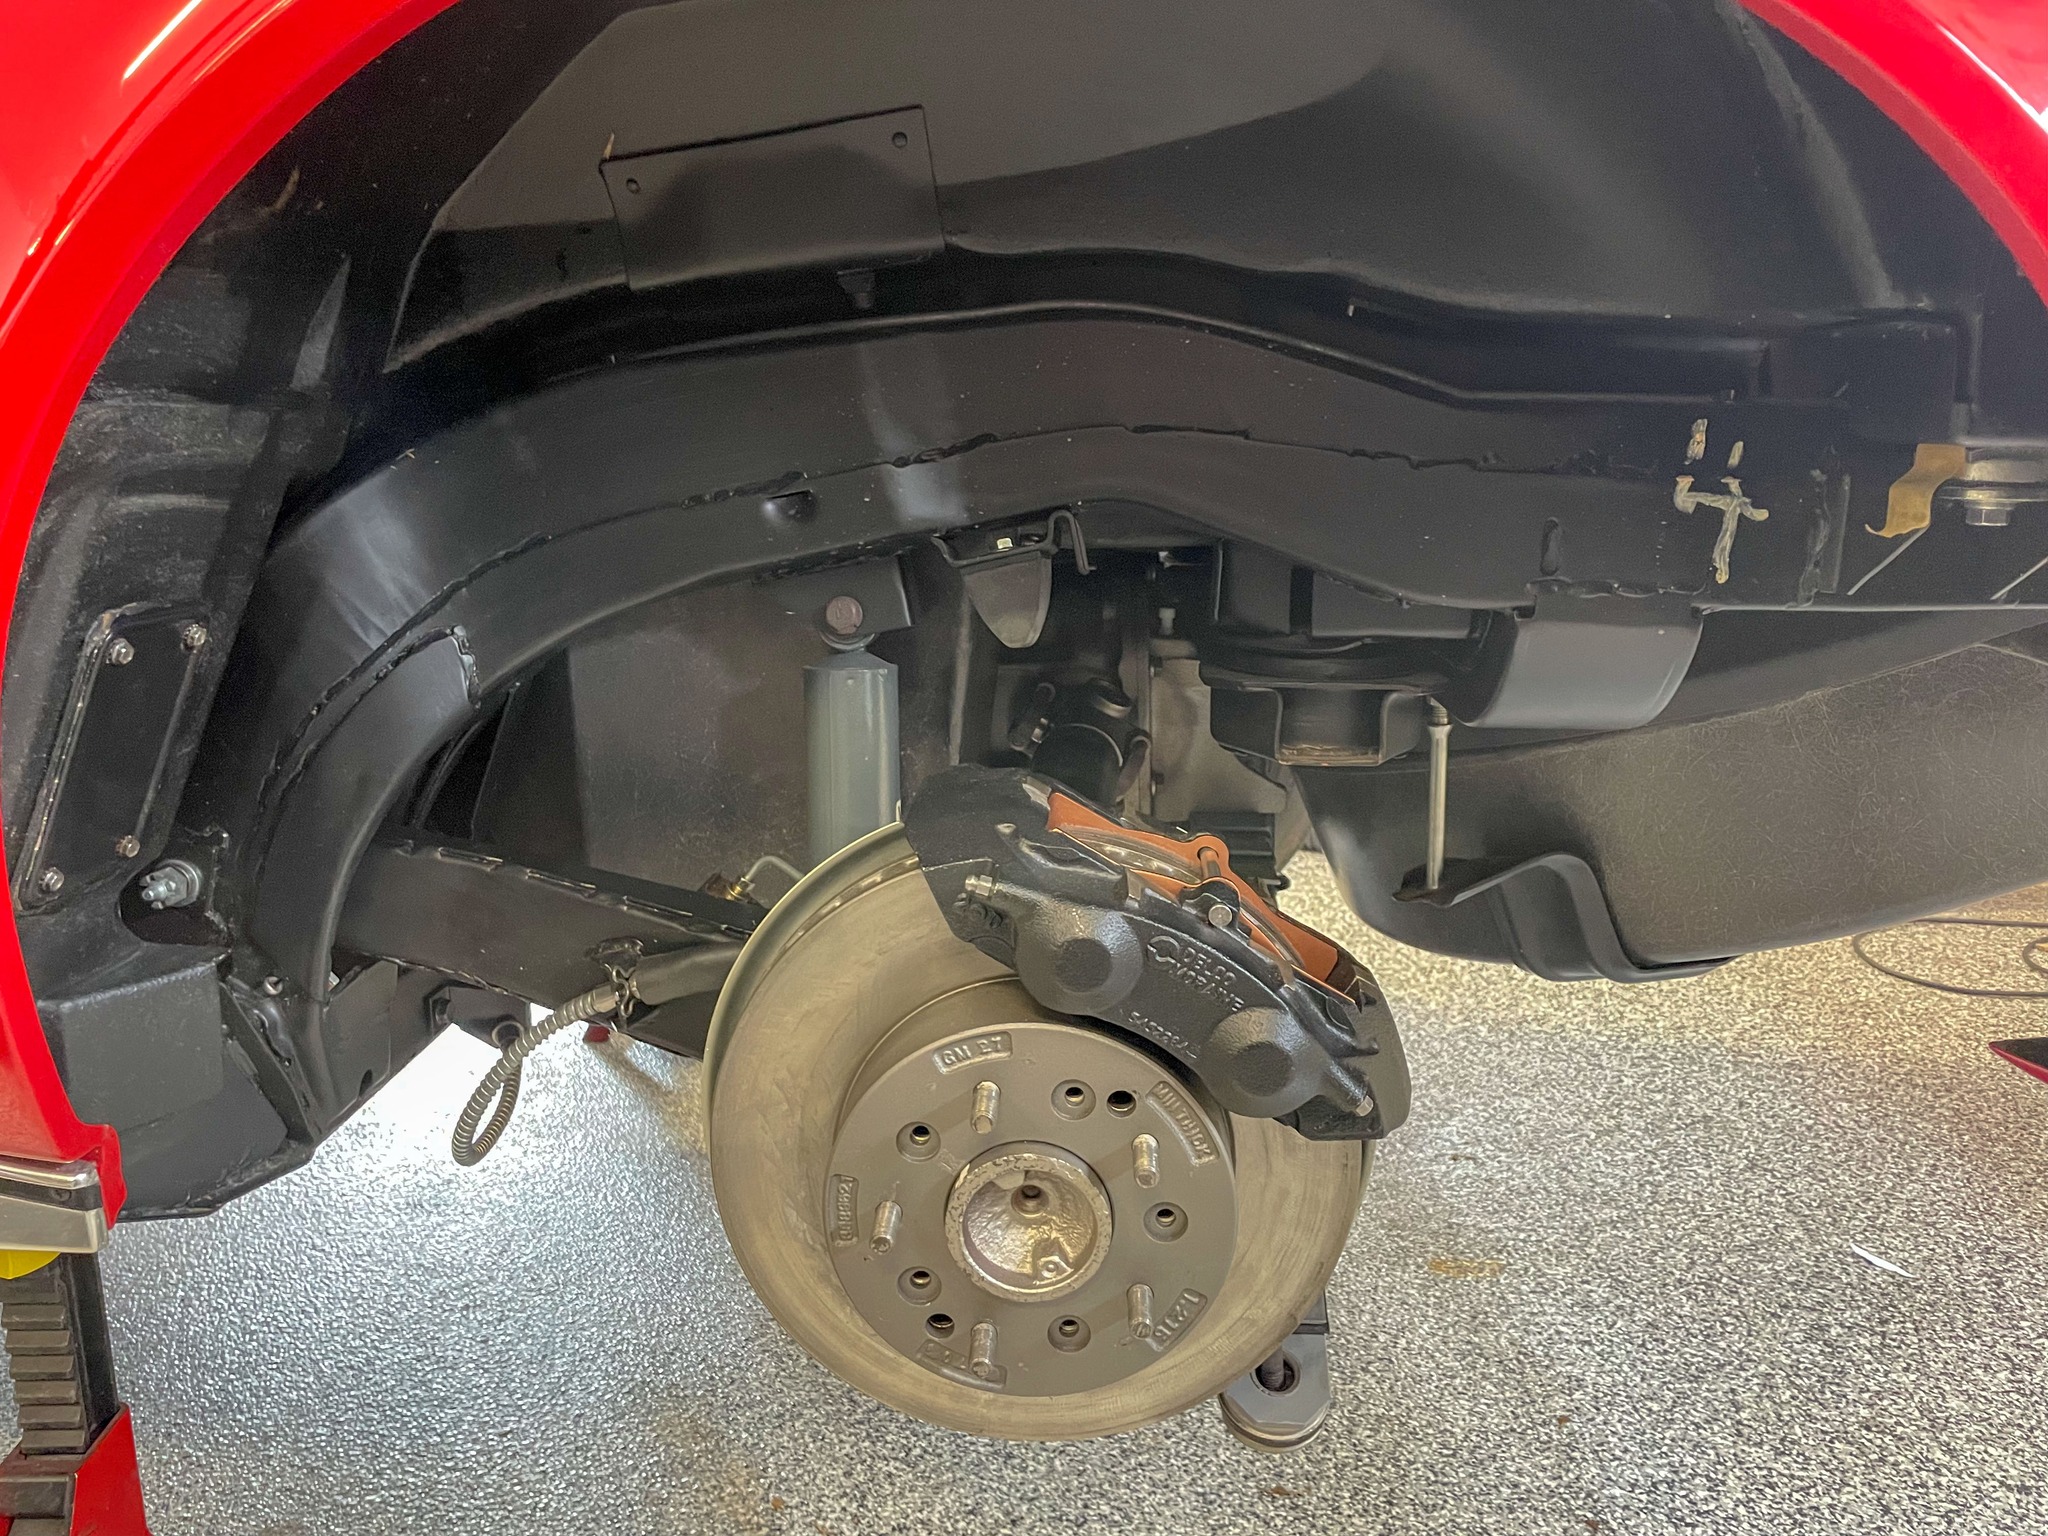
Realizing there were far more things mechanically wrong than I had anticipated, I put the Corvette up in the air to check absolutely everything. I started at the back of the car on the passenger side.
Since I didn’t want to drive my shop buddy, Teddy the Shilo Shepherd, nuts with the air compressor, I used a breaker bar and a ratchet to remove the rear wheels. The lug nuts were just over finger tight. I didn’t need the breaker bar, let alone an impact gun.
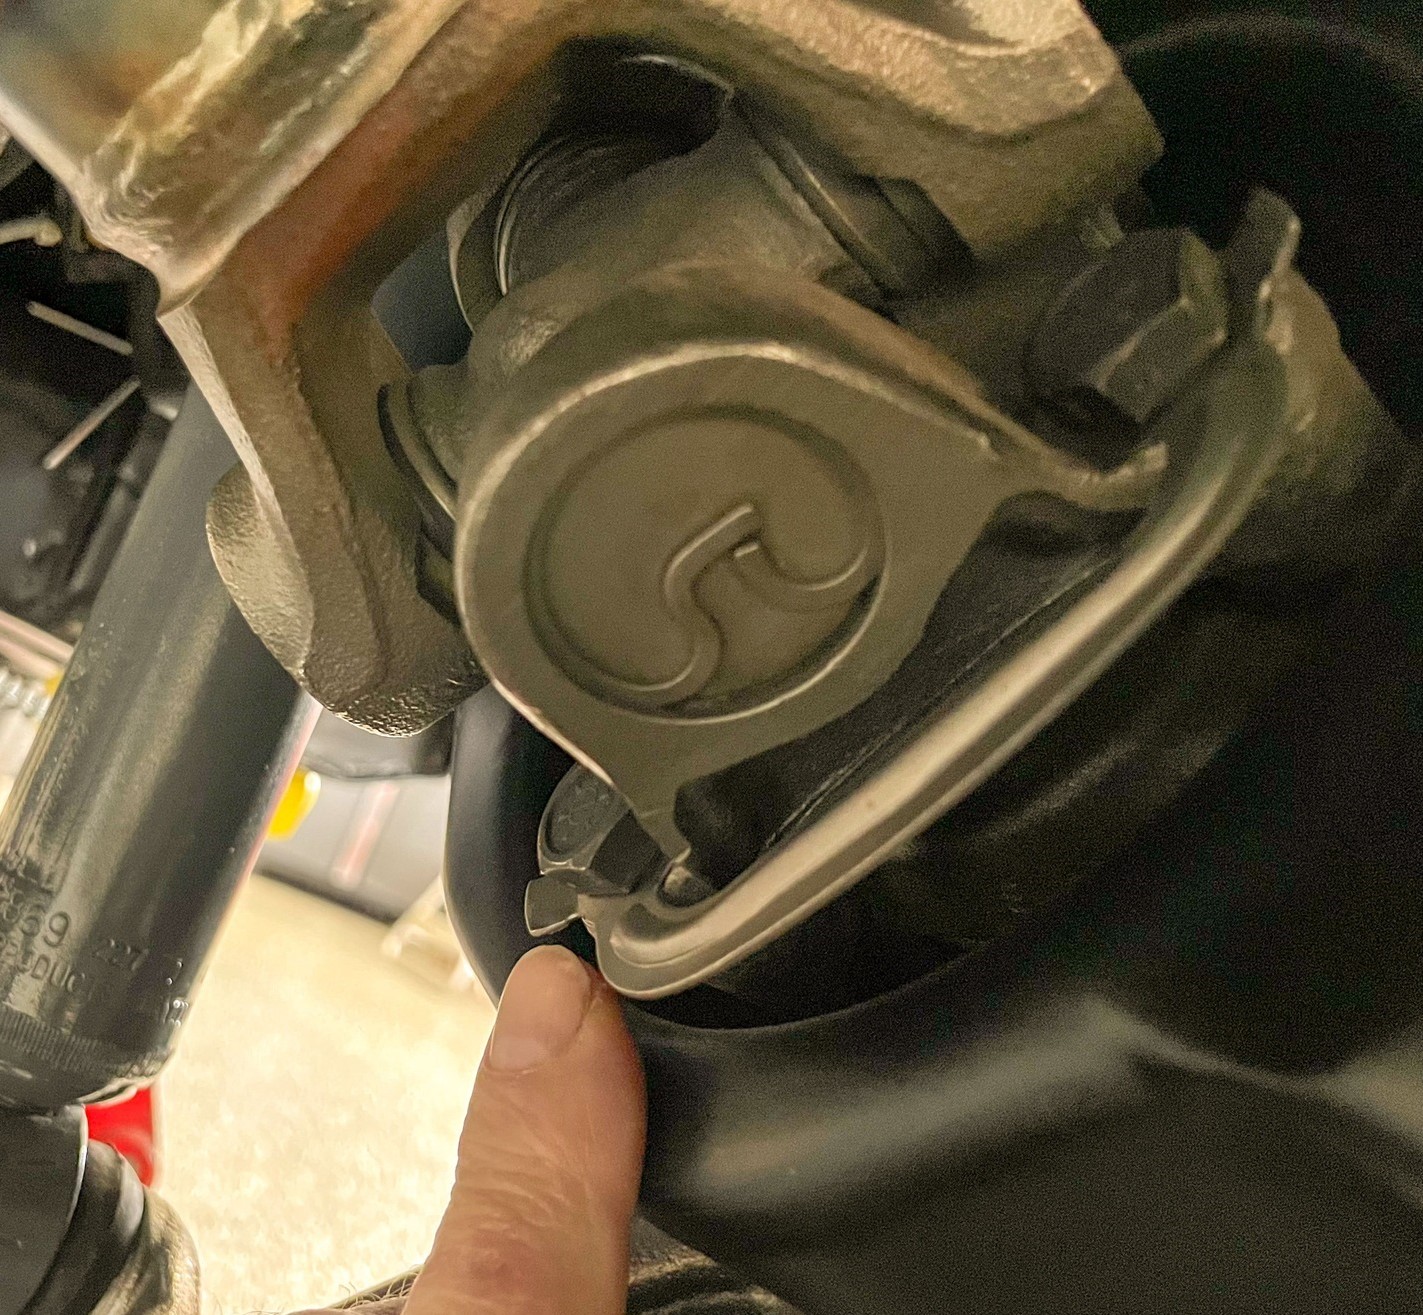
Investigating further, I found the passenger side lower shock mount nut was loose and the hardware on the top mount was wrong. The lock washer was on the bolt head instead of the nut, so there was nothing to keep the nut in place. The driver’s side upper shock mount bolt didn’t have a nut at all.
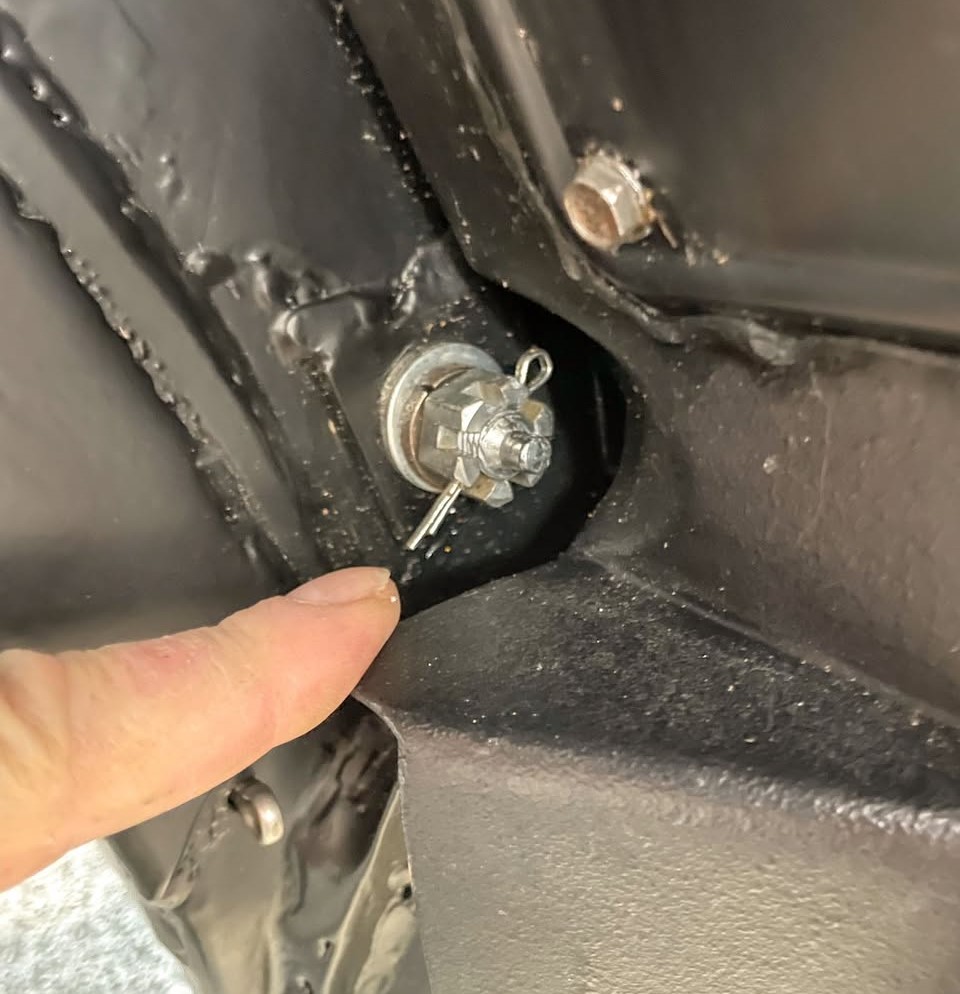
I noticed the cotter key for the castle nut on the passenger side trailing arm bolt wasn’t bent over, which would allow the bolt to easily vibrate out. The driver’s side trailing arm bolt had no cotter key at all.
I checked the French locks on the rear axle half-shafts. A French lock is a U-shaped metal piece that secures the half-shaft U-joint bolts to the rear wheel bearing flange. The lock has tabs that must be peened over the bolt heads. Mine weren’t so there was nothing to keep the bolts from falling out. Yes, that’s a bad thing.
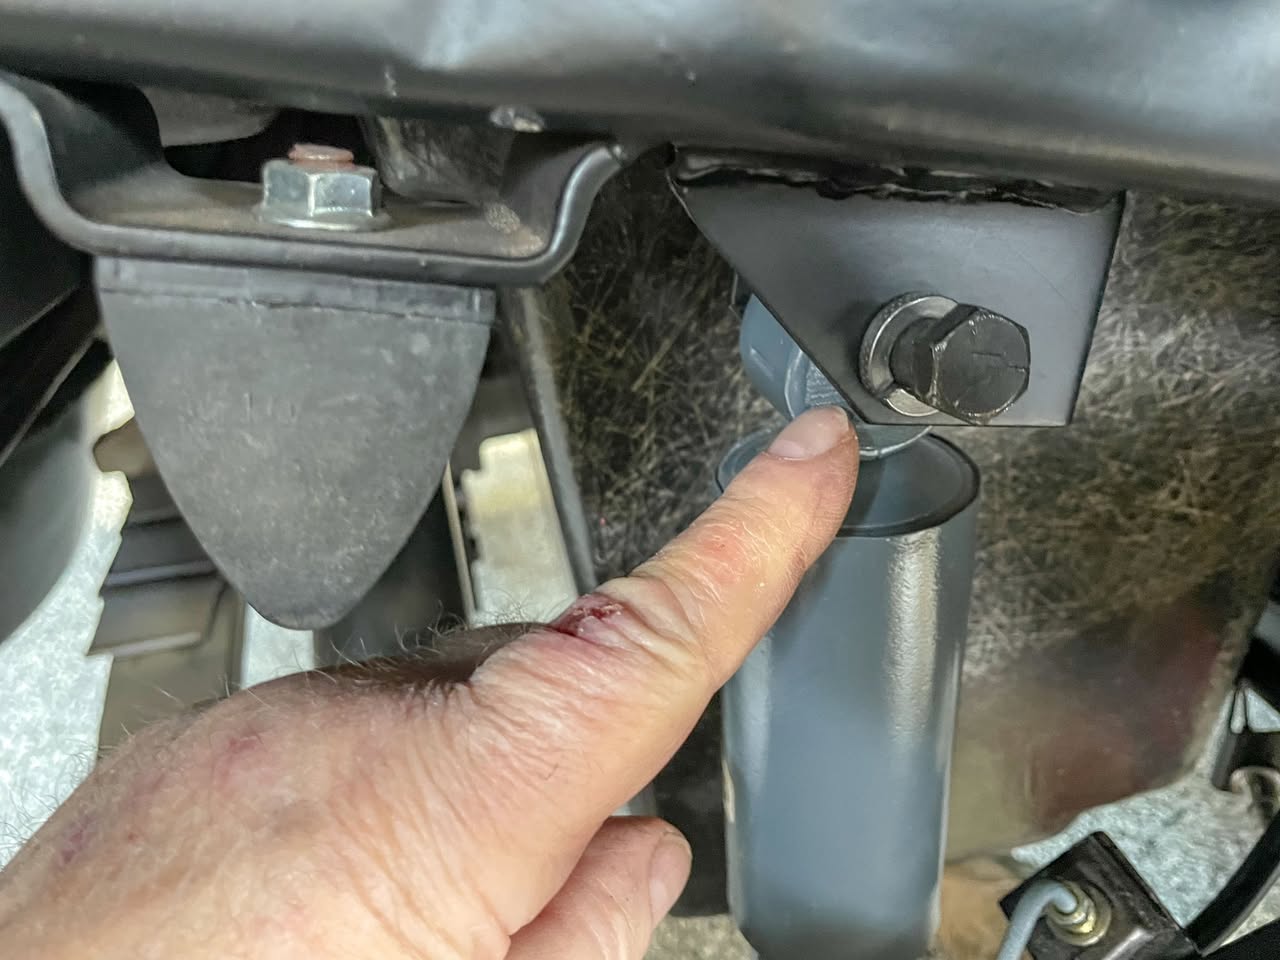
I then checked the rest of the body mounts. There are access ports in the leading edge of the rear wheel wells for two mounts. Removing the interior kick panels provides access to two more. The other four are easy to reach under the car.
One bolt was torqued to roughly 30 ft.-lbs. Two others were finger tight and one only had a couple of threads engaged in the captured nut. The rest were torqued in the range of 10 to 15 ft.-lbs. That made me nervous because I thought the captured nuts in the frame might be damaged. Fortunately, everything was fine and I torqued the fasteners to factory spec.
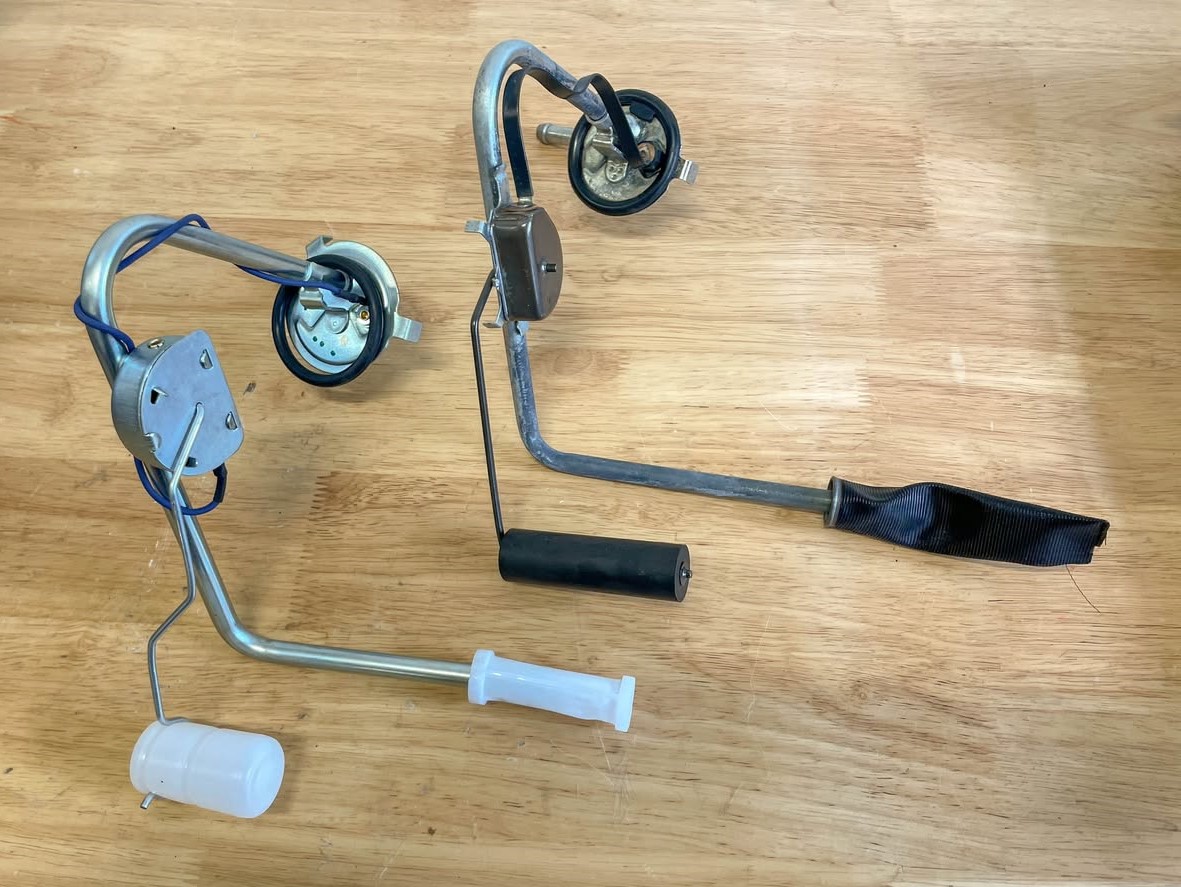
I dropped the spare tire carrier to get at the fuel tank. The Corvette’s previous owner had mentioned the float on the fuel sending unit had fallen off. It turned out the float was intact but the pickup sock was destroyed. I replaced the entire assembly with a direct replacement Spectra Premium sending unit.
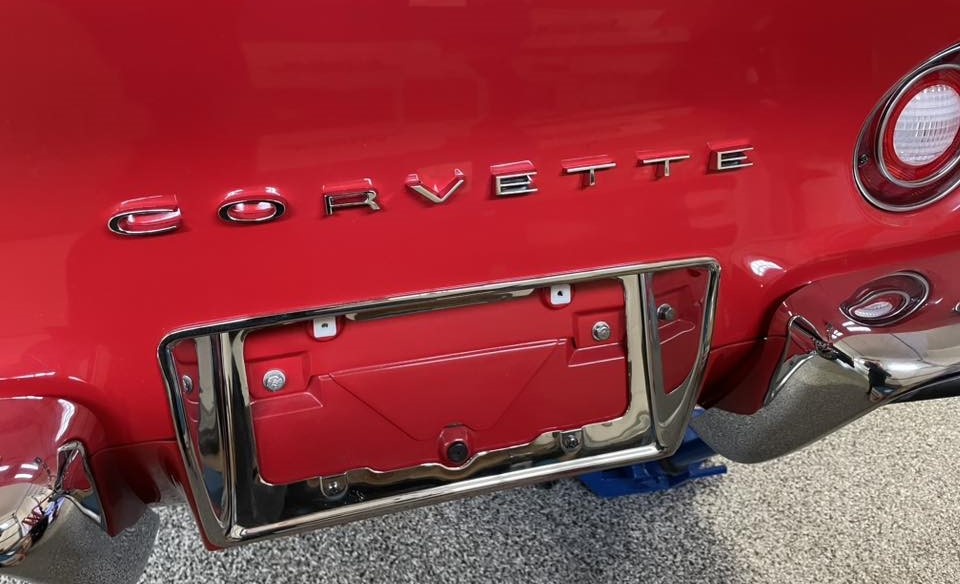
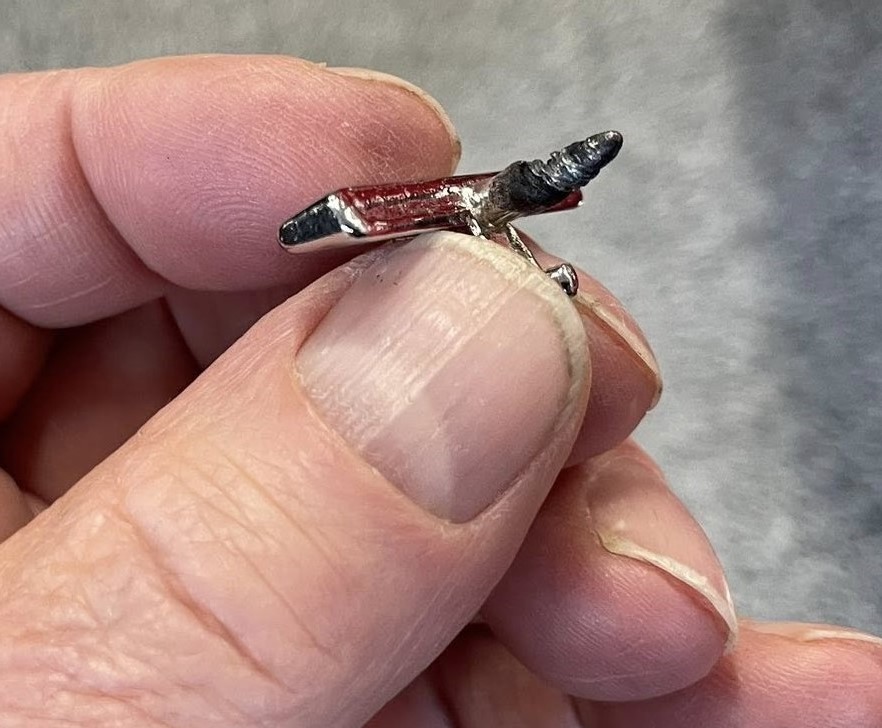
A couple of the letters in the Corvette script on the tail panel were loose. I discovered the threads on many of the letter studs were stripped and held in place with black body caulking. The solution was a new letter set. While I was back there, I checked the rear bumper bolts. Big surprise—over half were incredibly loose. I torqued the bolts to spec.
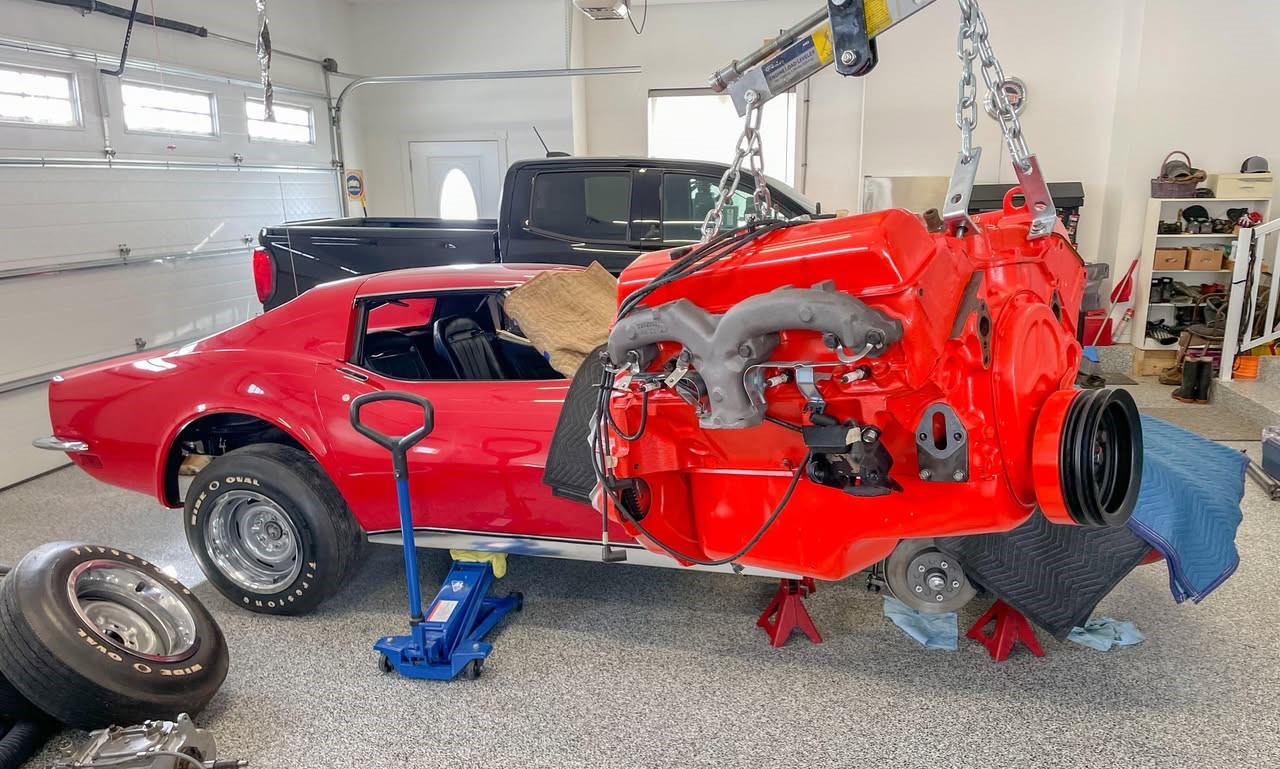
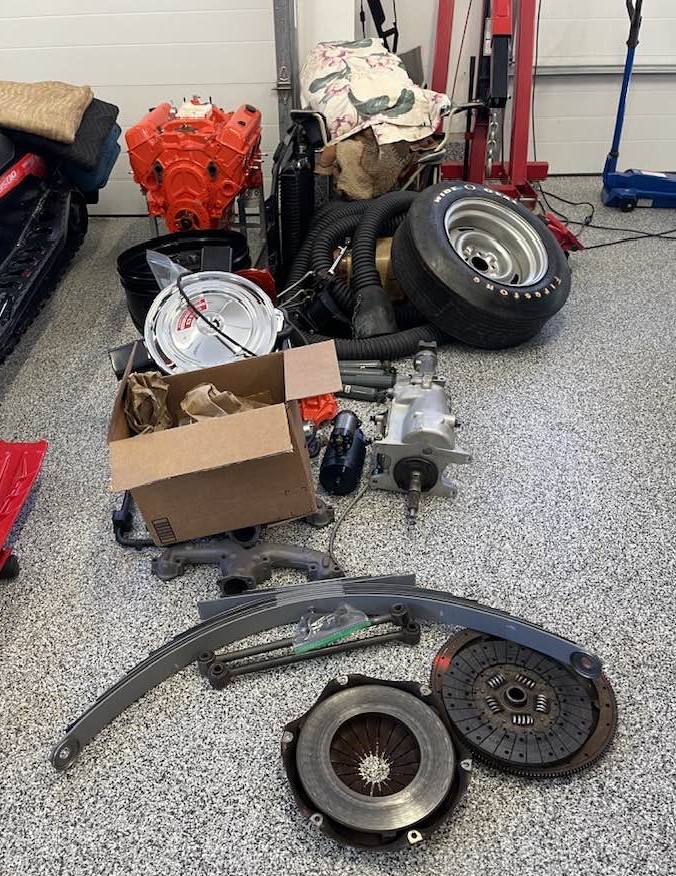
Out Comes the Drivetrain
At this point I knew that every nut, bolt, and washer on the car had to be inspected and possibly replaced. That meant removing the engine and four-speed transmission for a complete going-over.
I’m so glad I did. Remember that oil slick and my hypothesis that it was a bad rear main seal? I was wrong. It turned out the nut on the oil pressure gauge line wasn’t attached. Oil was pumping out of the pressure gauge port at the back of the block.
There was more. The tabs on the French locks for the exhaust manifold bolts were never peened over. The distributor shaft had no shims in it and a 1/4-inch of end play. Multiple engine accessory bolts were loose, and just a few threads of the motor mount through-bolts engaged the nuts.
I used my longest 1/2-inch breaker bar to remove the balancer bolt in order to get at the crank pulley. I almost fell over because the bolt was—you guessed it—finger-tight.
With the engine out of the car I discovered the clutch fork wasn’t installed correctly, which caused my clutch issues. All of the flywheel bolts were finger tight except one that I swear Charles Atlas installed.
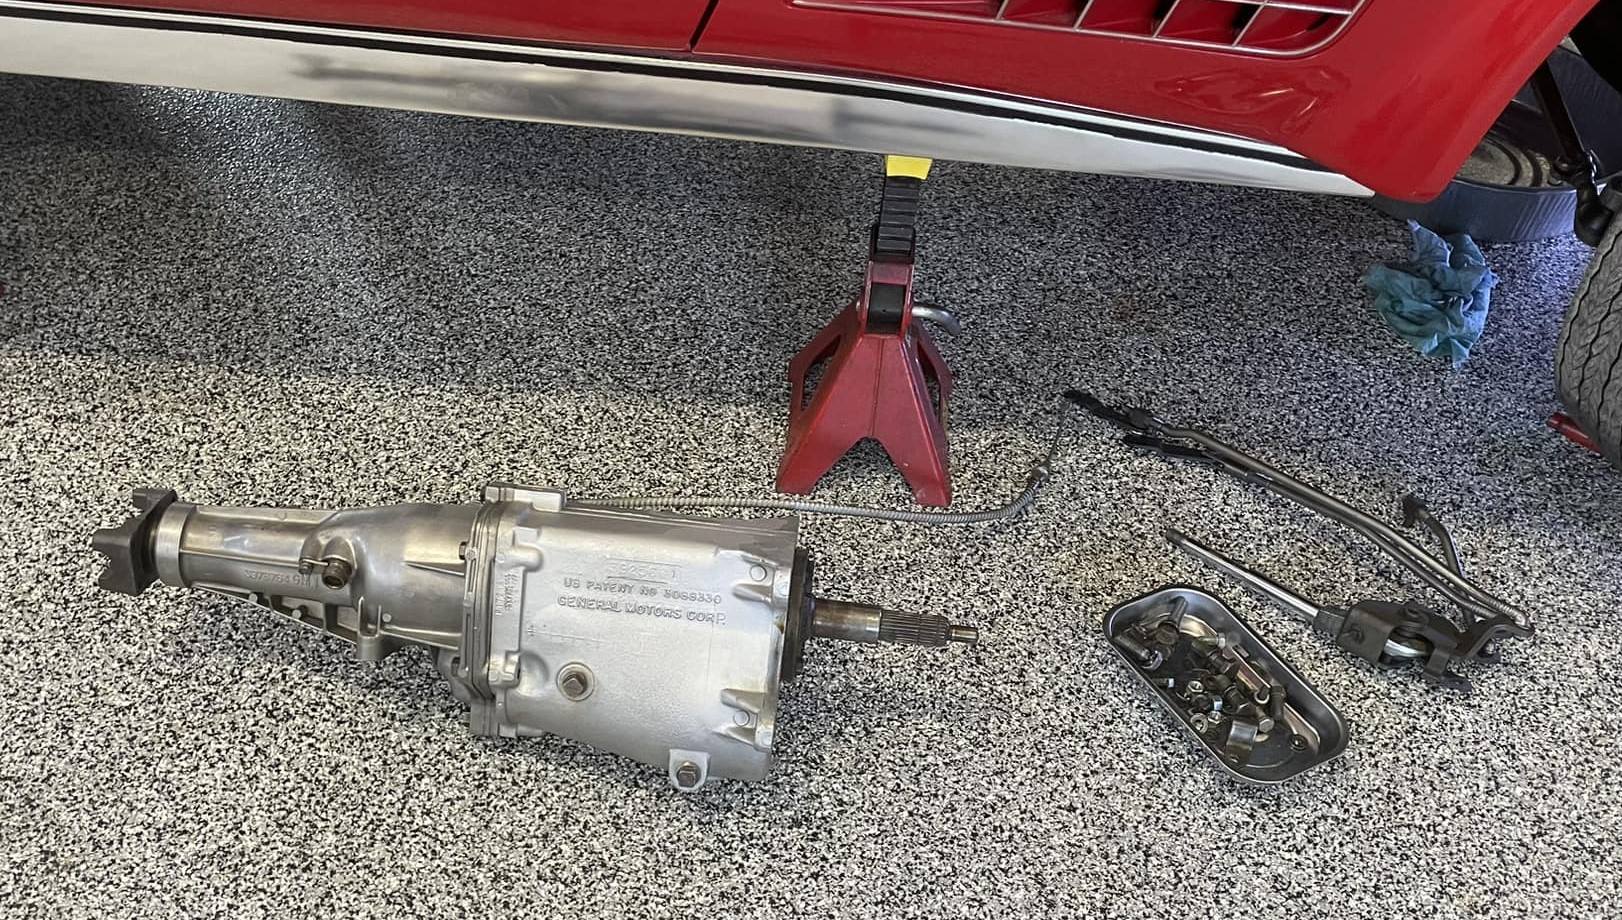
Removing a manual transmission in a C3 Corvette is a pain because the transmission crossmember is not removable. The process goes something like this:
• Remove the driveshaft, exhaust system, shifter, back drive cable, speedometer cable, and transmission mount
• Place a hydraulic jack under the engine oil pan for support
• Unbolt the transmission and slide it backward and over as much as possible while rotating the side cover upward
• Lower the jack a bit and remove the transmission
My task was made easier by the finger-tight transmission-to-bellhousing bolts and a loose exhaust system. You probably won’t be so lucky.
Rear End Removal
It was now time to remove the rear differential. I supported it with a floor jack and removed the fastener that holds the pinion end in place. I removed the driver’s side rear crossmember bolt with a 5/8-inch socket, but it didn’t fit the passenger side bolt. I tried an 11/16-inch socket, then a 3/4-inch socket. Neither fit.
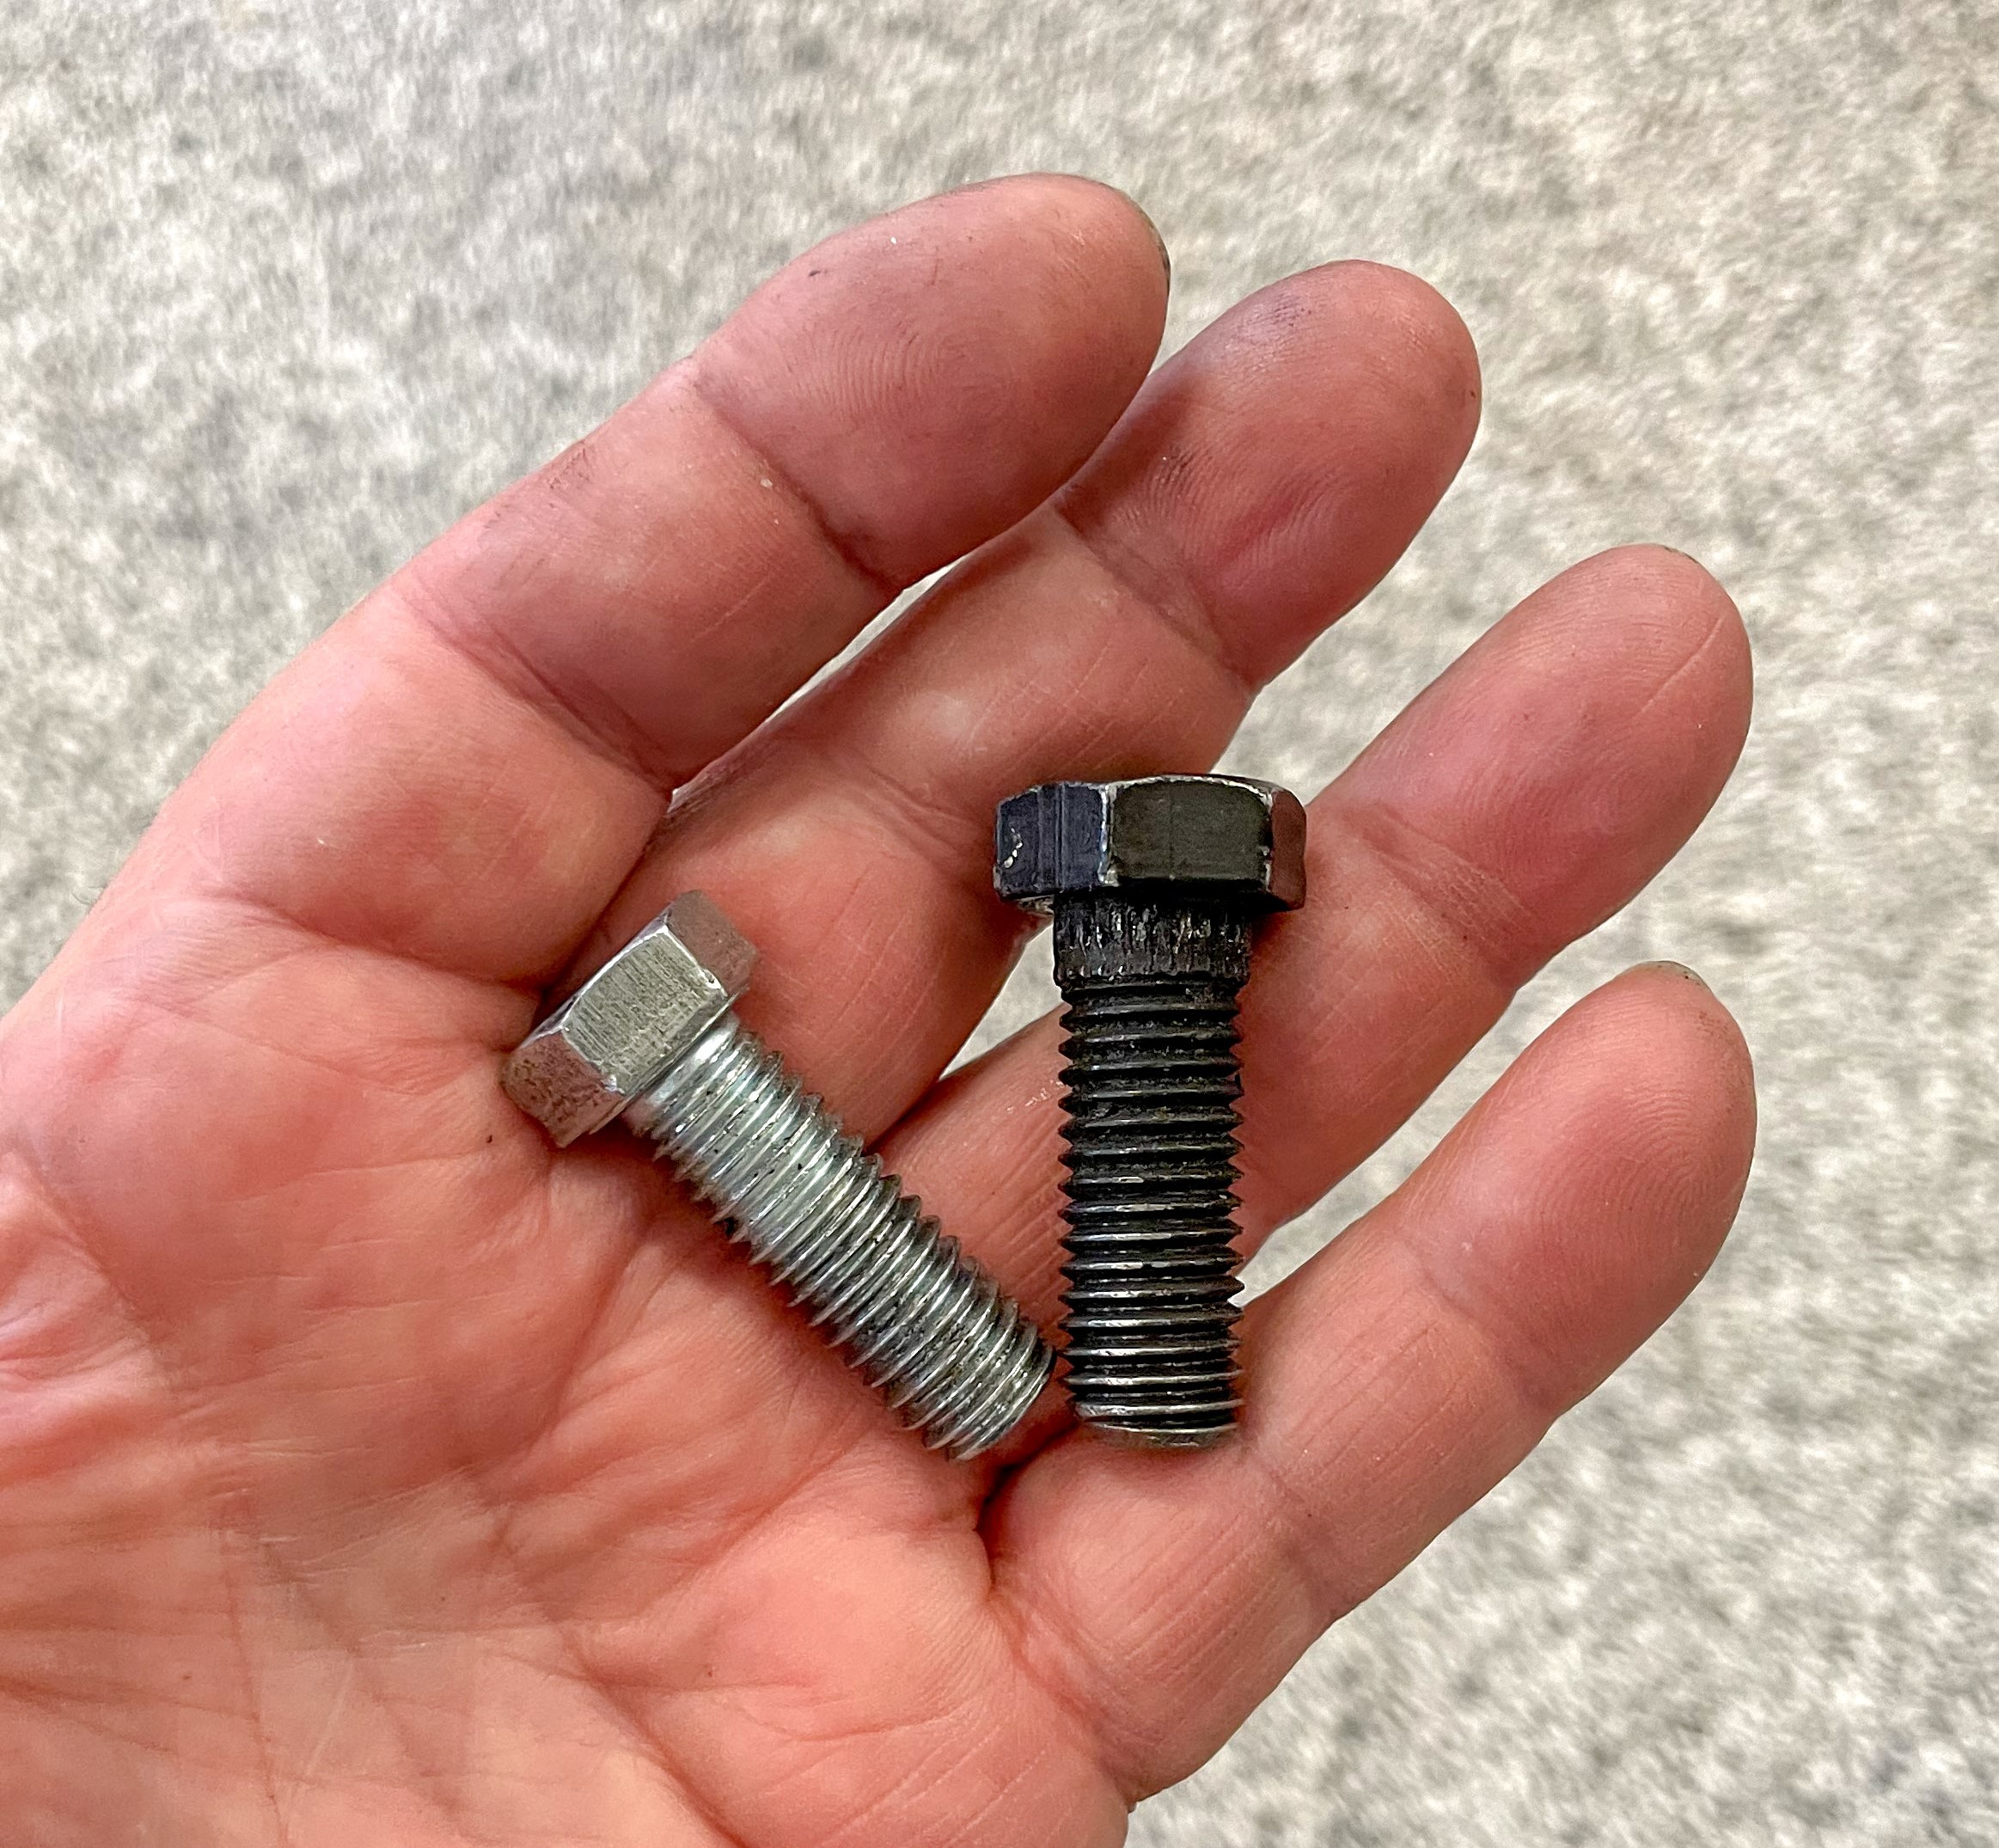
The factory crossmember bolts have a 7/16-inch coarse thread. The passenger side bolt in my car had 12mm threads. Since a 1971 Corvette wasn’t built with metric hardware, someone must have stripped the bolt threads in the frame. They figured that 12mm is one size up from 7/16-inch so that’s what they used. The frame holes have a blind thread so I couldn’t access them from the back.
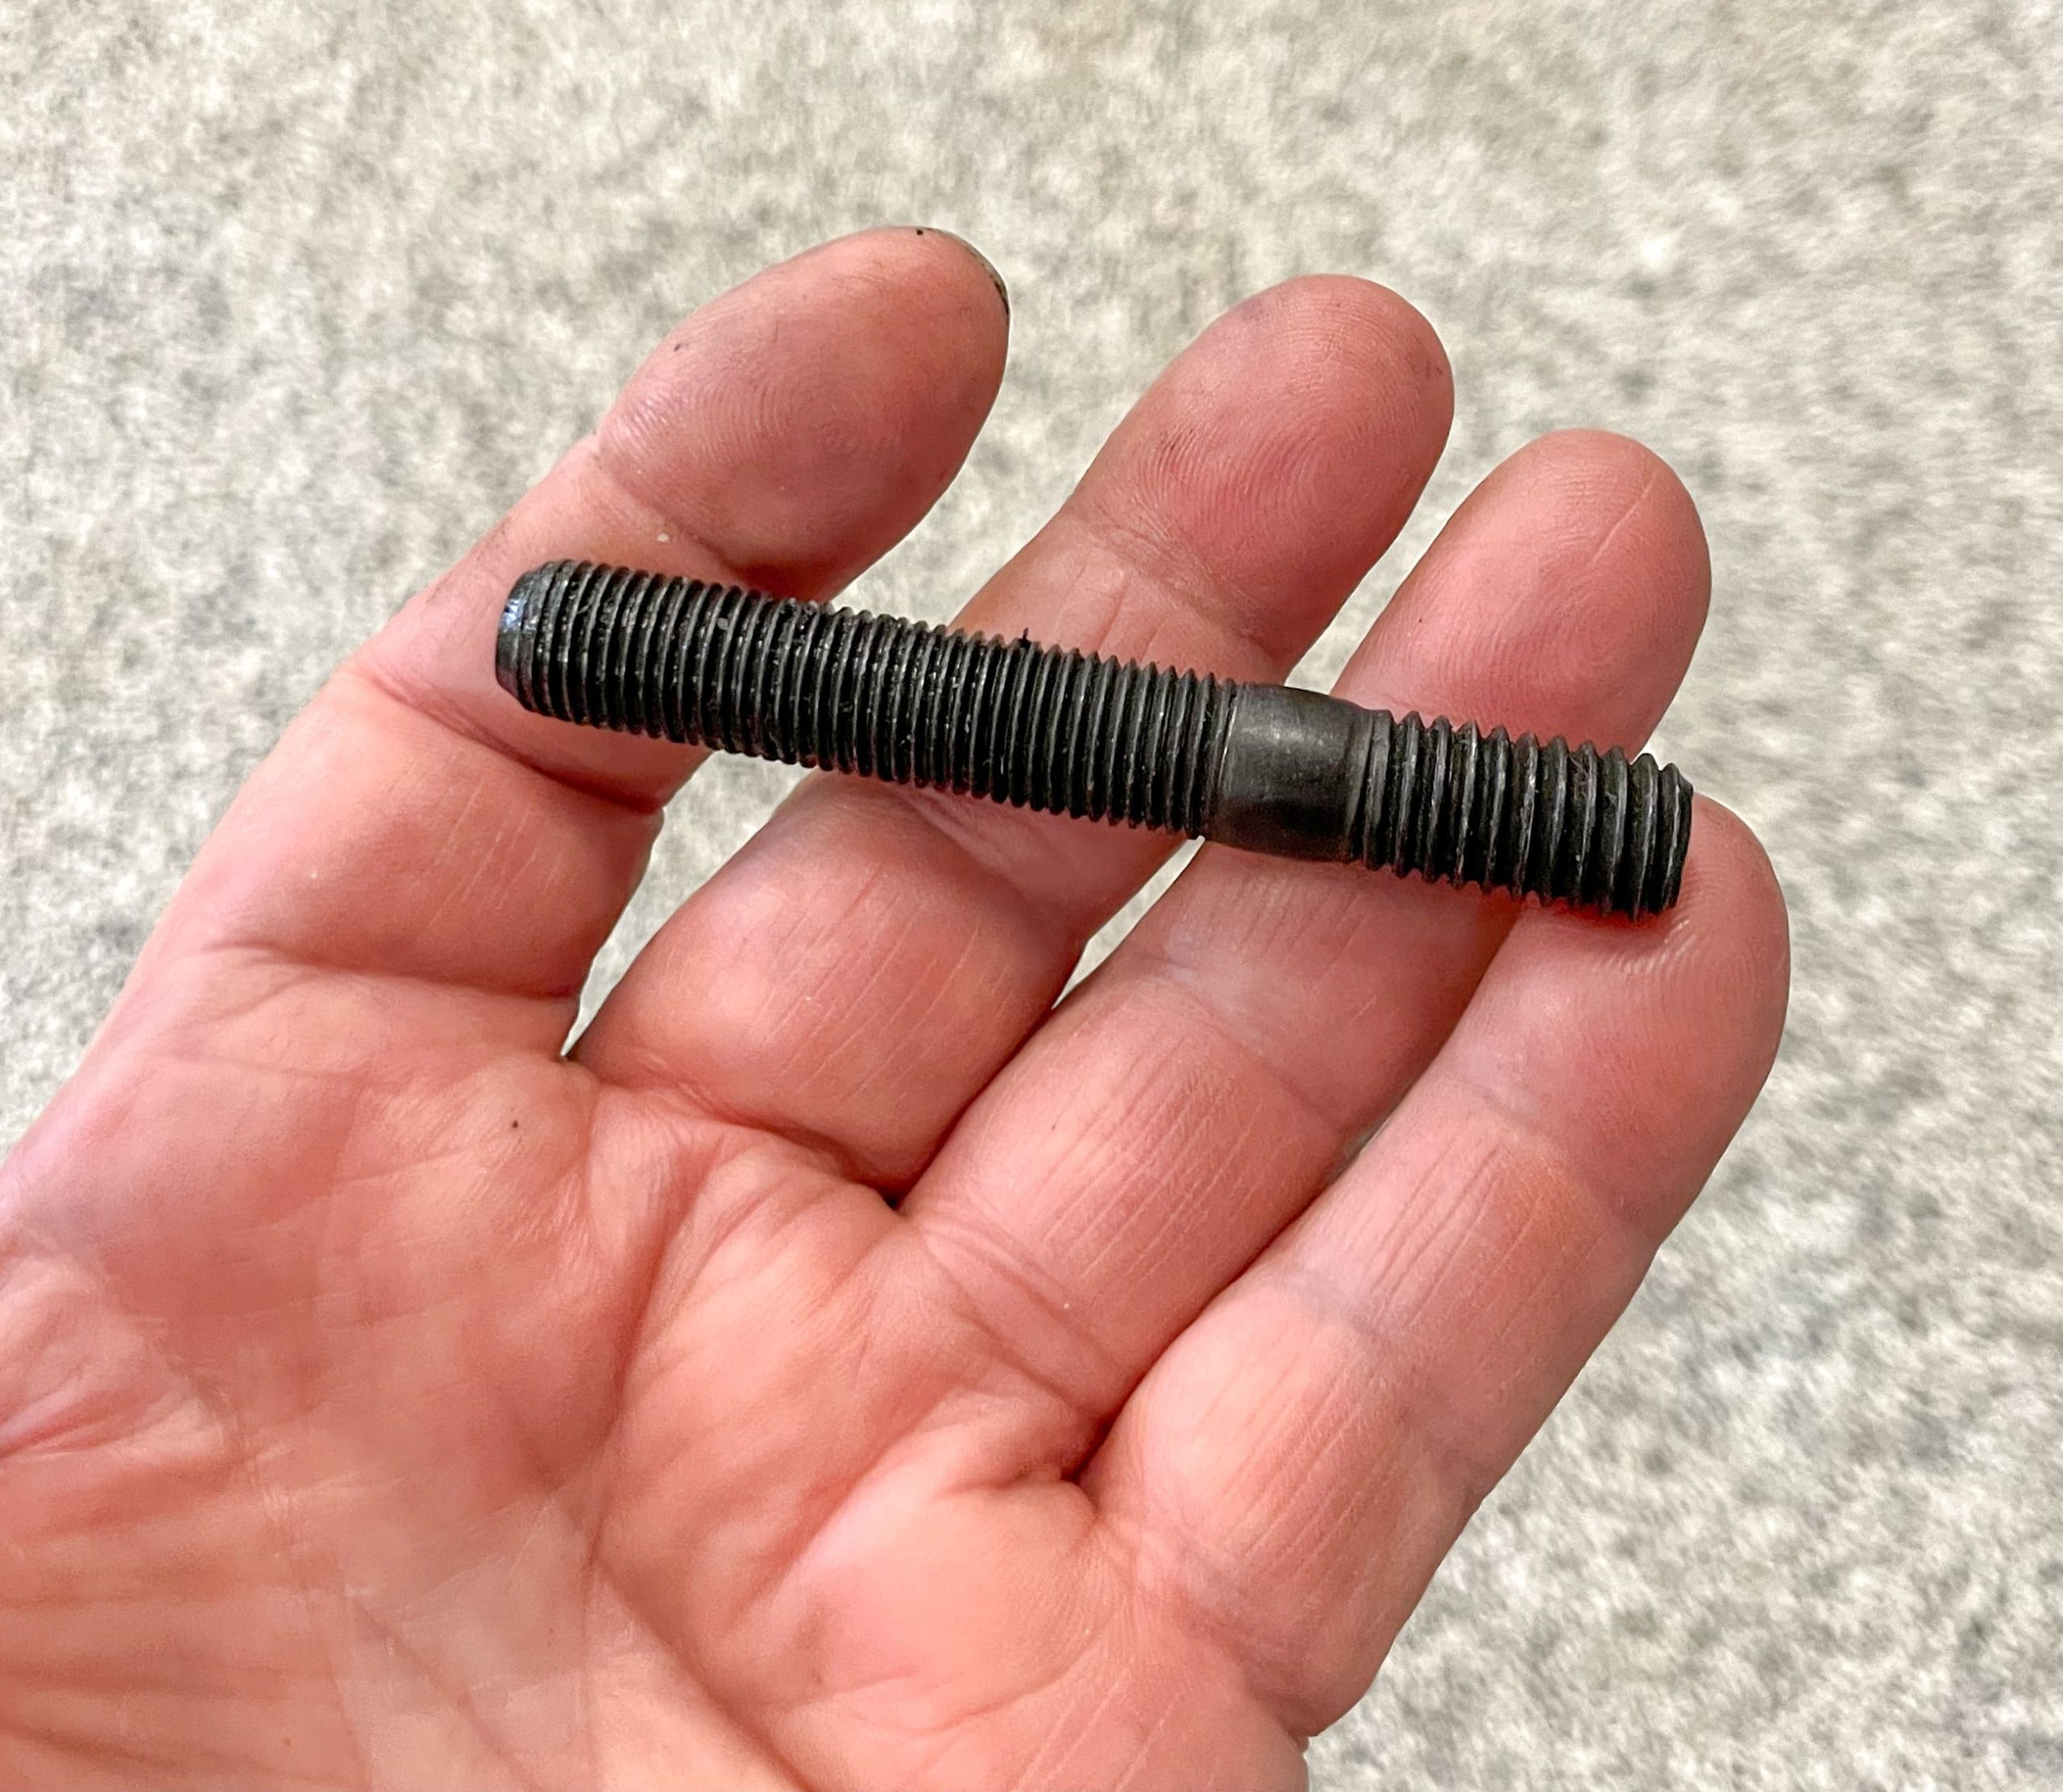
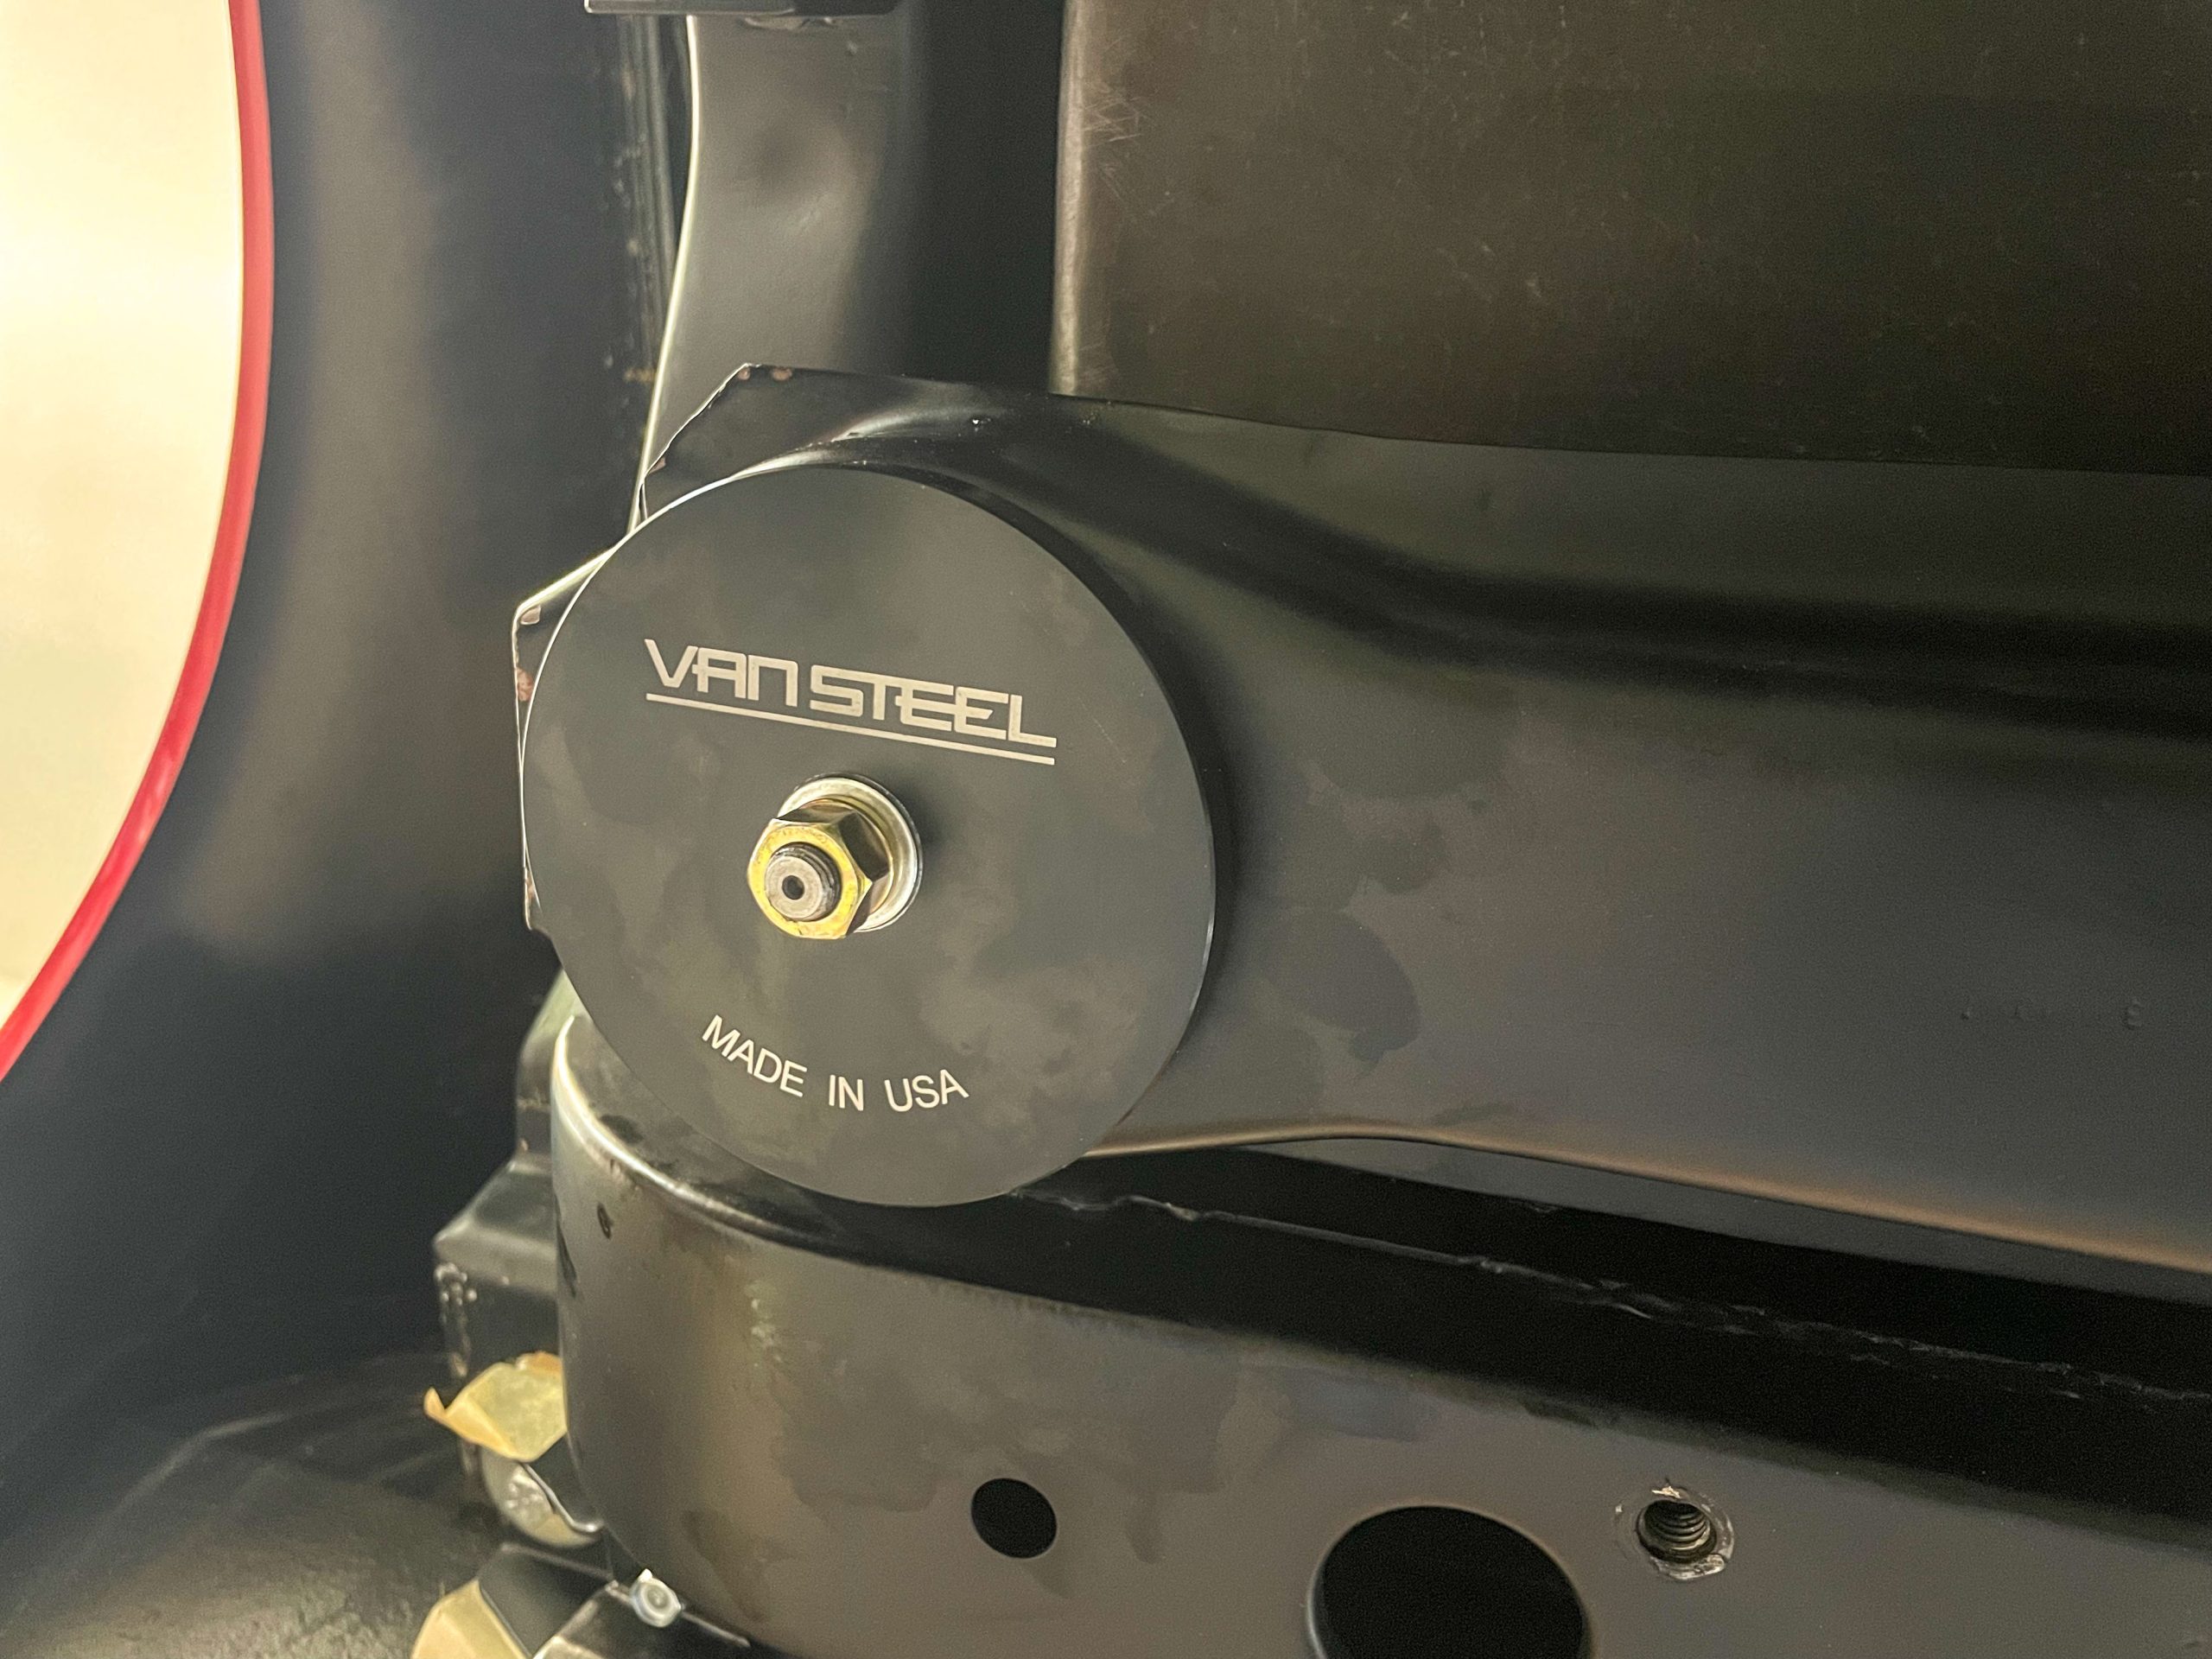
I took this as an opportunity to install a Van Steel crossmember reinforcement kit. It replaces the bolts with studs and comes with reinforcement plates to provide a more rigid mount for the differential. The studs have 7/16-inch coarse threads for the frame and 7/16-inch fine threads for the plate mounting hardware. I had a local machine shop make up a stud for the passenger side that was 12mm coarse on one end and 7/16-inch fine on the other. That saved me the hassle of rethreading the mounting hole in the frame.
The Moral
I sincerely believe the builder restored this Corvette to the best of their ability. Thanks to my past NCRS work, I understand how the Corvette passed judging and scored so high. The judges don’t have the mandate under the Flight Judging class rules to check things like fastener tightness. If the Corvette was judged using what NCRS calls “Performance Verification” where the car is actually road tested for 10 miles, mine clearly would have failed.
It hasn’t cost me a lot of money to fix the mistakes so far, but it has been time-consuming. Most of the issues would not have been caught in an on-site inspection as appraisers usually don’t carry torque wrenches. It doesn’t matter if your car is a vintage Corvette, a 1980s Monte Carlo, or a Hemi Cuda—they can all suffer from the same builder mistakes. As the saying goes, live and learn.


These old Corvettes are something to keep you busy for sure. Nice write up.