Since we’re much better at getting cars dirty than cleaning them, we’ve reached out to our favorite car detailing guru Jason Yard with Malco Automotive Products to get some expert vehicle washing and cleaning tips and advice.
In this post, he’s explaining how to degrease your engine bay—like, the right way.
See other car detailing tips and advice from Malco by clicking here.
***
A clean engine not only enhances the aesthetics of your vehicle, it also contributes to its overall performance. A quality degreaser is the best engine bay cleaner for removing oil from the engine—and is good for getting rid of heavy-duty grime and gunk buildup too.
These formulas are not your average all-purpose cleaners. Achieving that showroom-ready look involves more than just choosing the best engine degreaser; the application method is key. In this engine bay detailing guide, we’ll delve into effective tips for applying engine degreasers, ensuring your ride sparkles from the inside out.
There are five steps to degreasing your engine, and we’ll break down each step below.
- Preparation
- Cold Engine
- Rinse
- Apply & Dwell
- Protect & Shine
***
How to Degrease Your Engine Bay in 5 Steps
You don’t need many accessories to detail an automotive engine bay. The best products to keep on hand for car engine degreasing and cleaning are detailing brushes and a garden hose. A pressure washer may be too extreme on an engine bay, considering that there are sensitive areas that you shouldn’t flood with water or pressure. Using the shower setting on a standard hose nozzle is ideal for rinsing away chemicals and grime.

Step 1: Prepare the Engine Bay
Start by covering sensitive components like the air intake, alternator, and electrical components with plastic bags or waterproof covers. This precaution prevents water or cleaner degreasers from causing damage while you remove grease and dirt.
Step 2: Let the Engine Cool Prior to Application
For both your safety and to get the best results, apply the degreaser when the engine is cold. A cold engine prevents the degreaser from evaporating too quickly, giving it time to penetrate and break down stubborn grease effectively. Also, some chemicals can whiten plastics if applied to a very hot surface.
Step 3: Rinse the Surface
Before applying the degreaser, rinse the engine bay with water to remove loose dirt and debris. A garden hose or a gentle spray nozzle is sufficient for this step. This initial rinse ensures the degreaser can focus on breaking down the toughest grime. Start washing at the top and work your way down, just like when you are using a car wash.
Step 4: Apply Generously & Allow to Dwell
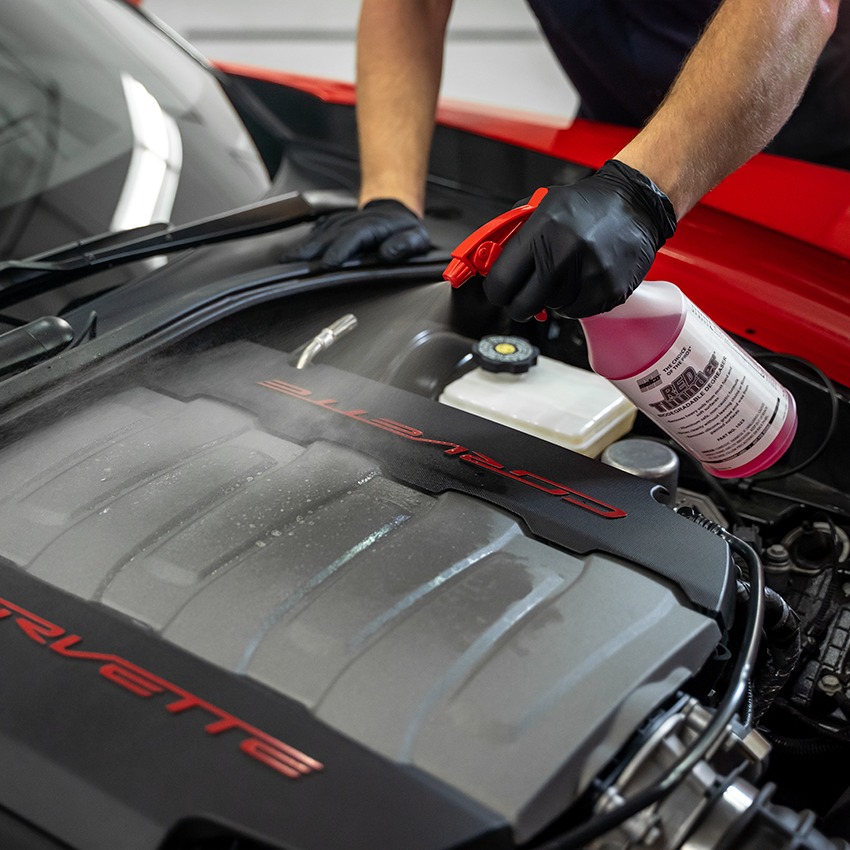
The best heavy-duty degreaser to clean an engine is a versatile, aluminum safe, biodegradable degreaser, like Red Thunder® Biodegradable Degreaser.
Follow product dilution instructions, according to the label, in general 1:3 is ideal for engines. Begin by applying your degreaser to the rain tray area, all the way down the firewall, covering the entire engine. A common mistake is rinsing too quickly. A professional grade degreaser like Red Thunder works best when allowed to dwell for one to three minutes. Using a detail brush to agitate stubborn contaminants may be necessary.
Then, spray the front rain tray above the grill. Allow the solution to dwell according to label instructions, then follow it up with the hose, spraying again from top to bottom. In some cases, a soft bristle brush can be used to loosen stubborn grease, oil, or dirt—especially in corners and hard to reach areas.
Be sure to clean up all residual degreaser from the engine compartment.
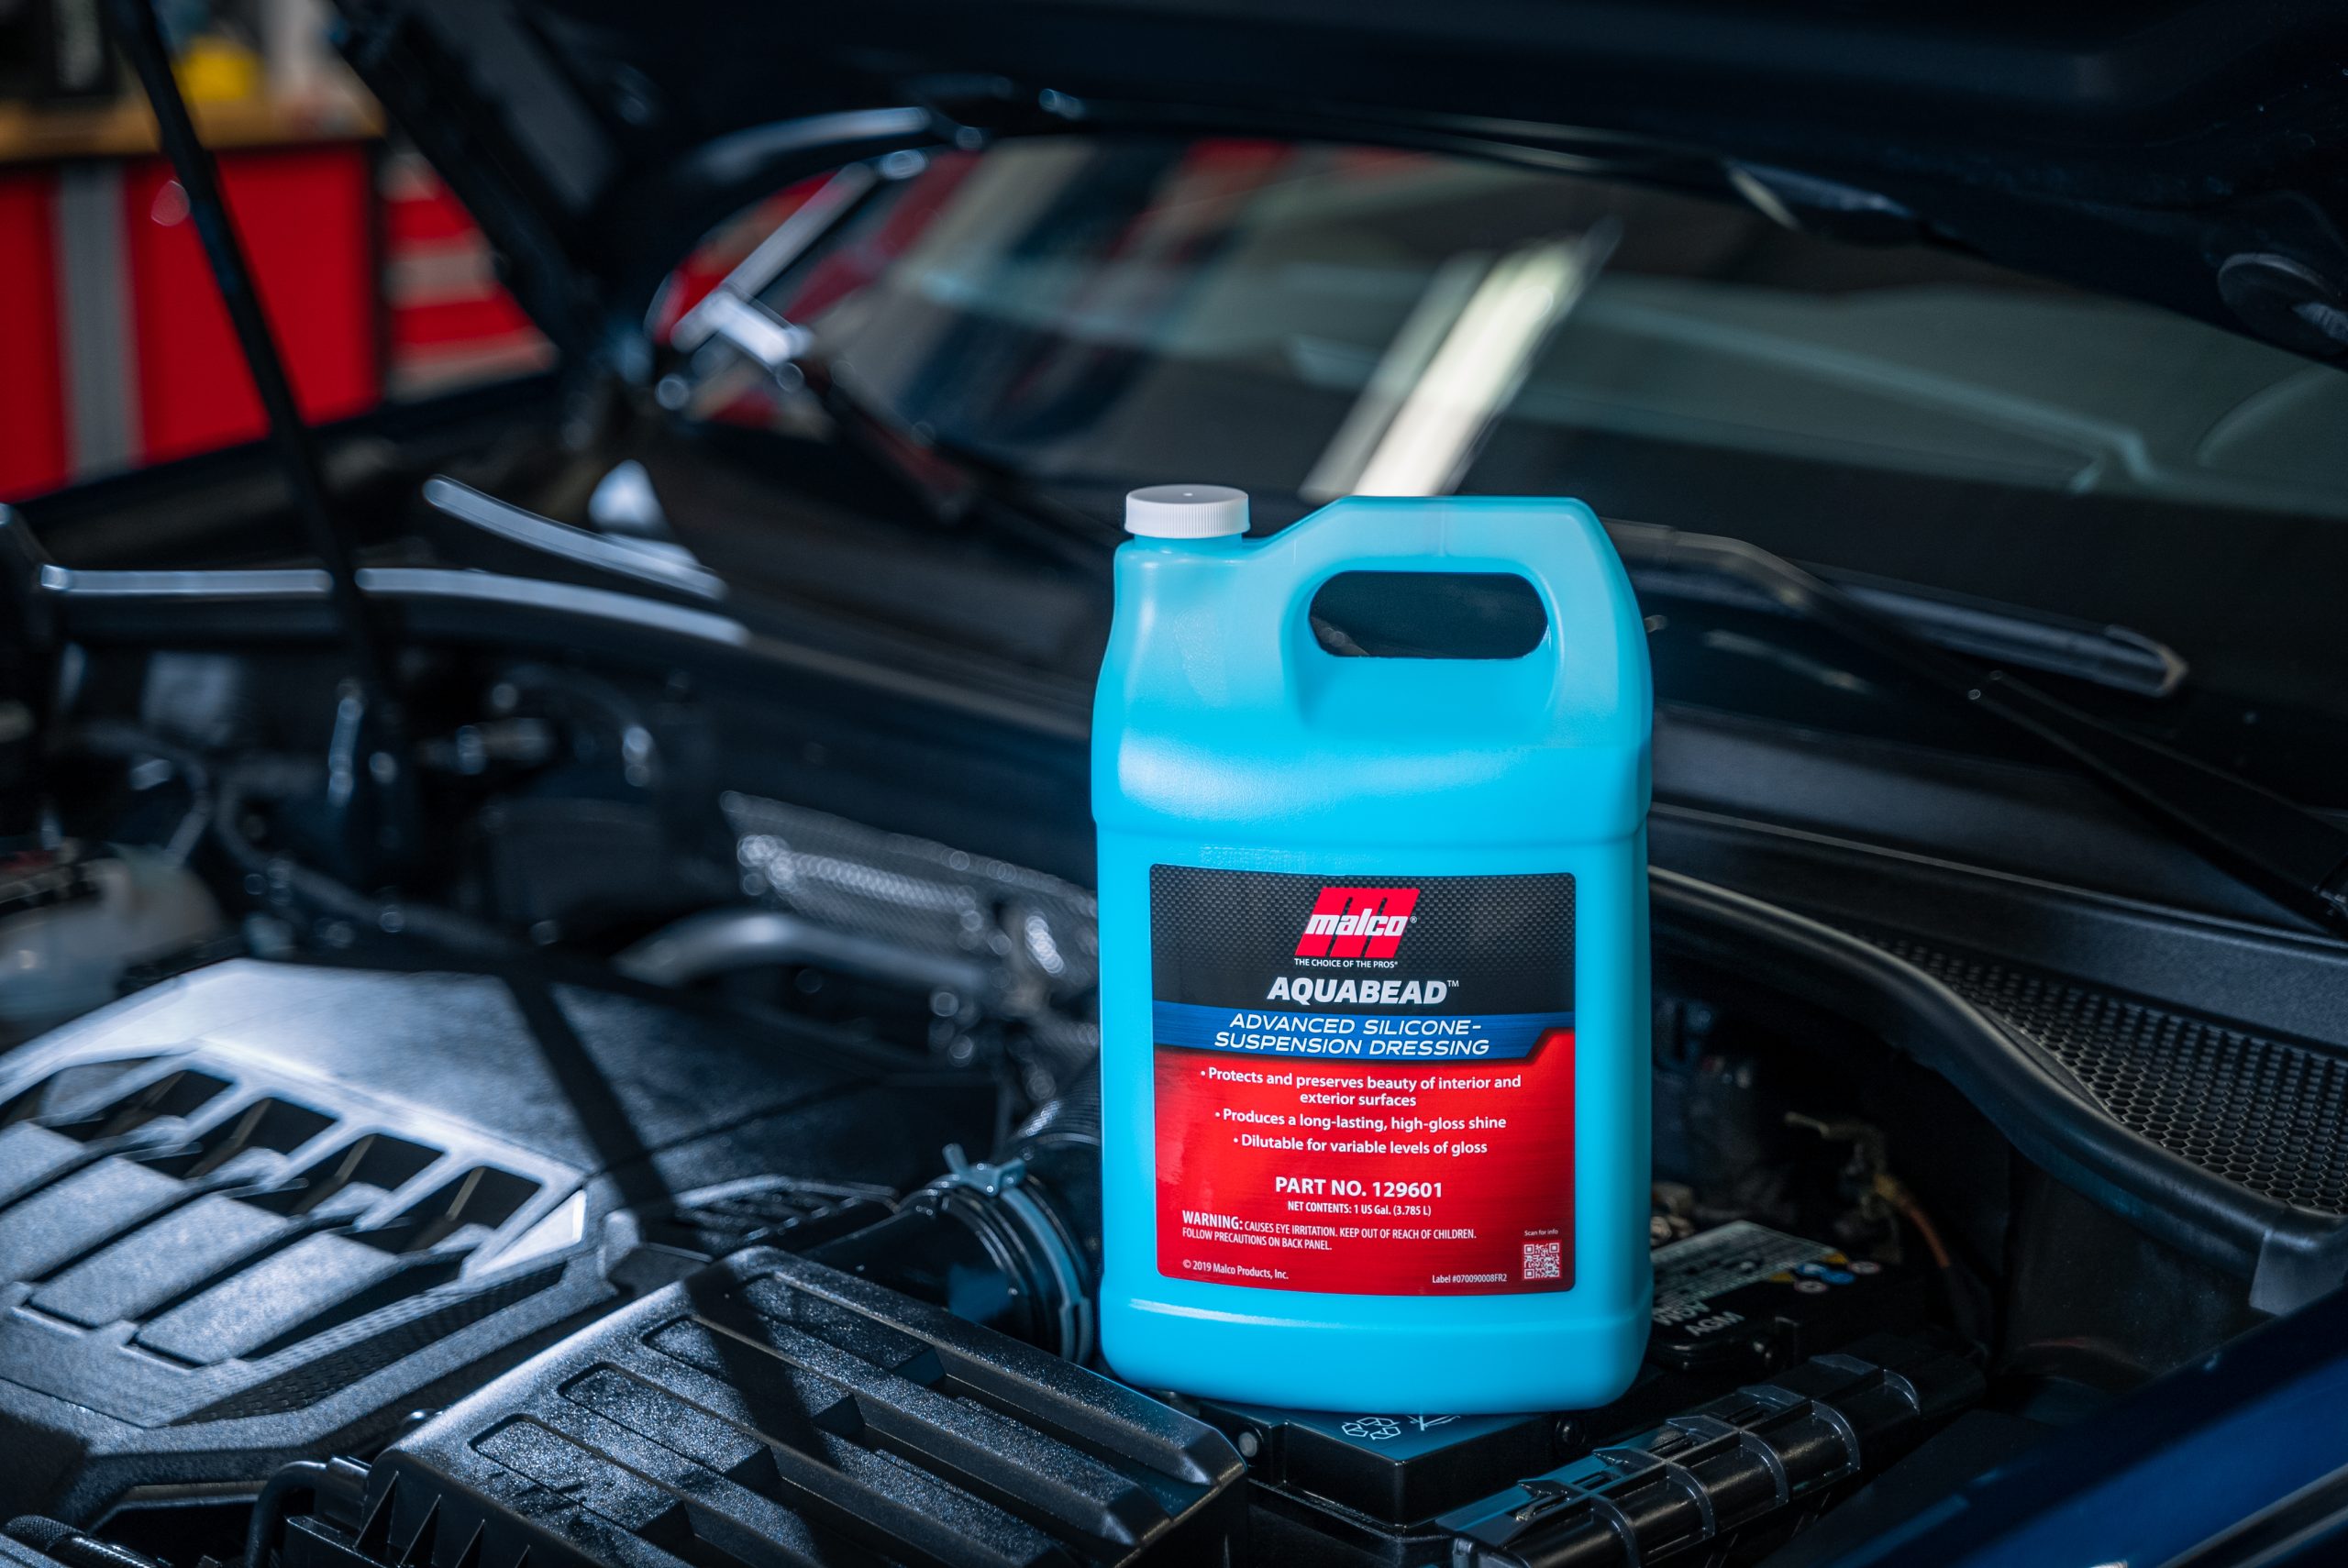
Step 5: Protect & Shine
Follow your degreaser with a dressing to protect your engine surfaces. We like Aqua Bead™️ Advanced Silicone-Suspension Dressing, a water-based dressing that can be applied dry or wet. Apply your dressing across the top of the plastic surfaces. Then, close the hood and let the dressing wet out.
This dressing can also be applied to dry surfaces, simply use a microfiber towel to evenly spread the product. A good water-based dressing is perfect for all plastics and rubber hoses. You want to avoid solvent based dressings as they can affect electrical connections long term.
When it comes to chrome valve covers or headers, use a product like Malco’s Metal Polish and a soft applicator pad. This is perfect for raw steel, polished aluminum, and chrome.
***
Want more car washing and detailing pointers? Malco maintains its own detailed Tech Tips/Knowledge Center. It’s definitely worth checking out too.
Comments