Editor’s Note: Perhaps the only things Travis Jones loves more than his 1986 Monte Carlo SS are autocross courses and a good challenge. That’s why Travis is on a mission to transform his Monte Carlo from an underpowered, ill-handling daily driver to an Autocross hero. A self-described “GM guy through-and-through,” Travis is a regular on the site OppositeLock, has documented his project on his Instagram page (@sslow6.0), and will give us a first-person account of his build here as a guest writer.
Travis has owned the Monte Carlo since high school. Although he’s thought about selling it from time-to-time, Travis has held on to it for sentimental reasons, even though the car has often sat idle. After his girlfriend inspired him to try Autocross for the first time, Travis started to look at the Monte in a whole different way.
“I became obsessed with taking a 1980s boat and making it handle,” Travis said.
In part 6 of his Monte Makeover series, he goes in search of more power…
If you’ve been following along, you know the exhaust collector reducer fell off the car twice during the final Autocross event of last season. I was also fixated on my LQ4‘s LS3 cam, which made okay power for a stock camshaft, but lacked the lopey, lumpy idle typically associated with a muscle car.
I decided to tackle both of those issues — starting with the cam.
Summit Racing Pro LS Camshaft Installation
A lot of aftermarket cams for LS motors have crazy lift numbers: .647-inch, .630-inch, and even some over .650-inch in extreme cases! I plan to use my car for street driving, autocross, HPDE track days, and the occasional drag race so I wasn’t looking for a radical .650+ lift cam with 250 degrees of duration. Plus, factory-casting cathedral heads have very little flow to gain between .600-inch and .700-inch lift.
For all those reasons, I knew many of the off-the-shelf cams wouldn’t be for my application. The higher lift does nothing but stress your valve springs, rockers, and lifter package if you’re going to be at high rpm all day — which you are around a road course. Most competitive road race C5 and C6 Corvette racers seem to run cams at or under .600-inch lift. (Funny how I’m driving a G-body boat and looking to the Corvette racers for inspiration.)
I looked at the GM ASA cam (NAL-88958770) with the duration specs of 226/236 degrees @ .050 and .525-inch lift on both the intake and exhaust. It initially checked out; however, the 110 LSA made me a little nervous when it came to idle vacuum for power brakes. Next, I looked at the (TFS-30602003), with its 232/238-degree duration @ .050, .585/.585-inch lift, and 112 degree LSA. These are slightly bigger specs than the “Sloppy Stage II” cam that is so popular for low-buck LS turbo applications.
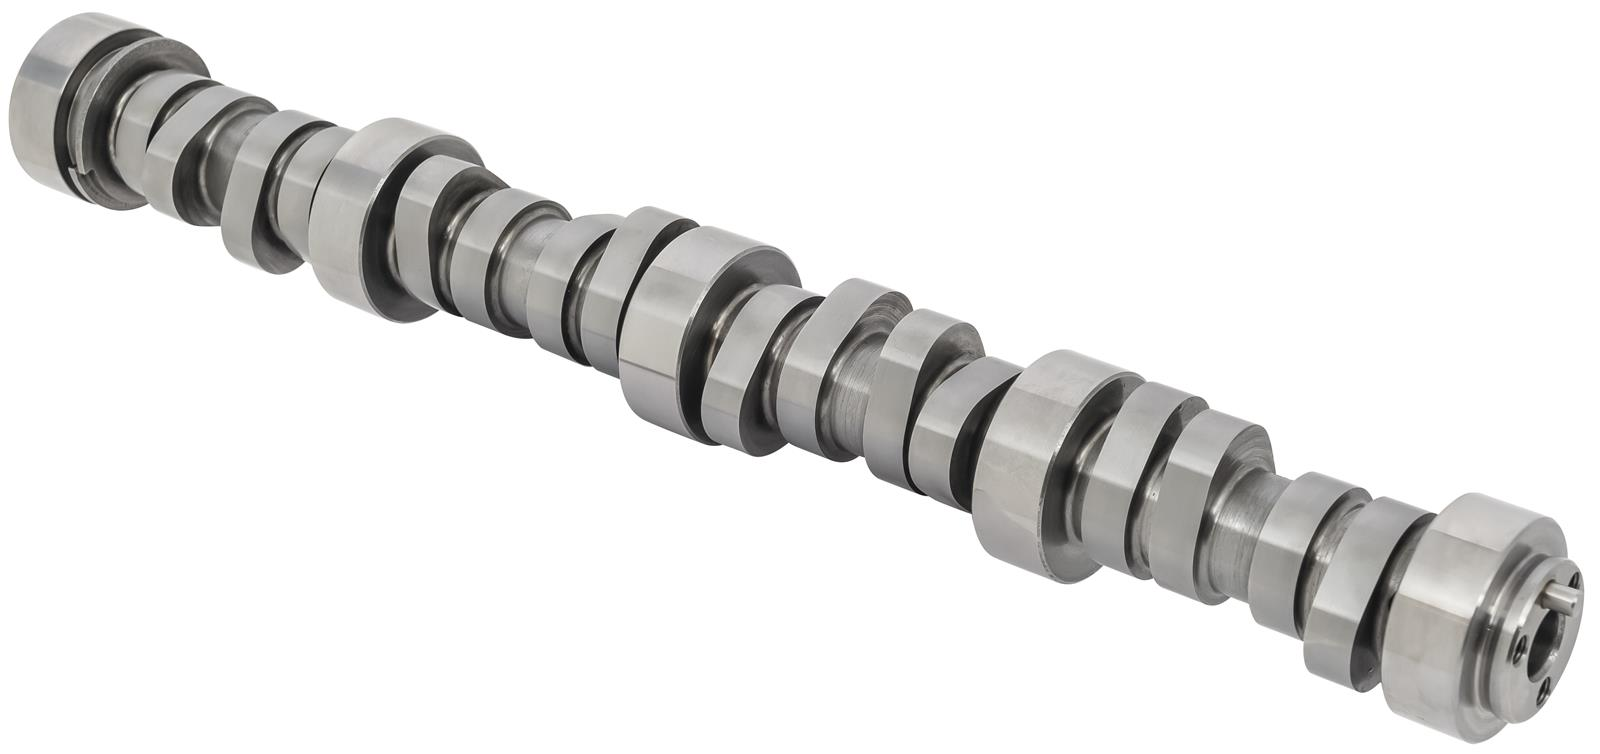
The TFS cam was in the lead until I found the new Summit Pro LS Stage III cam (SUM-8708). The Summit Pro LS Stage III (pictured above) cam weighs in with 231/242 degrees duration @ .050 and .600/.600-inch lift with a 113+3 LSA. You can read all about them here. Summit Racing really did their homework with these grinds. Each specific valve event is timed for maximum performance while still being kind to the stock lifters and rocker arms.
I was really impressed with the grind quality of the cam for the price, too. Sometimes lower-priced cams work, but are pretty rough. The Summit Racing Pro LS cams are manufactured in the USA and, in my opinion, are on par with some of the biggest names in the business in terms of quality.

Summit Racing recommends the (TFS-2500286) dual valve spring kit, which is an excellent value, to go along with the cam. But I chose the similar, single-coil Comp Cams springs (CCA-26918-16) because they are a little lighter and use stock retainers and valve locks. Since I don’t intend to spin this motor past 6,600 rpm due to the weaker Gen III factory connecting rods in my LQ4, the stock retainers and locks are fine.
I also purchased Summit chromoly 5/16-inch pushrods (SUM-1457400). Keep in mind, you should measure your valvetrain to determine which length pushrod you need. Depending on the springs you choose, you may even want to go to a 3/8-inch pushrod instead of a 5/16 for more high-rpm stability.
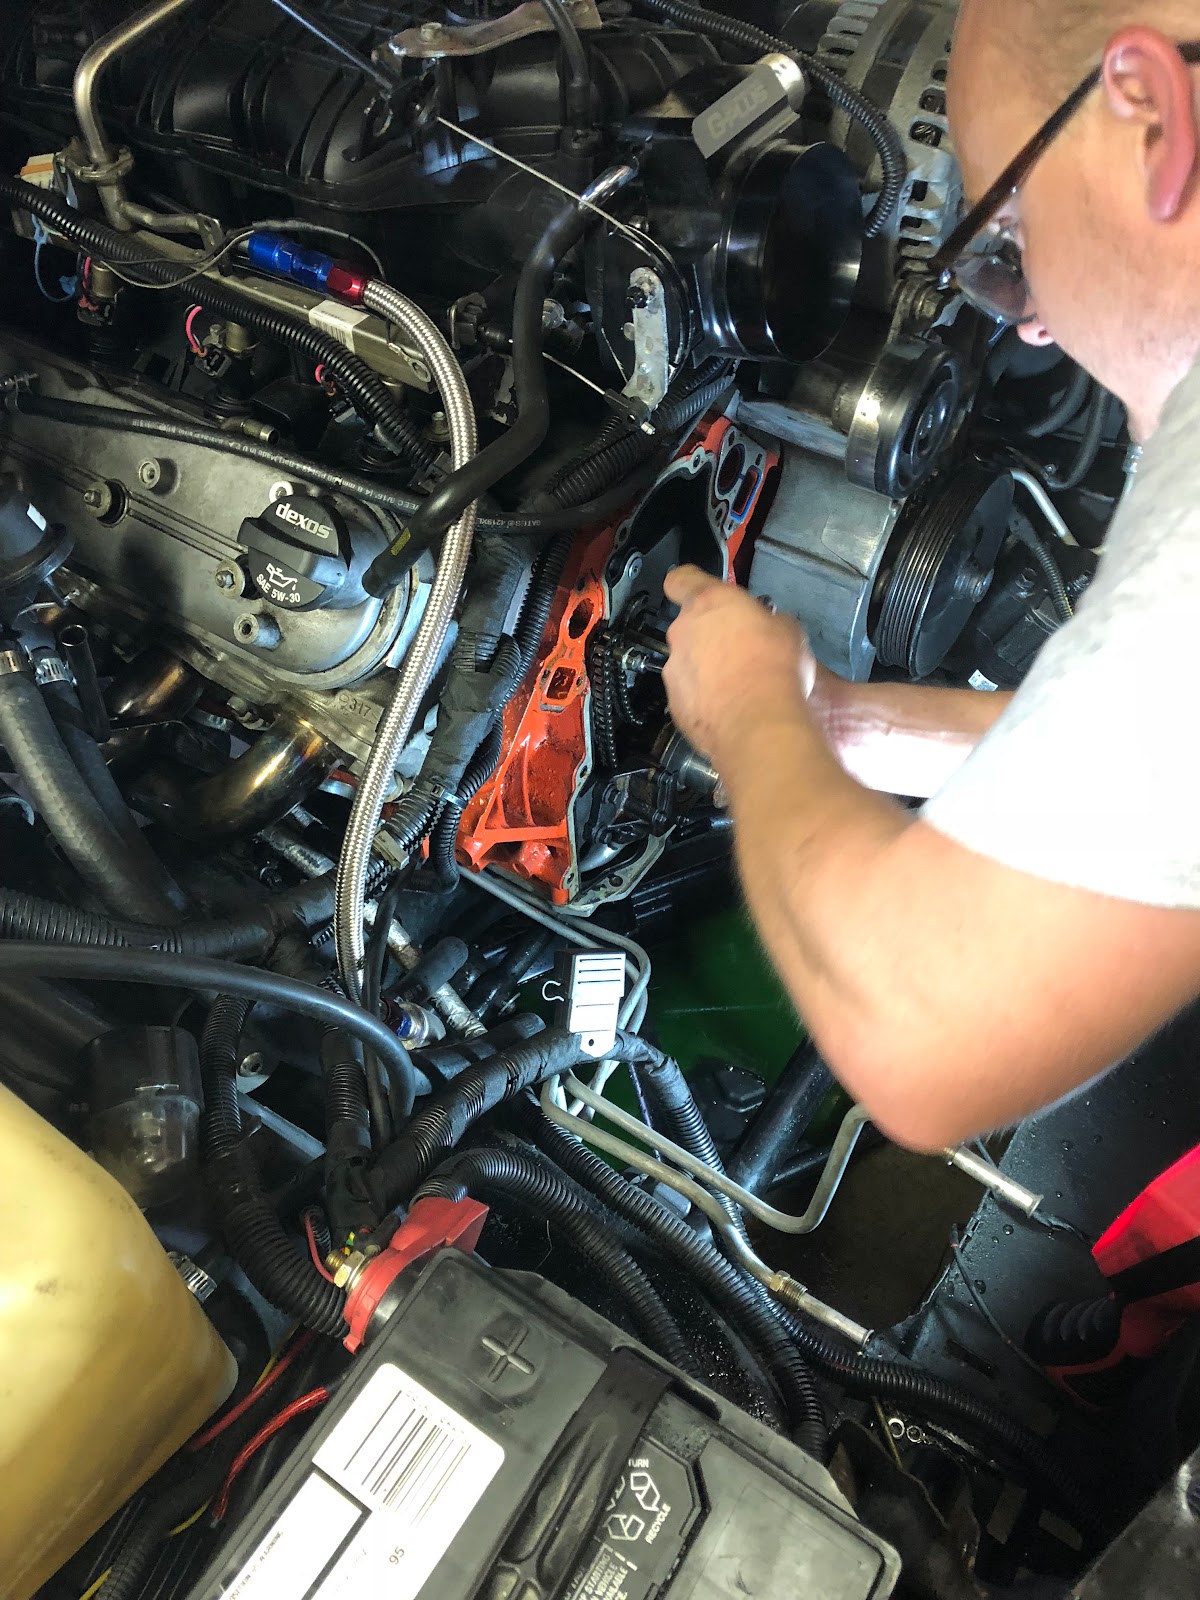
With the parts picked out it was time to install them. My friend Jon (@mtrcityjonn) stopped by with his valve spring compressor, harmonic balancer puller, and installer.
We got to work.
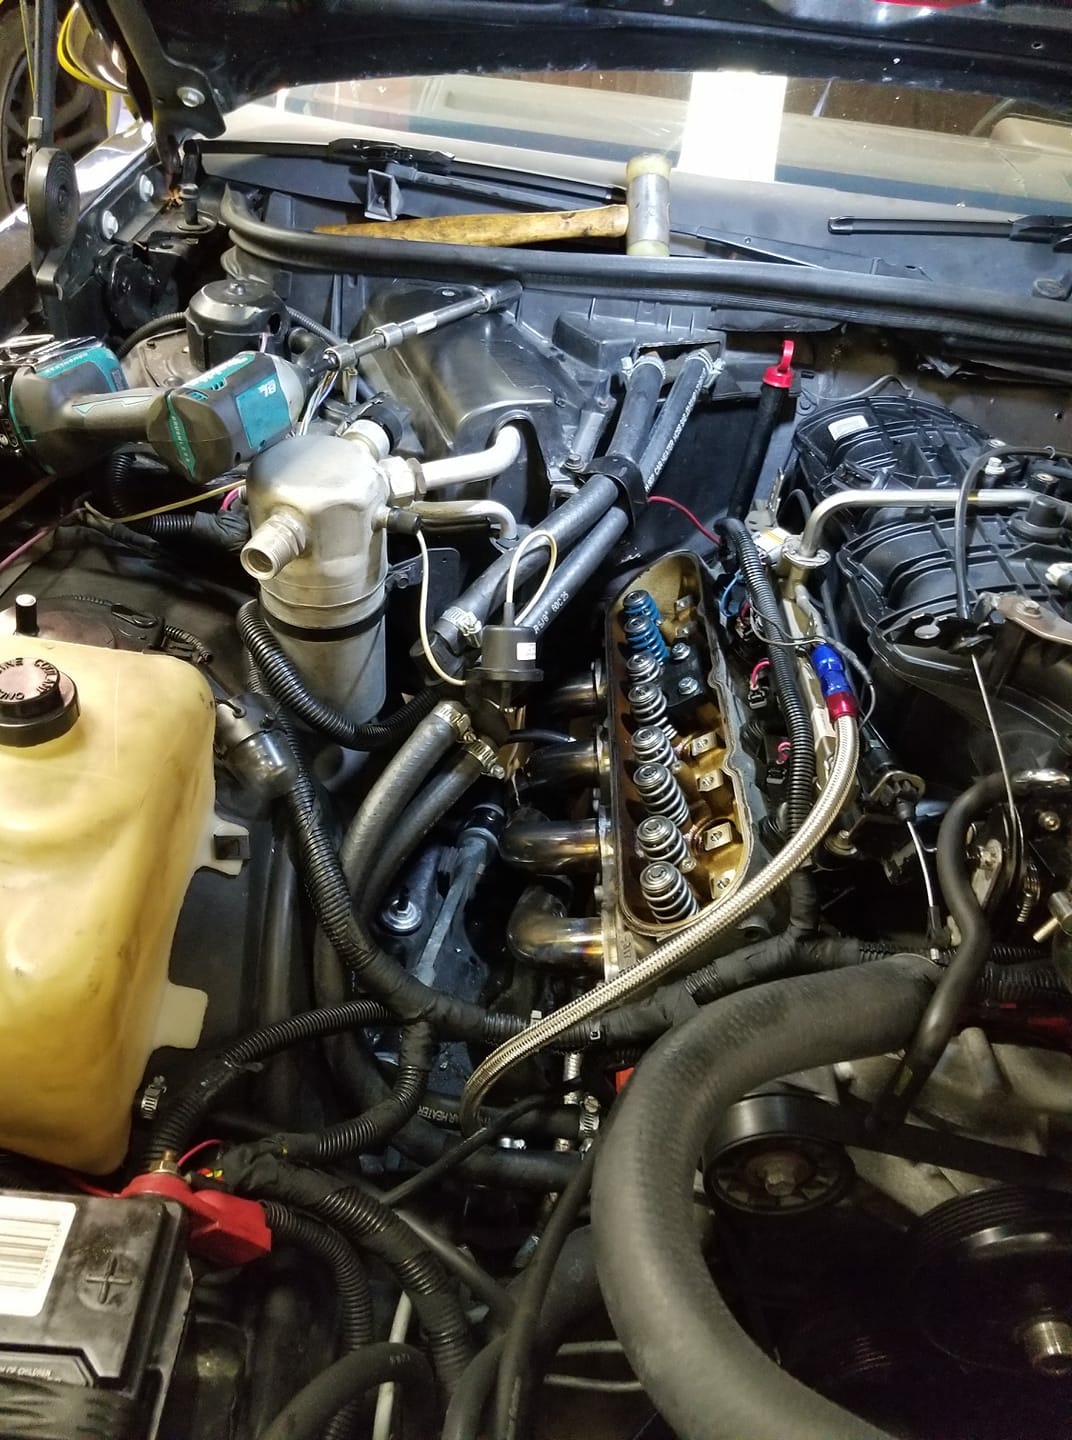
First we installed the new valve springs. Just disconnect the coil pack connectors, pop the valve covers, and remove the rocker arms. You will need to hold the valve closed with some compressed air; I just took the Schrader valve out of a compression tester and used that. Jon’s Trick Flow Valve Spring Compressor (TFS-90306) is awesome, and we made quick work of the spring change.
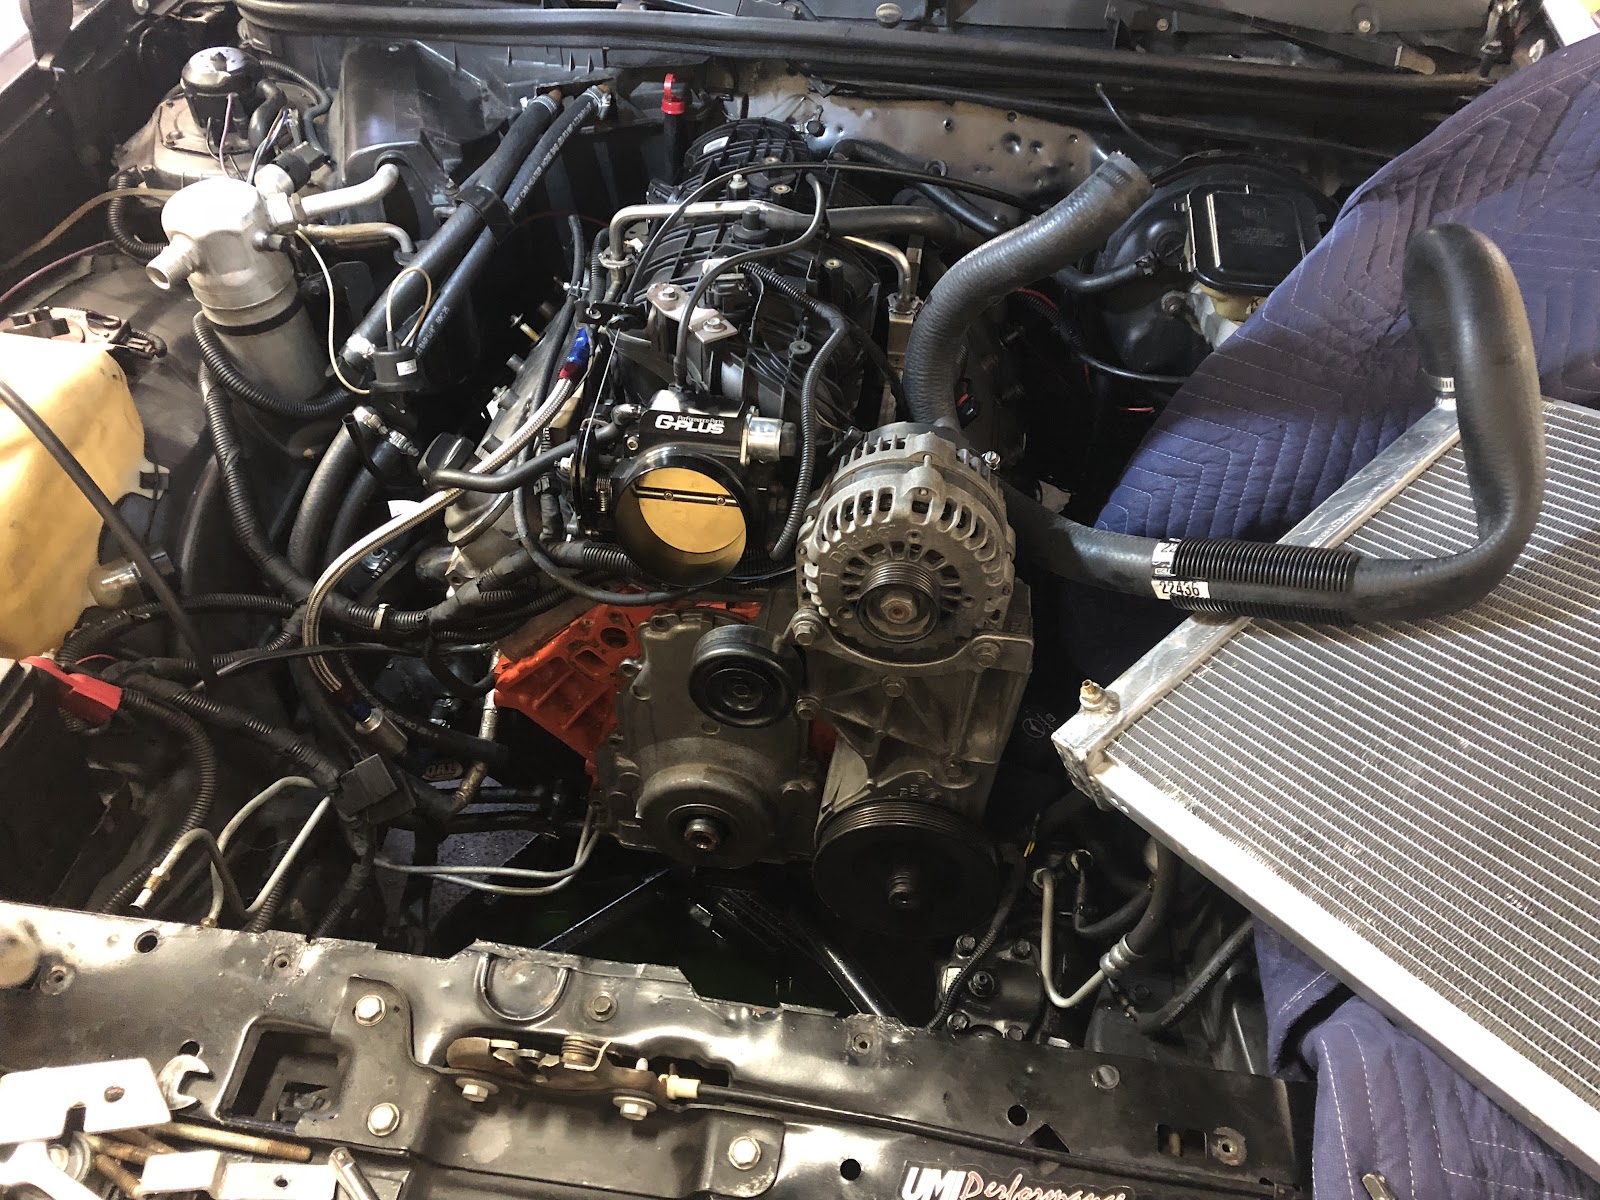
Next we pulled the cold air intake and drained the radiator. Then we disconnected the transmission cooler, pulled the electric fans, and set the whole radiator assembly off to the side. From there we removed water pump, followed by the crankshaft balancer bolt and harmonic balancer. We then just needed to pull the timing chain cover to gain access to the timing chain and camshaft.
We removed the single bolt that holds the cam gear to the LS3 cam and used a long water pump bolt to make sure that the timing chain didn’t fall down into the oil pan.
Next I removed the two hex head bolts that hold on the cam cover and the cover. Always inspect the gasket on the back of the cam cover/retainer plate. If it even looks slightly worn, go buy a new one. This is a common area for internal oil leaks on the LS motor, and since the LS oils the cam first, then the mains, it’s imperative that you don’t have any leaks here.
I used two 5/16-inch dowels with one side ground flat to keep the lifters in their keepers after we rotated the cam to push up the lifters. (The last thing you want to hear during a cam swap is the dull thud of a lifter dropping into your oil pan.)
Then we pulled out the cam.
We had previously cleaned the Summit Racing Pro LS cam down with some gasoline to ensure there was no machining dust in the core of the cam. We slathered it in assembly lube and carefully installed it back into the engine using a water pump bolt as a handle. Once the cam was installed, we pulled the dowels from the cam, seated the new pushrods against the lifters with a little dab of assembly lube. I also placed a small amount of assembly lube on each of the valve stems and re-installed the rocker arms to 22 ft.-lbs. of torque.
We re-installed the timing gear and timing chain ensuring proper alignment, then bolted the timing chain cover back-up and reinstalled the harmonic balancer. I re-used a harmonic balancer bolt, but it isn’t recommended by GM. Then we buttoned up the rest of the car
— water pump, valve covers, cold air intake, radiator, trans cooler, etc.
— refilled the radiator, and fired it up.
It sounded mean, but the exhaust system need some work.
Exhaust System Selection and Installation
To tackle that terrible exhaust system, I called my friend DeWayne (@loganmotorsports). Unfortunately, with the combination of parts that I had bought, I had kind of backed myself into a corner. I used the Holley LS swap mount system with some Speed Engineering headers to save some cash. This meant that I couldn’t use the Hooker Blackheart exhaust system (70501364-RHKR) for the car and would have to do something a little more custom.
I purchased a 3-inch stainless exhaust universal kit with X-pipe from Speed Engineering. Looking back on it, I probably should have spent a little more money on a slightly better kit — like Summit’s universal kit.
For the mufflers I used two 3-inch Jones Max Flow mufflers (JEX-MF1229). They are an incredibly good value for the money. I had previously installed the Holley crossmember kit for their LS swap system, and the headers didn’t exactly line up with the holes that were provided. I would have to rely on DeWayne’s fabrication skills to save me. It wasn’t a big deal for me as he’s one of my best friends who will work for beer. However, if he was charging me, it would have been cheaper overall to buy the Hooker headers and exhaust system.
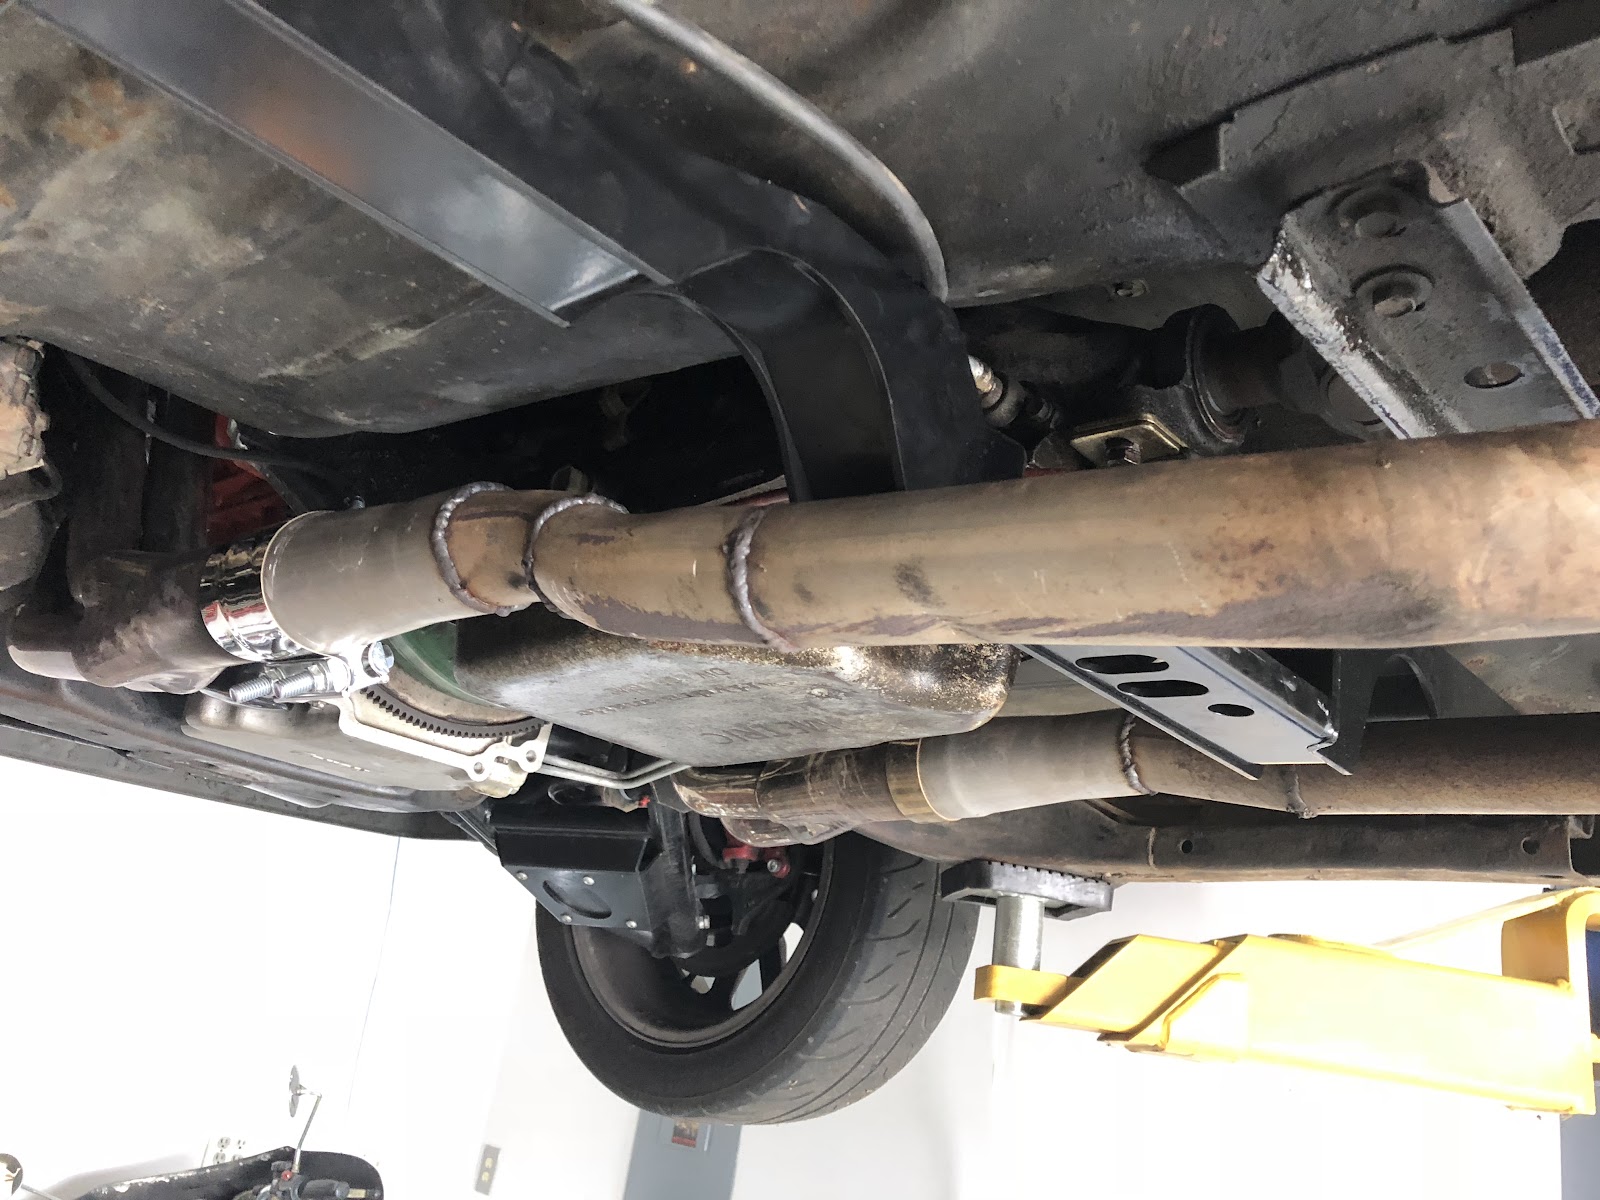
The first step was to cut the existing exhaust off.
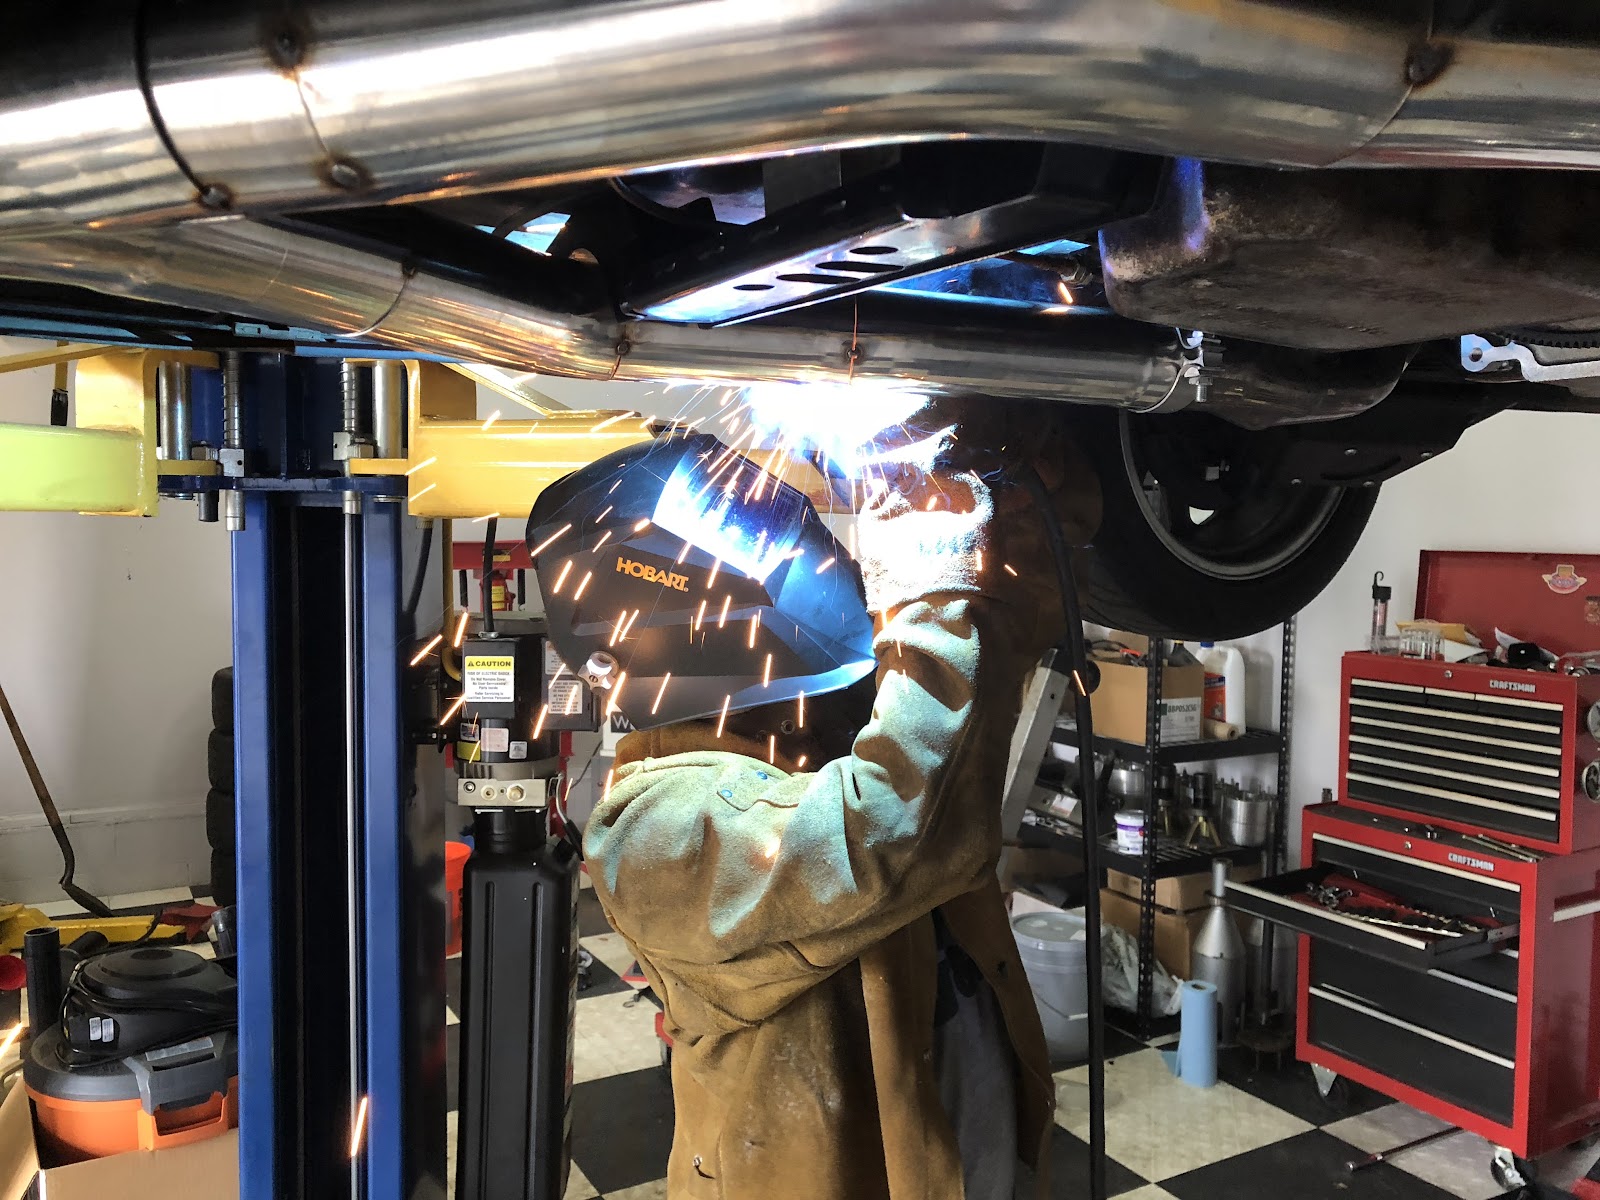
Then we mocked up the rest of the exhaust behind the X-pipe. From there DeWayne worked his magic and managed to make everything connect leak free.
Below is the finished product.
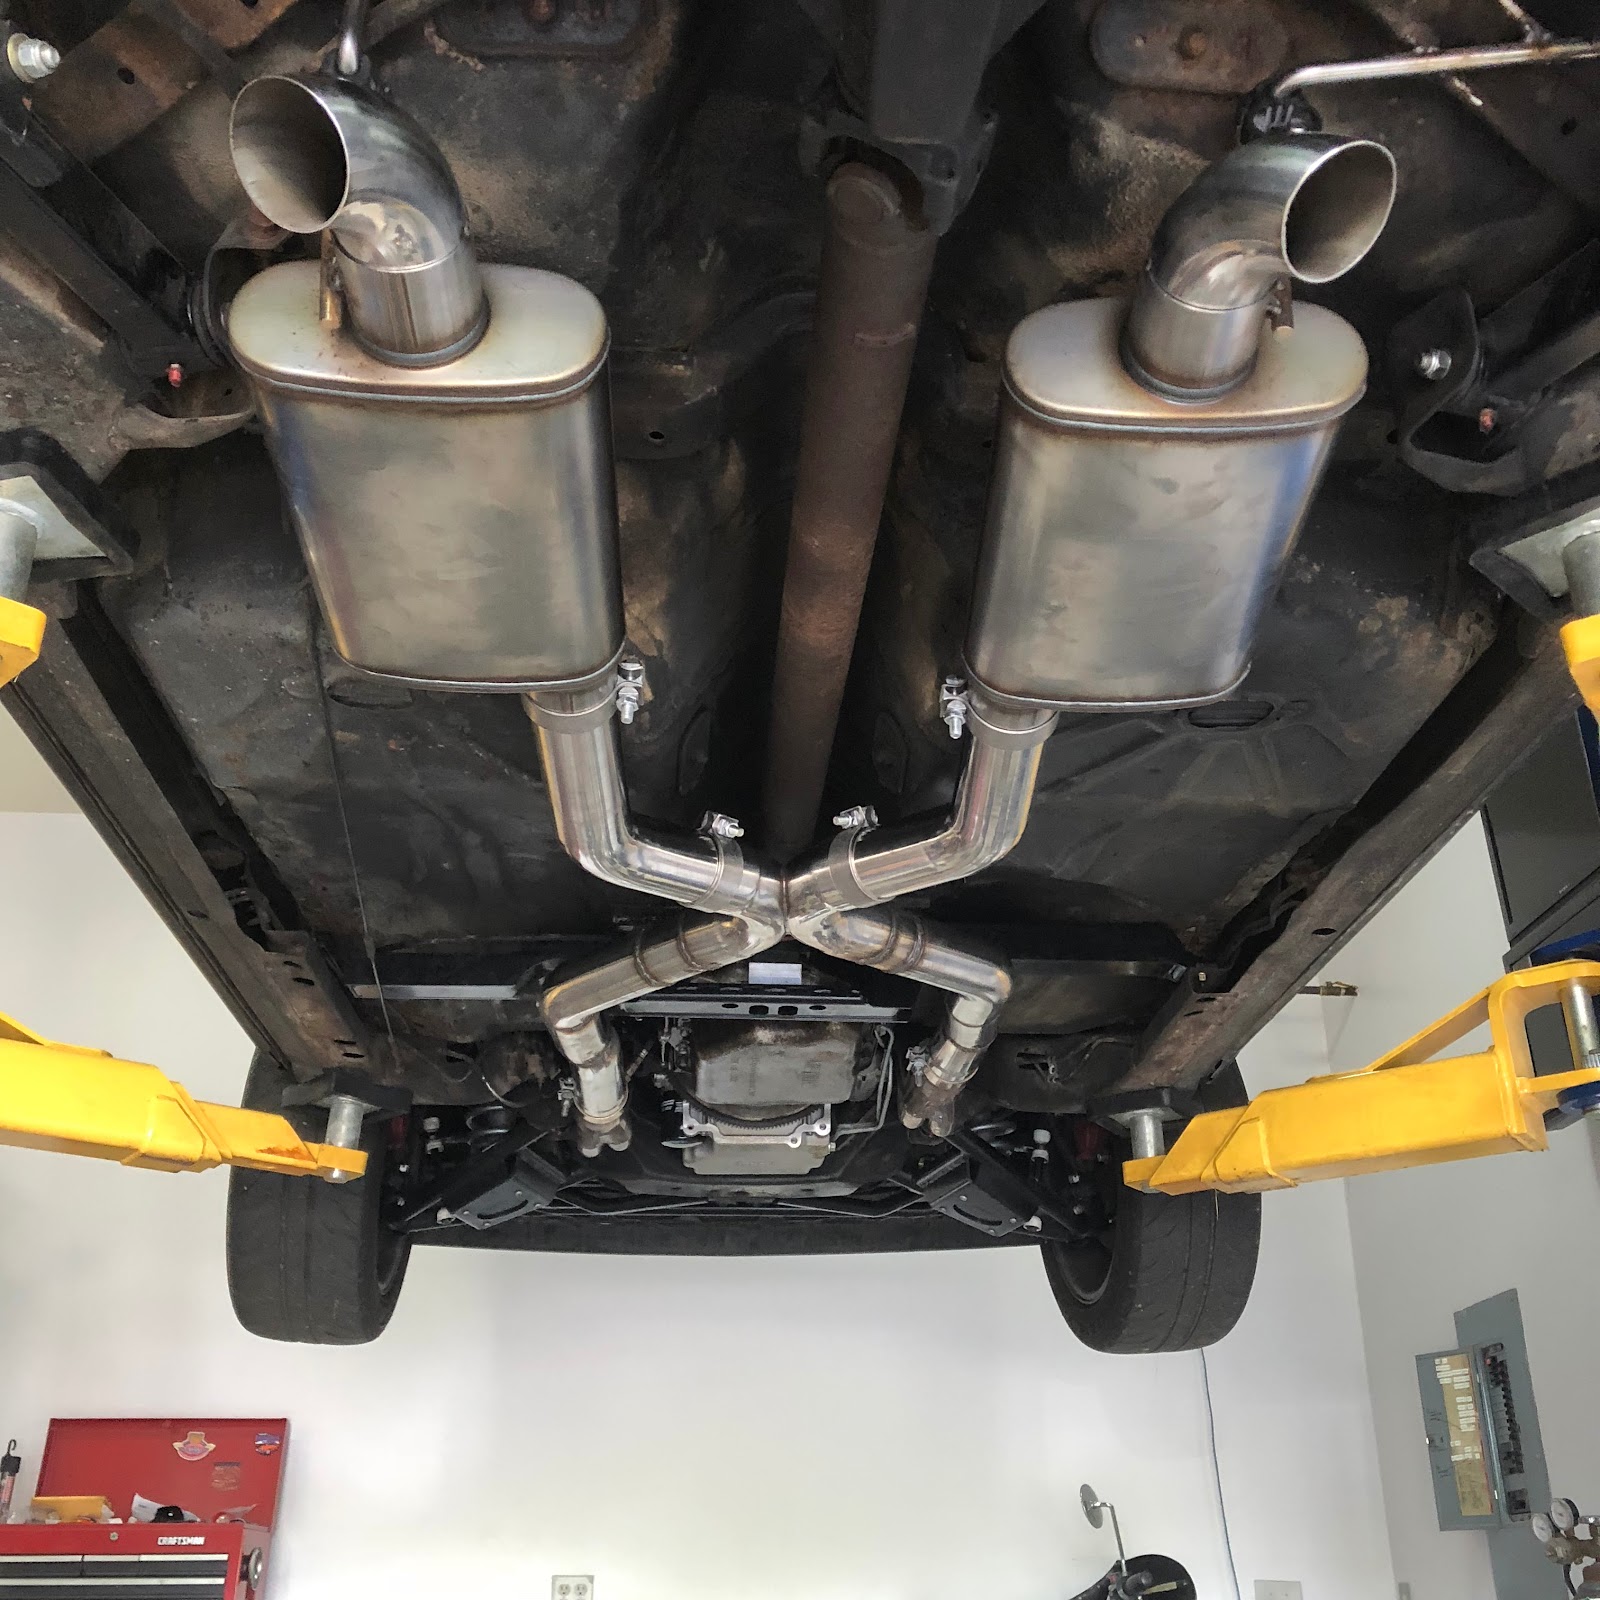
When I complained that the LS3 cam was too quiet, I might have overcompensated with this exhaust. This thing is LOUD. It sounds good, but it is a bit more than I bargained for. I dumped the exhaust before the axle, because I knew that down the road I would be putting a different rear end with completely different suspension geometry. I didn’t know where the exhaust would need to end up, but eventually tail pipes are going to be a must.

The next day, we decided it was time to dyno the car and see what kind of horsepower it would make with a new Summit Pro LS cam and 3-inch free-flowing exhaust.
It needed to beat the 352 horsepower and 375 ft.-lbs. it had made previously, and it did. The engine now made 412 horsepower at 6,000 rpm and 408 ft.-lbs. at 4,750 rpm. That’s SAE J1349 corrected horsepower at 185 degree water temps, just like it would see at the track!
My goal for the car power-wise was always 400/400 at the tire. Beyond that, without some very wide, sticky tires, it would be nothing but a burnout machine. I may go back and install some ported factory heads, but I’m satisfied with the power production of this engine for what I want the car to do.

With the power goal achieved on the dyno, it was time again for our annual trip up to Lapeer International Dragway during the Woodward Dream Cruise.
This time around we went 12.72 at 112 miles-per-hour. The density altitude that day was pretty bad (around 2,400 feet), but I’d say that the main thing holding the car back is the 60-ft. time. The car hooked, but sadly the 1,800-2,000 rpm stall converter I run simply isn’t enough for this camshaft. Summit Racing recommends a 3,000+ rpm stall converter with this cam, and looking at the dyno graph, it’s clear why.
Speaking of stall converters and automatic transmissions, on the drive home the long suffering 200-4R started complaining and shifting funny. It may be time shift gears into something a little more fitting for a Pro Touring car.
More to come on that…
6l80 e
You’ll find out next month!