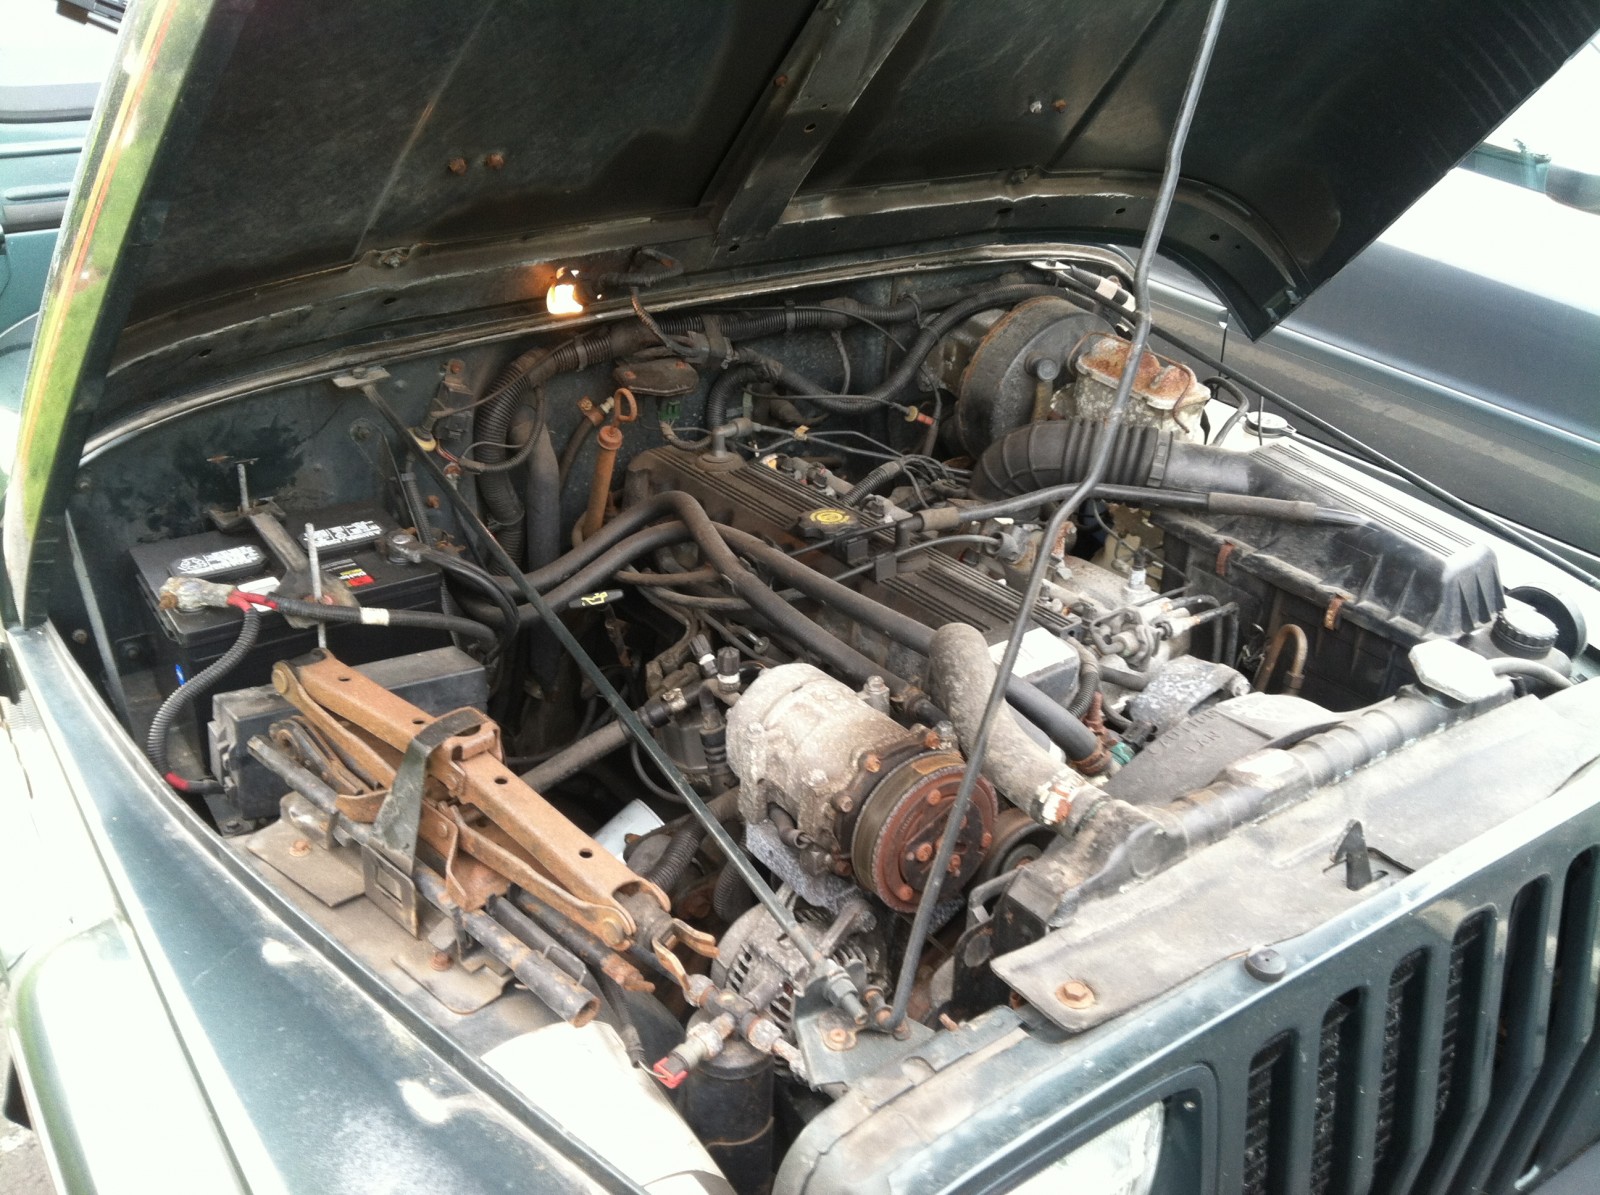
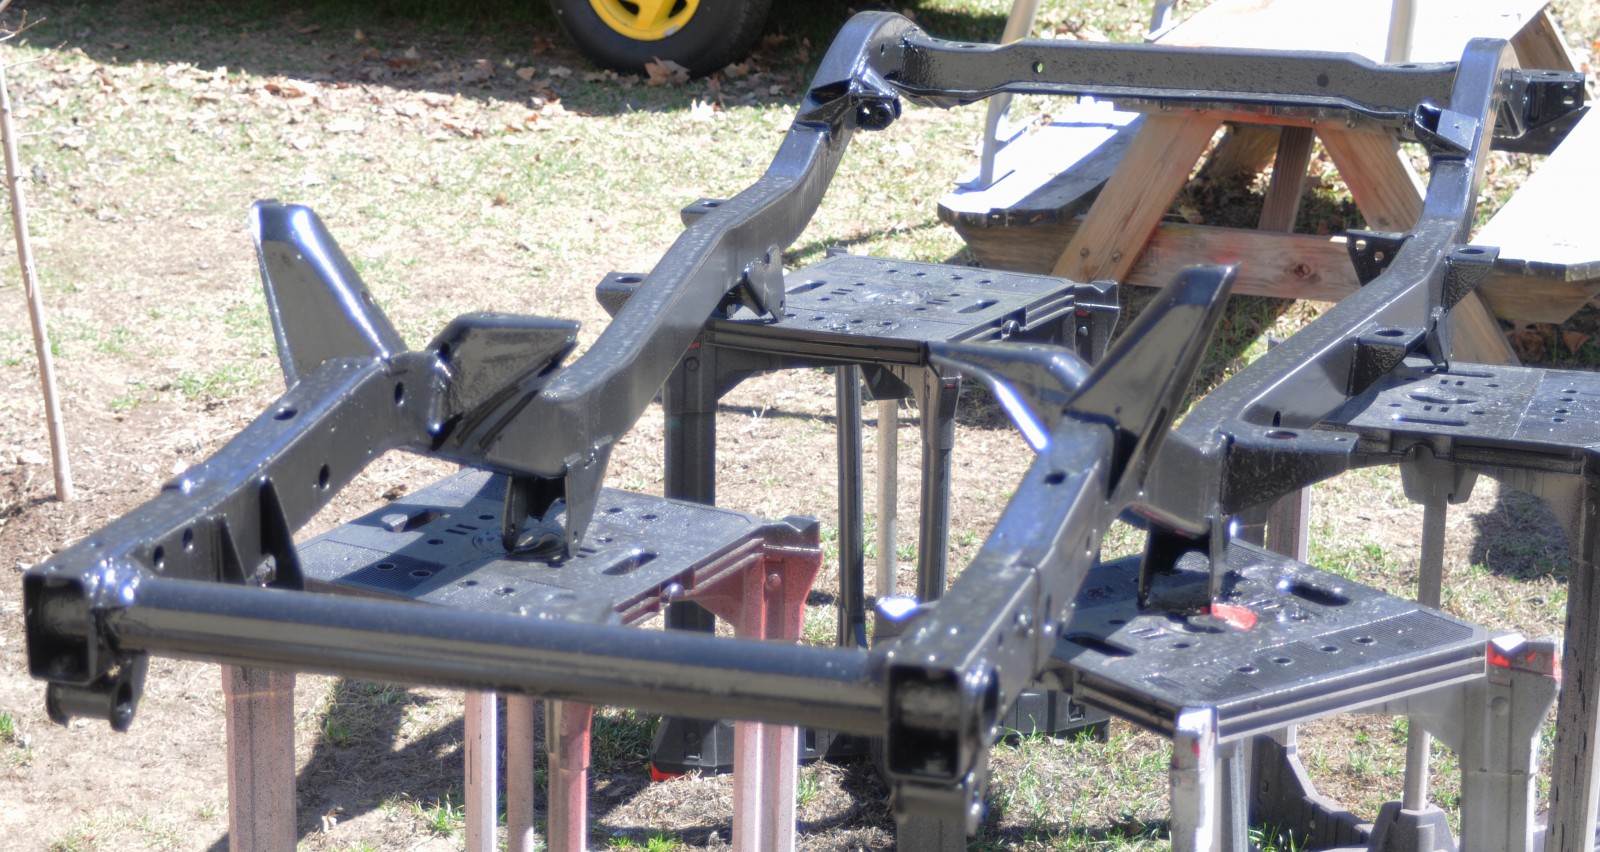
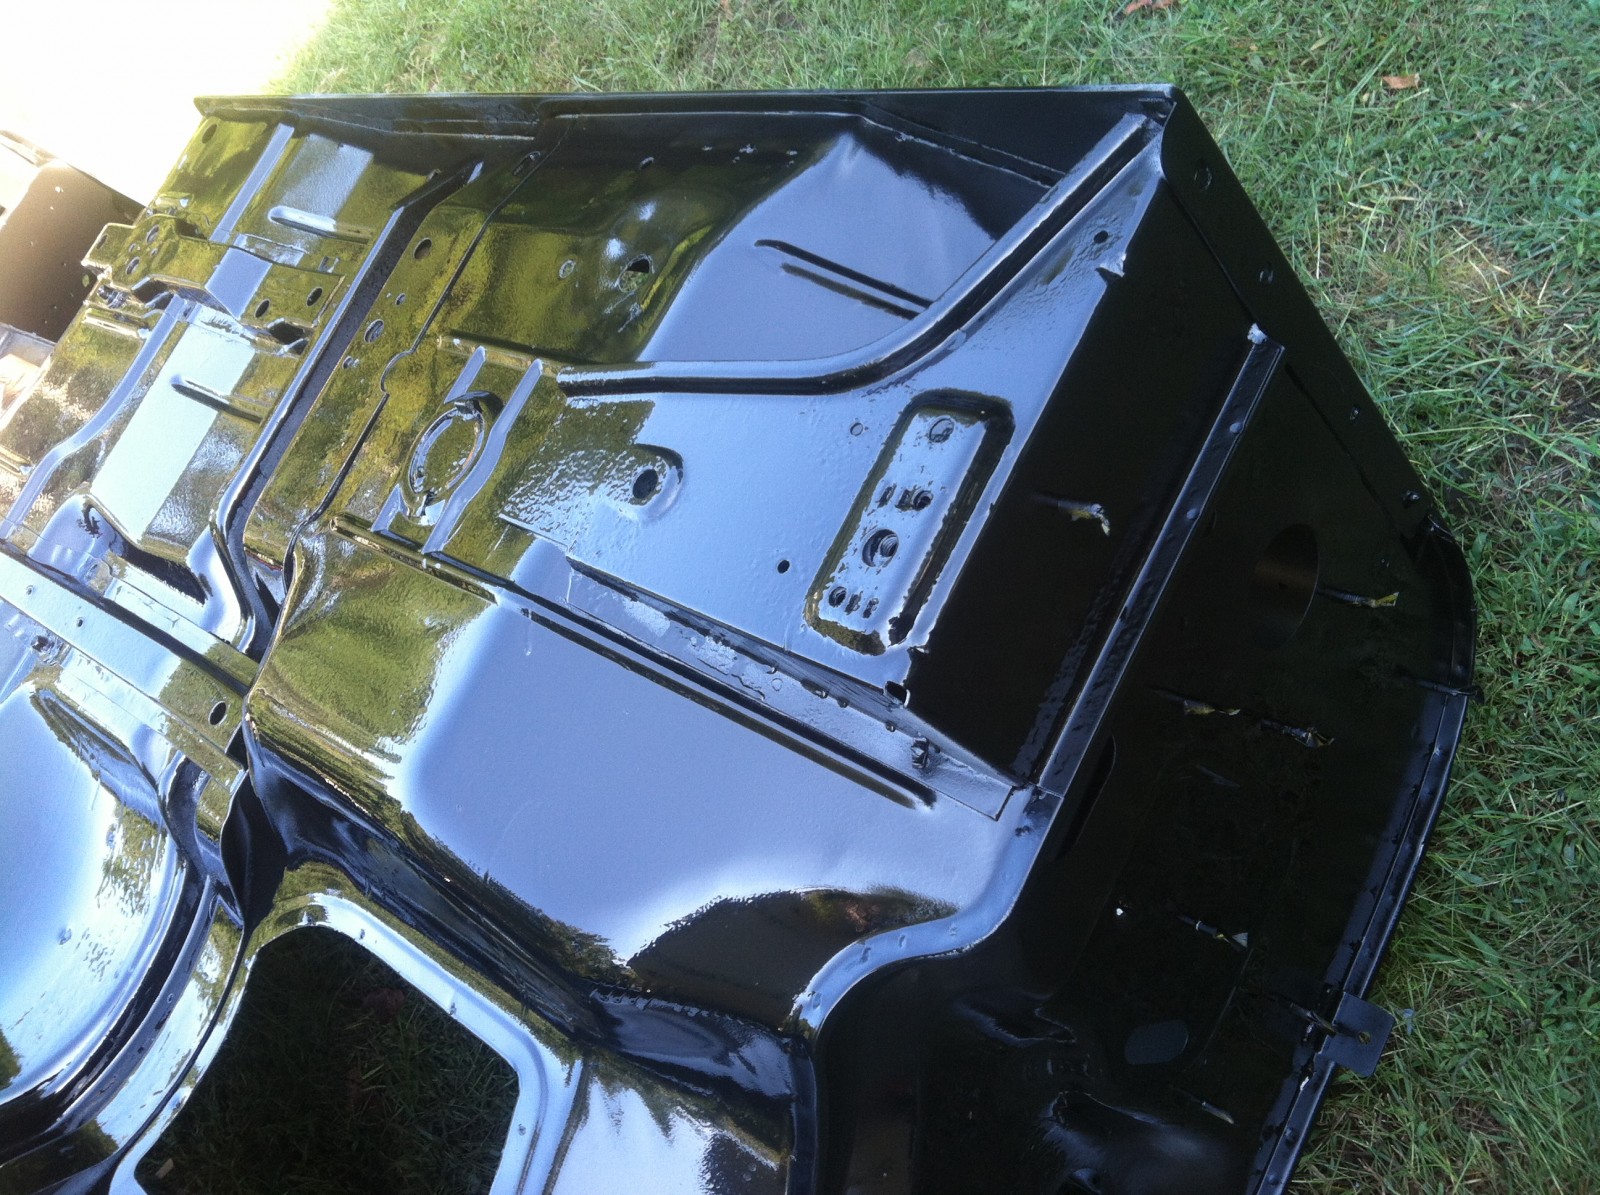
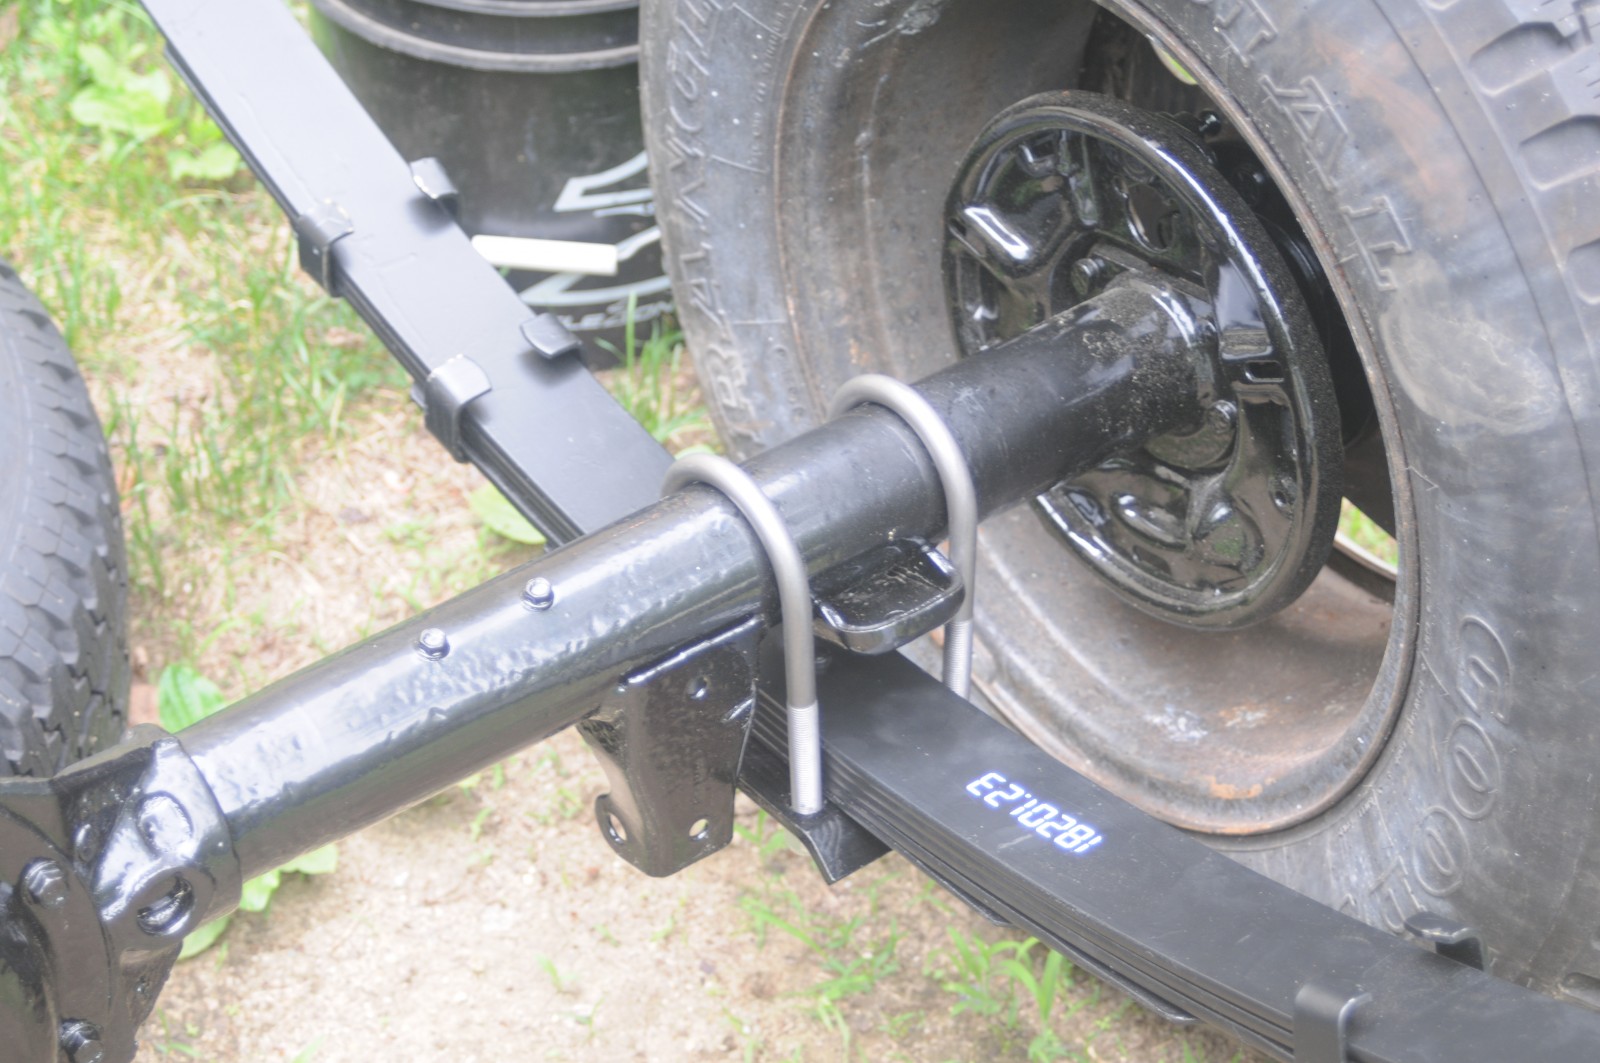
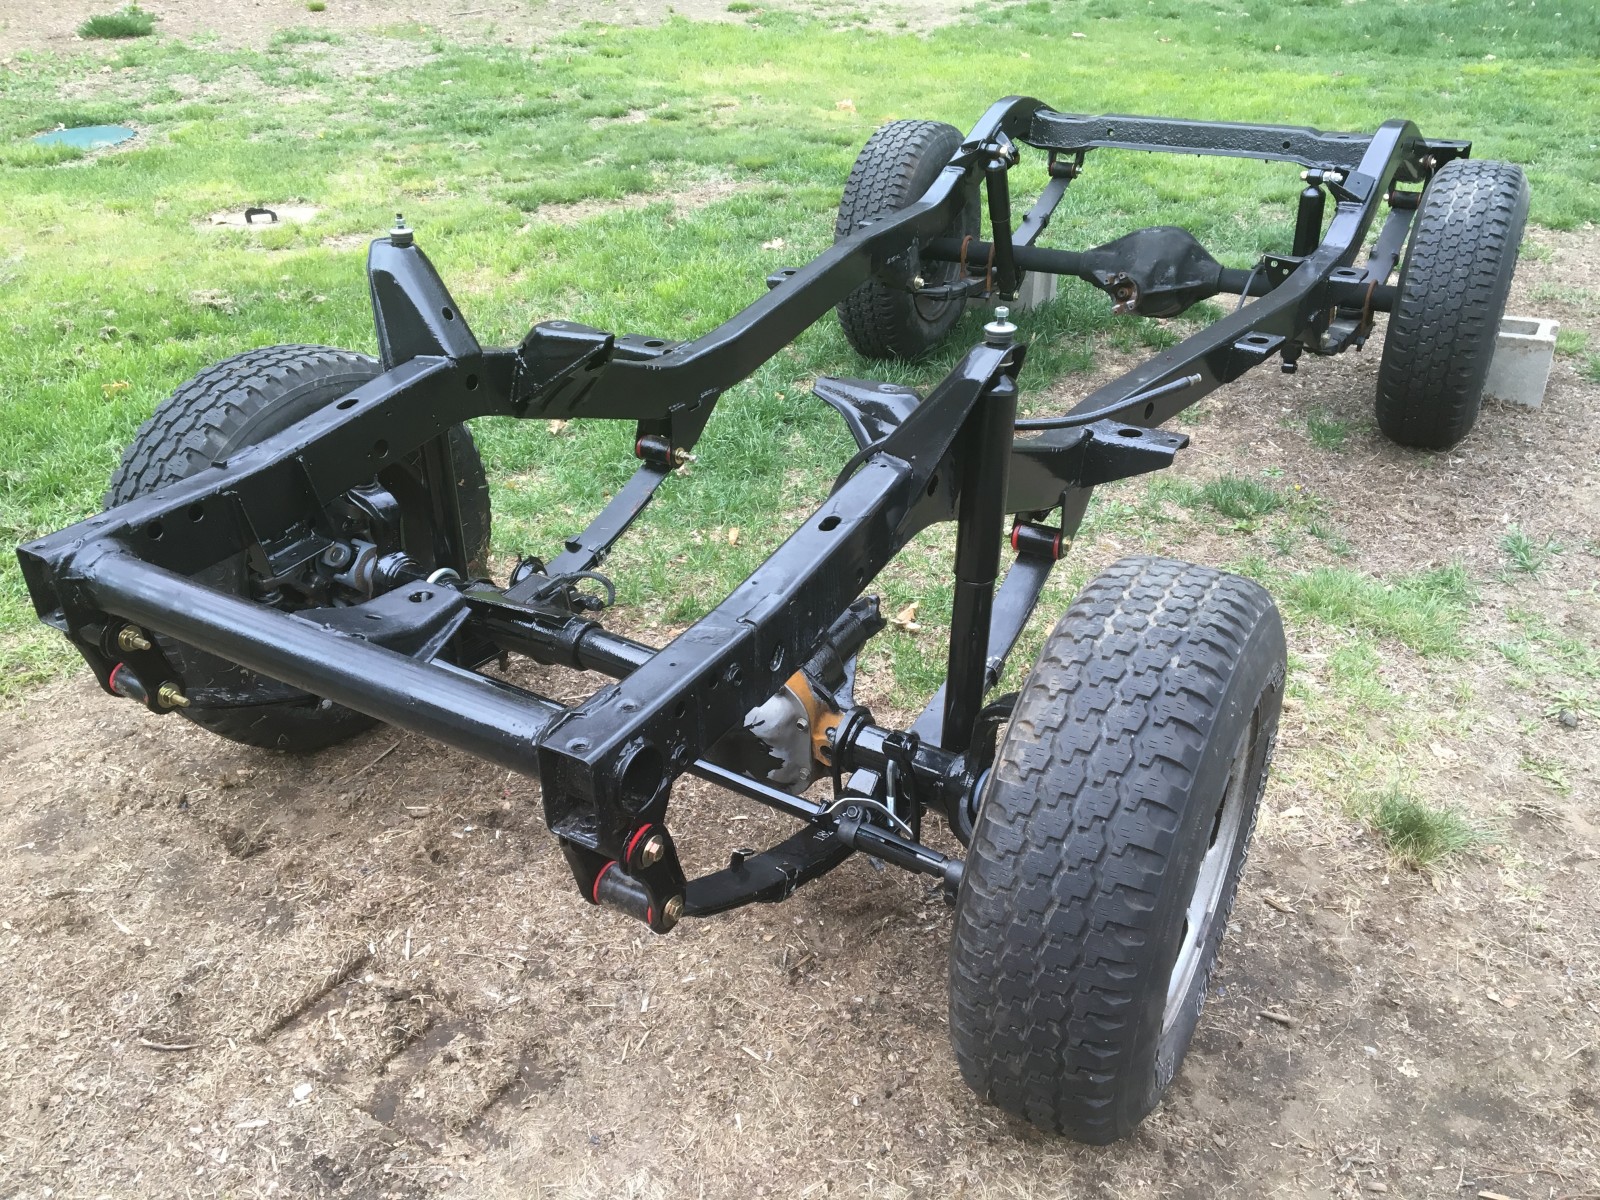
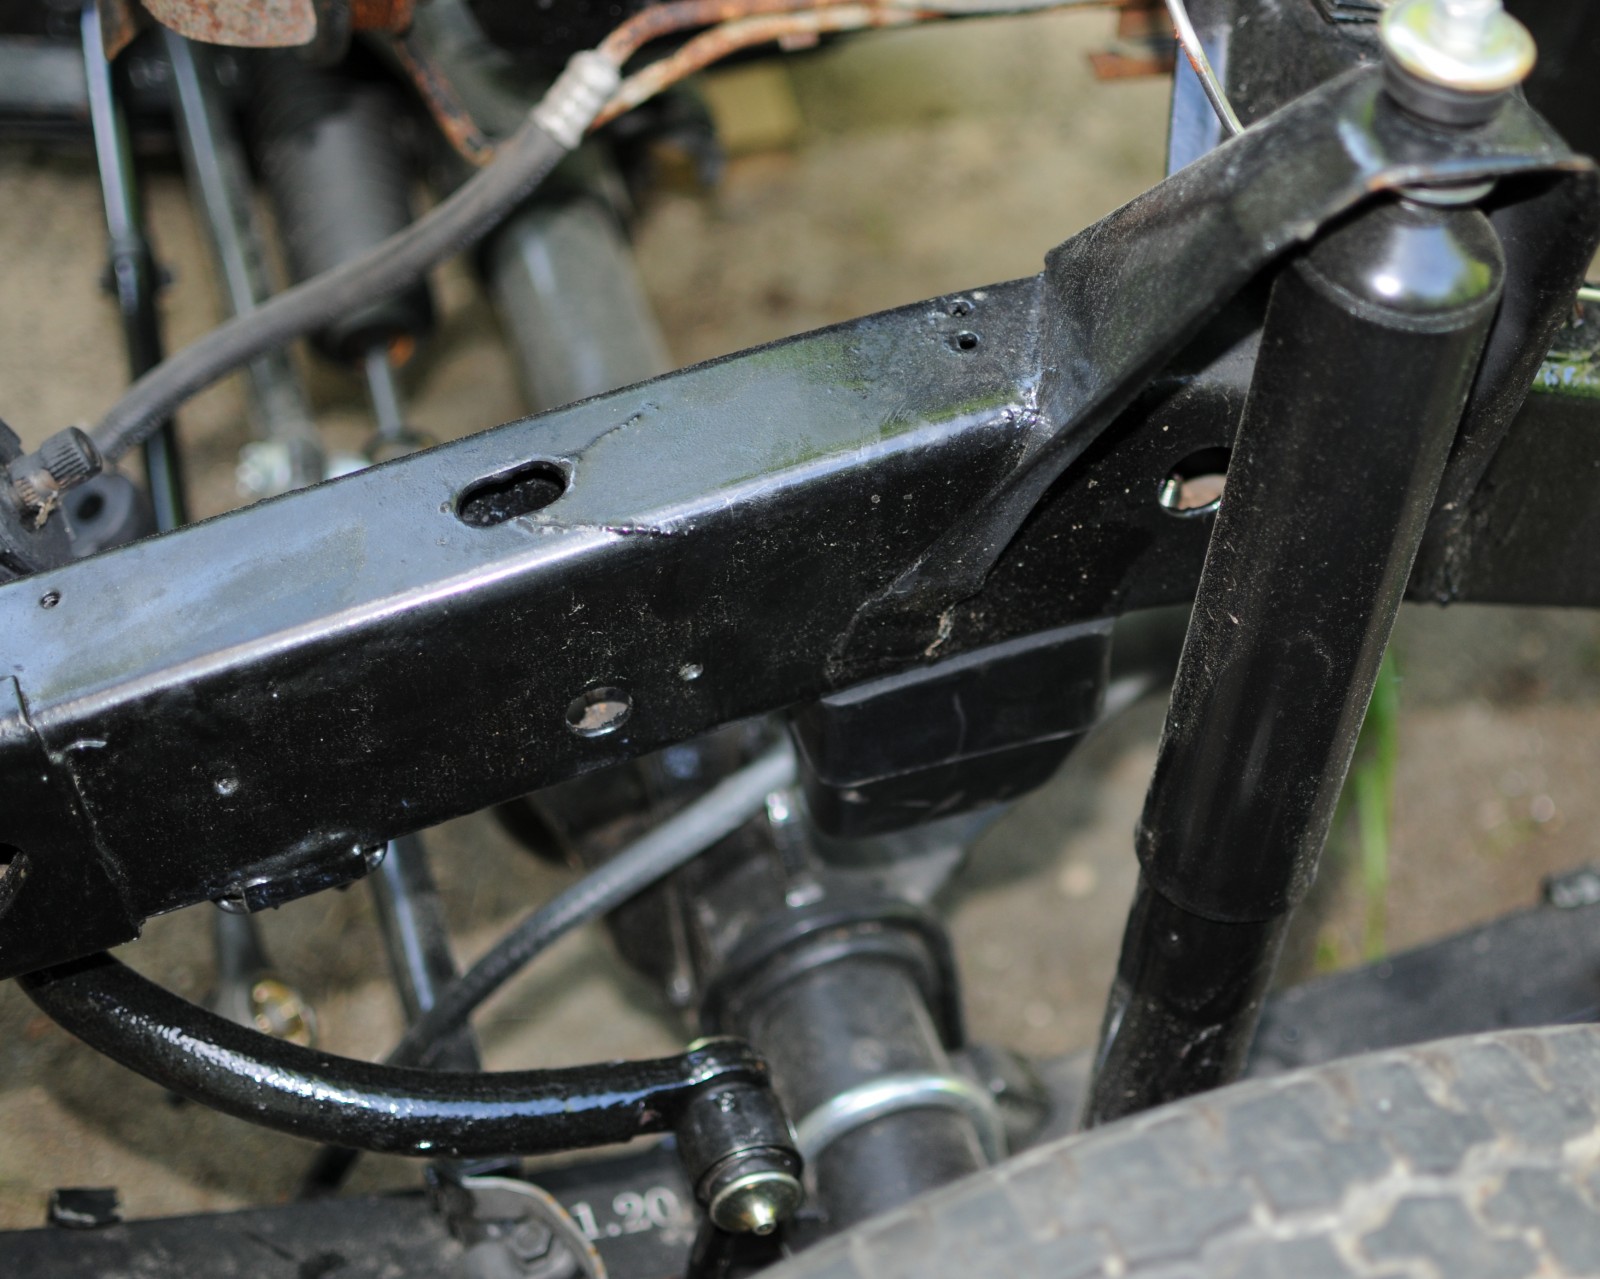
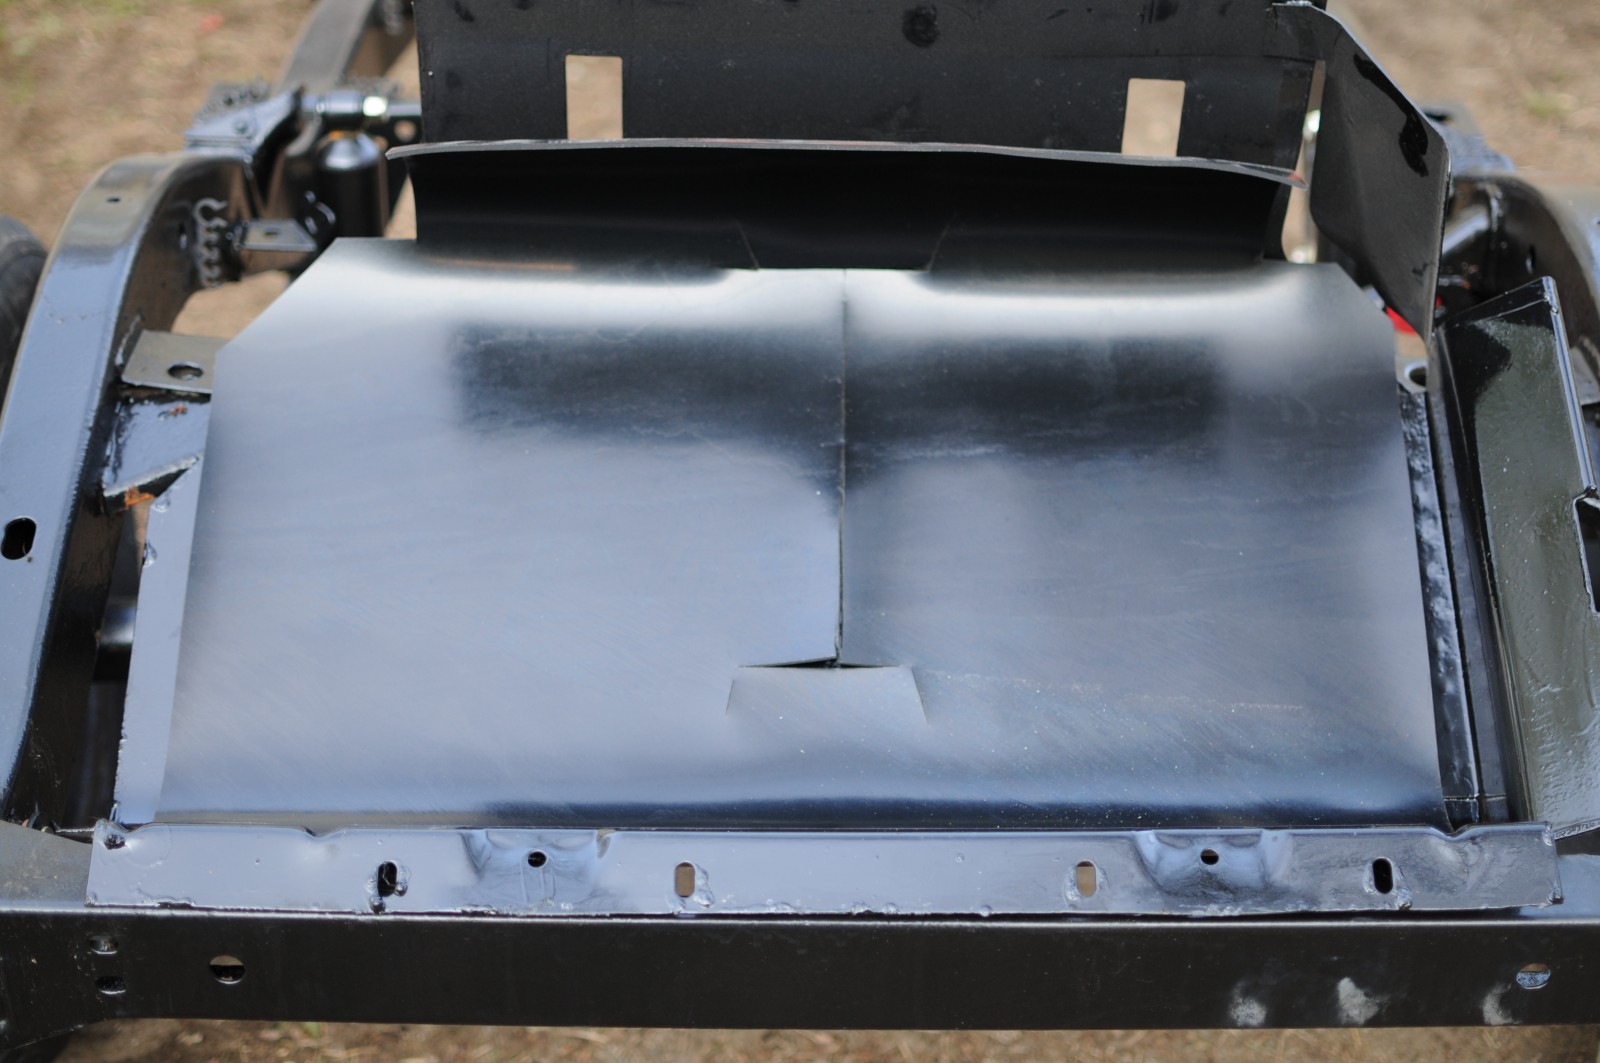
OnAllCylinders readers might remember when we began our 70,000-mile 1994 Jeep Wrangler Sahara project by giving it a frame-off restoration by stripping and recoating the frame with KBS products. That was a while ago, and life and weather conspired to put the project on the proverbial back burner. But now that both have returned to some sense of normalcy, we’ve gotten back to it.

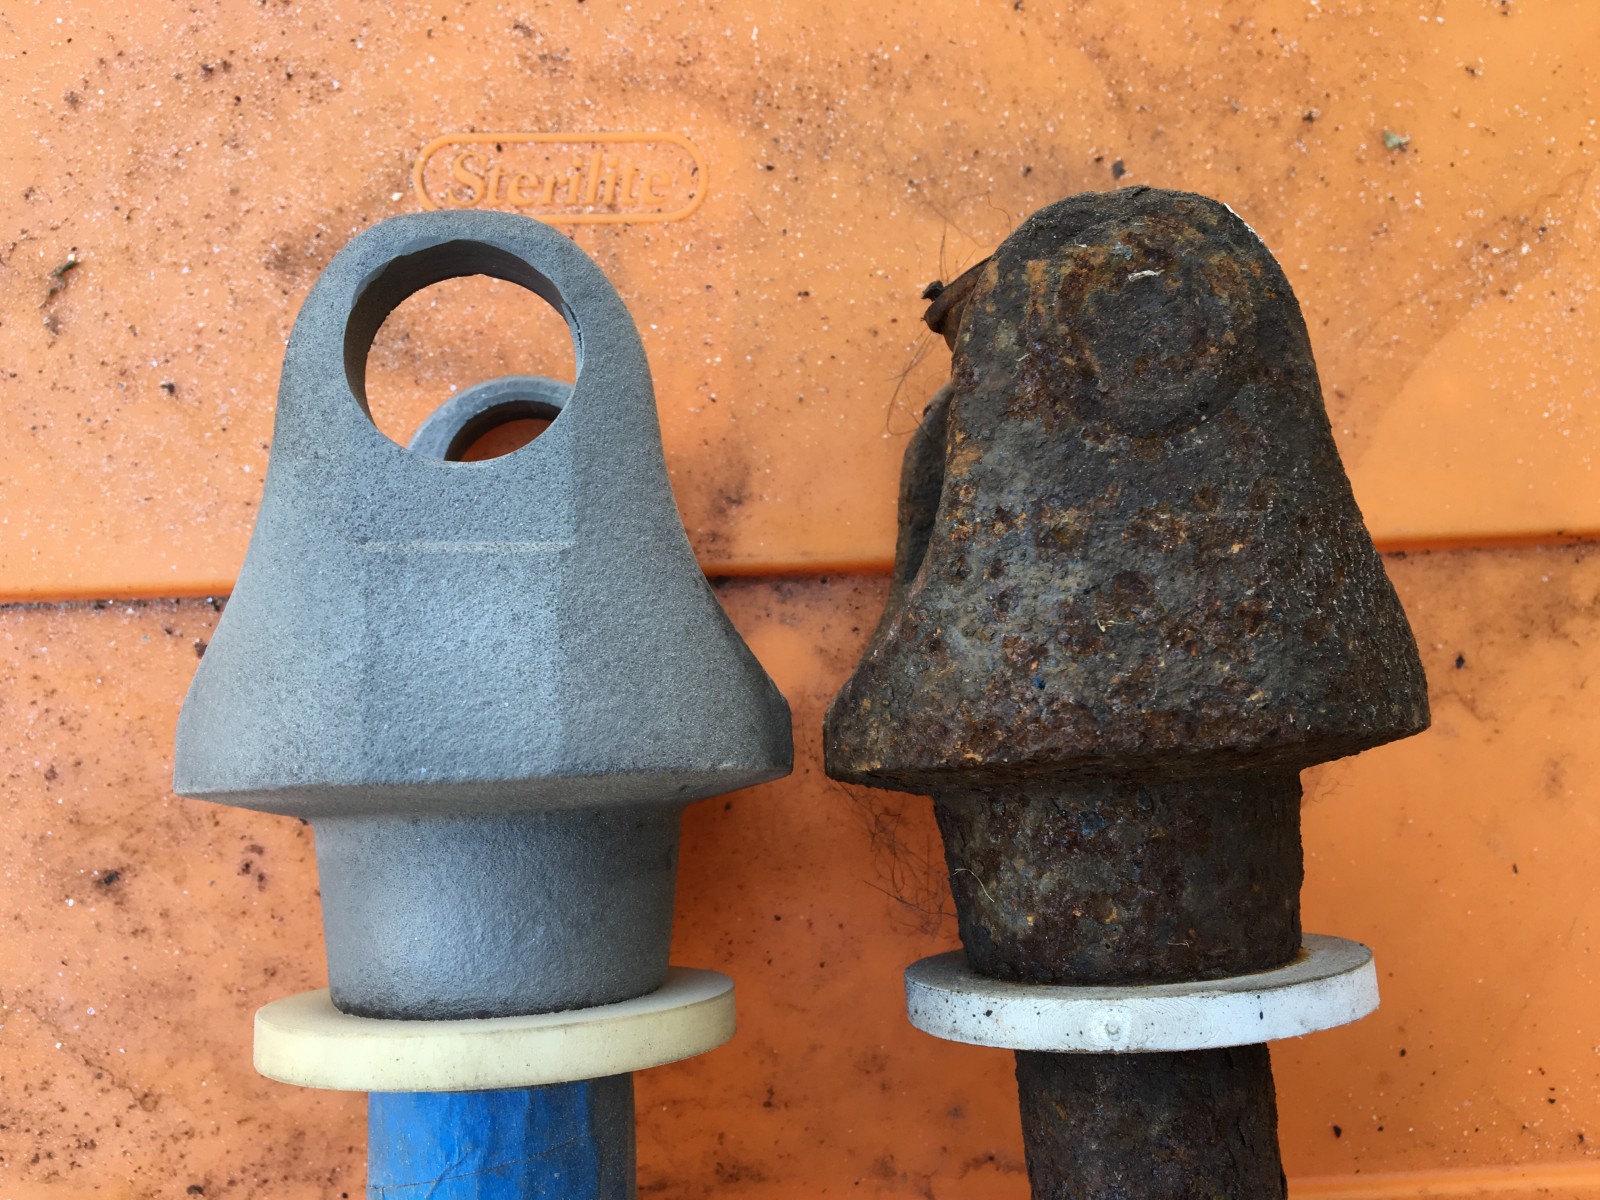
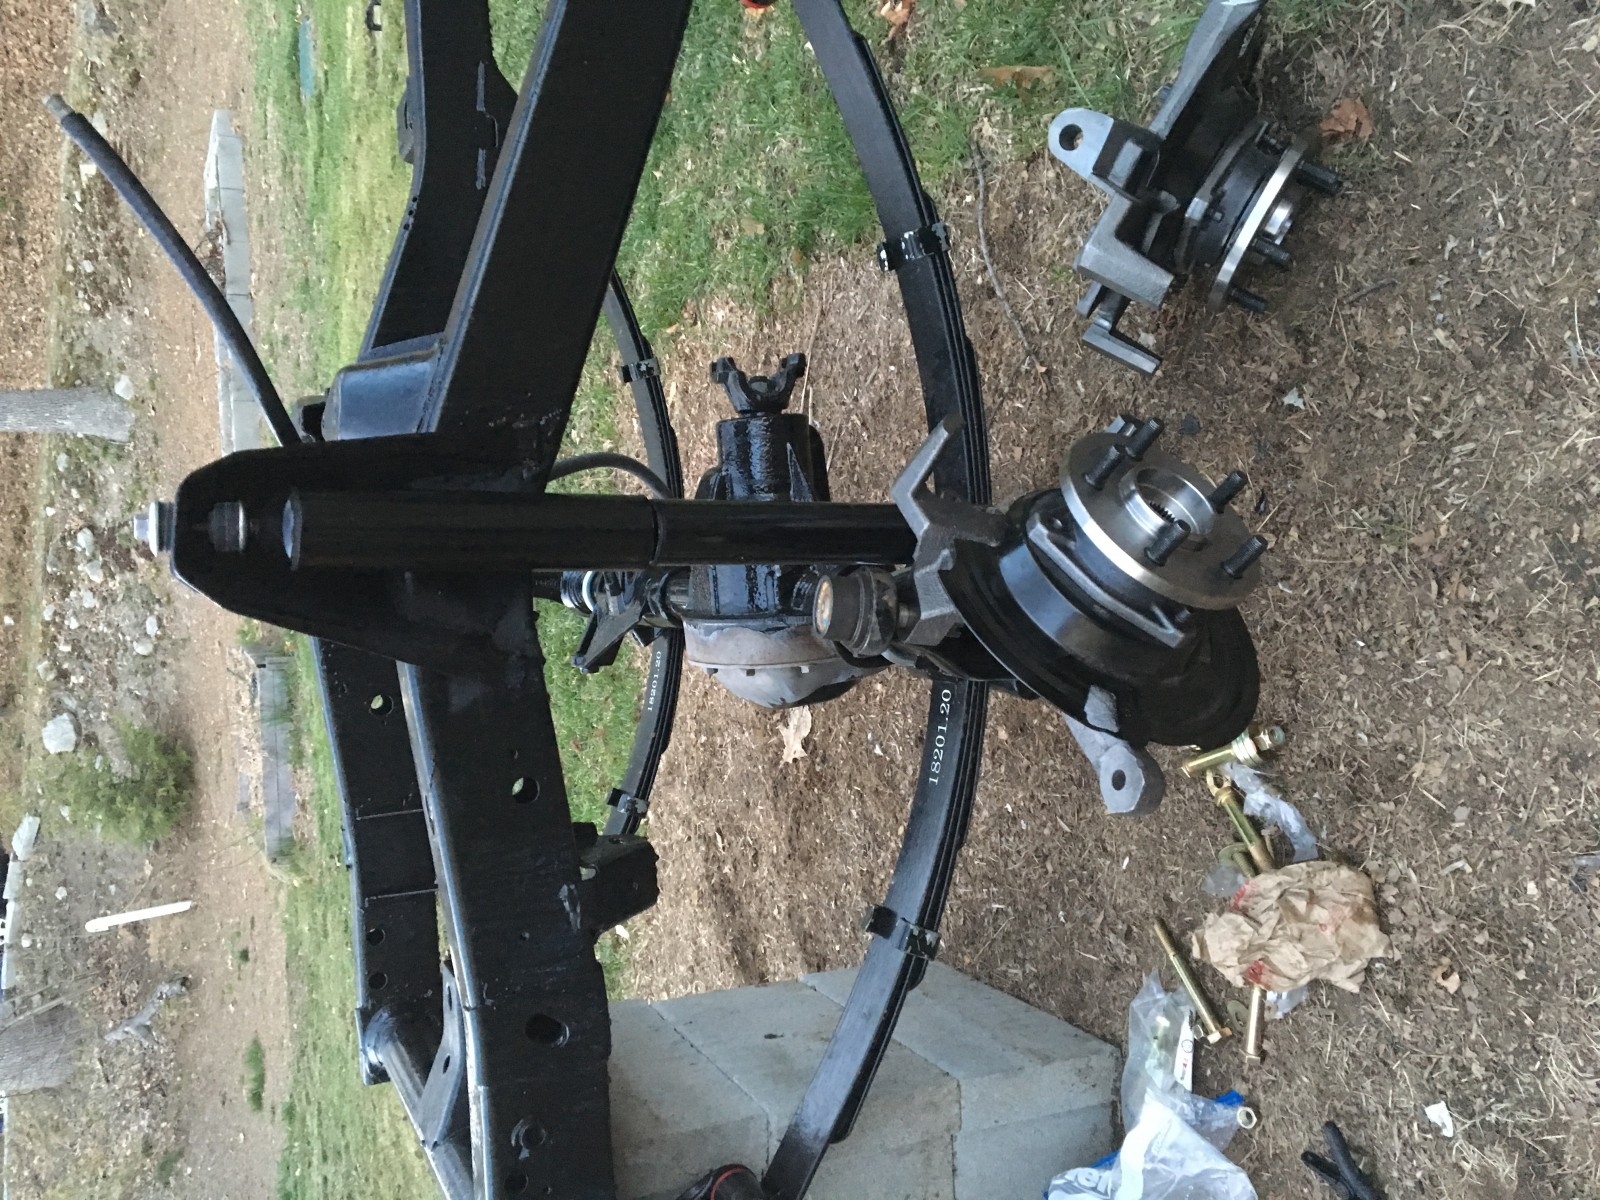
In this two-part article, we’ll show you how we transformed that frame into a complete rolling chassis. It’s not as hard as you think, and all of the parts are readily available. Even if you don’t own (or like) YJs, much of the rehab process is similar to what you would do on a TJ, or even an old CJ.

So let’s get right to business.
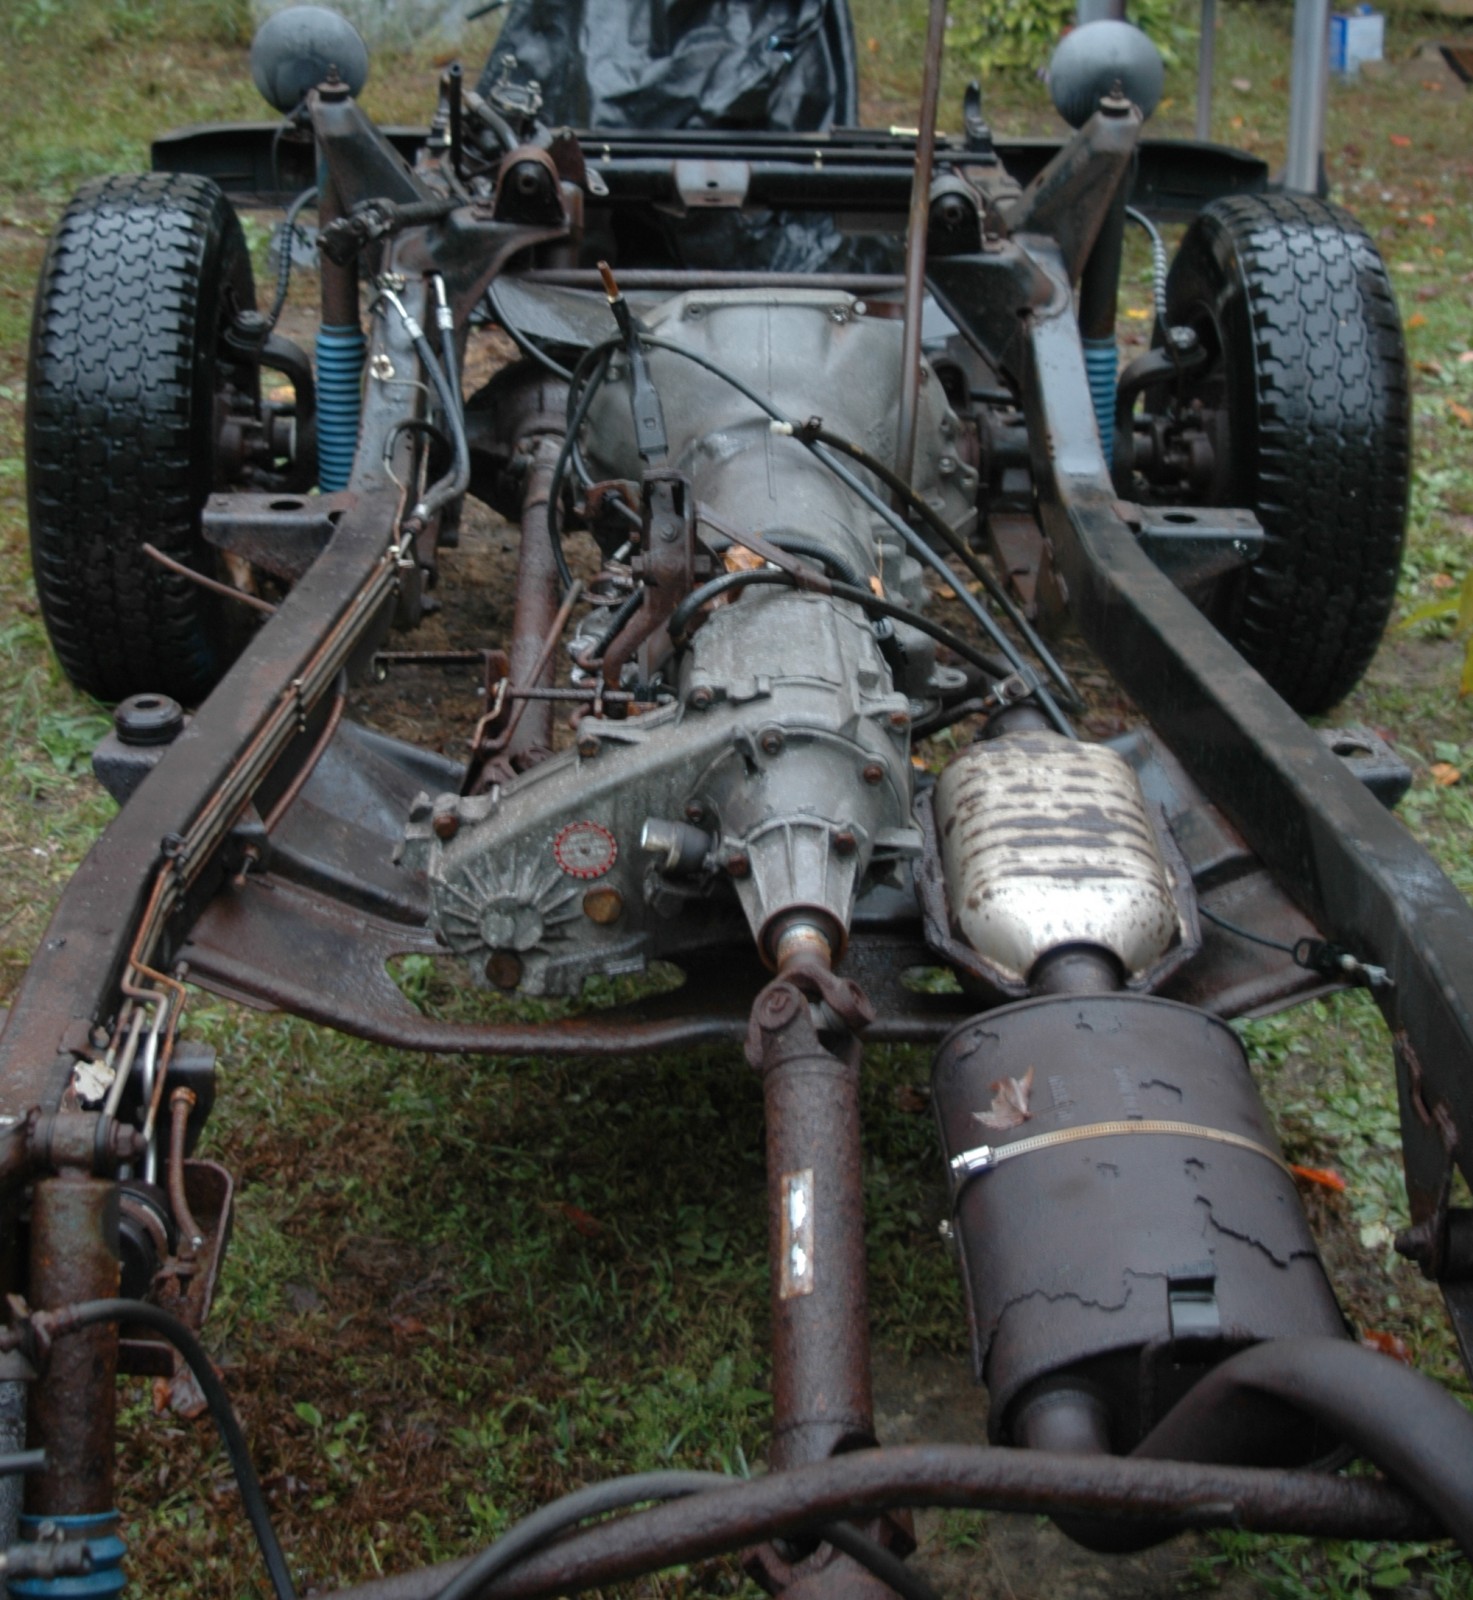
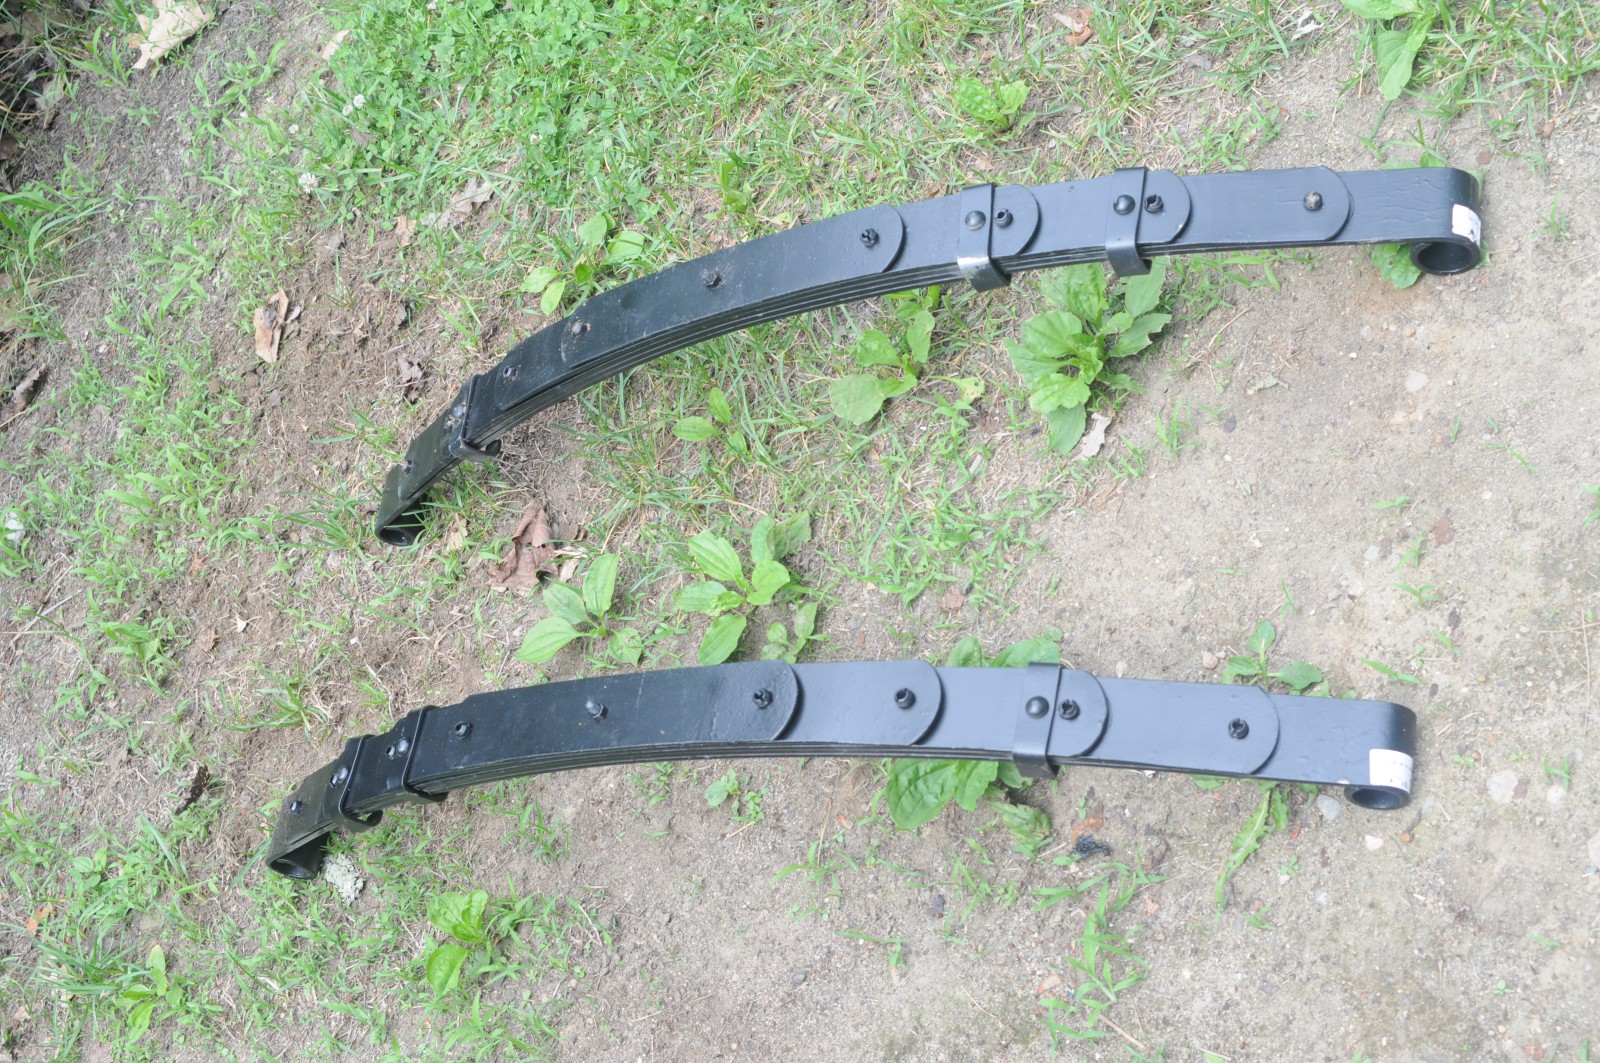
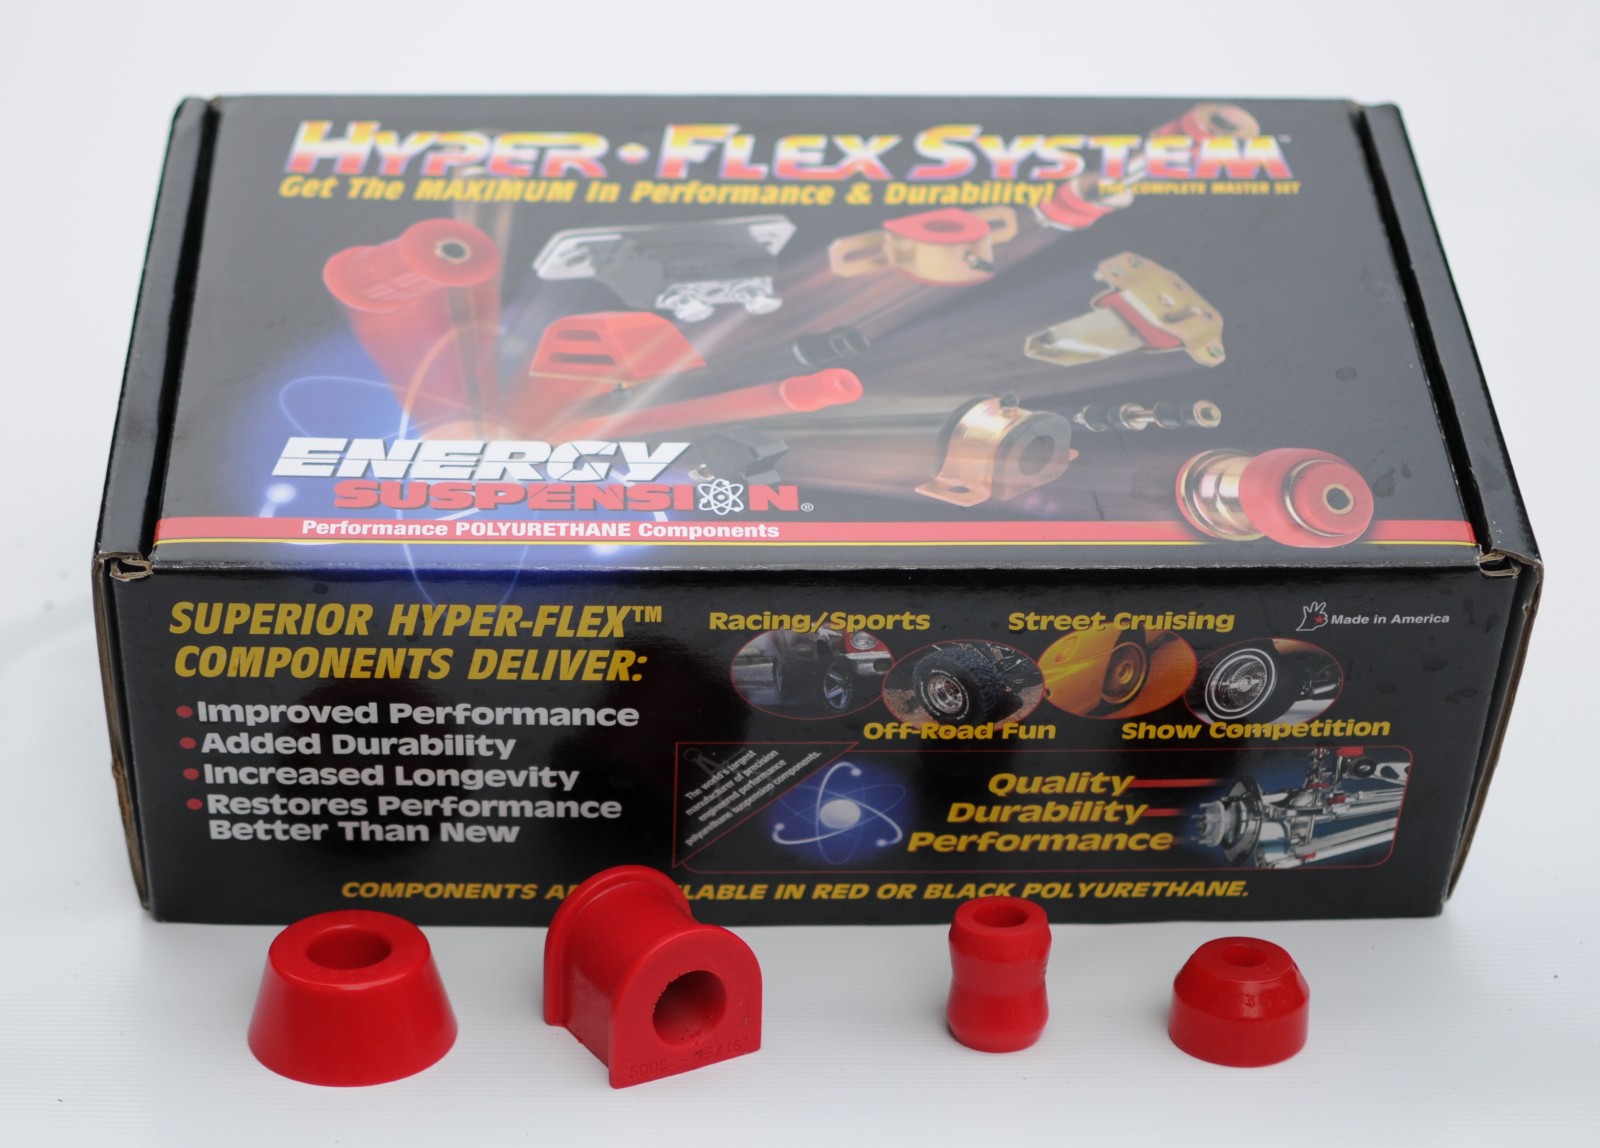
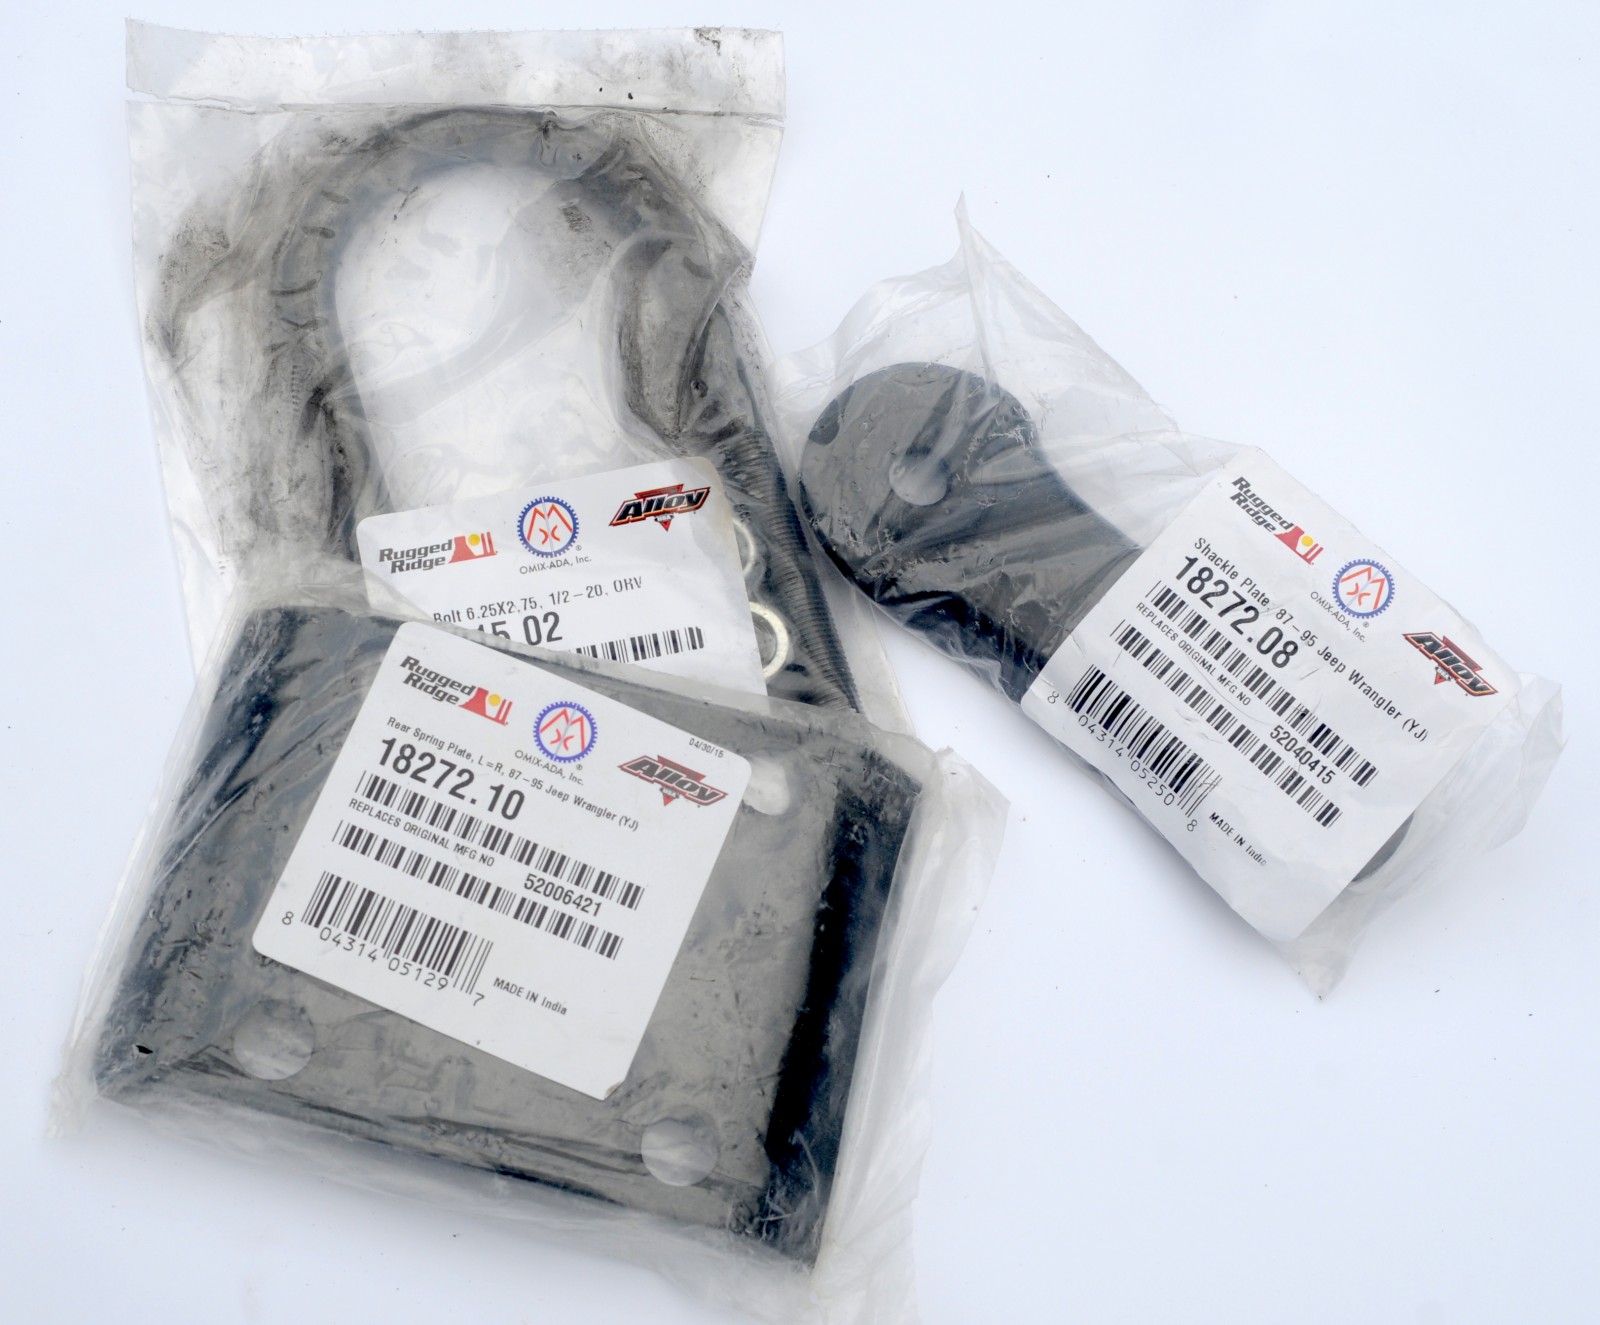
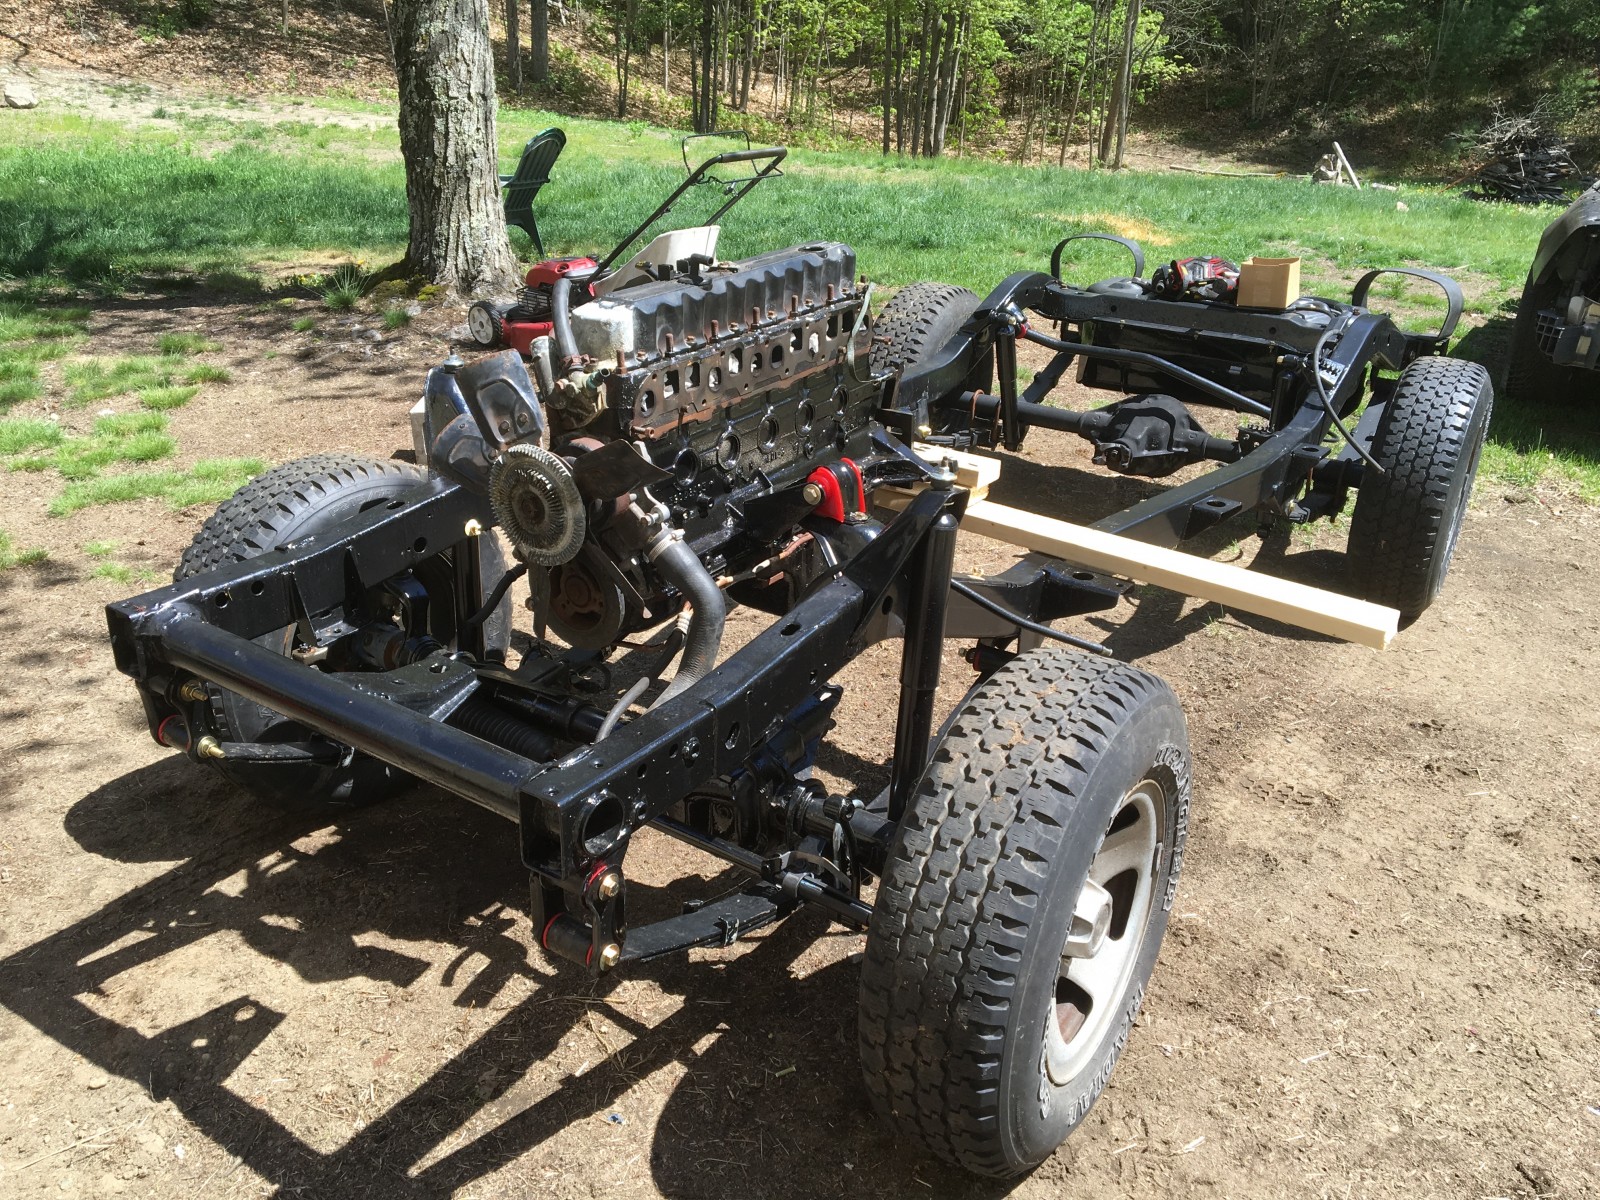
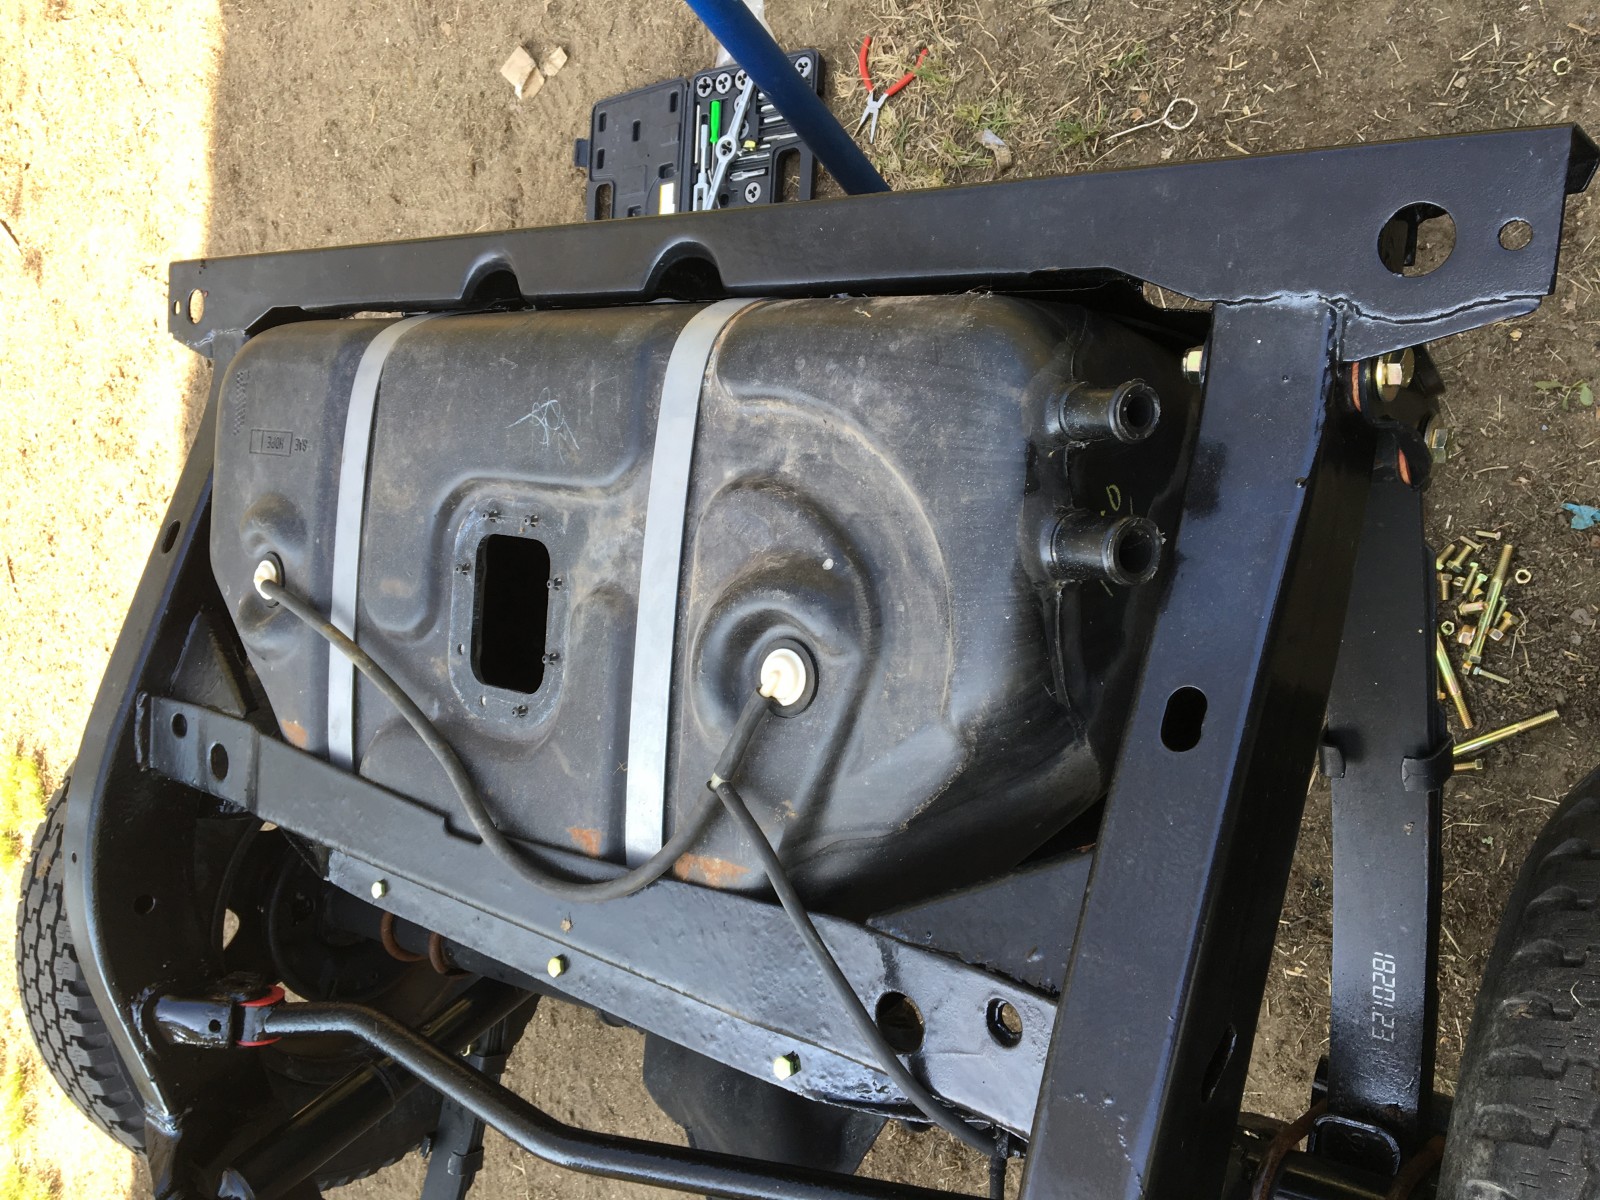
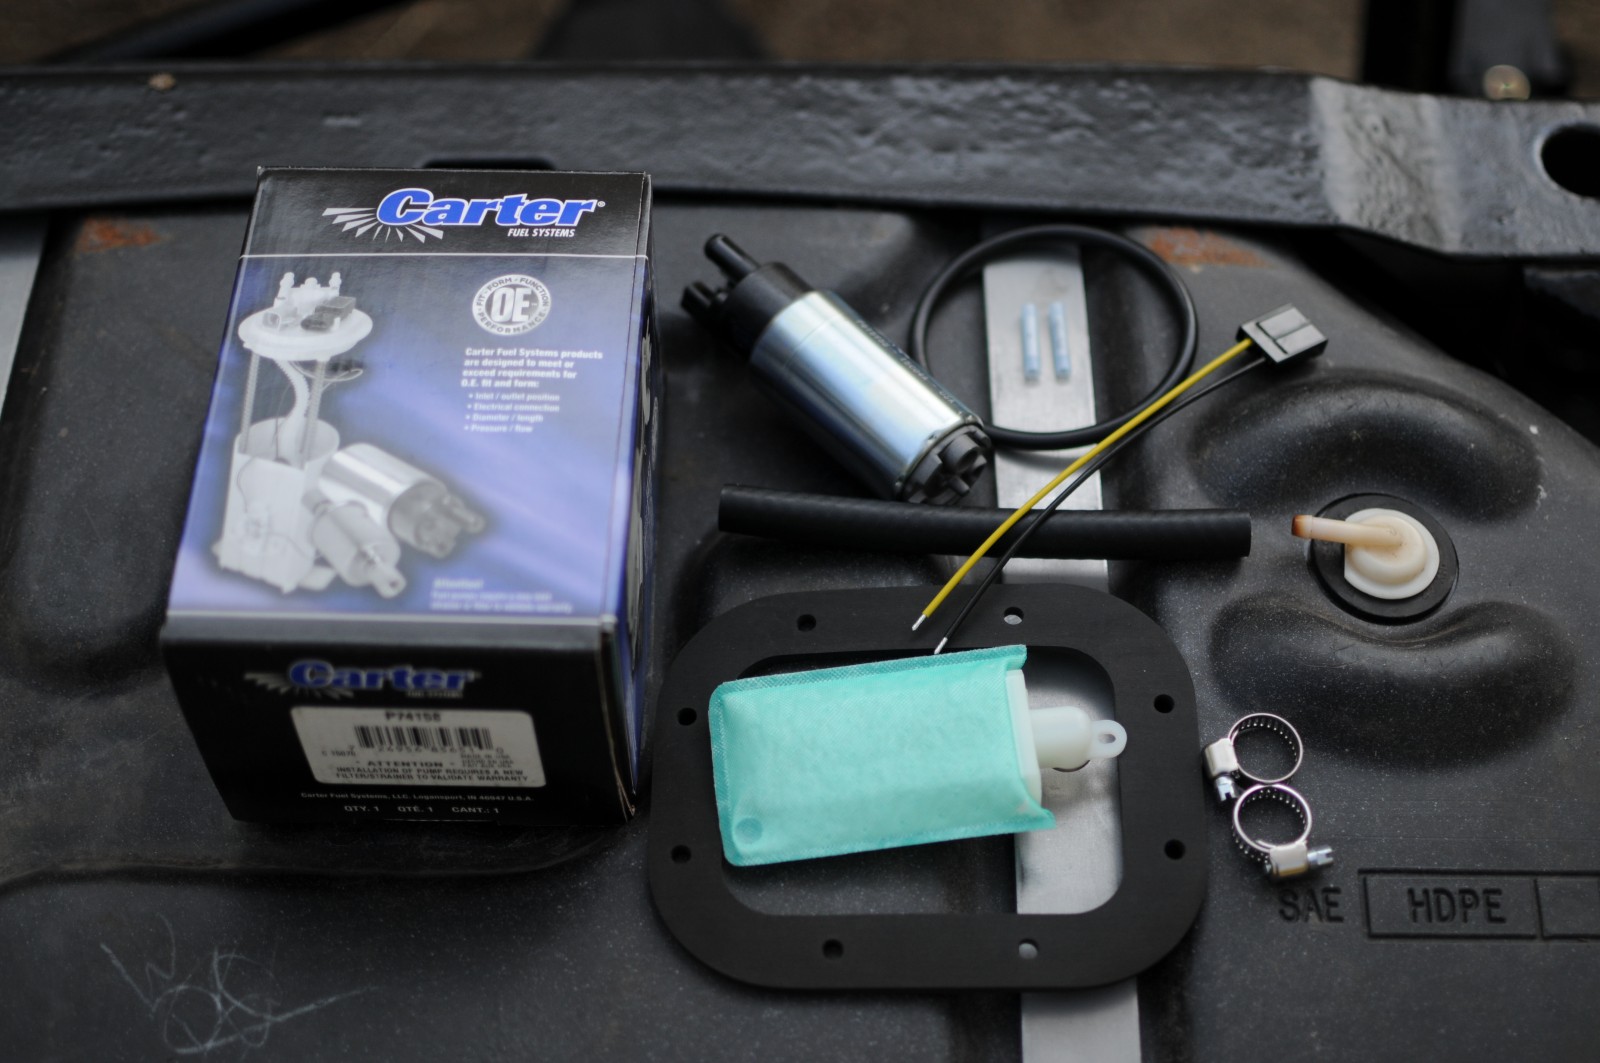
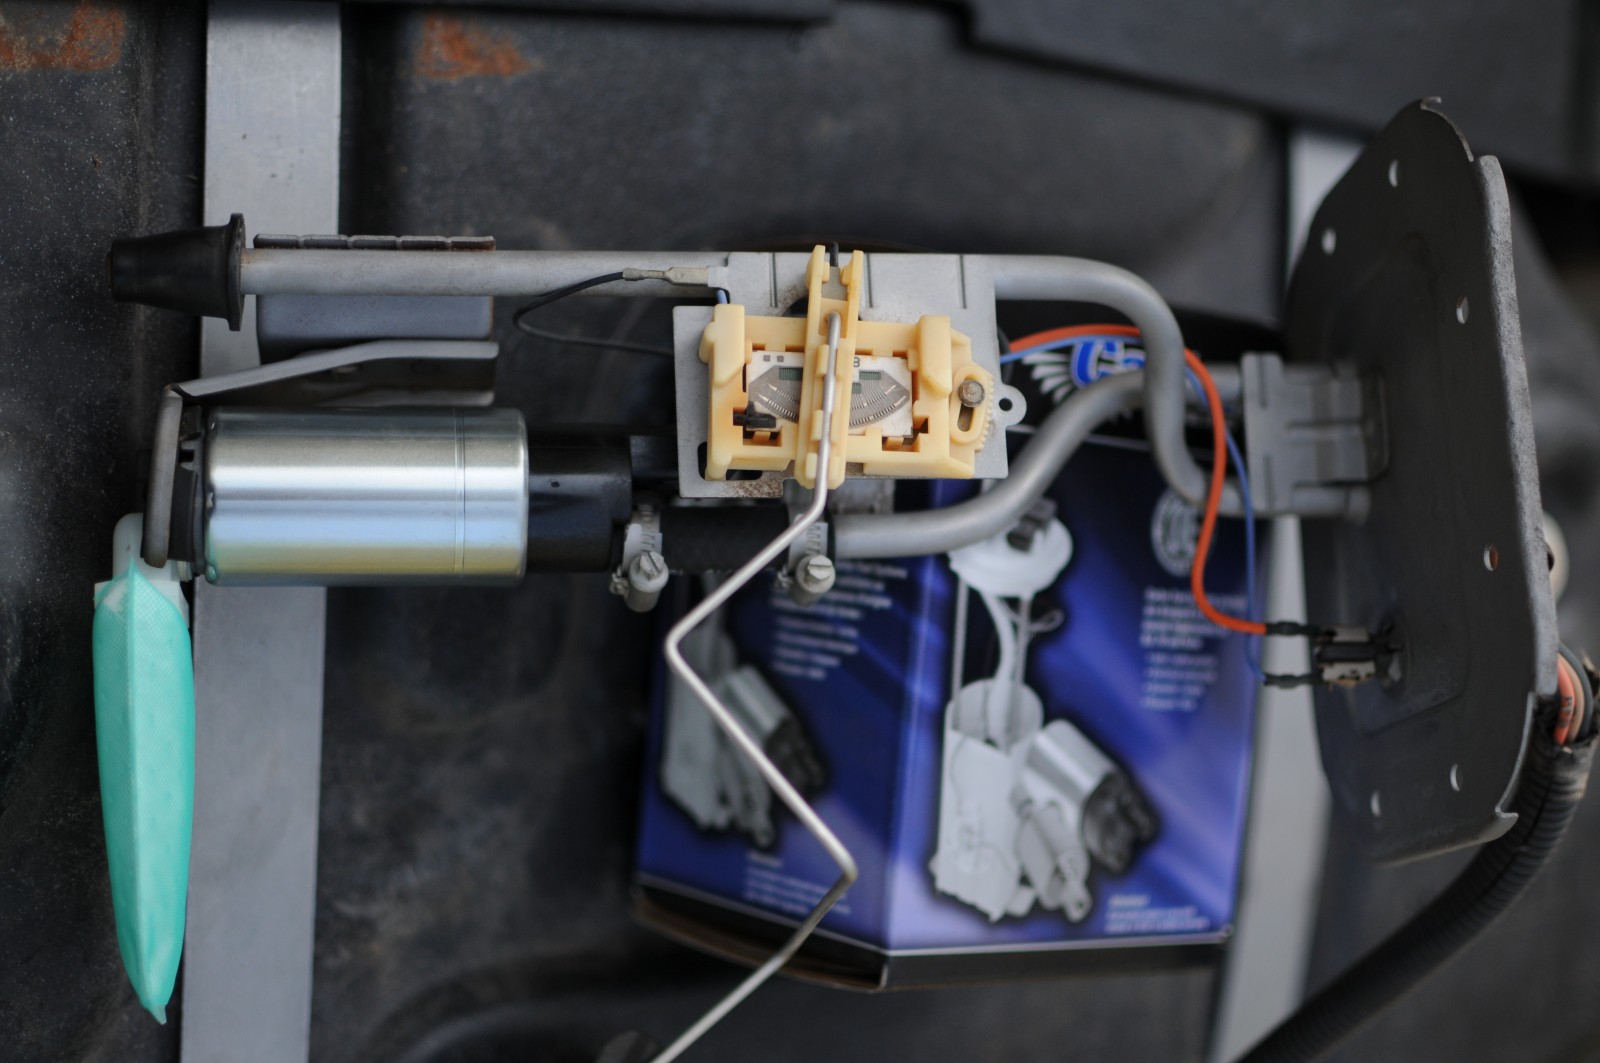
jeep 4.0L engine in a wrangler yj
jeep wrangler yj frame with transmission and driveline in place
bare jeep yj wrangler frame
black undercoating on a restored jeep wrangler yj tub
paint on a restored jeep yj wrangler body tub
a pair of leaf springs laying on ground
box of energy suspension polyurethane bushings
mounting plate and u-bolt for jeep wrangler yj leaf spring
u bolt and leaf spring installed on a jeep wrangler yj frame
before/after jeep wrangler axle shaft cleanup
axle and shock installed on a bare jeep wrangler yj frame
bare jeep wrangler yj frame
shock mount with shock on a jeep wrangler yj frame
engine mounts for a jeep yj wrangler
4.0L engine installed on a jeep yj wrangler frame
fuel tank installed on a jeep wrangler yj frame
tank anti squeak mat for jeep wrangler yj
carter fuel pump for jeep wrangler yj
fuel level gauge sending unit

Under the hood of my 70,000 mile Wrangler is a 4.0L six mated to a 32RH automatic. Both were in fine shape. (Image/James Miles)

With the body removed, you can see what ravages of time had done to the chassis. In the Rust Belt where I live, this sort of thing can get out of hand quickly.

Once I stripped the driveline and suspension components from the frame, I found it was in good shape. I spent hours stripping it of light rust, then applied a coat of epoxy primer and a heavy application KBS BlackTop Chassis Paint. I give KBS’ system an A+. It’s withstood rust, dropped tools, and a lot more.

The body was next. After a quick (and at times back-breaking) cleanup, I sprayed epoxy primer and finished with another coat of KBS BlackTop top and bottom.

I followed up the KBS BlackTop with several coats of Rustoleum Truck Bed Coat inside the tub.

Getting back to building the chassis, the decision was made to replace as much as I could. In the end, the money spent while the Jeep is apart is money in the bank and a huge time savings to boot. For starters, I picked out OMIX-ADA leaf springs for the front and back.

What’s a new suspension without a bushing upgrade? I went with an Energy Suspension Hyperflex Bushing kit with urethane bushings that deflect much less than rubber bushings. The will improve handling, especially on the trail.

OMIX-ADA was sourced for shackles, plate springs, mounting plates, and U-bolts. The U-bolts needed depend on the axles you’re using, so know what you have before ordering.

With the hardware in place, the rear axle assembly is back together.

The front suspension was pretty scary and involved a lot of rust removal. Here are axle shafts before and after sandblasting.

Since I’m working sans garage, I had to make due with cement blocks for support. This photo shows the OMIX-ADA springs, Crown steering knuckles, Mopar Performance brake shields, and Moog hubs in place. You’ll also need a couple spindle nut kits and six hub bolts.

Since I’m only doing this once, I sprang for the Moog YJ overhaul kit. It contains everything you need to rehab your entire front suspension, including ball joints. Optional track bars are also available.

All this work was topped off with Monroe Sensa-Trac shocks and OMIX-ADA snubbers front and rear.

When it comes time to replace your engine mounts (at least on this YJ), you’ll need to reuse the backing plates. Hit the metal with heat—a good 10-20 second burst from a small torch—to pop the plates off. A quick sandblasting and black powdercoat make them good as new.

The 4.0L returned to its rightful place.

The 20-gallon fuel tank’s skid plate was in pretty decent shape after a clean up and some KBS BlackTop. The tank is held in place with new Spectra Premium fuel tank straps.

The tank anti-squeak mat was another matter. All that seemed to be available were ones as bad as mine. I ended up cutting a new one from a rubber mat (aka hardware store rubber gasket material) using the original as a template.

The OEM pump was still operative, but why take the risk when you’ve gone this far? A Carter replacement pump was picked for fuel delivery.

Fuel sender, fuel lines, and more are next. Check back for Part 2 to see how the rest of the resto went!

Share this Article
Author: James Miles