Sometimes you’ll find a spot on your project where you need a nut to secure a fastener, but there’s no way to reach the back side of it for access. Basically, what you need is a blind nut.
Sure, you can use “well nuts” which are really expanding rubber nuts. They expand behind the hole as you tighten the fastener and more or less seal the hole. Yes, they work most of the time, but don’t expect them to hold heavy items. There are also some metal expansion nuts that pop into a hole. The problem here is, the opening must be rather healthy in order to fit the apparatus.
U-nuts are another possibility, and they’re used with regularity in the automotive industry. The trouble with U-nuts is they’re not really blind nuts. They’re simply good at fitting overlapping panels. Finally, there are some deforming metal and plastic products that work much like a household wall anchor.
I don’t have a lot of experience with these fasteners, because there is a better option:
Enter the Rivet Nut (AKA “RivNut” or “NutSert”)
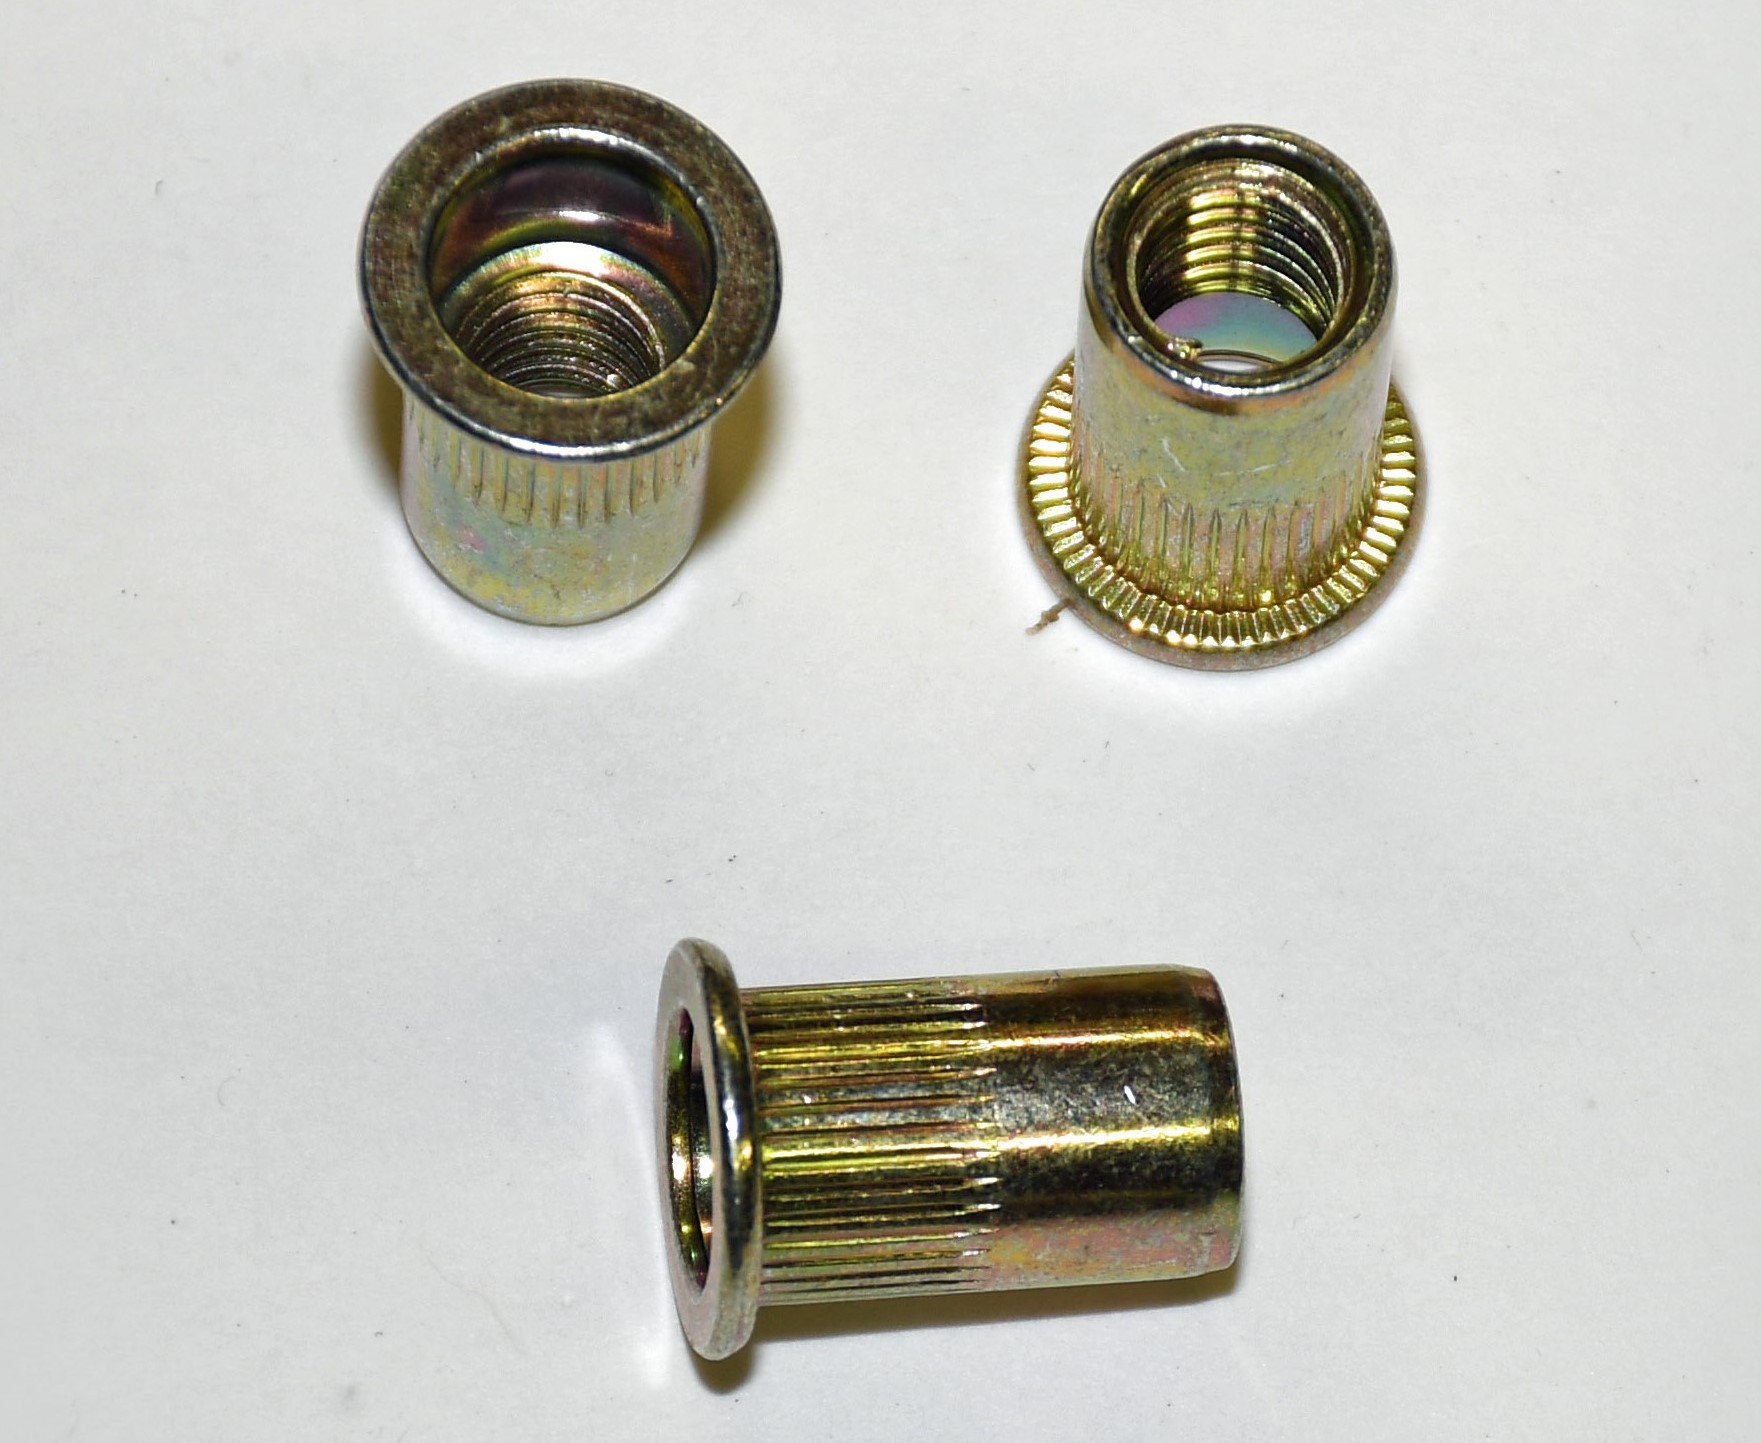
These ingenious components are strong enough to create load bearing threads. They work well on thin wall components (for example, automotive sheet metal or even frame rails). Assembly access is only from one side (they install “blind”) and they’re immune to high temperature. They’re also available in a wide range of thread sizes and pitches. In addition, some rivet nuts are aluminum. Most of them though are steel.
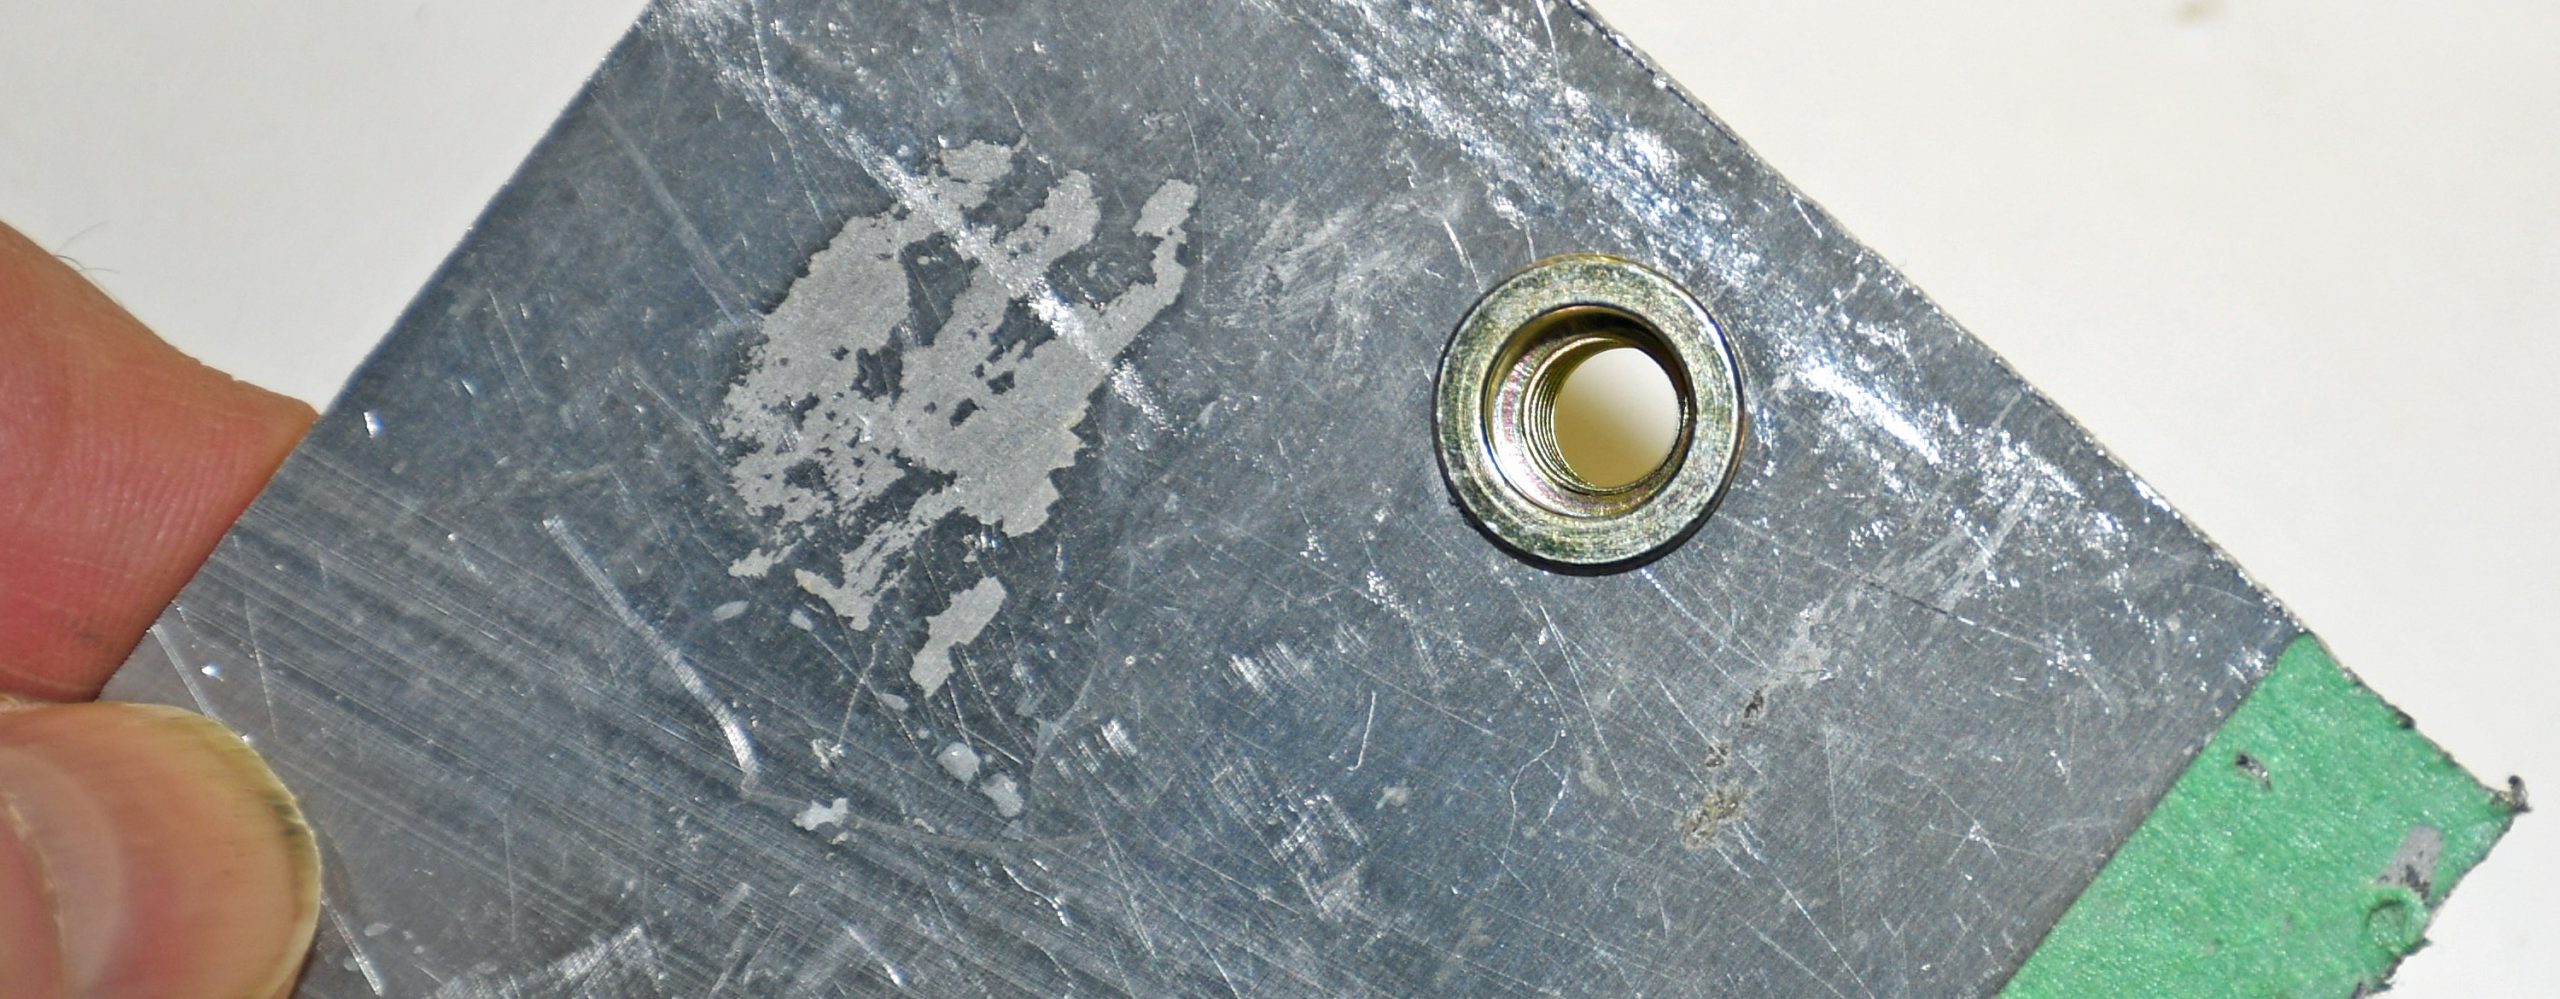
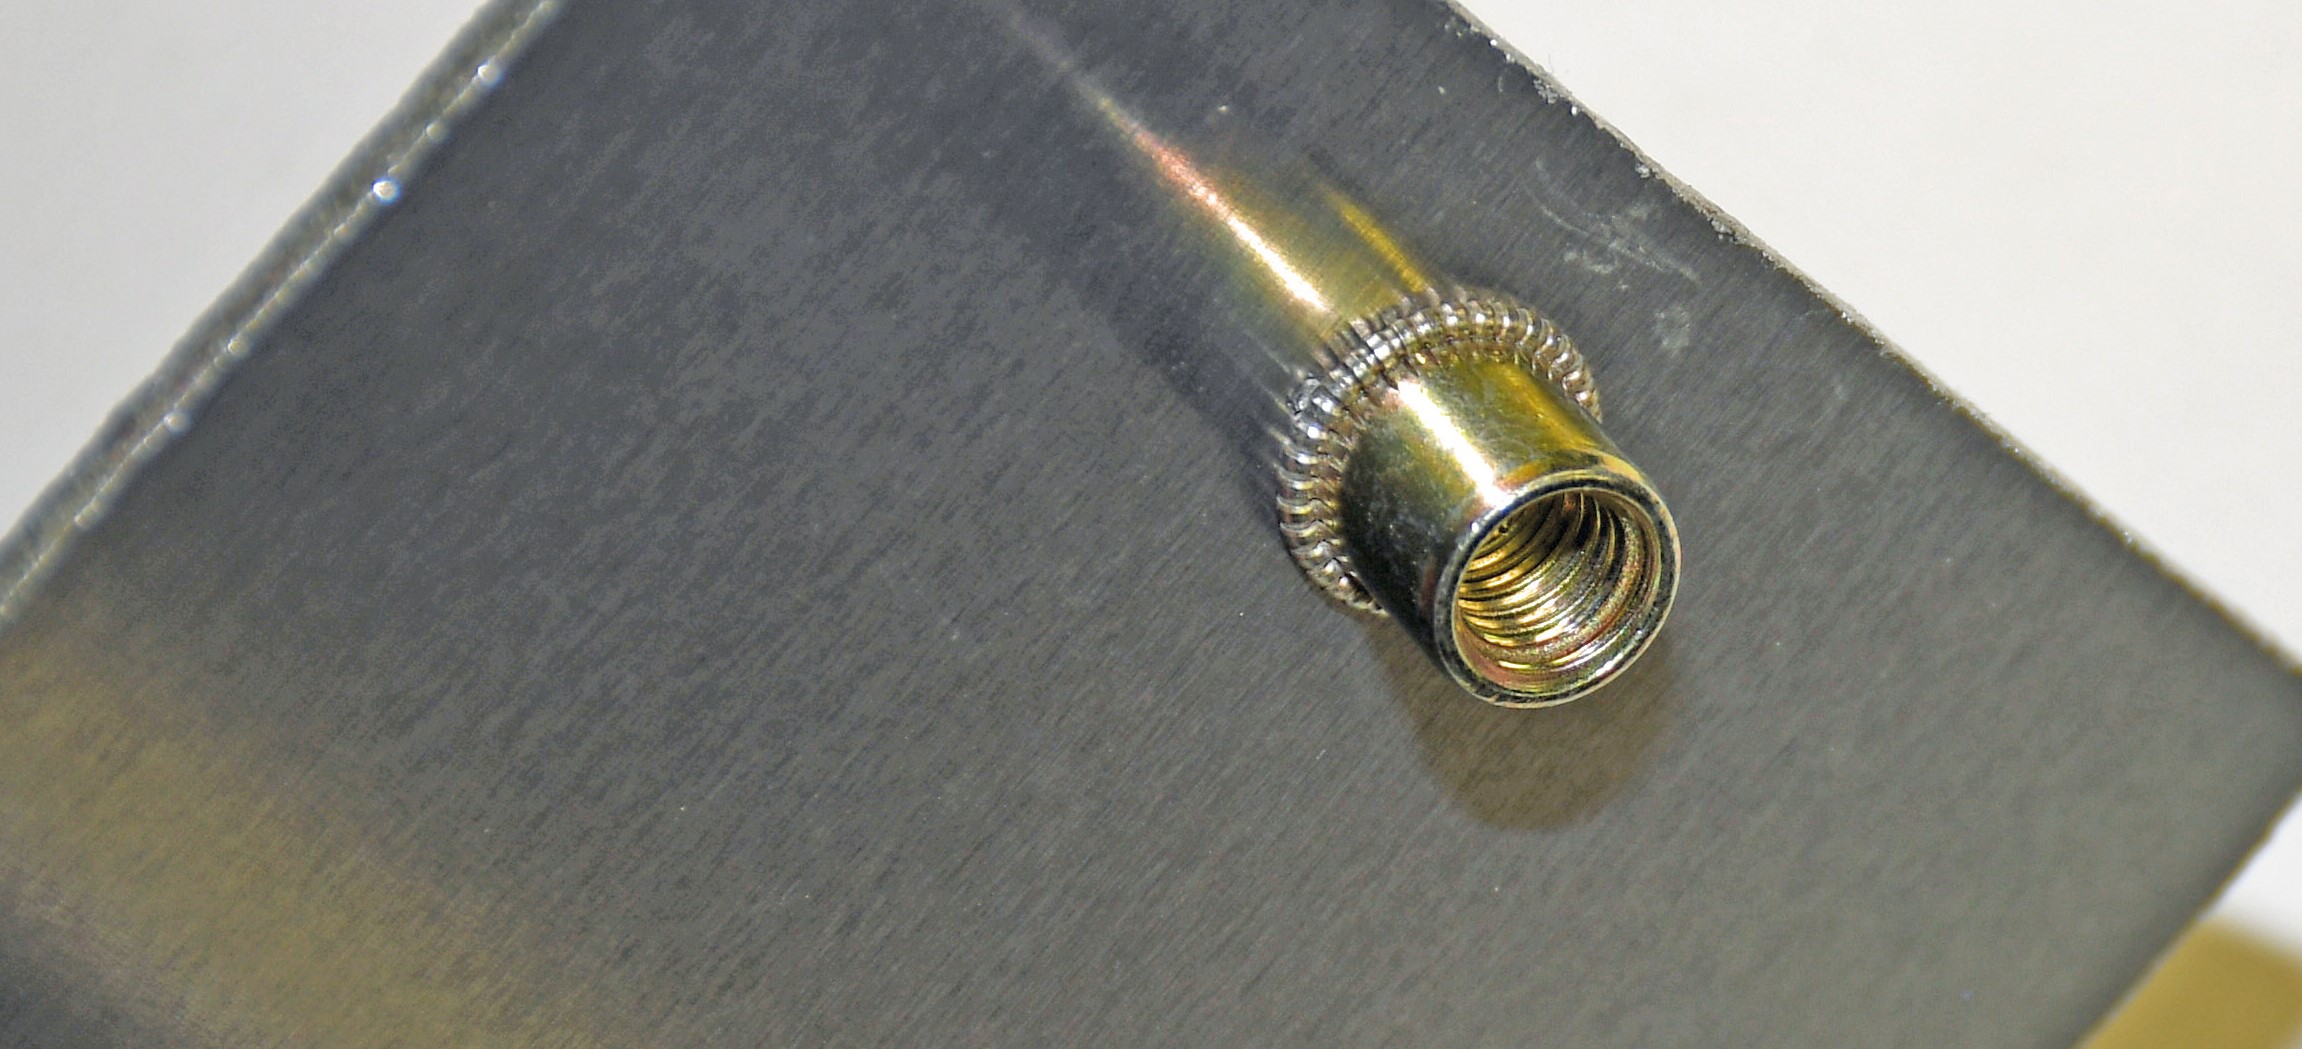
The majority are equipped with thin flanges that surround the hole. In some cases, the backside of the flange is ribbed. Some have ribbed bodies. Others are smooth. The purpose of ribbed flanges and ribbed bodies is to provide additional gripping strength for the completed fastener. Depending upon the format, rivet nuts are available cad plated, zinc plated, or natural (plated steel being the most common).
When you examine a common rivet nut, you’ll see that it’s a rather robust piece, even though it is engineered to deform. So how do you deform it? It can be accomplished with a bolt and nut arrangement…but it’s far easier and cleaner to use a proper tool.
The Threaded Insert Rivet Gun
There are several different types of threaded insert rivet gun tools out there—some are dedicated to a specific thread size, while others are comprehensive kits that can perform installations on all sorts of different rivet nut threads. All function pretty much the same:
You select the rivet nut for the thread (size and pitch) and then drill the hole to accept the rivet nut. The rivet nut is inserted into the hole and then the tool is used to expand the hidden side of the rivet nut. This effectively draws it into the back side of the hole, creating a secure, load bearing thread.
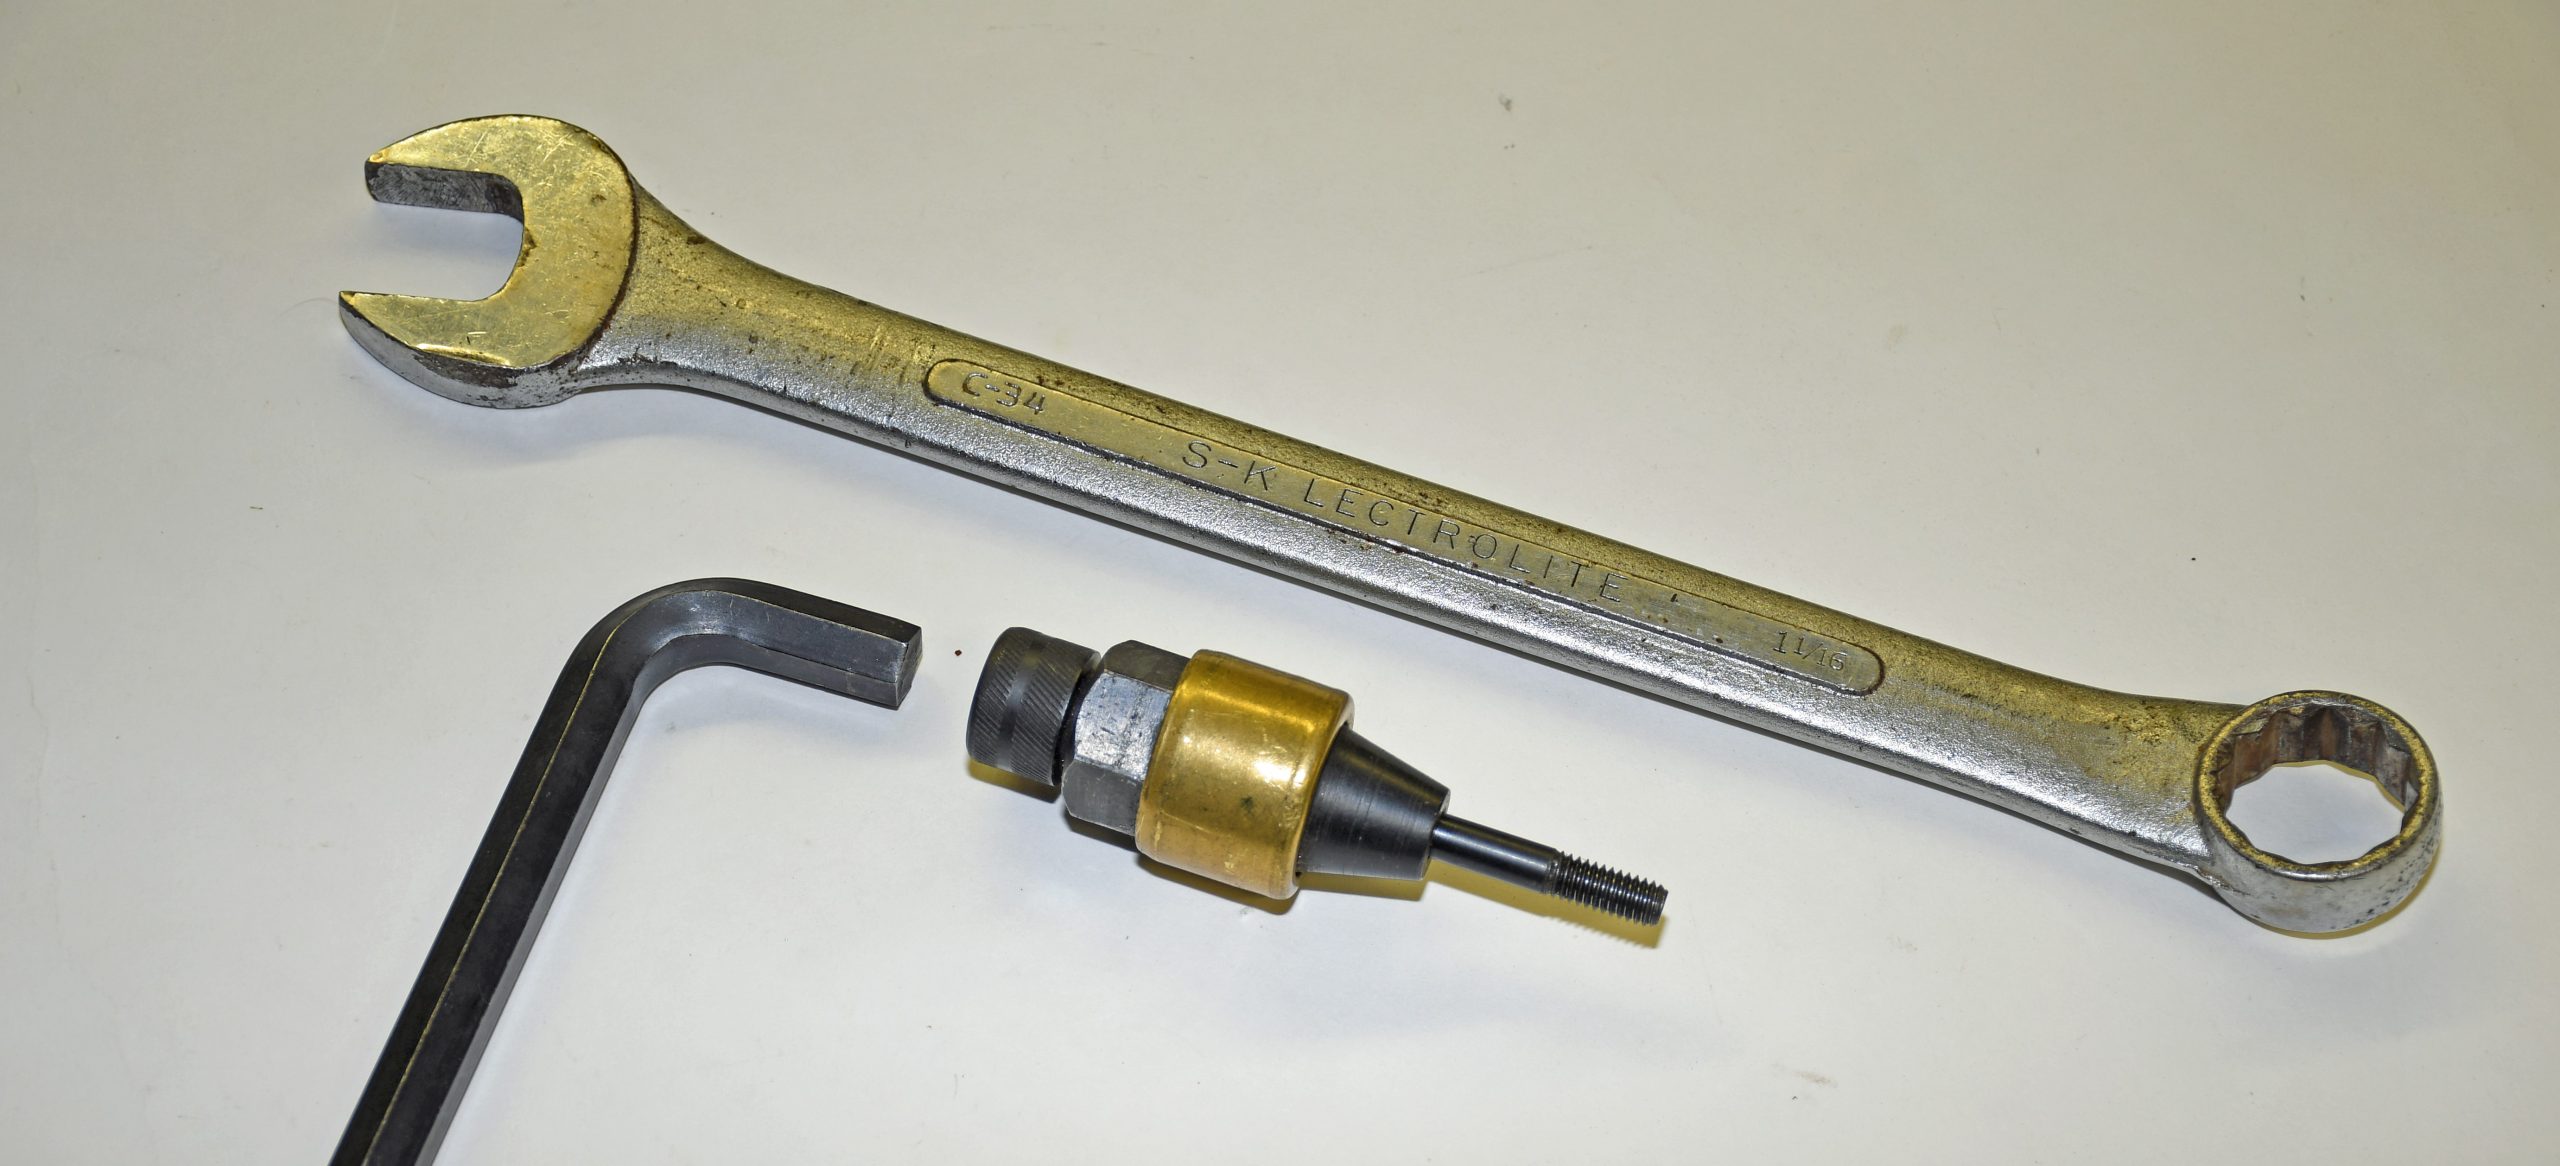
In order to install steel rivet nuts, then you’ll need a beefy, capable tool. Some of them are dedicated to one size of rivet nut. I have an older example for installing 5/16 inch rivet nuts, and to give you an idea of the bulk, the tool requires the use of a large 1/2 inch Allen wrench along with an equally beefy 1-1/16 inch wrench. While the end result is usually A-OK, this setup consumes a lot of working space, plus you need a separate tool to set each (different) thread size of rivet nut. It’s certainly not convenient. Or easy to use.
On the other hand, specialty tools (like the one shown in the pics) are perfectly happy setting all sorts of rivet nuts.

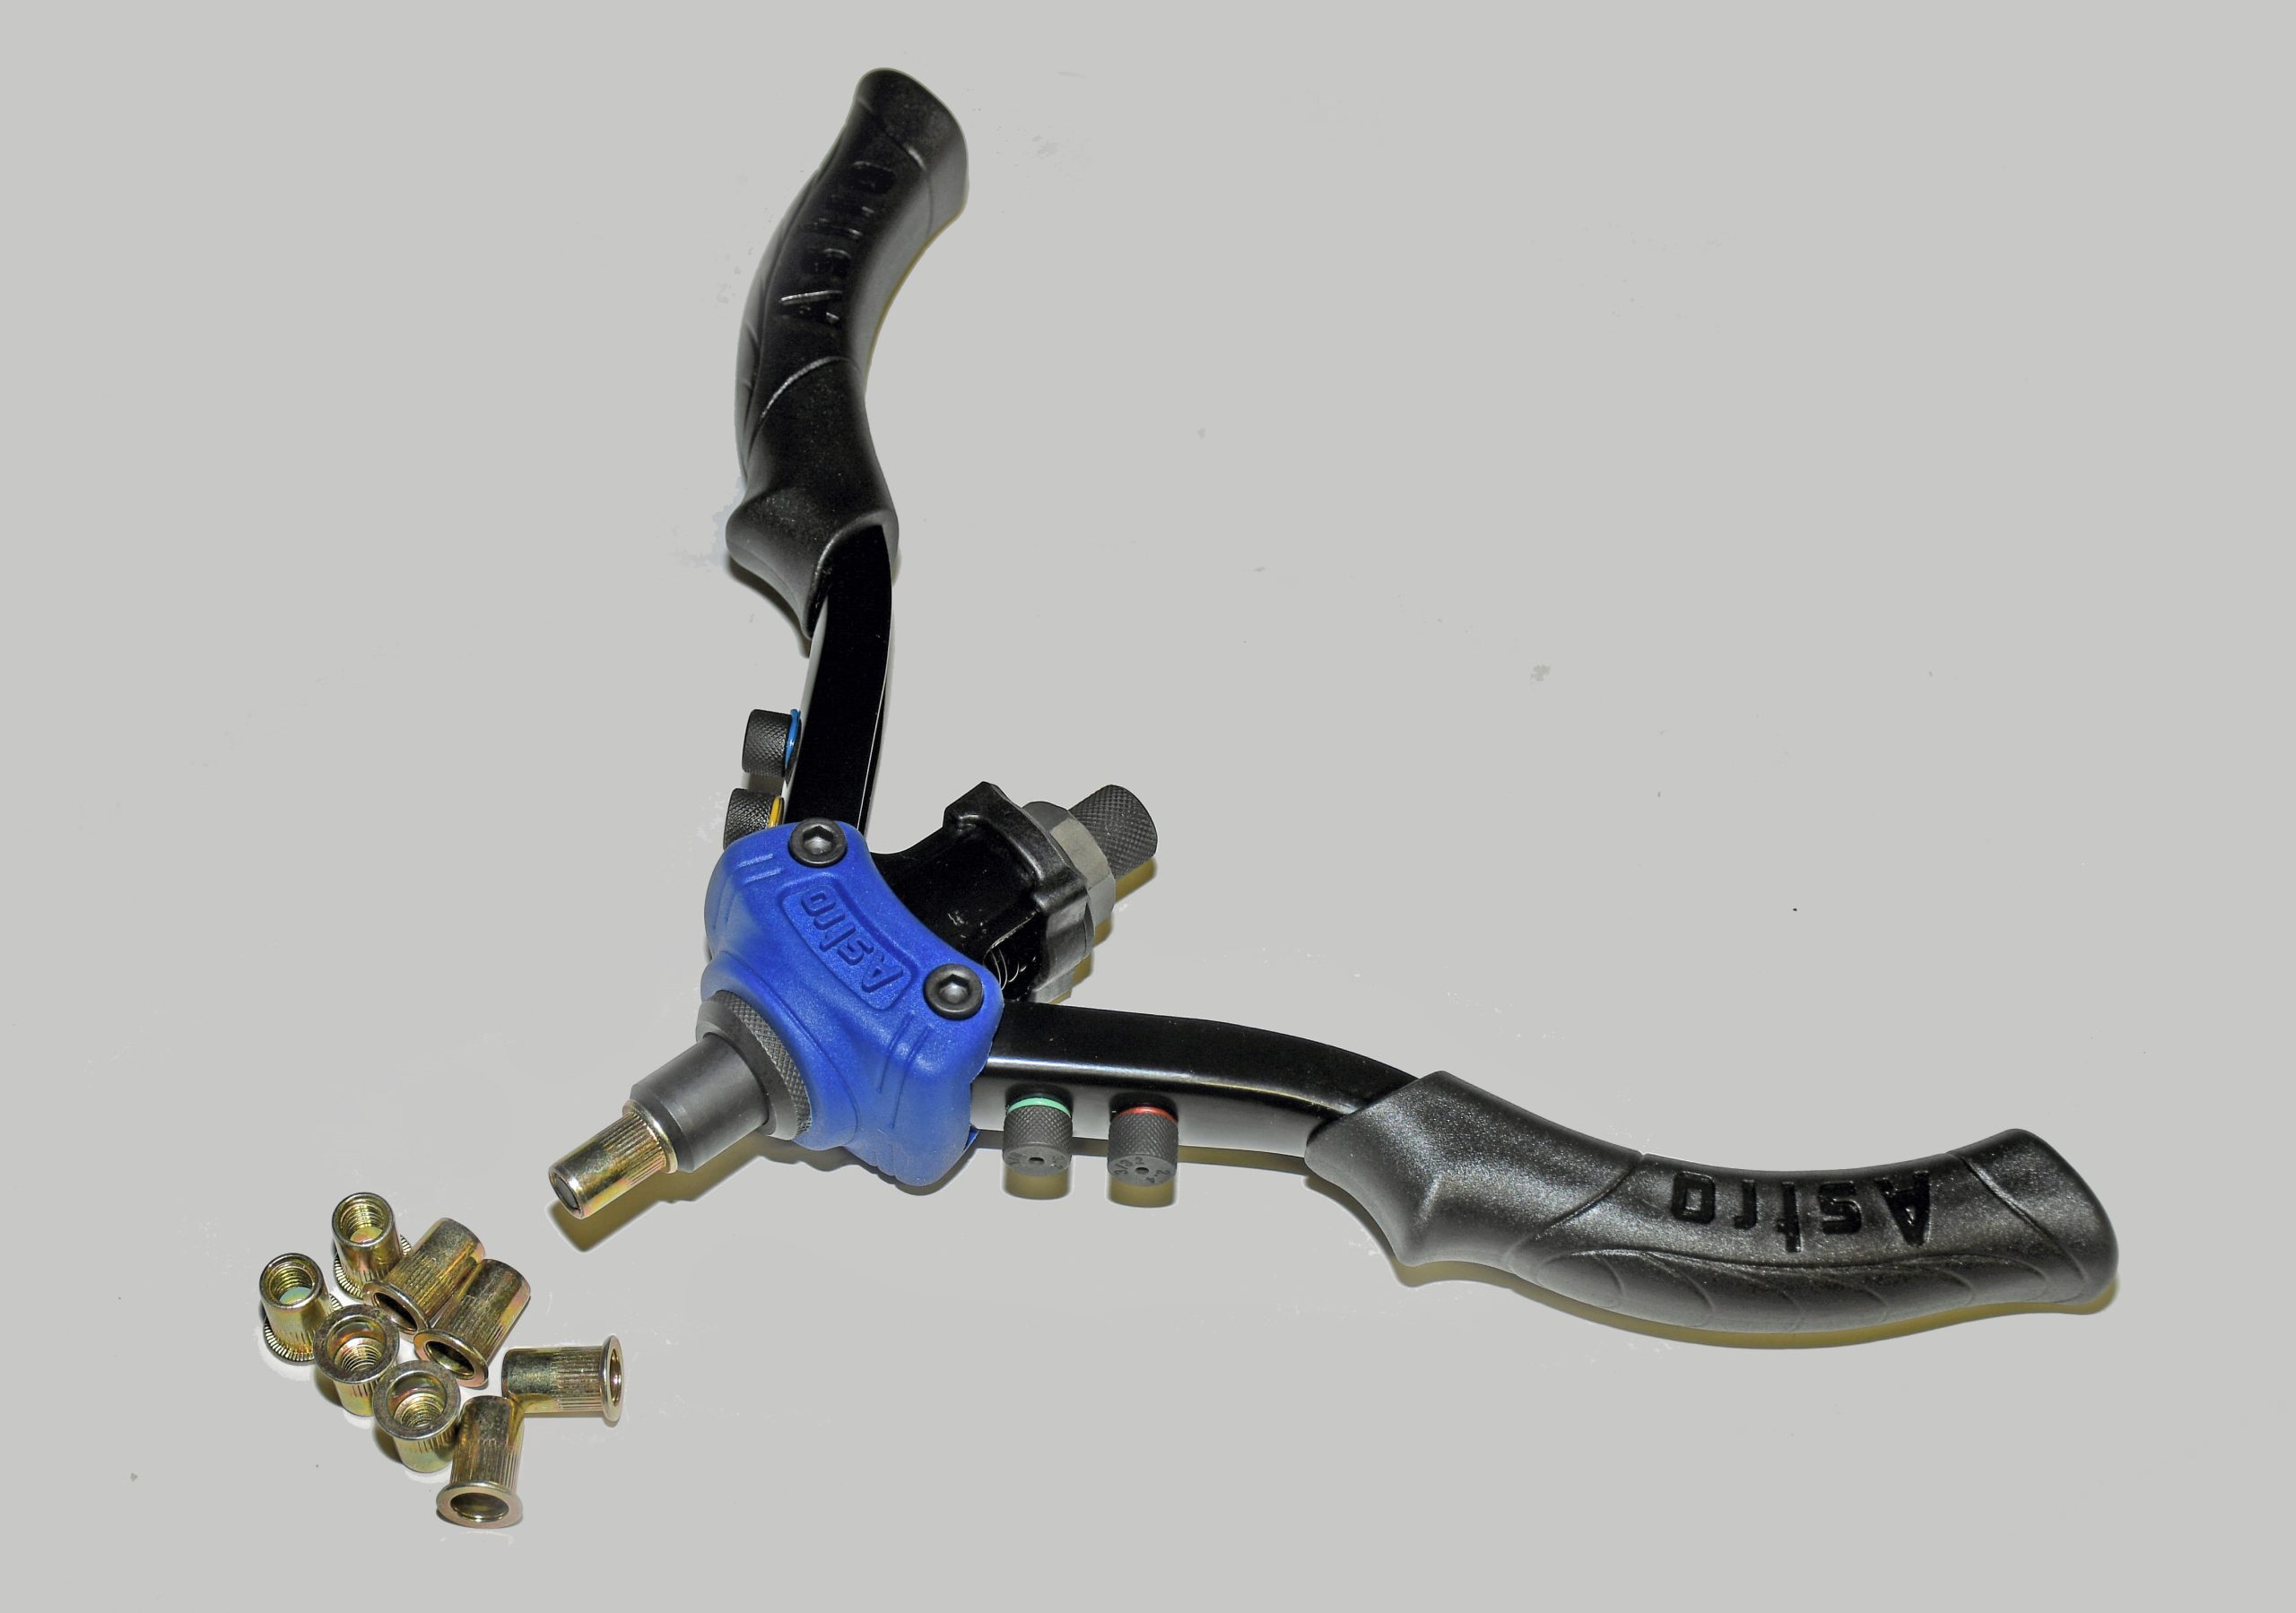
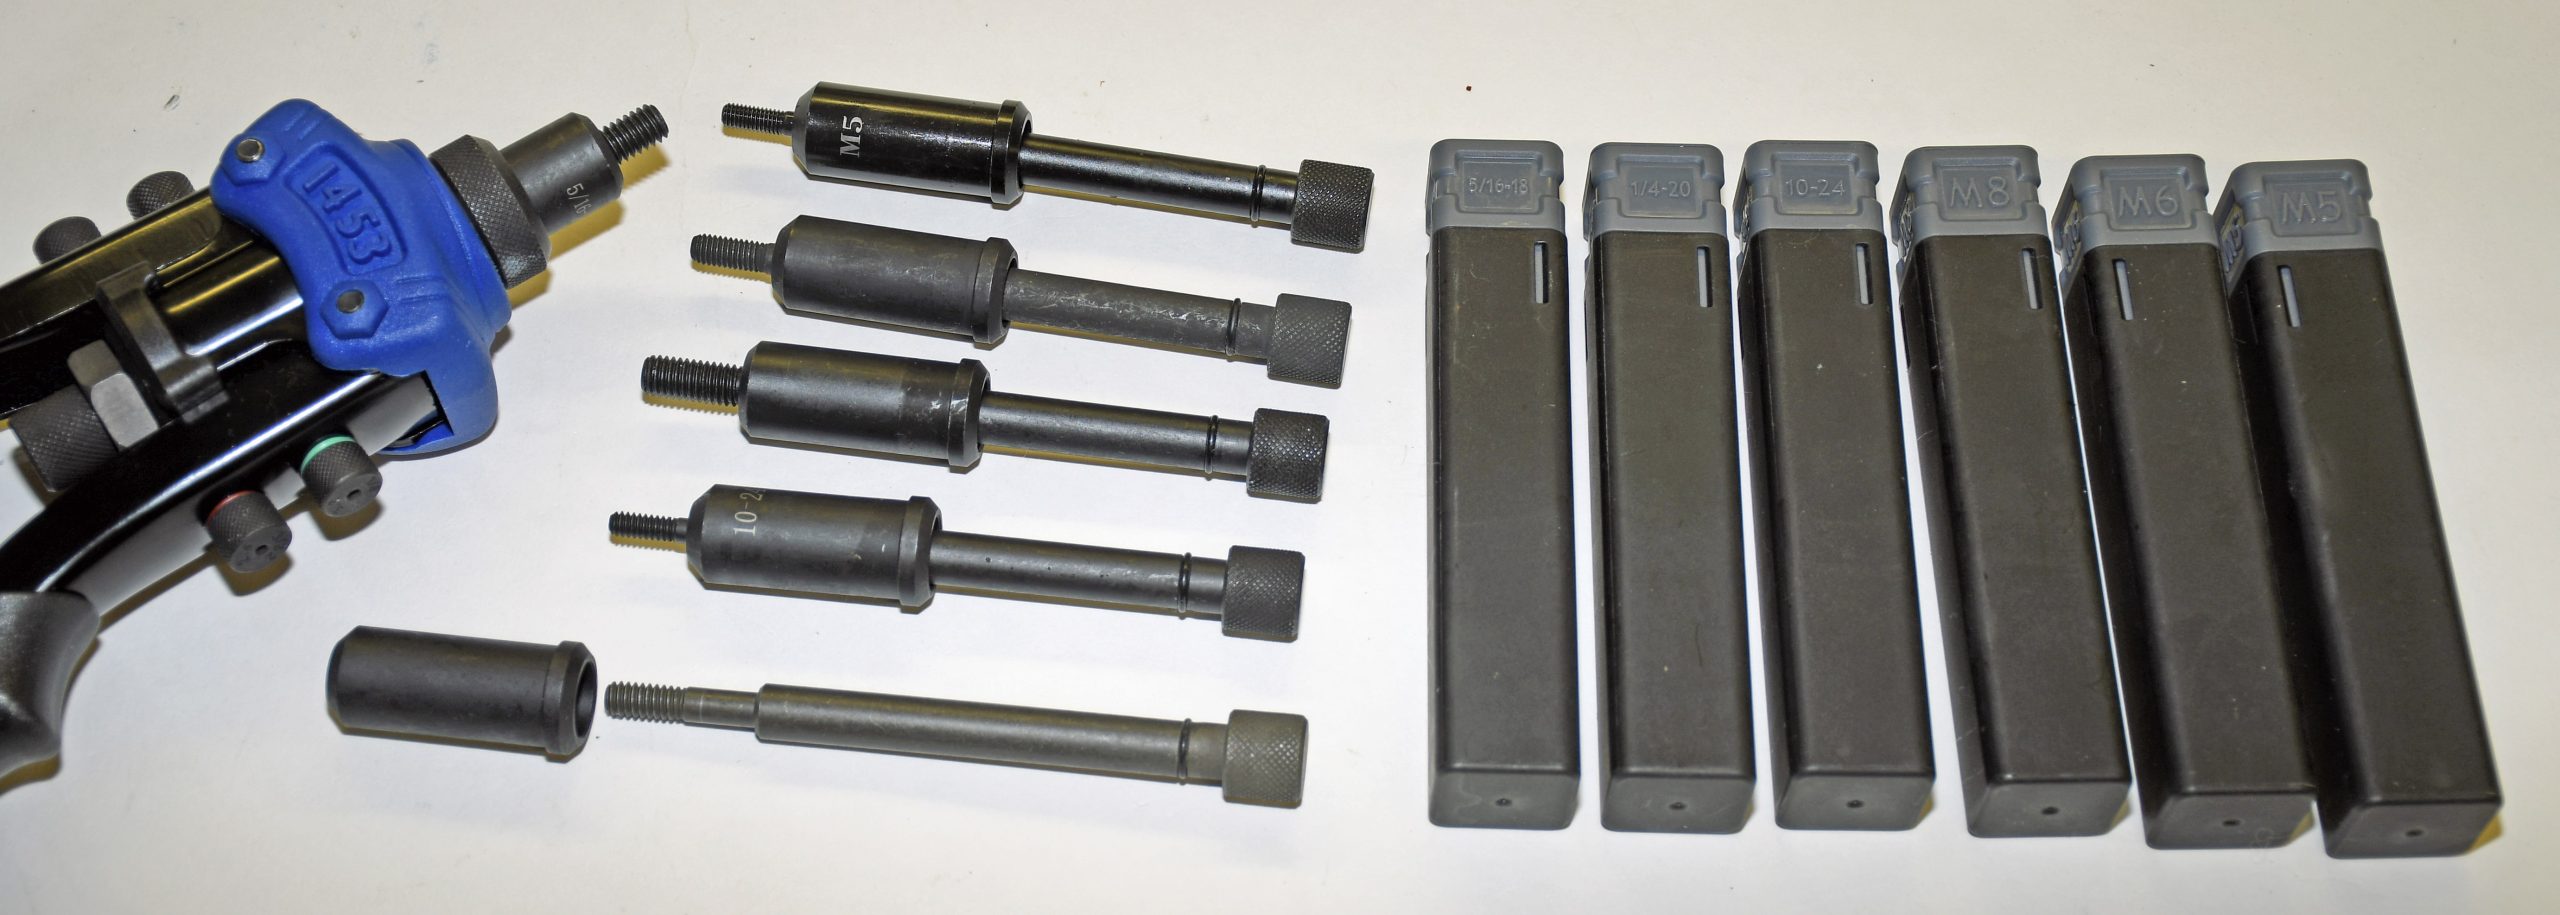
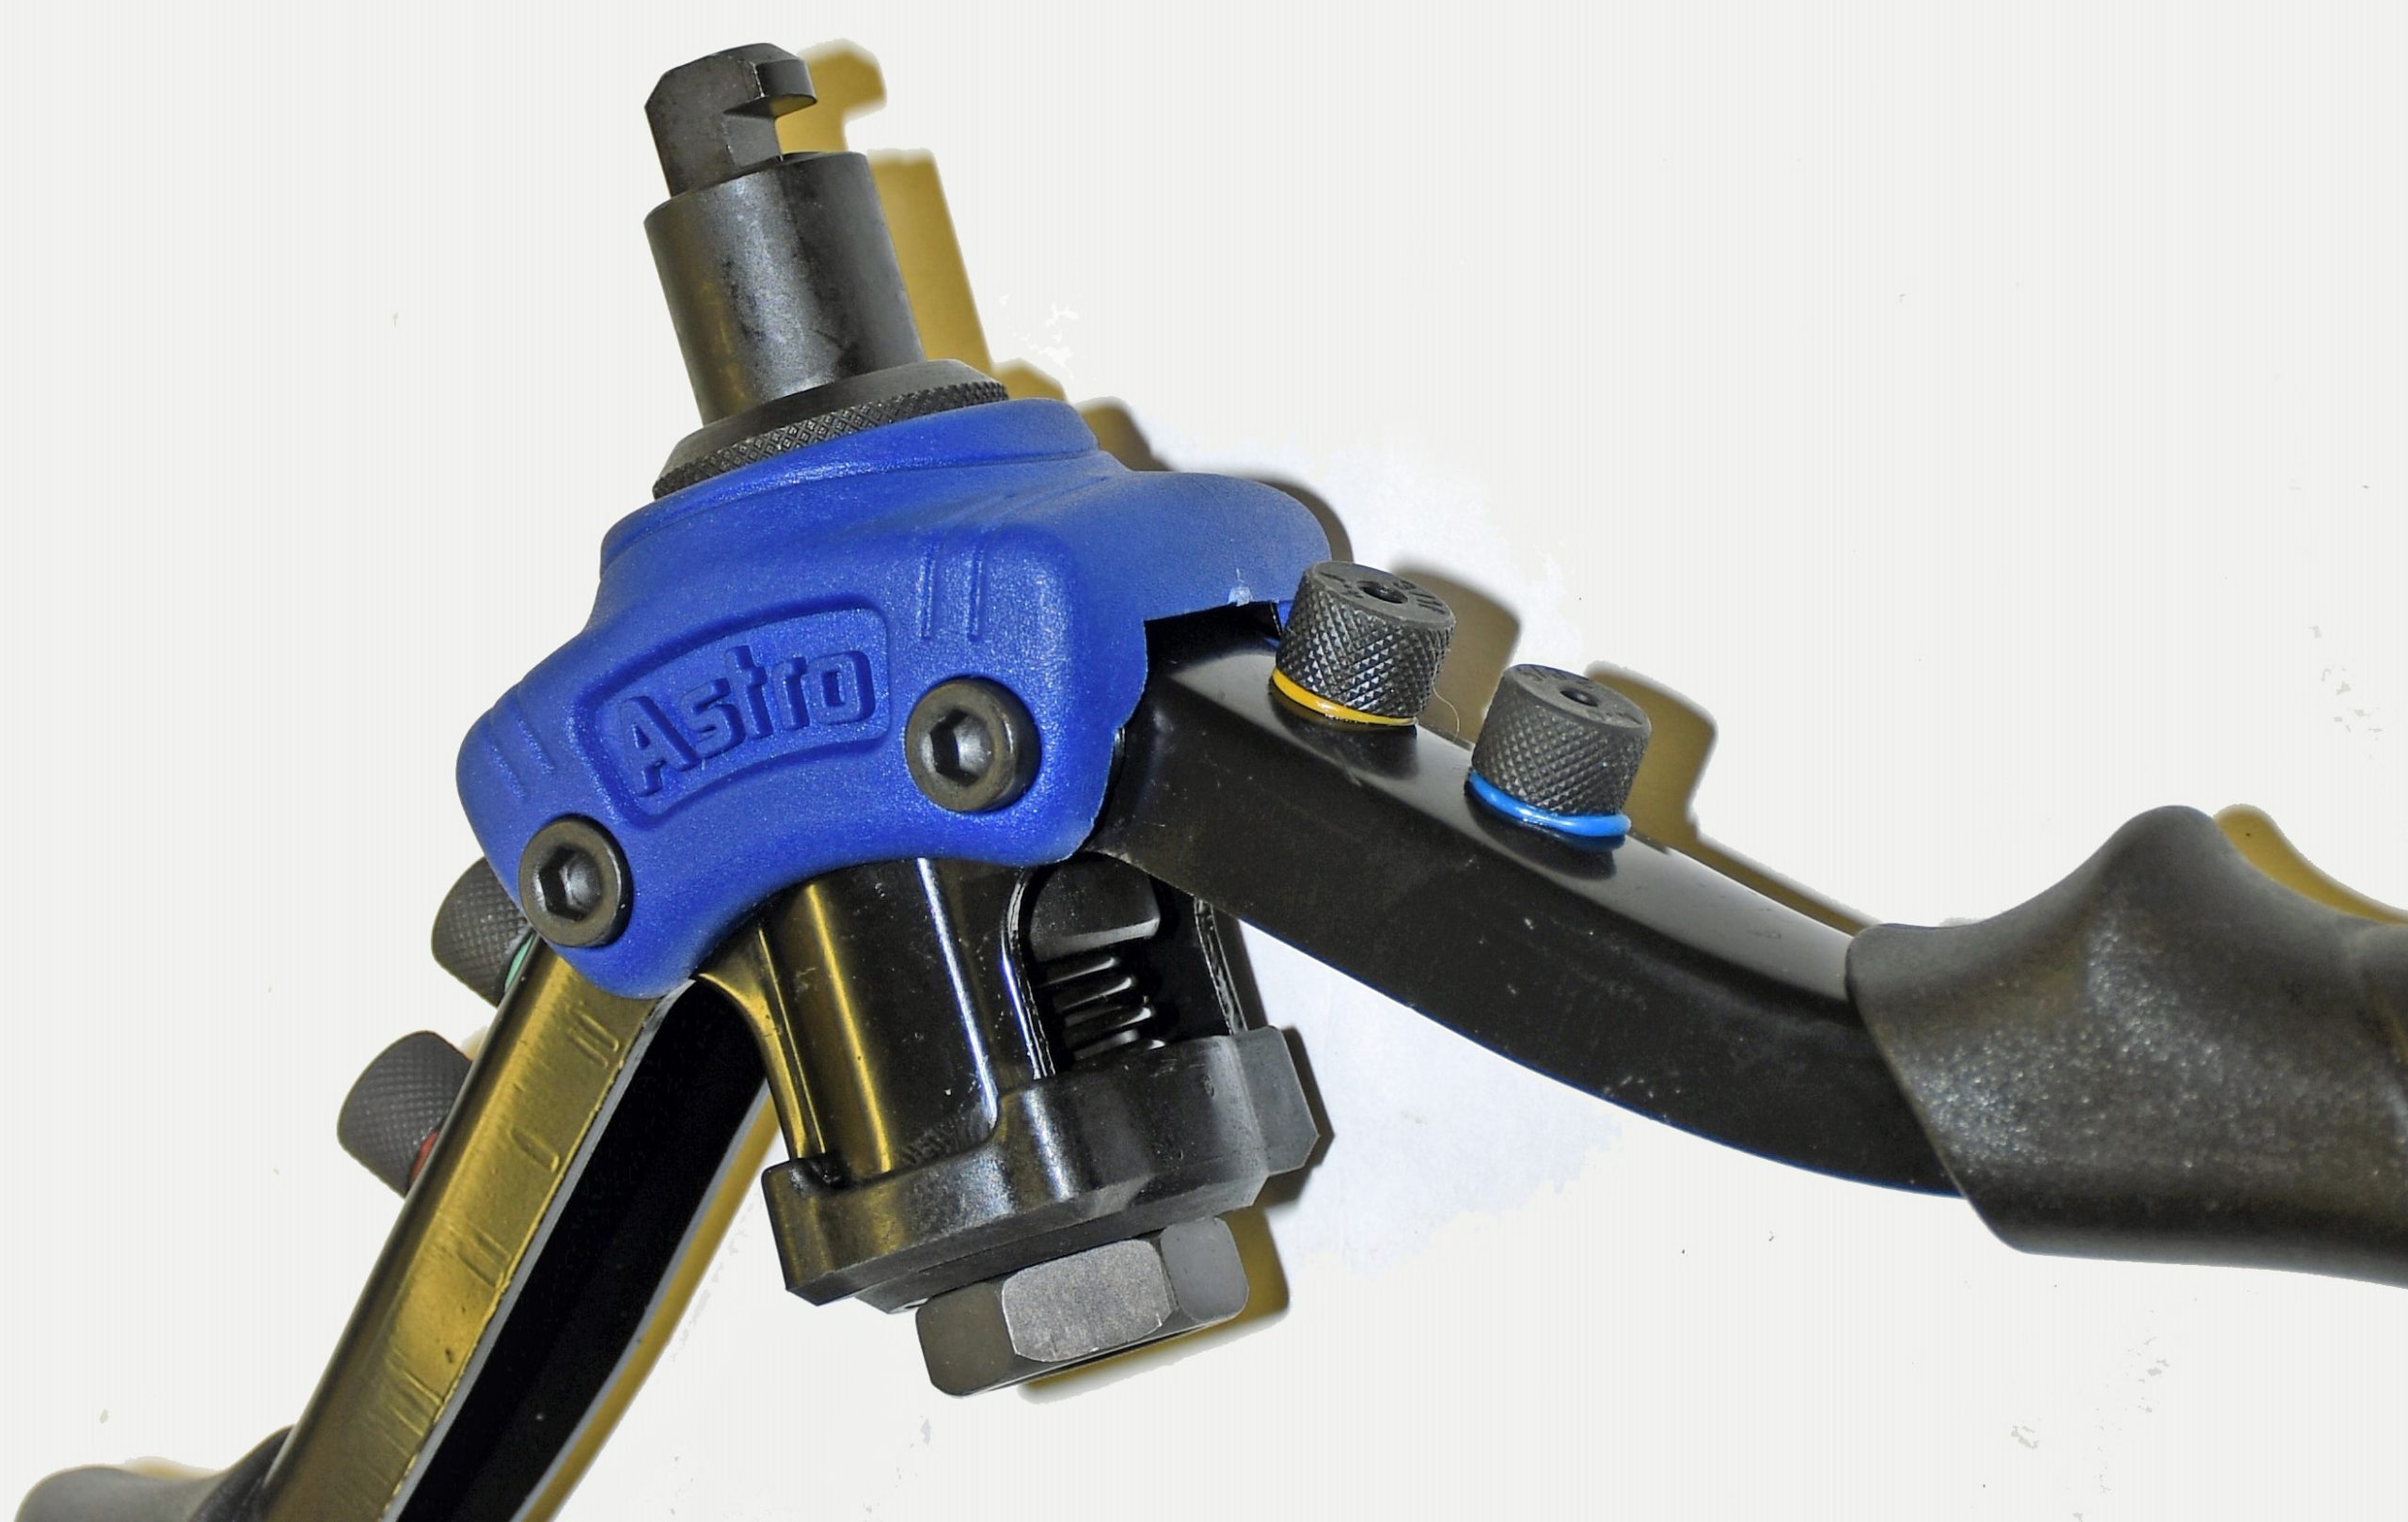
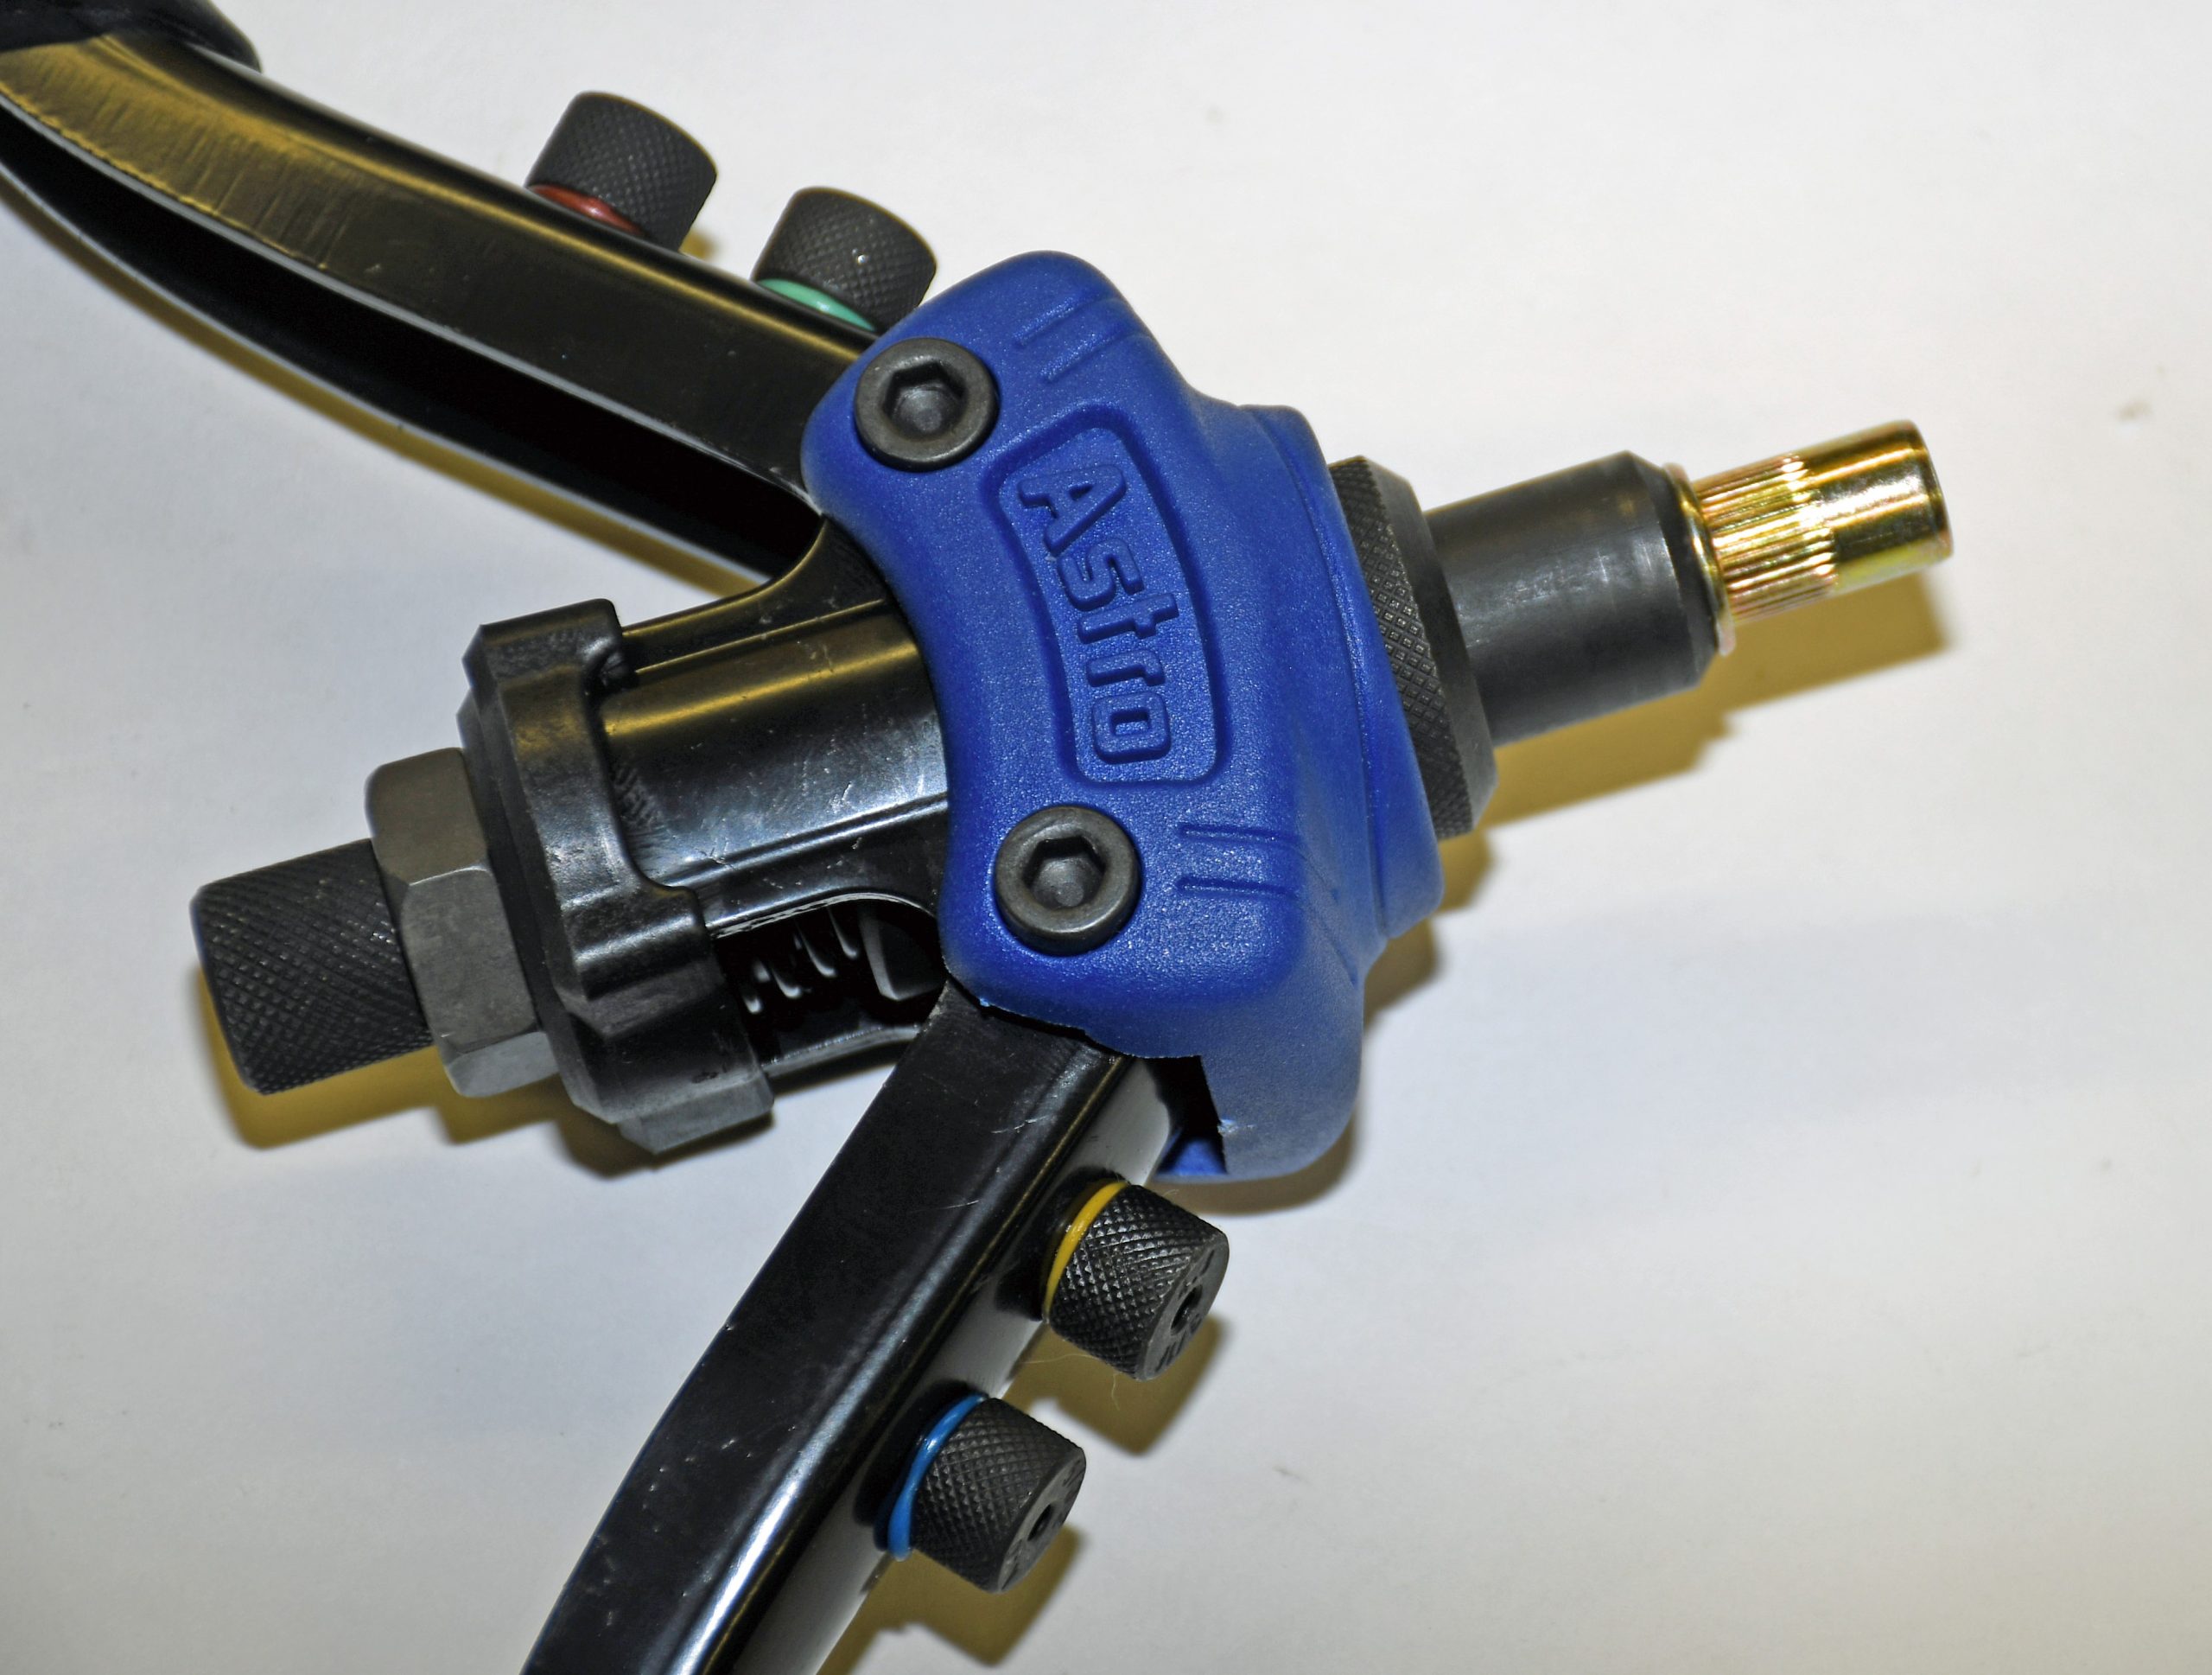
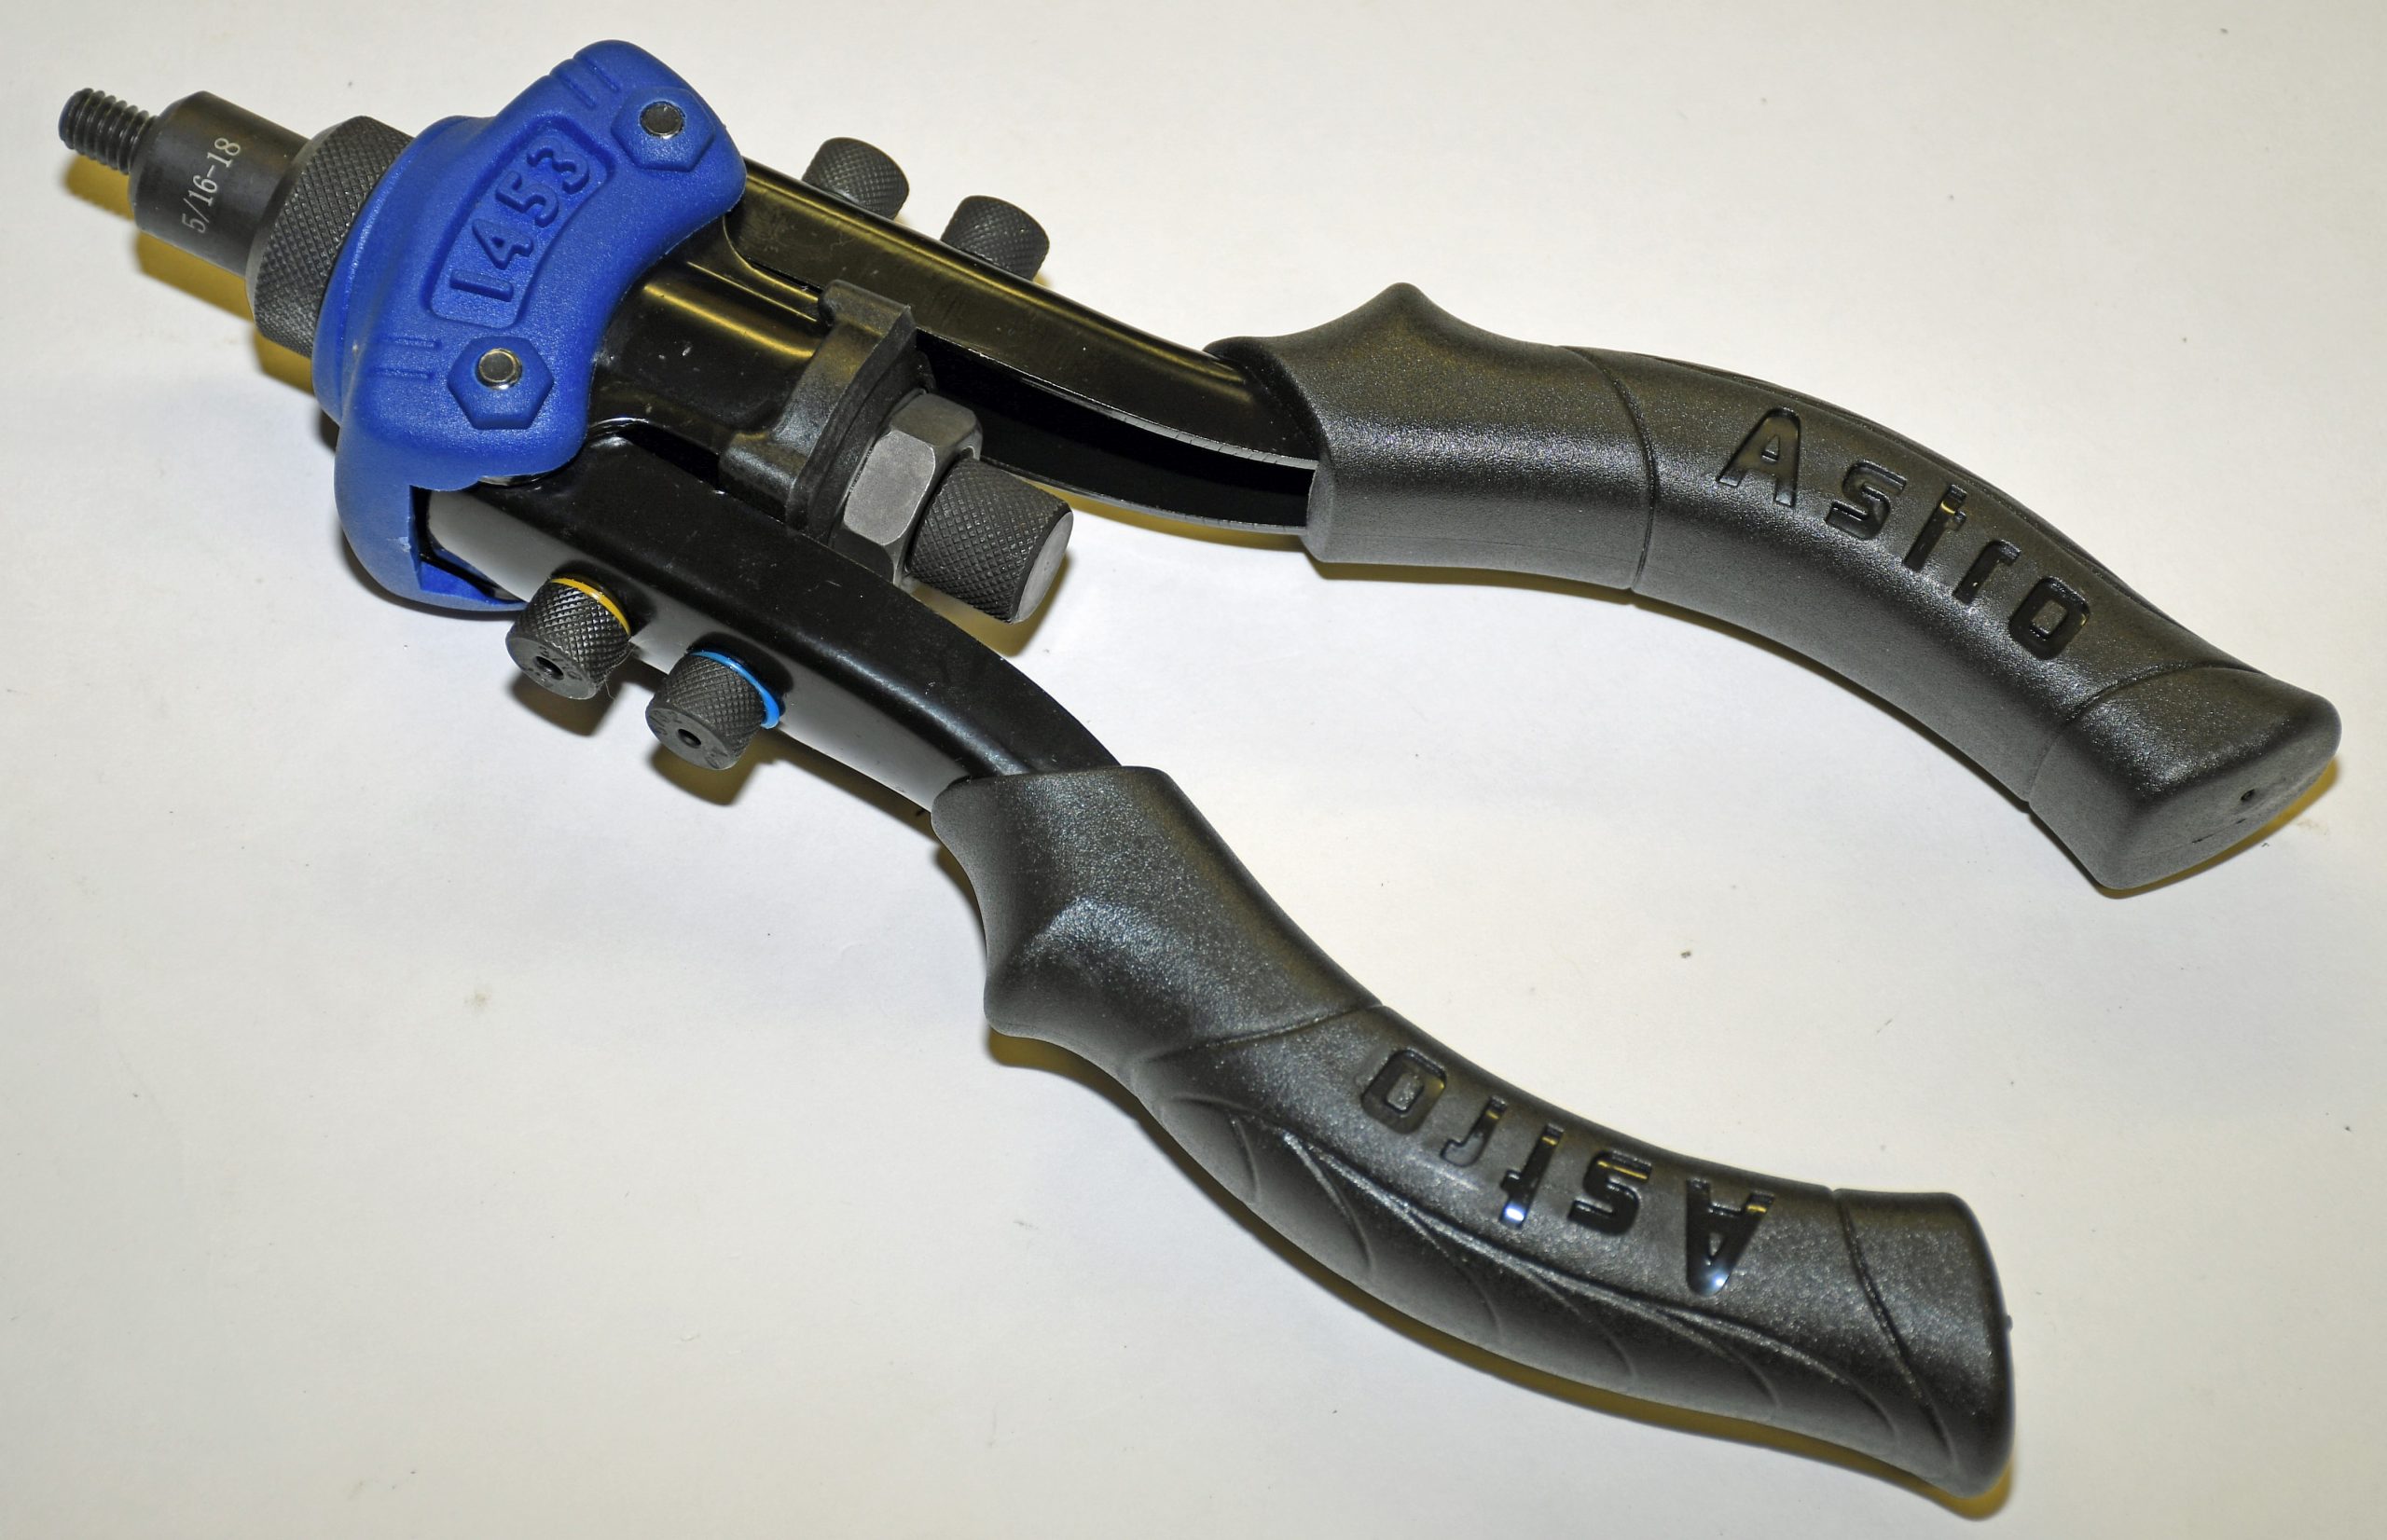
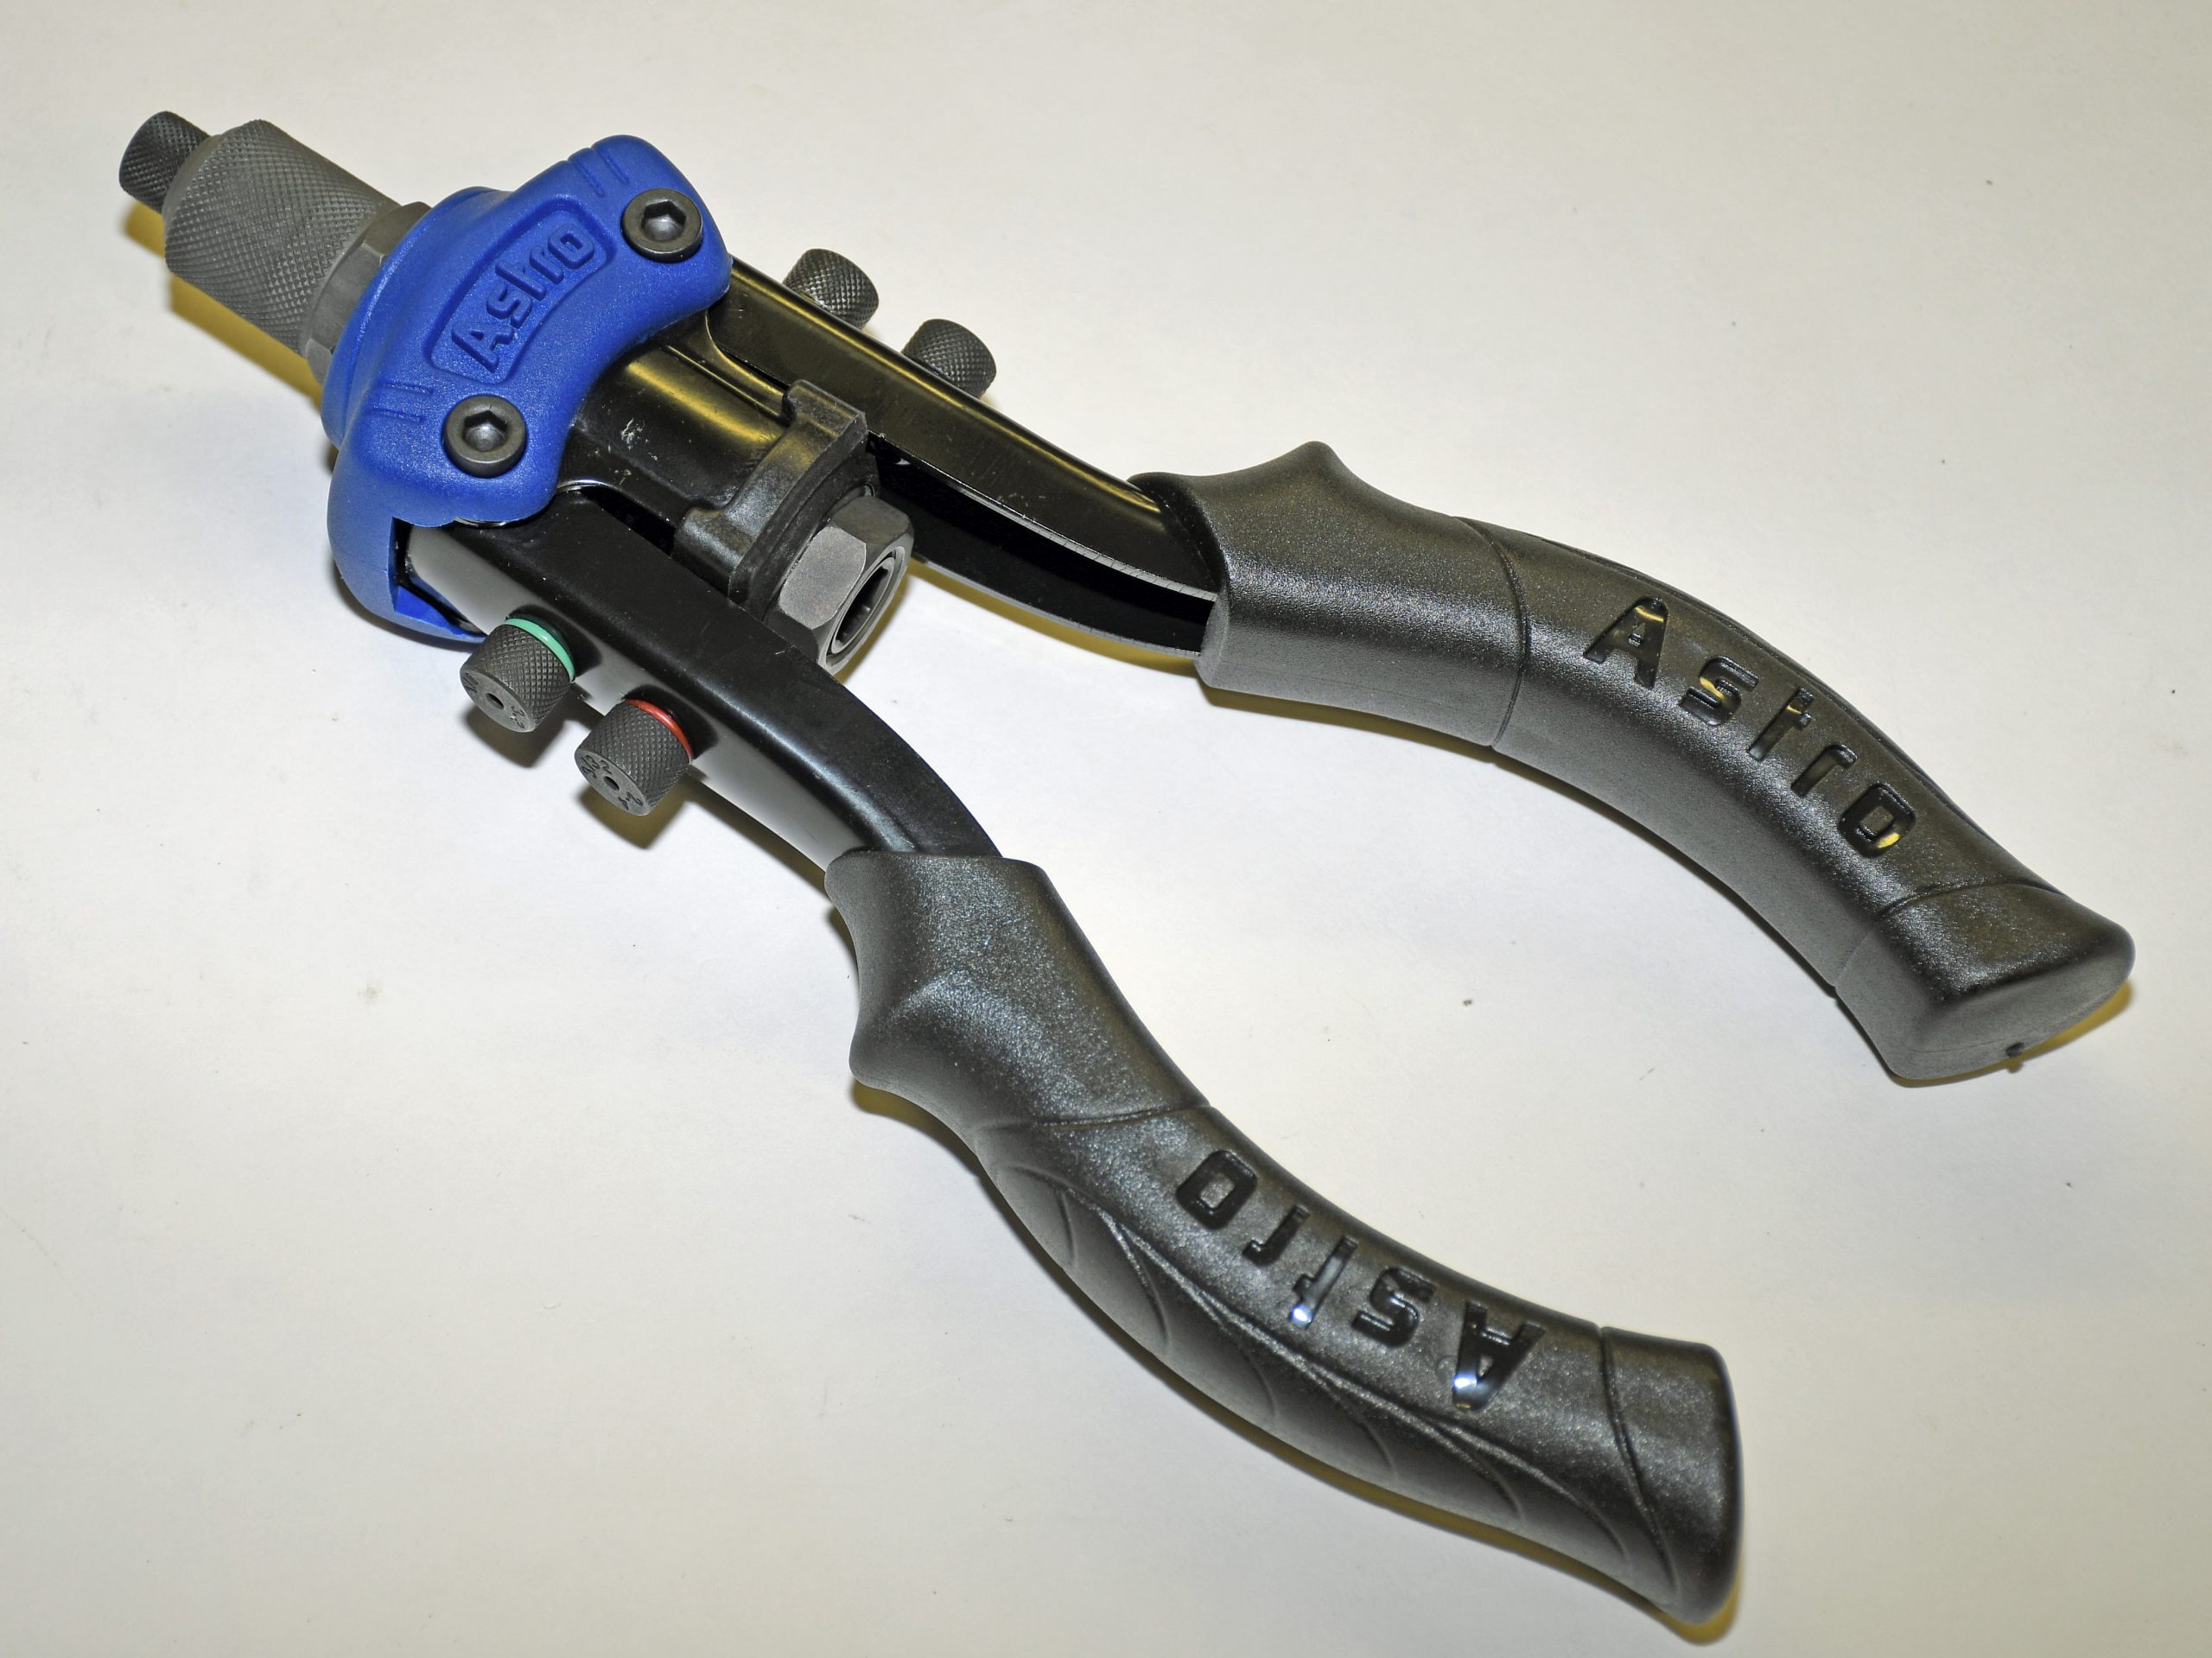
For example, let’s examine Astro Pneumatic’s thread setting tool. It accomplishes a number of tasks. It can set M5, M6, M8, 10-24, 1/4 inch and 5/16 inch rivet nuts. It can also pull blind rivets in the following sizes: 3/32 inch, 1/8 inch, 5/32 inch and 3/16 inch.
Finally, it includes a round and right angle sheet metal nibbler.
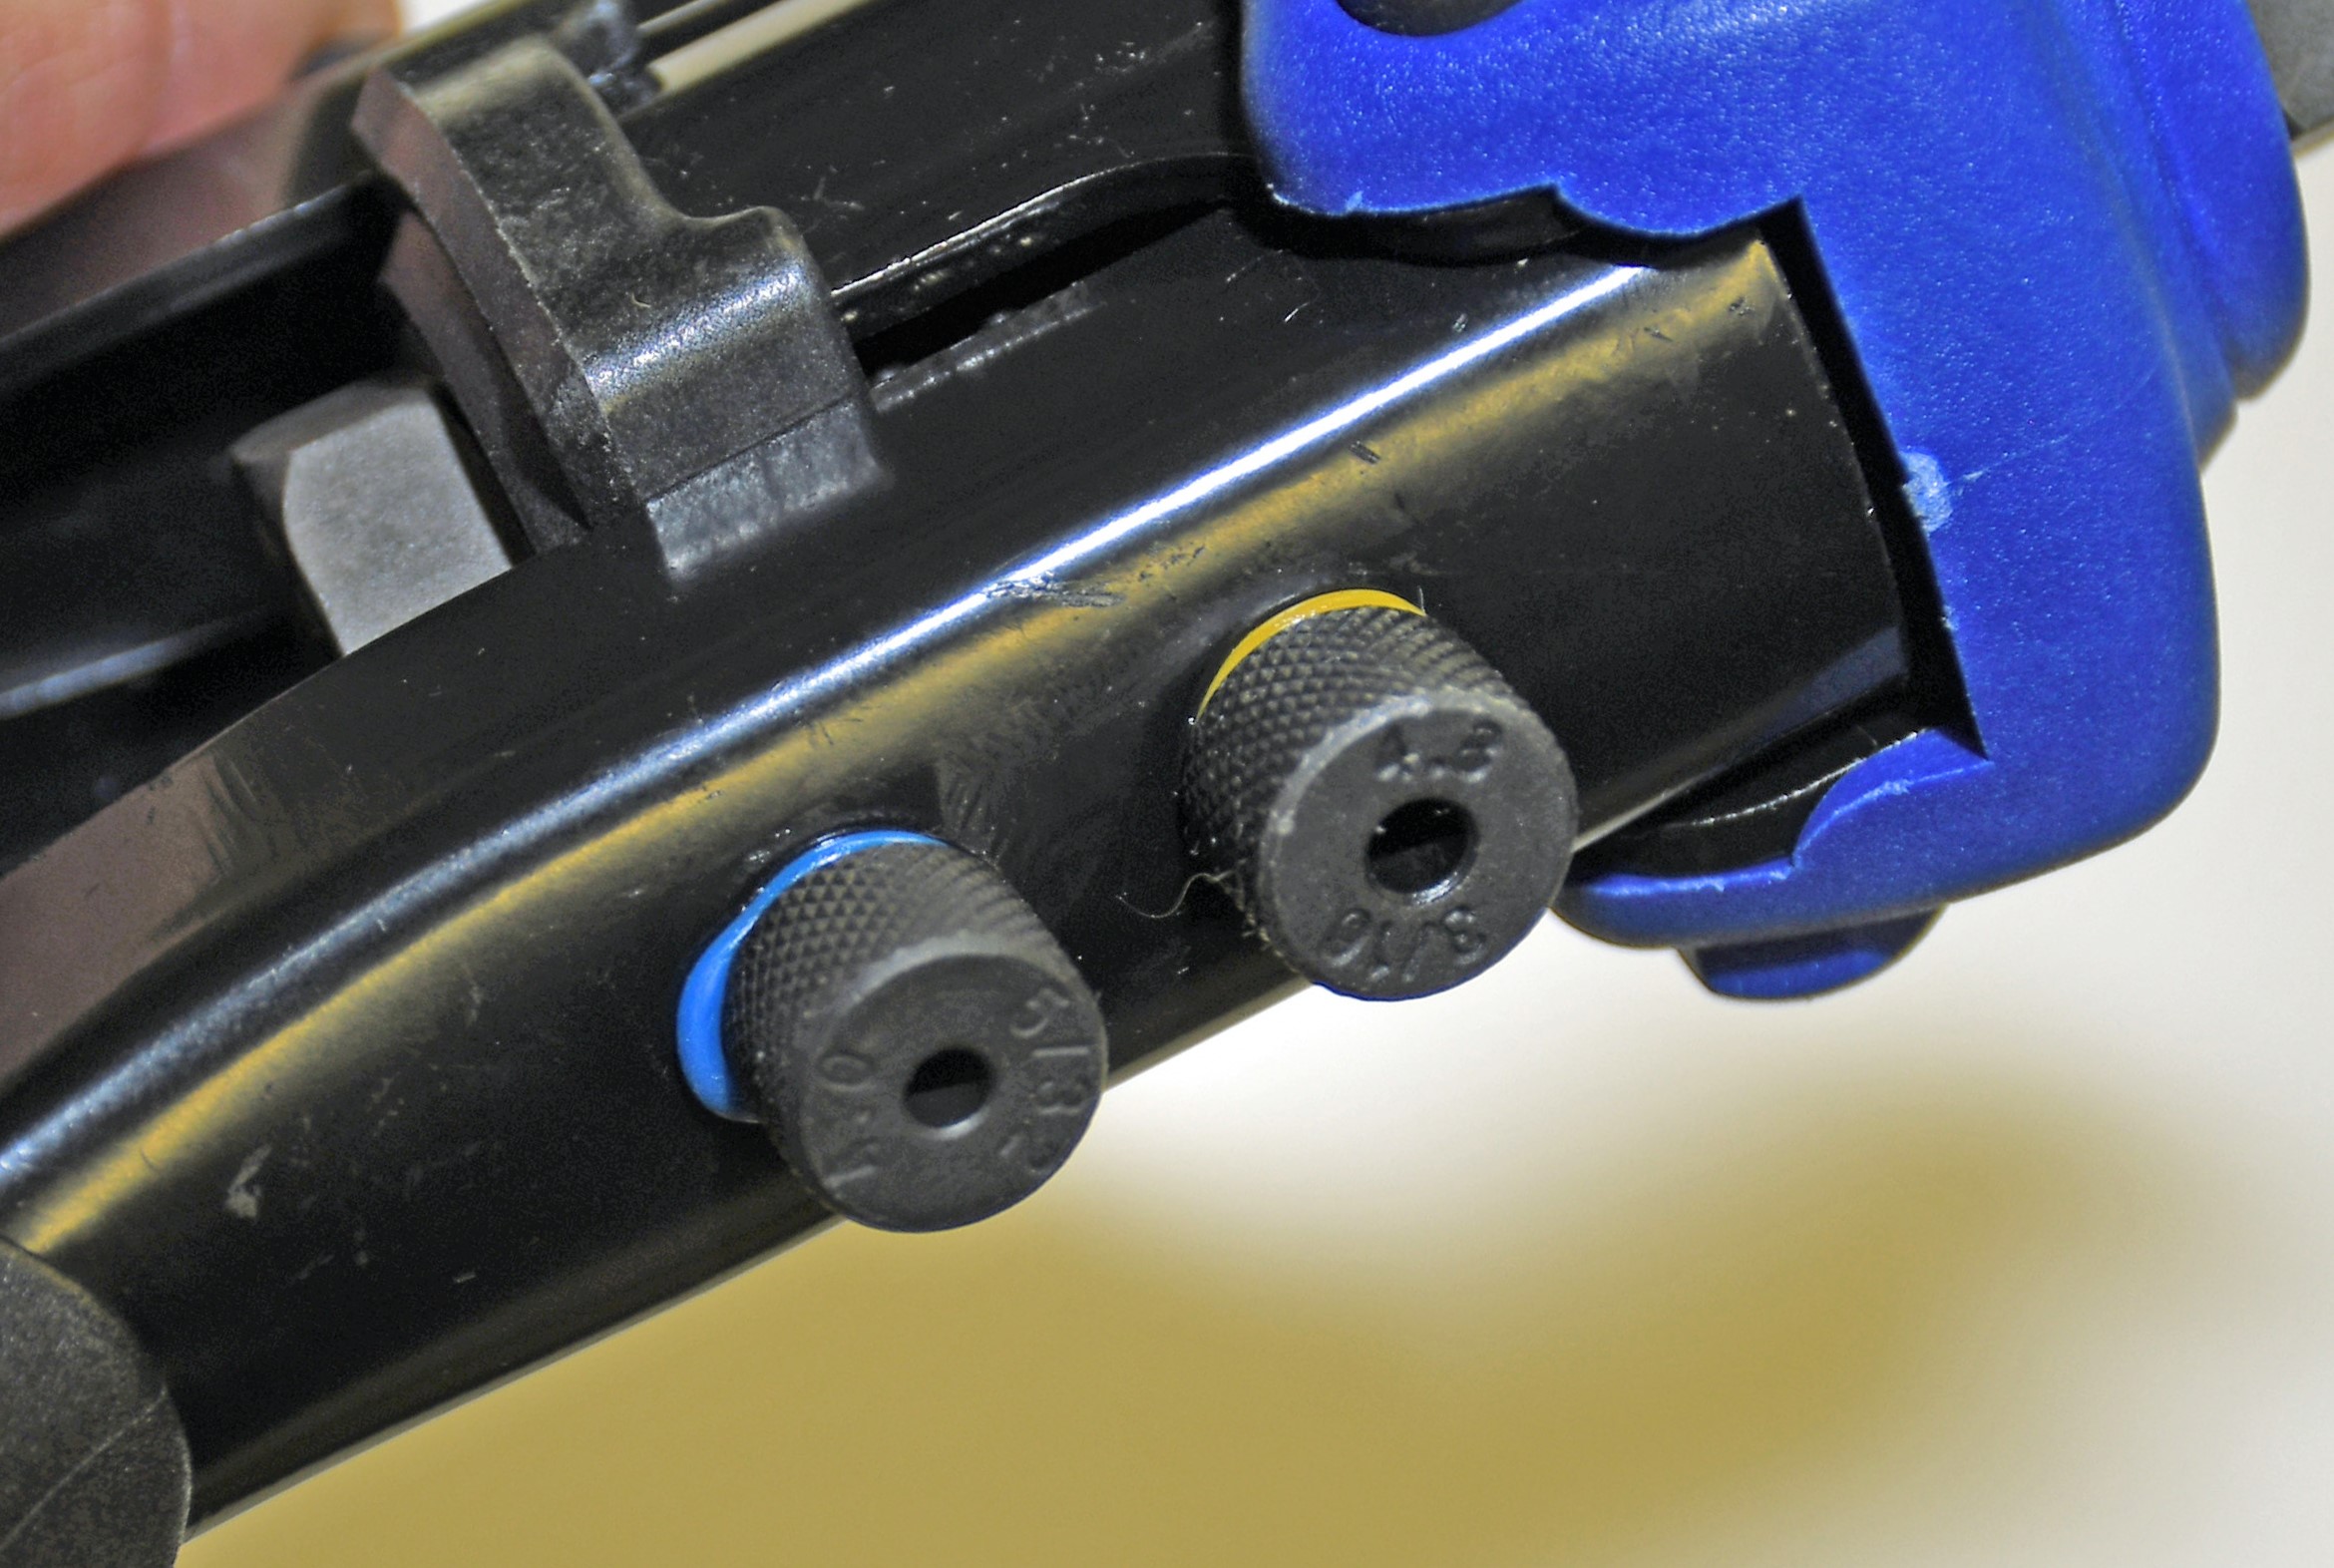
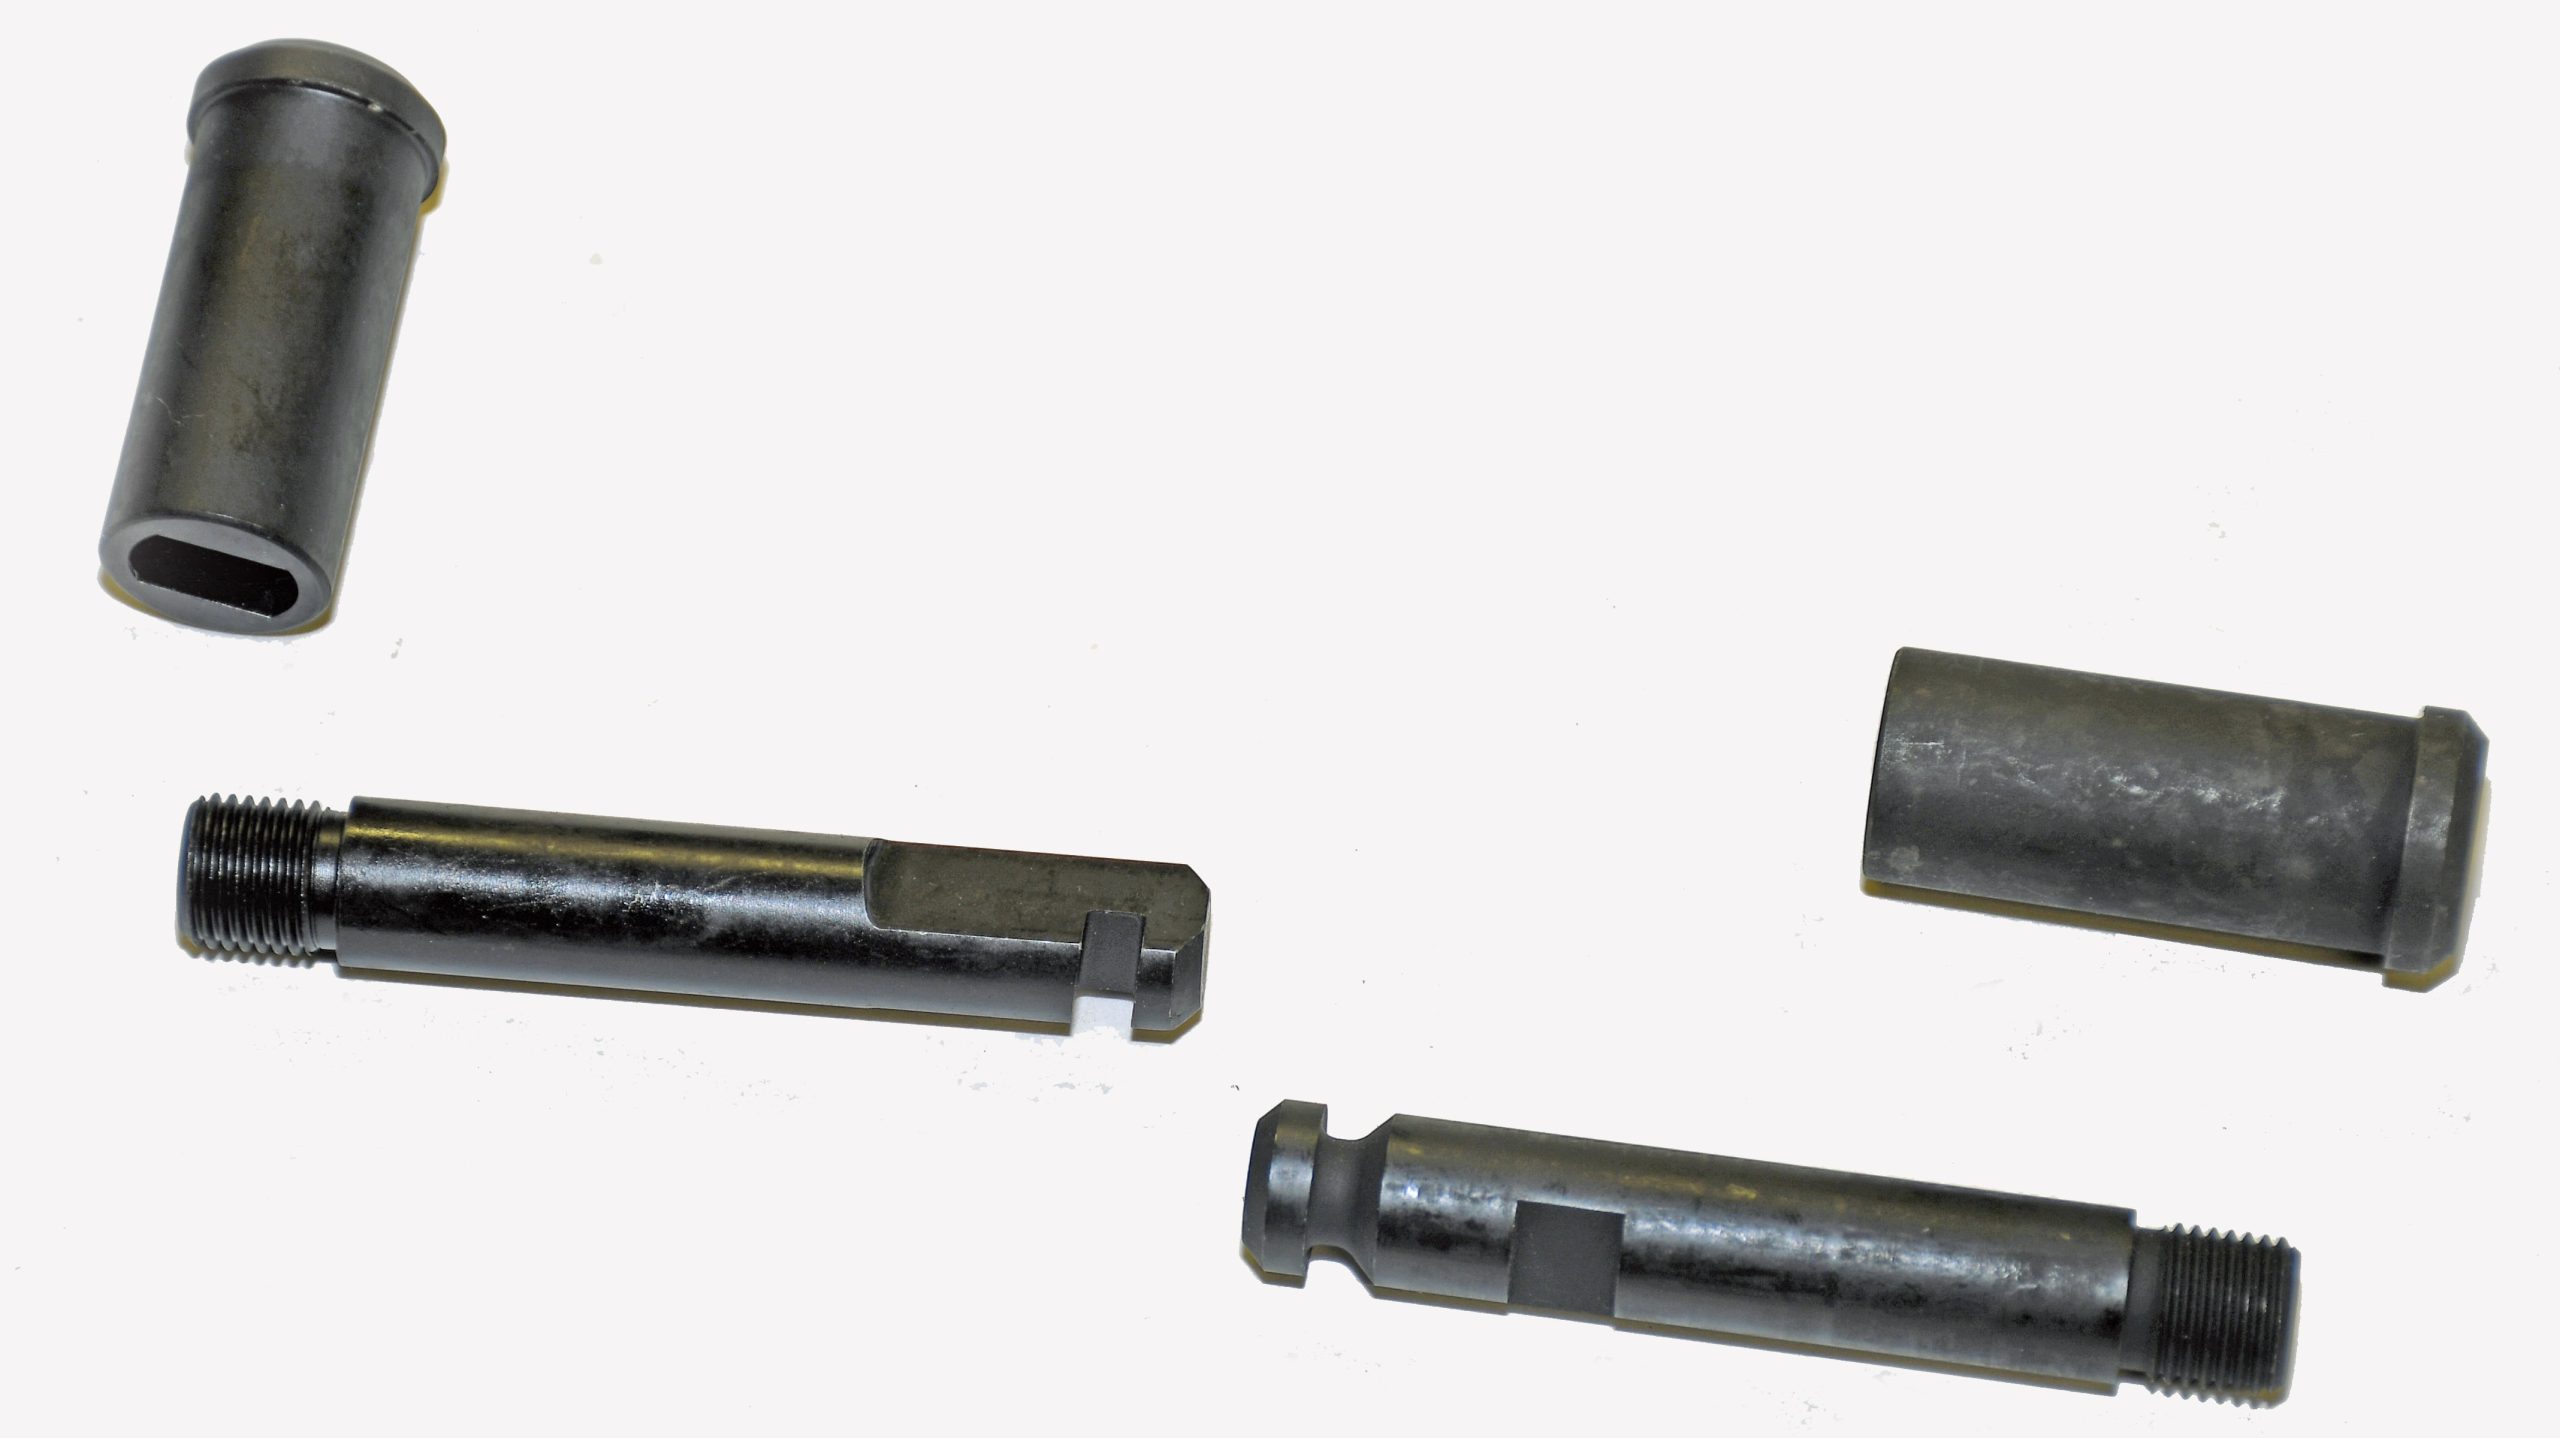
Each of the mandrels install without using a separate tool, so you can change up formats on the fly. The design of the tool, with dual “squeezer” handles allows you to get into tight locations. The tool, along with all of the considerable tooling that goes with it all prove to be very high quality.
The truth is, it’s a worthwhile addition to any tool box. If you’ve had the opportunity to use one of tools with a big Allen key and a large wrench, you’ll find the setup and operation is far (Far!) easier with the Astro Pneumatic tool. By the way, there are several different versions of this tool including a “big brother” from Astro Pneumatic Tools that can set larger 3/8 inch and 1/2 inch rivet nuts.
The tool is robust, very well finished, and does a fabulous (and quick) job of setting rivet nuts.
It’s my new “go-to” blind rivet and rivet nut tool. For a closer look at the tool along with the nutsert installation process, check out these pics:
Hey there!
While this *sounds* like a great product, where are the pictures of it in action?
No before pics, or actual pics of where & how it might be used – just a couple of after pics on a scrap piece. Not very descriptive.
.
Pictures are worth 10k words here.
.
Love our tips though. Keep it up!