


Modern V6 Mustangs (2011-2013) are 150 pounds lighter than their V8 counterparts, making them more agile than the heavier V8 models which have 15 percent more moving engine parts.
In standard trim, these 3.7-liter V6-powered six-speeds are equipped with a clutch that transmits 300 horsepower and 280 foot-pounds of torque. But what if you upgraded the power output beyond 300 foot-pounds?
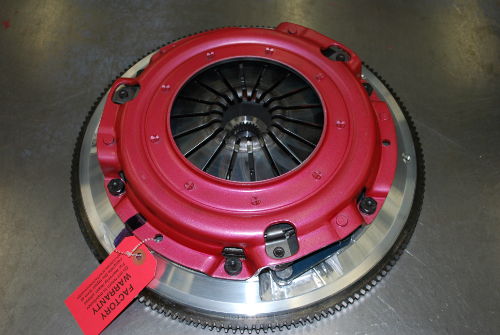
RAM Automotive has introduced what it believes to be the first Mustang V6 clutch upgrades for higher-output applications. These upgrades consist of seven different types, the mildest of which is a single-disc upgrade that transmits up to 450 foot-pounds of torque; the most aggressive is a dual-disc variant that handles 1,200 foot-pounds and beyond. Of the three single-disc and four dual-disc types, each is endowed with progressively increasing clamping loads. All are direct fitment and none require modifications to the factory release mechanism. Furthermore, each is supplied with a RAM billet flywheel, either steel or aluminum. By replacing the heavy factory dual-mass flywheel with a billet unit, substantial weight savings are reflected.
The single-disc sets are known as HDX, Powergrip, and Powergrip HD and are engineered to handle torque loads of up to 450, 550, and 650 foot-pounds respectively. The dual-disc sets are known as RAM Force 9.5 and Force 10.5—the numerals denote their diameter of each. The 9.5 model operates with an organic disc and transmits up to 700 foot-pounds of torque. Using a similar type of disc, the 10.5 accommodates 900 foot-pounds of torque.
To achieve the highest clamping forces (1,200 foot-pounds of torque and beyond), RAM equips the Force 9.5 and 10.5 cover assemblies with their 900-series friction discs. These metallic disc designs are used for race or high-output forced-induction applications.
Compared with the OEM clutch assembly RAM’s Force 9.5 clutch layout reduces the weight by 19 pounds—from 57 pounds stock to 38 pounds. At just 47 pounds, the larger 10.5 version reflects a 10-pound weight saving. More importantly, these dual-disc varieties are engineered to deliver a light pedal feel and smooth engagement in street applications.
But possibly the best aspect of these clutch upgrades is the price—the new clutch sets provide greater clamping forces yet cost less than the OE replacement parts. The tables below show the capacities of RAM’s new upgraded clutch assemblies for contemporary V6 Mustangs.
Dual Disc Sets
Force 9.5 dual disc: 700 ft-lbs torque
Force 9.5 900-series dual disc: 900 ft-lbs torque
Force 10.5 dual disc: 900 ft-lbs torque
Force 10.5 900-series dual disc: 1,200 ft-lbs torque
Single Disc Sets
(Note: the factory flywheel MUST be replaced to use these clutch sets.)
HDX Clutch set: 450 ft-lbs torque
Powergrip clutch set: 550 ft-lbs torque
Powergrip HD clutch set: 650 ft-lbs torque
Billet steel flywheel
Billet aluminum flywheel
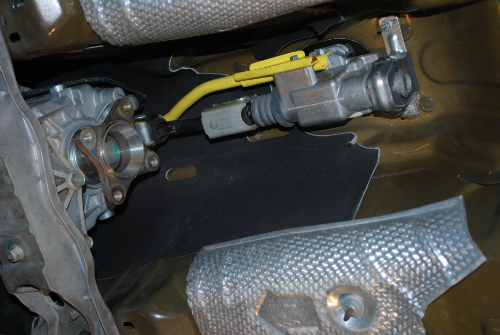
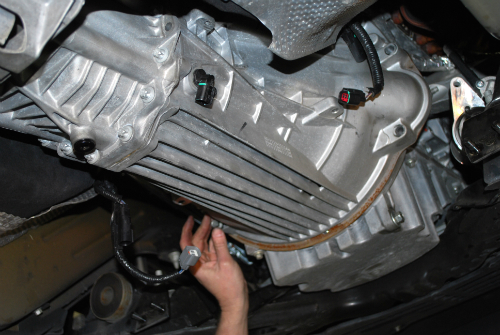
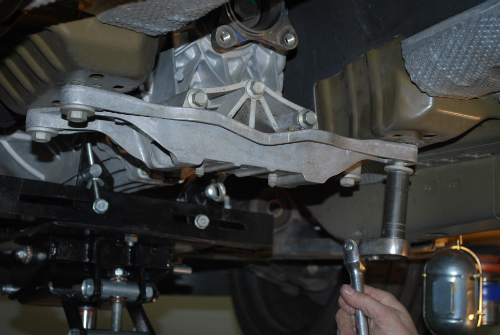
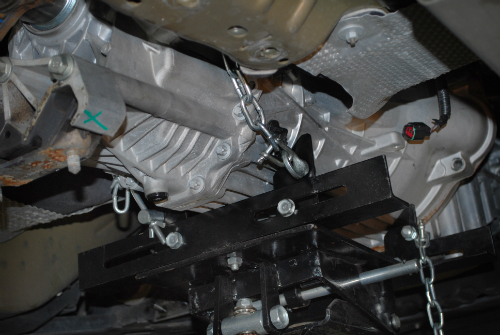
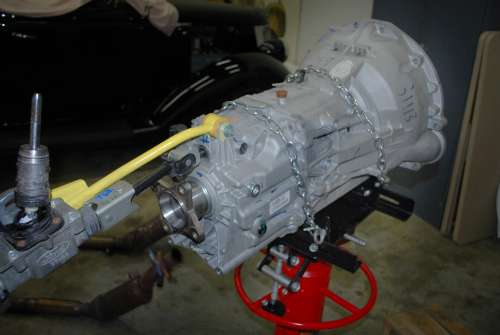
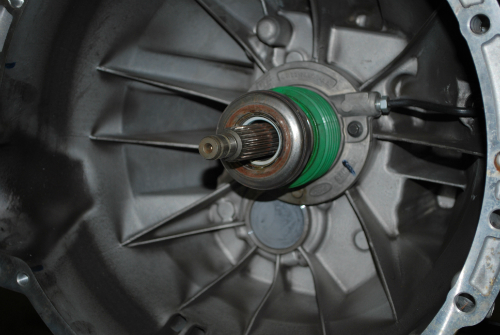
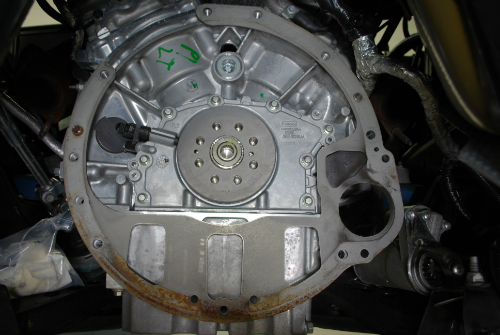
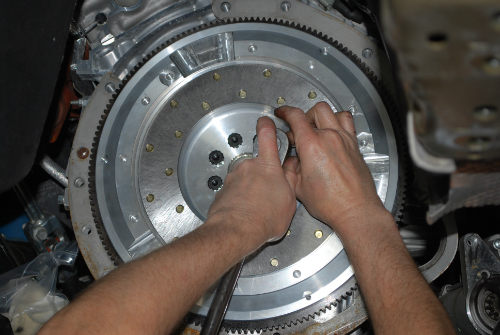
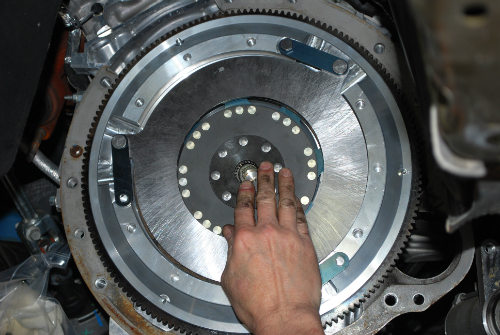
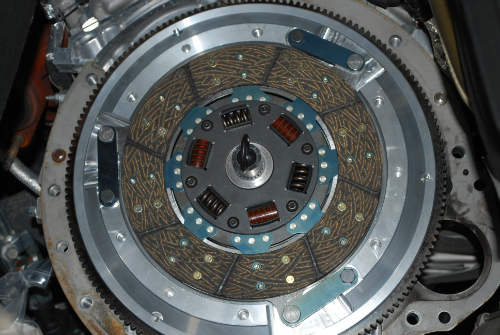
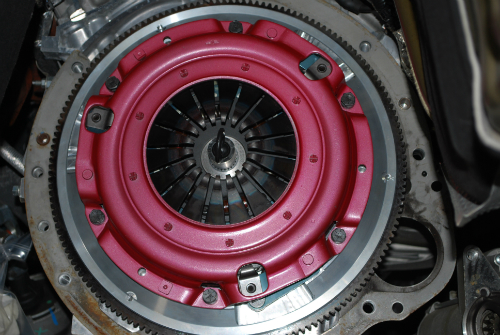
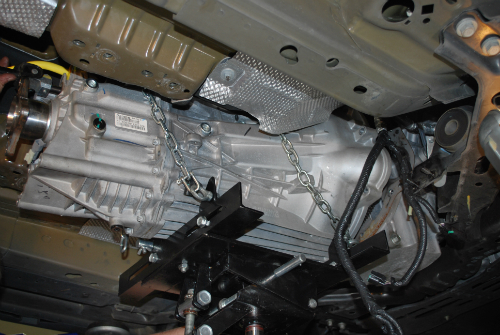
To give you a taste of what’s involved in converting to RAM’s new upgraded clutch systems, check out the slide show above.
Did you go with the RAM clutch? i’m having problems with it after just 2,000 miles