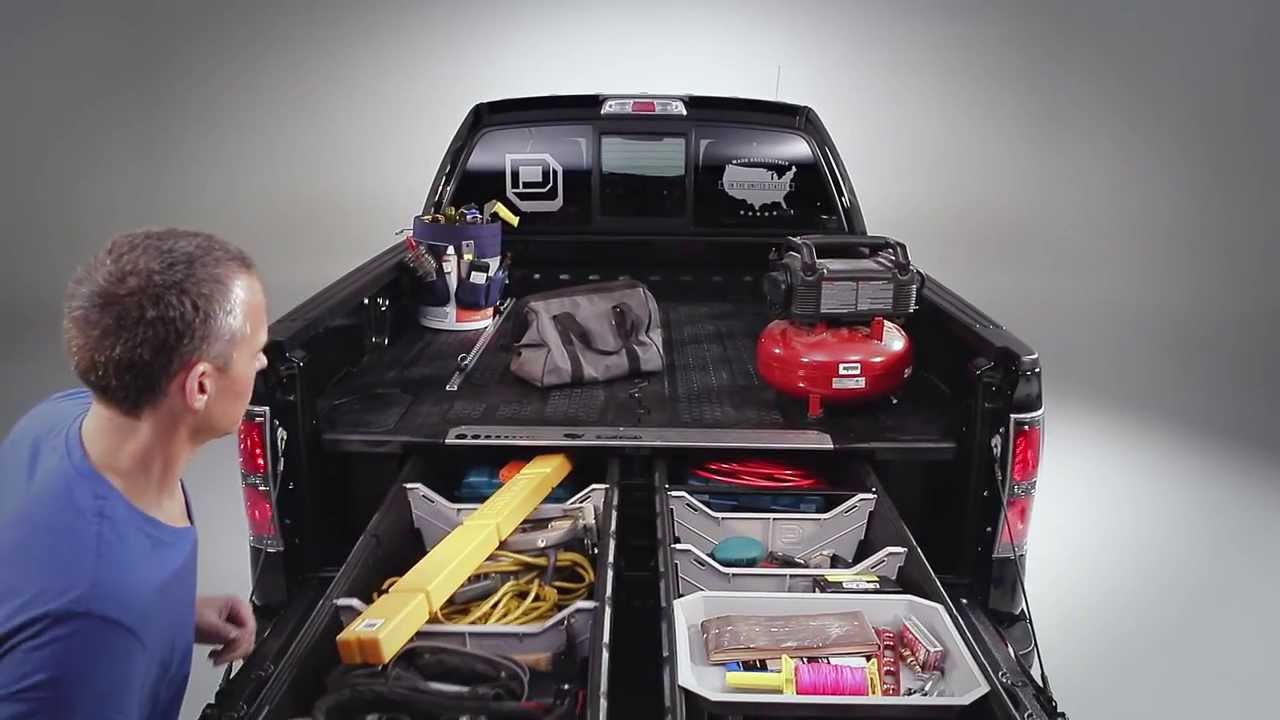
DECKED truck bed storage systems have become increasingly popular as a method of improving the utility of pickup trucks and vans.
Equally useful for contractors storing tools and supplies as they are for outdoor sportsman storing hunting and fishing equipment, DECKED truck bed organizers are made in the USA, and built to last for as long as you own your rig.
These truck and van storage units are awesome, but do require effort and attention to detail for proper installation.
In today’s video, you’ll find a thorough 10-minute overview of a DECKED truck bed toolbox and storage system, and then you can read on below for step-by-step instructions on how to properly assemble and install your new DECKED truck bed toolbox and storage units.
Tips Before Beginning:
- Do NOT use power tools to install.
- You might need a second person to help lift the heaviest components into your truck bed.
- Organize the hardware bag on a flat surface, grouping them by numbered steps.
Also, these are the tools you’ll need to complete the job
Tools You’ll Need:
- Written instructions
- Adjustable wrench that opens to at least 1 inch
- 1/2-inch open-ended wrench
- Phillips screwdriver
- 3/8-inch socket
- 7/32-inch hex wrench
And possibly (dependent on your truck)…
- T-30 or T-40 TORX screwdriver
- 10mm open-ended wrench
How to Install DECKED Truck Bed Organizers in 9 Steps
Step #1 – Assemble Driver-Side Deck Half
NOTE: If DECKED system will be exposed to the elements, drill 3/8-inch drain holes in ammo cans, as water can get in them.
Step #2 – Install Axles Into Center Vert and Tailgate Ammo Cans
Step #3 – Install J-Hook Tie-Down Hardware (if necessary)
Step #3.5 – Install Drive-Side Deck Half
Step #4 – Assemble Passenger-Side Deck Half
Step #5 – Install Passenger Side Deck Half
NOTE: Connect the passenger- and driver-side deck halves at center vert with hardware provided. Make sure they are snug, but do not overtighten. Center system and bed using ridges and bed channels as reference. If your system’s center vert is centered on ridges or troughs, you’ve installed the system correctly. Don’t worry if the gap between DECKED and sidewalls are not perfectly even.
Step #6 – Assemble Drawers
NOTE: Skip installing drawer braces if you plan on using DECKED D-Boxes with your system.
Step #7 – Assemble Handle and Spring Arms
NOTE: This is the trickiest part of the installation. For proper functionality, the spring arm must be facing the proper direction, so use care to follow these instructions closely.
Step #8 – Install Drawers
NOTE: Weatherstripping MUST be installed in the proper direction. Install wiper blade with blade pointed toward driver. Keeps your stored items dry. But if installed backward, it creates a funnel for water into your drawers.
Step #9 – Install Bottle Opener and Ruler Plates
NOTE: This is when the narrator recommends cracking your favorite adult beverage. Seemed worth mentioning.
[…] [READ: A 9-Step Installation Guide for DECKED Truck Bed Storage Systems] […]