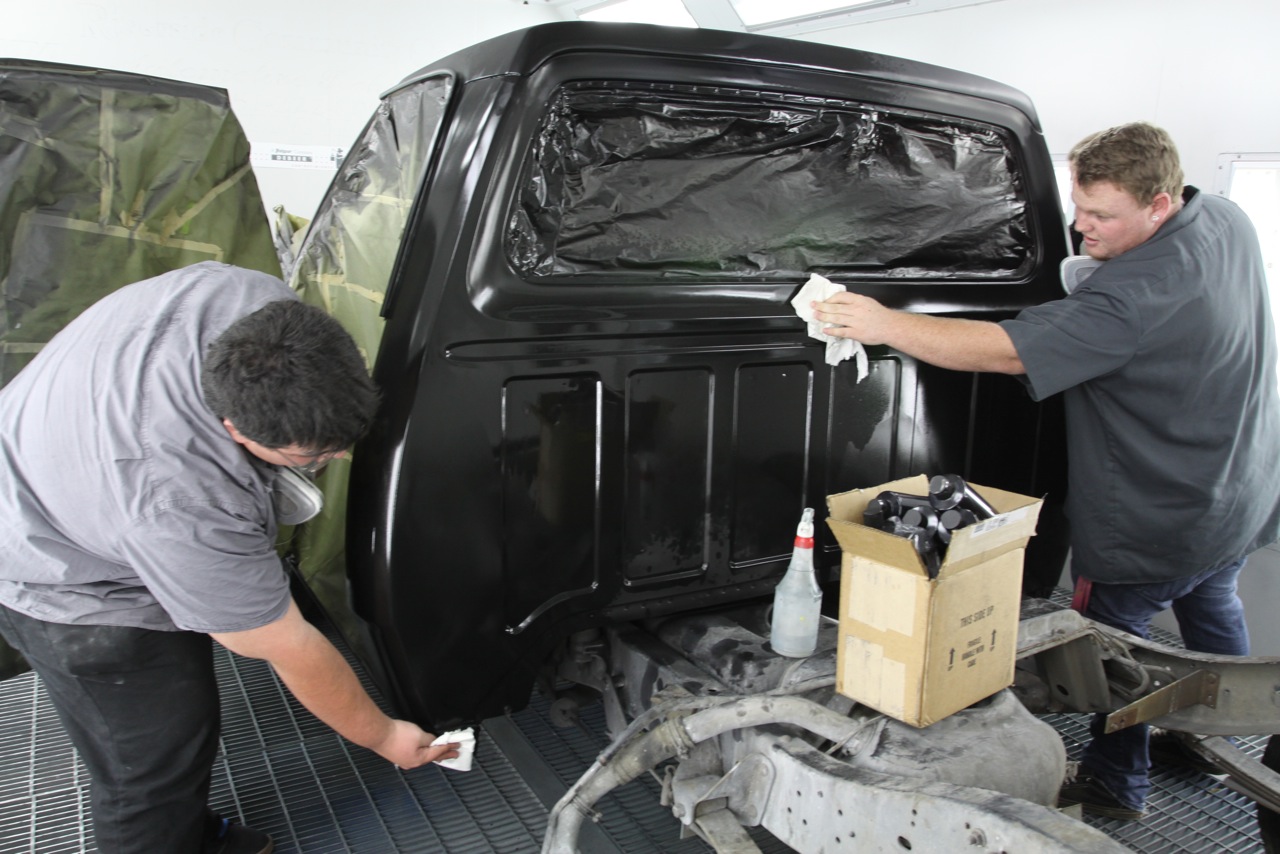
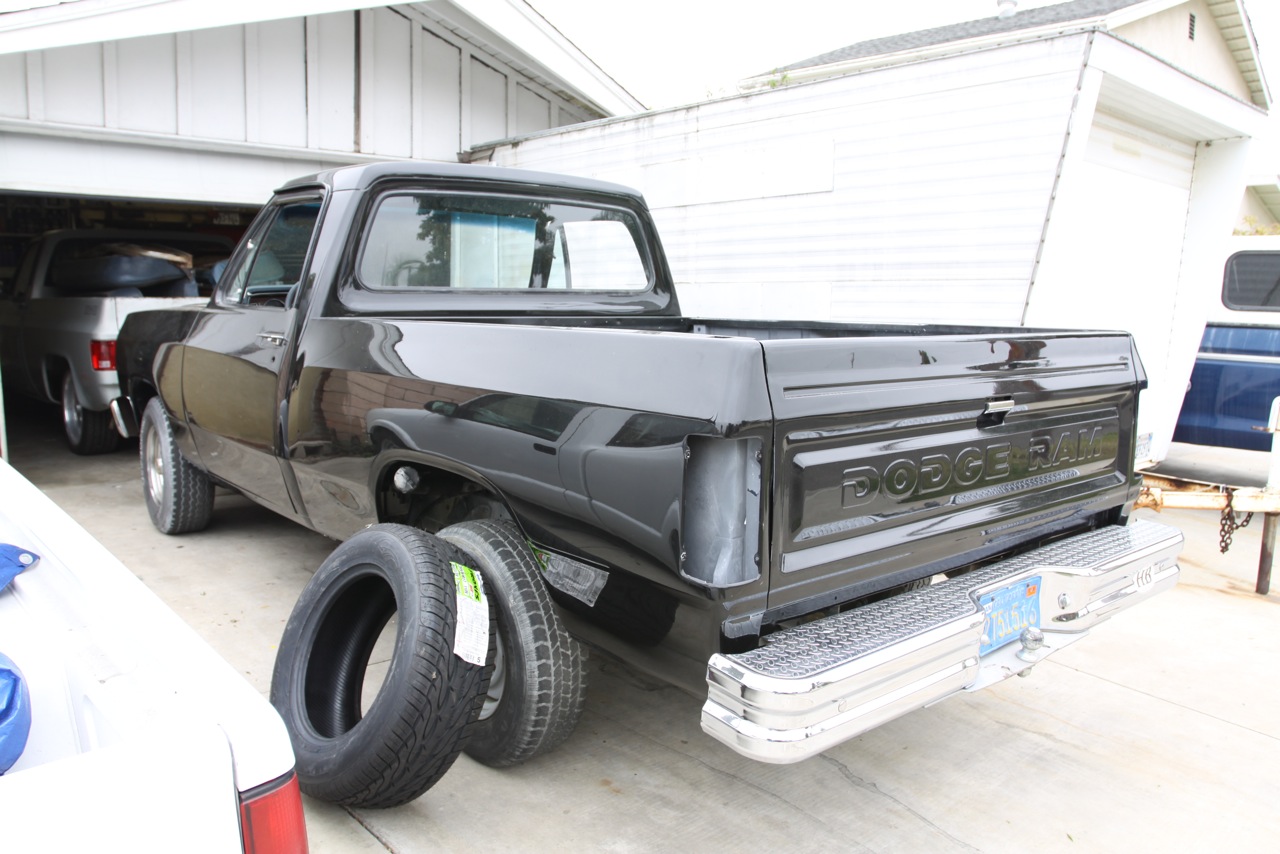
If you’ve been a reader Custom Classic Trucks magazine, this 1986 Dodge Ram D-150 might look familiar.

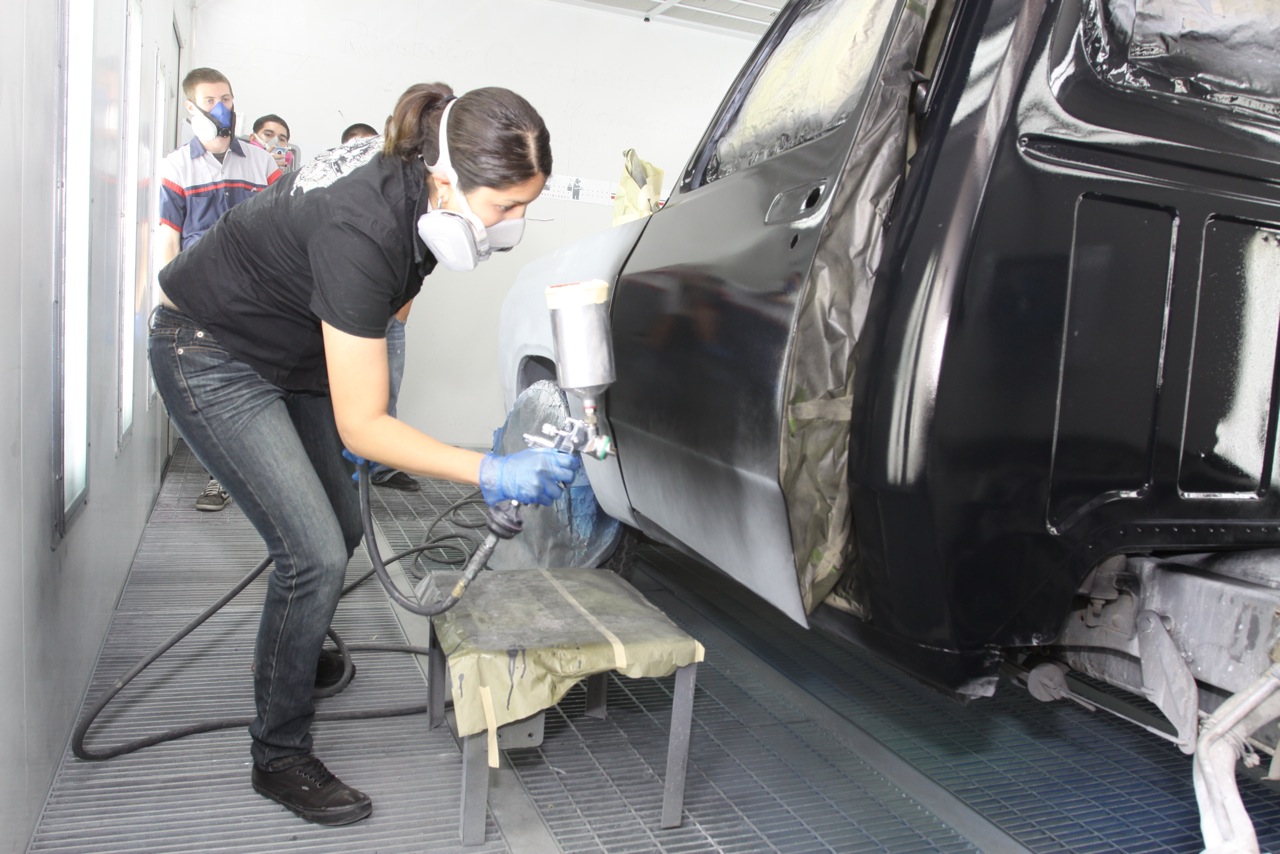
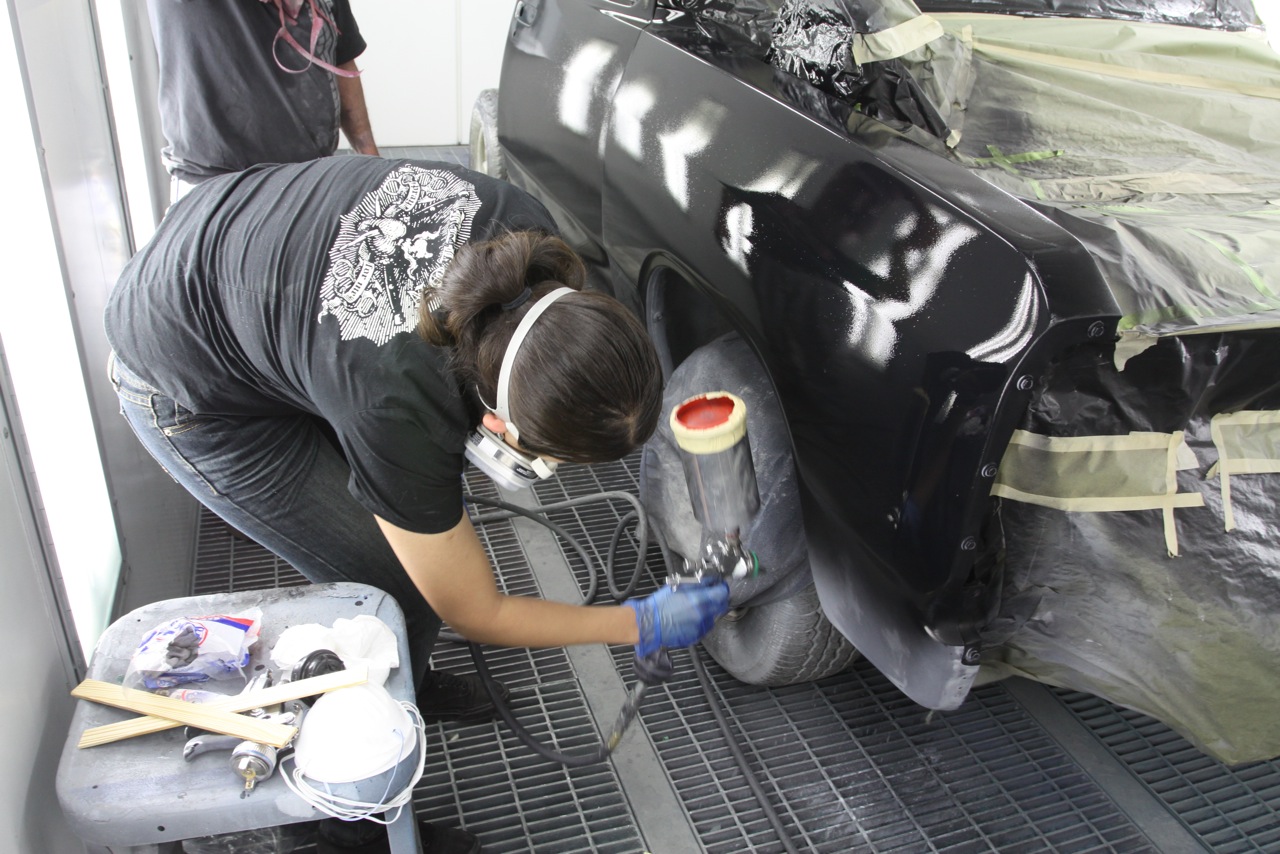
Known as the “High School Custom,” it was featured in a series of build-up articles—a quick Google search will bring up the stories and images. The Dodge spent almost a dozen semesters at Riverside City College’s auto body program and provided numerous students hands-on paint and bodywork experience, which was documented in the magazine.

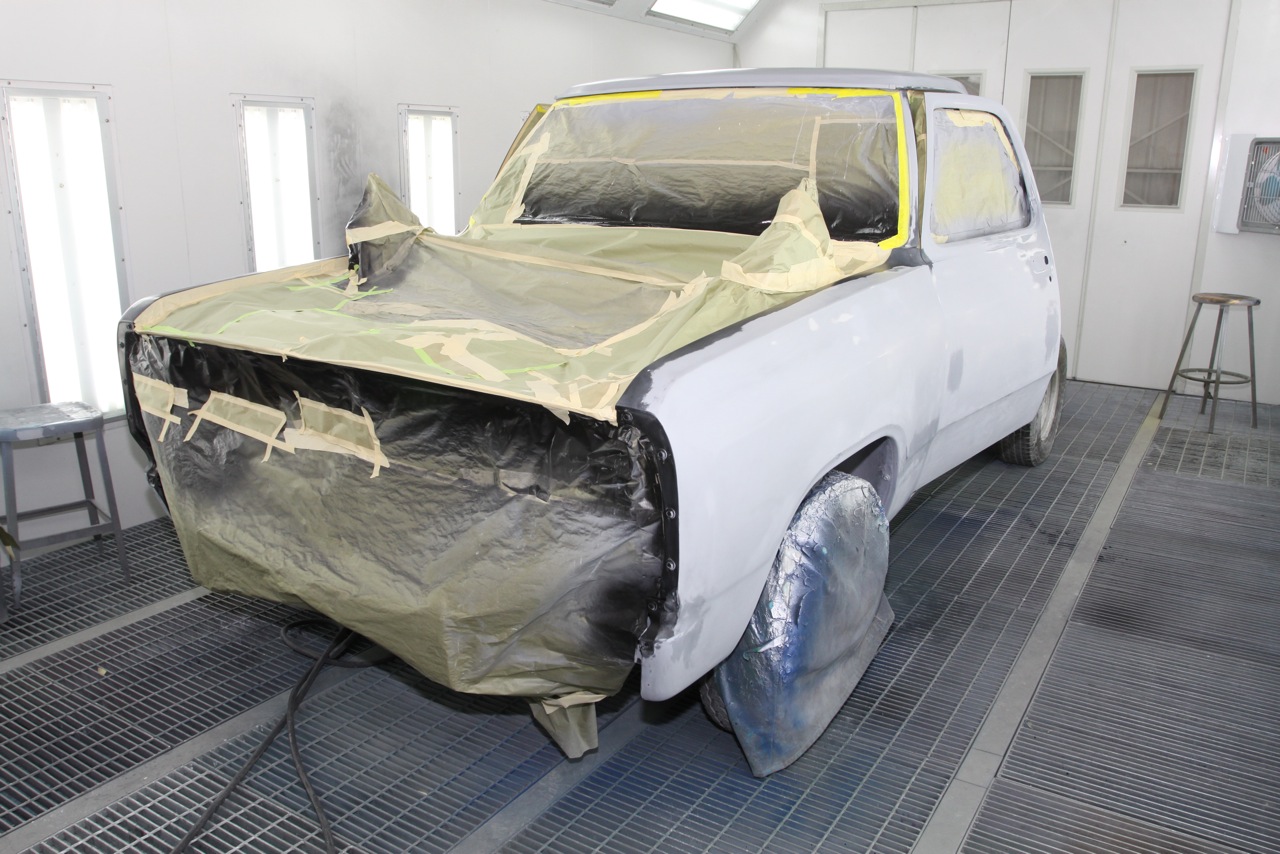
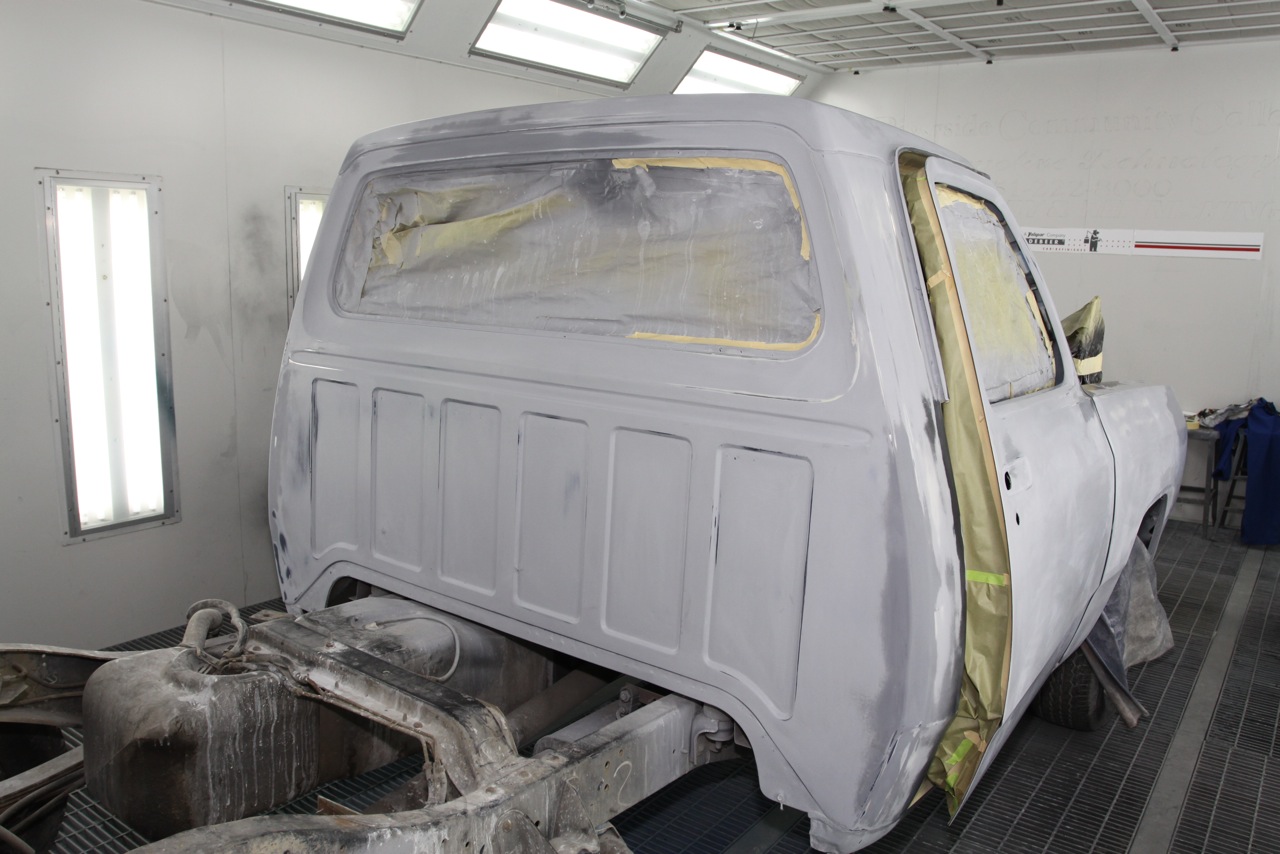
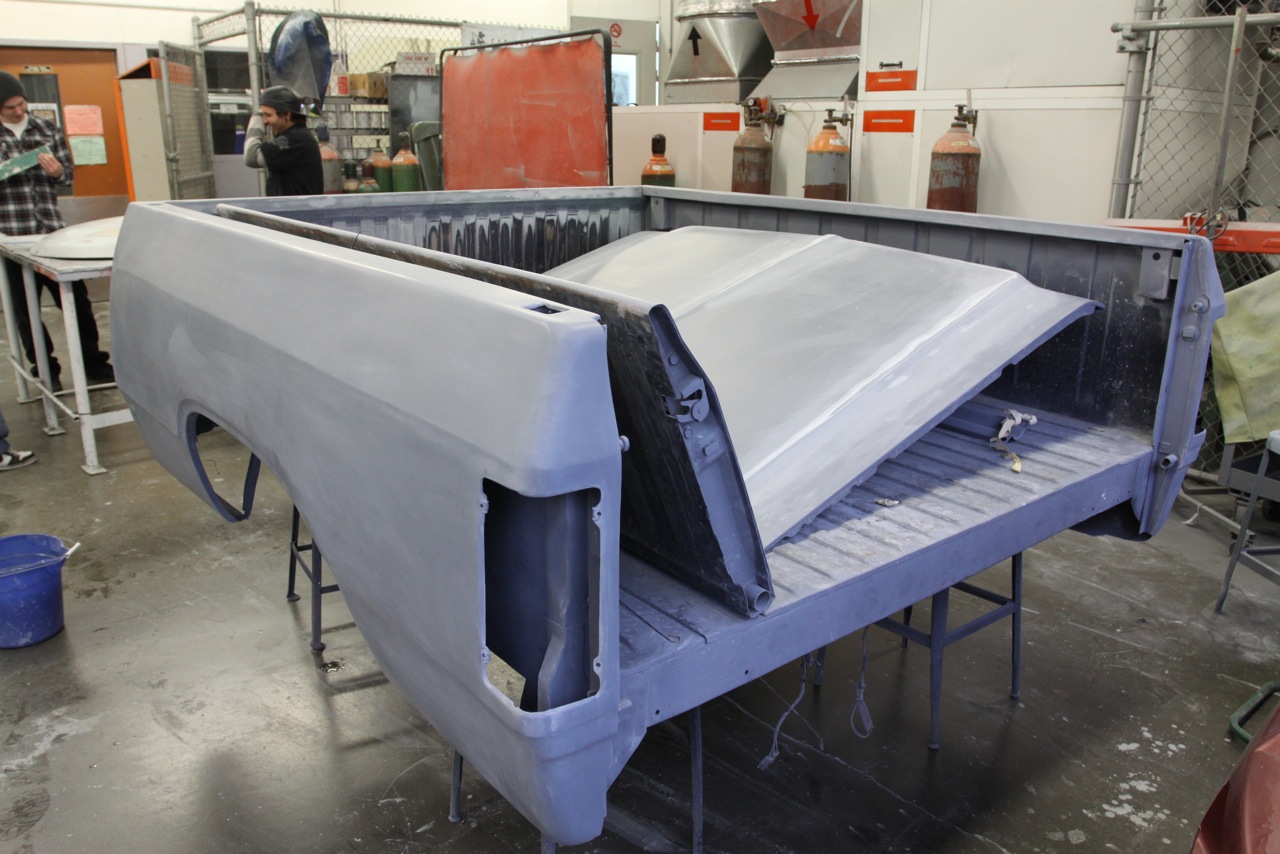
It also served as the perfect canvas to test out some of today’s water-based paints.

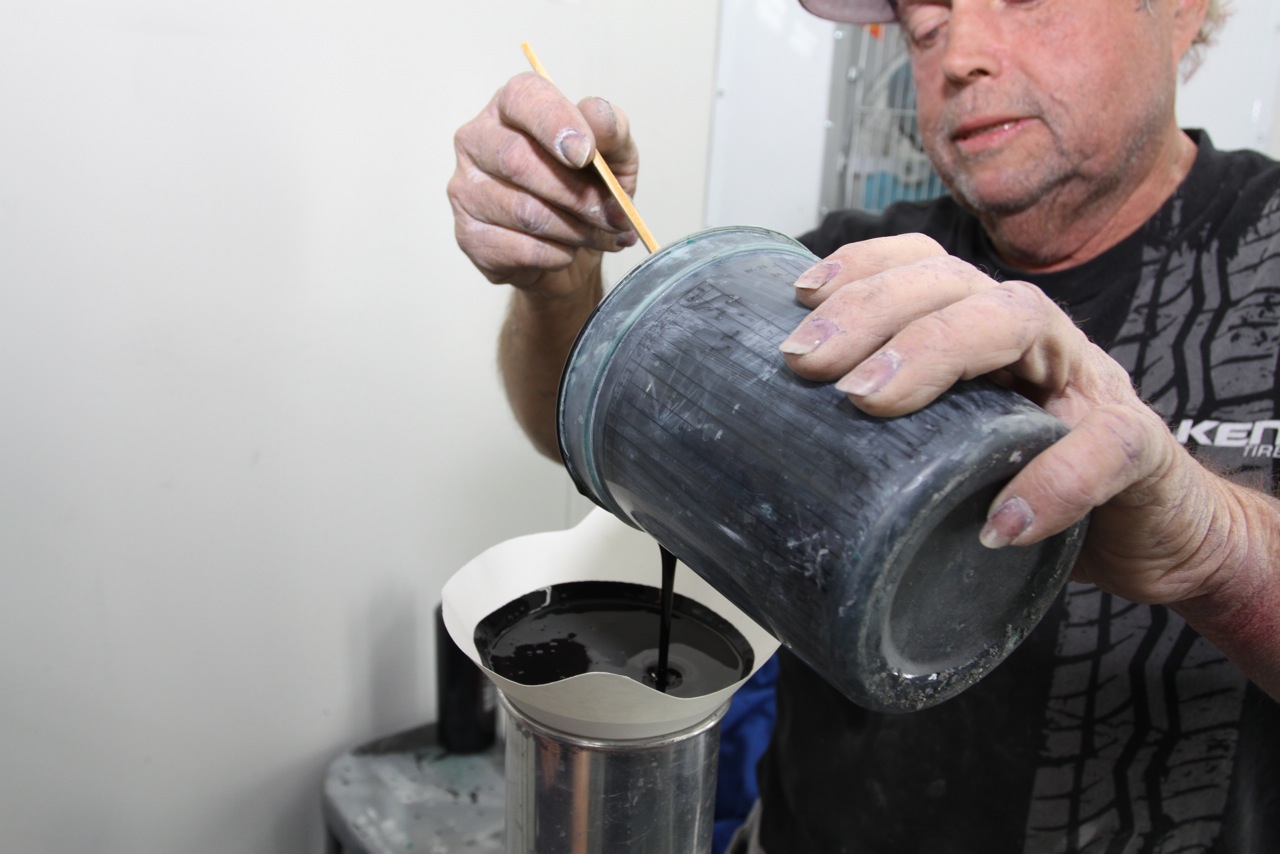
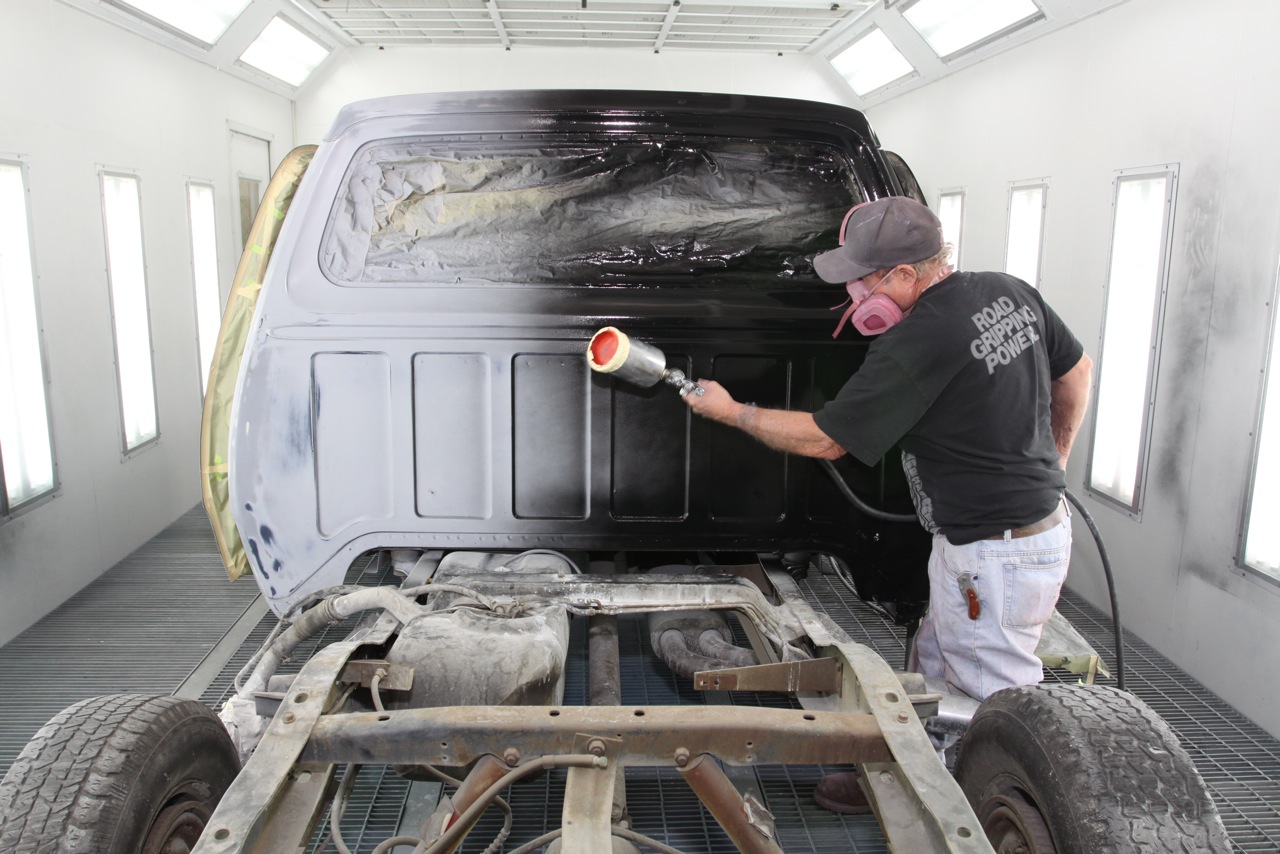
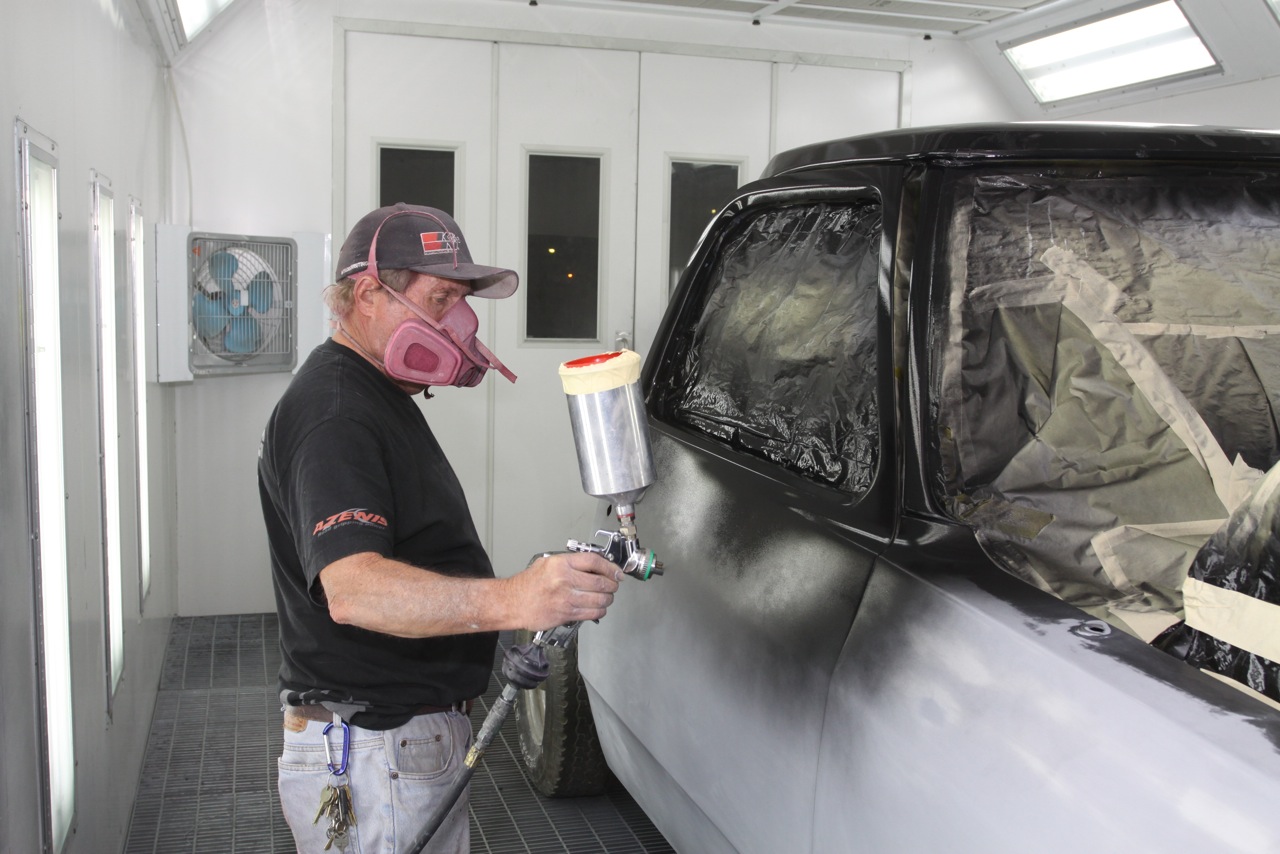
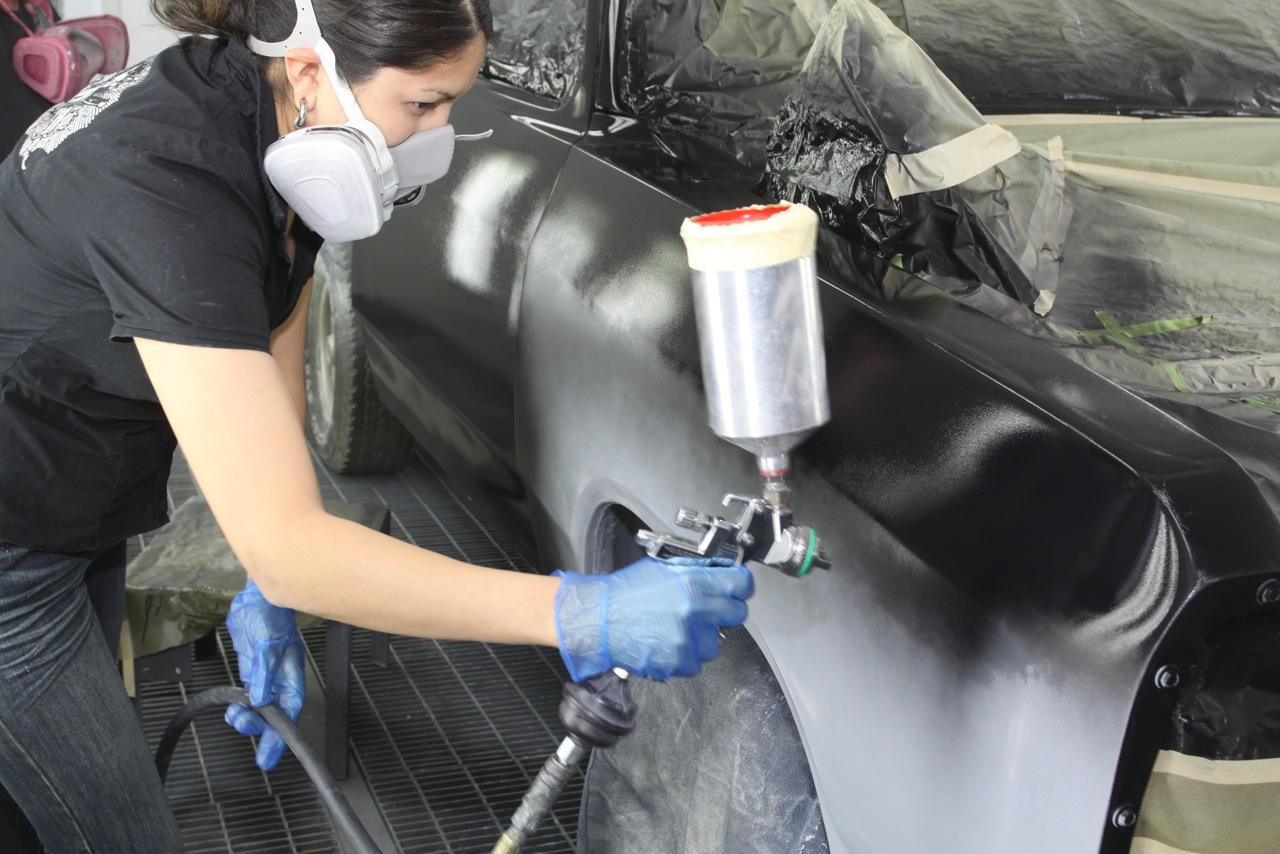
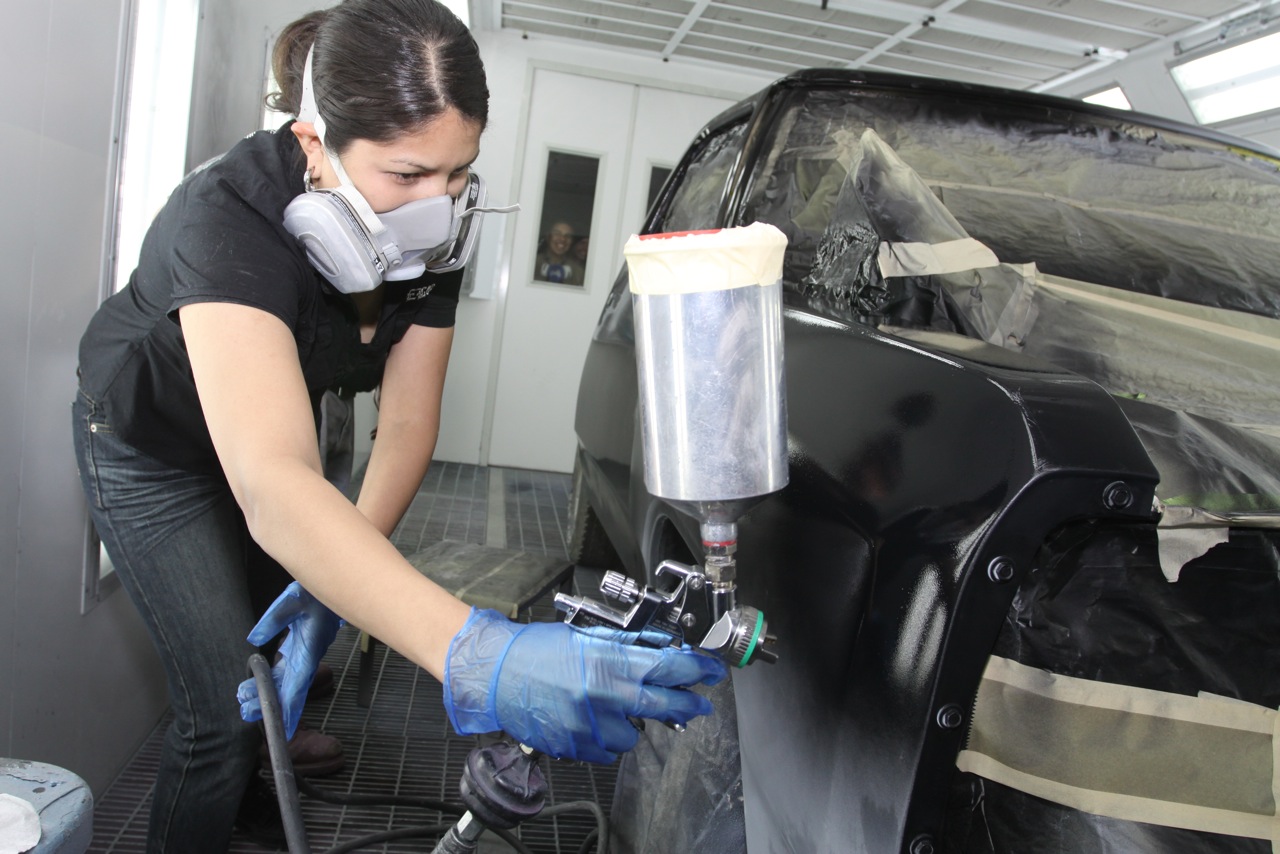
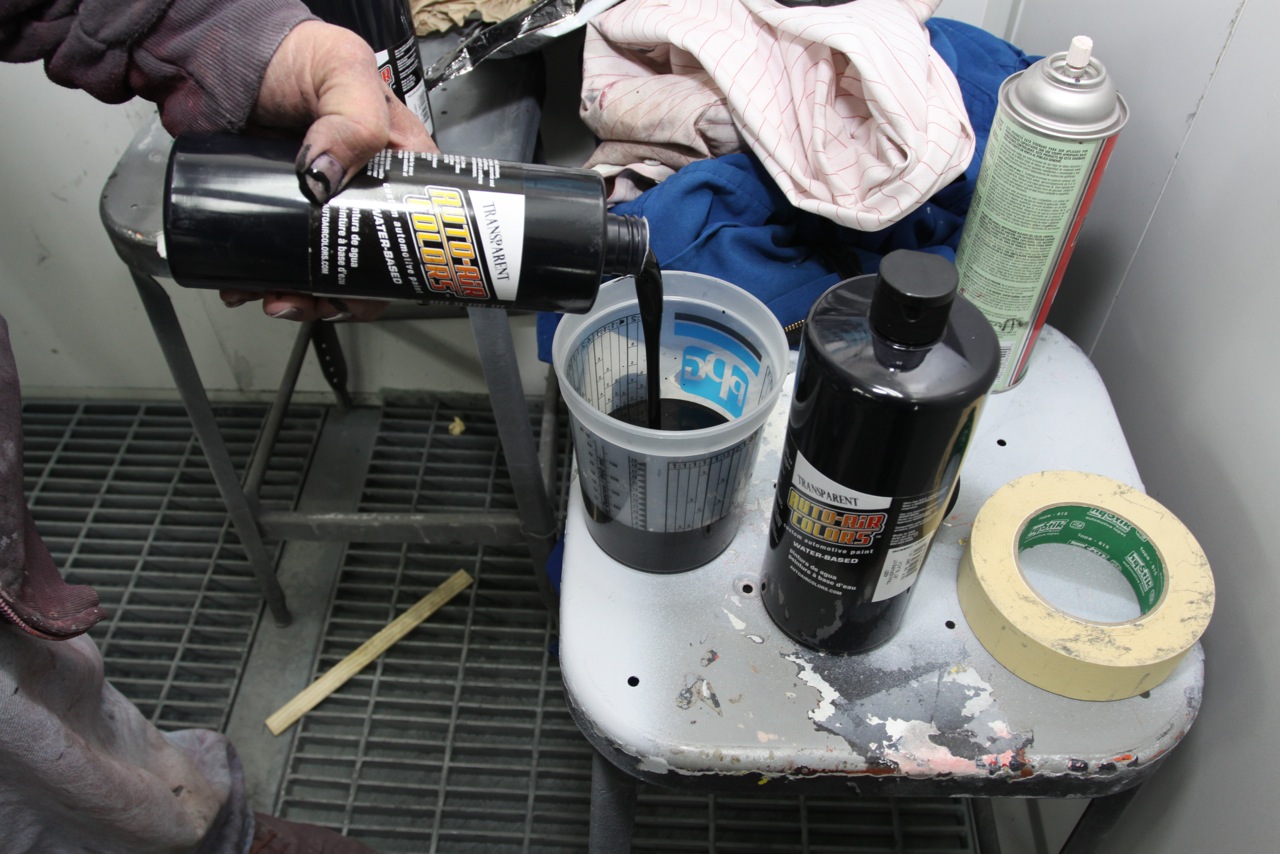
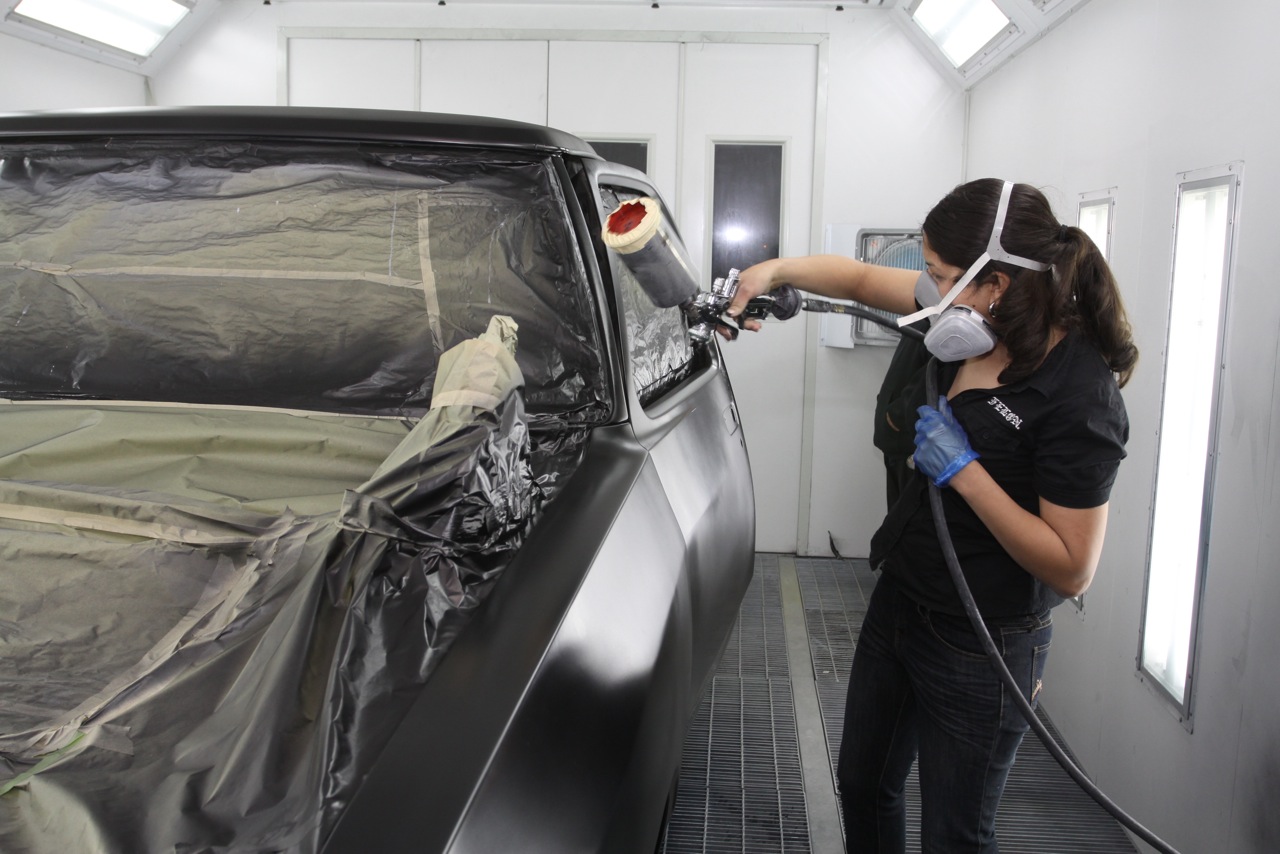
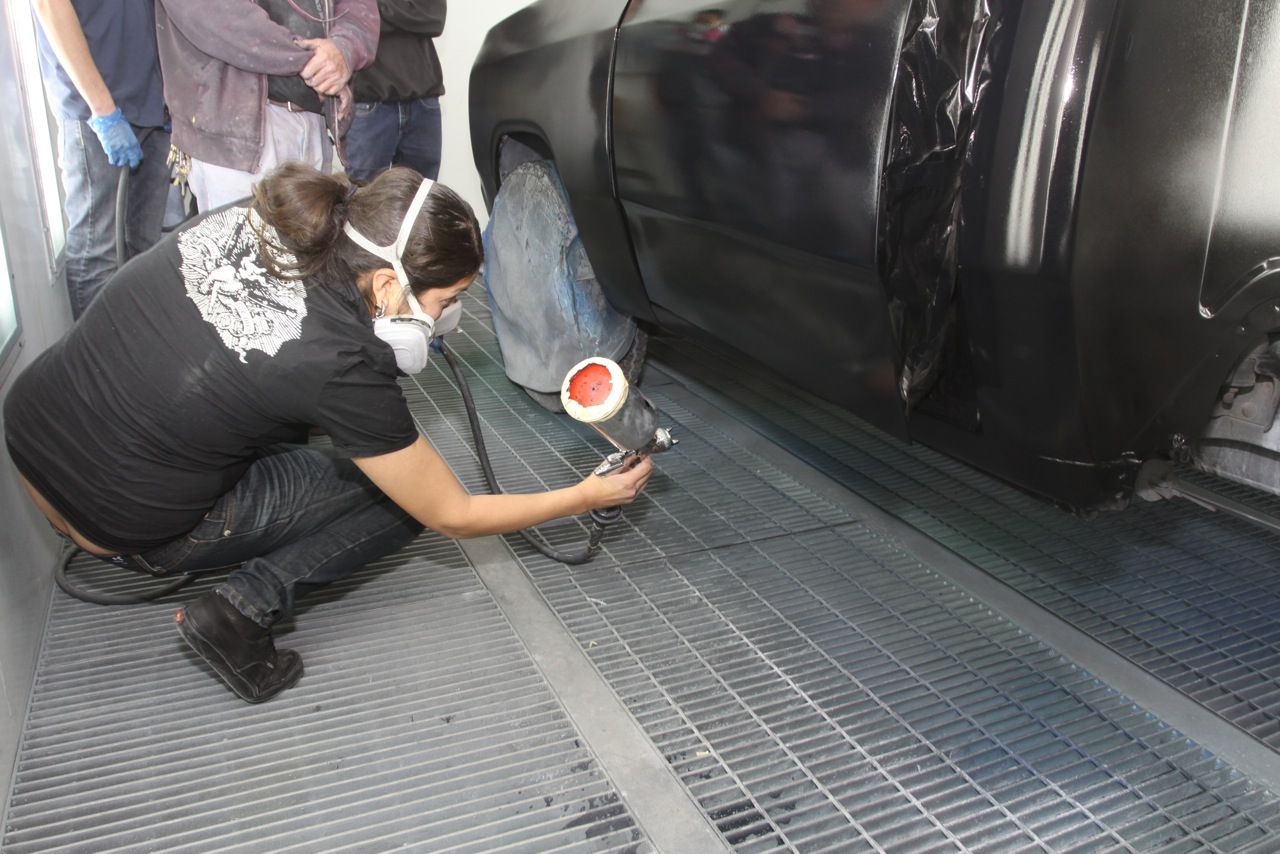
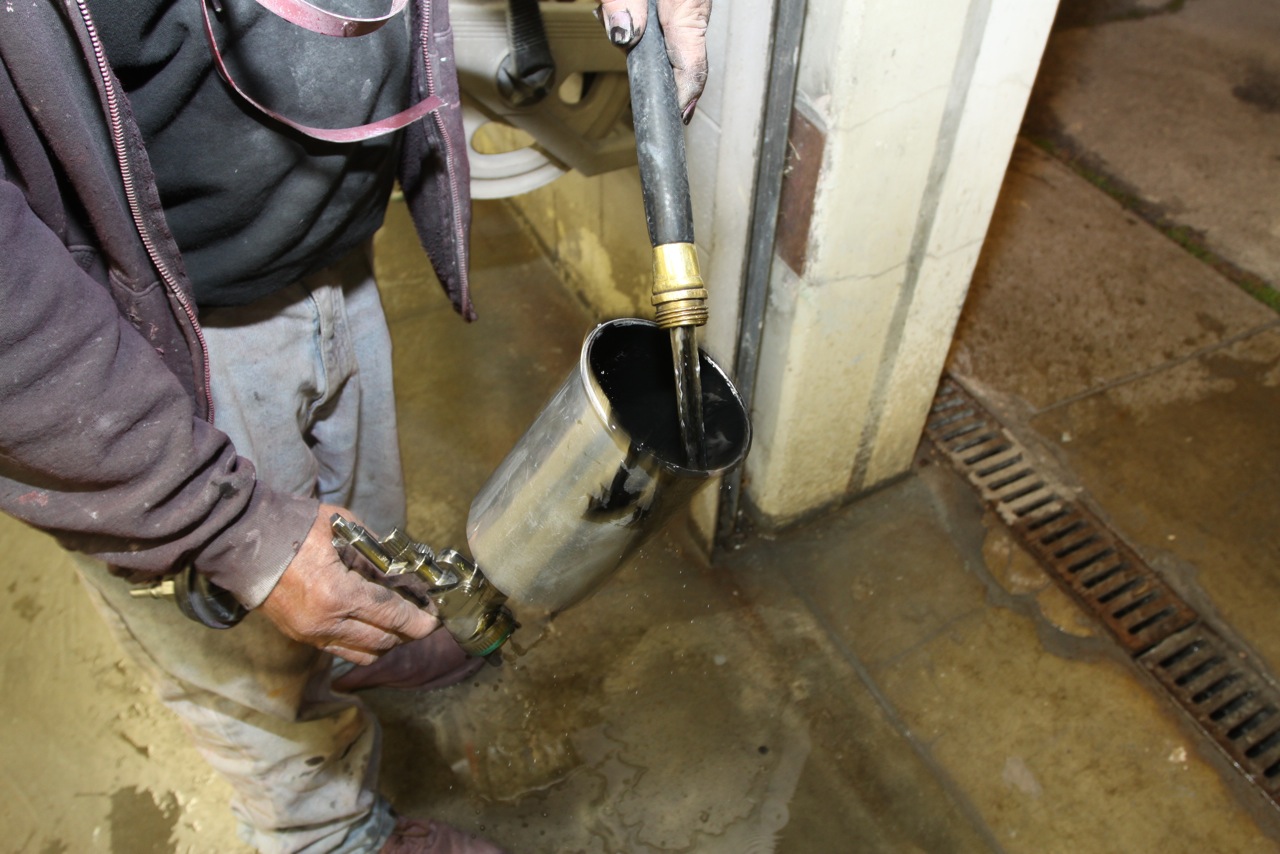
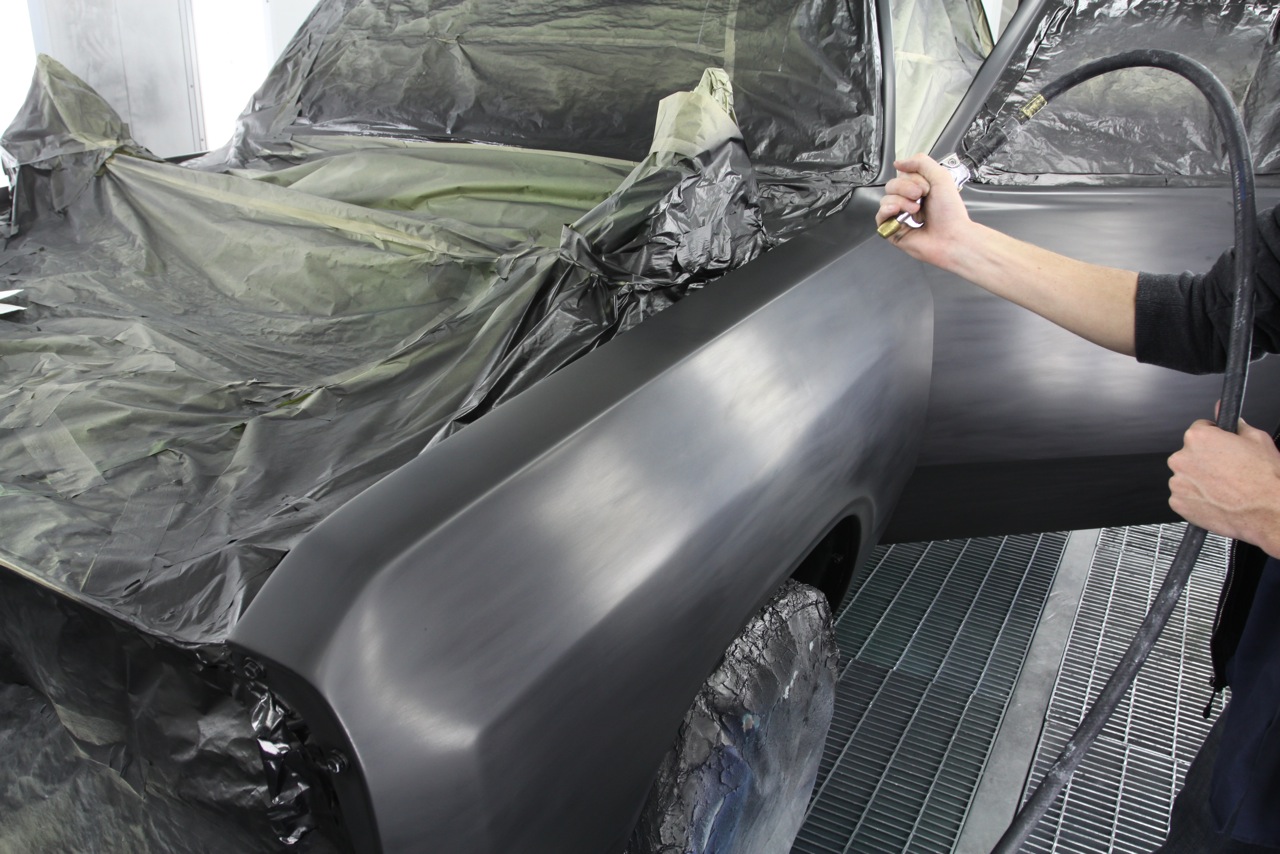
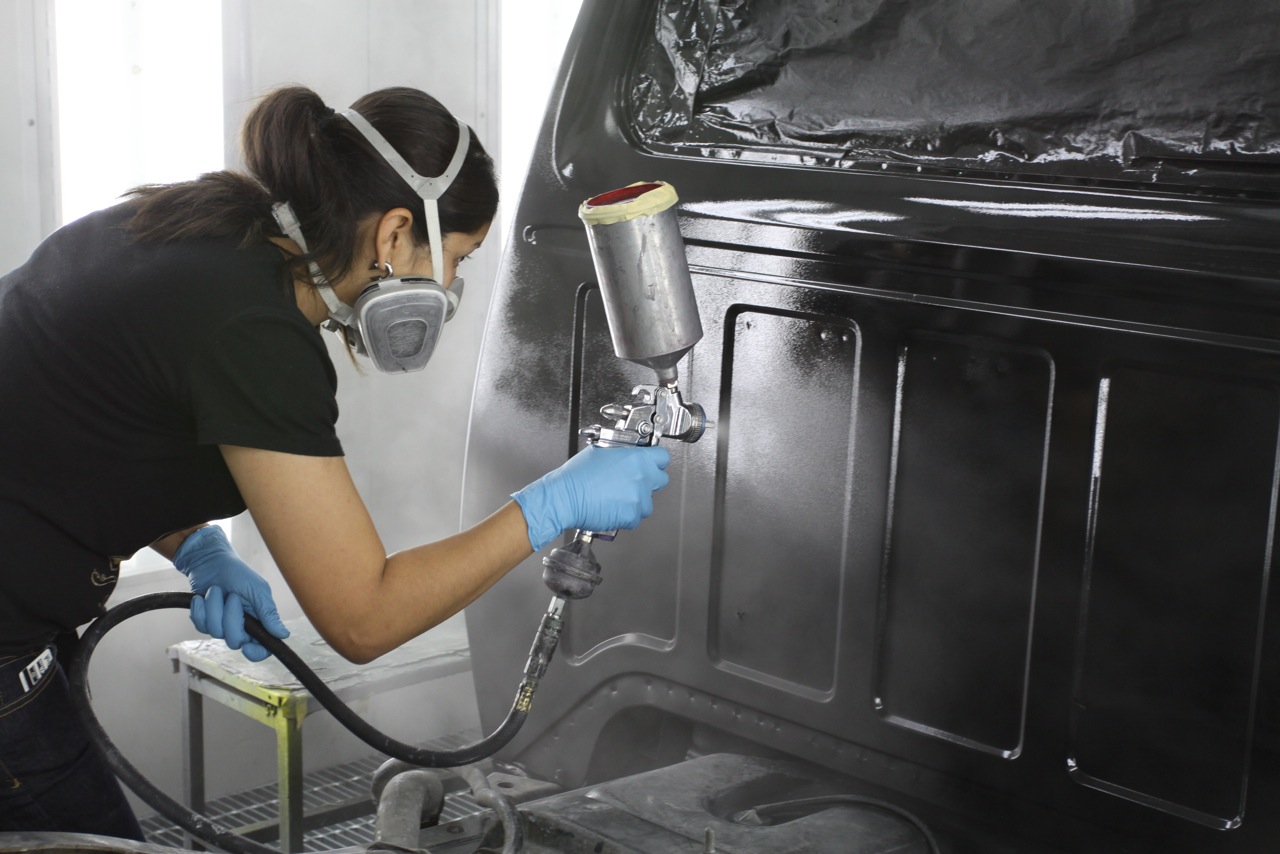
We decided to have our Dodge D-150 sprayed in Auto Air Colors paint. Beyond the merits of using a paint that is absolutely VOC free, Auto Air Colors’ water-based formula allows a second chance if things go wrong in the spray booth. Fisheyes and runs can happen to even the best of painters. While solvent-based paints require paint thinner or reducer to wash off the paint and start over, water-based paint merely requires a garden hose.

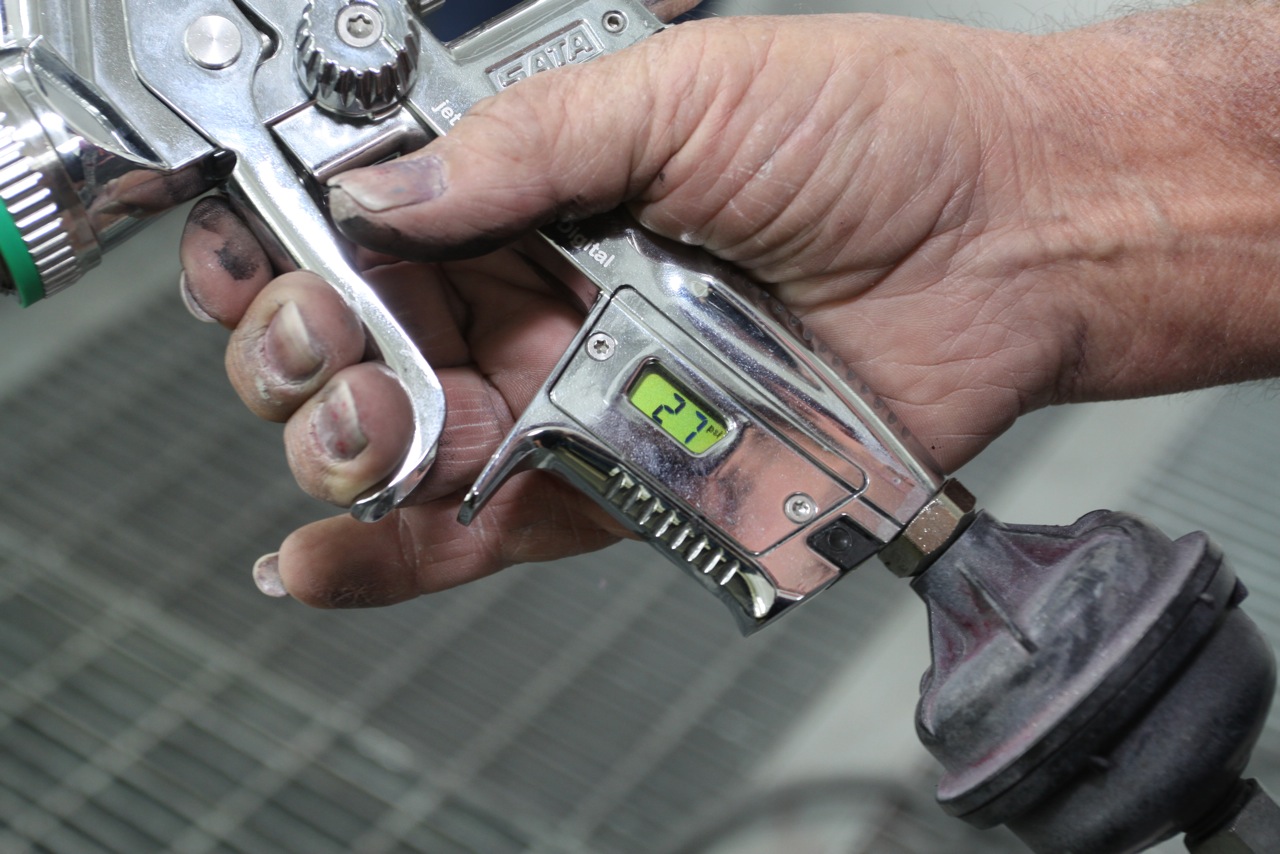
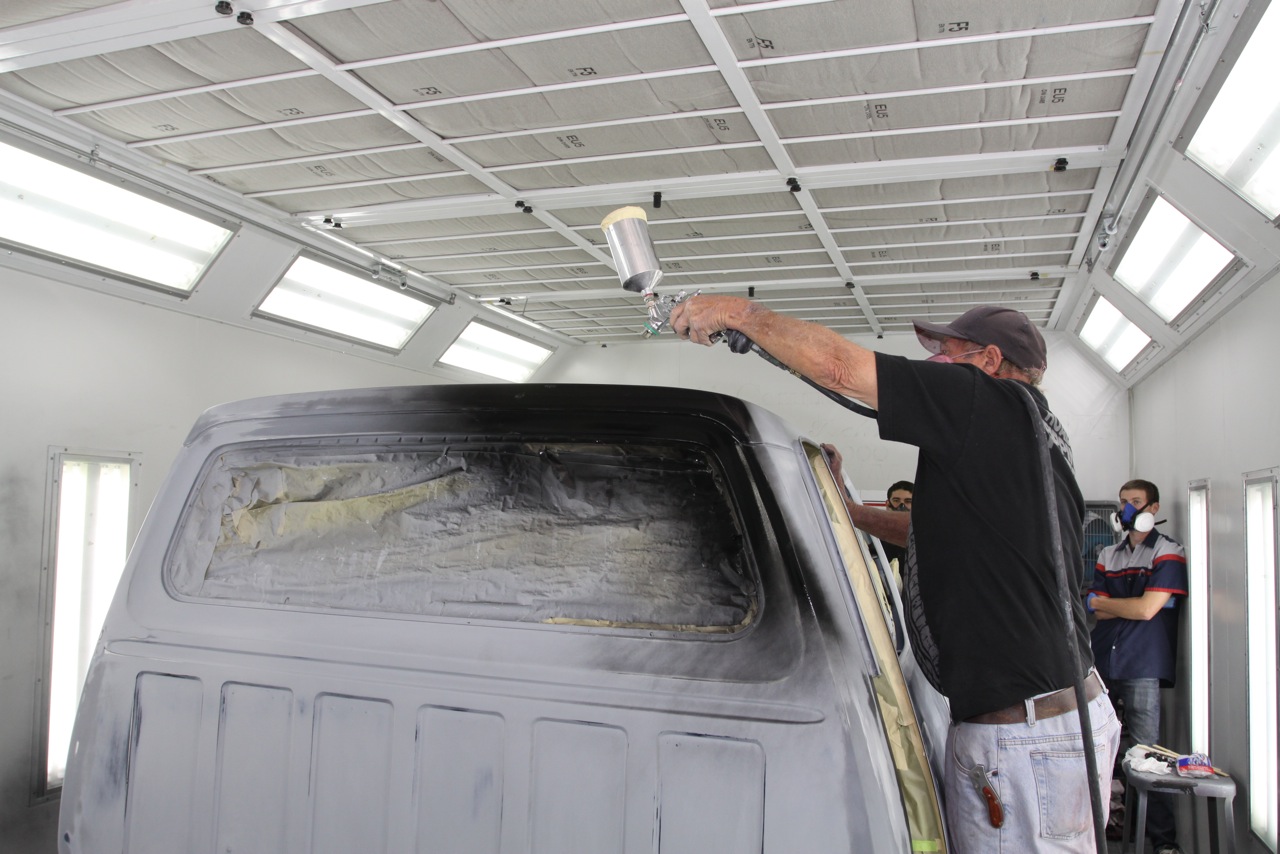
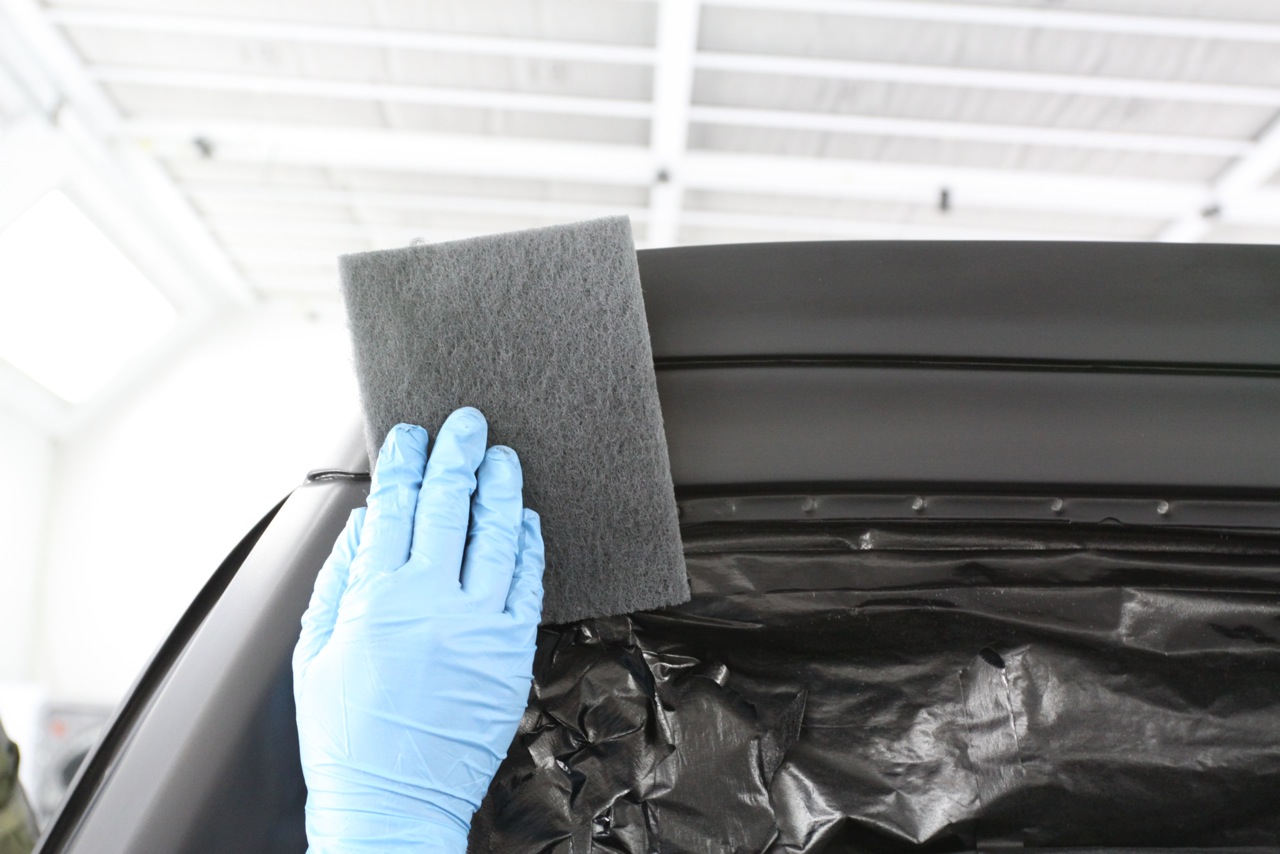
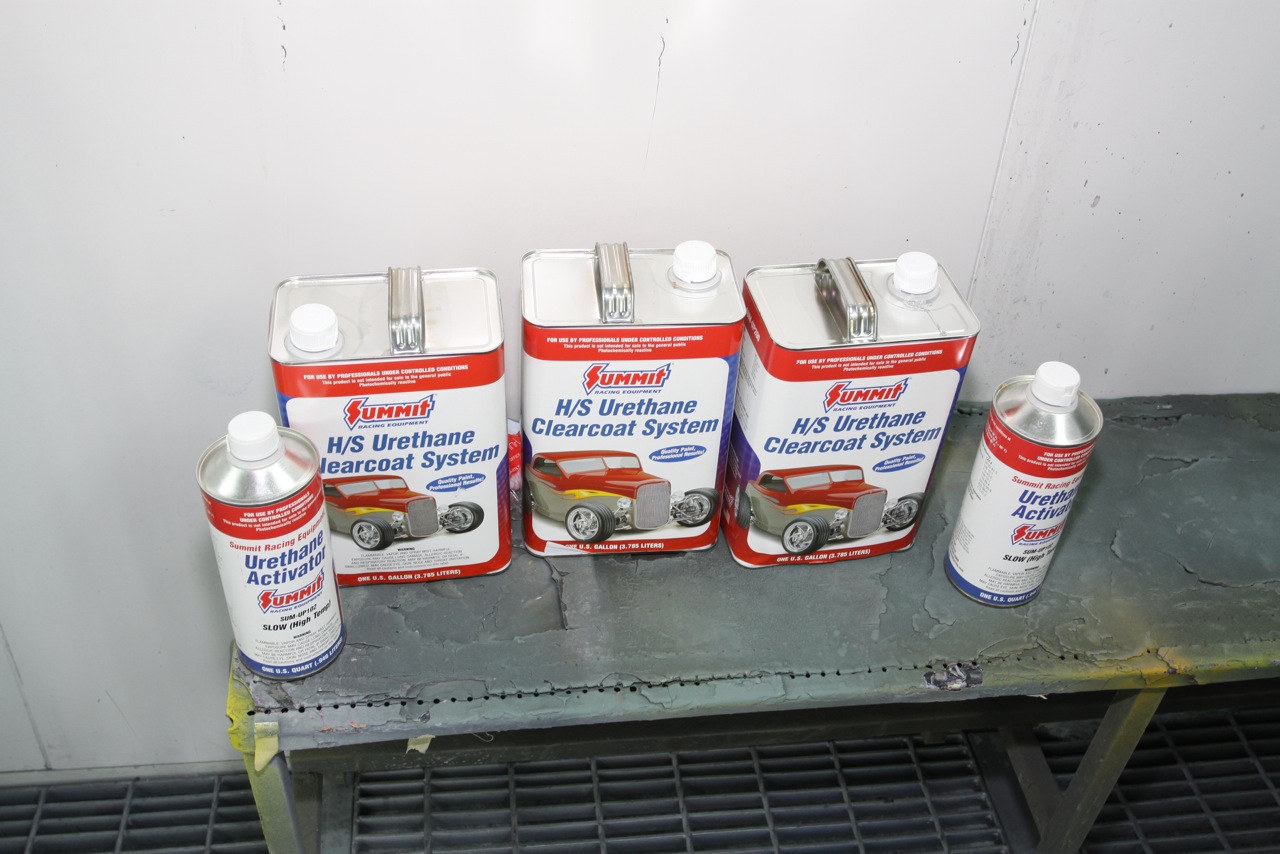
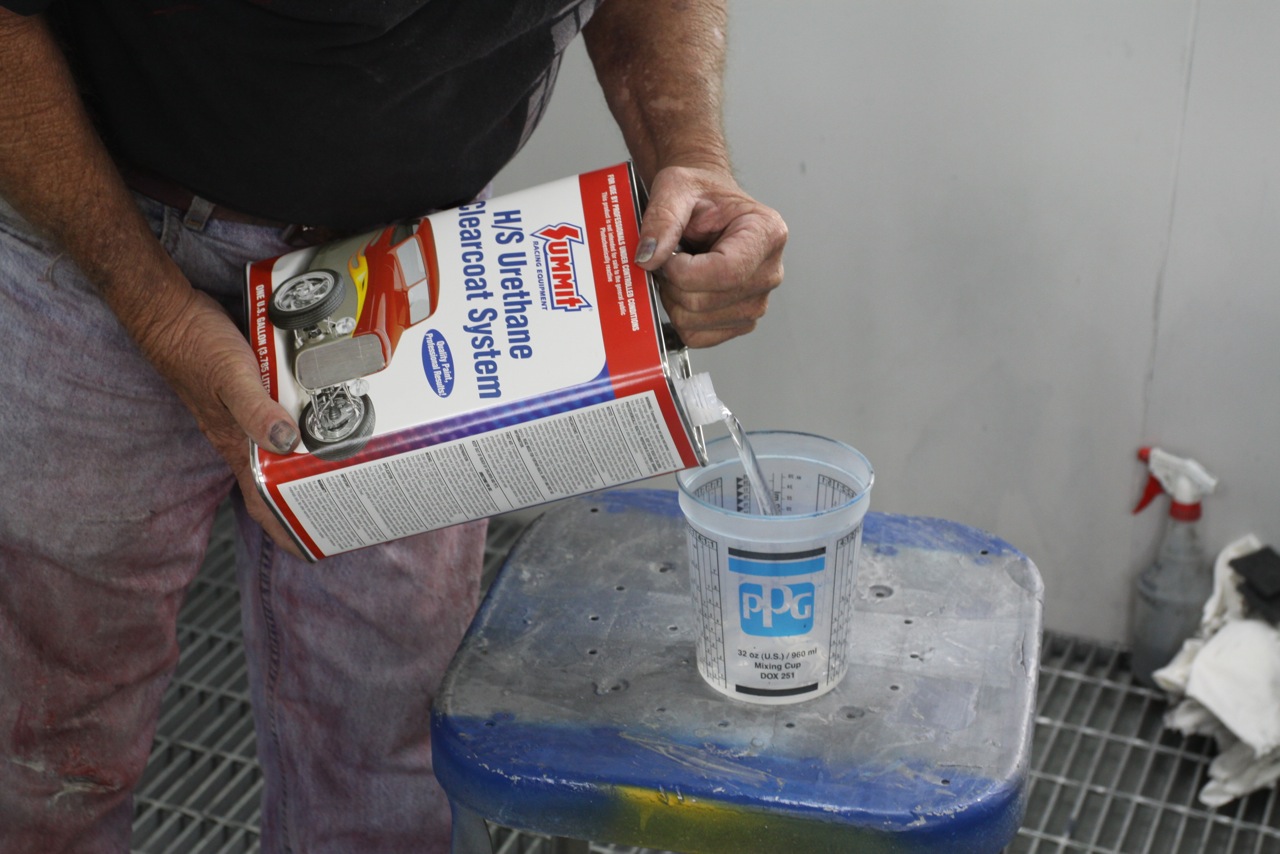
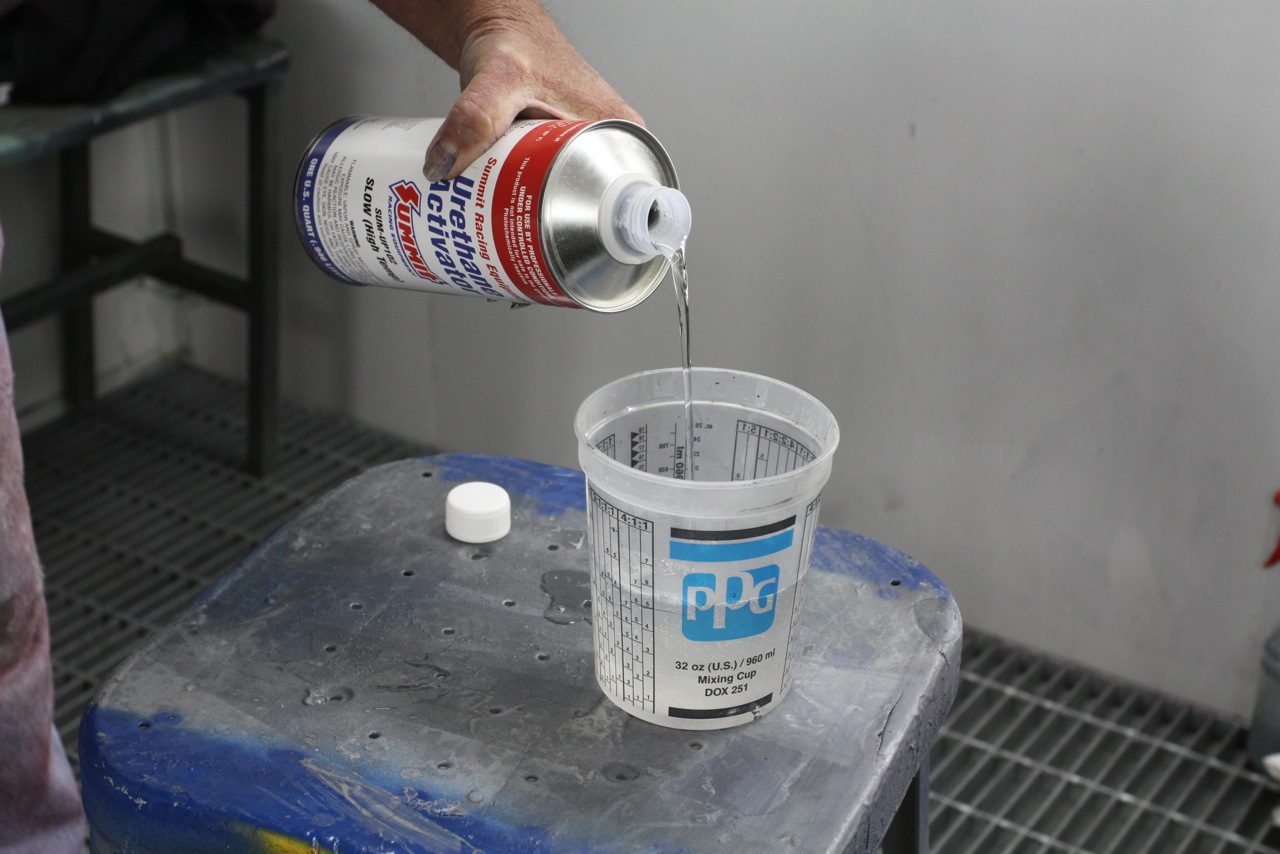
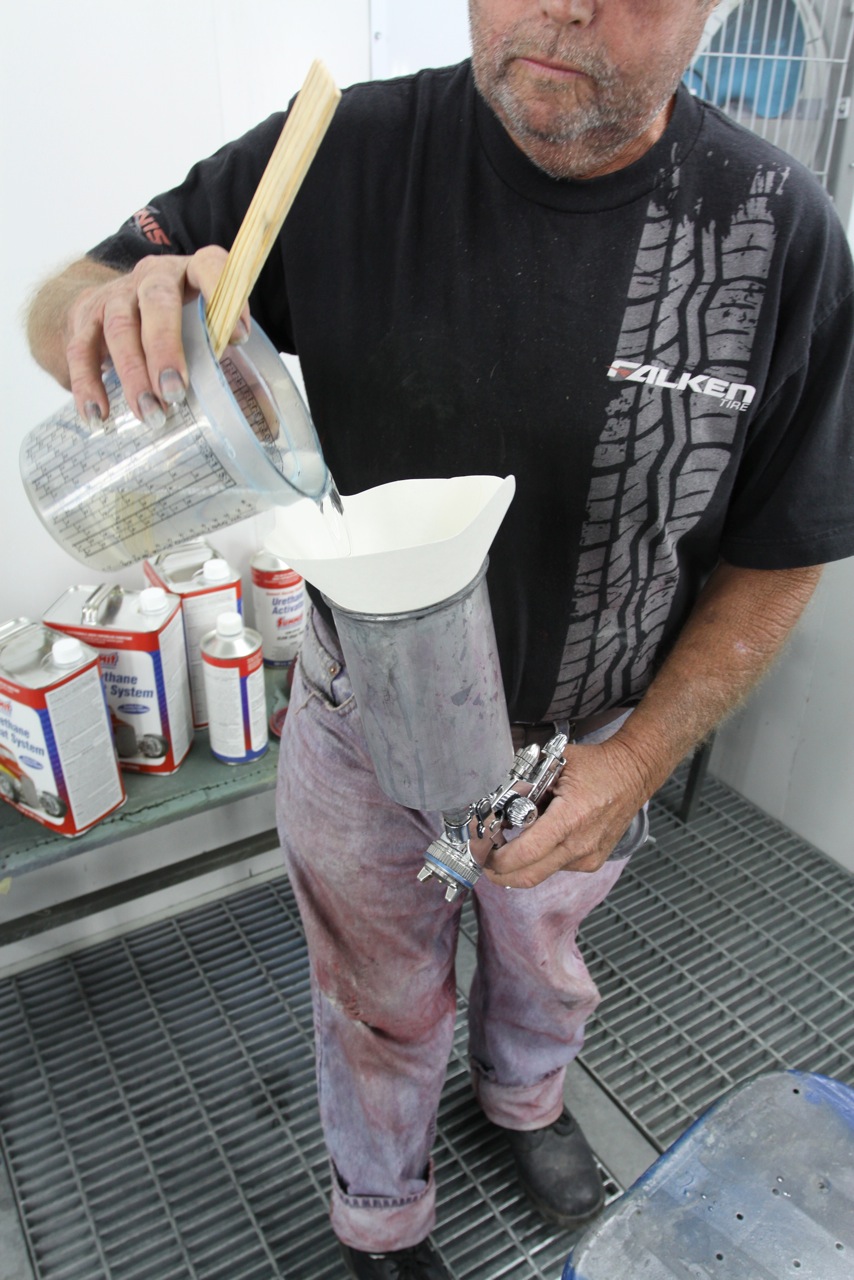
After the Auto Air Colors basecoat color has been completed, there is no window to worry about before the clear topcoat must be applied. In Part 1 of this series, the RCC show you how to spray Auto Air Colors water-based sealer and color and then apply Summit Racing’s high-solids fast-drying urethane clear. In Part 2, we’ll show you how to color sand and rub Summit Racing’s urethane clear and then finish with a polish and wax job using Mothers products.

woman spraying black automotive paint onto a vintage truck door in a paint booth
a truck cab in spray booth, primered and masked for paint
truck cab in primer waiting for paint in a spray booth
truck bed, hood, and tailgate being prepped for paint in a spray booth
mixing black automotive pain into a spray gun cup
a car paint spray gun set to 27 psi
man washing a truck cab clean prior to painting in a spray booth
man painting a truck cab roof in a vehicle spray booth
man painting a truck cab in a vehicle spray booth
man painting a truck door in a vehicle spray booth
woman spraying black paint onto an old truck fender in a spray booth
spraying inside fenders of a truck in a spray booth
mixing black automotive paint into a spray gun cup
spraying paint onto a truck cab in a spray booth
spraying rocker panel on a truck with paint
cleaning paint from a spray gun cup
using a scotch brite pad to scuff paint
men sanding and scuffing paint on a truck cab prior to clearcoat
painting the fender of an old dodge truck in a paint booth
summit racing paint cans sitting on a shelf
pouring clearcoat paint into a mixing cup
pouring paint activator into a mixing cup
man mixing automotive paint in a spray gun cup
paint spray gun set to 32 psi
woman panting cab of an old dodge d150 truck in paint booth with spray gun
Dodge d150 tailgate in paint booth
rear view of an old dodge d150 truck

Since our Dodge D-150 was still in original paint, Riverside City College autobody students sanded most of the dark blue to bare metal. After cleansing with prep solvent, Summit Racing DTM (direct-to-metal) epoxy went on. Wait around 24-48 hours before sanding.

The truck was then sprayed with Summit Racing 2K urethane primer surface, guide-coated, and block-sanded. The RCC students repeated this process until the Dodge was ready for black.

The best way to perfect coverage is to paint body parts individually. Hanging parts to be sprayed vertically as opposed to flat (horizontally) vastly decreases the chance of dirt or dust landing in the paint as it dries.

RCC instructor Jerry Sievers poured Auto Air Colors dark sealer un-thinned (straight from the bottle) through a paint strainer into the gun cup.

Air pressure on the HVLP gun was adjusted to 27 psi, but if you’re still using a siphon gun, it’ll take more pressure, use more paint--and create a massive fog of overspray.

Before spraying, the surface must be washed with a prep solvent, tacked, and blown completely dust-free. Pay special attention to blowing out areas that trap dust and dirt.

Sievers started at the roof, holding the gun flat and moving quickly. Do not spray water-based paint on in a heavy coat.

Sievers moved from the roof to the right rear half of the cab. Remember to keep the gun moving to avoid runs.

Working around the window frame and then to the top of the door each area was sprayed strating at its highest point and then down to the bottom.

Here, one of the advanced auto body students took over. Notice she moves at a steady pace and starts at the top.

To deal with the wheelwell interrupting a long pass, the entire rear lower half of the front fender was completely sprayed before the students took on the front lower half of the front fender.

Special attention was paid to ensure the lower hard-to-see-and-reach areas got an equal coating of Auto Air’s dark sealer.

With the sealer drying the next step was to pour un-thinned (reduced) Auto Air basecoat black color into a cup, then strain it into the gun cup.

Spraying the black color on was a repetition of the sequence used to spray the sealer (always top to bottom).

The last areas to cover were the rocker panels extending to under the cab to ensure good coverage.

All it took to clean the spraygun was water. We suggest you start by flushing the cup and then fill it with fresh water and spray pure water through the gun. Disassemble and clean the gun as you would with solvent paints.

Auto Air Colors can be second-staged with clear as soon as it has dried completely, or because there’s no window (specified hours) many weeks can go by. After two-weeks RCC students scuffed the black Auto Air before painting.

After scuffing the entire truck with an ultra-fine 3M pad, the students cleaned the truck thoroughly with a prep solvent. Solvent will not harm dried Auto-Air Colors paint.

The Dodge was tacked and blown completely clean with a tack rag and oil-free compressed-air. An Air-Control unit will filter moisture and light amounts of oil from the air lines. Always drain water from the air-compressor and air control unit before painting.

Three gallons of Summit Racing’s high-solids urethane clear was more than enough paint to completely cover the Dodge and left lots of sandable material to color sand and rub.

Summit Racing’s high-solids urethane clear requires no induction time. From the mixing cup it was strained into the gun cup and then it was ready to spray.

Rapid air movement in a spray booth, as opposed to painting outdoors or in a garage, dries paint faster. Using slow activator works best in a spray booth or in temperatures above 80 degrees F.

No induction time means no waiting. As soon as it’s stirred (mixed), you can pour the clear through a paint strainer into the cup.

The air-pressure for shooting Summit Racing’s clear urethane was set at 32 psi.

The same sequence (starting from the top of an area and working to the bottom) was used to spray the clear. A wide vertical fan help enhance the results.

“Slicked” is a term for laying the clear on like glass. By watching the clear hit the surface, and making sure you lay on a good, heavy last coat will guarantee slick results.

Here’s the Dodge at home after the RCC students color-sanded and rubbed it. Please stay tuned for Part 2 where we’ll show how to color-sand, rub, and detail.

Author: John Gilbert

Born in Southern California, John Gilbert was ingrained with a dedication to customizing, restoring, and racing vintage cars, trucks, and motorcycles. In his early years John owned Crazy John Custom Paint, Auto Exotics, and Cycle Craft. Later, he served as editor of Tailgate, Custom Classic Trucks, American Truck, Highbeams; tech editor for Hot Rod Bikes, Classic Trucks; and feature editor for Rod & Custom and Street Rodder. His photographic images have appeared on over 250 magazine covers.