car chassis with aluminum body panels placed nearby
drilling holes in sheetmetal
drilling holes in sheetmetal for a factory 5 kit car
man assembling kit car body panels
kit car body panels installed on chassis
floor pans and bulkheads installed in kit car
aluminum dash panel
man wiring gauges to a kit car
dash padding affixed to metal gauge panel
placing dash in a factory 5 kit car
installing pedal mount assembly in a factory 5 kit car
installing brake master cylinder in a factory 5 kit car
clutch cable adjustment on a factory 5 kit car
steering shaft pillow block bearing
Aluminum pedal pads getting installed in a car
seats getting installed in a factory 5 kit car
installing battery in a factory 5 kit car
kit car wiring harness
rear view of an automotive fuse block panel
interior of a custom built factory five mk. 4 roadster
wheels on a factory five mk 4 roadster kit car
test driving factory five mk. 4 kit car
factory five mark IV roadster from Summit Racing

The aluminum panels supplied with the Factory Five Mk4 kit are laid out around the bare chassis to determine their correct locations. The panels are installed before the suspension and drivetrain, which we covered in previous articles.

The panels have positioning holes pre-drilled at the corners. Additional holes need to be marked and drilled. Self-tapping screws can be used to hold the panel in place on the subframe when marking the drilling locations.

Before riveting a panel to the tubing, apply a bead of silicone caulking on the edges to minimize noise and possible water leaks around the rivet holes.

Structural adhesive can be used when installing the panels for more shear strength. However, this makes it difficult to remove panels to access mechanical components.

The installed panels on the front of the chassis…

... and the rear.

The aluminum dash panel has holes cut out for gauges. You can order a blank panel if you want to do a custom gauge layout.

Factory Five provides a Ron Francis wiring harness for the gauges. The harness is clearly labeled to make assembly easier. You can assemble the gauges on a workbench and install the dashboard as a single unit.

This closeup of the dash padding shows the “pie cuts” needed for wrapping the vinyl around the panel. Don’t make these cuts too close to the edge. After applying the contact adhesive (we recommend 3M Super 77) don’t press down too firmly on the padded vinyl or it will absorb the glue and leave a mark. Use a stack of books or similar-weight objects to apply light, even pressure to the vinyl as the adhesive dries. Make sure the metal side of the panel faces up.

Once the dash is complete, it’s usually better to install it with the body mounted, so there’s no gap on the upper edge. (This photo shows a preliminary fitting with the body off.)

In the top-mount pedal assembly, there’s an adjustable clutch quadrant for the clutch cable, with a threaded section to adjust the height of the pedals for the driver’s preference.

It’s fairly simple to change the size of the master cylinder to match the size of the brakes you are using.

Here’s a closeup of the clutch cable adjustment. Tailoring pedal height to the driver is time well-spent.

The pillow block bearing for the steering shaft can be adjusted with shims to suit your driving position. A set screw in the collar of the bearing allows the upper steering shaft to be moved fore and aft.

Aluminum pedal pads complete the pedal assembly.

The seat supports are bolted down after the carpeting is laid. The steel floor pan on the Mk4 allows the seat to be mounted where you prefer. It’s better to check seat fitment during the body-prep phase (before painting) so you don’t risk damaging the final finish.

The battery mounts in the right rear of the chassis. Make sure the grounding is through-bolted to bare metal on the frame. A separate ground is supplied for the fuel-filler cap as well. This will prevent sparks from a static charge.

Ron Francis designed the wiring harness specifically for the Factory Five Mk4 chassis. The loom should be installed at the same time you install the aluminum panels.

The fuse box that comes with the wiring harness is mounted in the driver’s foot box, near the steering bulkhead.

Here’s what the interior should look like when it’s all buttoned up—a classic, functional look that’s all business, just like the rest of the car.

The wheels are modern bolt-ons, but have a cover to conceal the lug nuts plus a knock-off style spinner. The front wheels are 17 x 9 inches, the rears are 17 x 10.5 inches.

Now everything is installed—time for a test drive! SKJ Customs, builder of our Mk4, did a shakedown run before doing the final paint and bodywork. That technique allows you to sort the car without worrying about ruining a new paint job with potential fluid leaks, greasy handprints, etc. Whether you take a drive in primer or wait until your car is painted, always check things like the brakes and steering before heading down your favorite road.

The finished product. And thanks to Summit Racing’s Factory Five Combos, you can duplicate our Mk4 right down to the Viper Red paint stripes. Want to build one differently? That’s the beauty of getting your parts at Summit Racing—you can build a Factory Five Mk4 just about any way you want. After all, it’s your car!

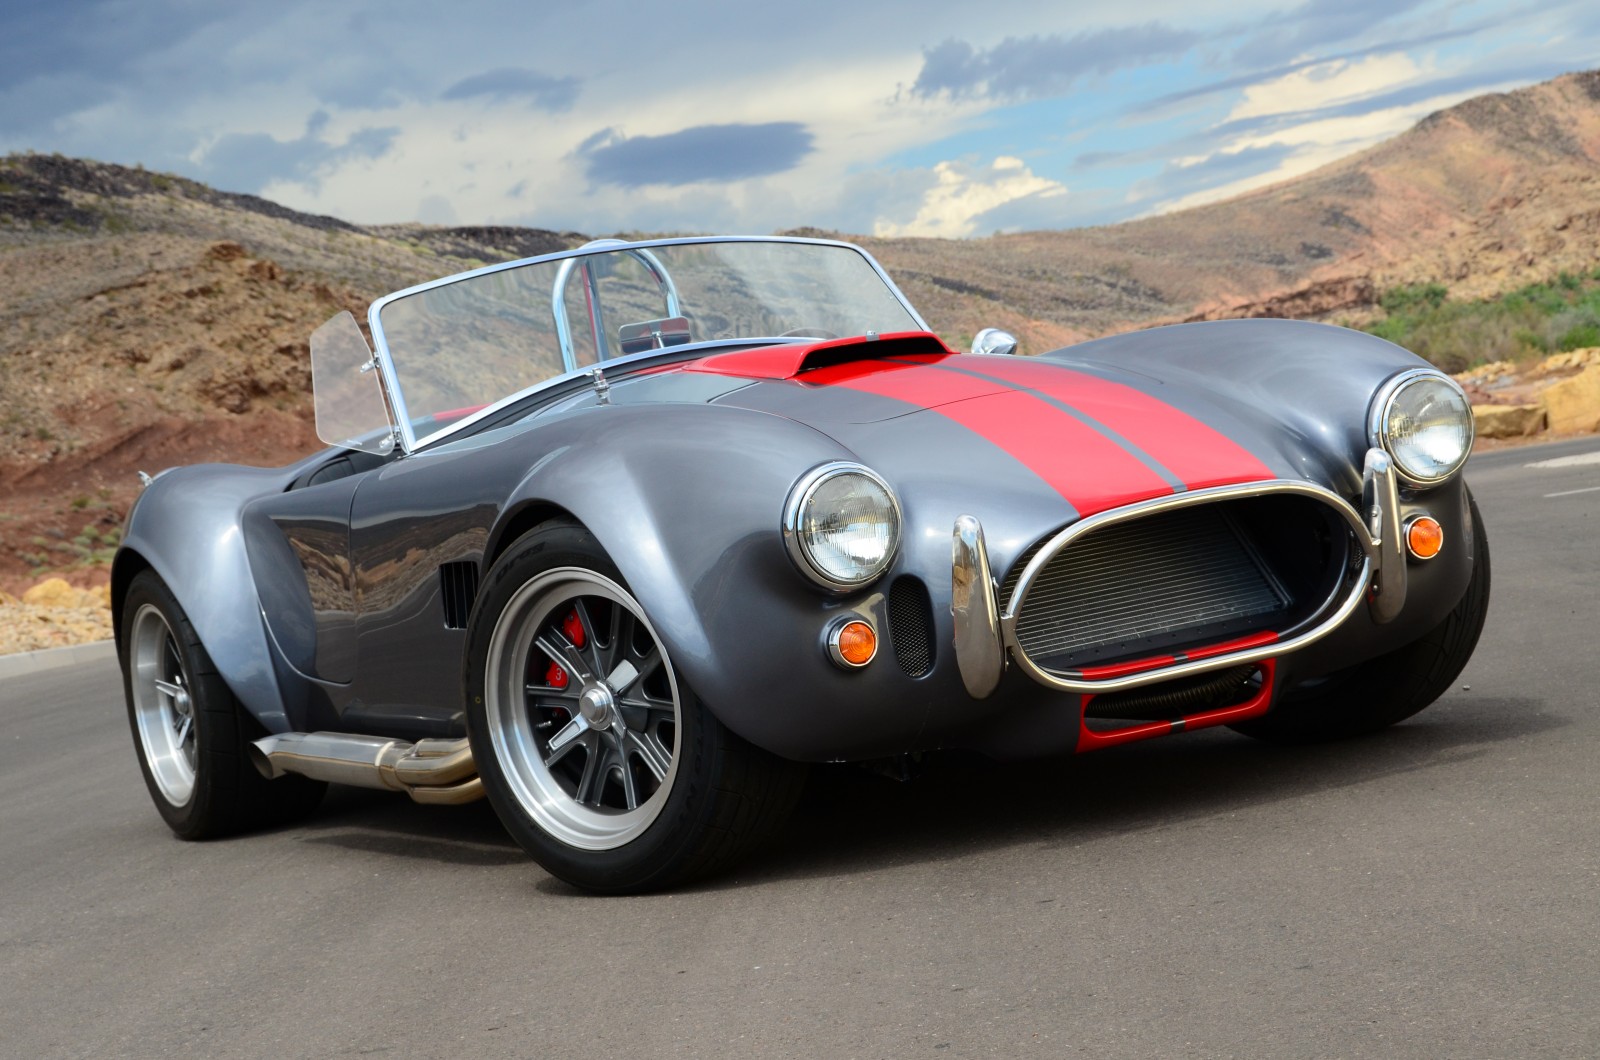
Some say a project car is never done, since you can always add something else to enhance its style or performance. But in the case of our Summit Racing/Factory Five Mk4 roadster project, we have arrived at the endpoint and are ready to hit the street.

Like most things, the devil is in the details. In this final installment, we’ll be addressing items such as the aluminum panels, dashboard, wiring, pedal assembly, and seats. These items were installed during various phases of the project, but you’ll get a good idea as to how everything goes together.

Aluminum Paneling
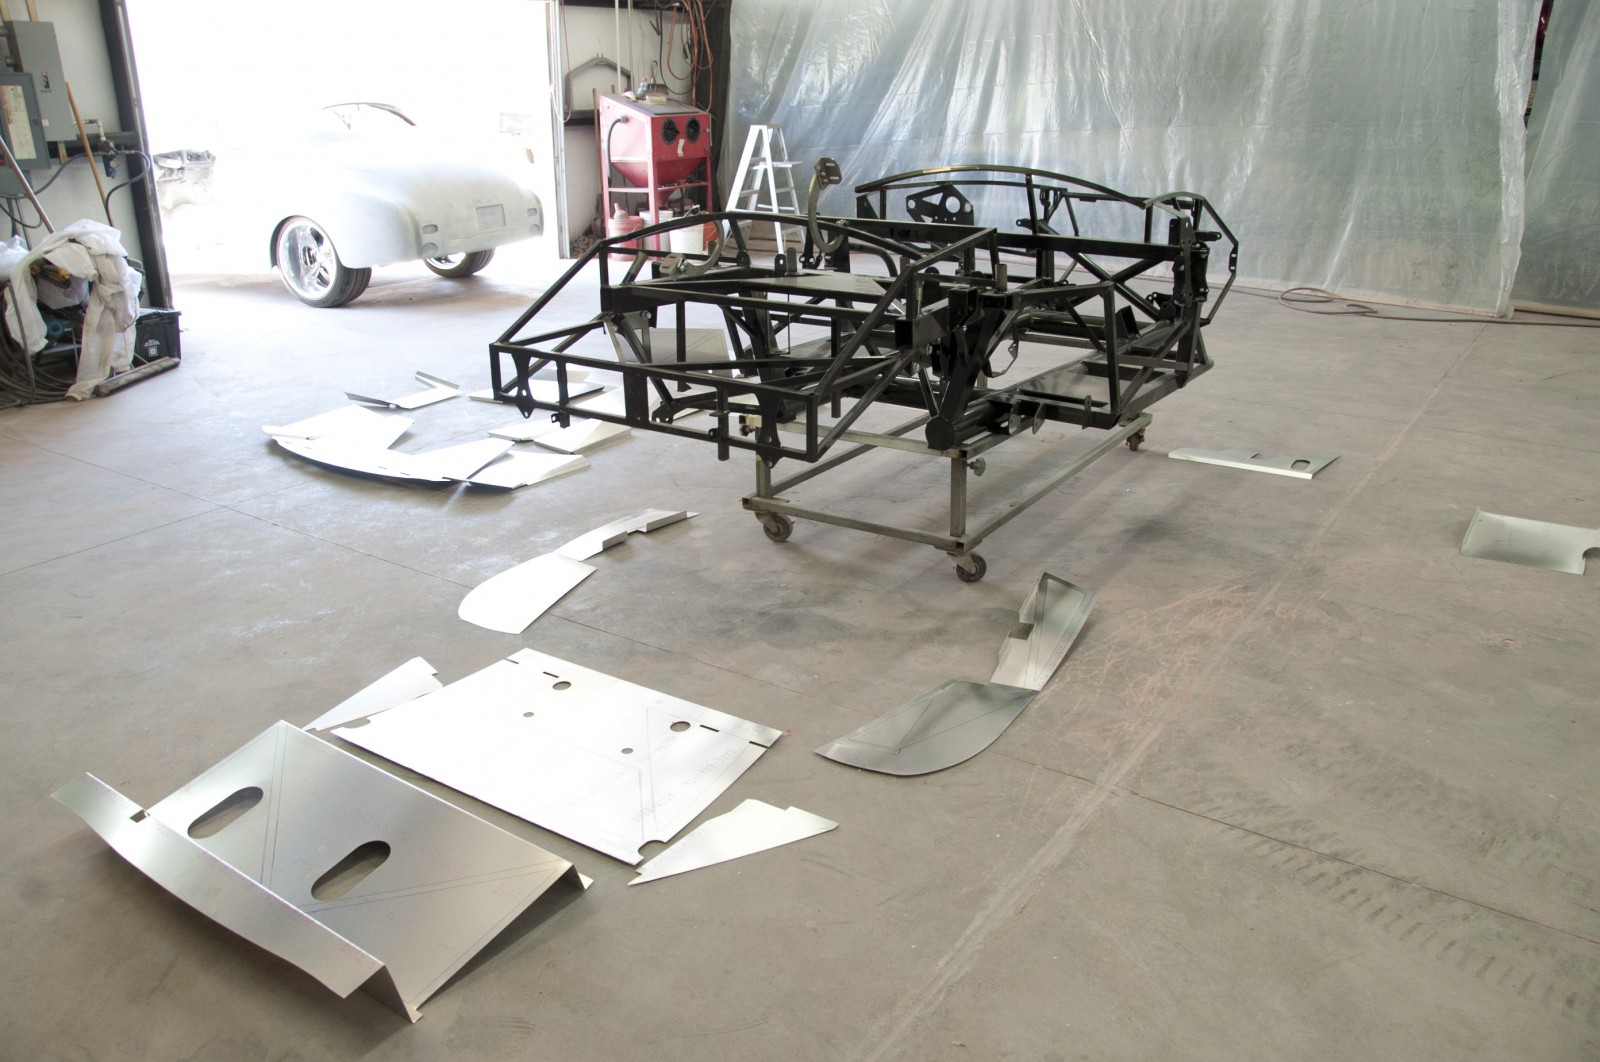
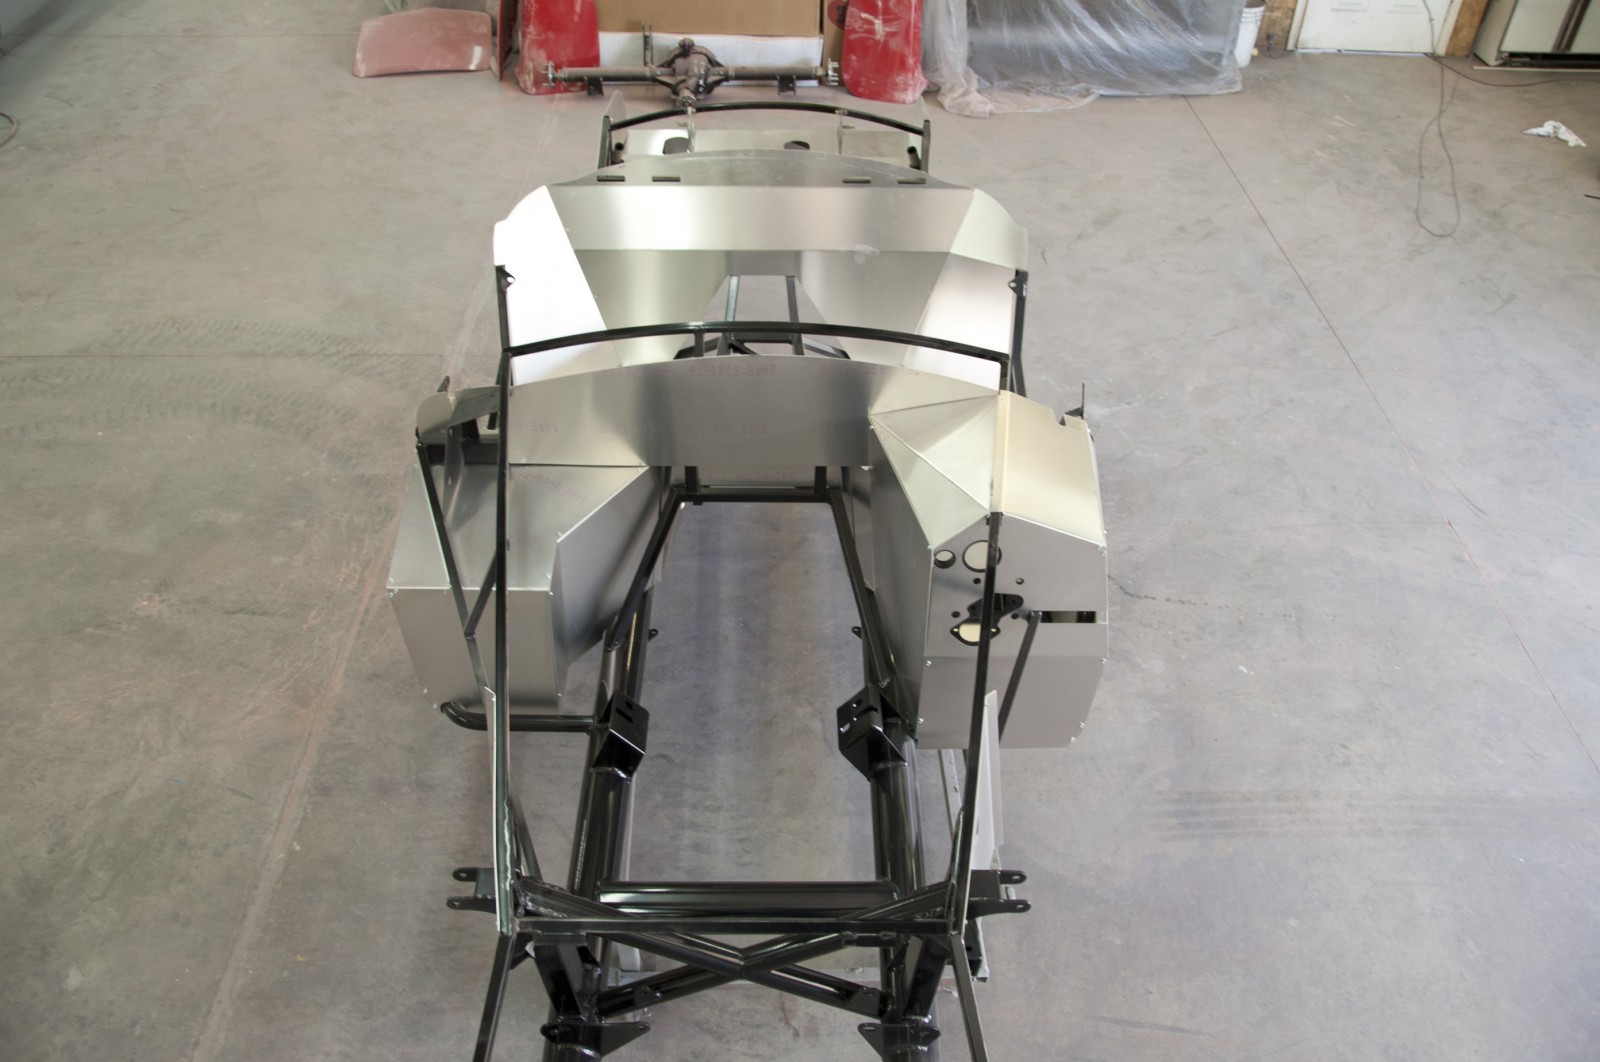
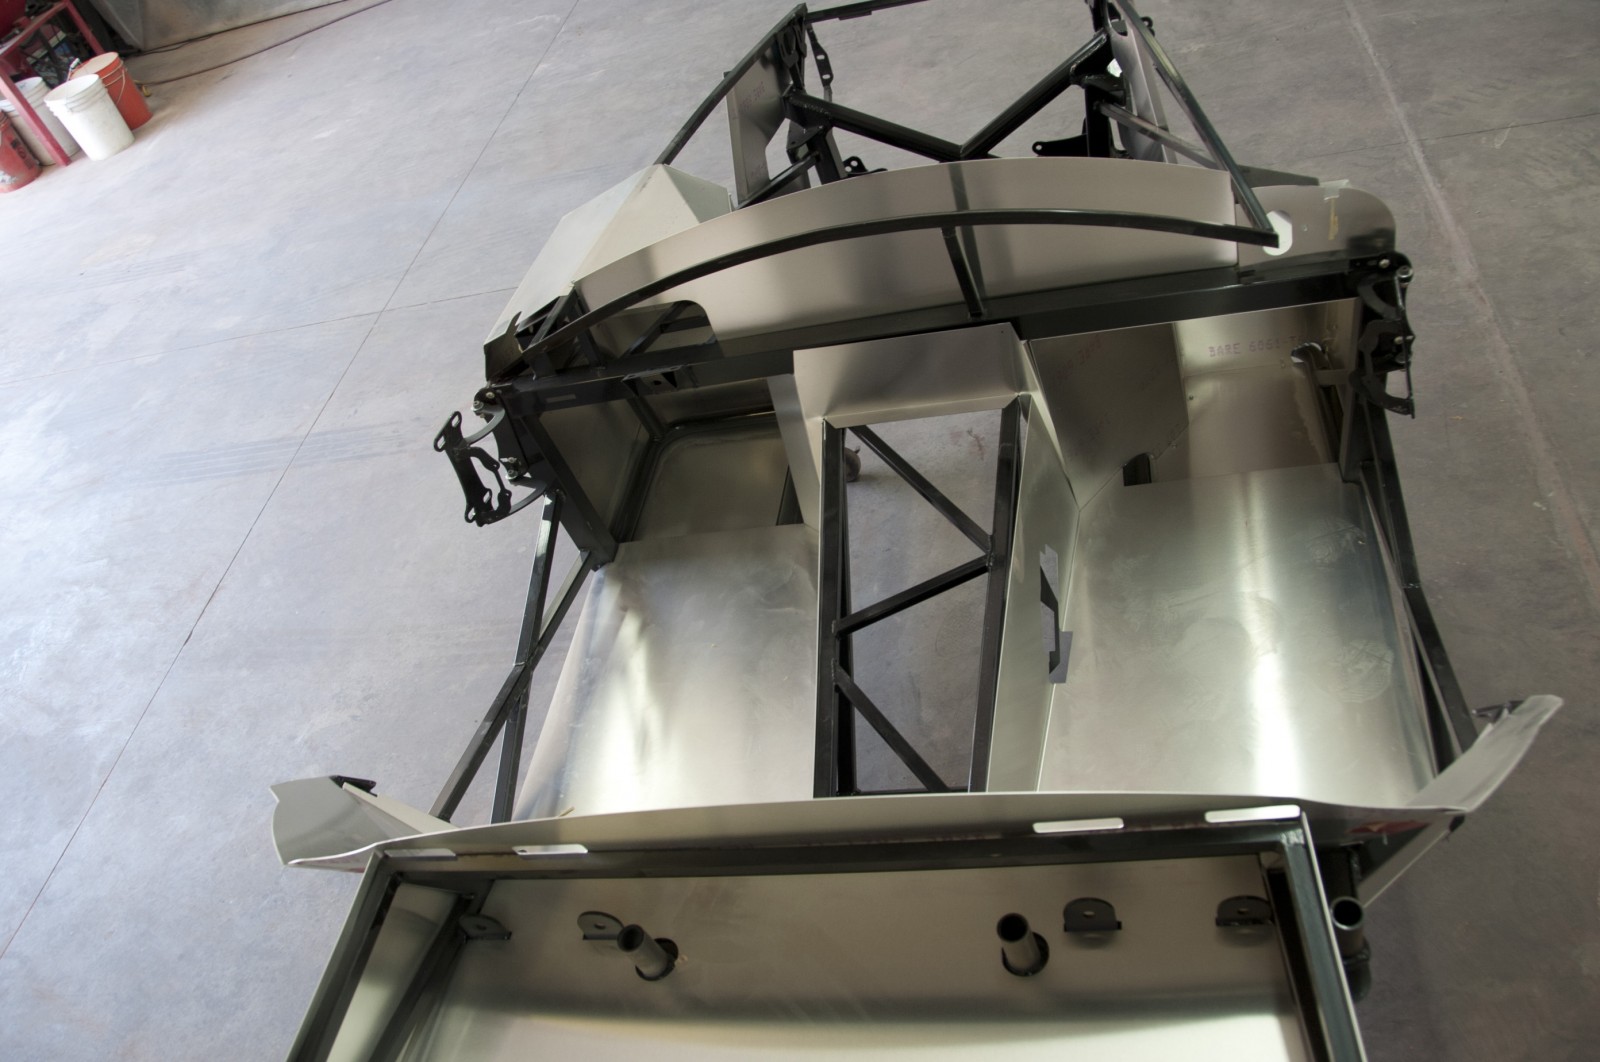
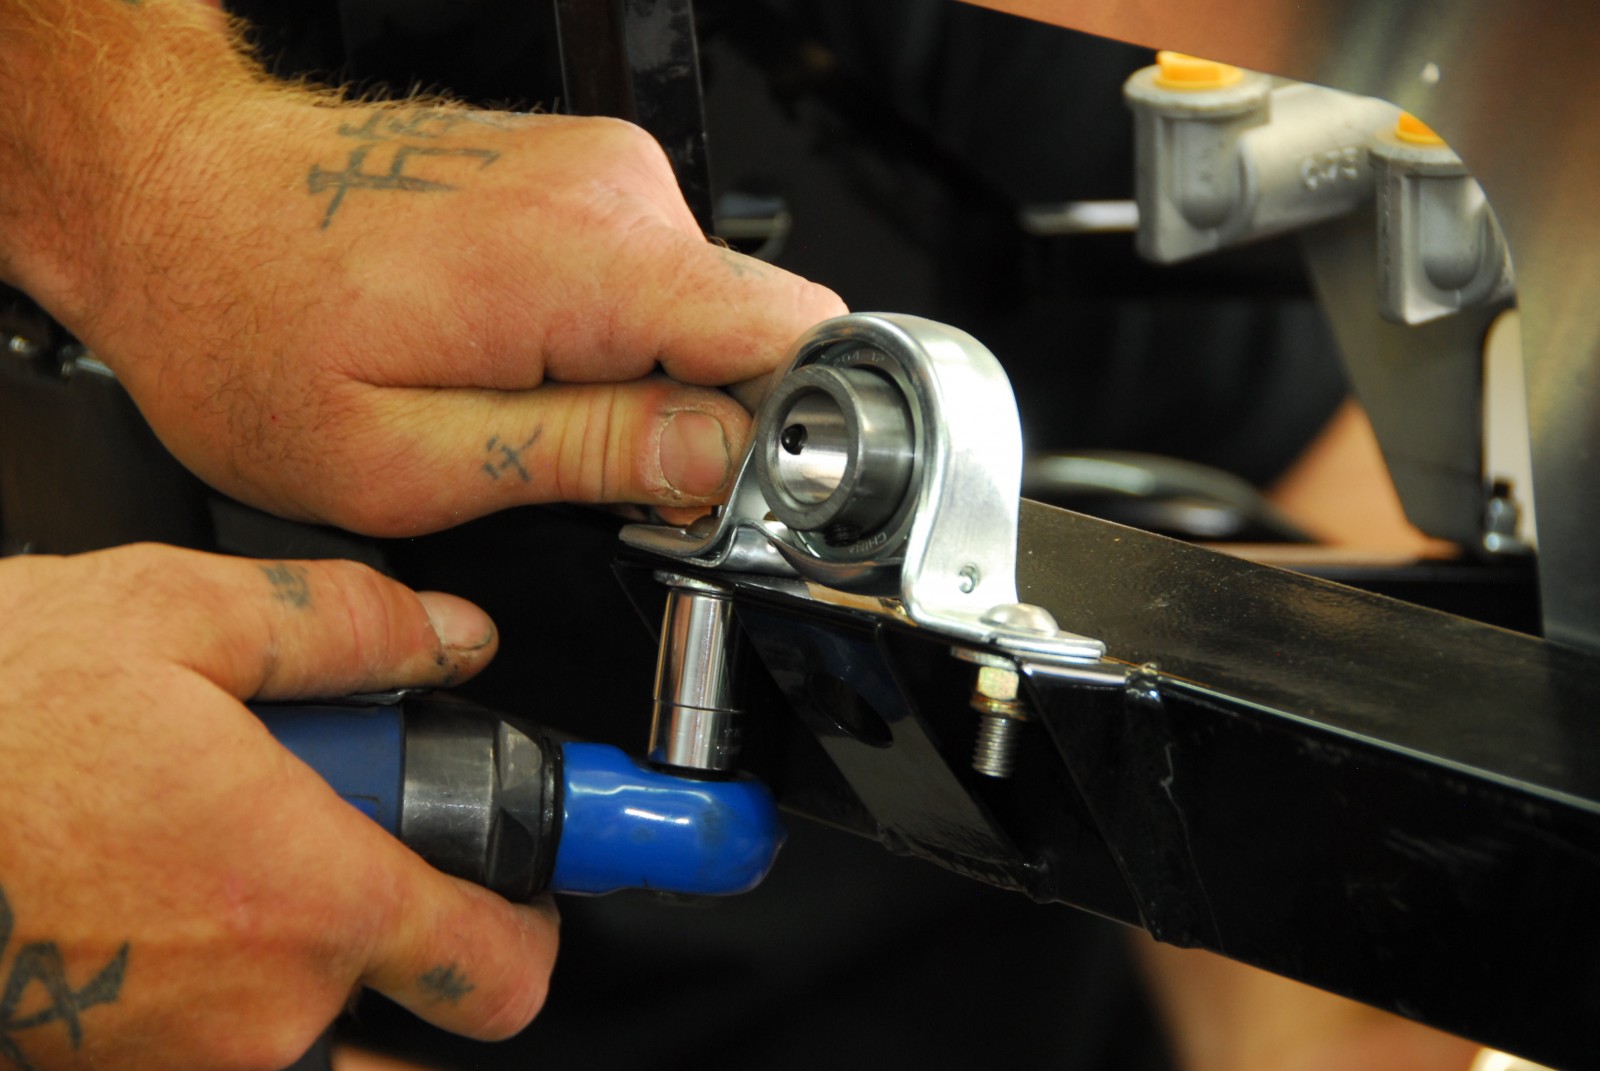
We’ll first focus on the tubular steel subframe that supports the interior aluminum paneling. Derived from Factory Five’s NASA racing series experience, this cage surrounds the Mk4‘s cockpit and foot box areas, and is much safer and stronger than a fiberglass tub bolted onto a ladder frame. The cage consists of welded-steel, side-impact bars, door steel, a foot box frame, and a cockpit dash hoop. Designed into this structure are both front and rear energy-absorbing crumple zones that help protect the driver and passenger.

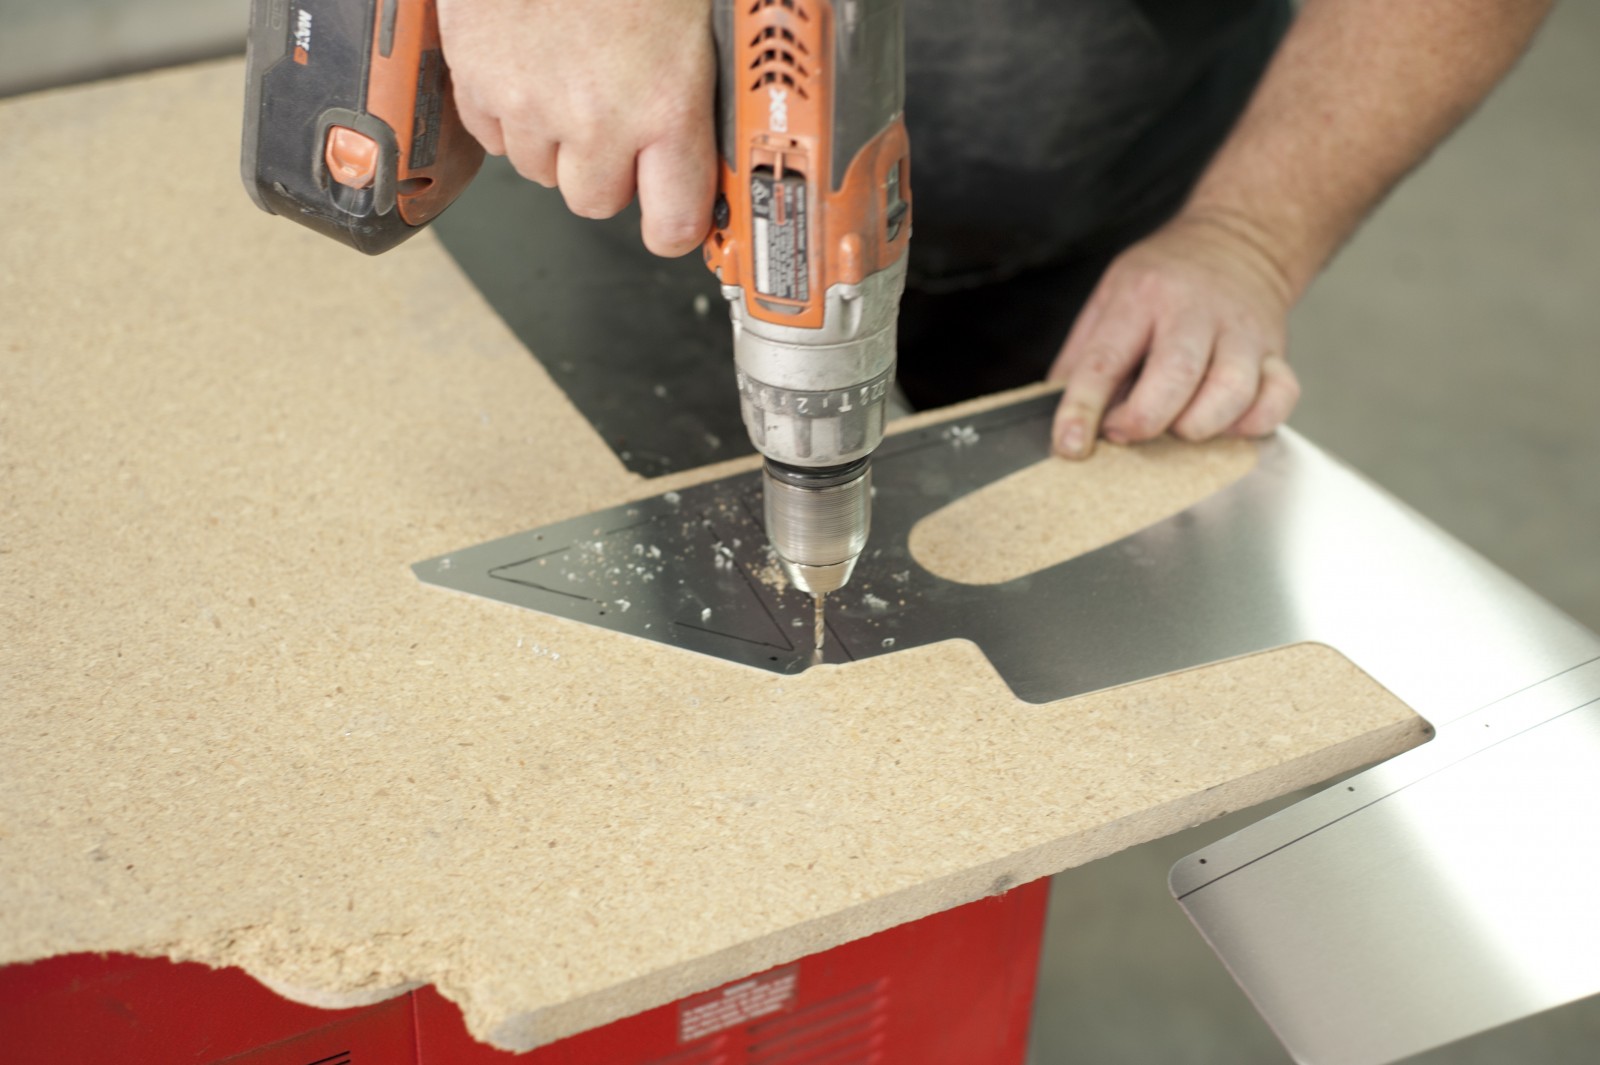
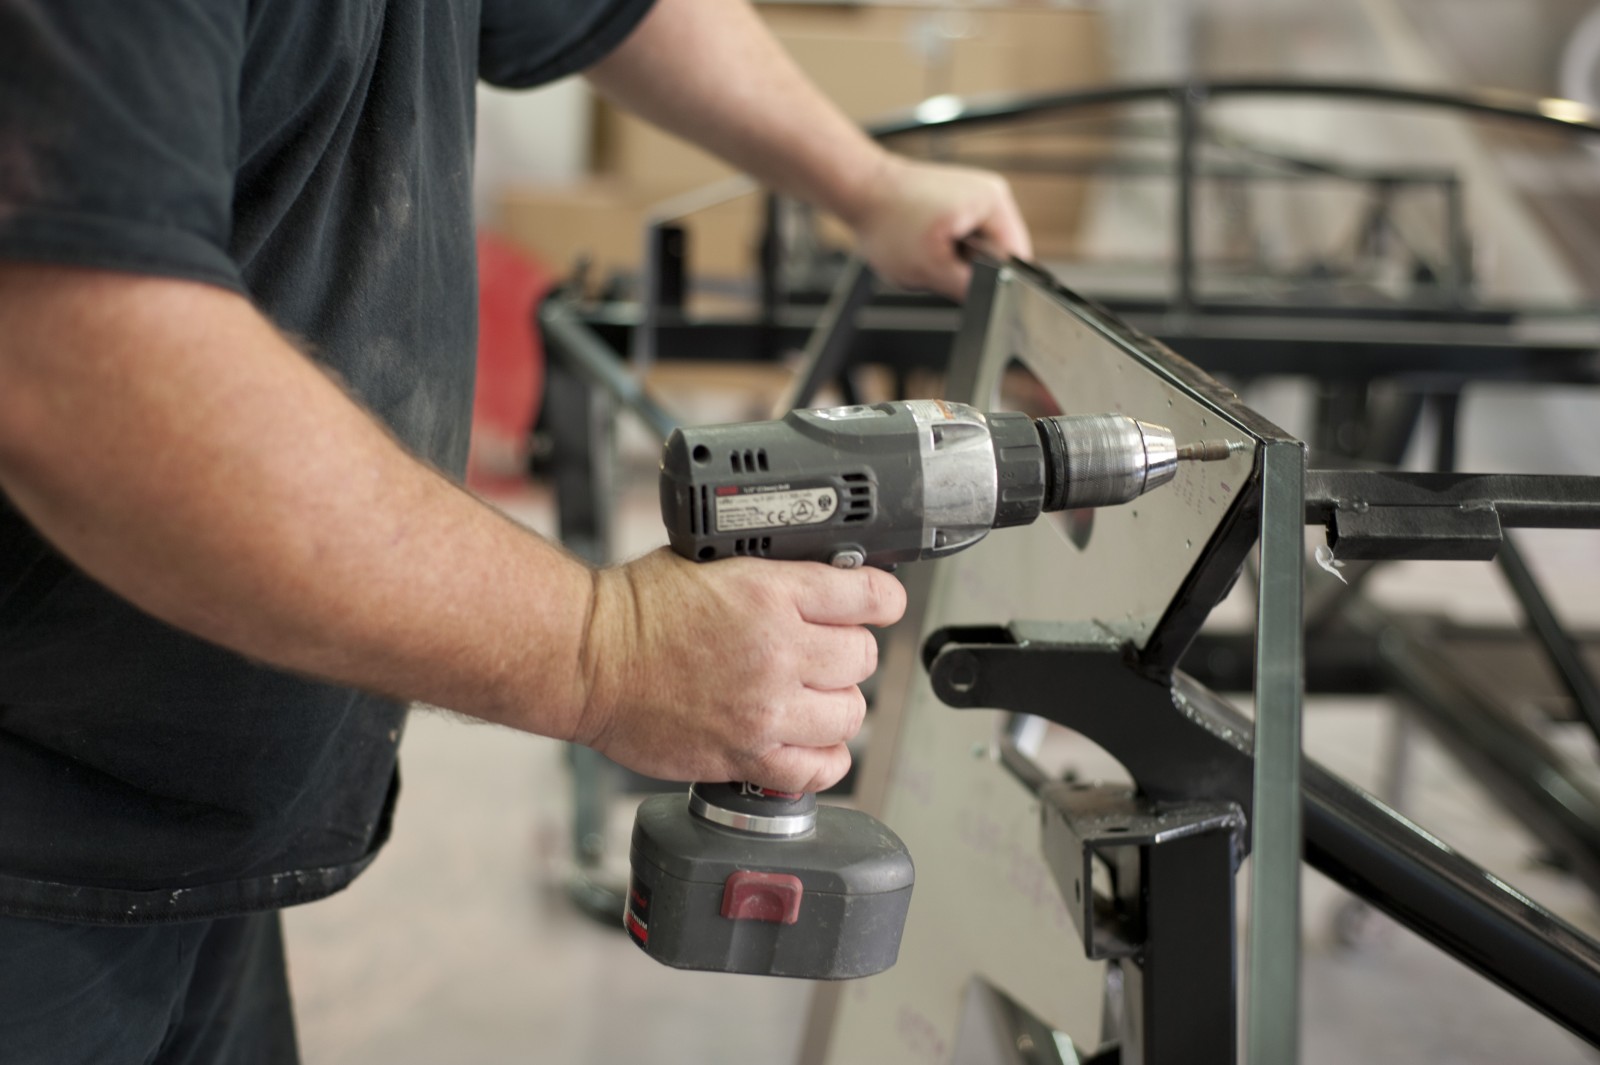
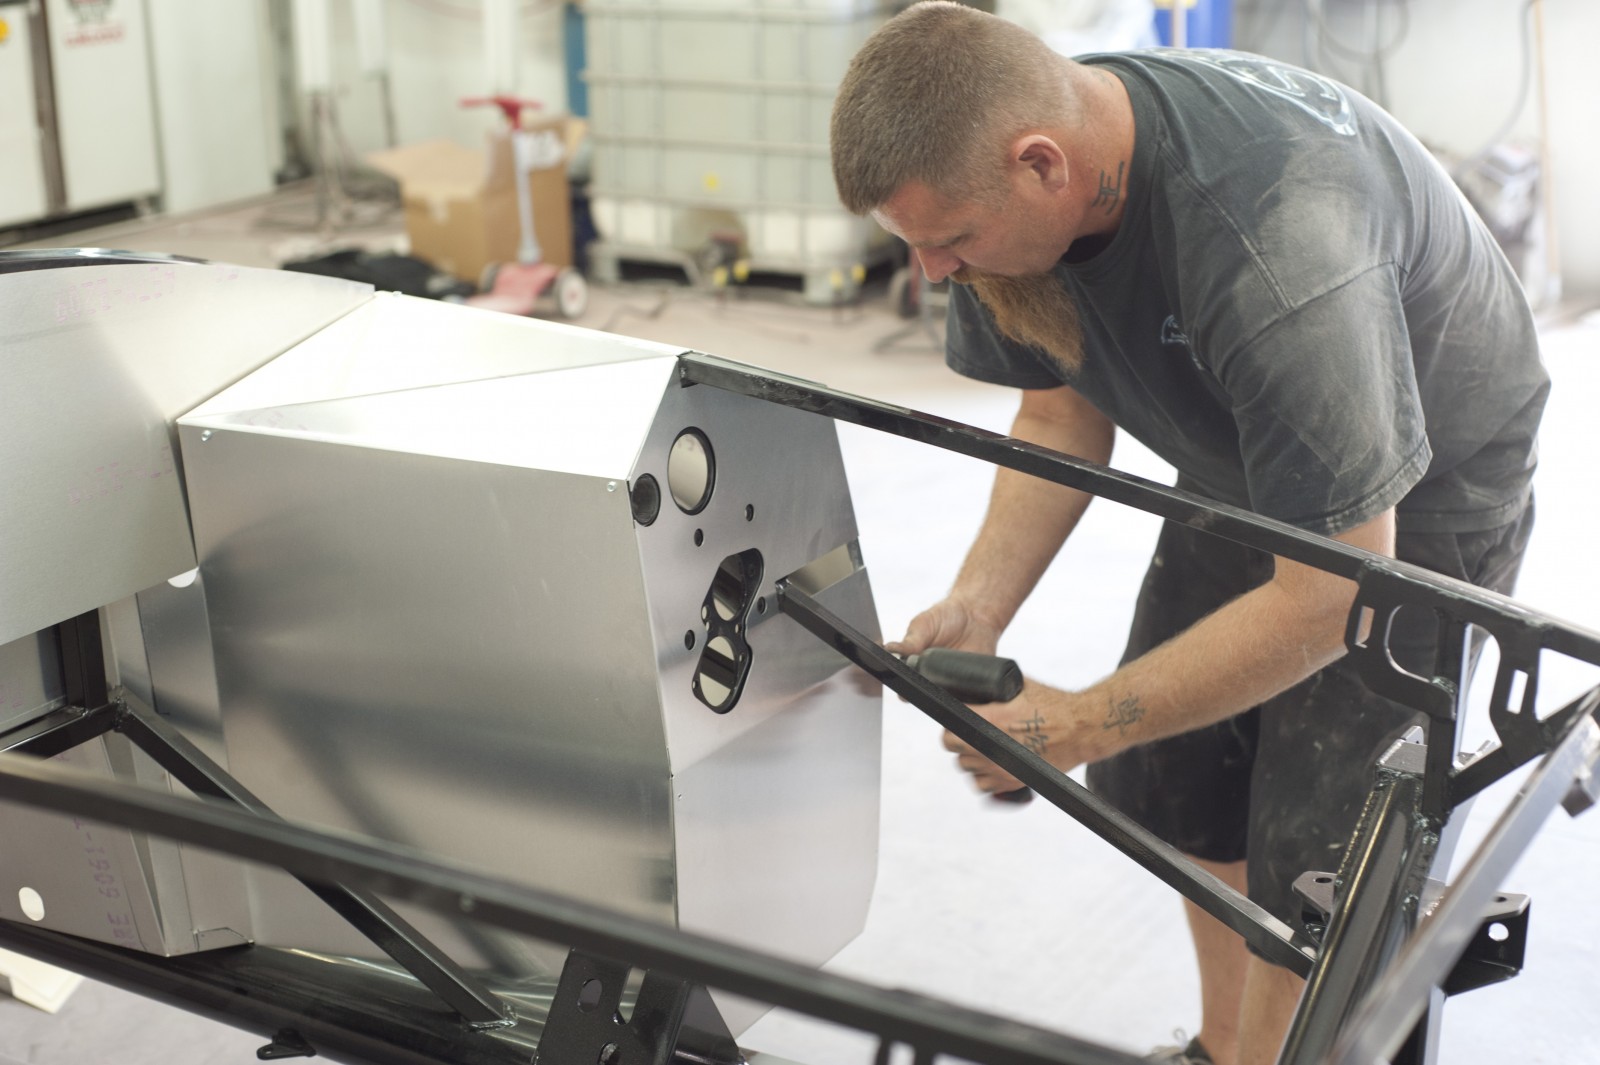
The Mk4’s aluminum panels are riveted and bonded to this tubular subframe, lining the entire cockpit, trunk, and engine bay. Instead of trimming and fitting the panels by hand, Factory Five uses precise CAD/CAM technology to laser-cut panels out of 6061-T6 aluminum. This material is used instead of conventional, easy-to-form 4000 series aluminum because heat-treated 6061-T6 has greater tensile strength. Factory Five figured out how to correctly form this material for increased strength and rigidity, with no weight penalty.
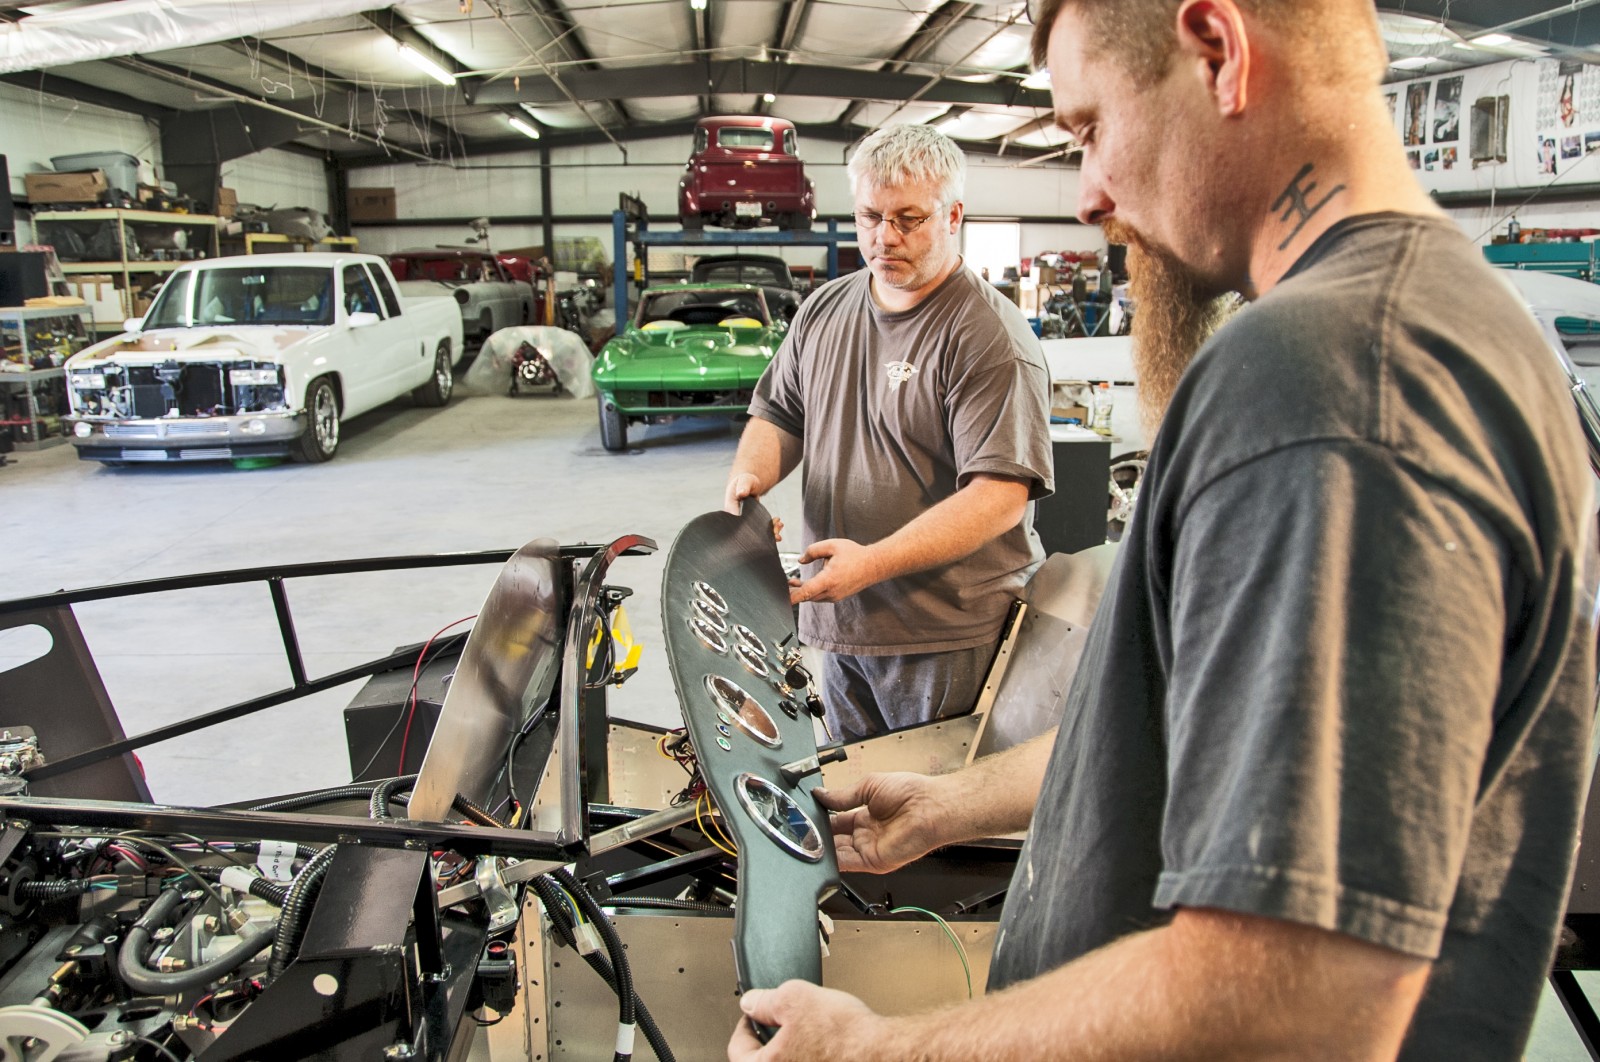
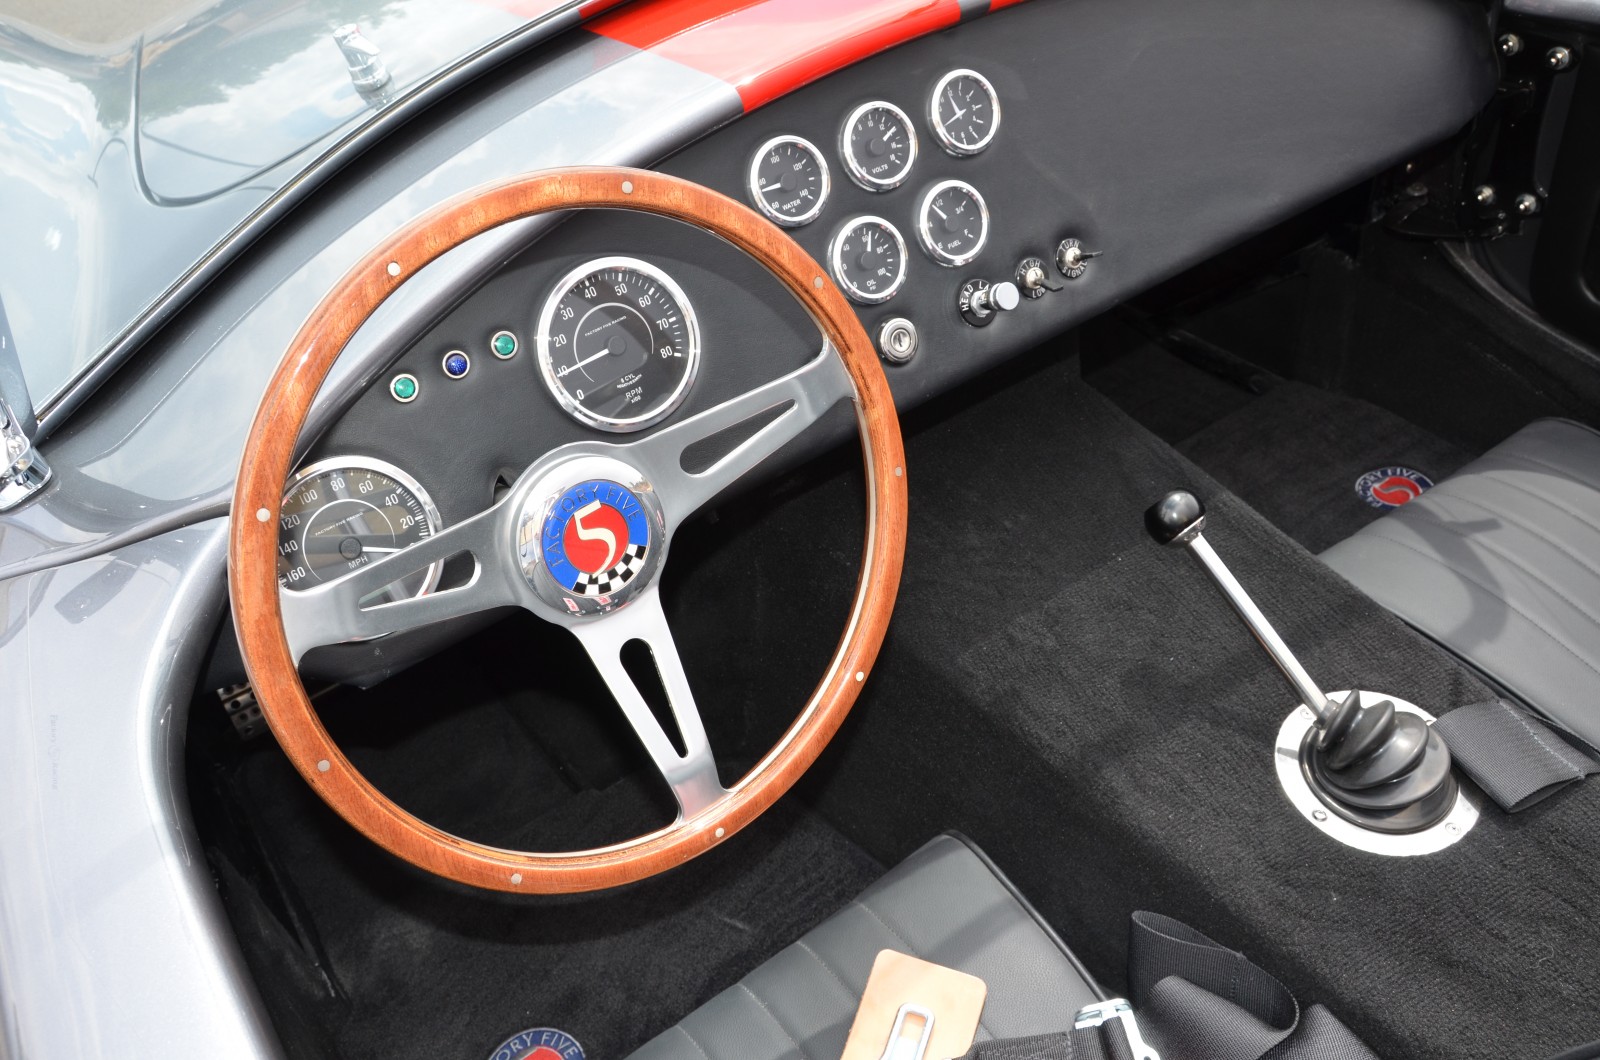
Interior
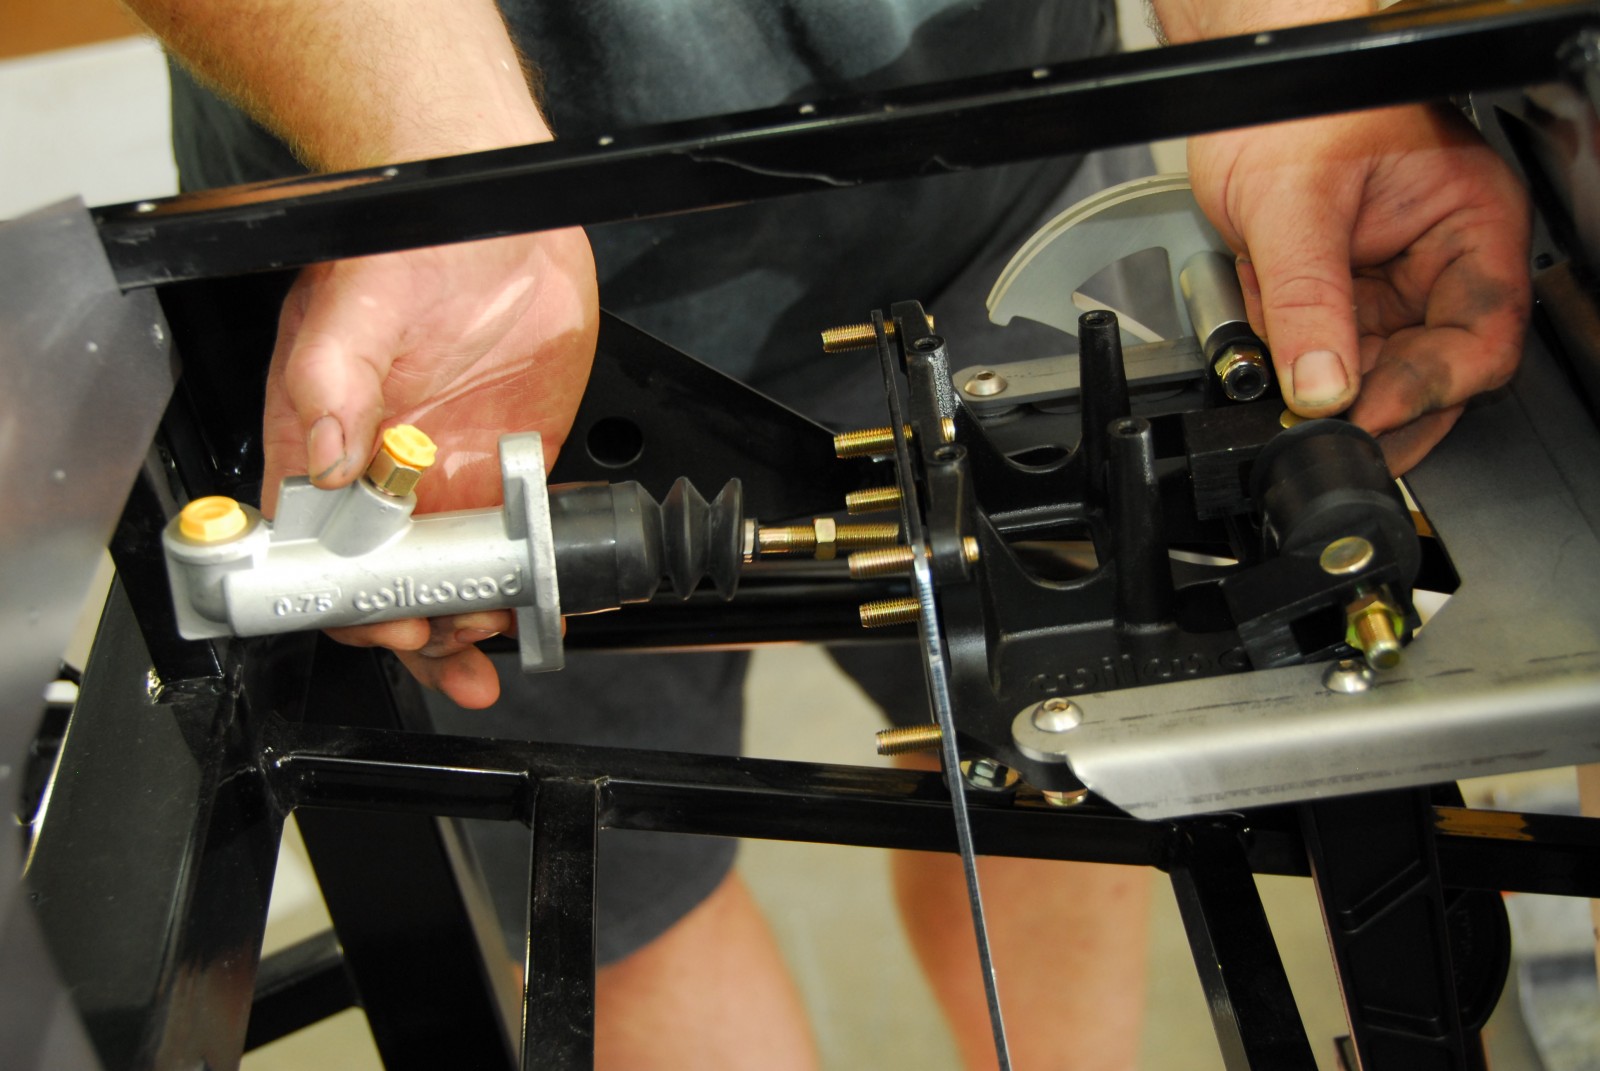
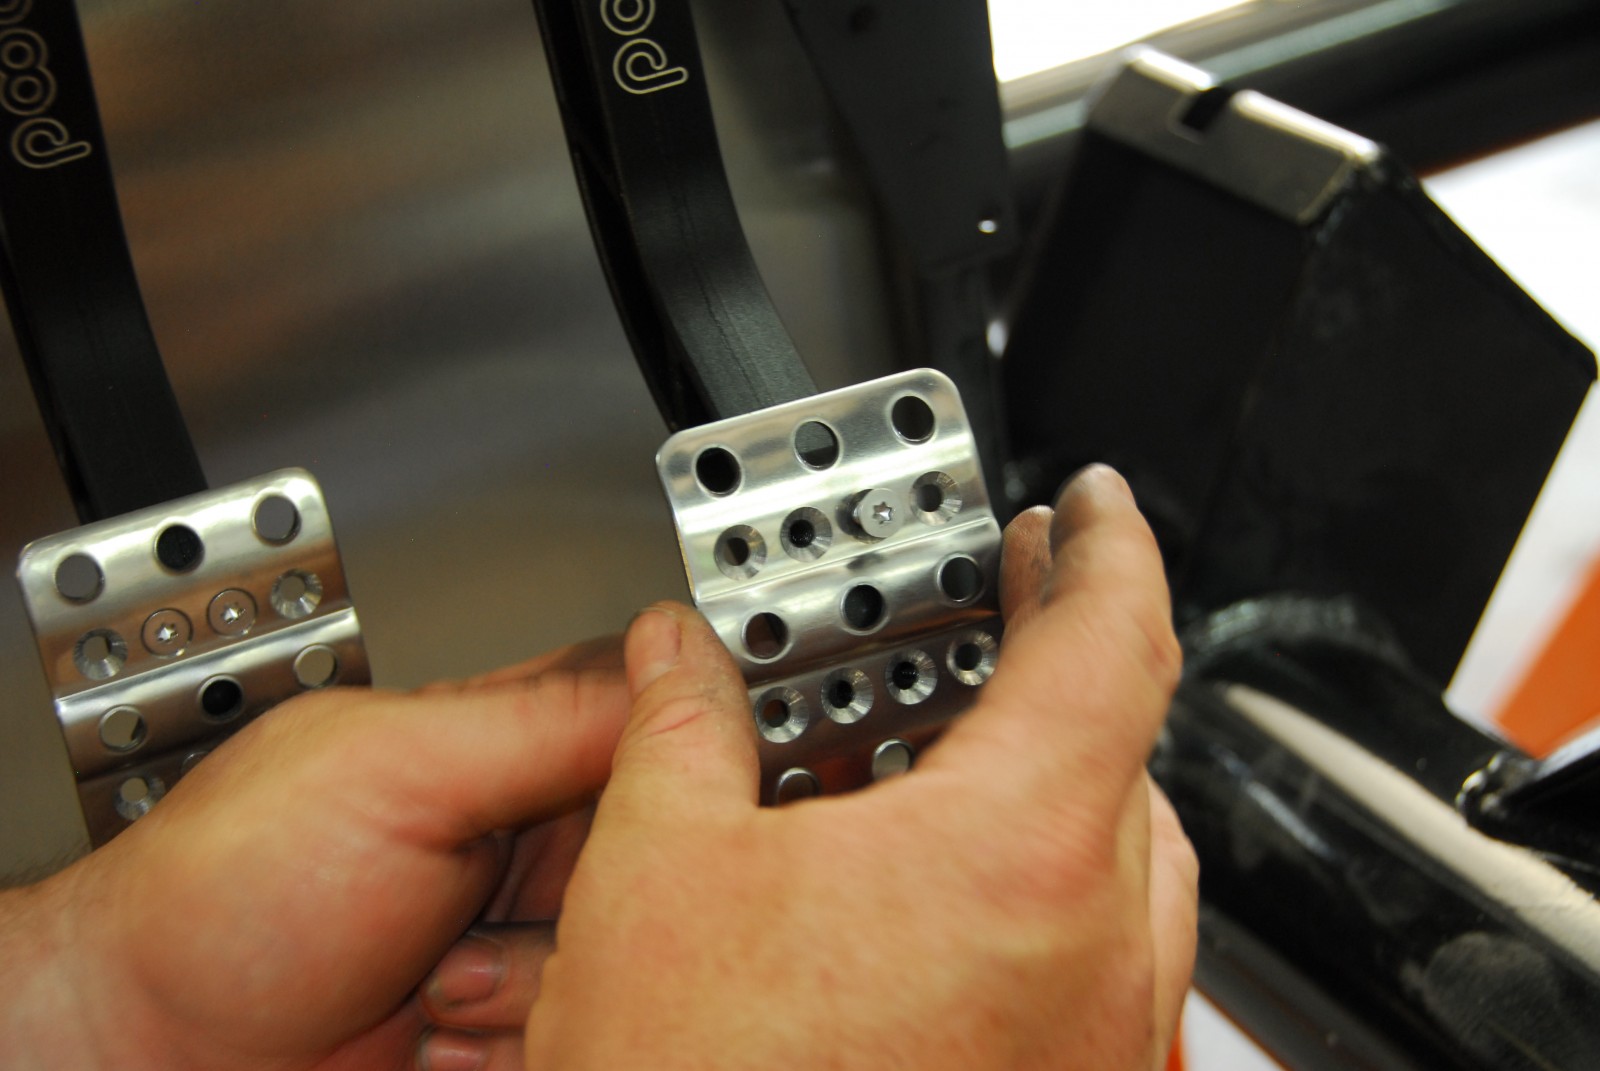
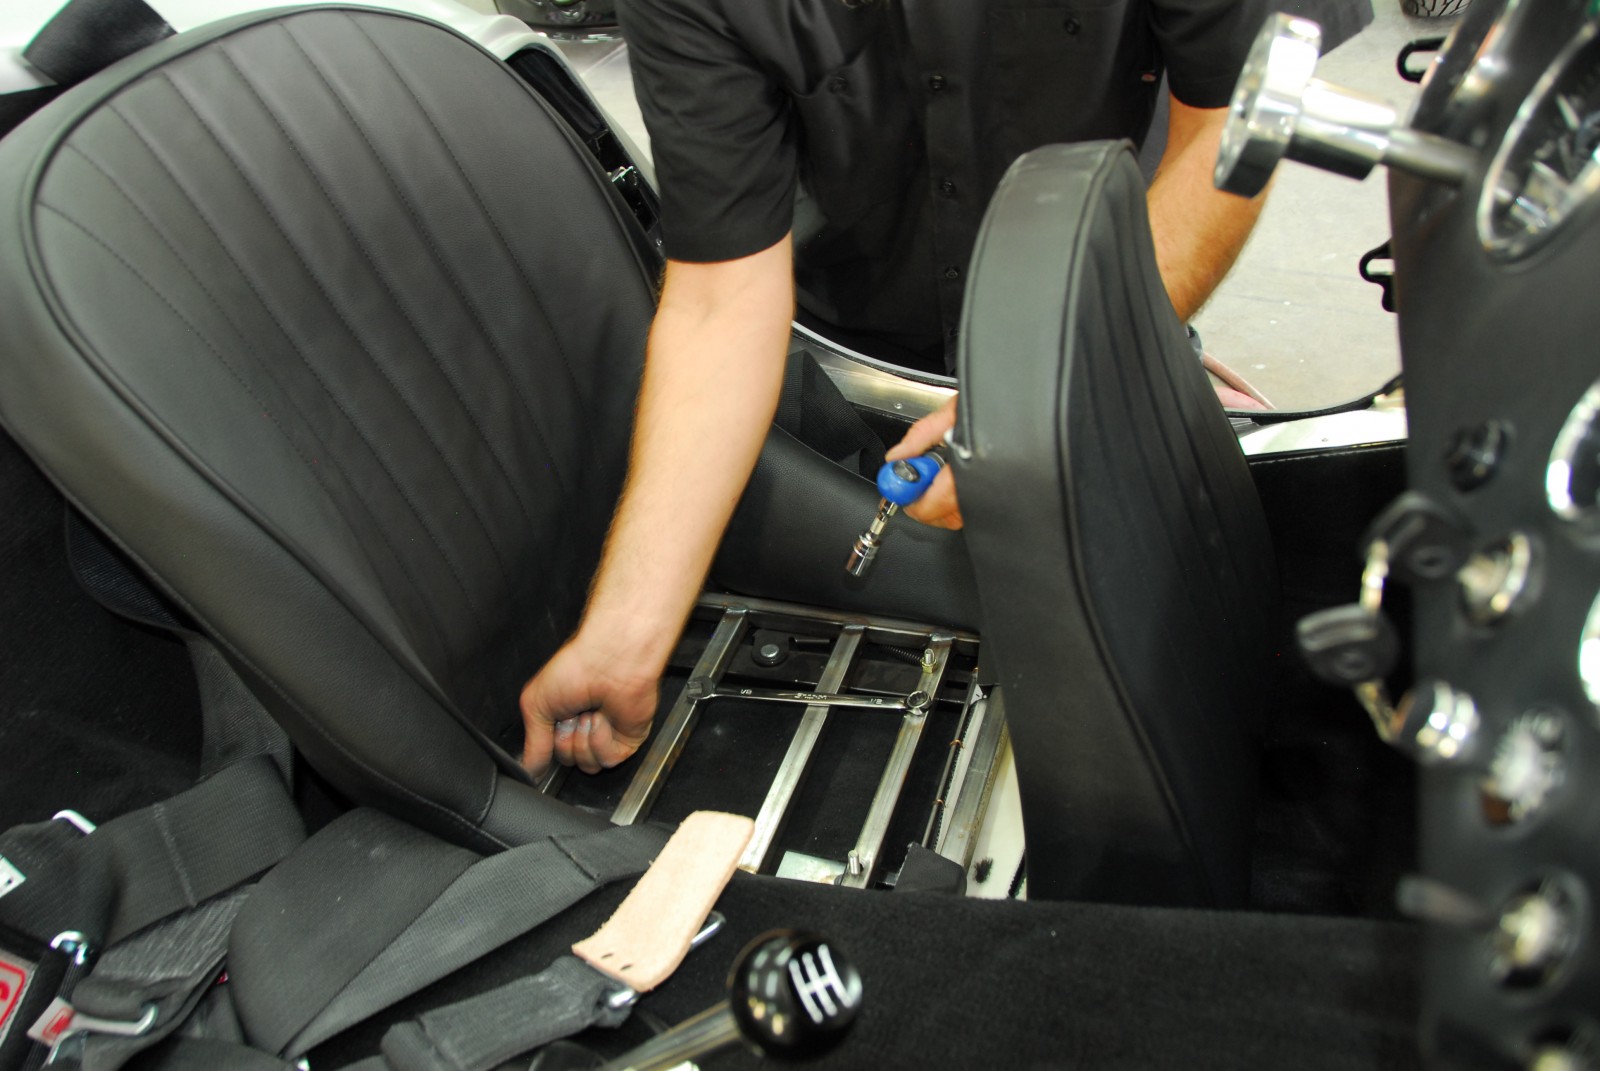
Steel sheetmetal sits underneath the British-style bucket seats. This allows you to securely mount the seats directly to the chassis in whichever location is ideal for driver ergonomics. The pedal positions can be adjusted for driver comfort as well. Five-point Simpson Racing H-style safety harnesses are supplied for both driver and passenger.

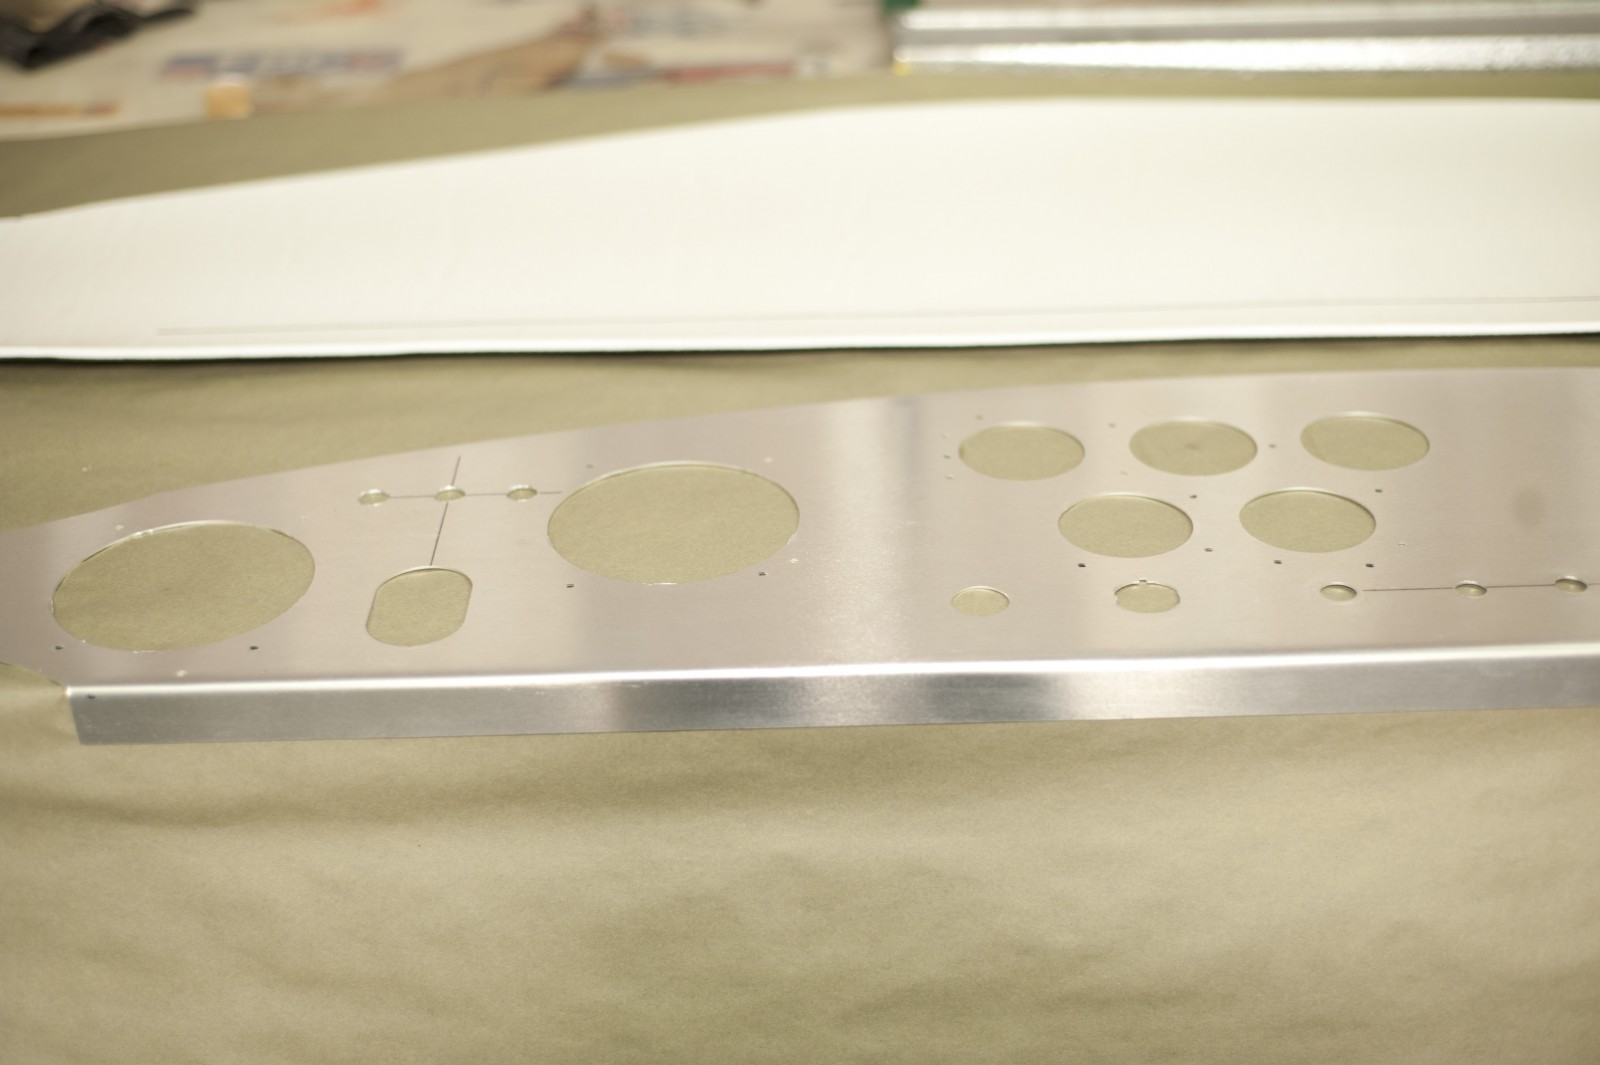
The aluminum dash panel has a padded cover, toggle switches and indicator lights, which creates a vintage 1960s look. Modern or vintage gauges can be fitted in the pre-drilled mounting holes; a blank dash without holes is also available for custom setups. The steering wheel has a period-style wood rim with an aluminum boss and center section. Original-spec door latches, hinges, and leather check straps are included as well.

Other Bits
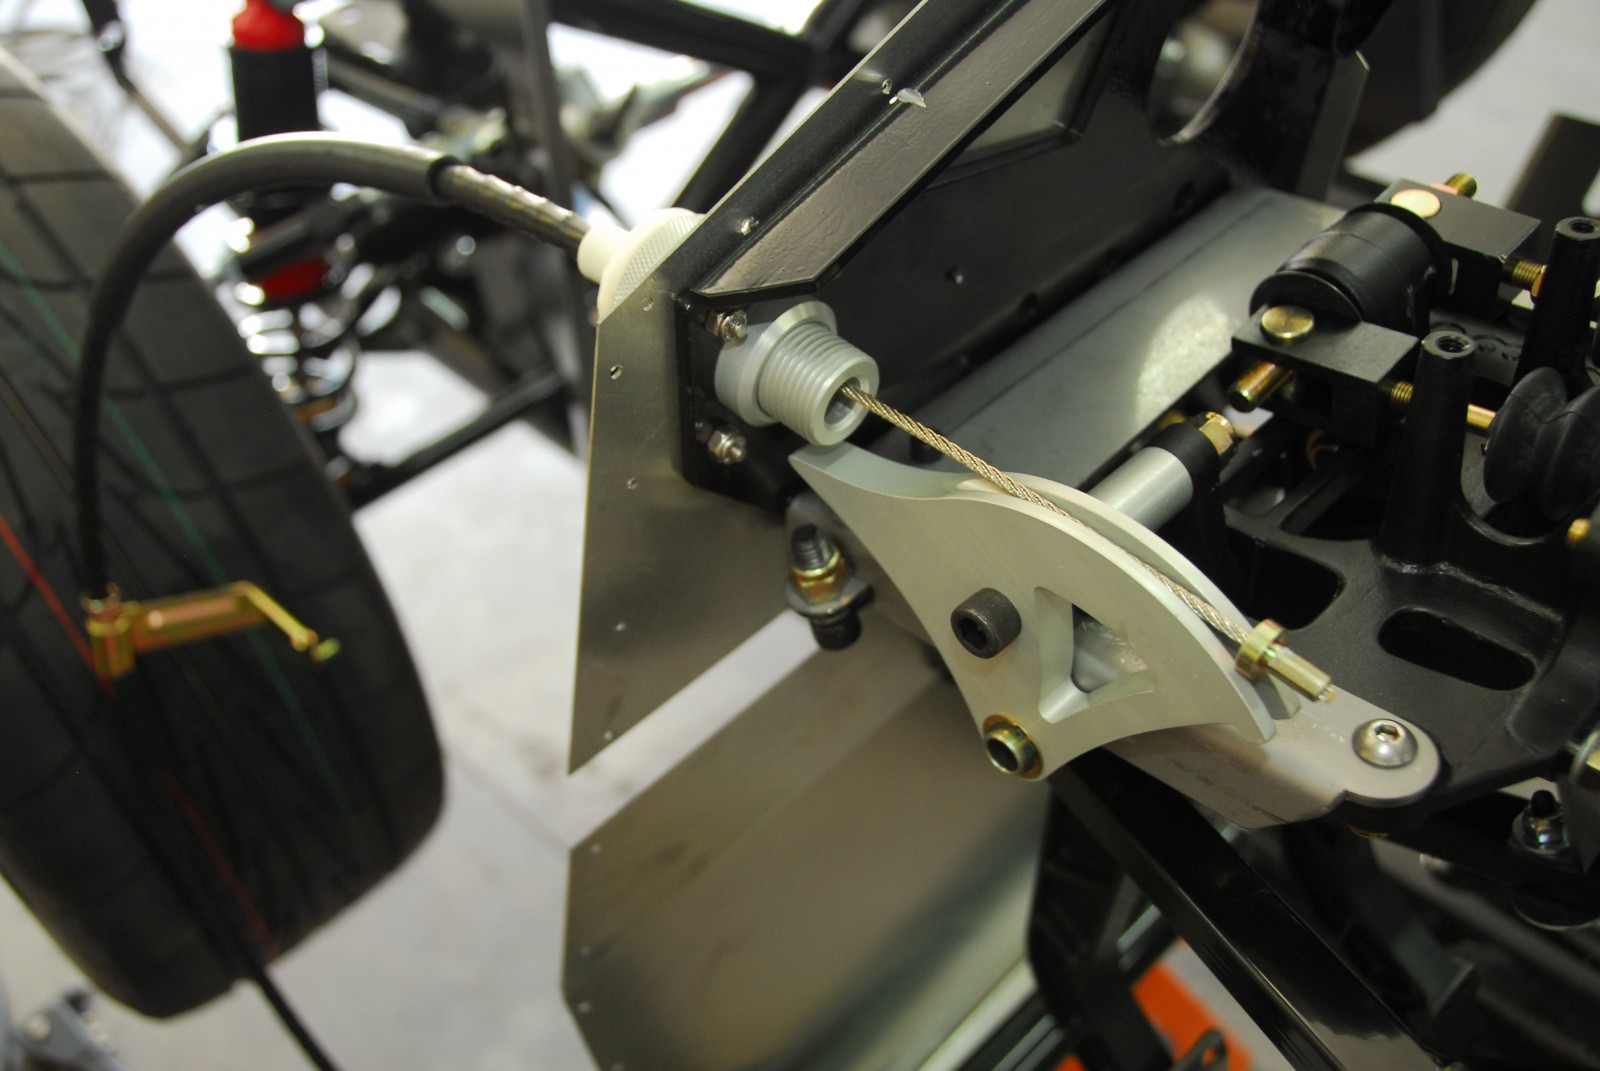
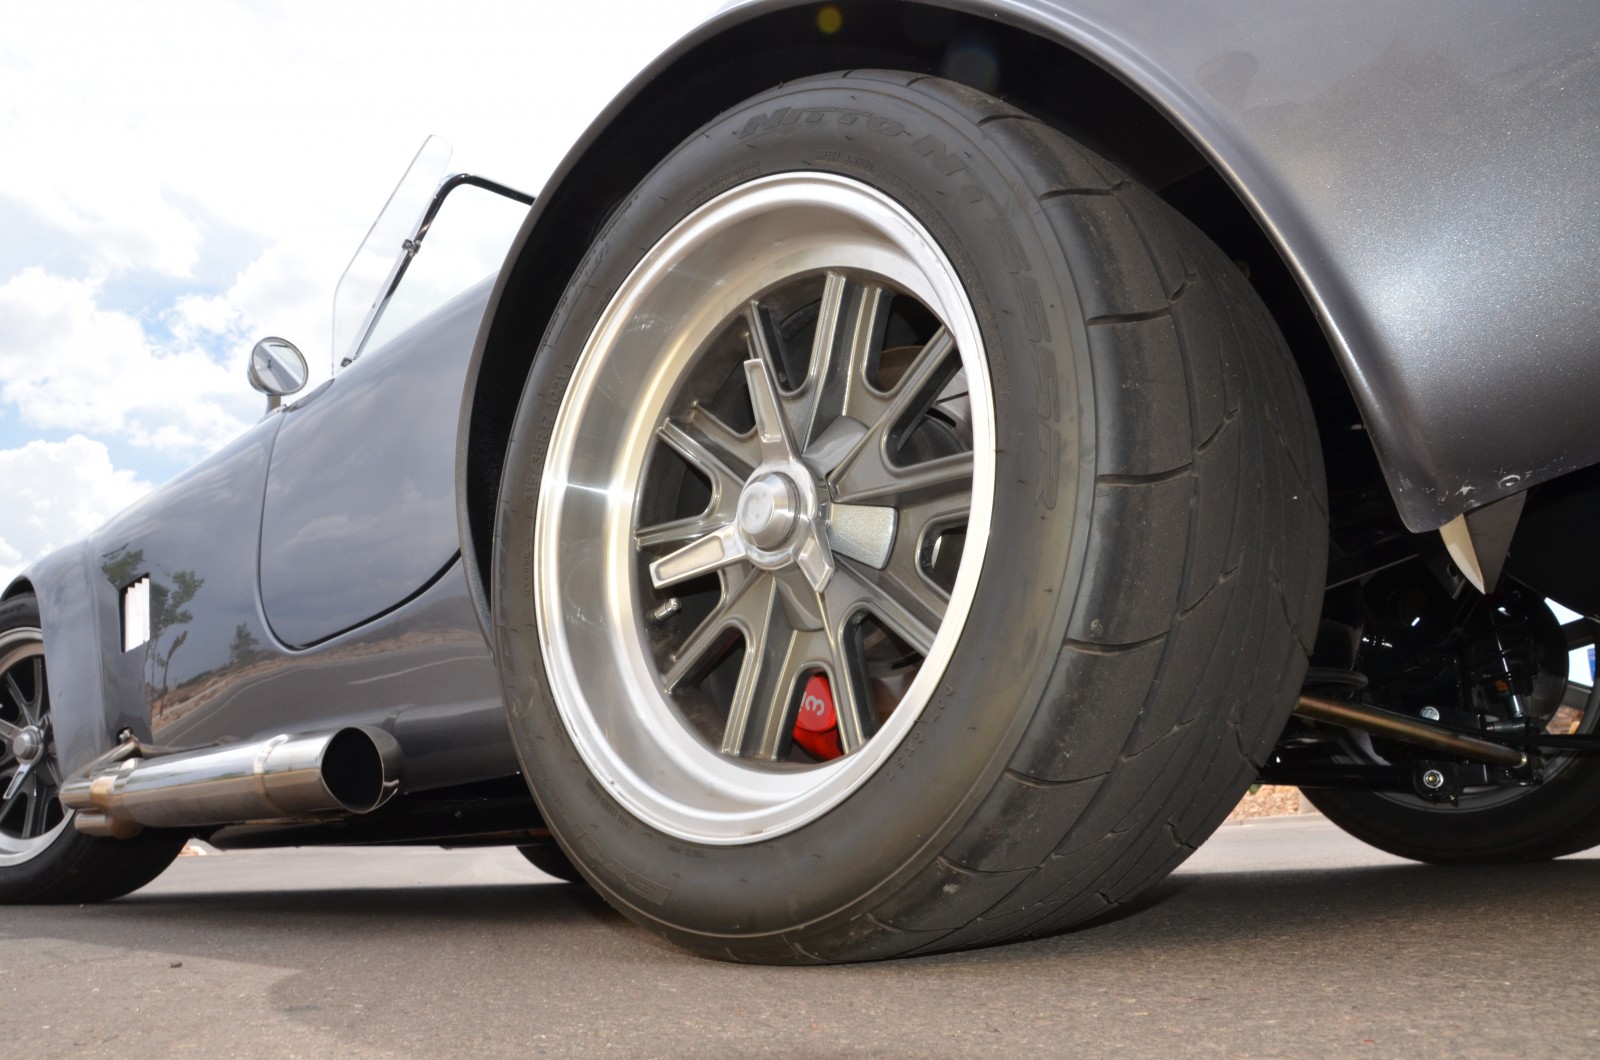
The wheels have a period-perfect look thanks to the knock-off spinners, but are much safer—they bolt on instead of relying on a true knockoff. The wheels are also slightly larger in diameter (17 inches versus 15 inches on the original Cobra) to make room for bigger brakes and fit modern tire sizes.

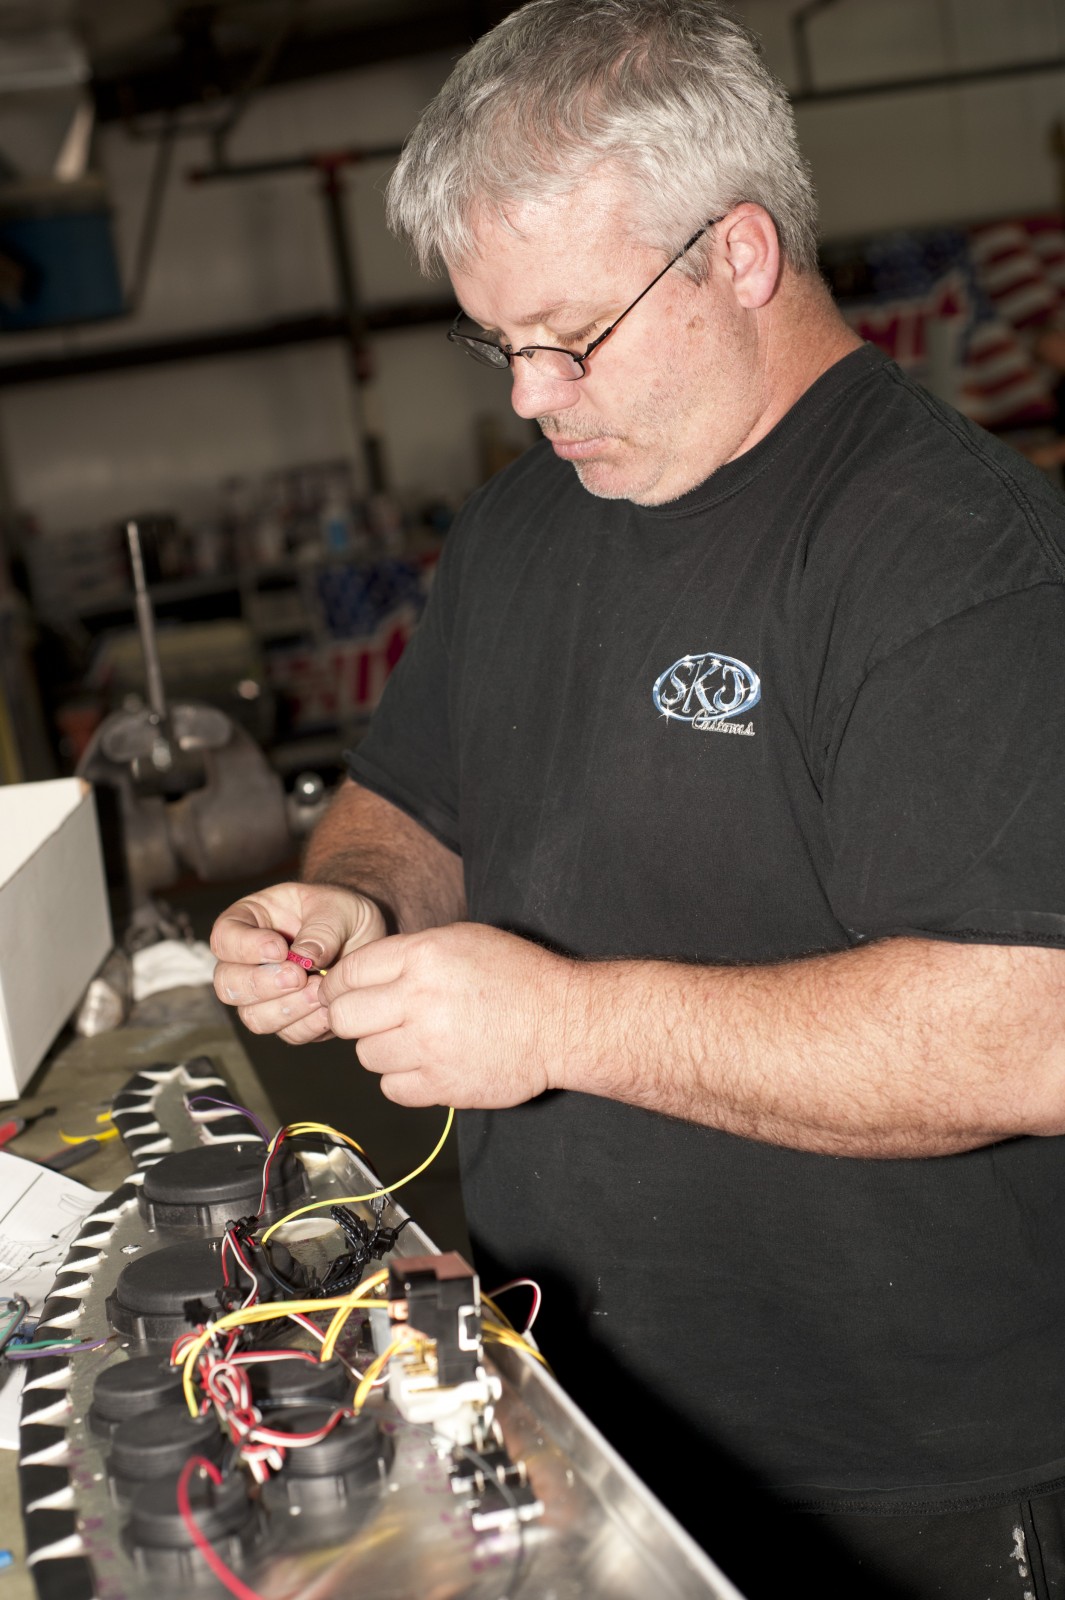
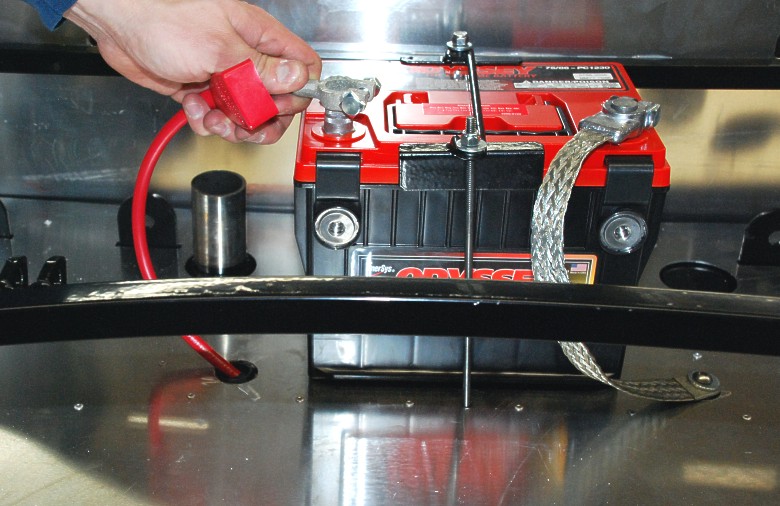
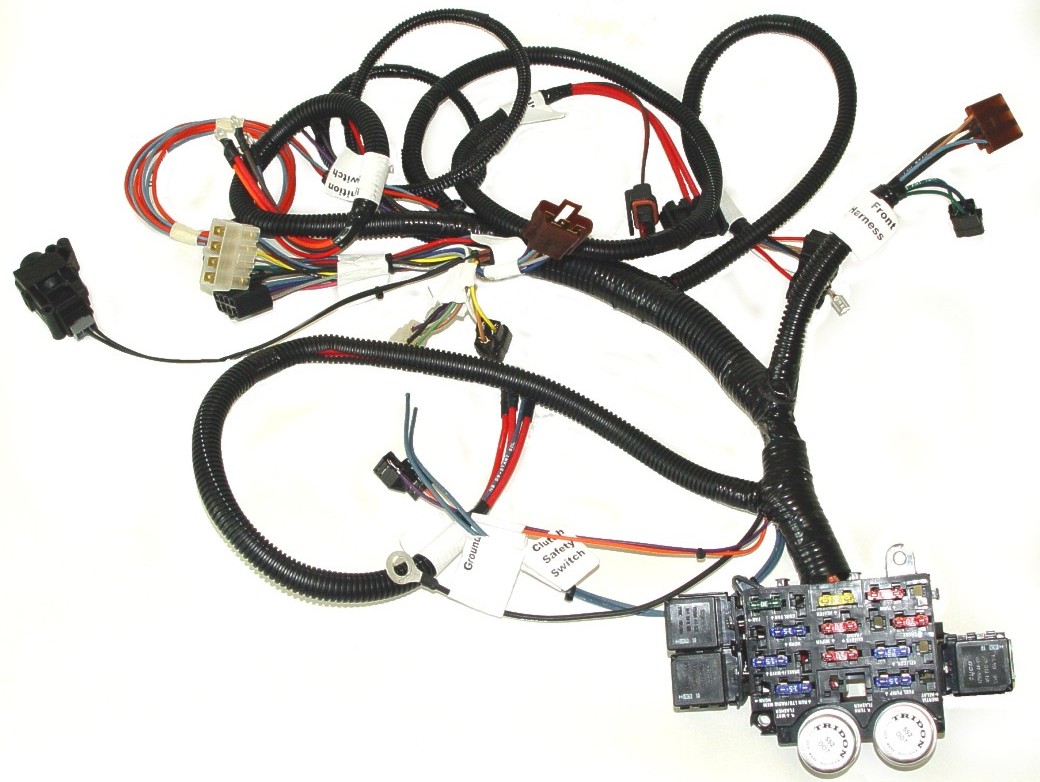
Even though a Mk4 has a pretty basic electrical system, space does not permit covering the complete wiring harness. Suffice it to say the Ron Francis wiring looms for the gauges and main electrical system are clearly labeled and basically a plug-in deal. Just make sure the harness is properly grounded and routed away from heat sources and areas where the wires can chafe.
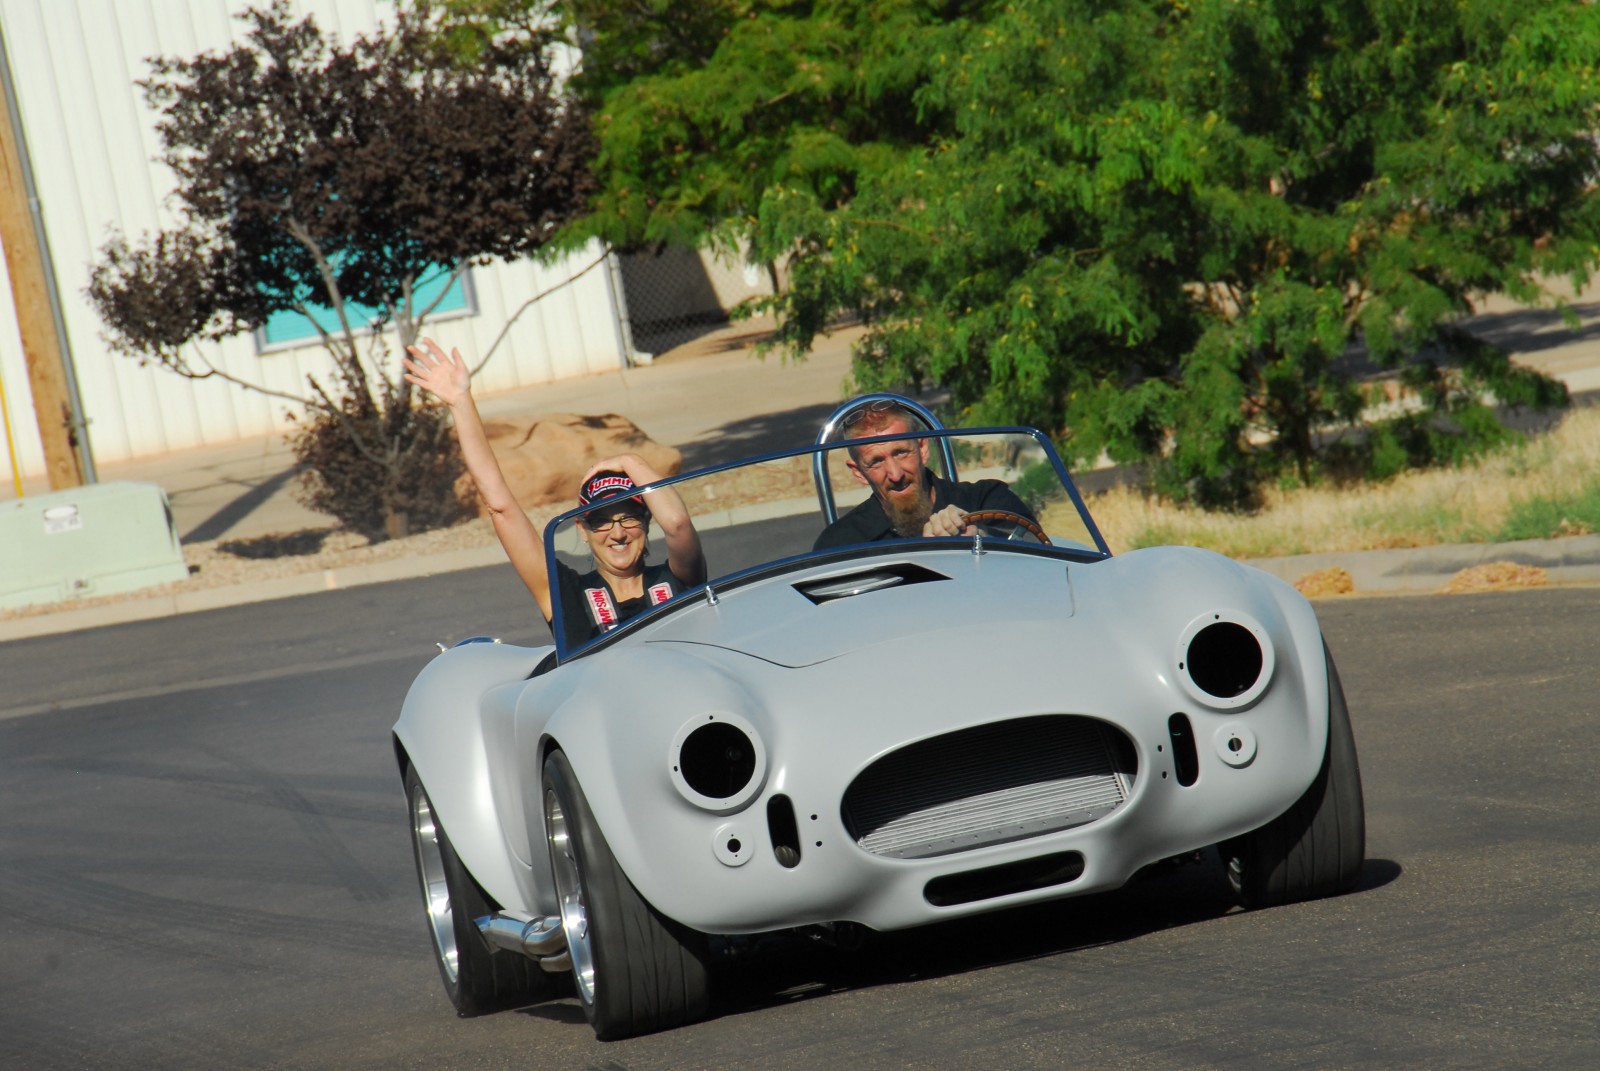
Zoom!
Sounds like everything is installed and ready to go, eh? Sure is—after you make a thorough safety check (brake function, steering operation, etc.), and look for and fix any leaks. Once you’re sure everything’s sorted out, head for your favorite road or track and have some fun—and enjoy the pride of knowing you built this hot rod!

More Factory Five/Summit Racing Mk4 Stories:

Factory Five Racing Kit Components
Summit Racing/Factory Five Mk4 Kits
Mk4 Build (Part 1): Front Suspension and Steering
Mk4 Build (Part 2): Rear Suspension
Mk4 Build (Part 3): Engine and Drivetrain
Mk4 Build (Part 4): Body Prep and Fitting Trim

Author: Steve Temple