Let’s establish a few important things.
- Some of the most expensive stuff you can break on your quad is located in the undercarriage.
- If you’re not running hard enough or in terrain where you need to be worried about protecting those components, then you’re probably doing it wrong.
- Protecting those parts is simple. Not cheap, necessarily. But simple.
Back in May, we covered an ATV project where members of the tech crew at PowerSports Place were given a brand new 2012 Suzuki KingQuad 750 AXi and charged with upgrading it.
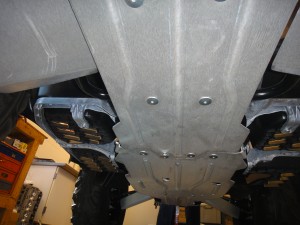
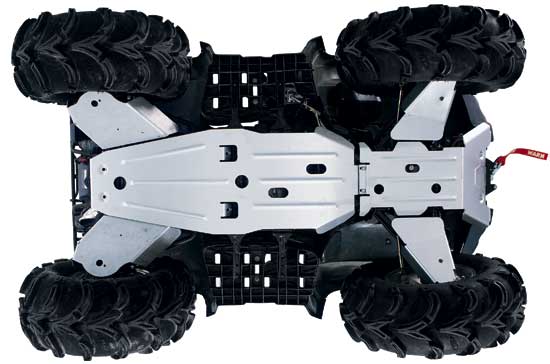
Several additions were made to the Suzuki including the installation of WARN Body Armor for the front and rear A-arms and chassis-protecting skid plate.
This is what they used:
[important]
Parts List:
WARN Body Armor for front and rear A-arms
- Protects A-arms and other suspension components from trail hazards
- Protects chassis from rocks, stumps, and other trail hazards
Tech tip: According to Warn, it’s wise to apply electrical tape to clean, dry vehicle components that will be in direct contact with the aluminum A-arms and skid plates. The tape protects painted finishes from abrasion and can help avoid squeaking.
 Installing A-Arm Guards
Step 1 – Remove factory plastic A-arm guards from the front and rear, if applicable.
Step 2 – You’ll need a bracket to install the front guards. Two will be included for both sides. Insert those brackets first.
Tech tip: Consider applying thread-locking fluid to your bolts to avoid having them back out from vibration, and risking irreparable bolt damage.
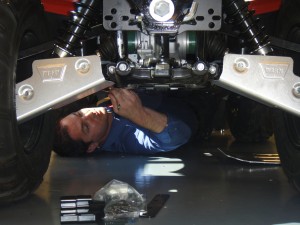
Step 3 – Fasten your guards to the front and rear A-arms. Be sure to consult the torque specifications in your instruction manual for your particular brand of guards and vehicle make.
Installing Skid Plates
Tech tip: It may be difficult to hold large panels in place by yourself for drilling holes and fastening. Consider finding someone to help you hold those panels in place.
Step 4 – Remove factory plastic skid plates, if applicable.
Step 5 – Install mounting bracket near the center of your undercarriage.

Step 7 – Install the other skid plate and tighten those bolts to the proper torque specifications!
Tech tip: The installation team had some issues getting the rear skid plate to mount flush against the bottom of the bike. To solve this problem, one of the guys used a bottle jack to push the slightly bowed plate into position.
It should go without saying that if you buy skid plates or A-arm guards, they will come with installation manuals that will identify all of your plates, brackets, and mounting hardware, and instruct you step by step on what to do next.
By following these simple instructions, the PowerSports Place team had no trouble installing the A-arm guards or skid plates quickly and efficiently.


Comments